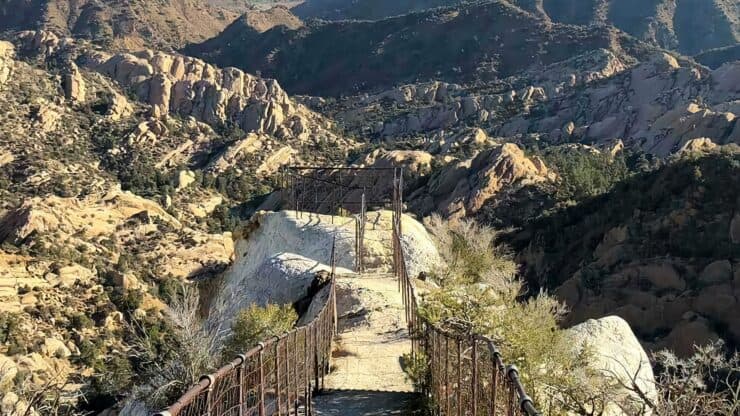

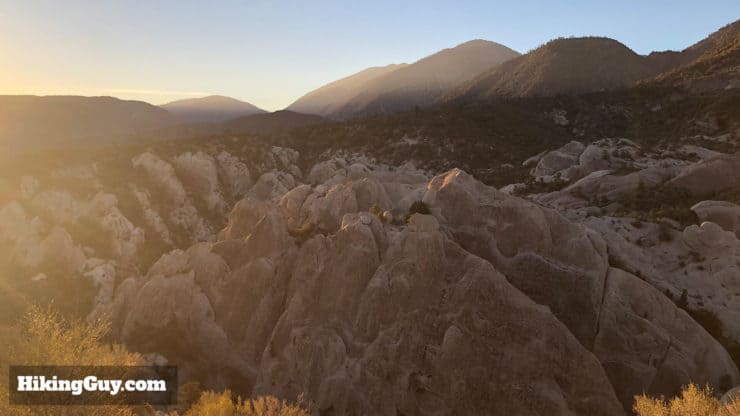
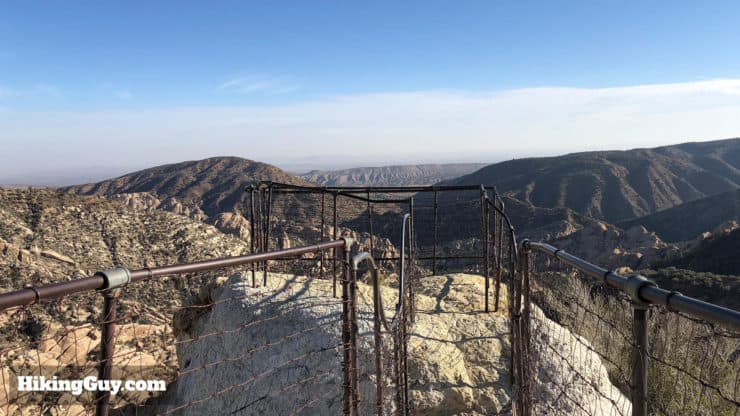
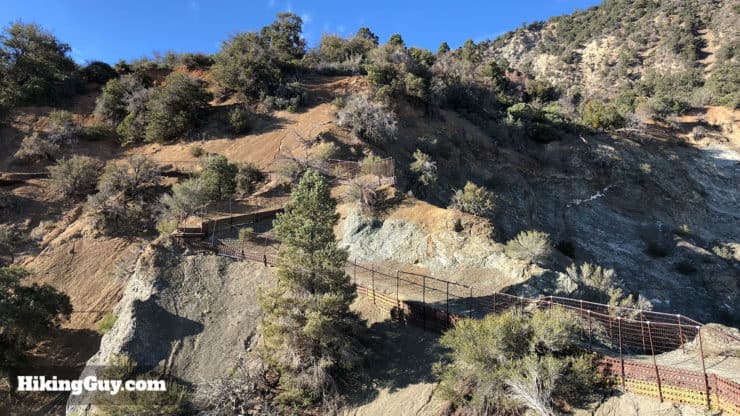
The unique geology on the Devil's Chair hike make it one of the most beautiful hikes in the area. The hike is in Devil's Punchbowl Natural Area, which is a transition zone between the Mojave Desert and San Gabriel Mountains. It's also on the San Andreas and Punchbowl Faults And this easy/moderate hike ends on a dramatic rock perch called the Devil's Chair, offering spectacular views of the colorful geology and fauna around you.
- How to Get to the Devil's Chair Hike
- Turn by Turn Hike Directions & Video
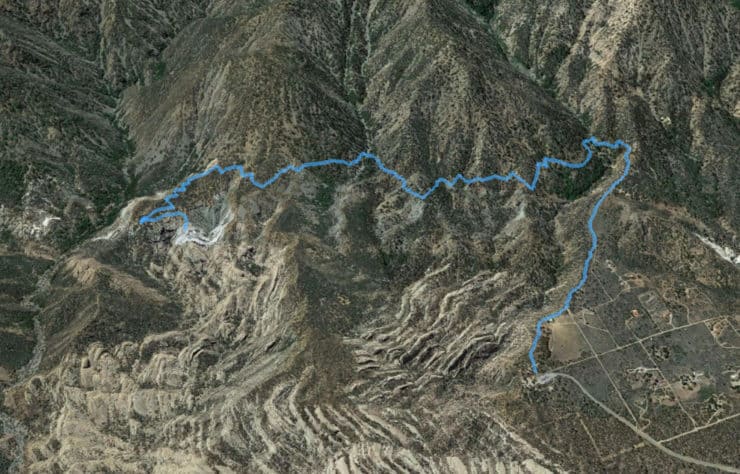
- Devil's Chair Hike Trail Maps
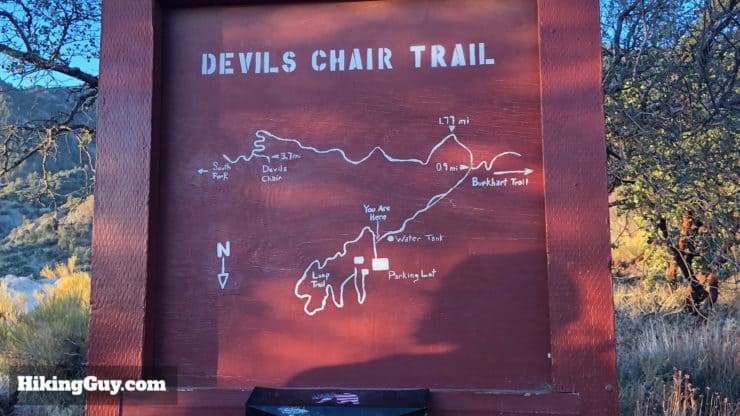
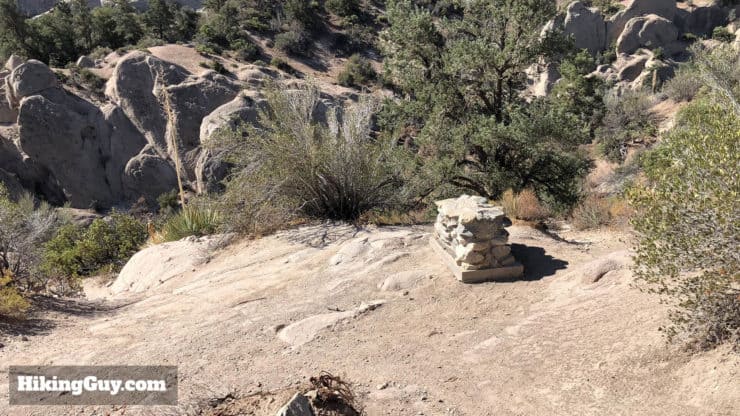
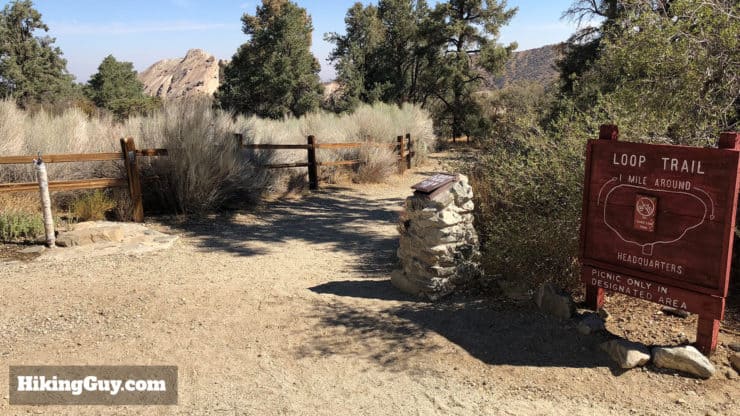
There's an optional 1 mile loop trail at the end which brings you through some geological highlights of the park.
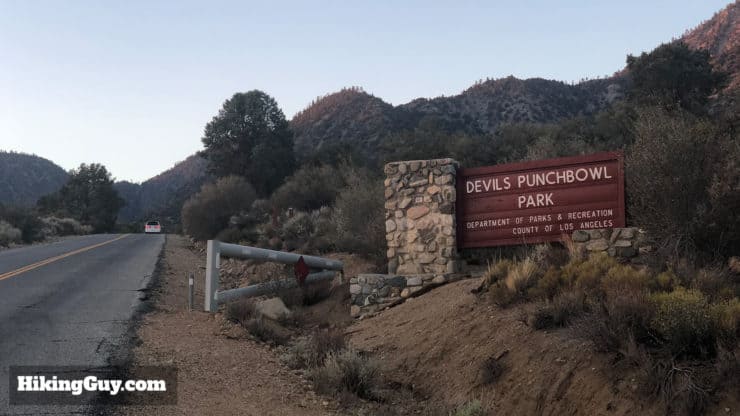
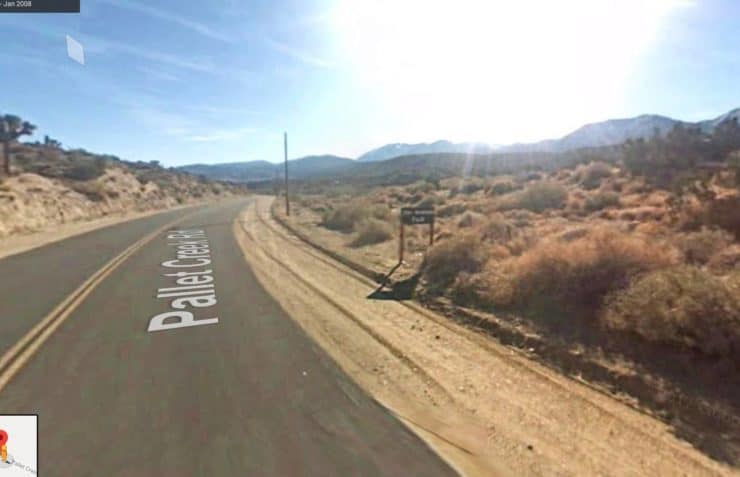
Where is the Devil's Chair?
The Devil's Chair hike is within the Devil's Punchbowl Natural Area, which is located on the eastern side of Angeles National Forest. The drive out there takes you along the Mojave and is pretty remote (and beautiful).
Leave early to beat the crowds. The Devil's Chair is featured in some non-hiker attraction lists and it can get busy.
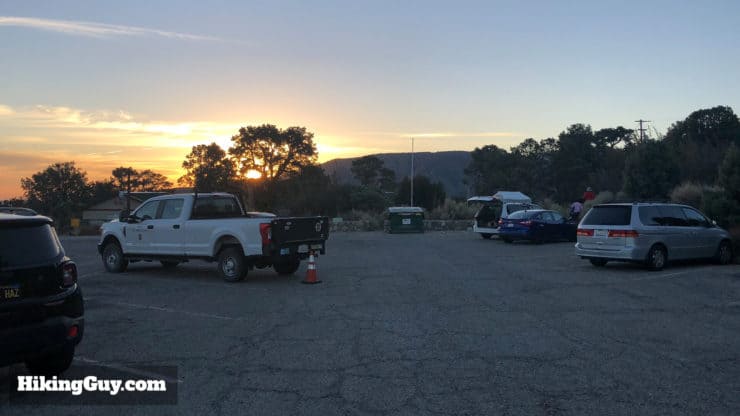
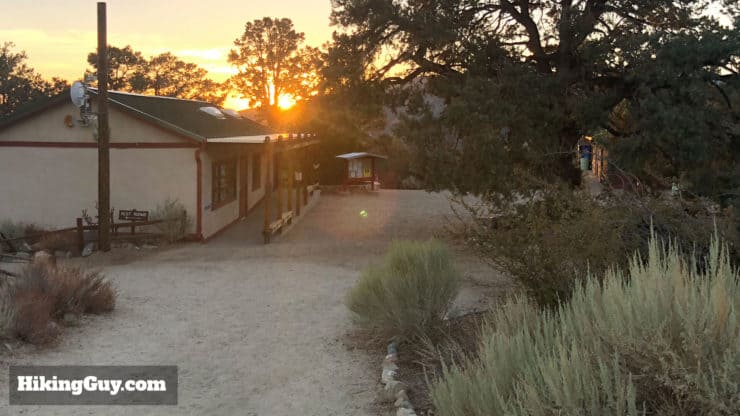
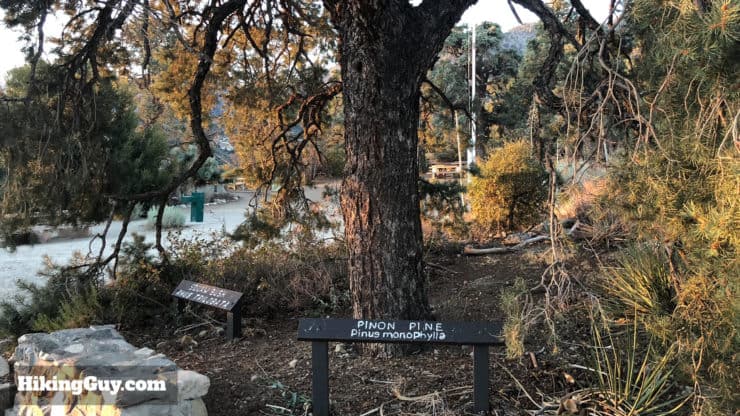
The Visitor's Center area has bathrooms and water. There are also a bunch of picnic tables around in case you want to have lunch after your hike.
Gear for the Hike
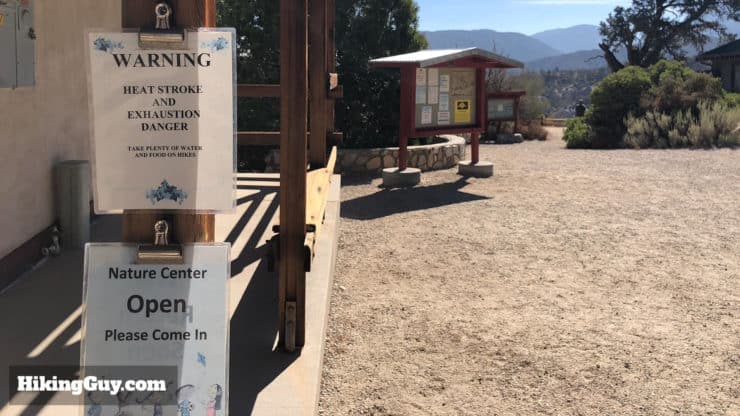
I recommend regular hiking gear for this hike, although you can get away with fitness gear in a pinch too. The conditions are varied: in the winter there can be snow and ice, in the summer temperatures in the 100s. If it's cold, bring micro-spikes and trekking poles. If it's hot, bring 3L of water.
Gear That I Love Right Now
Nothing is sponsored or promoted, just the actual gear that I use.

Devil's Chair Trail Maps
How Will You Navigate?
 Using the Apple Watch for Hiking
 Garmin Fenix 7 & Epix Review For Hikers
 How To Read a Topographic Map
 Garmin GPSMAP 67i Review
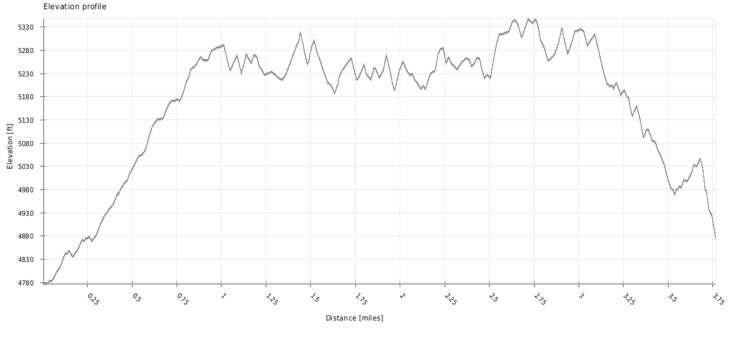
The Fault Geology
And as I mentioned earlier, Devil's Punchbowl Natural Area is just south of the San Andrea Fault, which is where the Pacific Plate and North American Plate collide. The specific area here is called the Punchbowl Fault.
The Punchbowl fault in the Devil's Punchbowl County Park, California, provides an unequaled view of the internal structure of a large-displacement fault of the San Andreas system.- Center for Tectonophysics, Texas A&M University
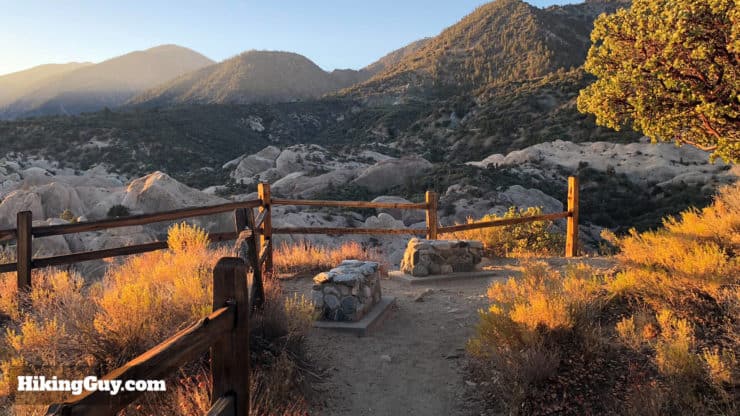
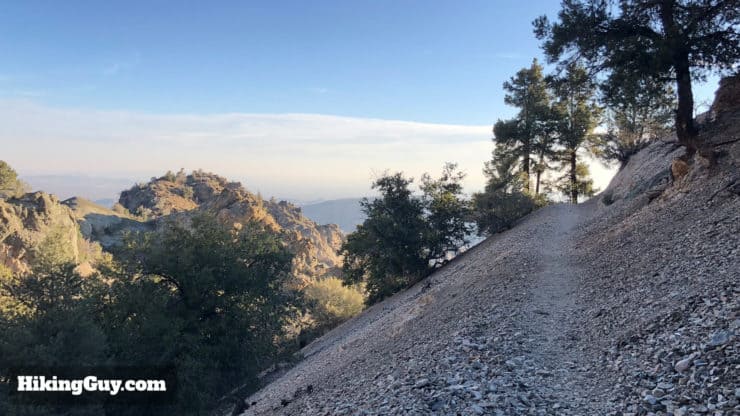
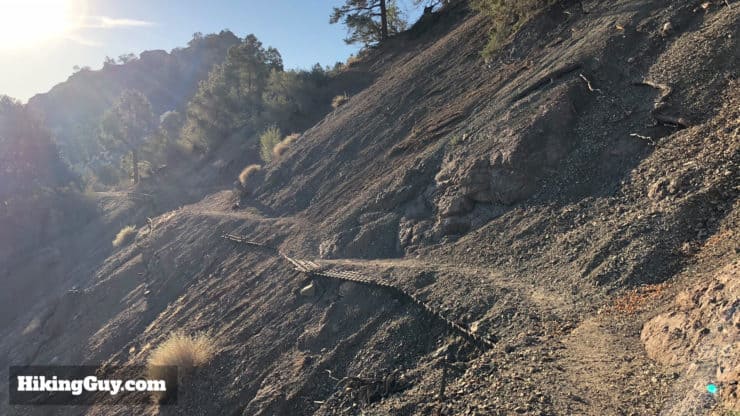
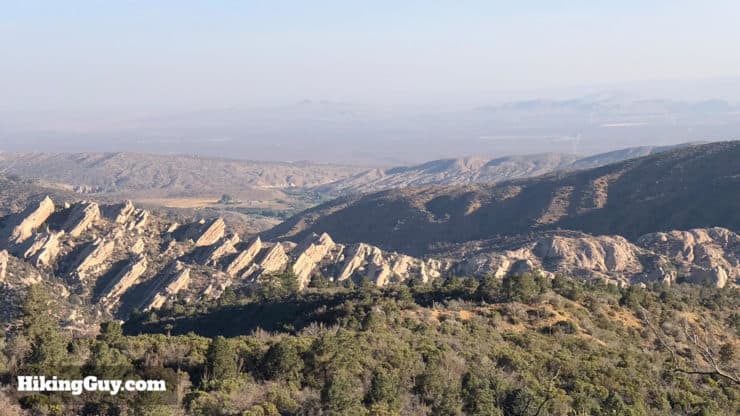
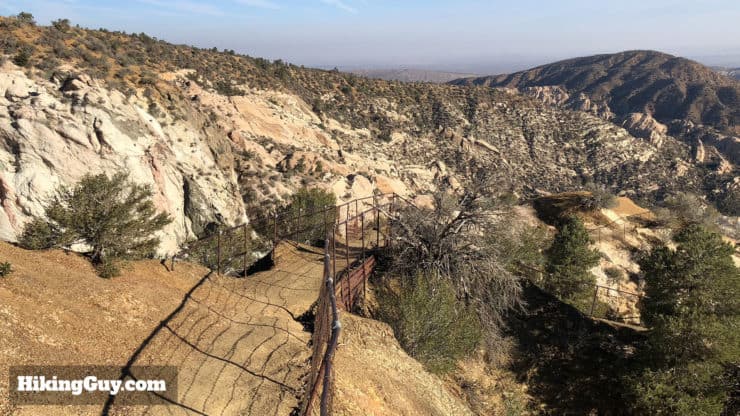
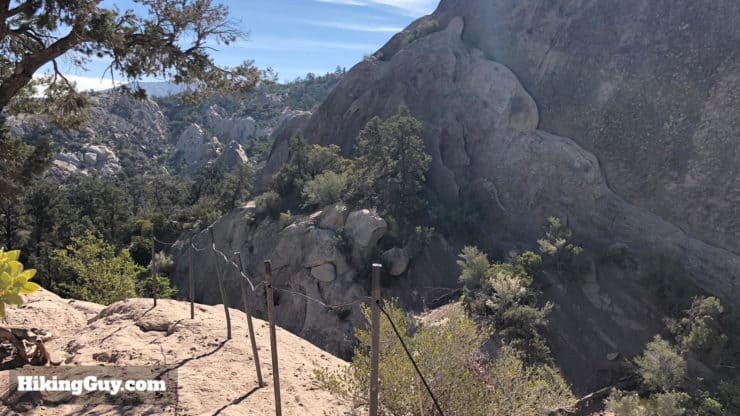
What that means on the hike is that you'll see layers of sandstone that have been pushed up, past the earth's surface, and then eroded. This wall of sandstone rock forms the wall of "the punchbowl" and has been eroded by the natural forces of the Mojave and San Gabriel Mountains.
The sandstone rocks that you see pushed up have lead to the discovery of fossils from 5-10 million years ago, which is also when those rock layers were formed.
If you want an "official fault line shot" there's a sign here. The geology that you see on the hike is a result of the land being pushed up when the plates collide.
If you want to do a deep dive on the specific geology of the Punchbowl and San Andreas Faults, look no further than this guide: Field Guide to the Punchbowl Fault Zone at Devil's Punchbowl Los Angeles County Park, California
Random: If you're a fan of the band Wolfmother, they did a music video here.
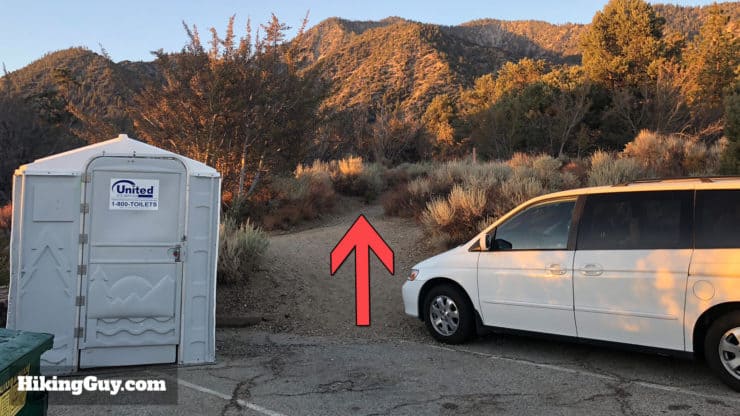
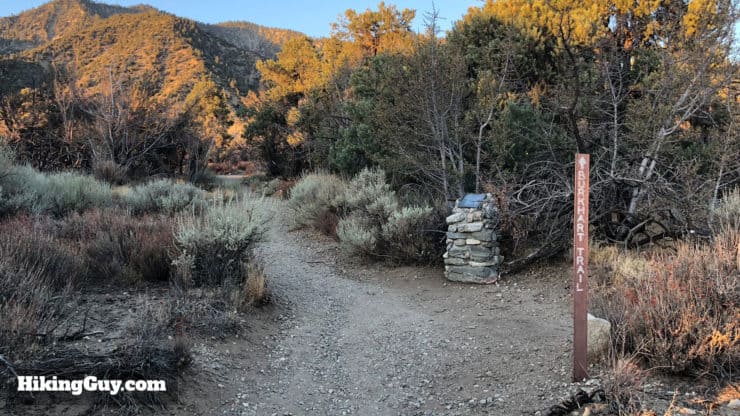
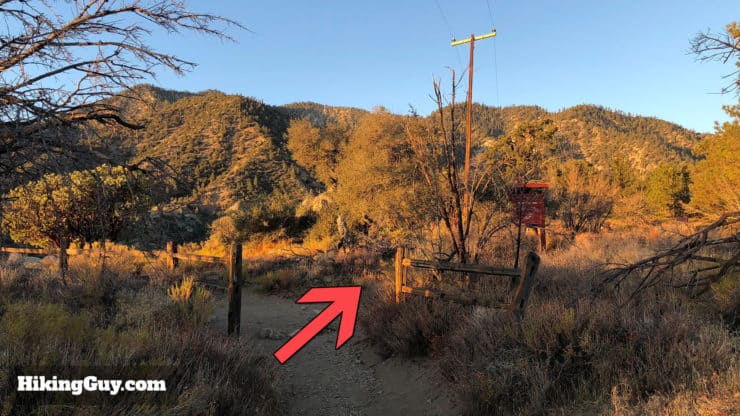
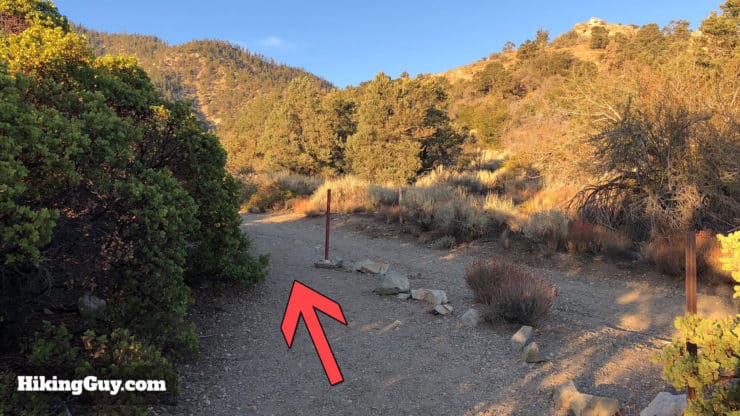
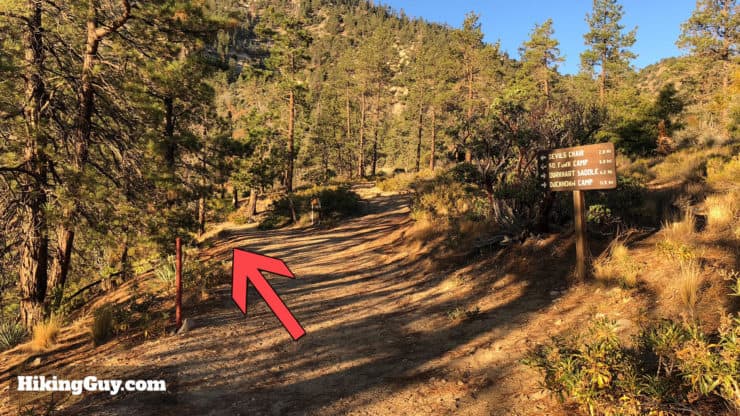
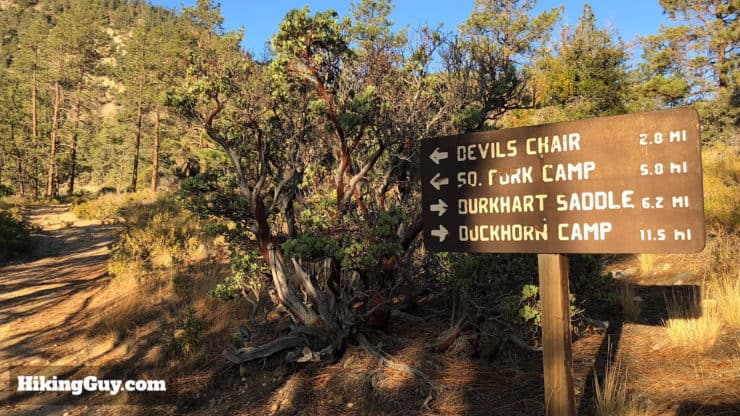
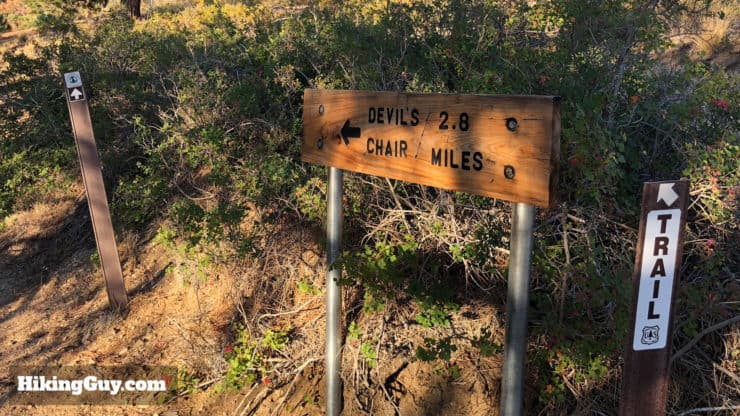
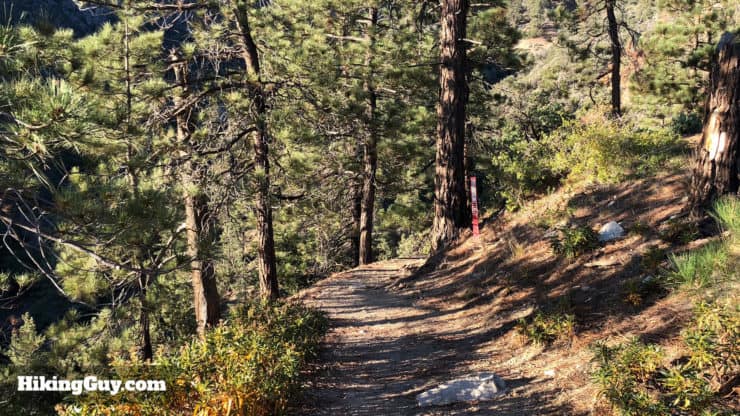
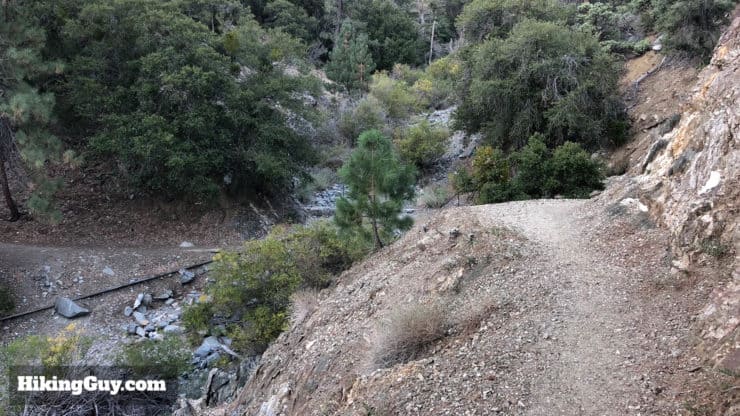
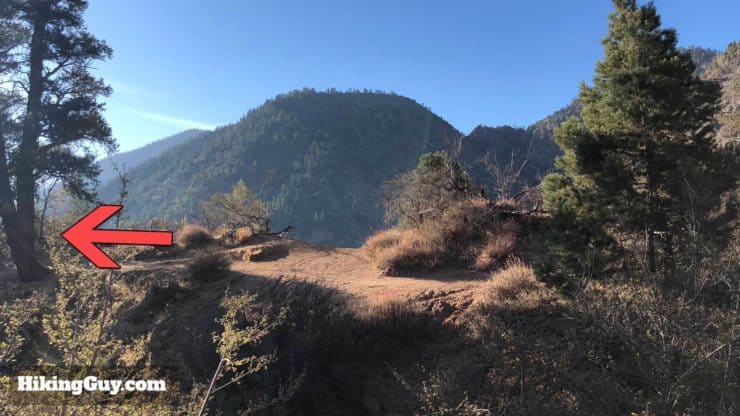
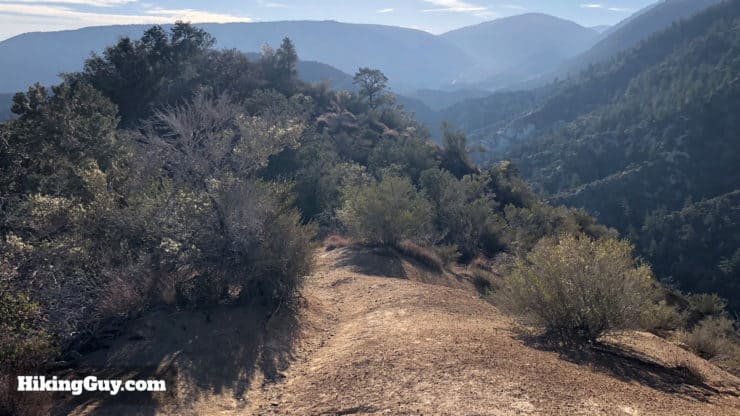
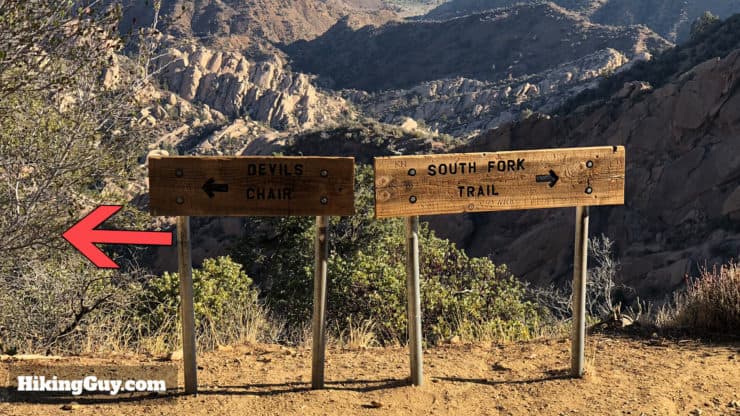
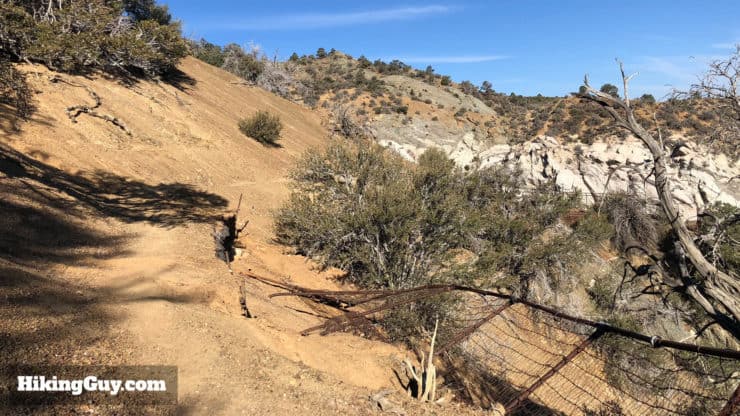
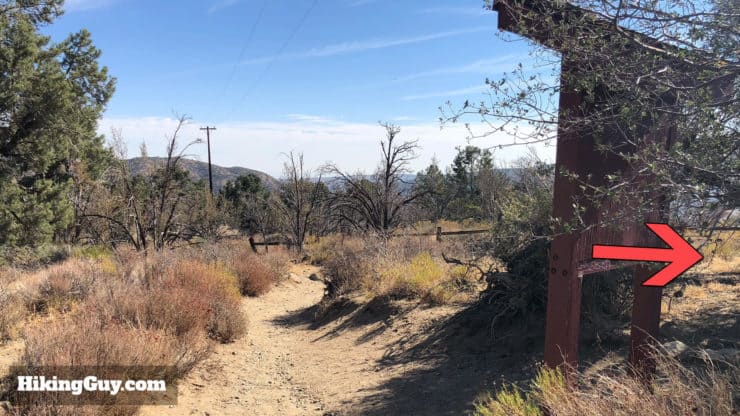
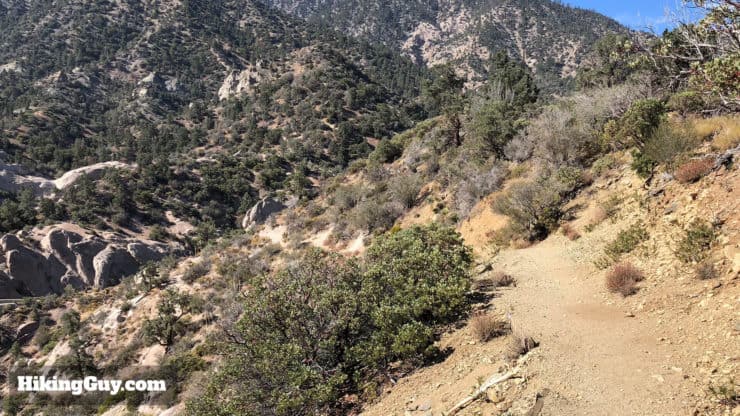
Devil's Chair Hike Directions


Need More Info?
- Have a question about the guide or want to see what other people are saying/asking? View the Youtube comments for this video. Leave a comment and I will do my best to respond.
- When planning, always check the park website and social media to make sure the trails are open. Similarly, check the weather and road conditions.
Related Guides
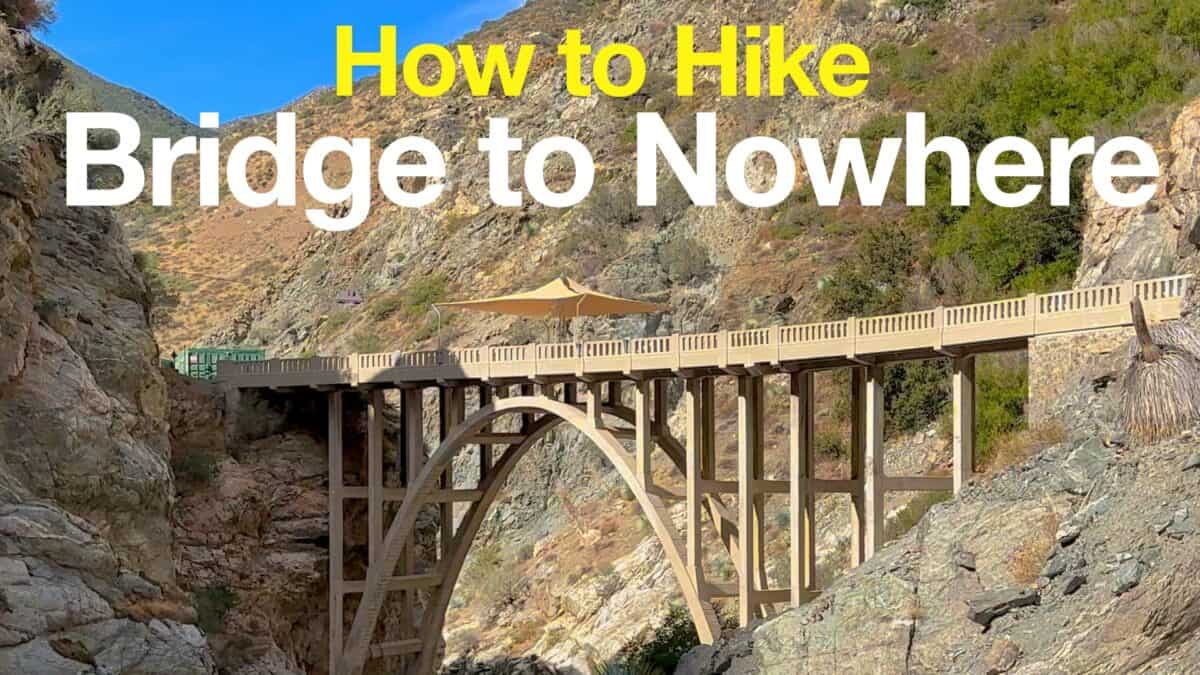 Bridge to Nowhere Hike
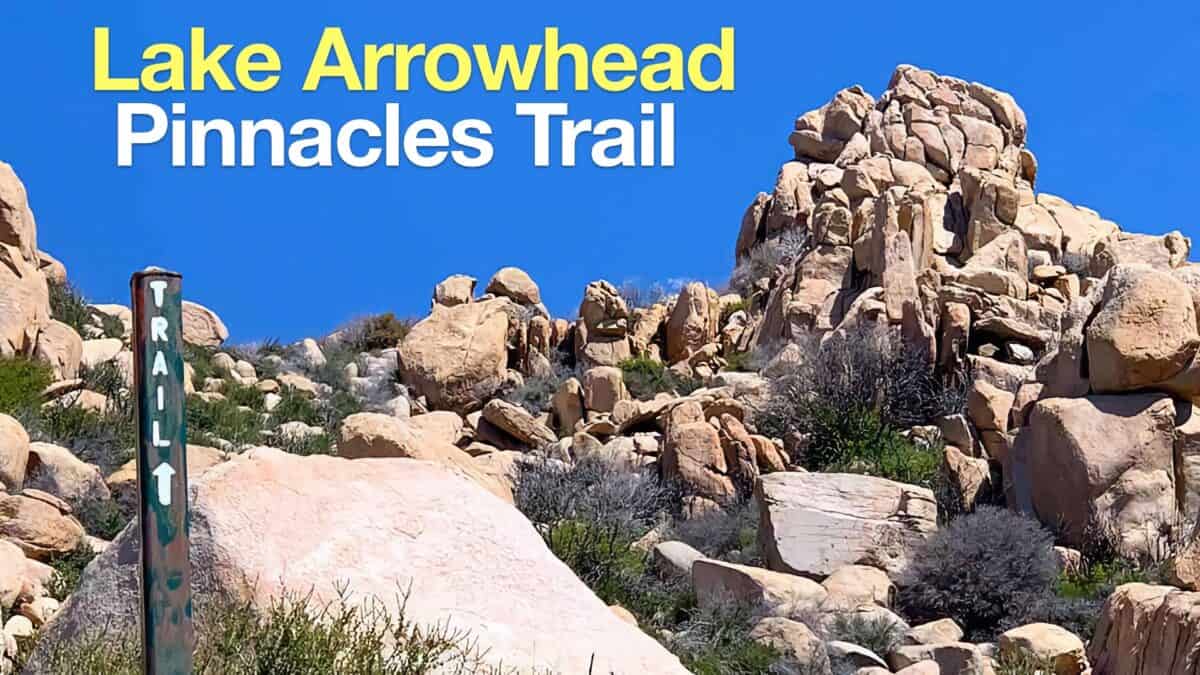 Lake Arrowhead Pinnacles Trail Hike
 Deep Creek Hot Springs Hike
 Los Angeles Hikes
 Angeles National Forest Hikes
Popular Guides
 Best Hiking Gear 2024
 Hiking Boots or Shoes: Do I Really Need Hiking Boots?
 When to Hit SOS on inReach
This Guide Was Written by Cris Hazzard

Hi, I'm Cris Hazzard, aka Hiking Guy, a professional outdoors guide, hiking expert, and author based in Southern California. I created this website to share all the great hikes I do with everyone else out there. This site is different because it gives detailed directions that even the beginning hiker can follow. I also share what hiking gear works and doesn't so you don't waste money. I don't do sponsored or promoted content; I share only the gear recommendations, hikes, and tips that I would with my family and friends. If you like the website and YouTube channel, please support these free guides (I couldn't do it without folks like you!). You can stay up to date with my new guides by following me on YouTube, Instagram, or by subscribing to my monthly newsletter.