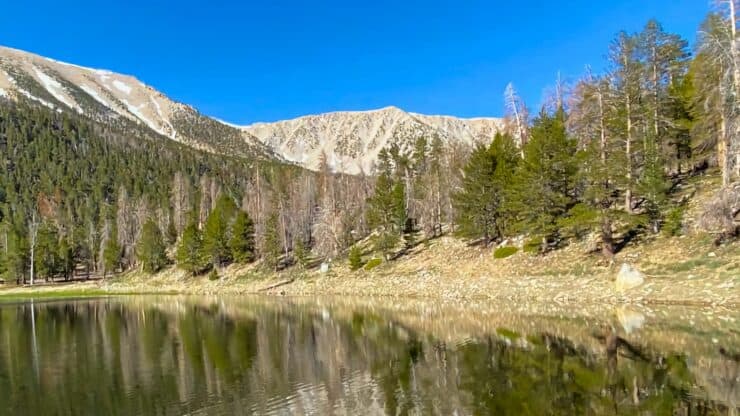

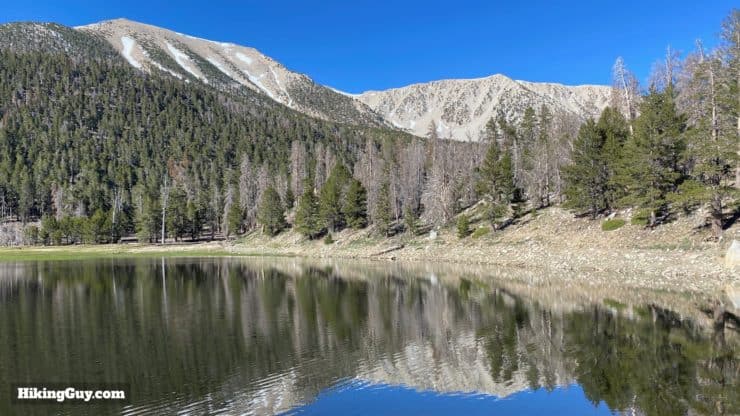
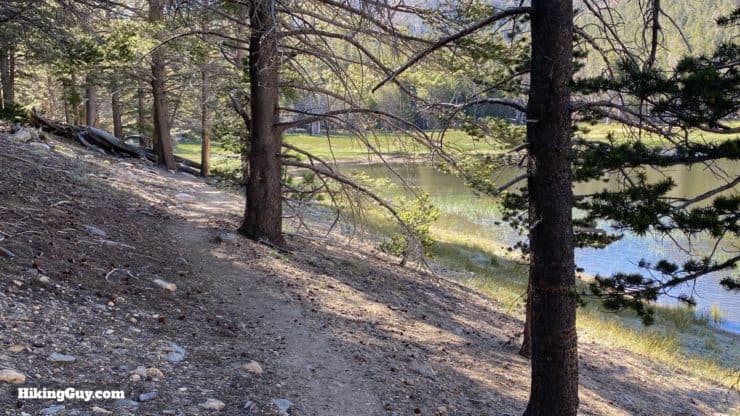
Dry Lake, nestled in the shadow of San Gorgonio Mountain, is a beautiful day hike or overnight camping destination. This hiking guide to Dry Lake takes the scenic South Fork Trail, which is well maintained with gradual slopes. And despite being called Dry Lake, it often has water in it, making for a pristine alpine oasis in the mountains of Southern California.
- Video & Turn by Turn Directions to Dry Lake
- How to Get to the South Fork Trail
- Permits & Camping for Dry Lake
- Everything You Need to Know To Prepare for the Hike
How to Get to the South Fork Trail
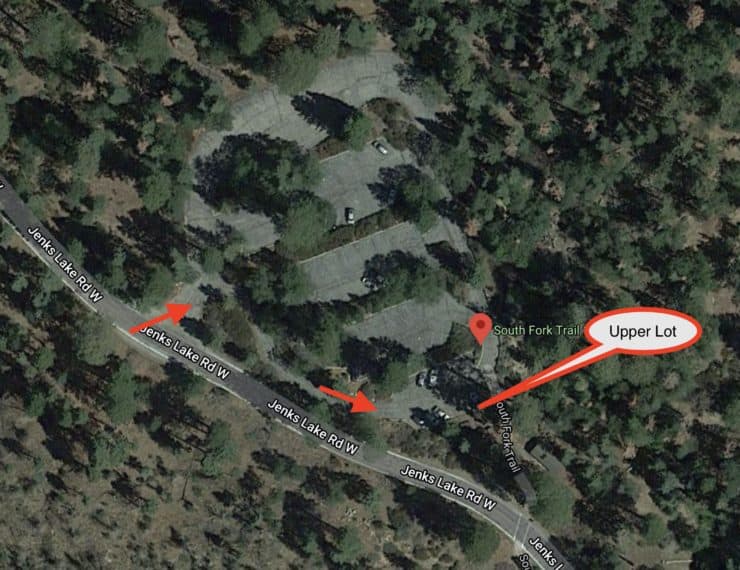
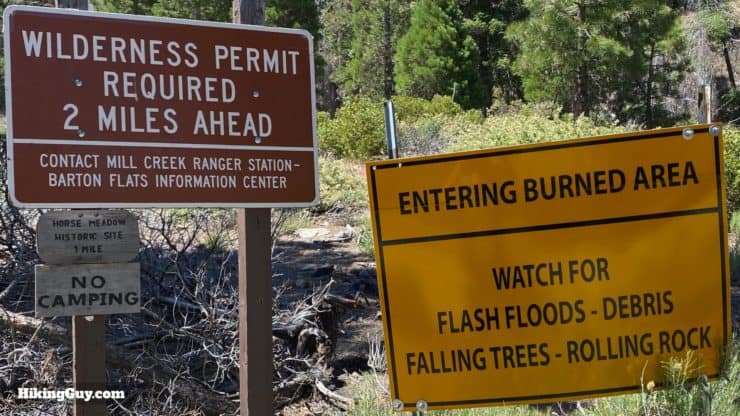
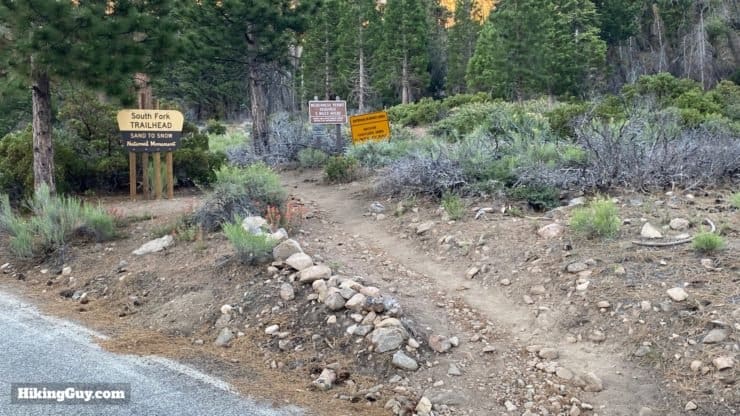
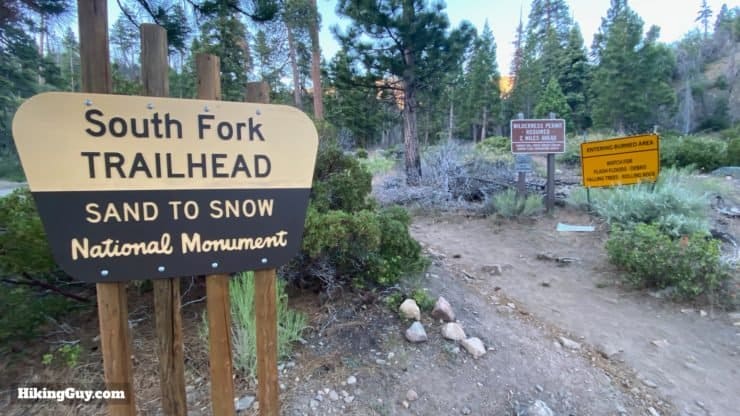
The South Fork Trailhead (officially known as South Fork Trail 1E04) lies about 2.5 miles off of Rt 38, close to the town of Angelus Oaks. Use this trailhead address:
South Fork Trail 1E04, 40800-40894 Jenks Lake Rd W, Angelus Oaks, CA 92305
There are other South Fork Trails in Southern California, so make sure you are going to South Fork Trail 1E04 by Angelus Oaks.
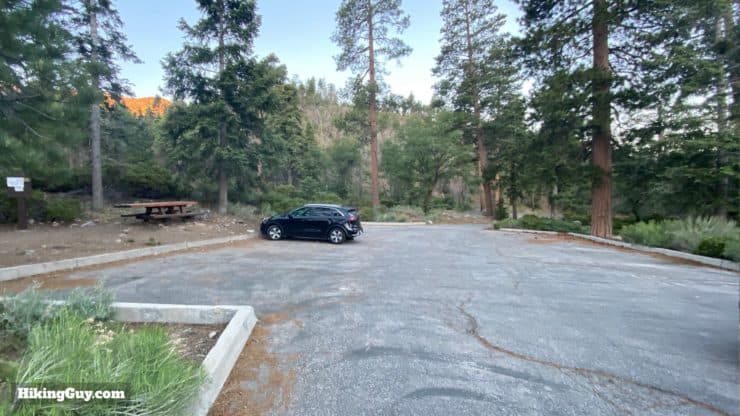
You need a parks pass or Adventure Pass to park in the lot here.
Day Hike Permits
Day use permits were recently reinstated. The permits are free but controlled by a quota. That means last-minute hikes are generally out of the picture, but there will be less crowds out on the trail. You can fill out a hike permit and email it in here.
Gear for the Hike
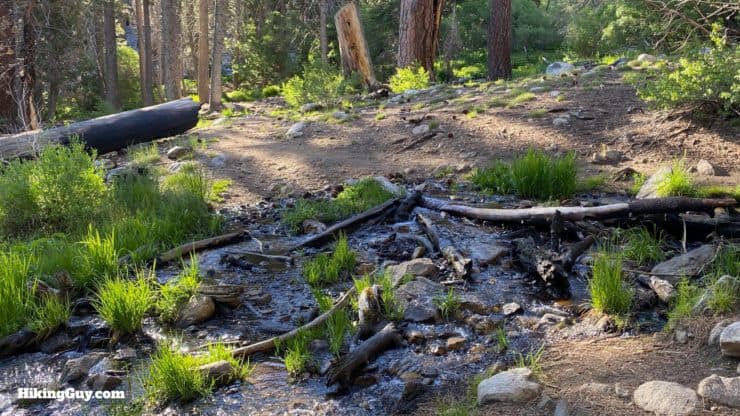
This is a backcountry hike and I recommend having proper hiking gear. Unless it's very dry, there are some small stream hop-overs, so waterproof boots can help. And trekking poles are good on the slopes, both up and down.
And because you are in the high mountains, there can be snow here in the winter, making the hike a much different experience. Do the hike when it's clear of snow if it's your first time. Leave the more challenging conditions for when you have experience in the area.
Gear That I Love Right Now
Nothing is sponsored or promoted, just the actual gear that I use.

South Fork Trail to Dry Lake Trail Maps
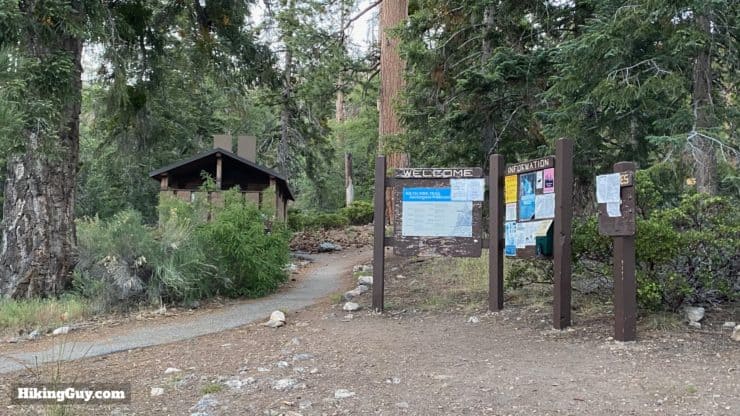
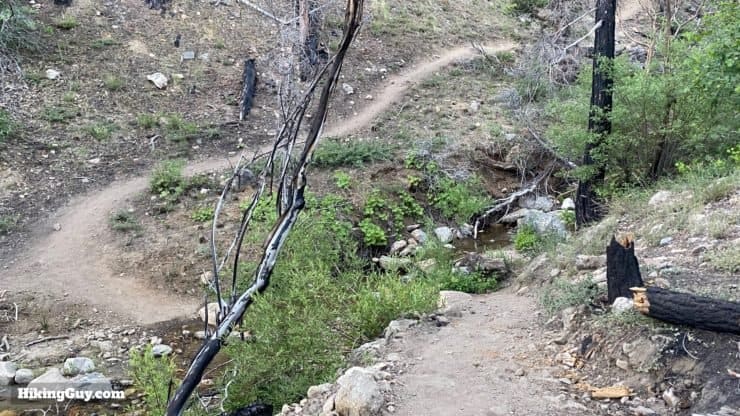
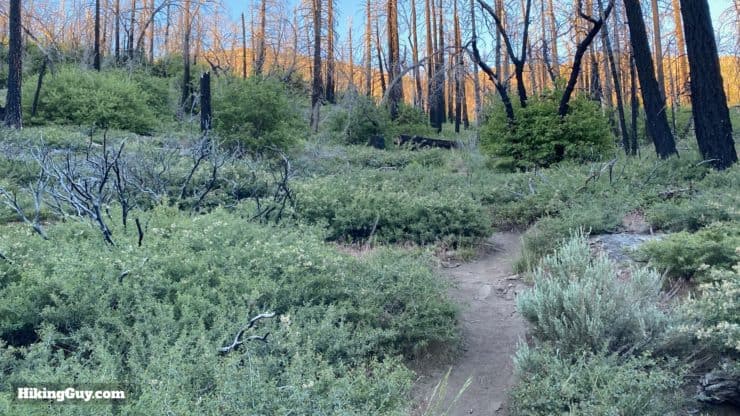
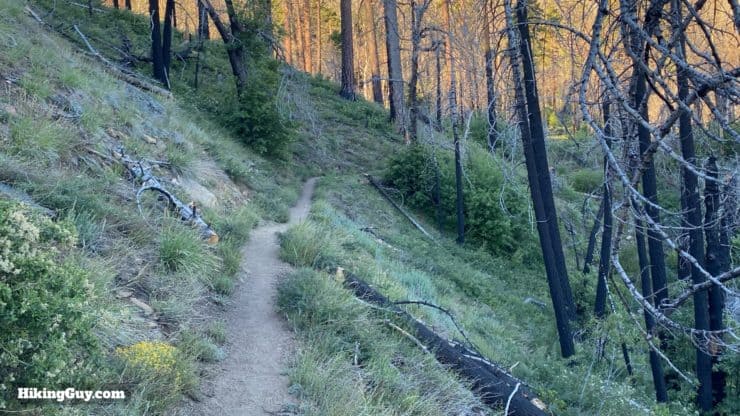
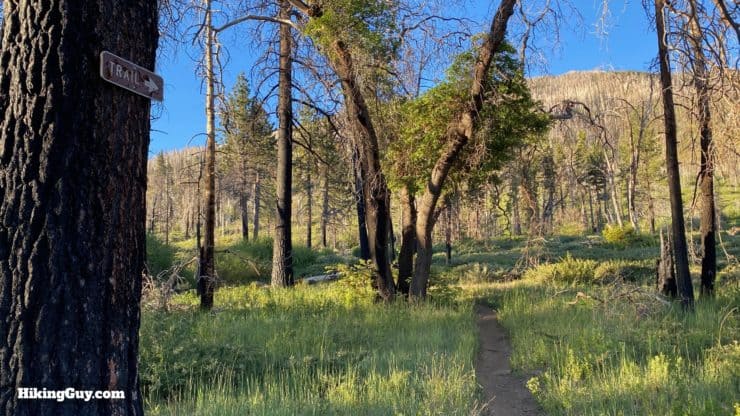
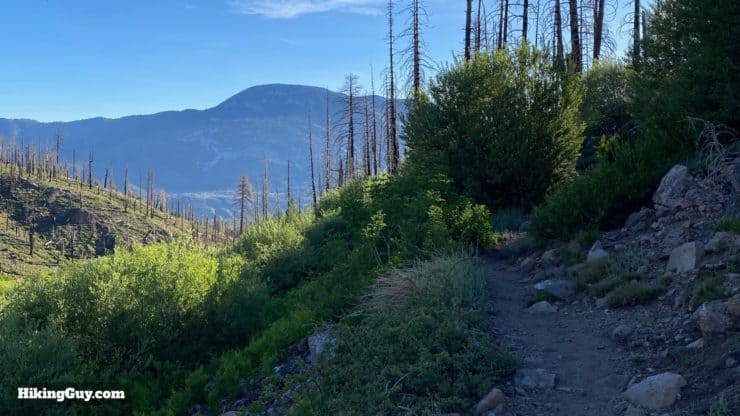
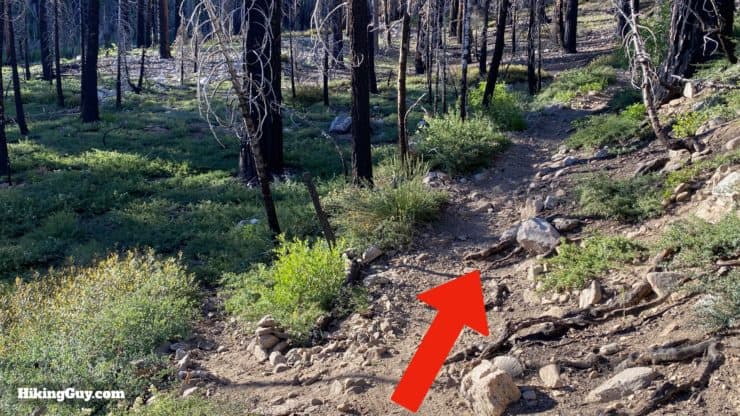
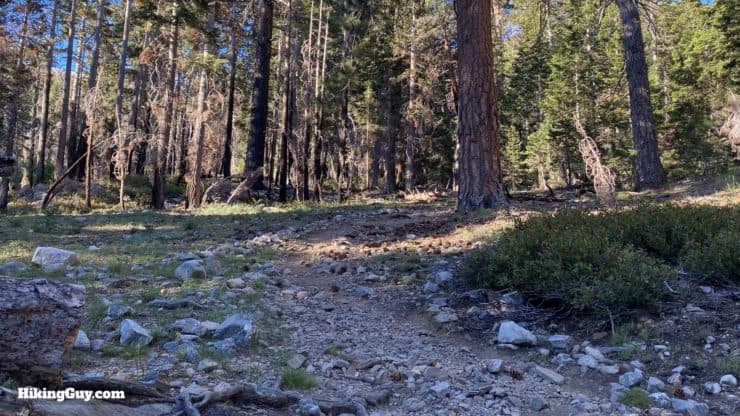
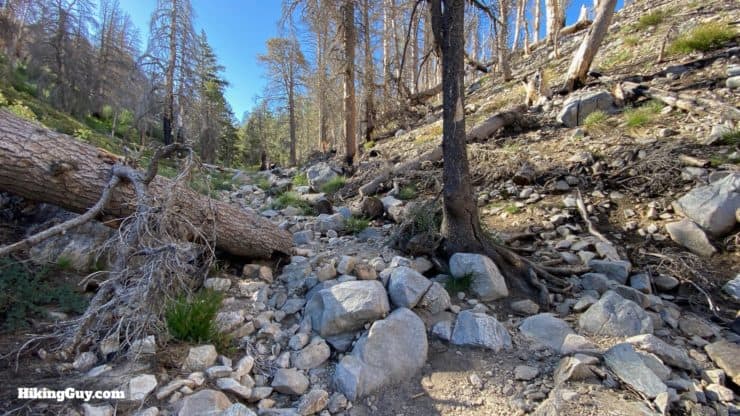
Overall the trail is well maintained and easy to follow. The South Fork Trail is one of the more popular trails, and generally gets attention from the Forest Service. That being said, there are often trees down over the trail because of all the fire damage (more later). Most big trees can be scooted over on your butt or walked around.
How Will You Navigate?
 Using the Apple Watch for Hiking
 Garmin Fenix 7 & Epix Review For Hikers
 How To Read a Topographic Map
 Garmin GPSMAP 67i Review
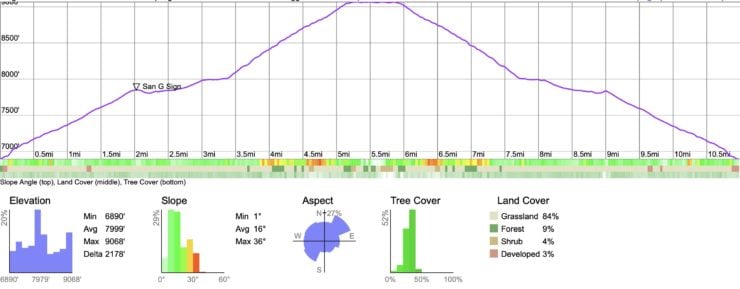
Elevation Profile
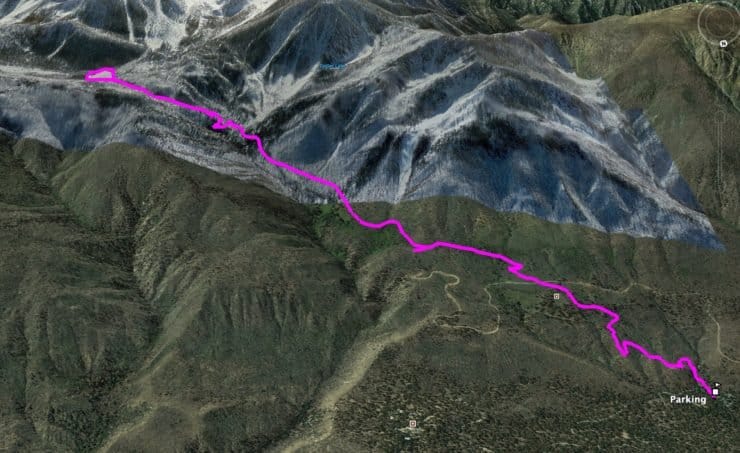
3D Map
Hike Brief
- You don't need a permit to do the day hike, but it's recommended that you fill out a free one online so that the Forest Service can help understand trail demand (and potentially fund more trail work). It's also a great safety precaution.
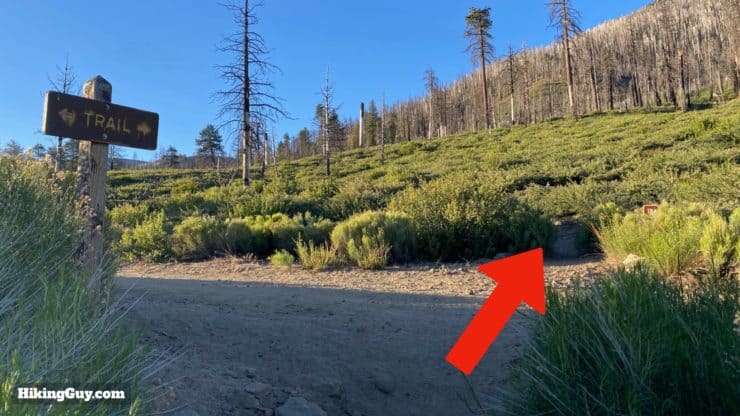
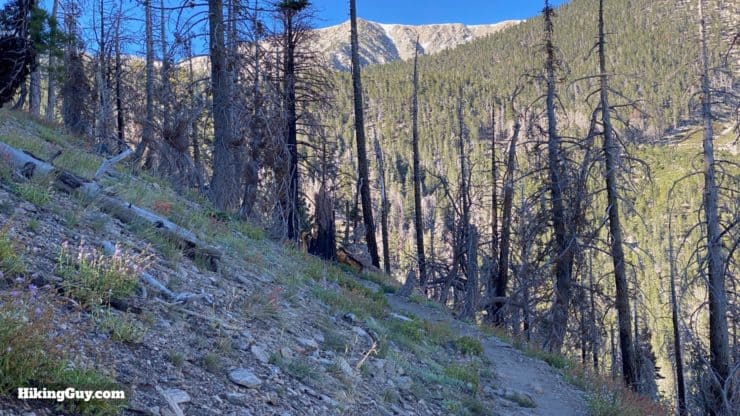
- The 2015 Lake Fire devastated this area, and you'll be hiking through the aftermath of it for much of the hike. The burned (and dead) trees that you see will eventually fall. The fire has let to erosion and occasional washouts of the trail. Keep an eye out for any trail detour signs as you hike.
- Dry Lake is actually man-made. It was originally a swamp. In 1883 an early mountain pioneer named Vincent Taylor dammed up the outlet to form the lake.
- Dry Lake often has water in the spring and early summer (depending on the snowfall).
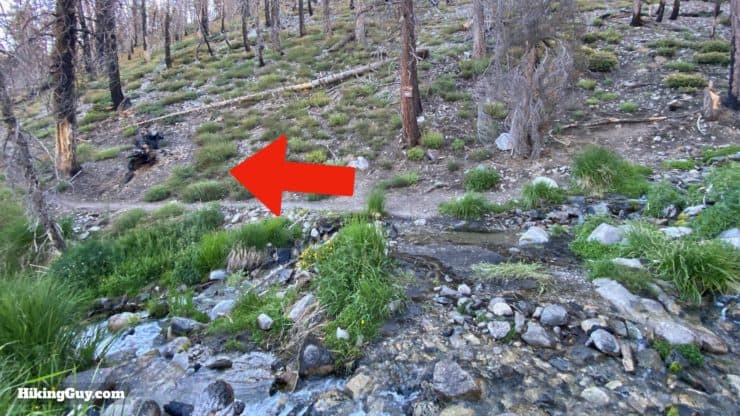
- The creek you cross on the hike, the South Fork of the Santa Ana River, eventually flows out to the Pacific Ocean in Huntington Beach.
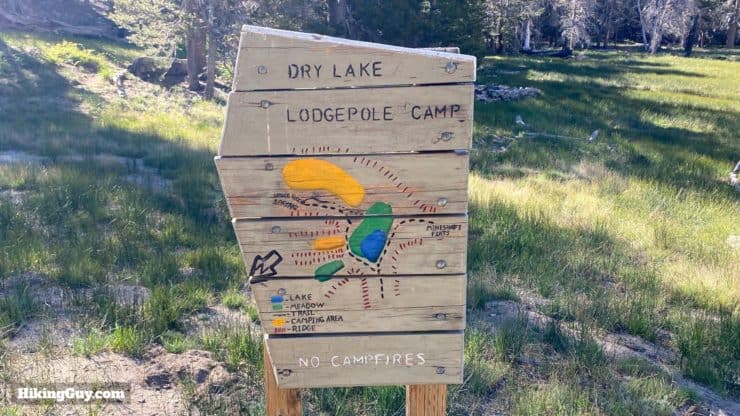
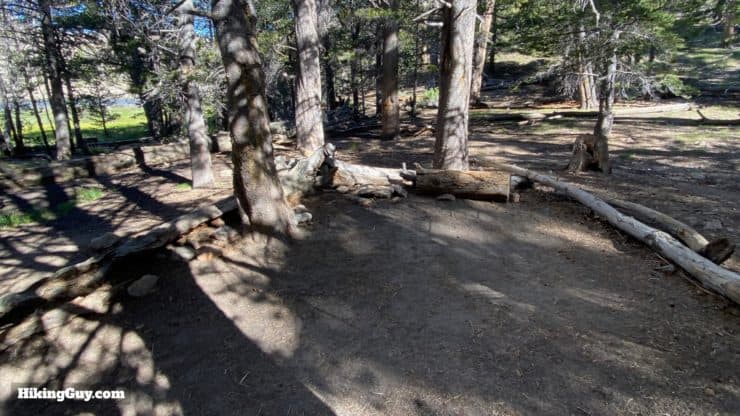
Camping at Dry Lake
- If you want to camp at Dry Lake, you need an overnight permit that you fill out online and email. You may be rejected if demand is high. Dry Lake is a popular camping spot so I recommend applying as early as you can.
- You'll also need a campfire permit (even for a little camping stove) which you can get for free online. No open campfires are allowed, just your little camping stove.
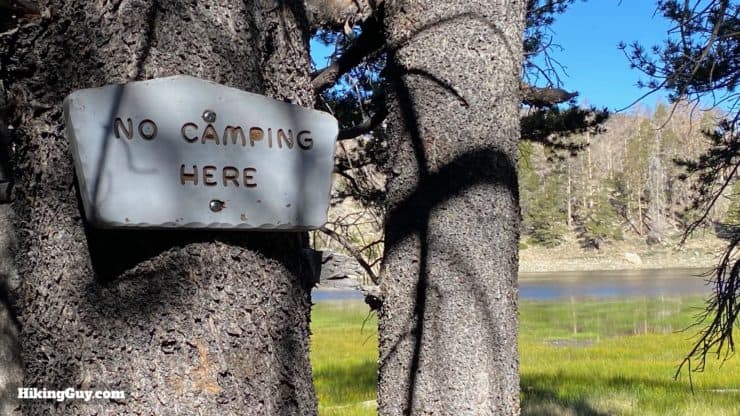
- Please only camp in the designated camping areas and leave the other areas alone.
- If Dry Lake is actually dry, you can try nearby Lodgepole Spring for water. It's generally reliable, but I'd call the ranger's office to check.
Permit Availablity
Can't get a permit for your date? Try OutdoorStatus.com and get a text message as soon as a cancelled permit opens up!.
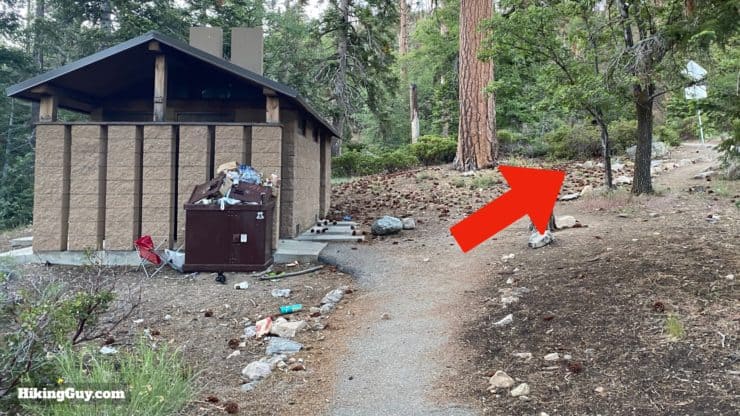
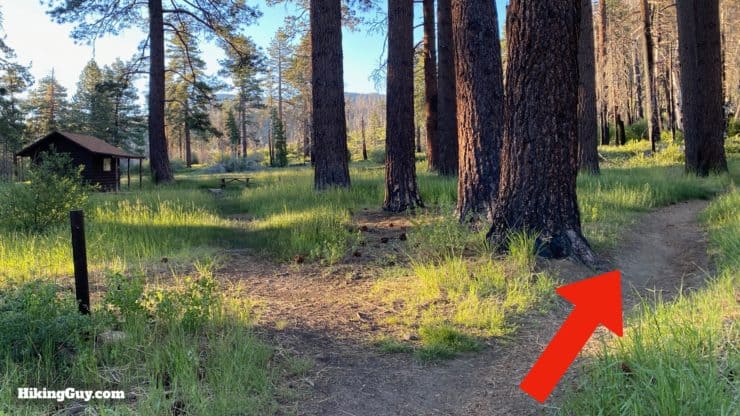
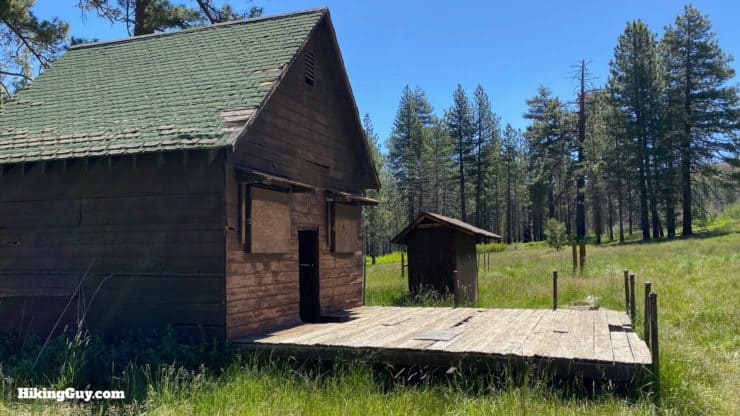
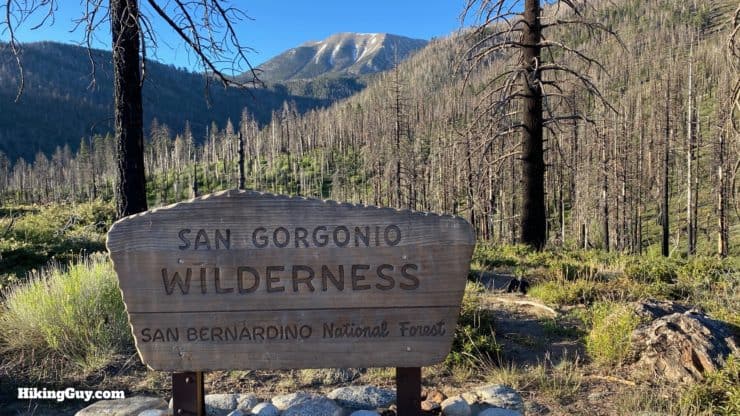
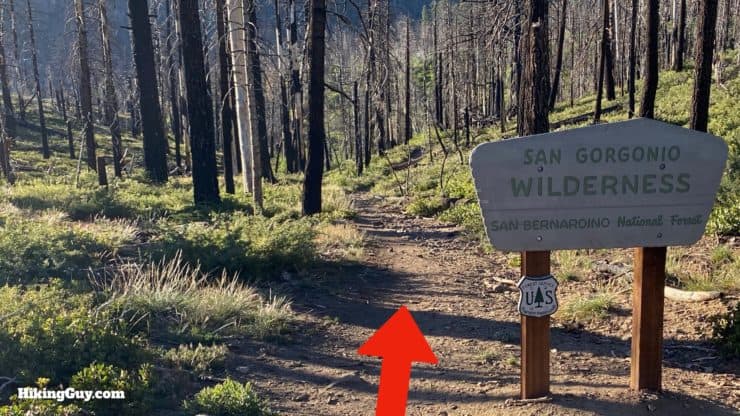
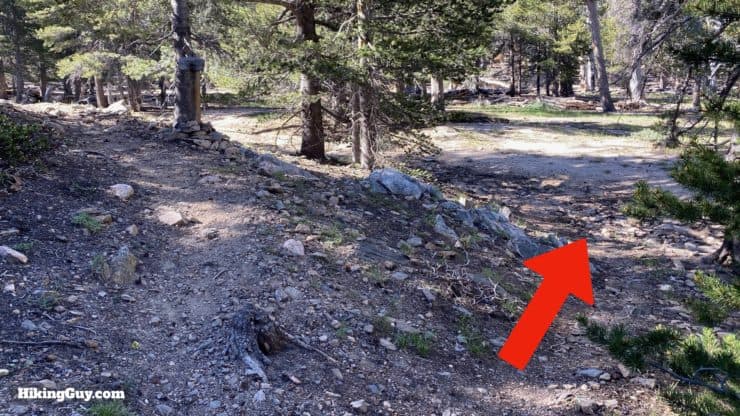
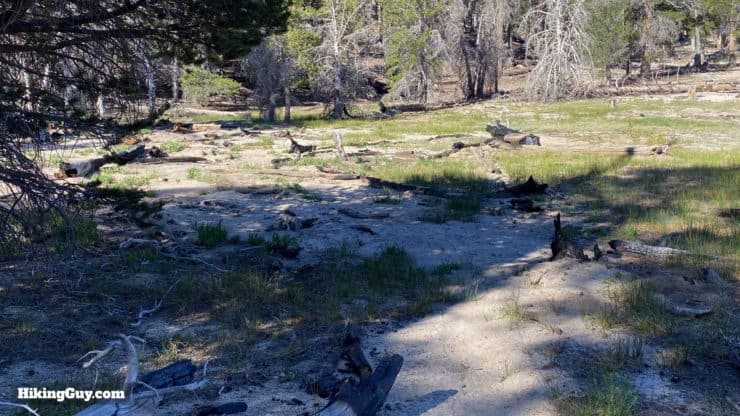
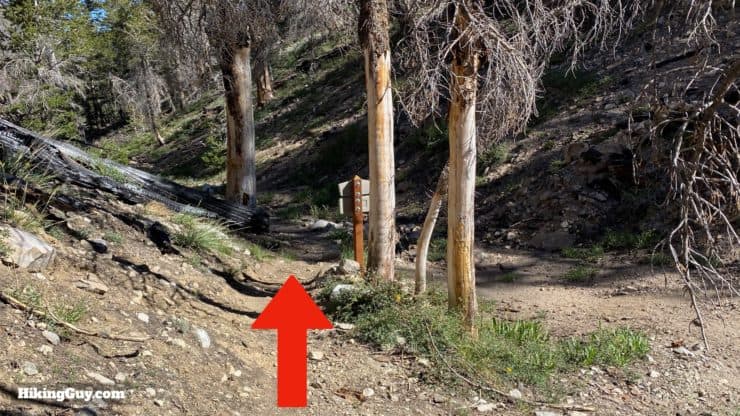
South Fork Trail to Dry Lake Hike Directions

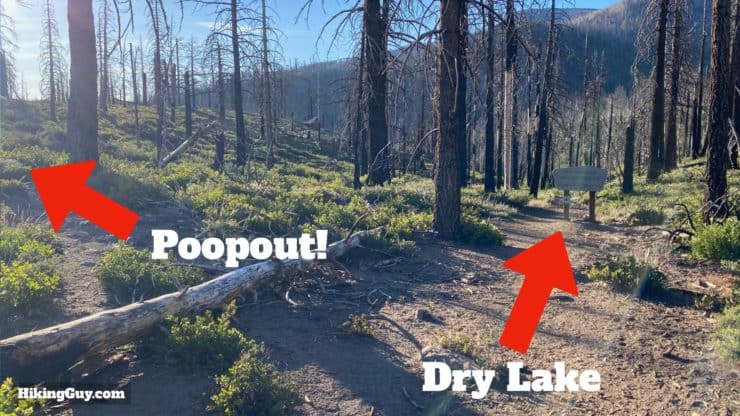
Poopout Hill was not named after a bowel movement. It was named that because it's the first place where you can see the summit of San Gorgonio, and when early travelers saw how far they'd have to go to hike it, they'd "poop out" of the effort here and turn around.

And that's it. Just return the way you came from here and enjoy the downhill.
Need More Info?
- Have a question about the guide or want to see what other people are saying/asking? View the Youtube comments for this video. Leave a comment and I will do my best to respond.
- When planning, always check the park website and social media to make sure the trails are open. Similarly, check the weather and road conditions.
Related Guides
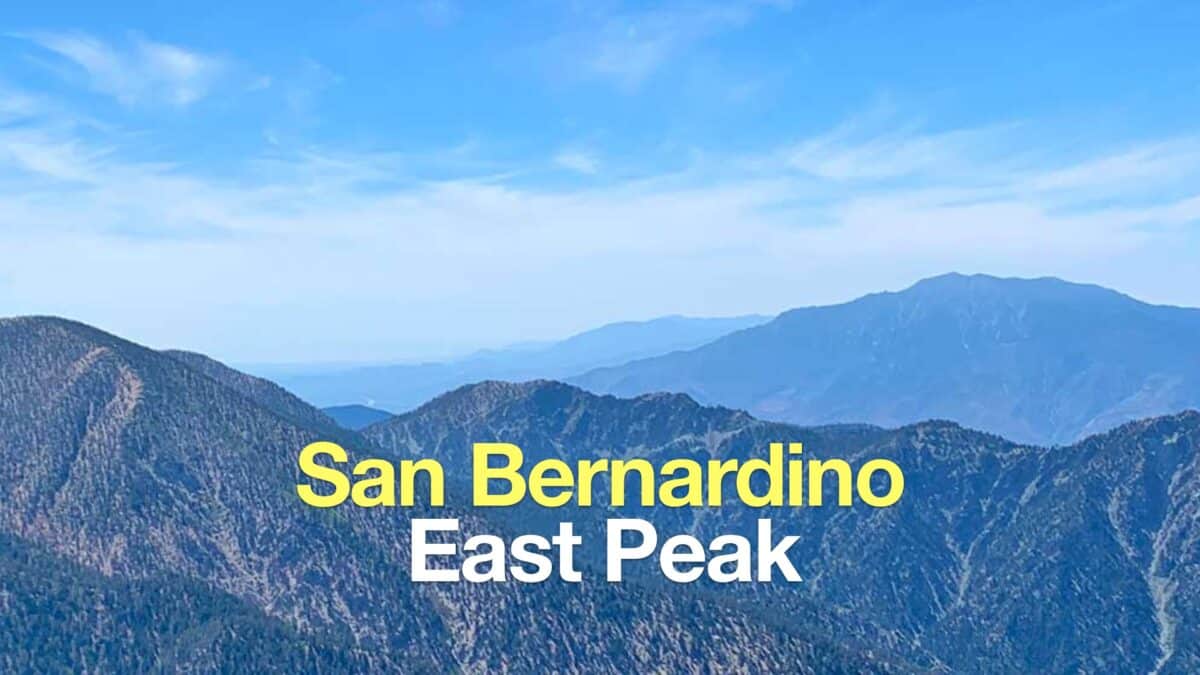 Hike San Bernardino East Peak From Forsee Creek Trail
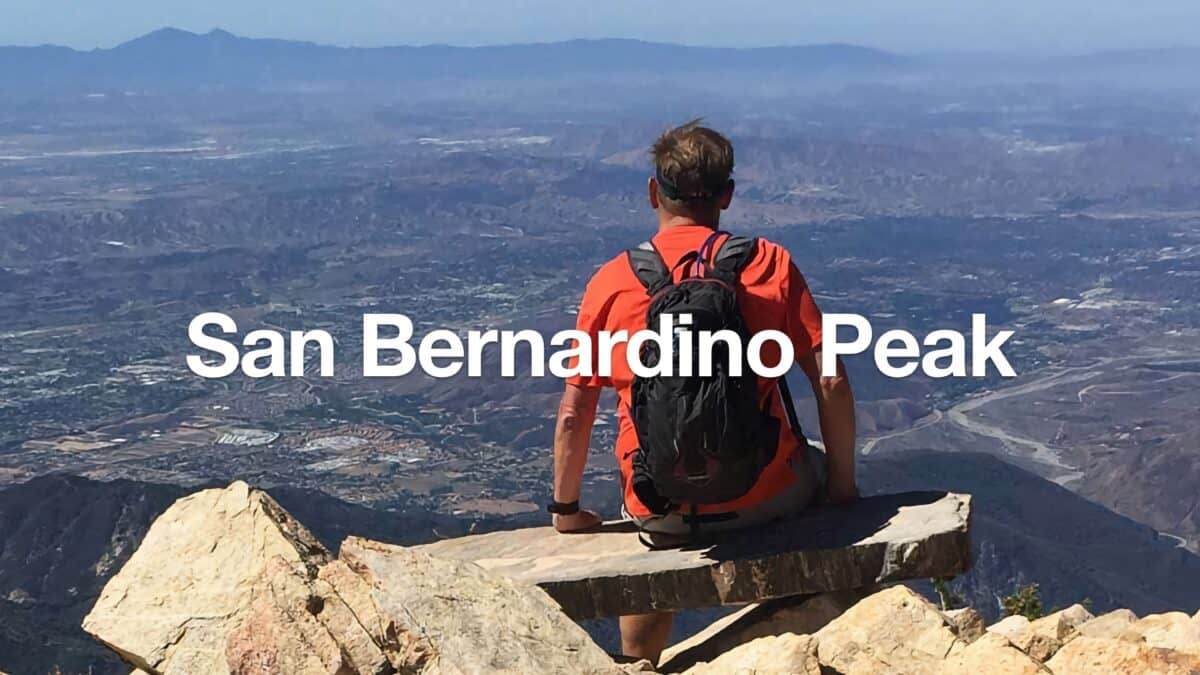 San Bernardino Peak Hike
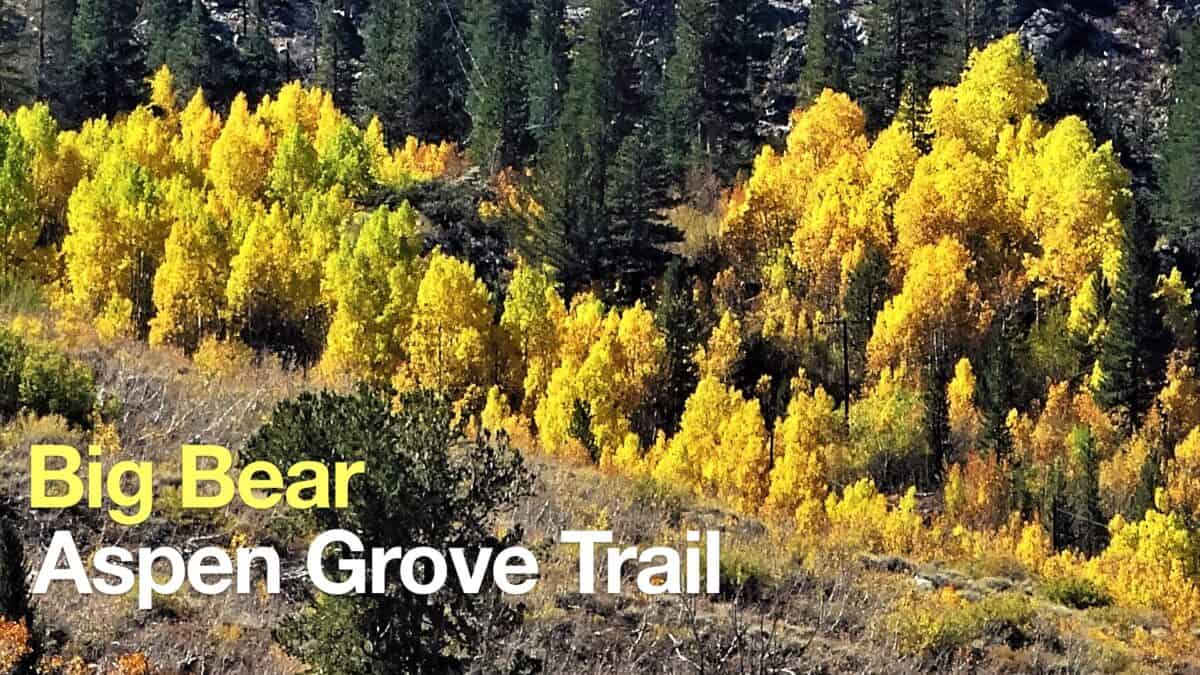 Big Bear Aspen Grove Trail Hike
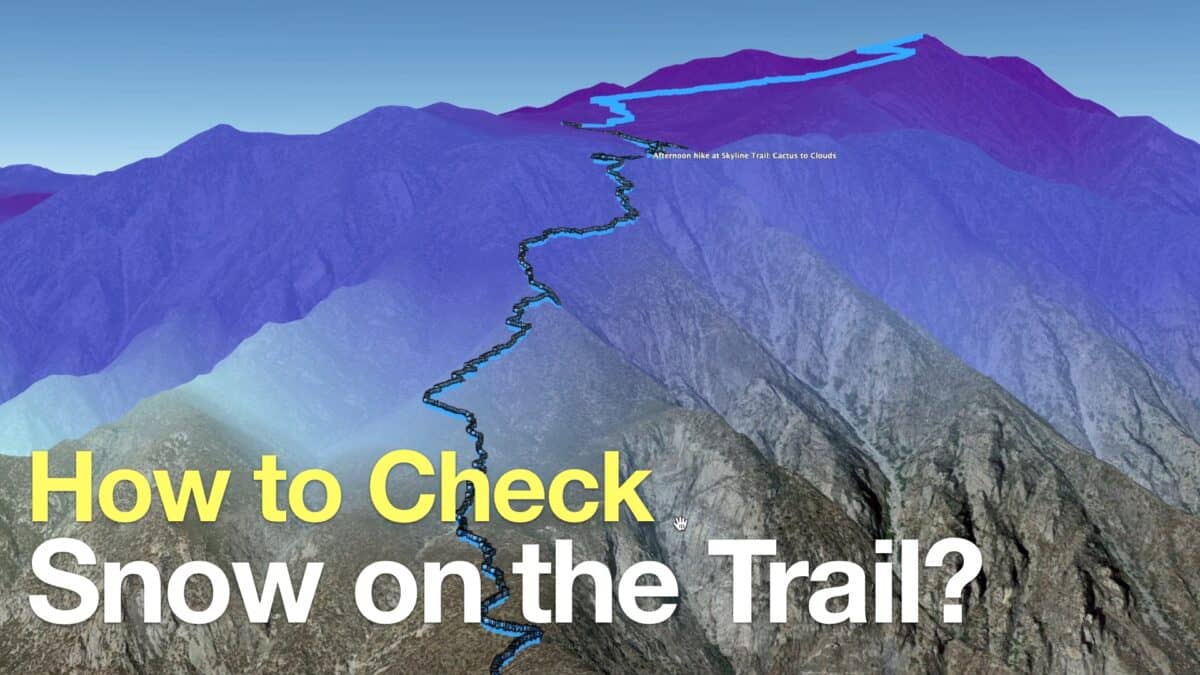 How to Check If There Is Snow On the Trail
 Pineknot Trail to Grand View Point (Big Bear)
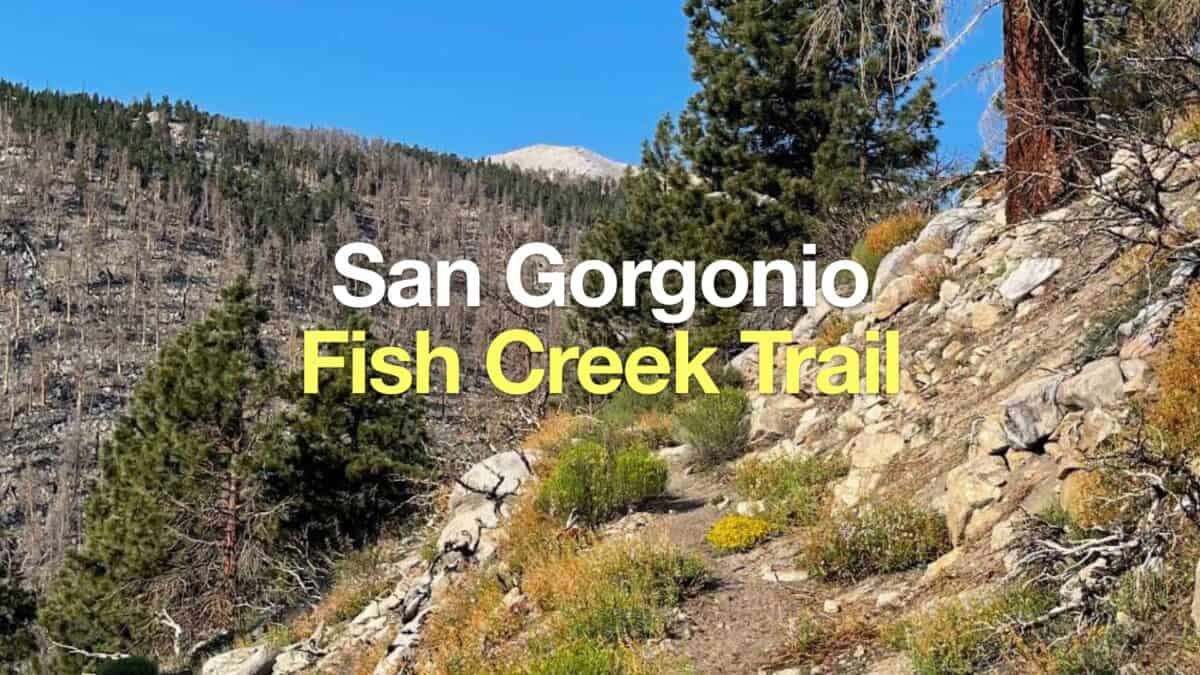 Fish Creek Trail to San Gorgonio Mountain
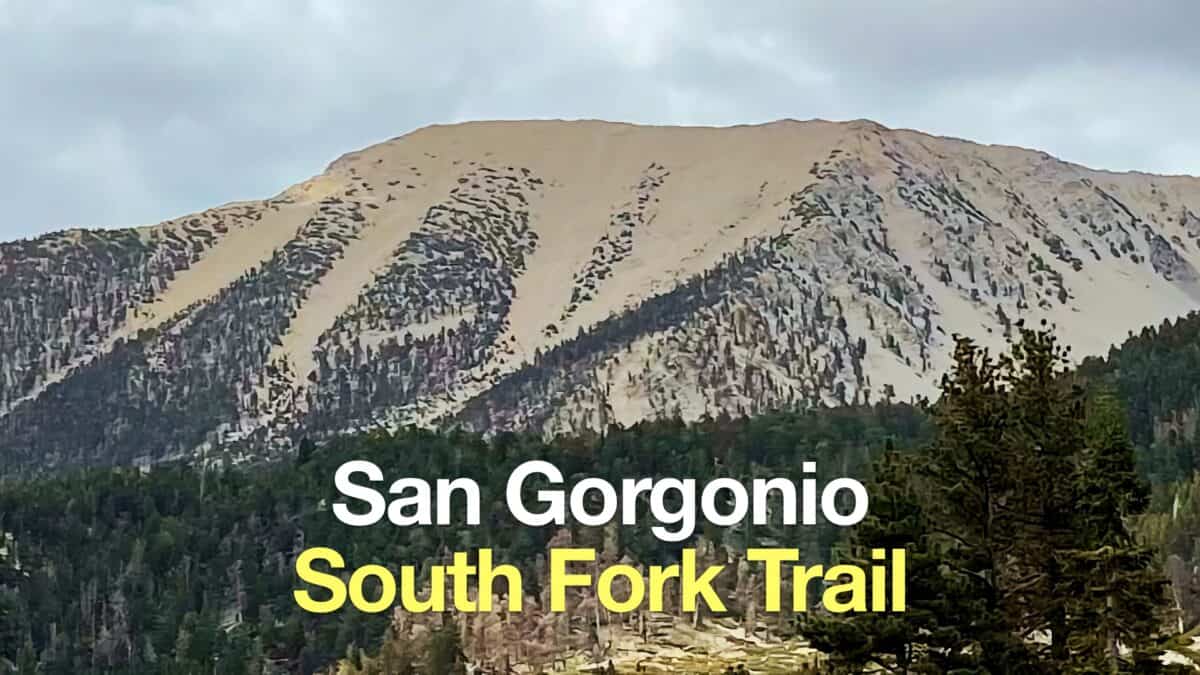 South Fork Trail to San Gorgonio Mountain
 San Gorgonio Hike on the Vivian Creek Trail
 Los Angeles Hikes
 Backpacking Trips
 LA Mountain Hikes
 San Bernardino National Forest Hiking Trails
 San Gorgonio Wilderness Hikes
 Sand to Snow National Monument Hikes
Popular Guides
 Best Hiking Gear 2024
 Hiking Boots or Shoes: Do I Really Need Hiking Boots?
 When to Hit SOS on inReach
This Guide Was Written by Cris Hazzard

Hi, I'm Cris Hazzard, aka Hiking Guy, a professional outdoors guide, hiking expert, and author based in Southern California. I created this website to share all the great hikes I do with everyone else out there. This site is different because it gives detailed directions that even the beginning hiker can follow. I also share what hiking gear works and doesn't so you don't waste money. I don't do sponsored or promoted content; I share only the gear recommendations, hikes, and tips that I would with my family and friends. If you like the website and YouTube channel, please support these free guides (I couldn't do it without folks like you!). You can stay up to date with my new guides by following me on YouTube, Instagram, or by subscribing to my monthly newsletter.