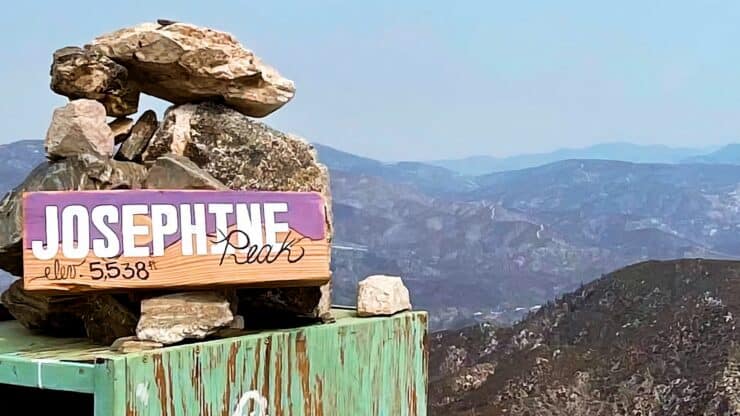
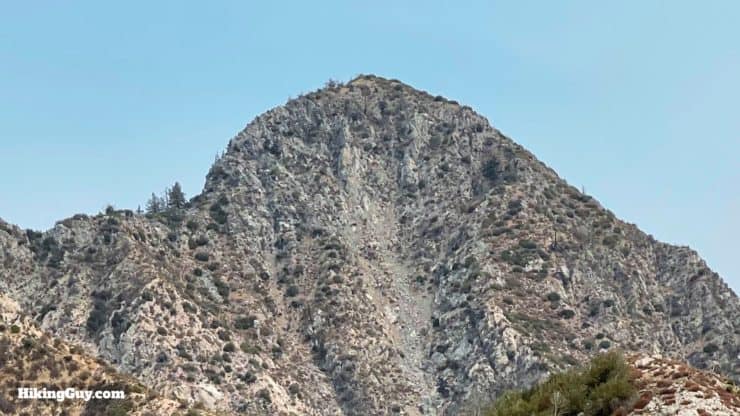
Standing prominently in the western San Gabriels, Josephine Peak offers a cool summit with sweeping views. There are a few ways to hike to the summit, and this guide covers my favorite route, which takes the (single track) Colby Canyon Trail (instead of the fire road). This is a great "off-the-beaten-path" hike where you never see crowds, making for a peaceful and pleasurable experience.
In this Guide:
Video and Turn-by-Turn Directions to Hike Josephine Peak
Note the yellowish tinge in the images of this guide. The air was covered in smoke from the 2021 KNP Complex in the Sequoia National Park, about 150 miles away.
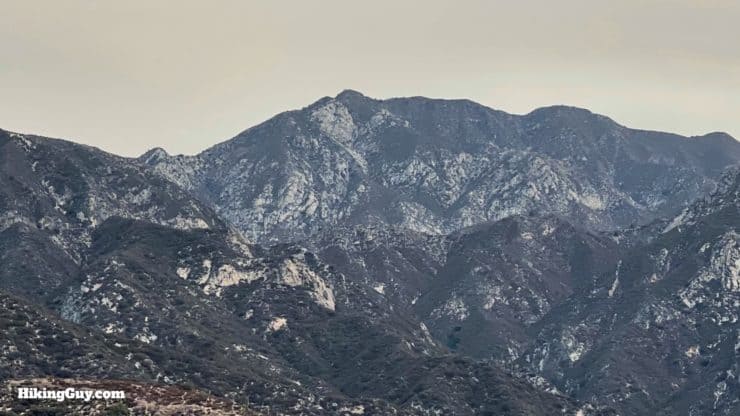
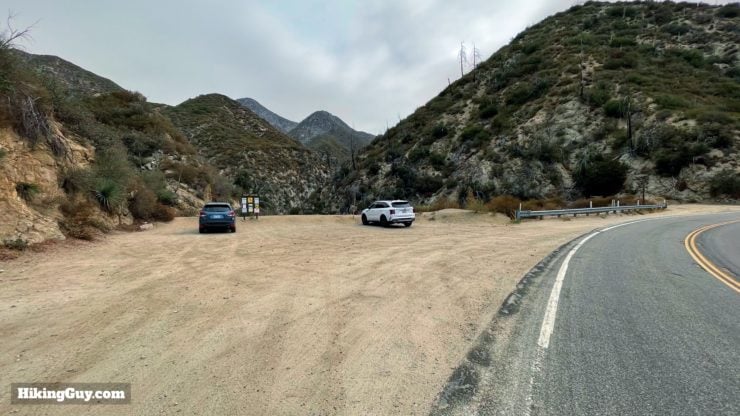
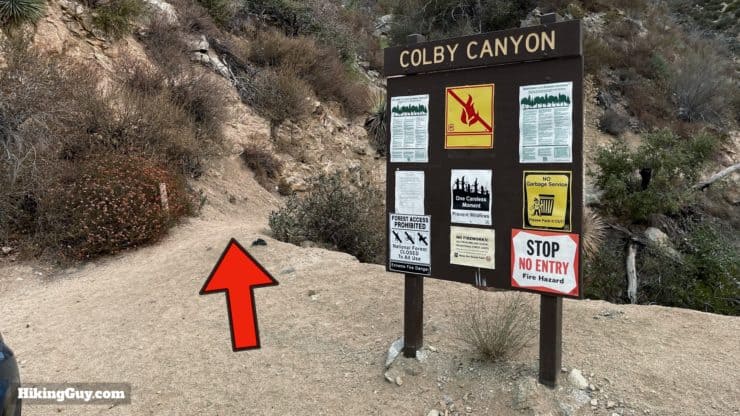
If you're driving from the western end of Angeles Crest Highway, you'll be able to see Josephine Peak as you drive up into the forest.The lot isn't massive, but I've never seen it full.There's a trailhead sign here to confirm you are in the correct spot. FYI no parking pass is needed here.
Gear For the Hike
This hike is mostly exposed, so make sure you bring sun protection and about 2L of water. In the winter there can be snow. And if you have trekking poles, I'd bring them for the climb and descent.
Gear That I Love Right Now
Nothing is sponsored or promoted, just the actual gear that I use.
There are some little ups and downs along the way, but overall you'll be climbing, with a nice flat section between Josephine Saddle and the intersection with the fire road.
3D Map
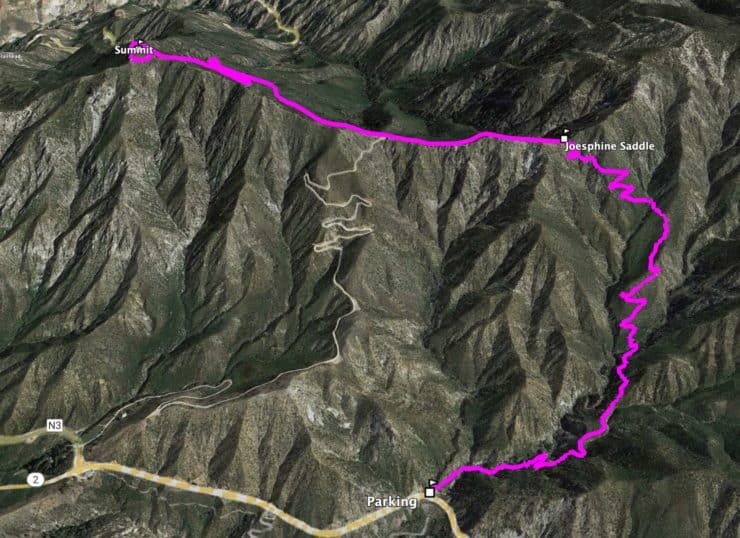
It's an out and back hike up Colby Canyon Trail to the summit. You can also see the fire road route on this map, which I don't think is as nice a route as Colby Canyon.
Josephine Peak Hike Directions
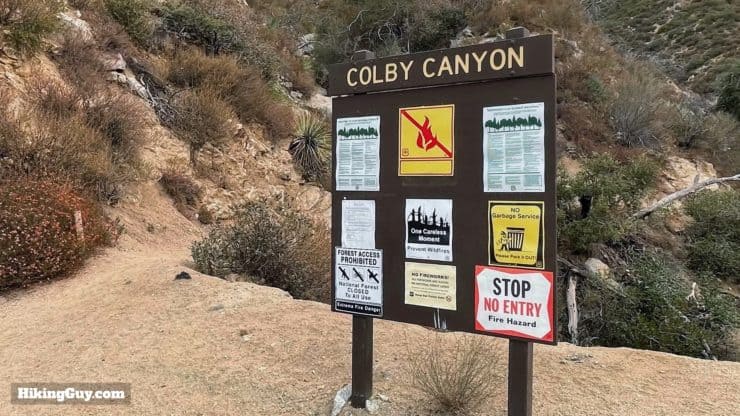
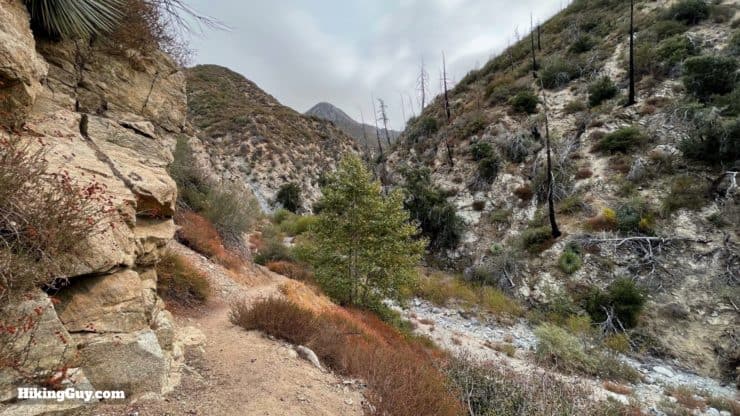
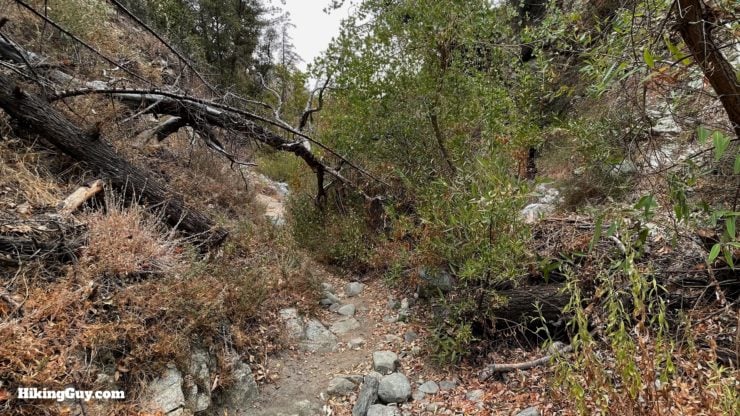
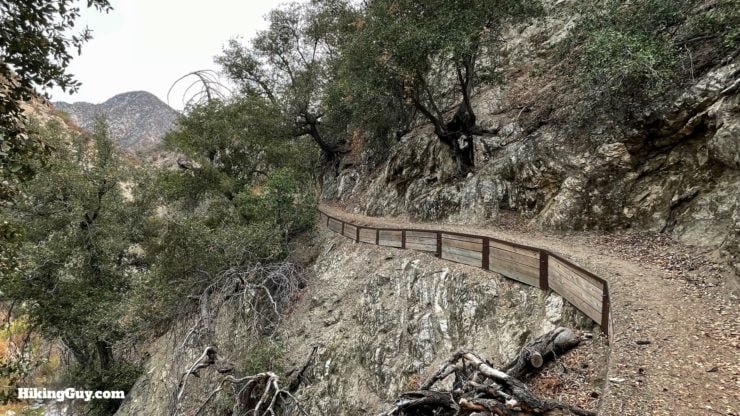
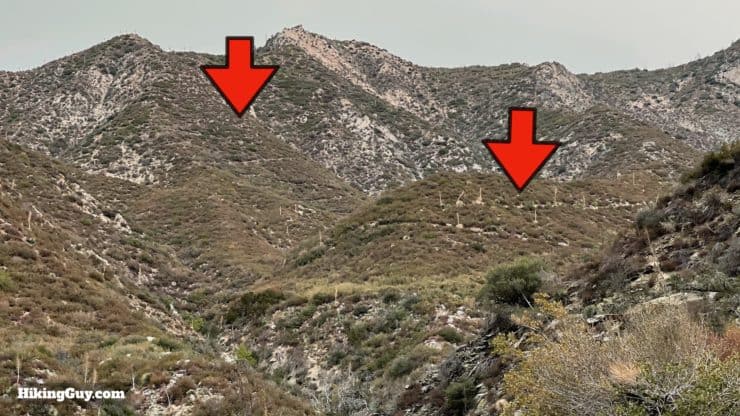
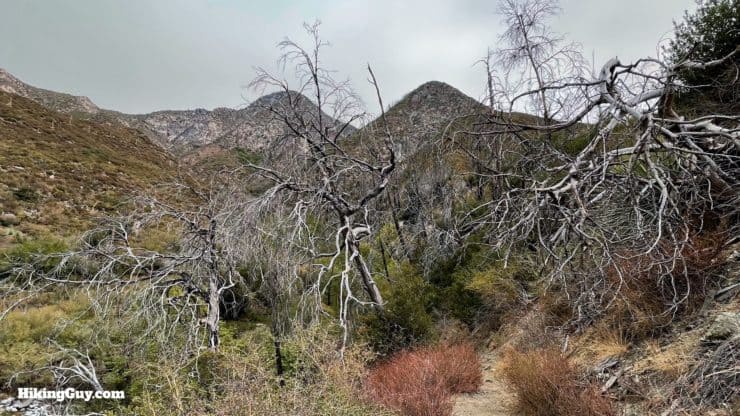
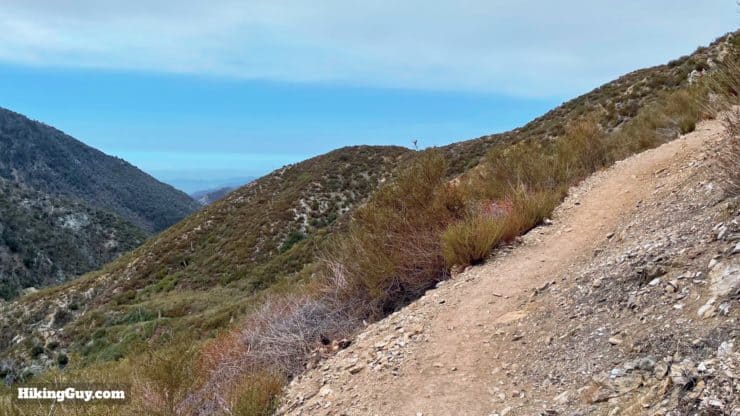
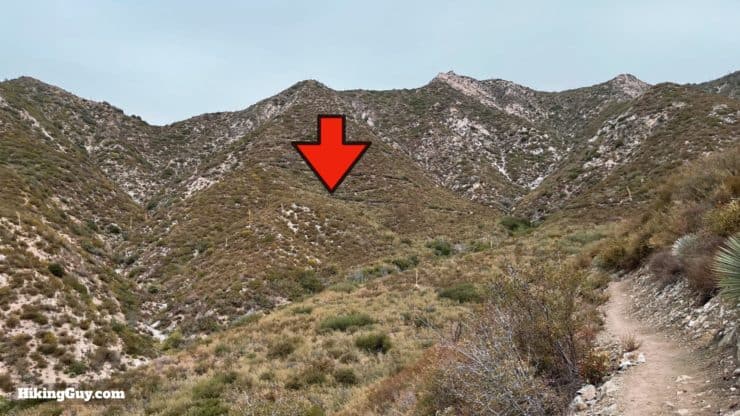
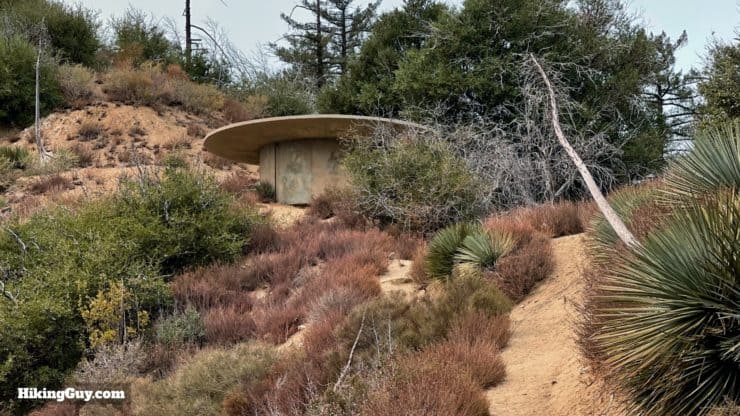
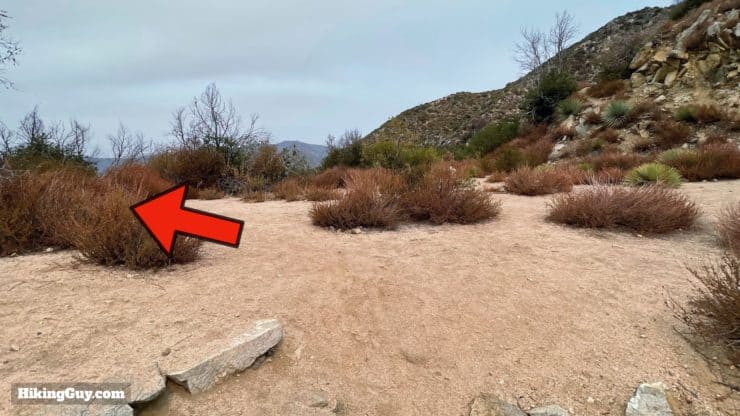
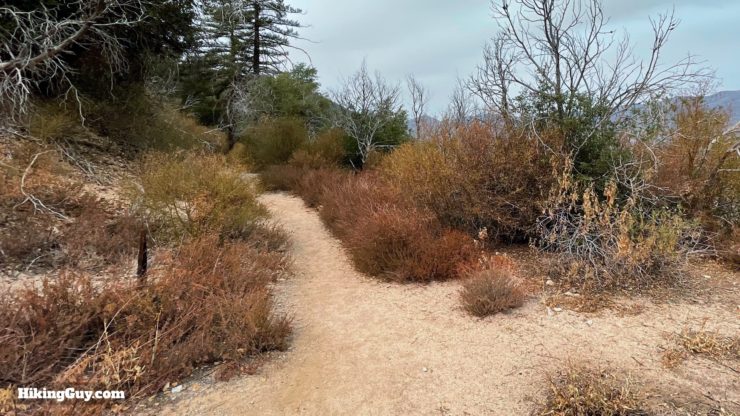
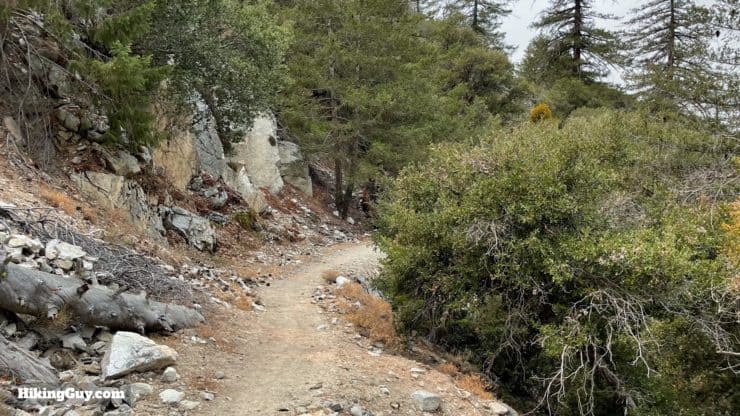
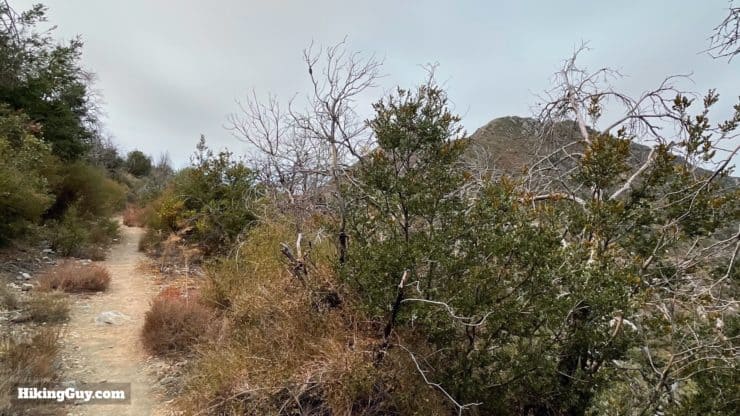
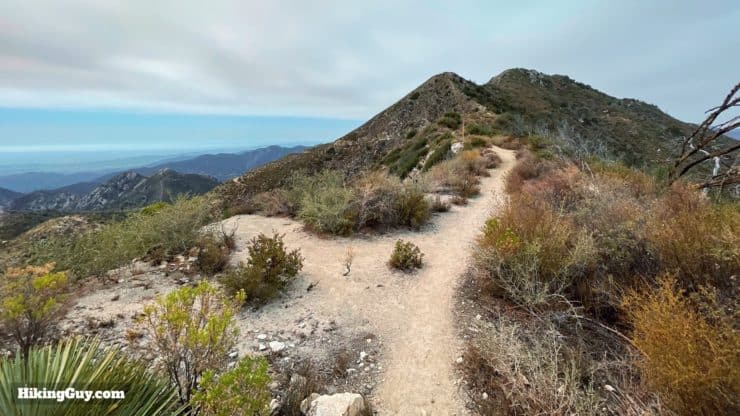
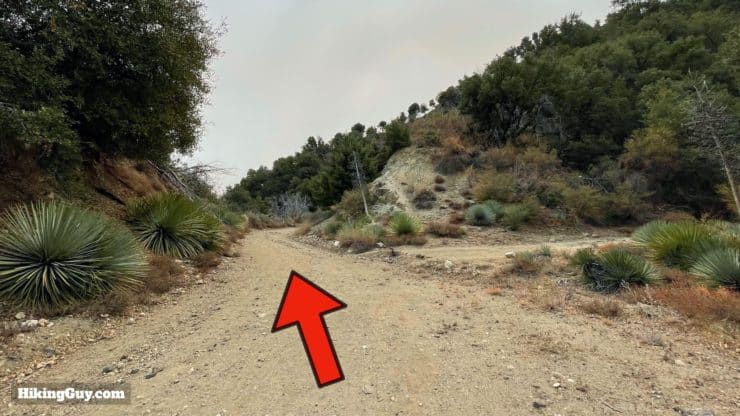
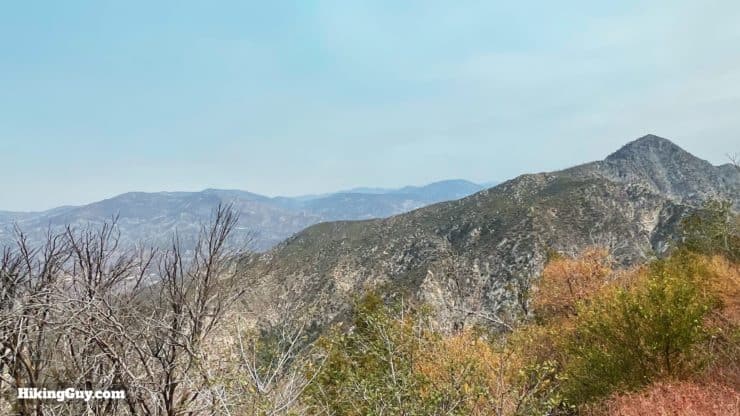
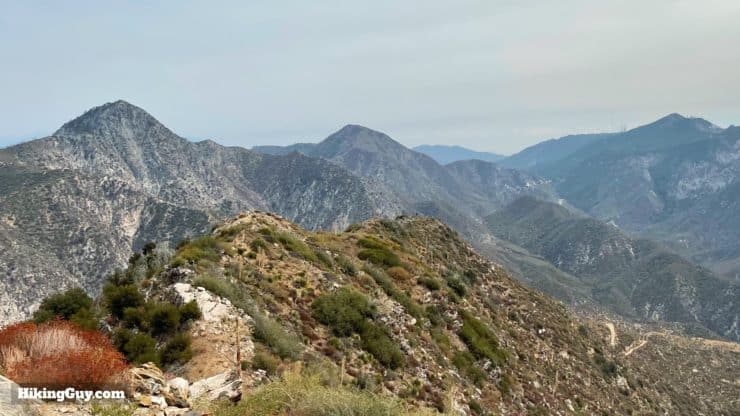
The trail starts just to the left of the Colby Canyon Trail board.At the start you'll have a short downhill into the canyon, crossing the (usually dry) creek a couple of times.And then you start to climb. At the beginning the climb is a little primitive.And then gets more graded and established as it continues.And soon you crest the ridge, which has sweeping views over Colby Canyon. In the distance you can see the trail zig-zagging its way up to Josephine Saddle.And as you continue, you'll be treated to unique views of Strawberry Peak (on the left), which actually does look like an upside down strawberry from here. Here you'll go down a small downhill with evidence of the 2009 Station Fire.Start climbing up the wide switchbacks, which offer nice views down to the mouth of Colby Canyon where you started.As you climb, you'll also start to see San Gabriel Peak (left) and Mt Disappointment (right) in the distance.There's some solid trail work here.After the first section of switchbacks, you have a short flat stretch before the next series, which you can see ahead.At the top of those last switchbacks you'll see a concrete cistern ahead. This is Josephine Saddle.When you get to Josephine Saddle, make the hard left.You'll hike from the saddle clearing onto a singletrack trail.This section is flat and pleasant as you follow the ridge.The views north into Angeles National Forest are spectacular.When you come around a bend you'll see Josephine Peak in front of you.You'll come to a little clearing on the left with great views south.
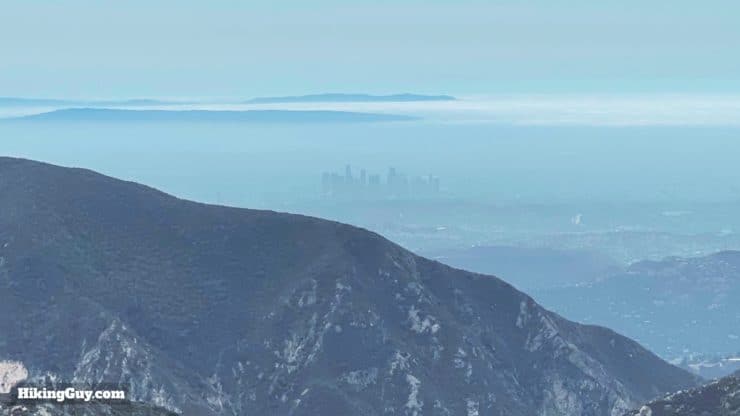
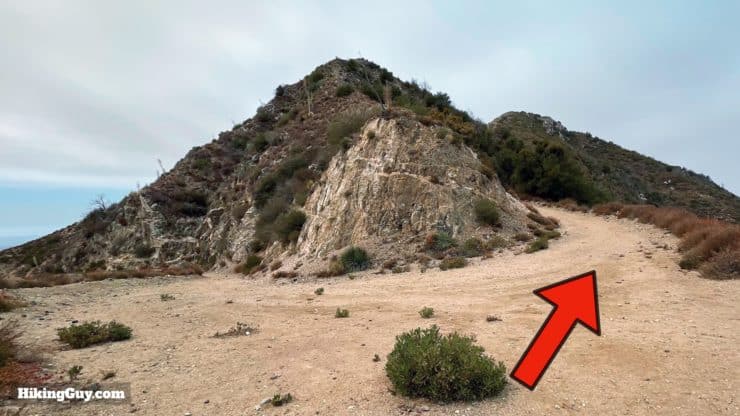
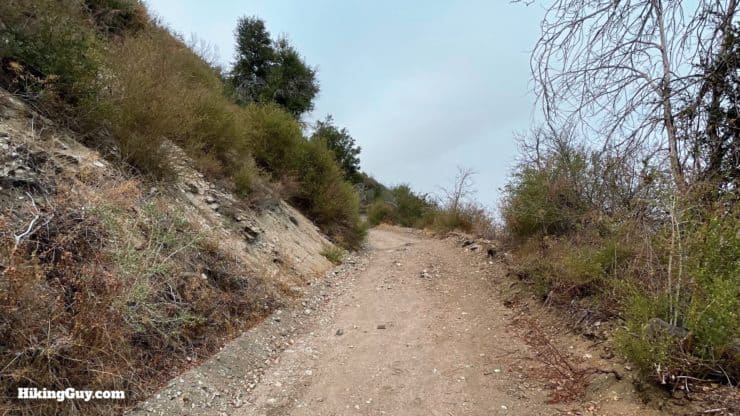
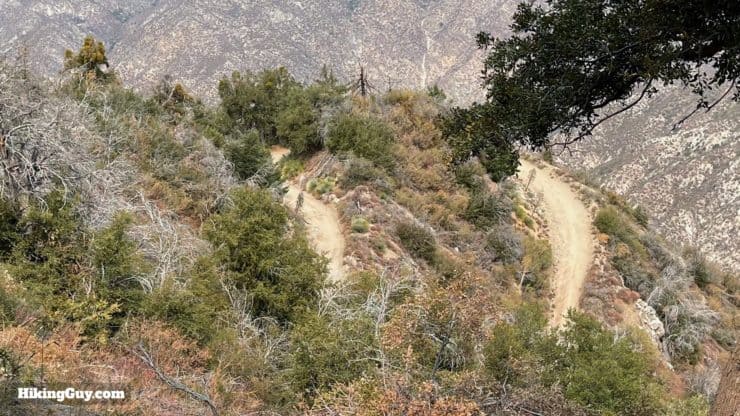
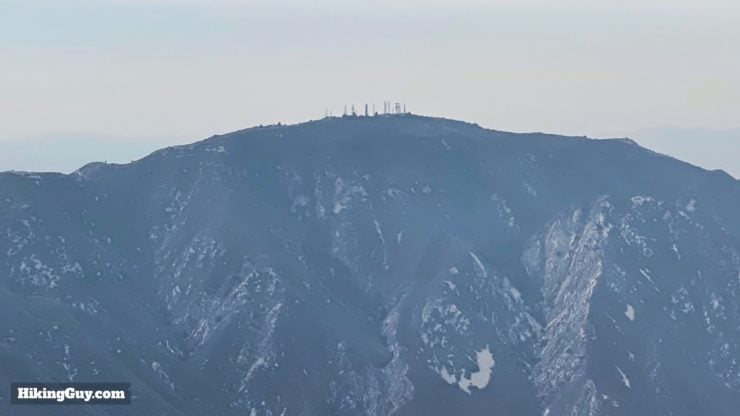
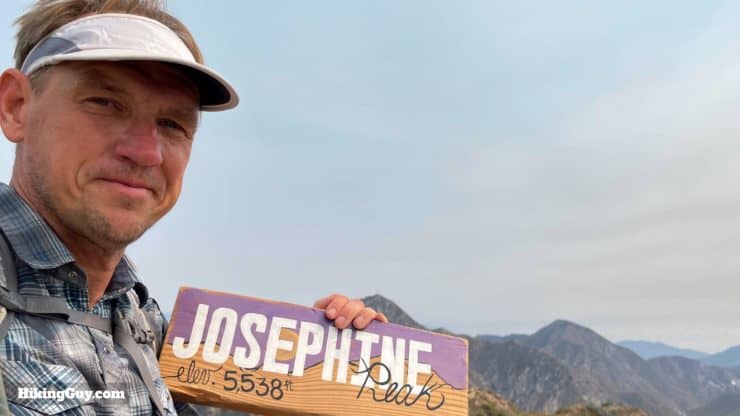
The last viewpoint offers great views toward downtown LA.Then you'll come to the intersection with Josephine Peak Road #2N64. Hike straight and continue uphill.The rest of the hike is on this dirt road, but it's not too bad and offers great views.After a switchback, stay on the main road and avoid small side trails.You'll start getting some spectacular views of Strawberry Peak (right).And you can see the trail you climbed up below you.As you wind around to the east, you can see Mt Lukens with all the radio towers on top.Hike past the helipad at the wide clearing.And after a narrow section of trail, you'll reach the summit!
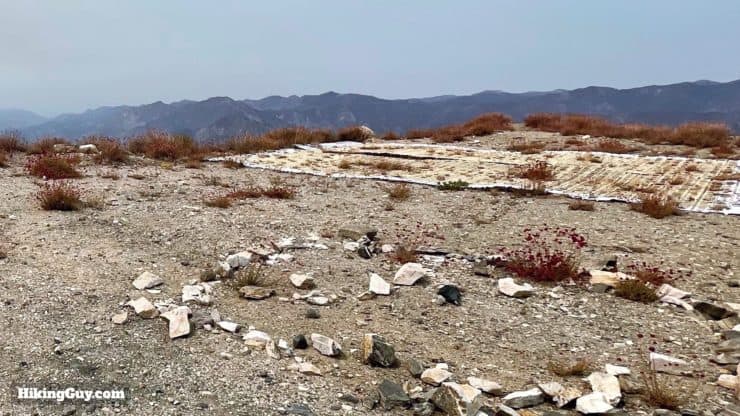
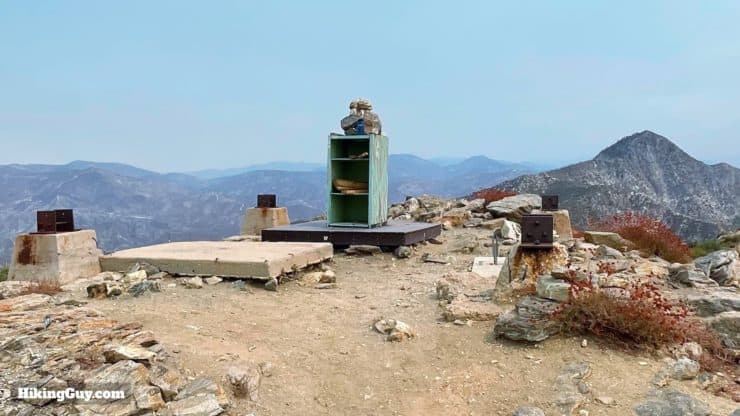
You'll notice the concrete blocks, which were once the base of a fire tower. The tower stood from 1938 to 1975 when it burned down in the Mill Fire. At that point many towers in Angeles NF were being dismantled and abandoned anyway because the smog was so bad.
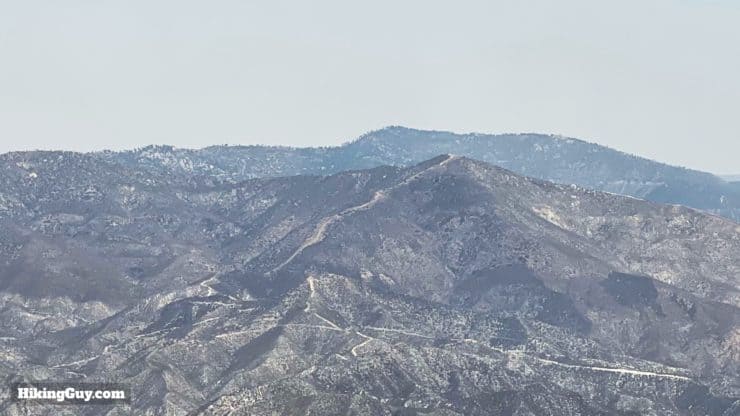
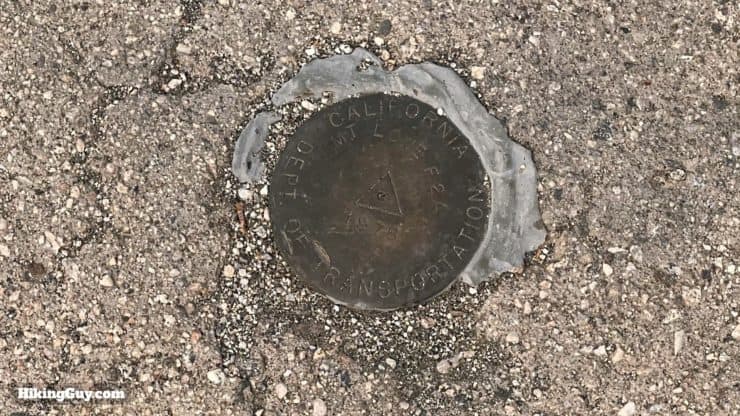
You'll have views over toward Mt Wilson (the peak with the antennas).And to the north you can see Mt Pacifico, about 10 miles away.And you also get the incredibly dramatic views of Strawberry Peak.There's also a USGS benchmark if that's your thing.Enjoy the summit, take your photos, and then just return the way you came up!
Need More Info?
Have a question about the guide or want to see what other people are saying/asking? View the Youtube comments for this video. Leave a comment and I will do my best to respond.
When planning, always check the park website and social media to make sure the trails are open. Similarly, check the weather and road conditions.


 Using the Apple Watch for Hiking
 Garmin Fenix 7 & Epix Review For Hikers
 How To Read a Topographic Map
 Garmin GPSMAP 67i Review
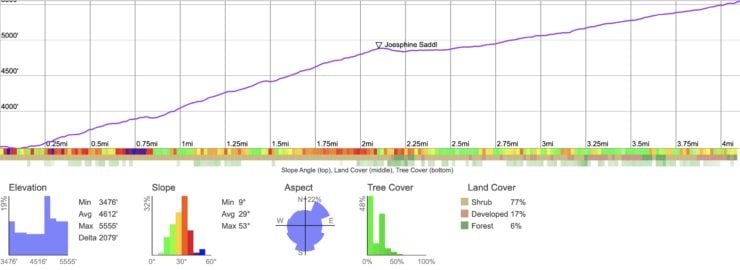


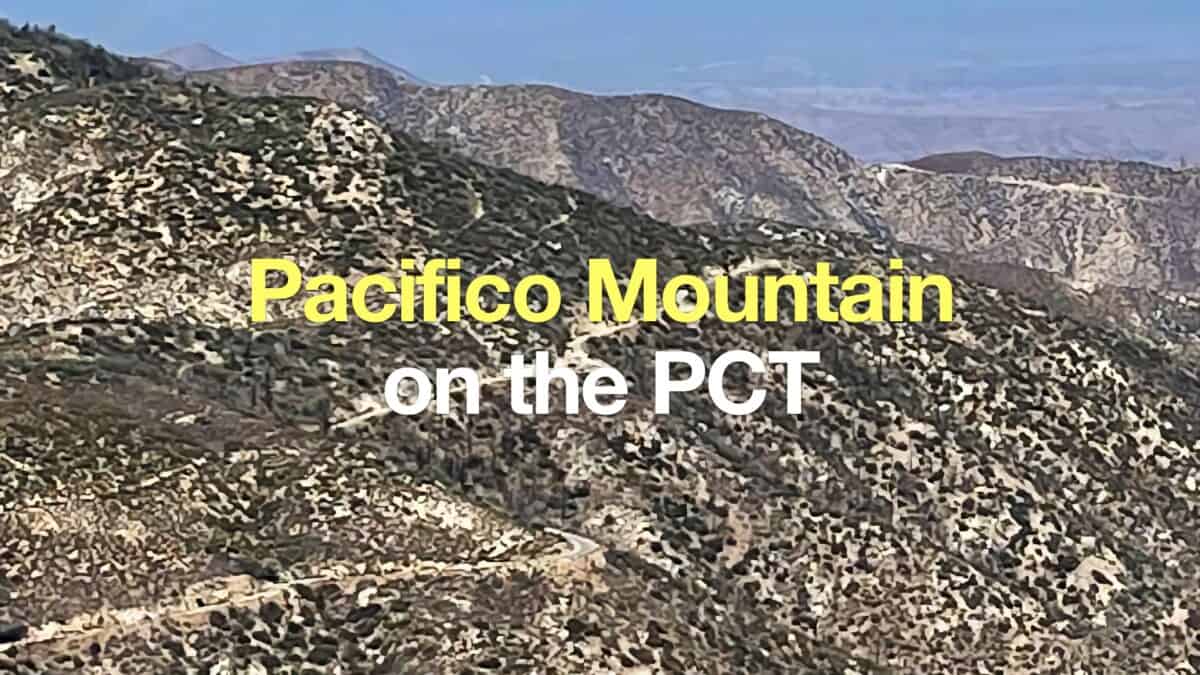 Hike Pacifico Mountain on the PCT
 Strawberry Peak Hike
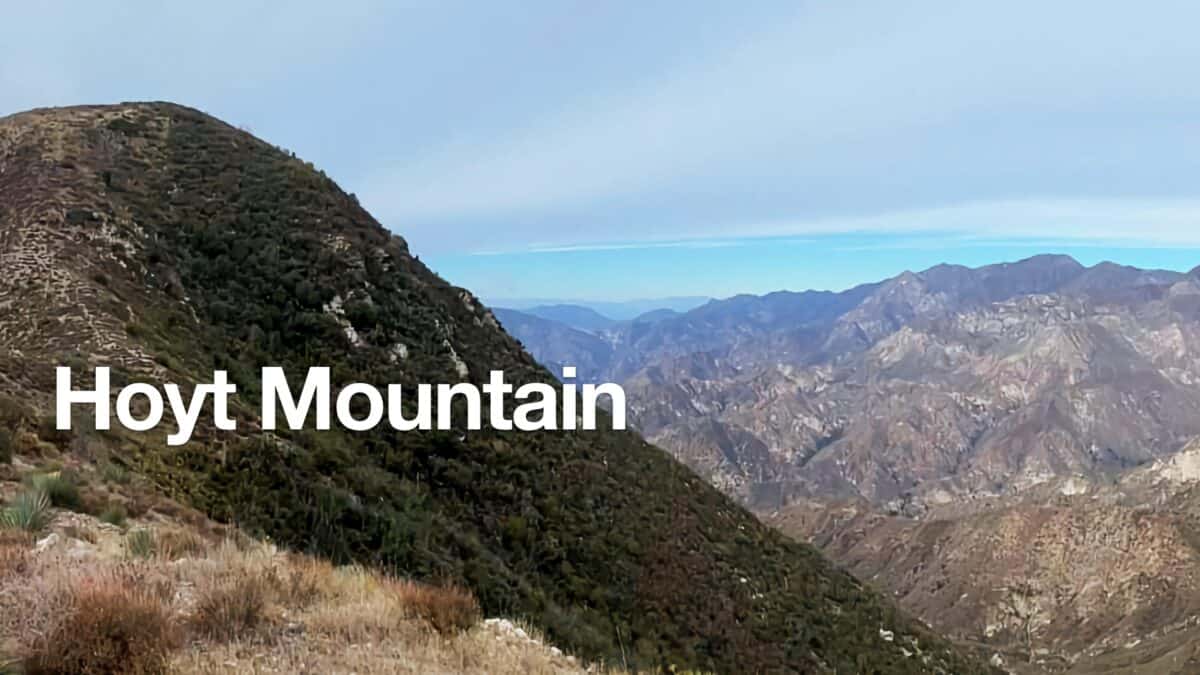 Hoyt Mountain Hike
 Condor Peak Trail
 Los Angeles Hikes
 Angeles National Forest Hikes
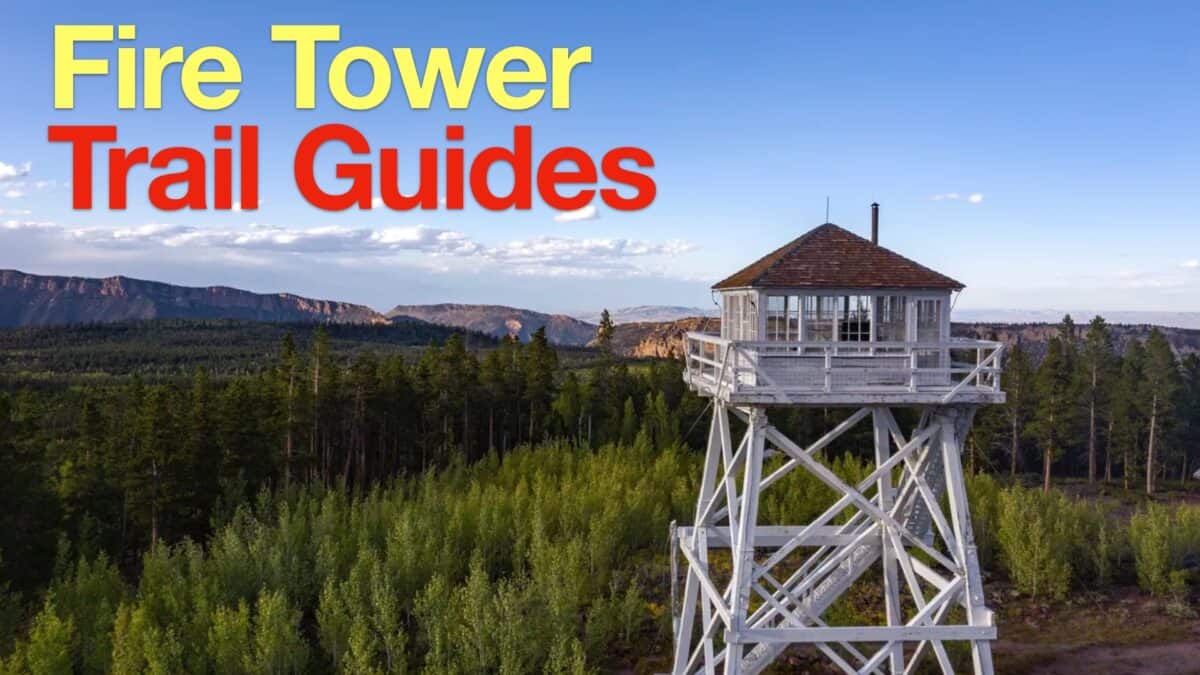 Fire Tower Hikes
 LA Mountain Hikes
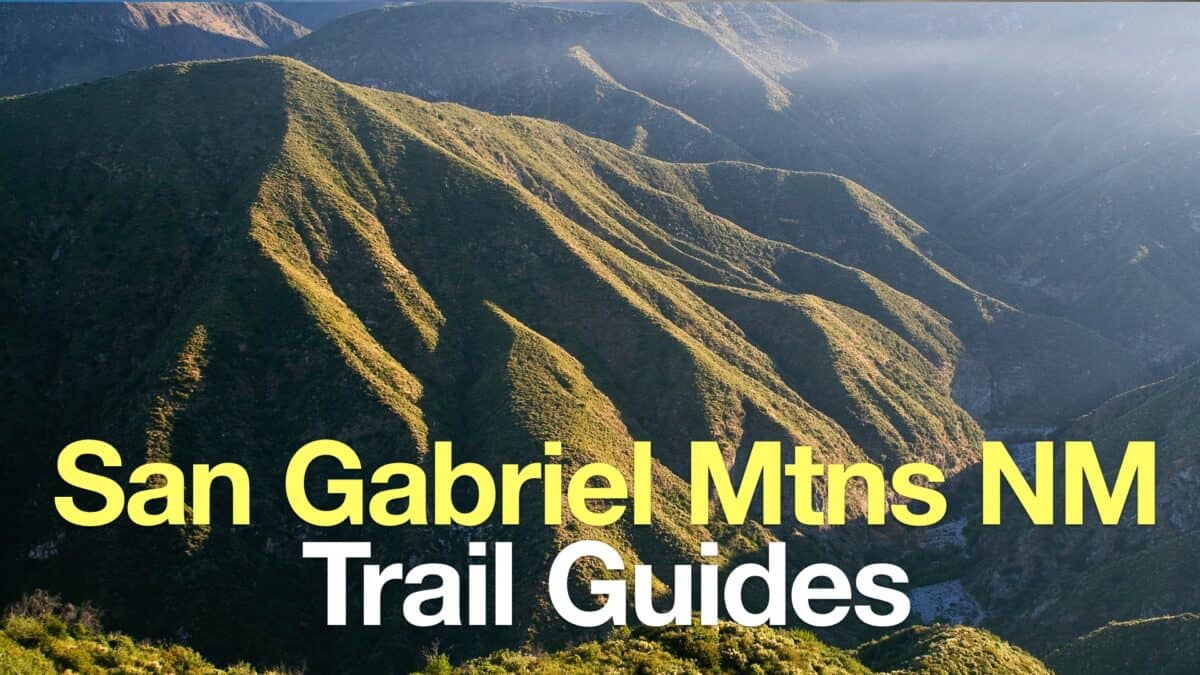 San Gabriel Mountains National Monument Hiking
 Sierra Club 100 Peaks
 Best Hiking Gear 2024
 Hiking Boots or Shoes: Do I Really Need Hiking Boots?
 When to Hit SOS on inReach