There's a lot to see in Malibu Creek State Park, and in this guide, I'll take you on a "best of" tour of the highlights in the park. First, we'll visit the famous Rock Pool, then escape the crowds at the scenic Century Lake dam, finally finishing with a canyon-side trail to the famous MASH television show set. It's an easy hike that's full of adventure and history.
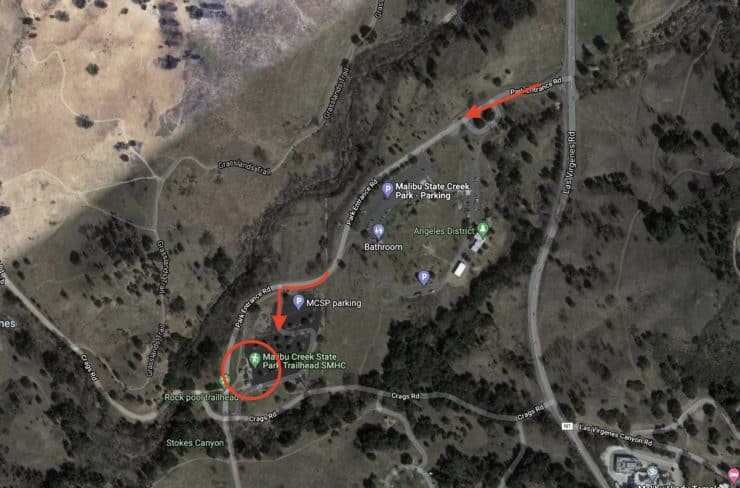
There are many trails and trailheads at Malibu Creek State Park, and this hike starts at the easy-to-find main parking lot and visitor area. Use this address to get to the parking lot: 1925 Las Virgenes Road, Calabasas, CA 91302
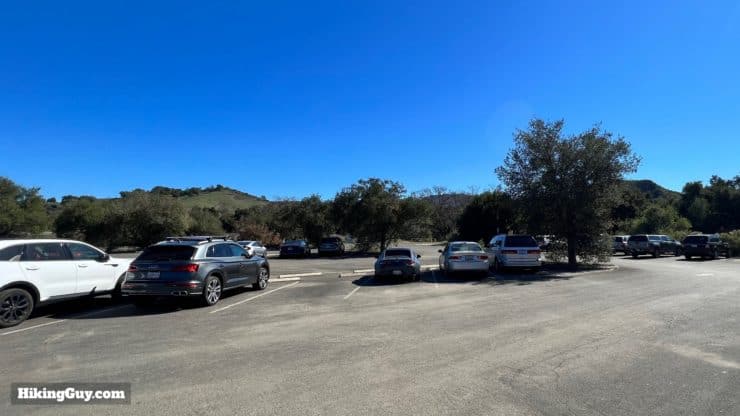
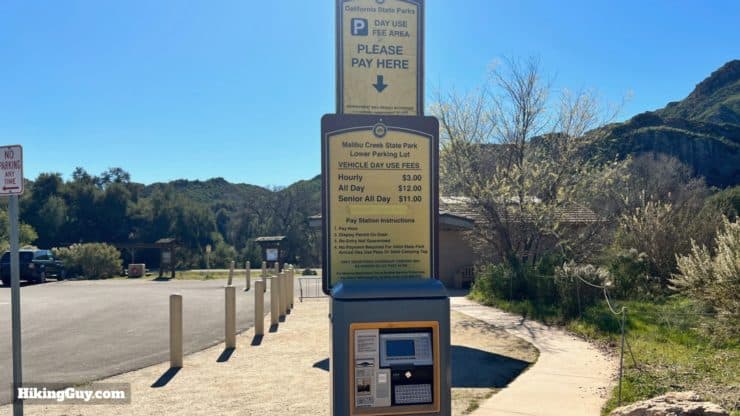
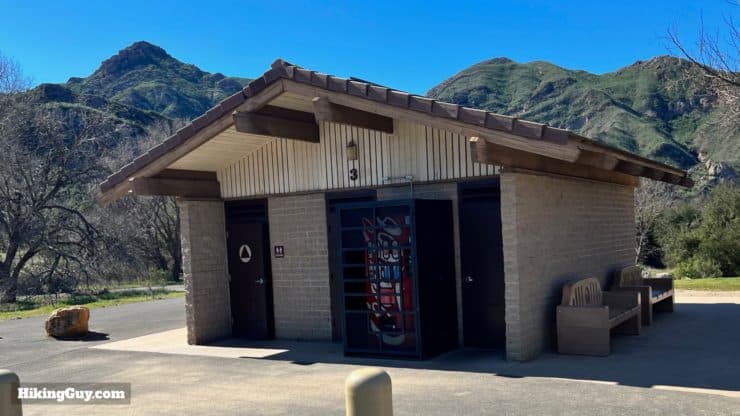
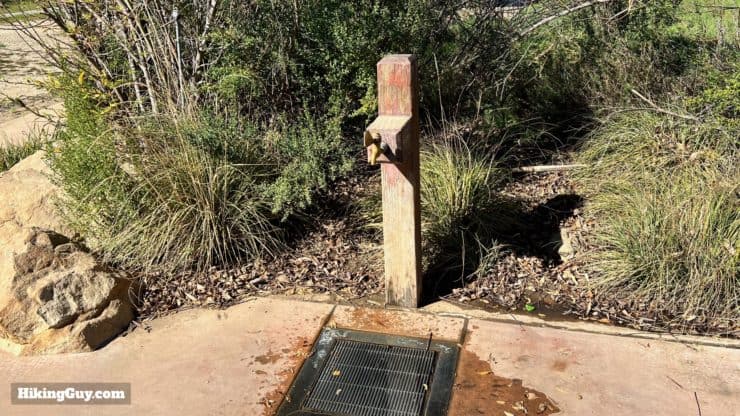
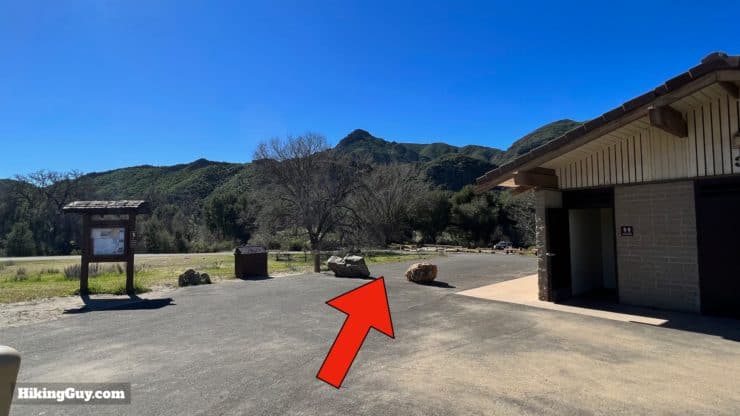
Set your GPS for the park address, the easiest way to get to the entrance.Once you pull into the entrance, drive a minute our so down to the big parking lot on your left.There are plenty of parking spots, even though this is a popular spot.This is a California State Park, and you have to pay to visit. Sometimes the entry fee will be collected at the booth when you first drive in, but if not, use the self-pay kiosks. Or buy an annual State Park pass to get into all the CA parks.There are bathrooms by the trailhead.As well as a water fill.
Gear For the Hike
This is a tame hike, and you can get away with fitness clothes or light hiking gear. There are some water crossings, but you shouldn't have to get wet. Having shoes you don't mind getting wet is wise, just in case. It can also get brutally hot here; bring at least 1L of water for this hike.
Gear That I Love Right Now
Nothing is sponsored or promoted, just the actual gear that I use.
This is a little bit deceiving because it looks like there's a mountain to climb, but the uphill is only 160 feet. It's a flat hike aside from the small bump in the middle. On the way back, you do it in reverse.
3D Map
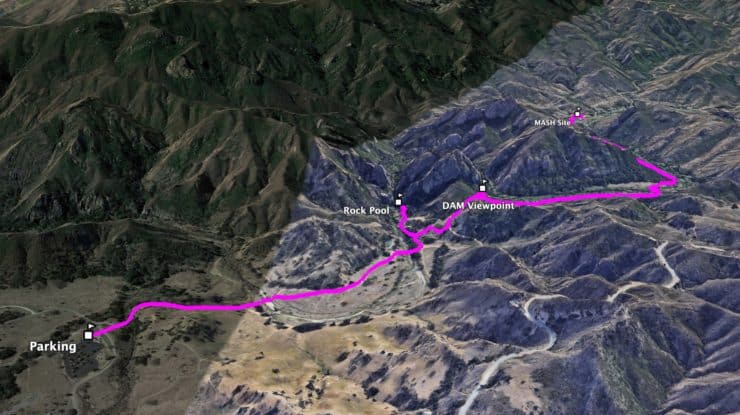
The hike is an out and back route, starting on the left on this map. The first stop is the Rock Pool, then the dam viewpoint on Century Lake, and then we wind around into Triunfo Canyon where the MASH site is.
Hike Brief
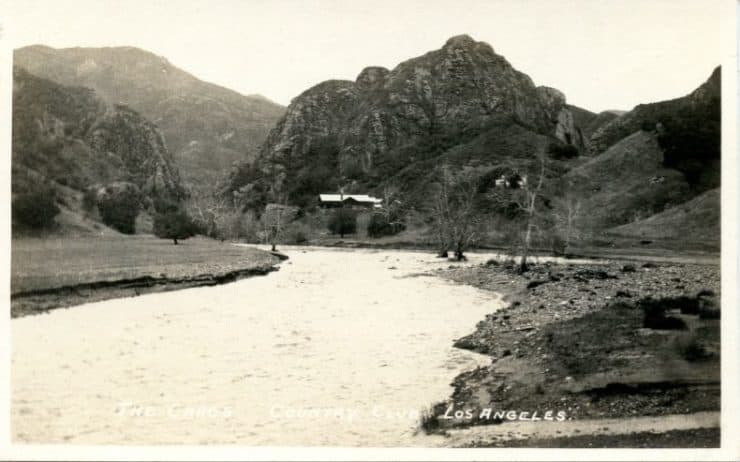
When you do the hike, you'll recognize this view of the gorge that Malibu Creek travels through, which looks much the same as it does in this photo from 1911. The building seen in this photo is the Bavarian alpine-style lodge at Crags Country Club, a popular spot for wealthy people who like to hunt. The Great Depression and a lack of interest brought an end to Crags Country Club, and it closed in 1936. The lodge is no longer there. Photo Eric Wienberg Collection
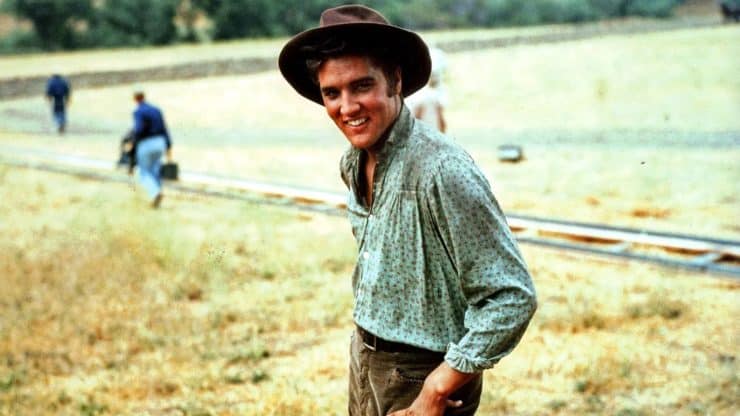
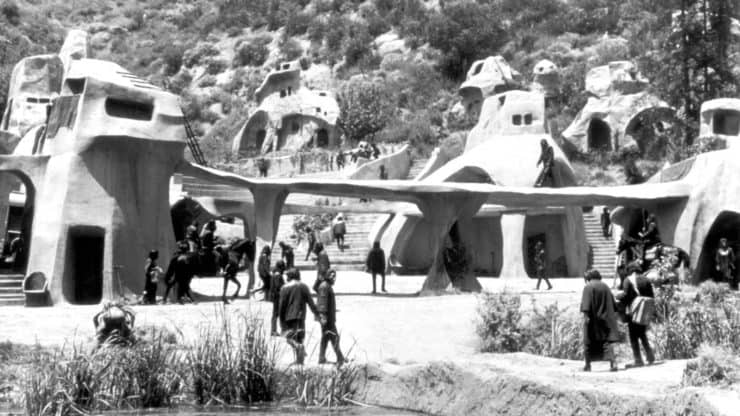
In 1946 20th Century Fox Studio bought the old country club to create a "shooting ranch" location to film scenes in the wild. And the area you will hike through has been a backdrop in hundreds of old movies and television shows that you've probably never seen, and maybe some that you have. But lots of big movie stars shot here, including Cary Grant, Marlon Brando (aka the Godfather), and even Elvis Presley. Here's Elvis during the shooting of Love Me Tender here at the park. Photo Marc Wanamaker/Bison Archives
We'll end at the MASH outdoor set, which has some old vehicles and structures, as well as great interpretive displays. For you young folks, MASH was a popular TV show from the 1970s based on a popular movie based on a popular book about the Korean war. It's worth watching the intro to the TV show featuring the peaks and valleys on this hike. The video is also fun to check out after your hike. And according to an insider, if you watch the show, you can tell the scenes that were shot in the park because the actors will be squinting from the sun.
The state bought the area and opened the park in 1976, but movies and shows continued to be shot here over the years. These days less productions are shot in the park because so many people can easily recognize the distinctive peaks here, therefore knowing that the location is not where it's supposed be.
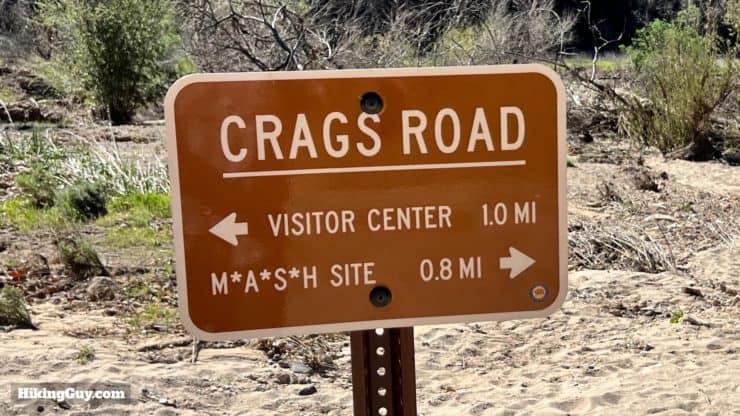
Rock Pools & MASH Site Hike Directions
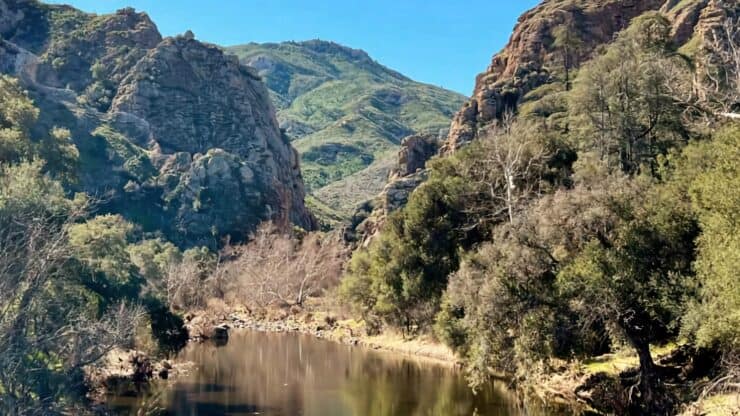
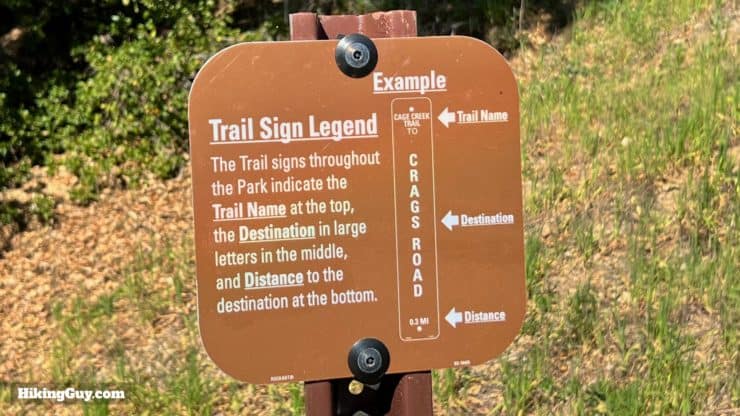
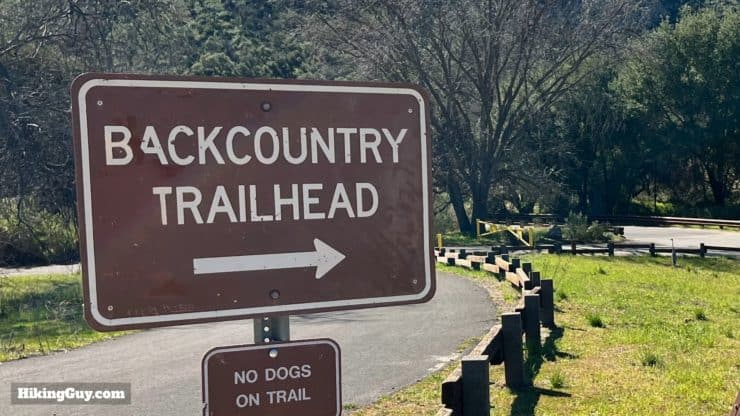
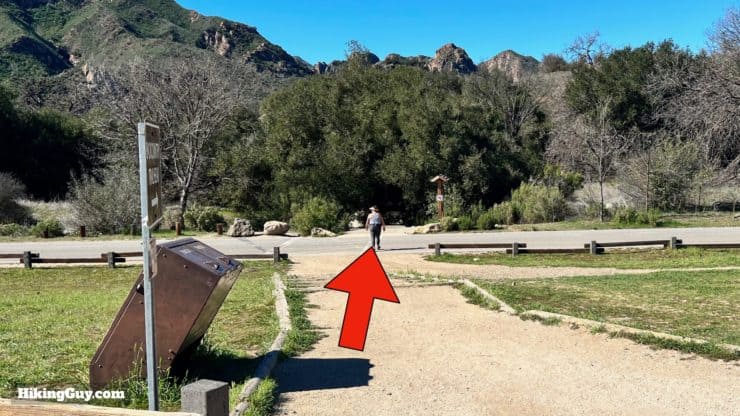
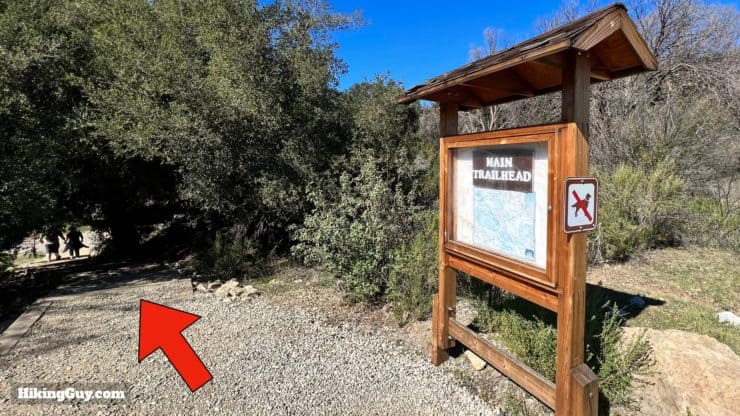
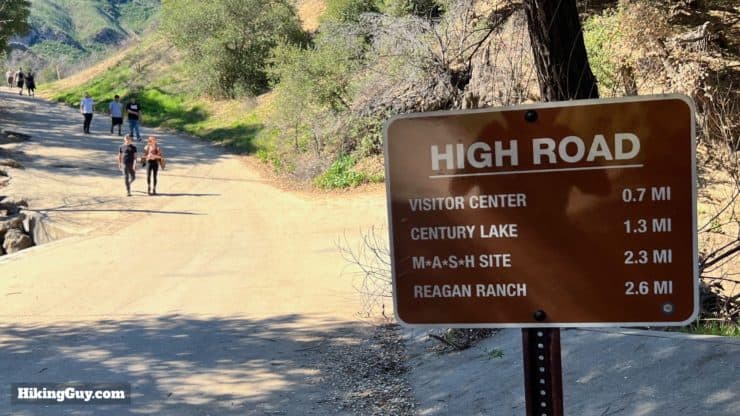
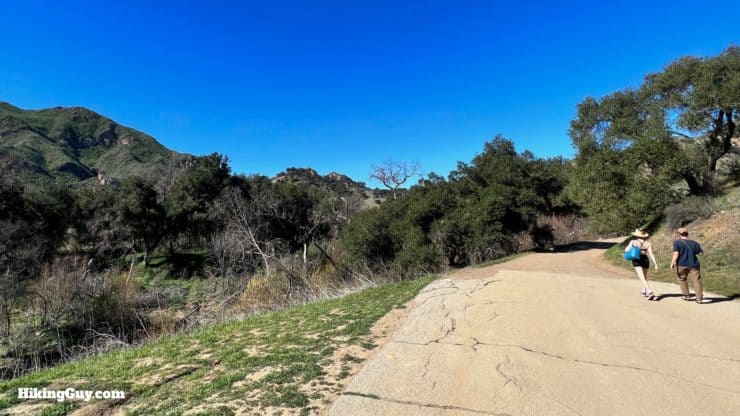
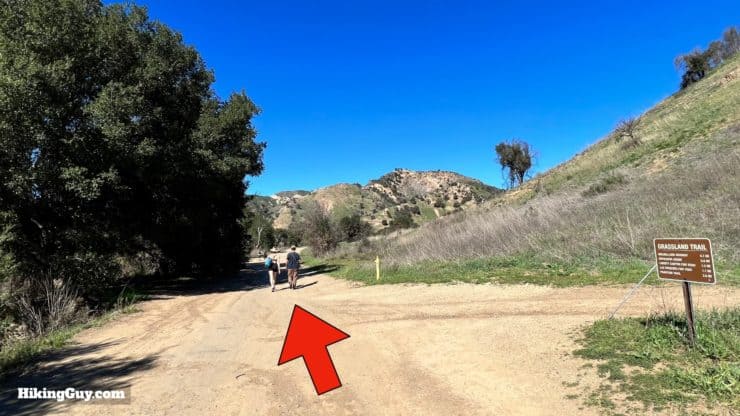
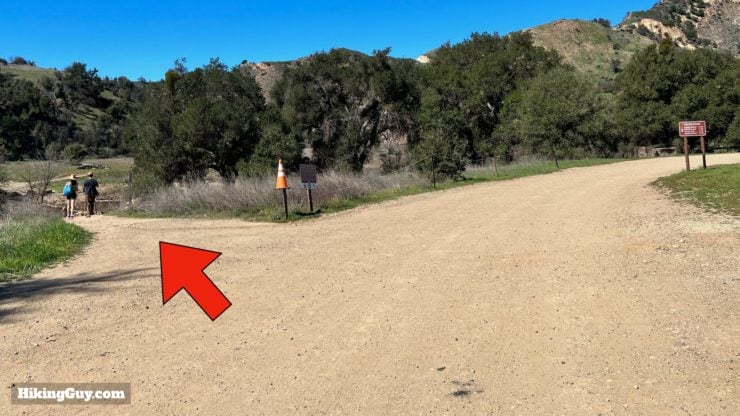
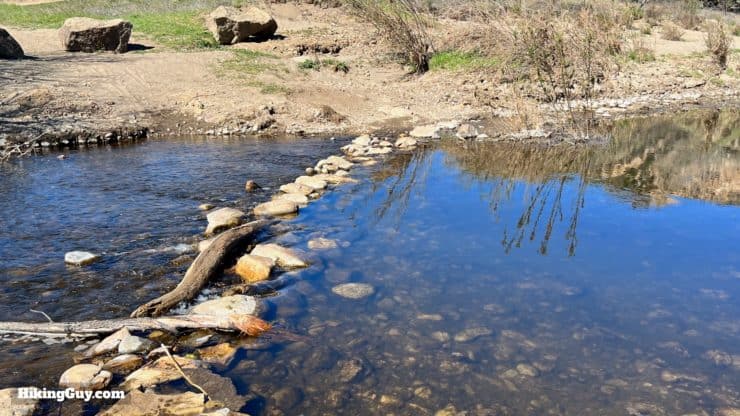
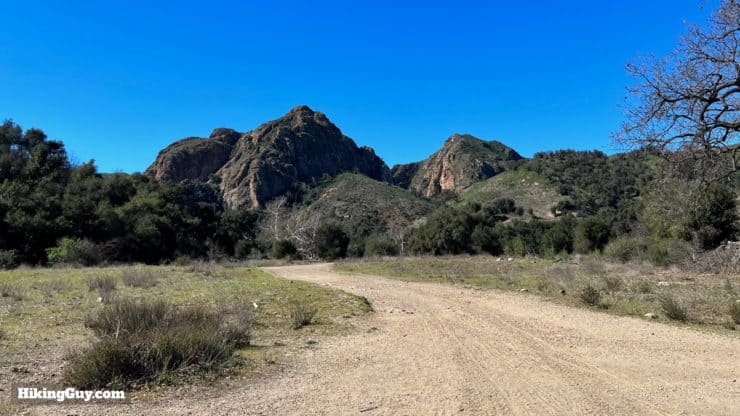
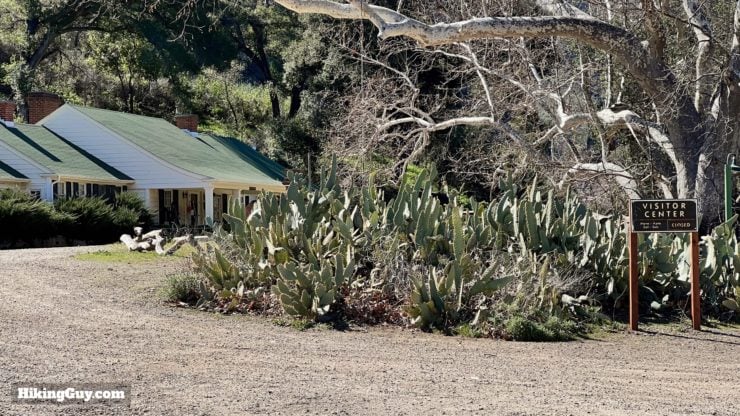
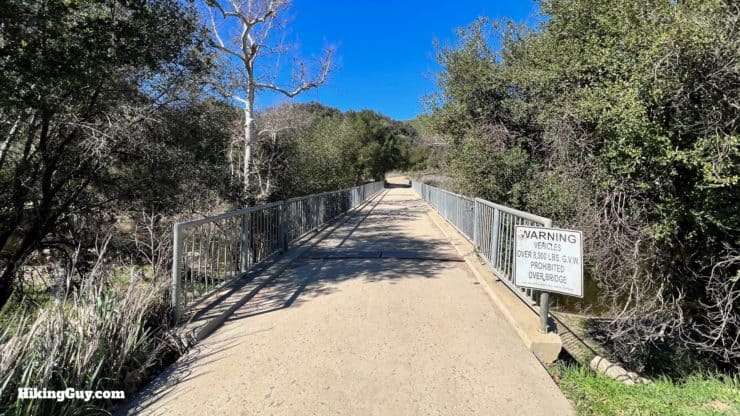
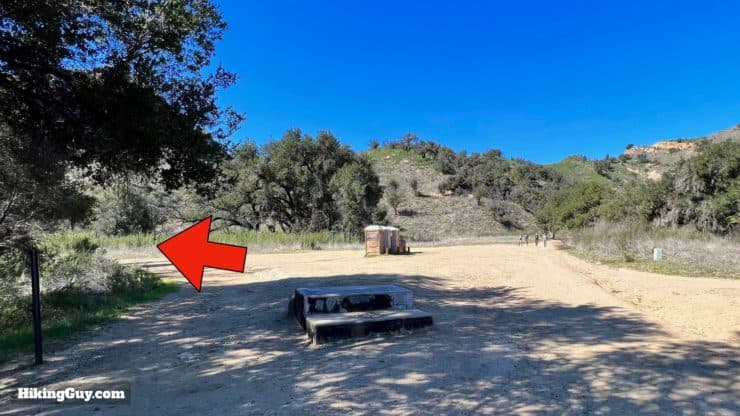
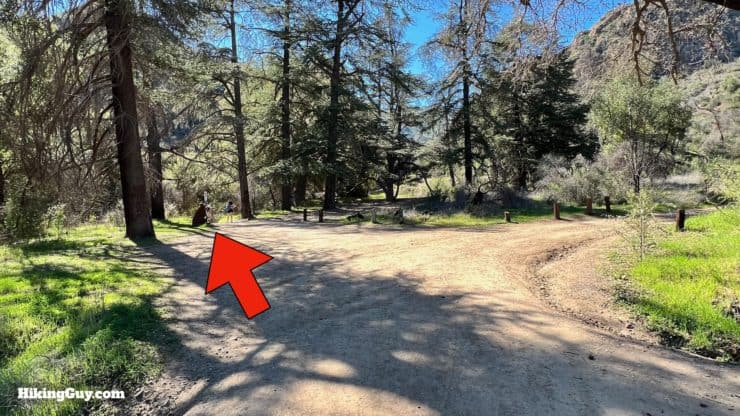
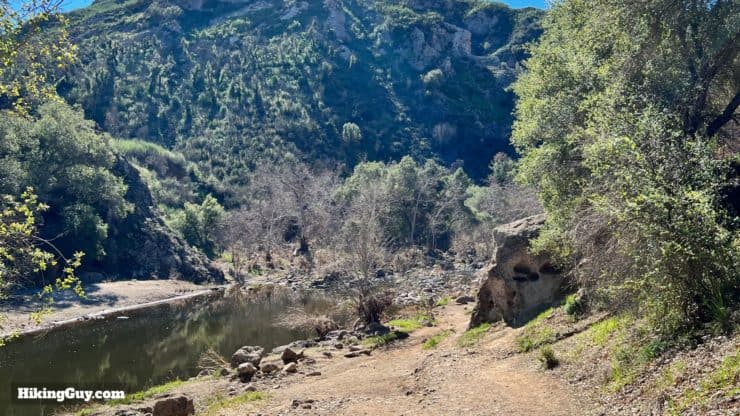
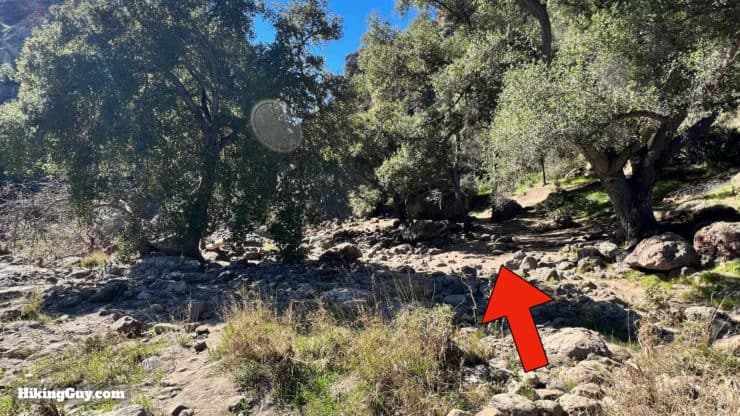
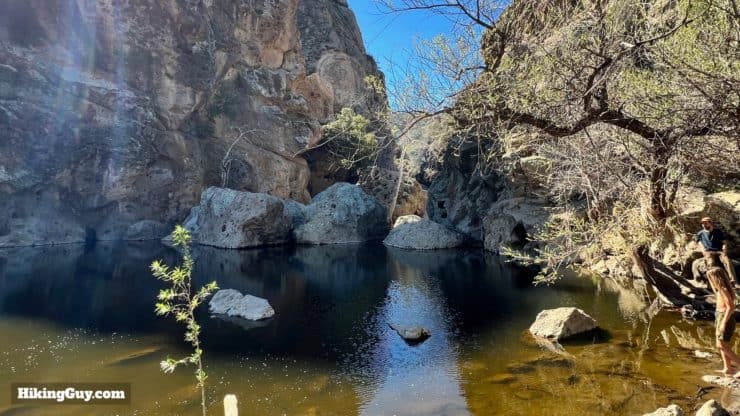
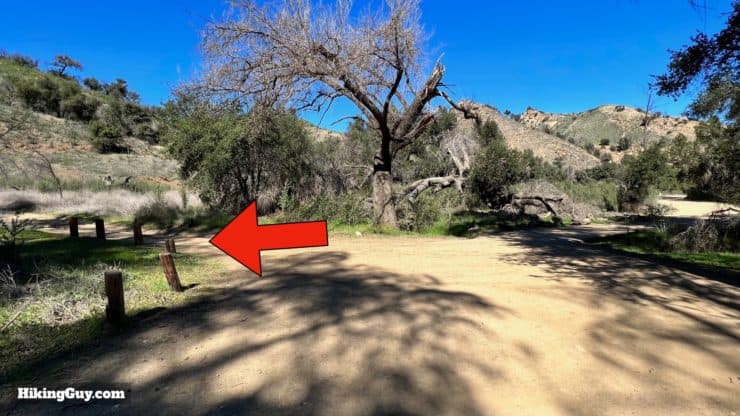
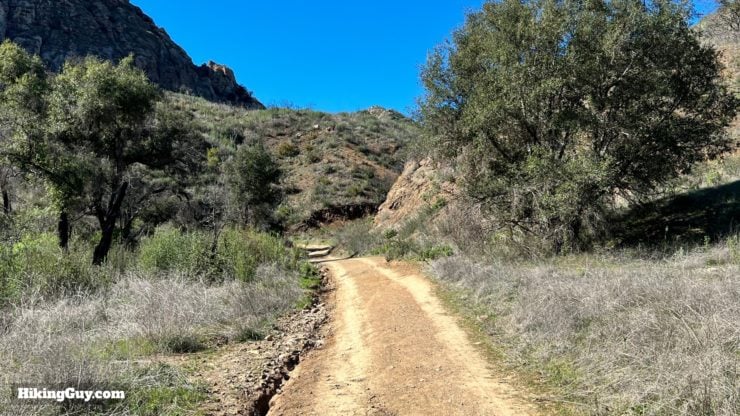
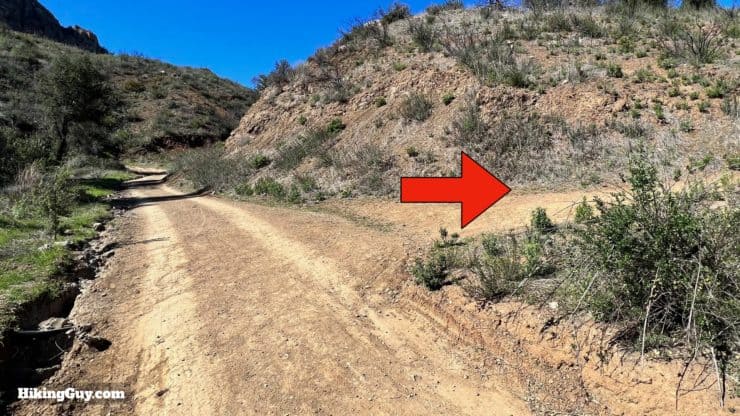
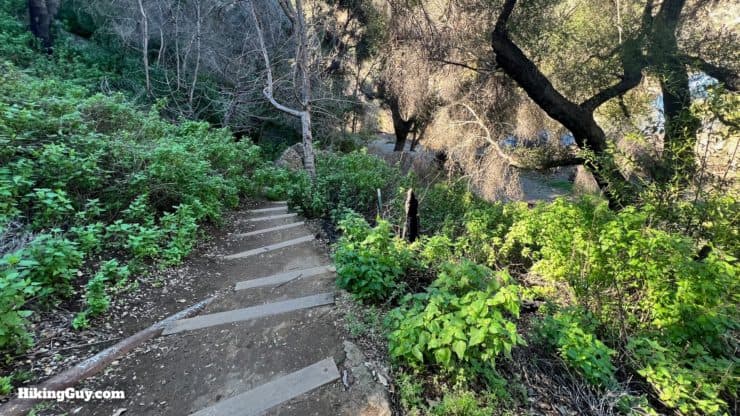
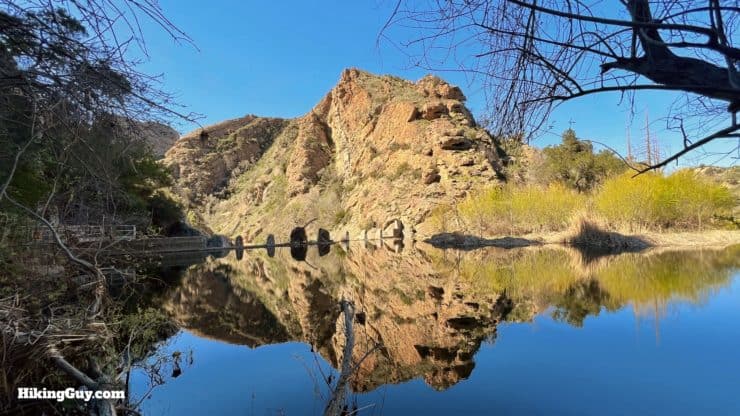
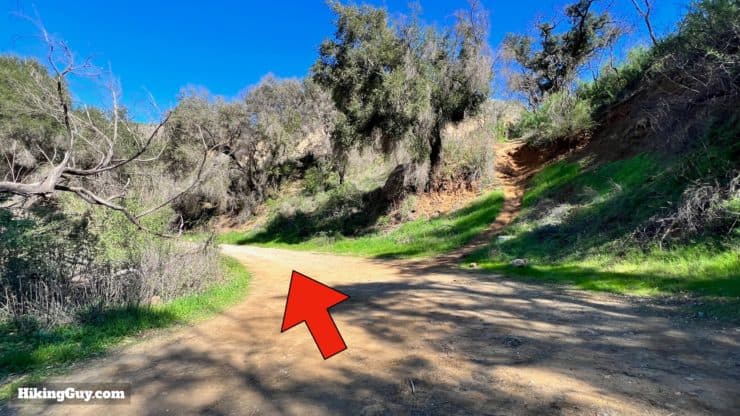
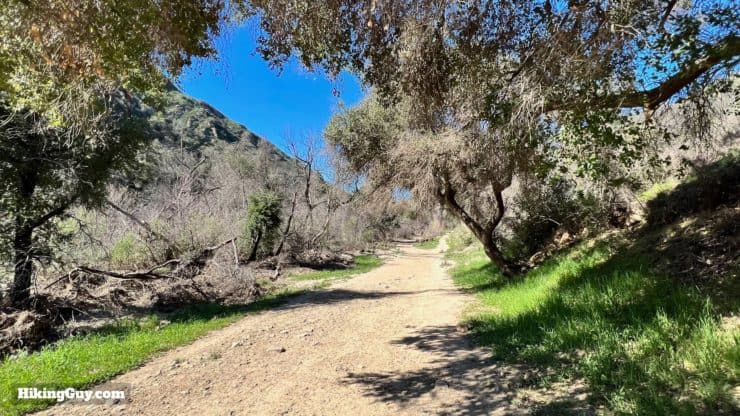
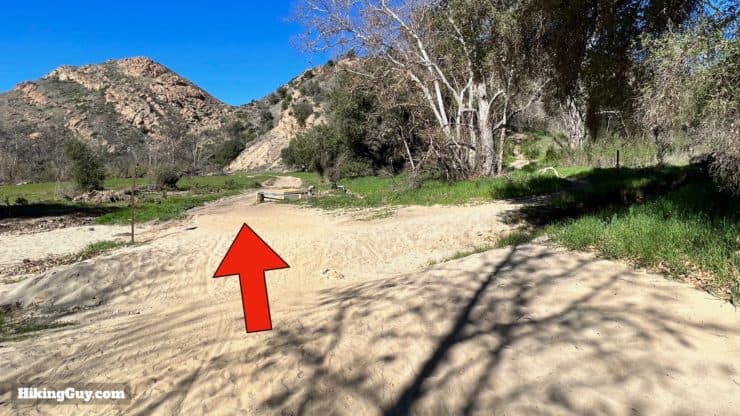
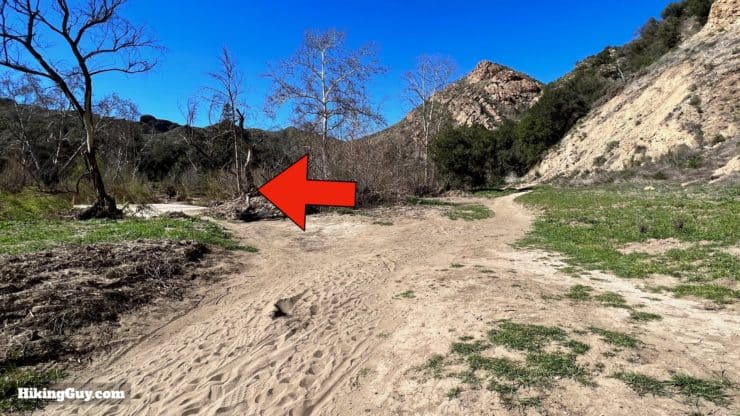
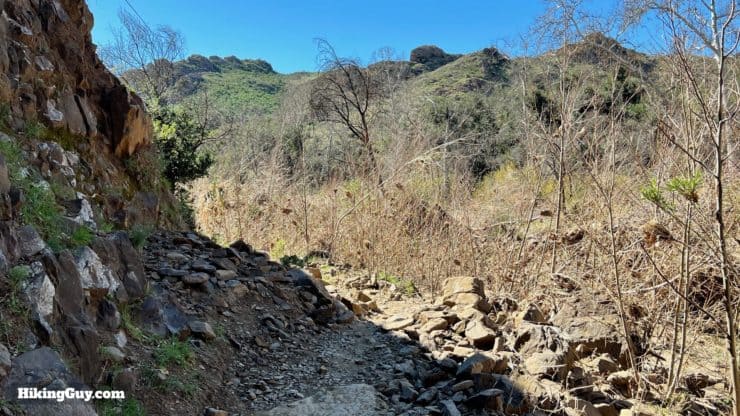
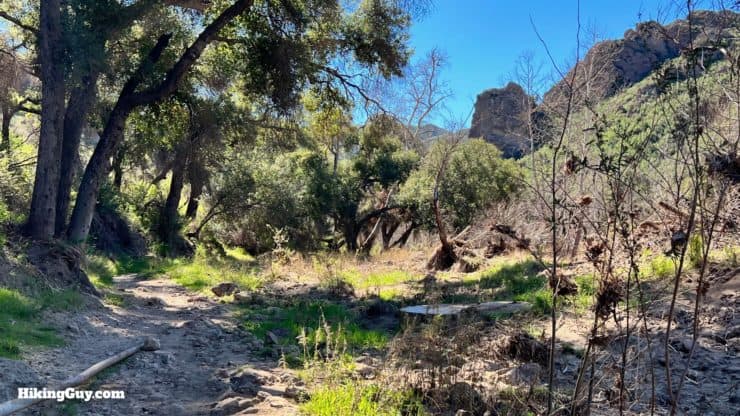
The trail starts behind the bathrooms at the end of the parking lot.You'll see a sign for the trails.Go straight across the street behind the bathrooms.And you'll come to a trail board.Go down the steps and onto the (closed to traffic) road.The hike is well marked with signs like this.Continue down Crags Road.Keep hiking past the Grassland Trail on the right.Look for this turnoff shortly past the Grassland Trail junction. We're going to leave the crowds on Crags Road behind.Do the easy creek crossing.And then keep right at the junction.We're going to be hiking across the creek from the road. Follow the dirt track and enjoy the views of the Goat Buttes.When you get to the Visitor Center, make the hard right.If the Visitor Center is open, it's worth a stop.Otherwise go over the bridge.The views down Malibu Creek from the beginning of the bridge are some of the best. Rock Pools is in the gorge ahead.Once across the bridge make the hard left.And hen continue left at the junction, down to the shores of Malibu Creek. Note that on the way back, we'll be going up the road on the right at this junction.The trail is more of a trail now, following the shores of the creek.Keep following the creek upstream.And in a short while you'll reach the Rock Pools.
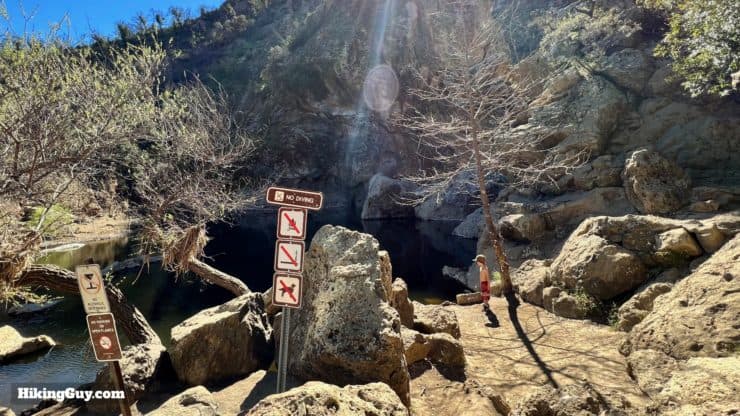
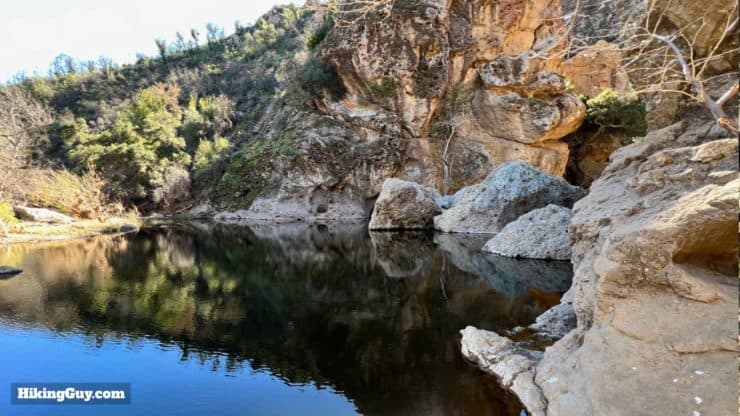
You can swim in the water here, but you are not allowed to dive.
I'd also caution against climbing the cliffs around rock pool if you are not a rock climber. There are more accidents and rescues here than you would imagine.
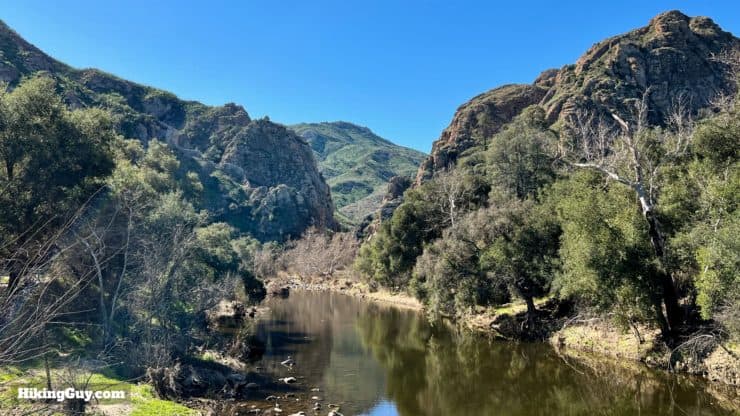
Here's another view of the Rock Pools swimming hole.And if you go around a little, you'll be able to see up into the gorge. Our next stop is the dam on the other side of this gorge.
Hike back to the last intersection where you joined the creek.
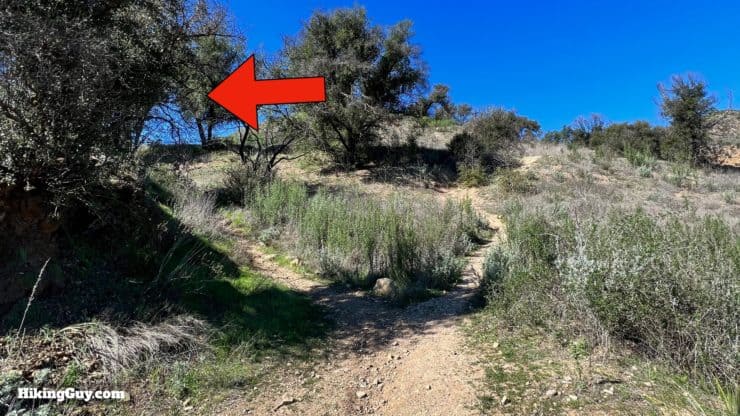
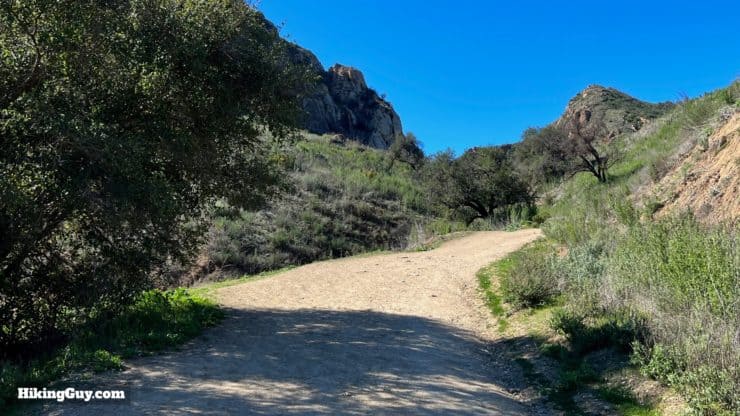
Instead of hiking back to the bridge, make the hard left onto the dirt road.Hike uphill on the dirt road.And make the first right onto the trail.And then you'll see Crags Road (from earlier) up on the hill in front of you. Climb up one of the short steep paths to rejoin Crags Road.Finish the rest of the climb on Crags Road.At the top, look for the small side trail to Century Lake on the left.There's a sign for the Century Lake Trail. Keep left and head downhill.You'll have some stairs down to a small clearing.And then get some great views of Century Lake (named after 20th Century Fox) and the dam, built in 1903 by Crags Country Club to attract waterfowl to hunt. The pointy crags in front of you are part of the Goat Buttes.
The famous "cliff jump scene" from Butch Cassidy and the Sundance Kid was shot here.
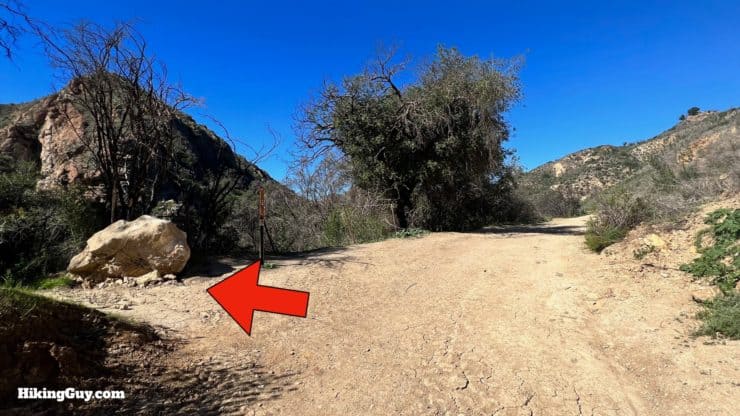
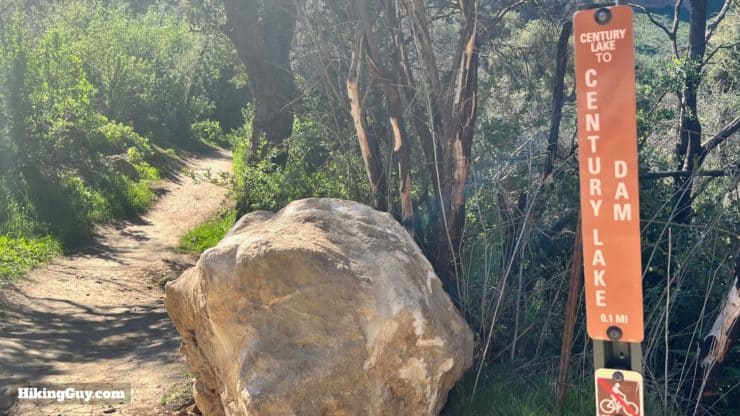
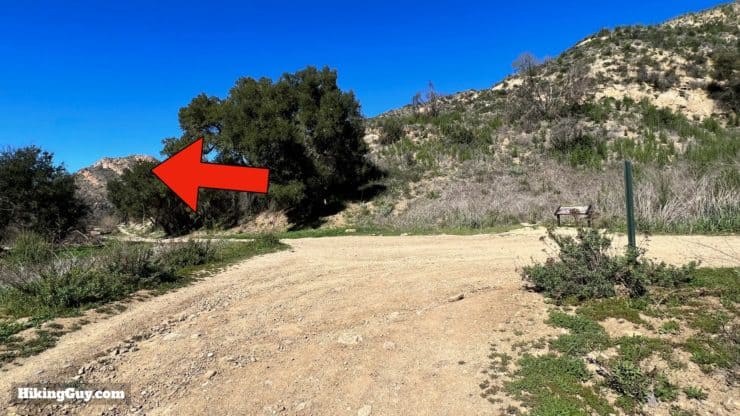
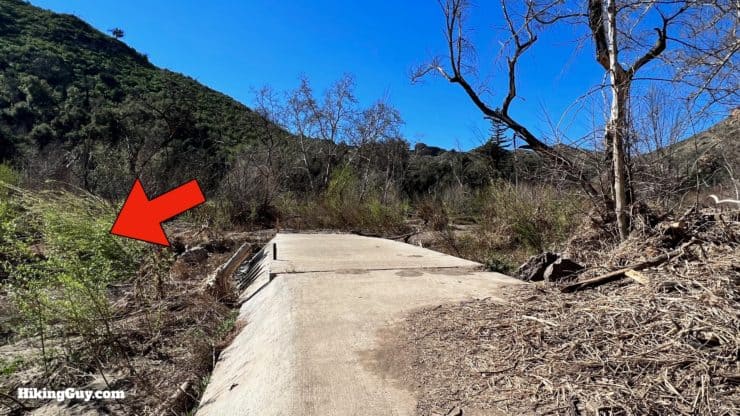
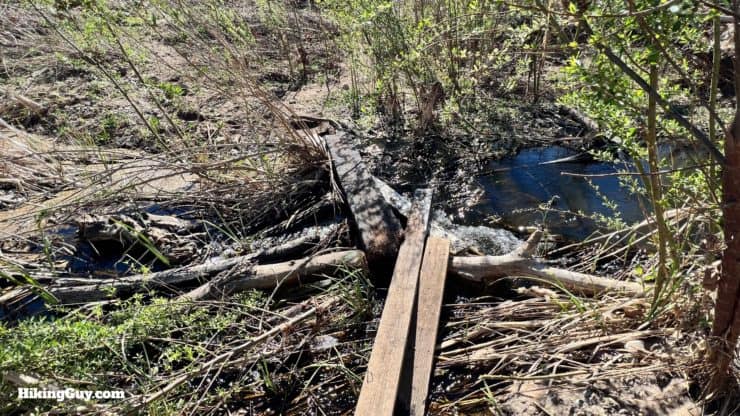
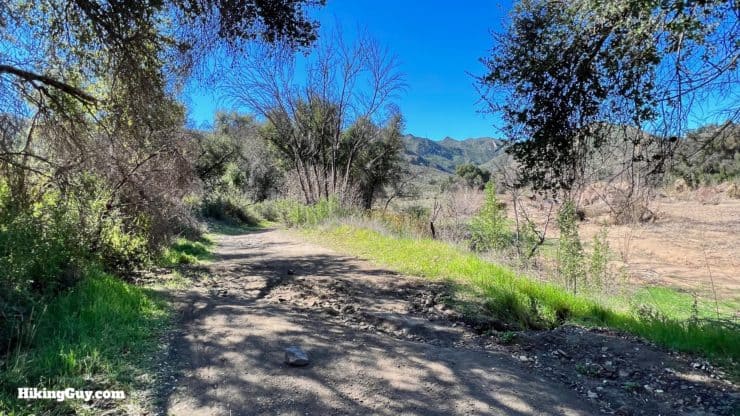
Instead of heading back up to the road where you came in, continue up the lake on the lower road.And when you get back to Crags Road, make the left.This junction is where they built "Ape Village" for the original Planet of the Apes movie. Photo Marc Wanamaker/Bison ArchivesThere's a sign after the junction. Our next stop is the MASH site.Follow the sandy and mellow Crags Road.Go straight past the Yearling Trail (on the right).And then look for a concrete dam on the left.When you get to the end of the dam, make the left off of the dam.And use the boards to cross over the creek.
The way these boards looks will likely change. Look around for a good way to cross.
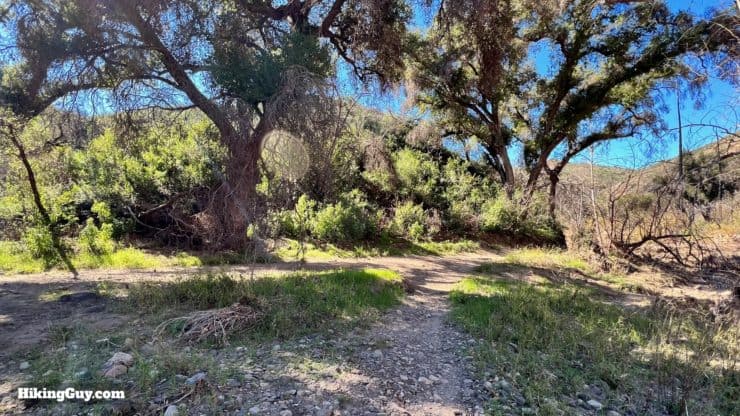
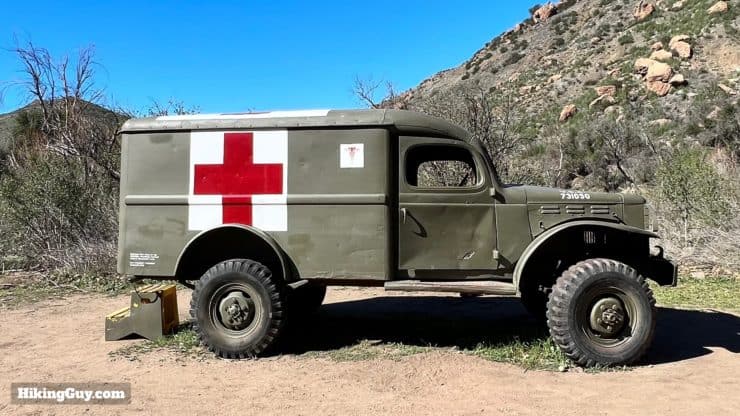
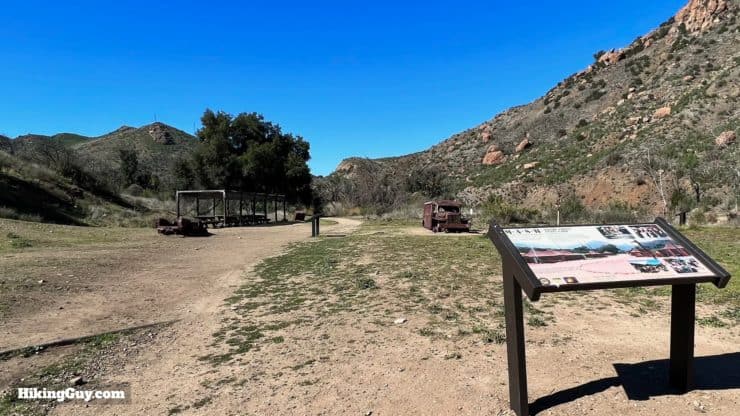
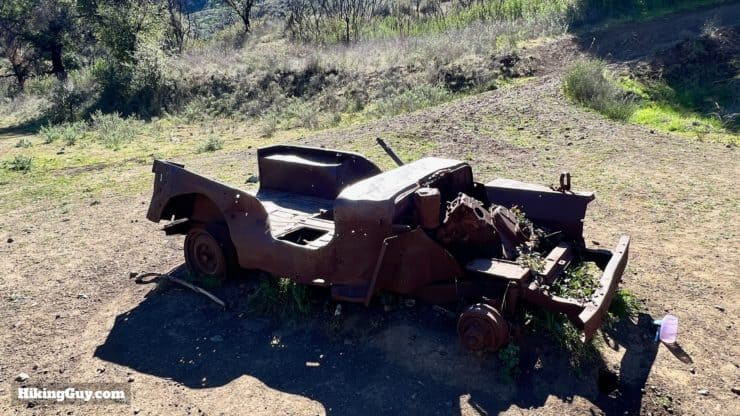
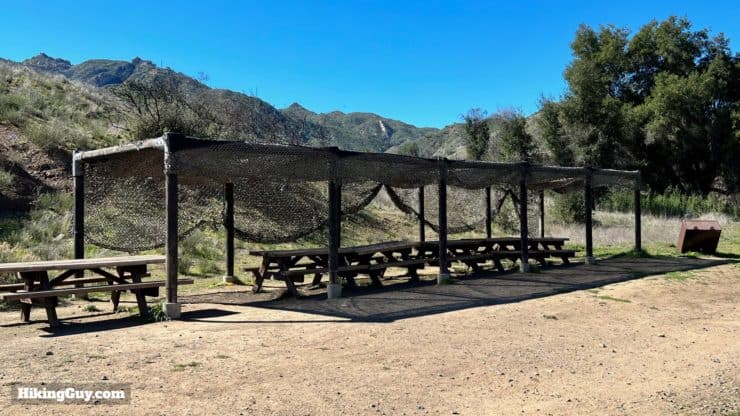
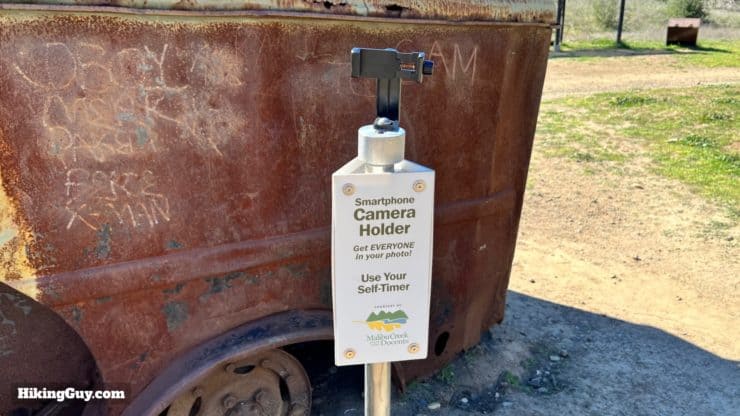
Once across continue upstream along the trail.Crags Road gets much smaller and makes a sharp left turn to follow the creek through a canyon.Keep following the creek upstream.And eventually you're back on the road.And then you'll see an old military ambulance, the start of the MASH site. This truck is from a 2007 restoration of the area.Enjoy all of the interpretive displays that do a good job of walking you through the show and how it was shot.There are some older vehicles too.And the mess tables.There's even a "selfie holder" for you to take pictures.After you're done exploring, just head back the same way that you came in.
If you want to save some time, just go straight back on Crags Road, avoiding the Rock Pools, and the road will bring you back to the start.
Need More Info?
Have a question about the guide or want to see what other people are saying/asking? View the Youtube comments for this video. Leave a comment and I will do my best to respond.
When planning, always check the park website and social media to make sure the trails are open. Similarly, check the weather and road conditions.


 Using the Apple Watch for Hiking
 Garmin Fenix 7 & Epix Review For Hikers
 How To Read a Topographic Map
 Garmin GPSMAP 67i Review
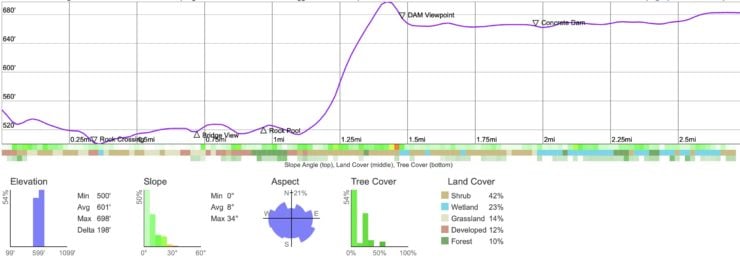


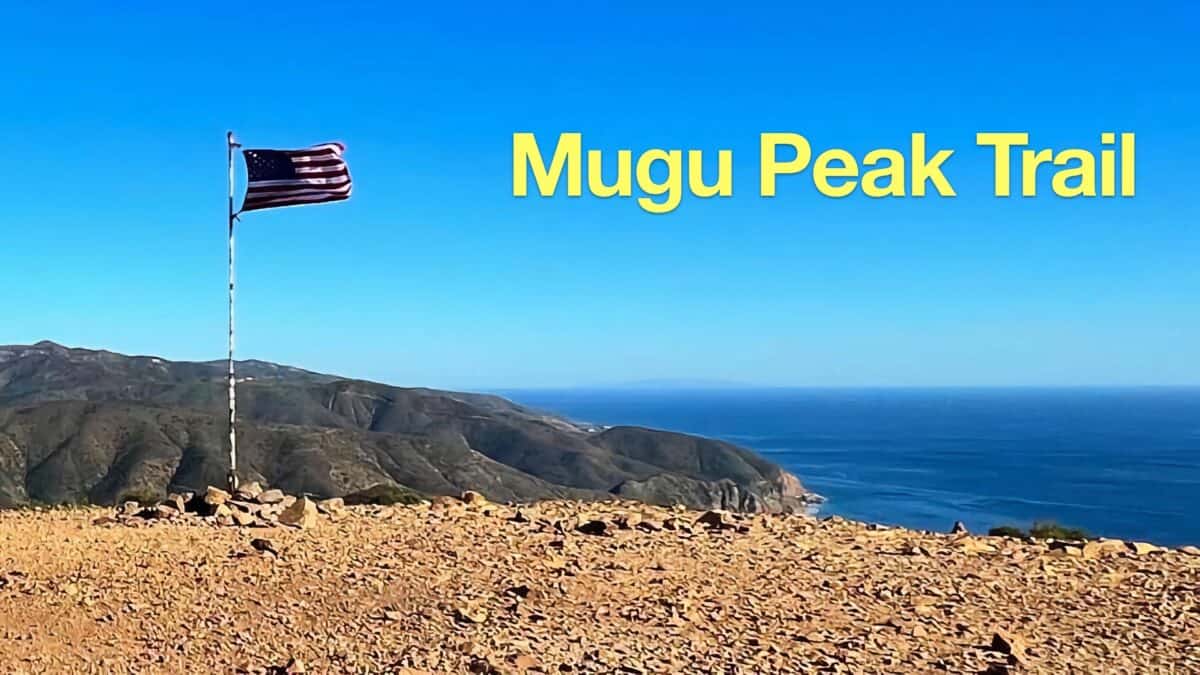 Hike Mugu Peak Trail
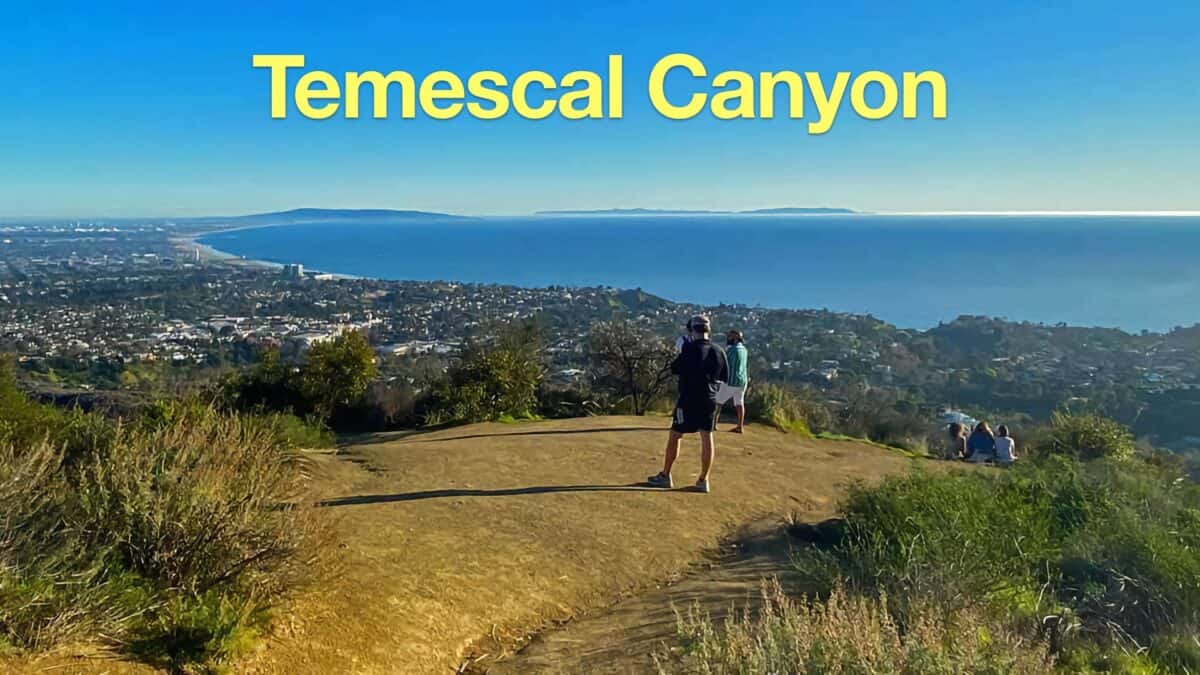 Temescal Canyon Hike
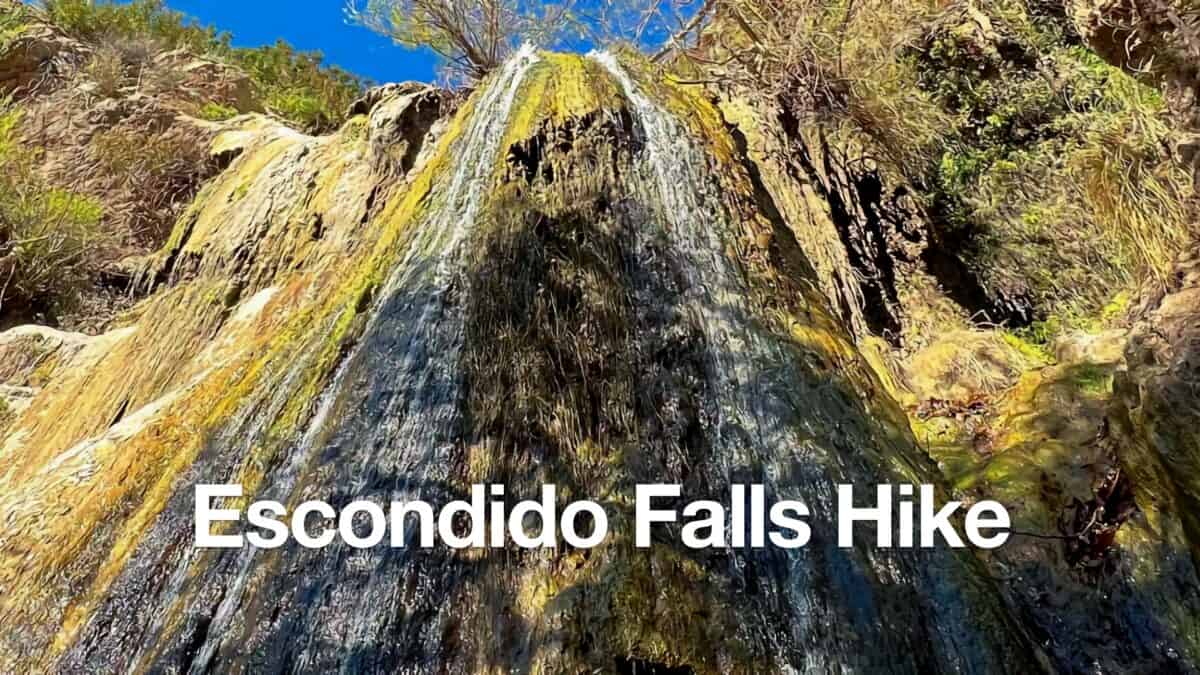 Escondido Falls Hike
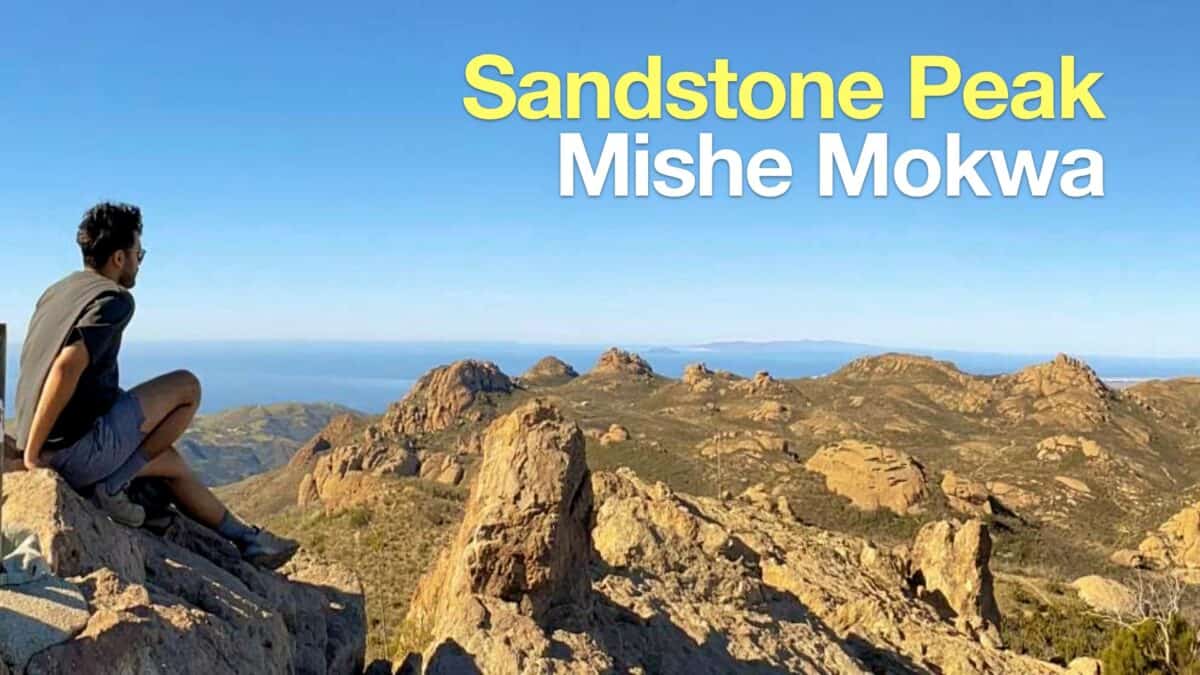 Hike Sandstone Peak on the Mishe Mokwa Trail
 Solstice Canyon Hike
 Los Angeles Hikes
 Santa Monica Mountains National Recreation Area Hikes
 Best Hiking Gear 2024
 Hiking Boots or Shoes: Do I Really Need Hiking Boots?
 When to Hit SOS on inReach