Hike Mt San Jacinto Peak on the Deer Springs Trail
19 miles - Very Hard Effort
9-11 Hours (Total)
5,400 Total Feet of Climbing
Max Elevation of 10,834 feet
No Dogs Allowed
The hike to Mt San Jacinto Peak on the Deer Springs Trail is one of the toughest and most beautiful hikes in Southern California. You'll climb over 5000 feet on the ascent of San Jacinto Peak, hiking through old-growth pine forests until you crest the summit. On the way back down, we'll hike the Wellman's Cienega Trail, which hugs the mountainside, offers incredible views of Tahquitz Peak and Lily Rock, and feels more like Yosemite than Southern California. You can tackle this underrated hike in one day or break it up overnight in Little Round Valley Campground.
In this Guide:
Video and Turn-by-Turn Directions to Hike Mt San Jacinto Peak on the Deer Springs Trail
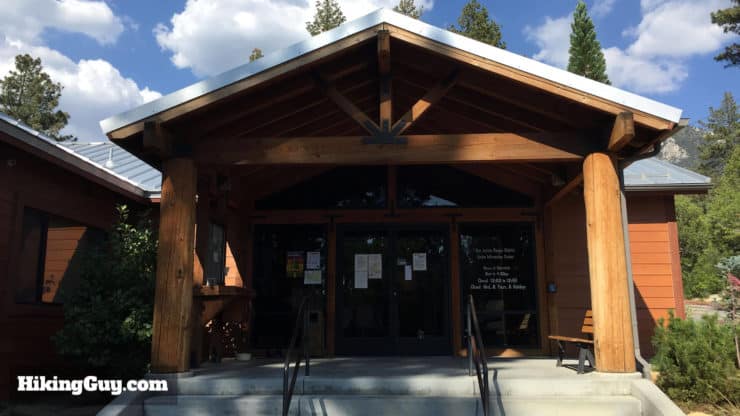
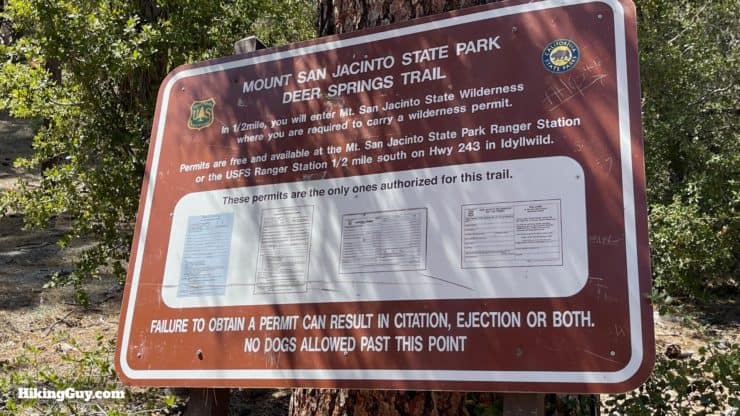
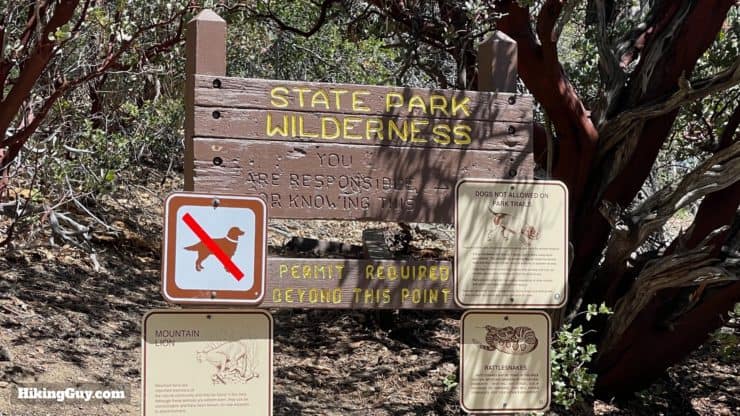
The first thing you need to do is get a free permit for the hike, which passes through San Jacinto Wilderness area of San Bernardino National Forest and Mt San Jacinto State Park Wilderness. One permit covers both areas. You can pick up the free permit at the kiosk in front of the San Jacinto Ranger Station in Idyllwild located at 54270 Pine Crest Ave, Idyllwild, CA 92549. It's only a few minutes down the road from the Deer Springs Trailhead.
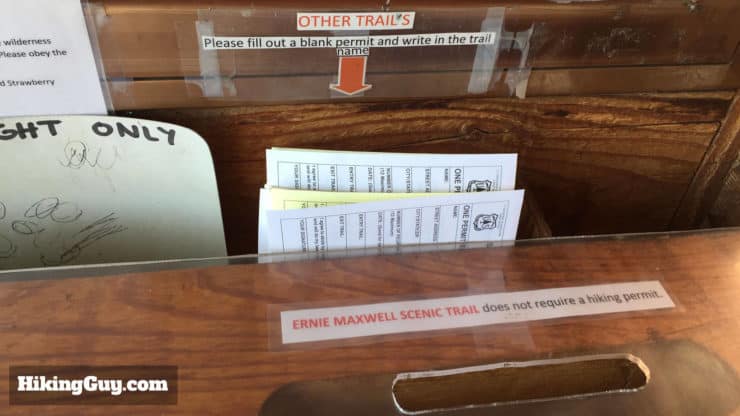
The permits are in a kiosk outside of the station on the left, and are available 24/7.Fill out a normal permit for the Deer Springs Trail. Put the white copy in the box and the yellow copy in your pocket. A ranger might ask to see it on the trail. For entry and exit trail, put "Deer Springs."
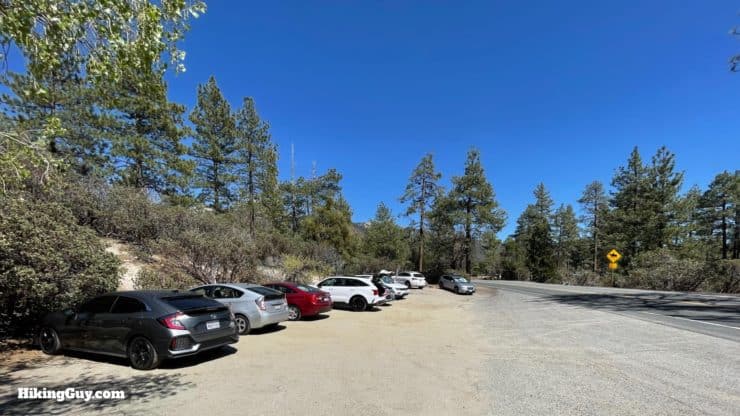
There's a parking lot at the trailhead for about a dozen cars. If you get here at sunrise you'll always find a spot. Later in the day it fills up. The shorter hike to Suicide Rock is popular and this lot serves that as well. When it's busy some people park along the side of the road. Make sure you feel confident that you are parked in a legal spot before you do that though.
There are no bathrooms or water fills at the trailhead.
Parking passes are no longer needed at the trailhead.
Gear For the Hike
As you may have guessed by the distance and ascent, this is a hardcore hike in the backcountry, and you should prepare for it accordingly.
The weather and temperature on the summit is often about 20F below what it is at the trailhead, if not less. The summit is known for being windy. Bring layers for changing conditions.
Even though the start of the hike is at 5000+ feet, it can get very hot in Idyllwild during the summer, with temperatures in the 90F range.
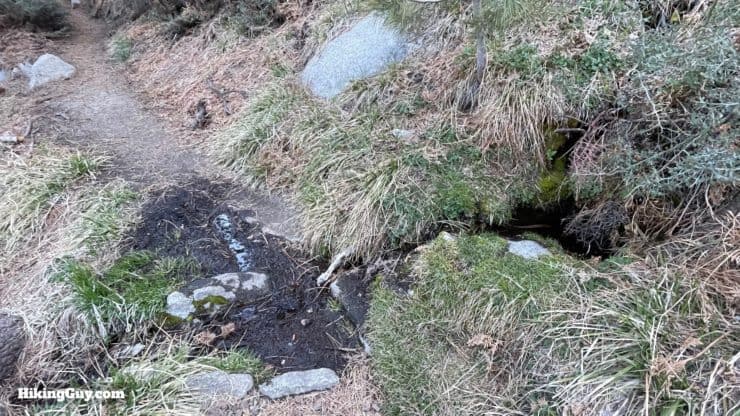
Water is generally plentiful when the snow melts in spring, and then it mostly dries up in the summer. I marked water fills on the interactive map below, but if conditions are dry, don't count on them being any good. When temperatures are not very hot I can get by with 3L of water. When it's hot and there's nowhere to refill, I'll generally carry 3L and then another 1.5L water bottle.
Gear That I Love Right Now
Nothing is sponsored or promoted, just the actual gear that I use.
In the spring and early summer you can usually find some streams and water sources running. As always, I'd filter the water to make sure that you don't get anything nasty.Unless you've done this hike before and are familiar with the conditions, I'd stay away if there is snow on the mountain, which can make the trail very hard to follow. If there is snow, you may need micro-spikes.
You would be remiss if you didn't check the excellent San Jacinto Trail Report website before doing this hike. It's an essential resource for trail, water, and weather conditions in the San Jacinto area.
Camping on This Hike
If you'd like to make this an overnight or multi-night trip, you have a few options.
You can hike about 7.5 miles to Little Round Valley, overnight, and then continue the loop. This is what most people do.
You can camp at Round Valley, which is off this hike route a short distance, on the other side of San Jacinto Peak, toward the tram.
All of these campgrounds fall within the state park jurisdiction and you can apply for permits here.
I've also seen people staying between Wellman Divide and Strawberry Junction at viewpoint camp, which I've marked on the map. This is not an official campground, but more of a locals and dispersed camping spot. It lies within the federal San Jacinto Wilderness area and is not governed by the state rules, which say that you must camp within a designated campground.
Deer Springs to San Jacinto Peak Trail Maps
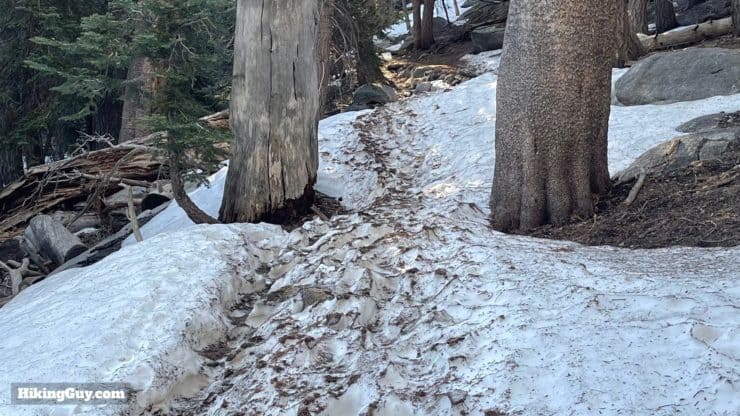
Overall the trails that this hike takes are excellent. Junctions are well marked, and the inclusion of a PCT section means that you get a good amount of thru-hike traffic in the spring and fall. If you are looking at an Open Street Map (OSM) of the area, note that several minor use trails intersect the main trails listed. And when there is snow on the mountain, there are 'winter detours' that are different than the route described here. Again, given the difficulty and terrain, I'd avoid this hike in the snow unless you've done it before and feel confident in your navigation (and potentially mountaineering) skills during the winter.
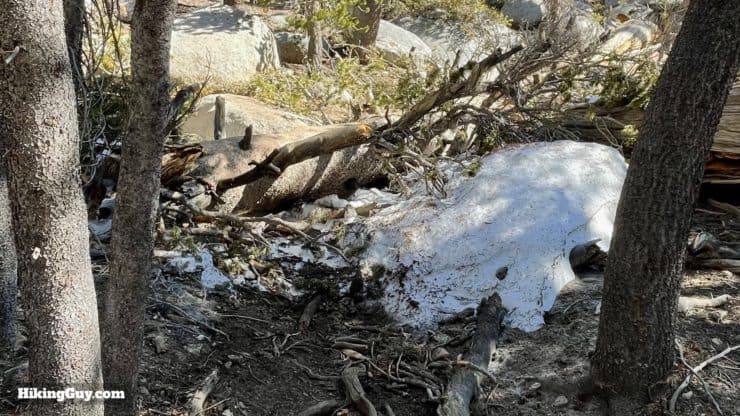
In the winter and spring there can be detours around obstacles such as downed trees and lingering snow and ice. The snow is usually gone by June.
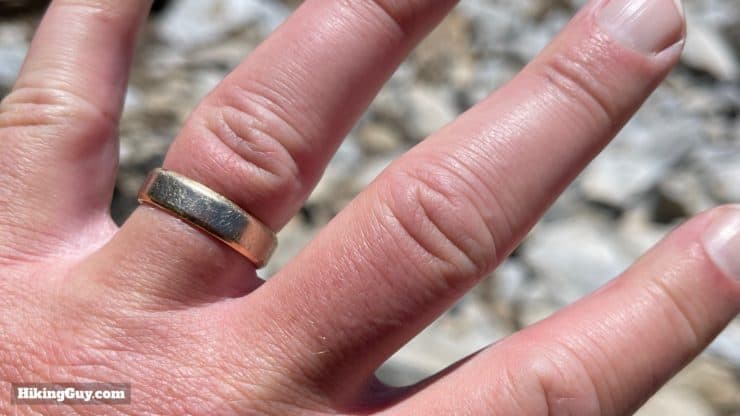
Aside from a few minor undulations, you're basically going uphill for 10 miles and then downhill for 10 miles. You have about 5000+ of climbing from the trailhead, which is at about 5620 feet.Be on the lookout for altitude sickness (AMS), which can affect those above 8000 feet. Here I have sausage fingers, but otherwise am okay. Please read the section on altitude sickness in my Mt Whitney guide to learn more about the symptoms to look for.
Landmarks on the Hike
Landmark
Distance
Elevation
Trailhead
0
5620
San Jacinto Park Sign
0.5
5800
Suicide Rock Junction
2.3
6900
Strawberry Junction
3.8
8060
Fuller Ridge / PCT Turnoff
6
8950
Little Round Valley
7.5
9750
San Jacinto Peak
9.2
10834
Wellman Divide
11
9740
Wellman Cienga
11.6
9270
Viewpoint Camp
13.8
8380
Strawberry Junction
14.8
8060
* Distances approxamate and can vary based on your GPS settings and performance.
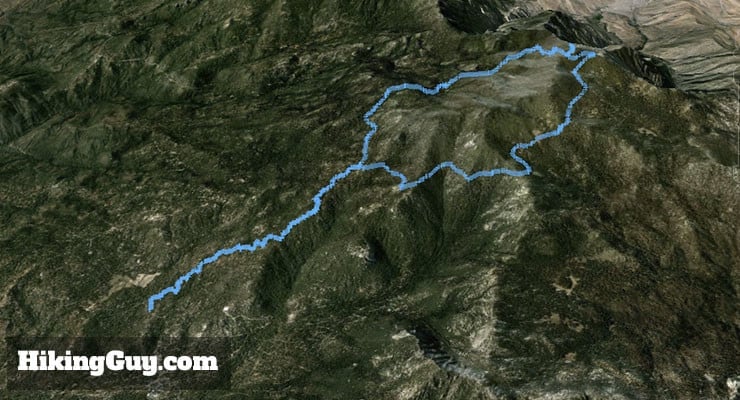
3D Map
The trail goes up and down Deer Springs Trail, does a loop to the summit, and then descends along scenic Wellman's Divide. The route is set up to maximize great views.
Deer Springs to San Jacinto Peak Hike Directions
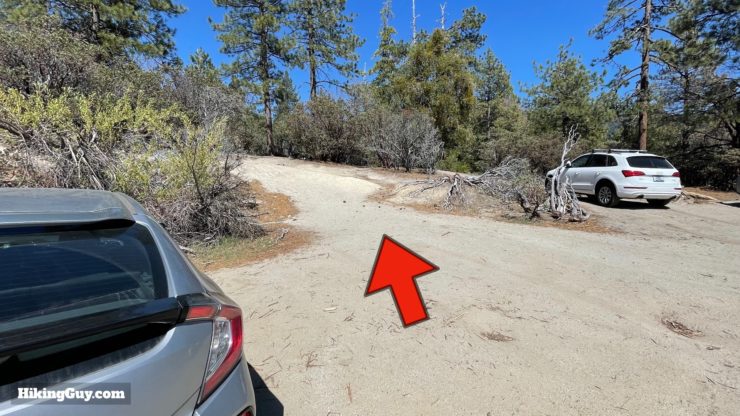
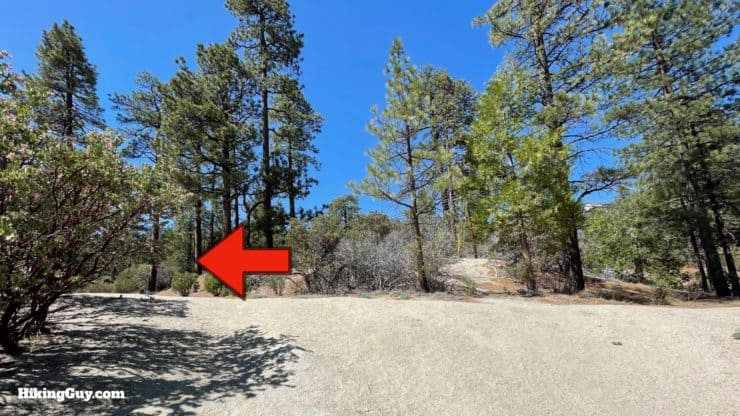
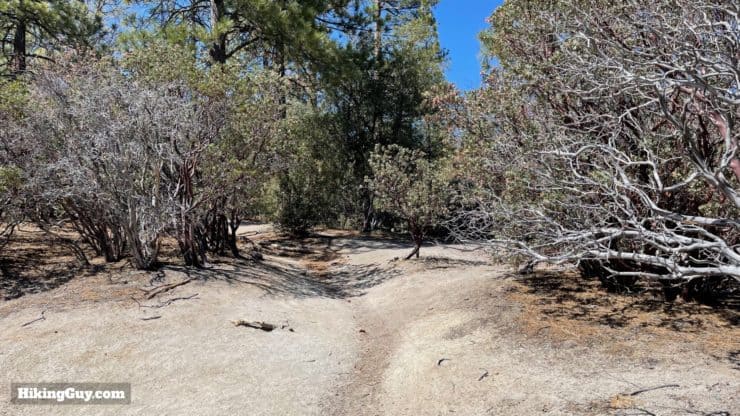
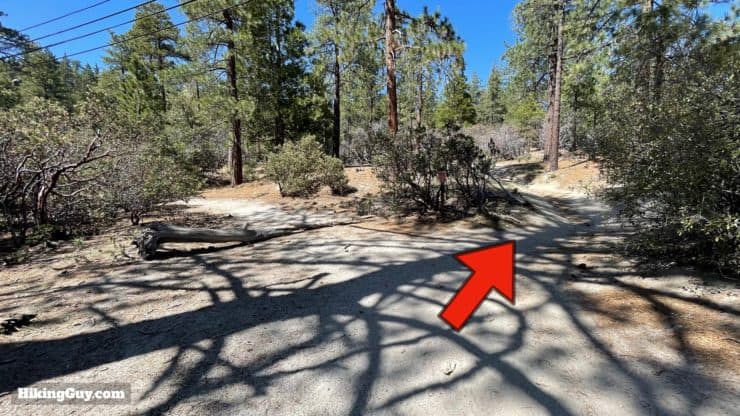
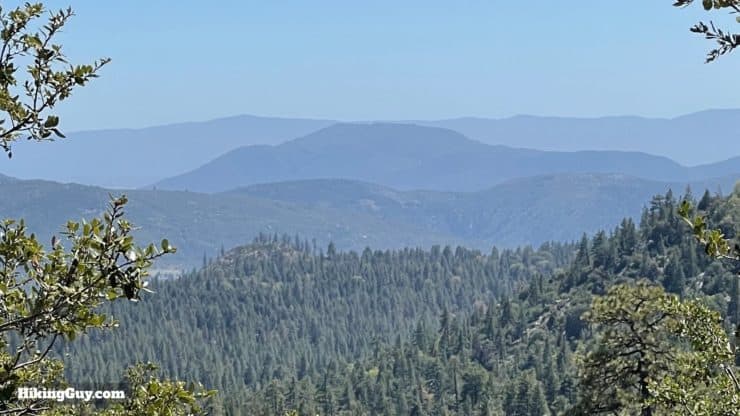
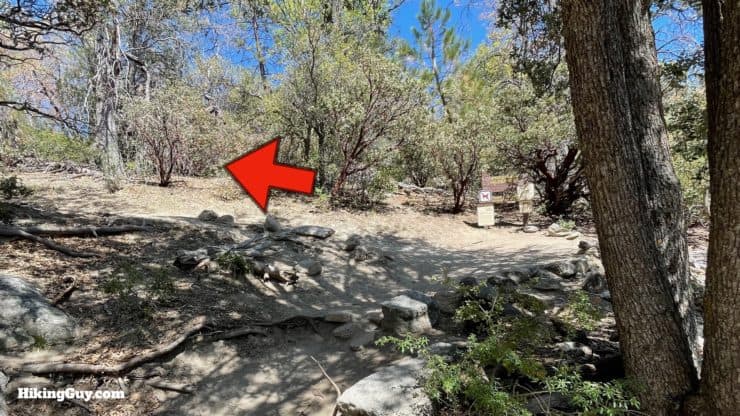
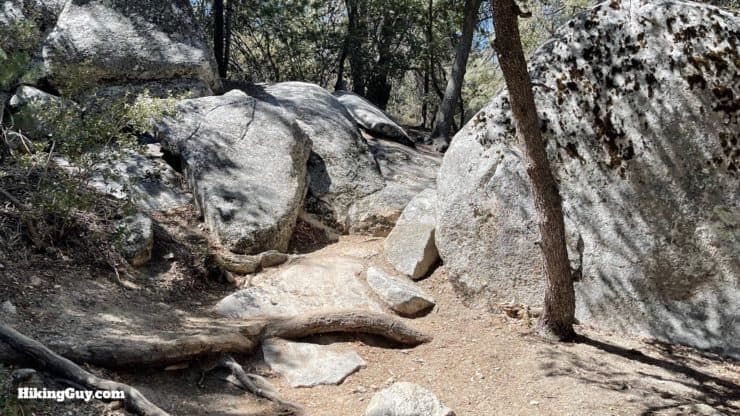
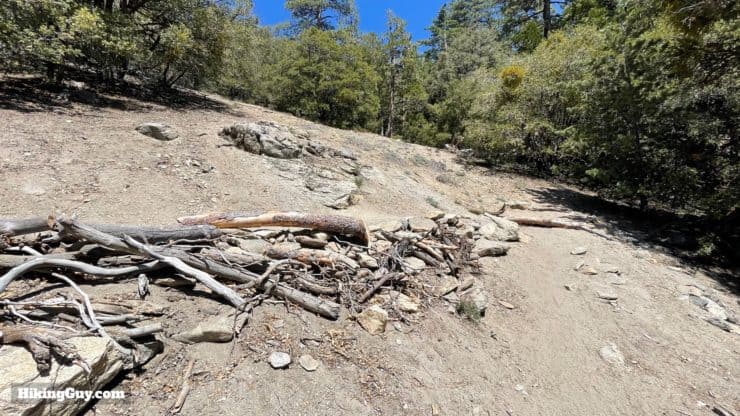
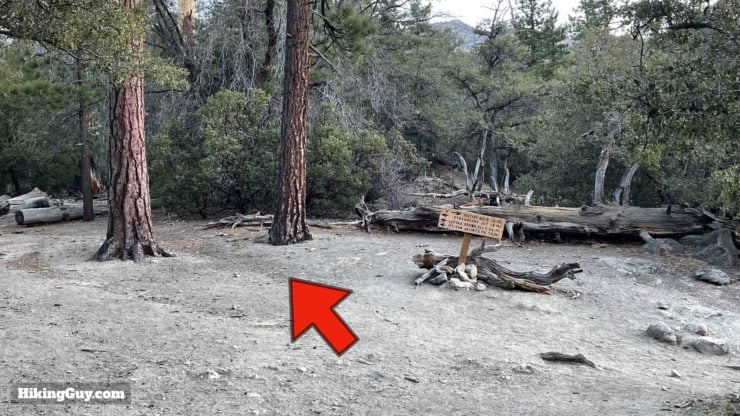
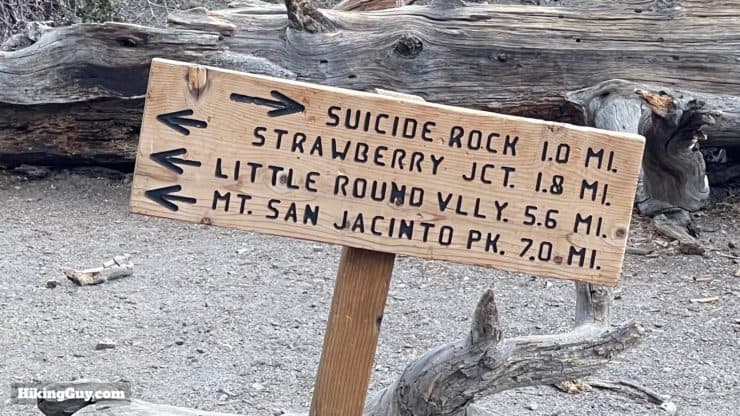
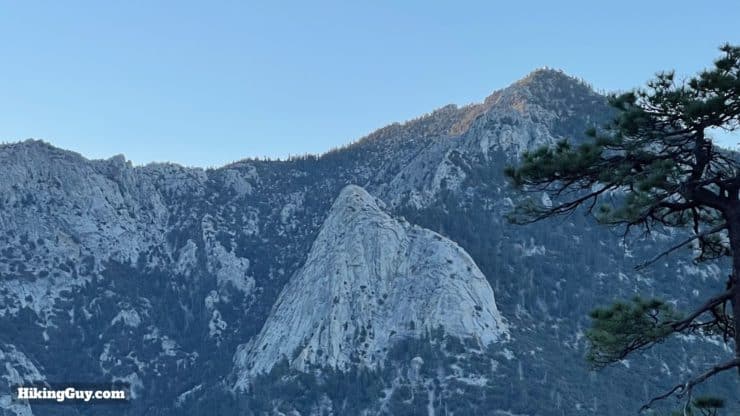
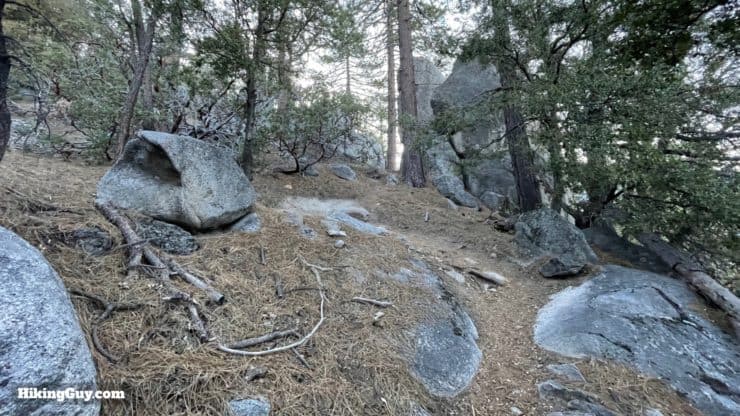
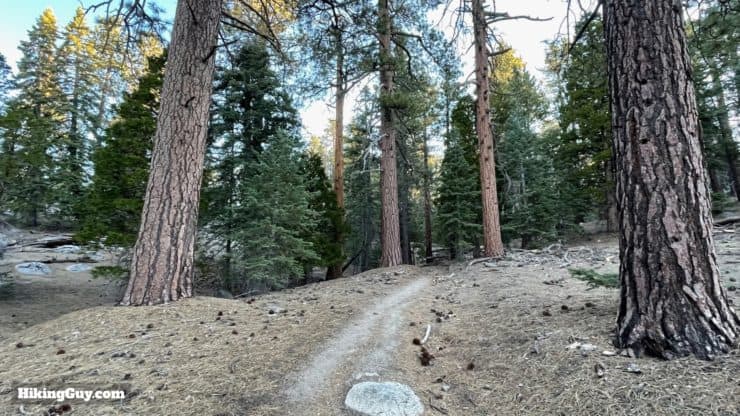
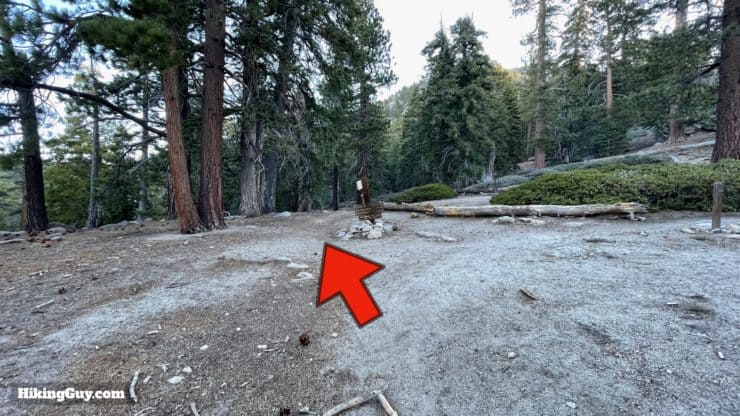
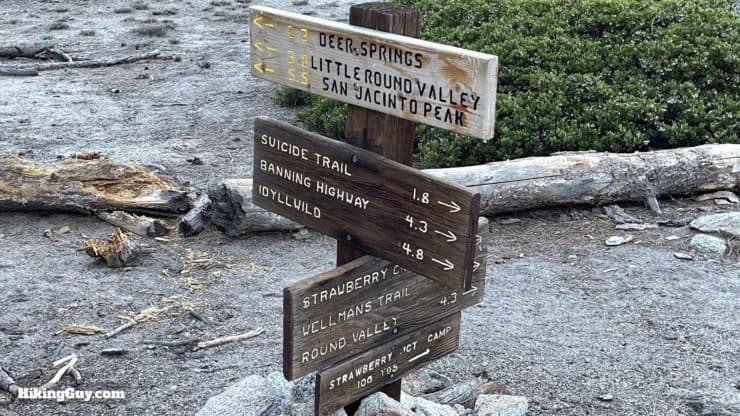
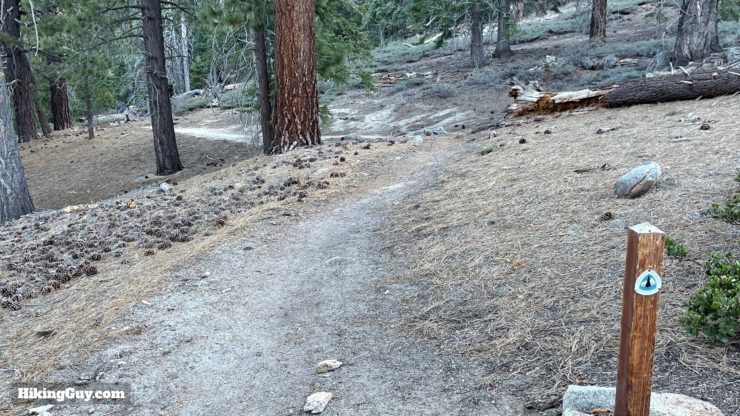
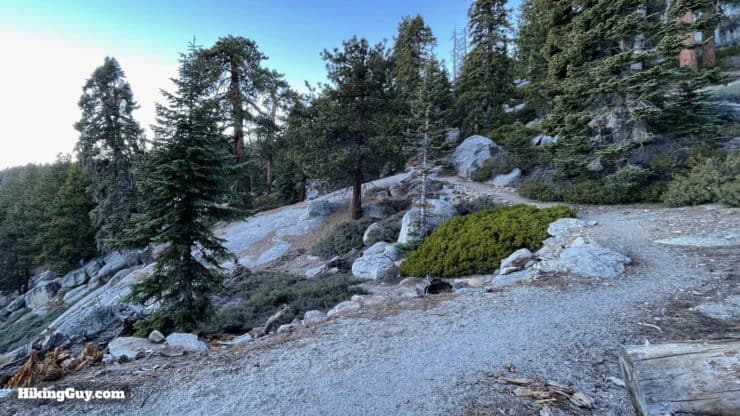
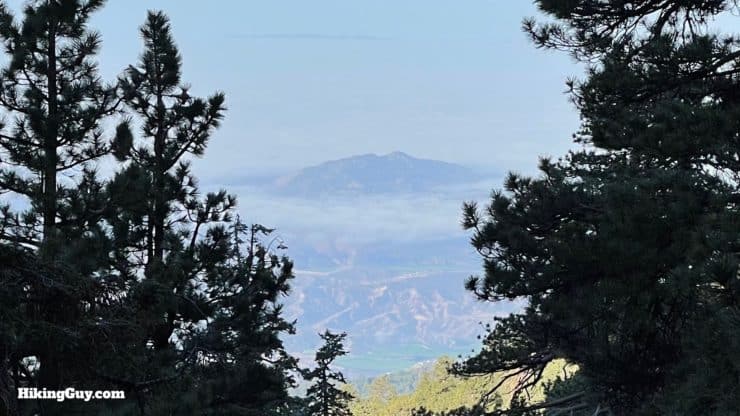
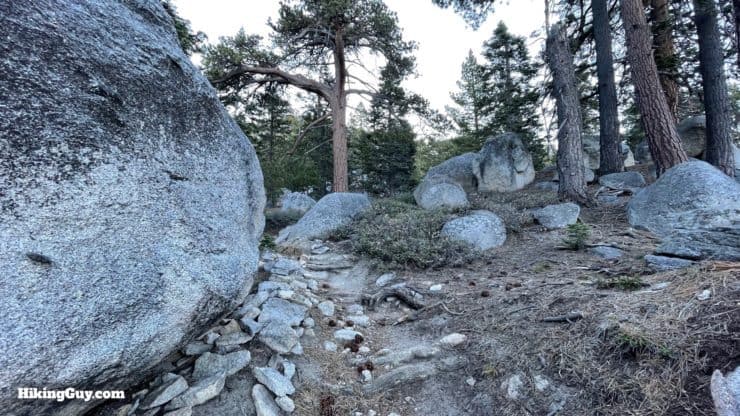
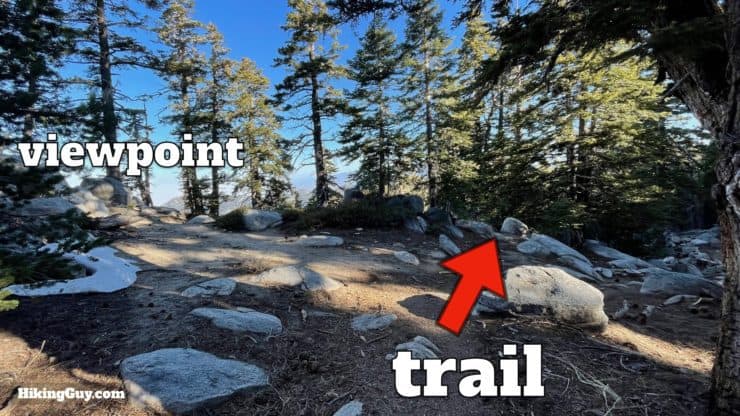
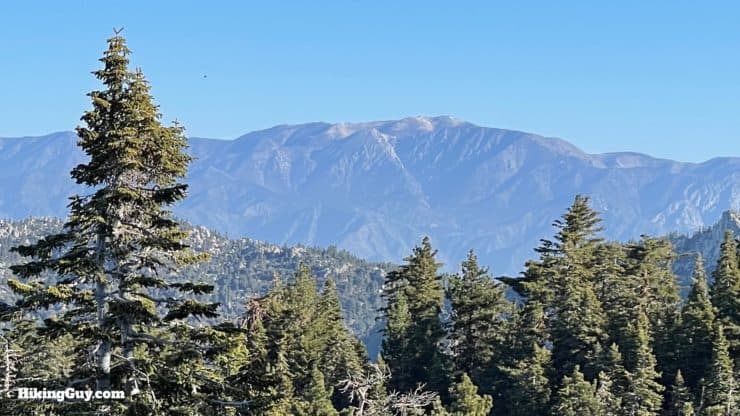
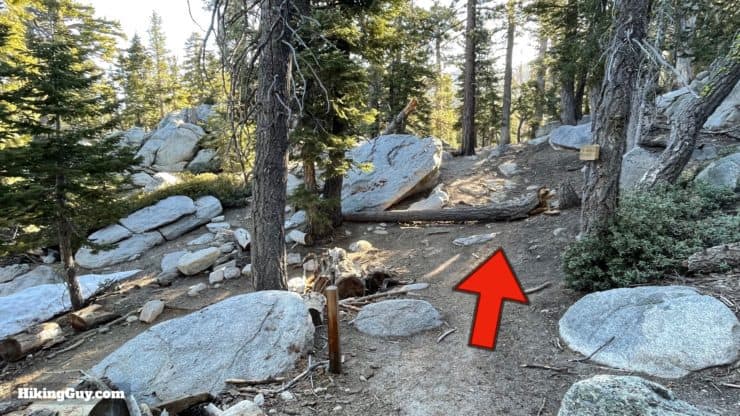
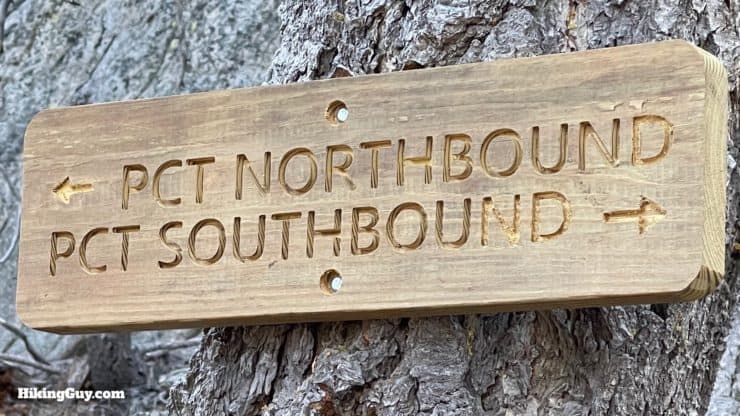
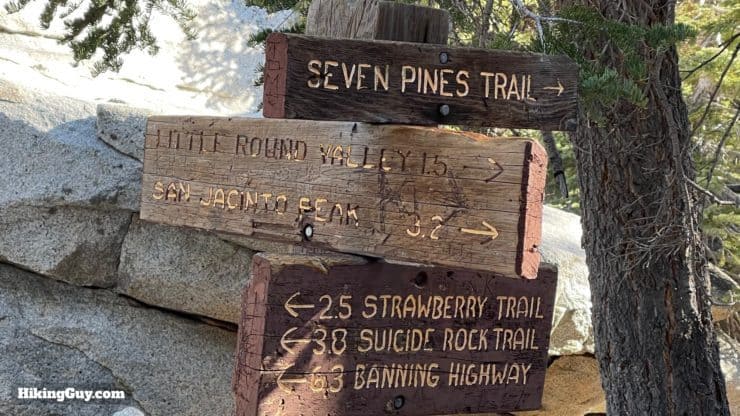
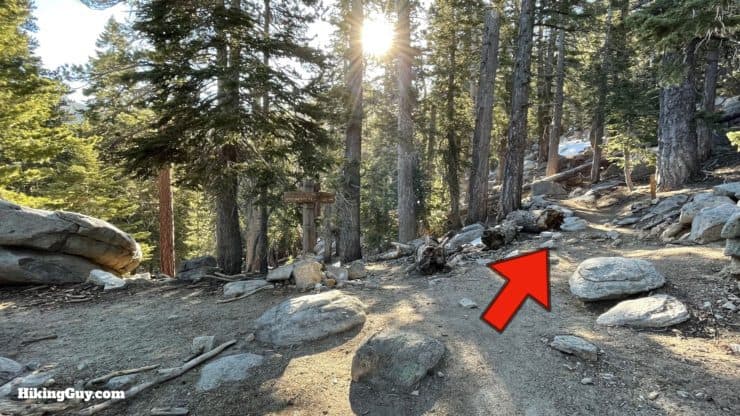
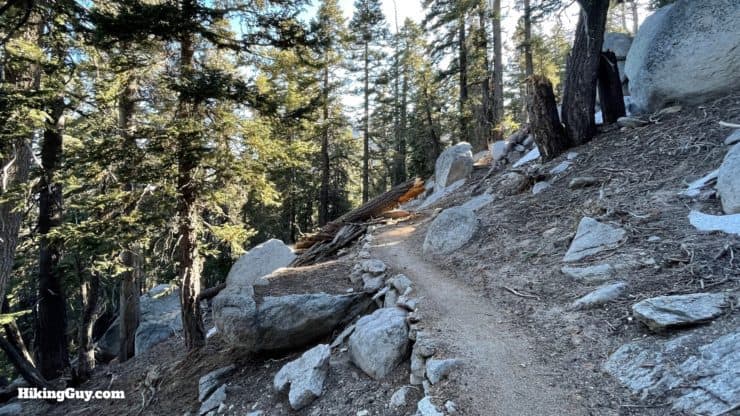
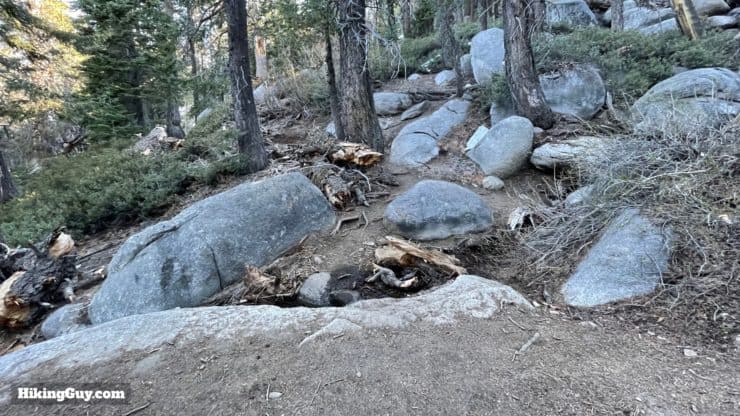
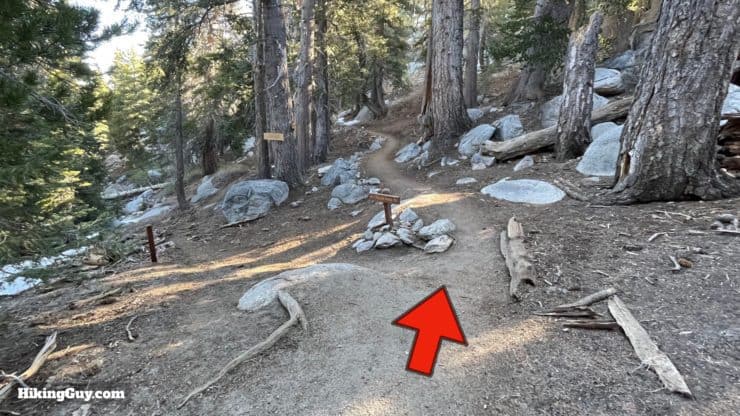
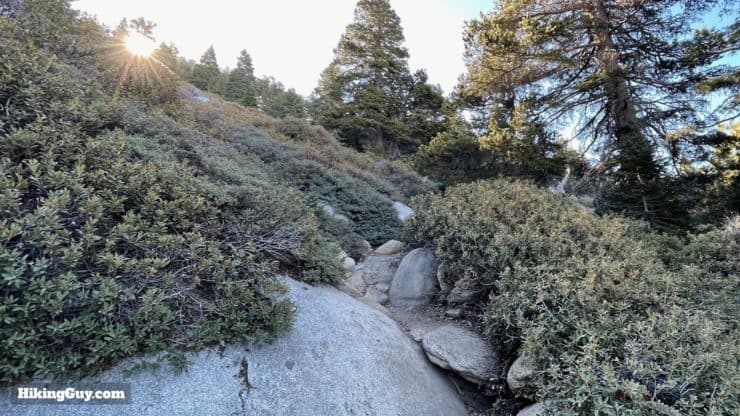
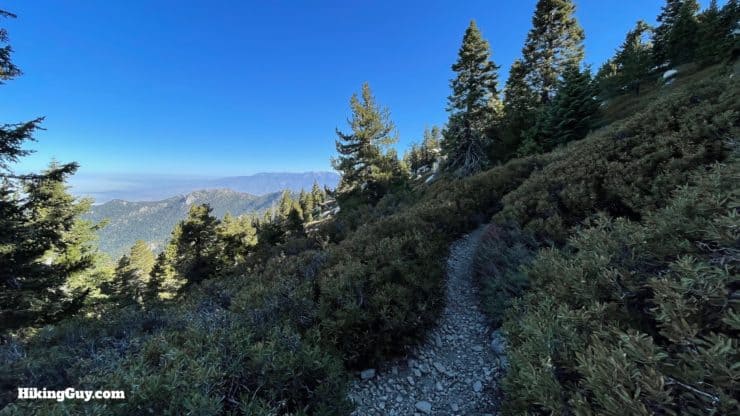
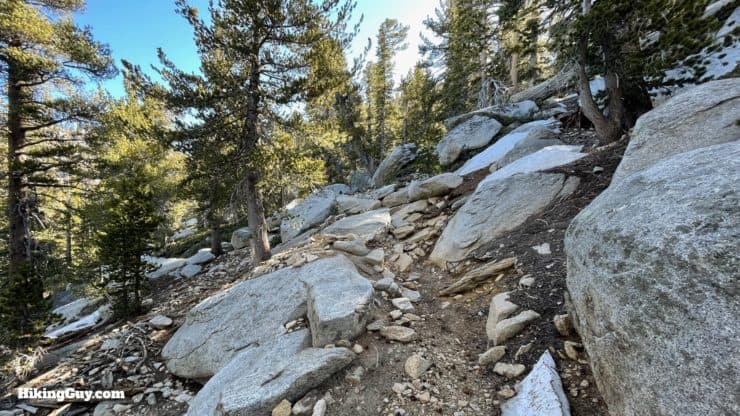
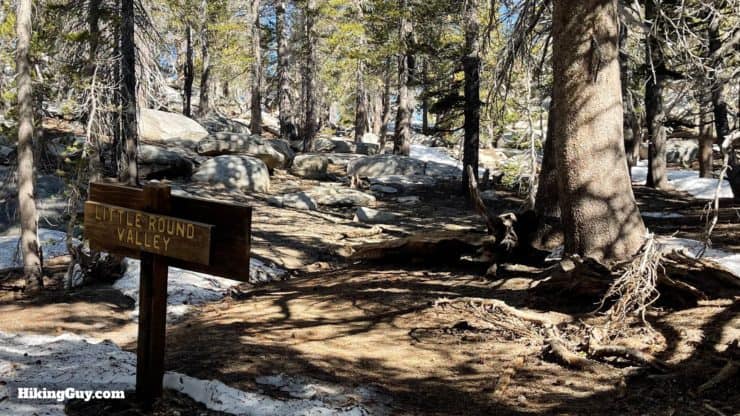
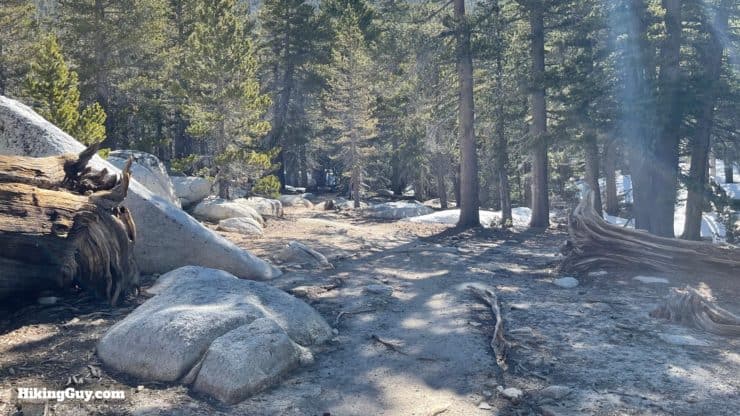
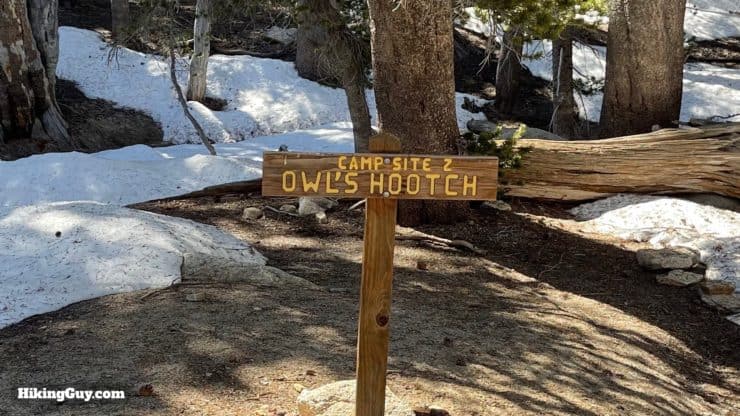
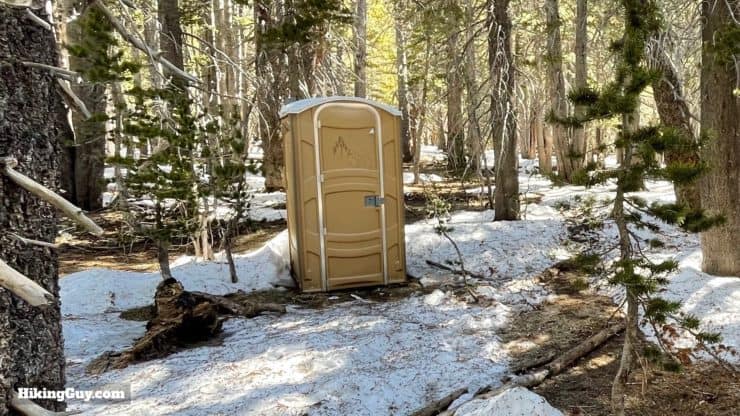
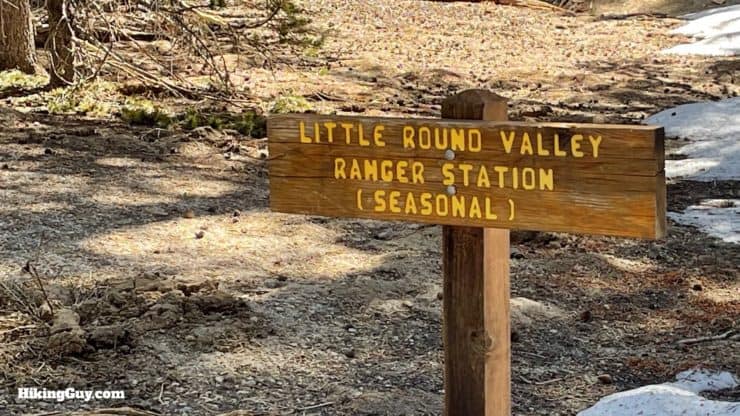
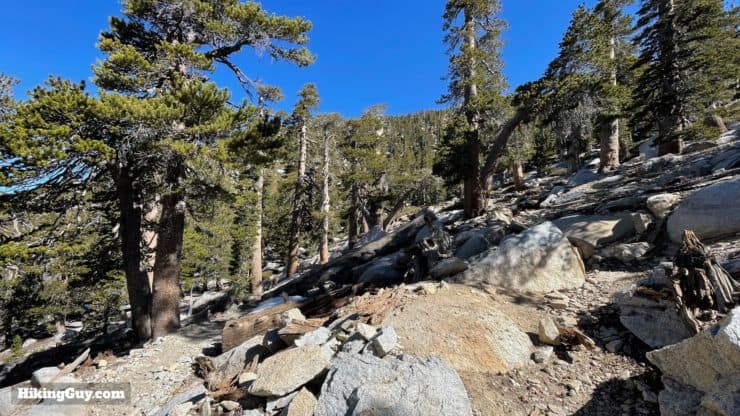
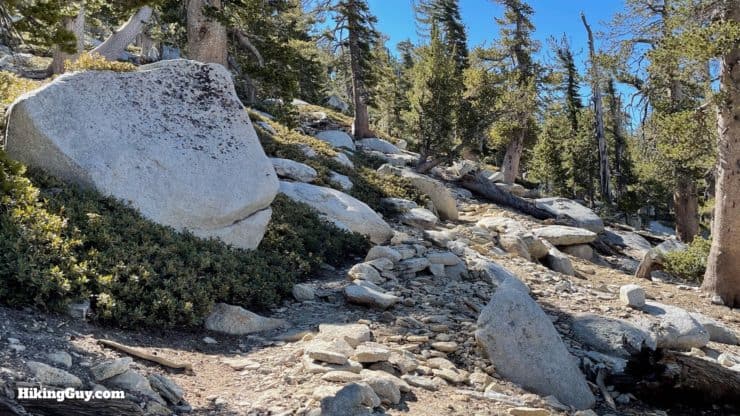
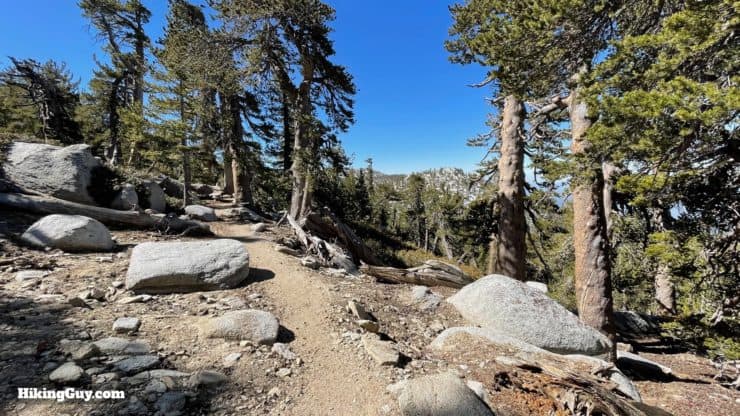
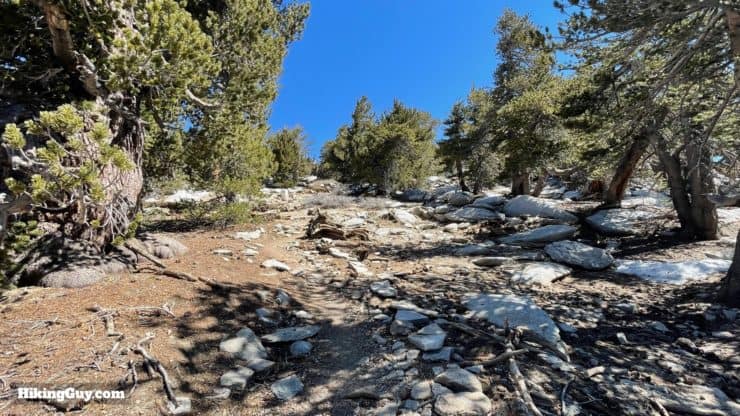
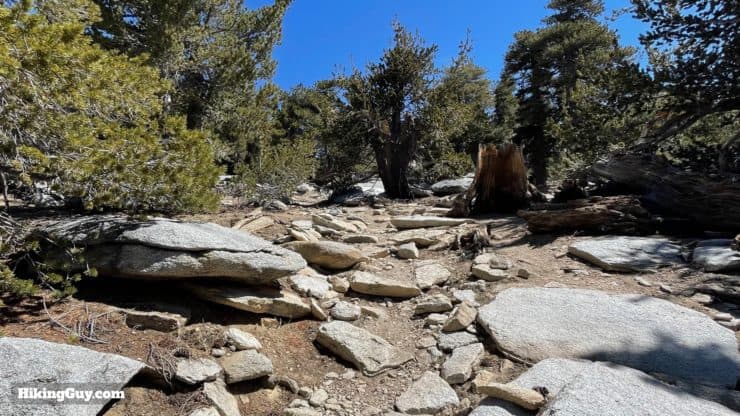
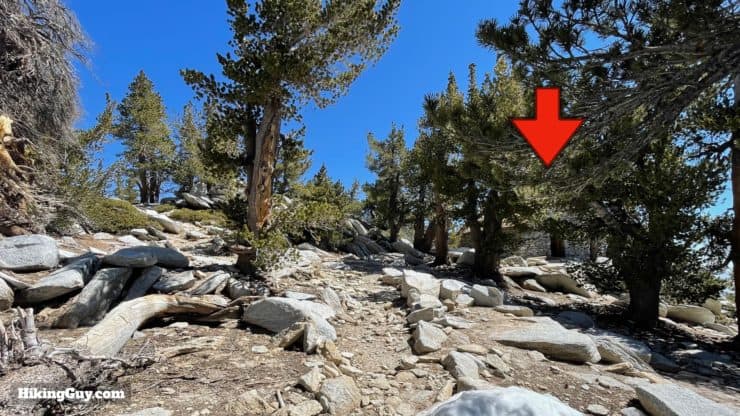
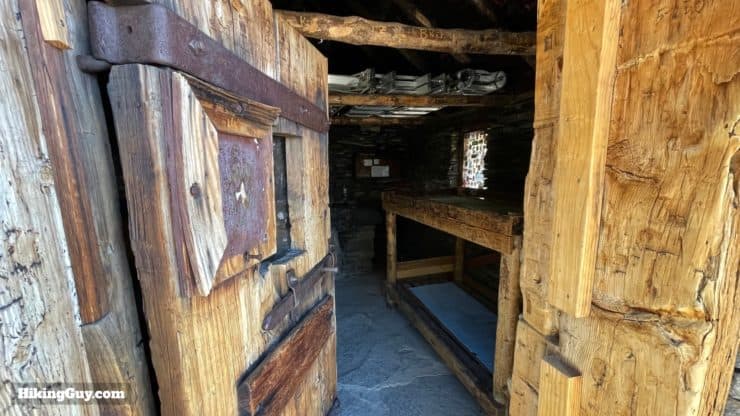
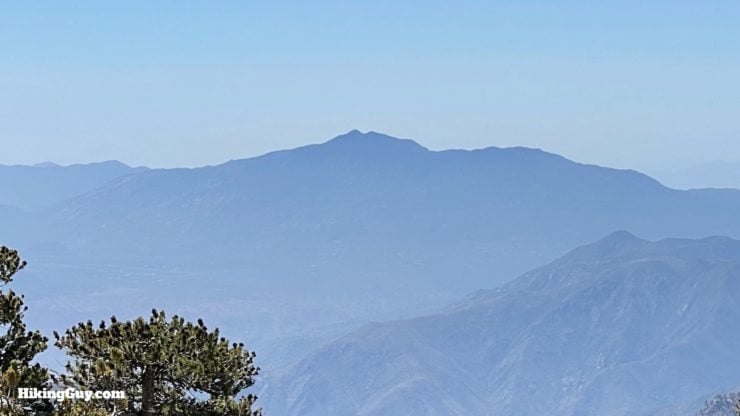
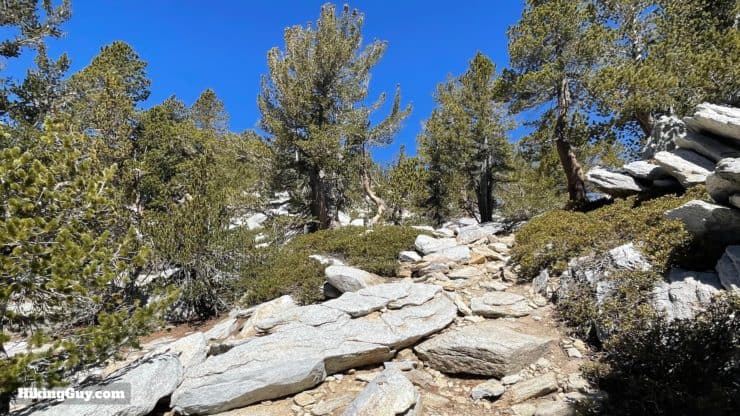
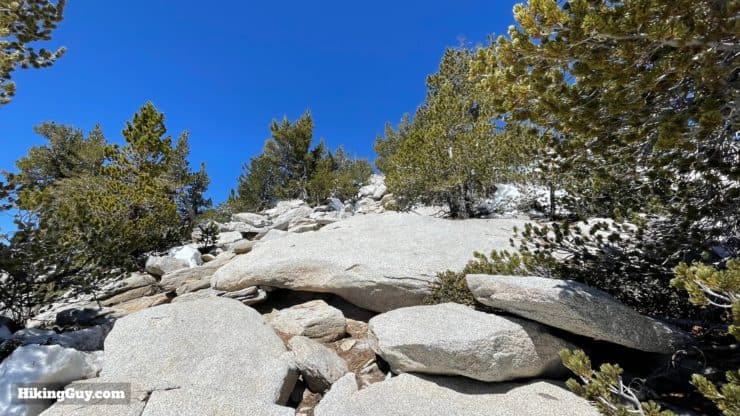
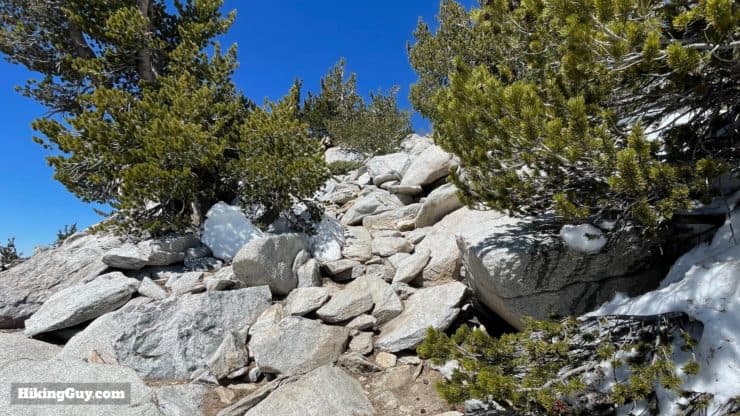
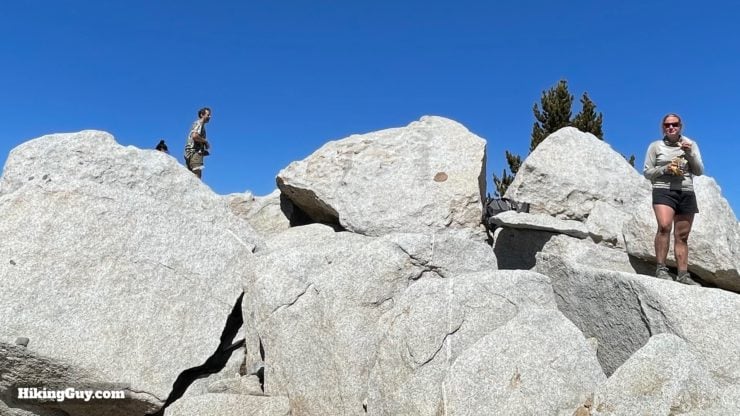
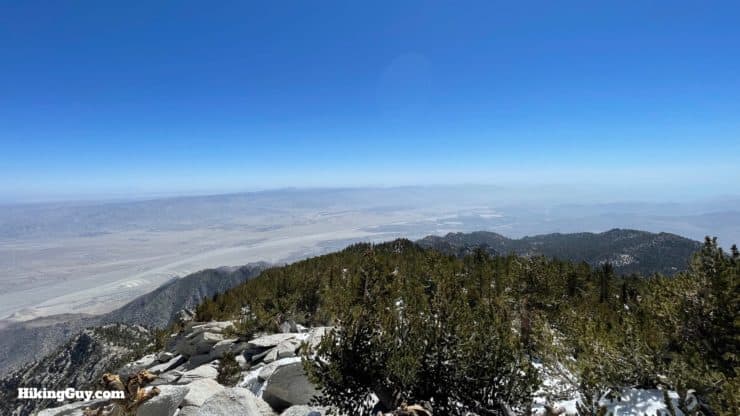
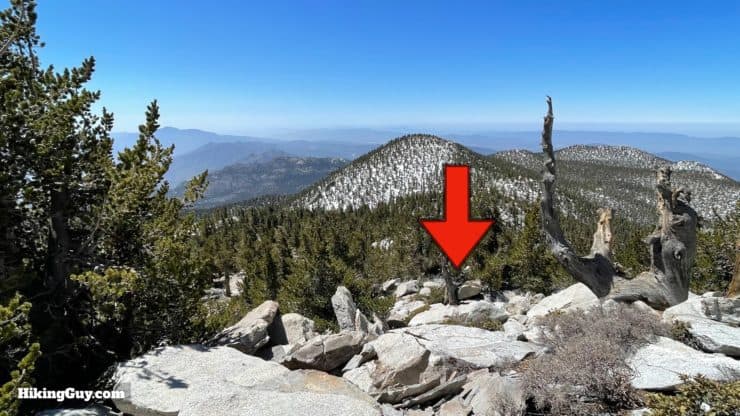
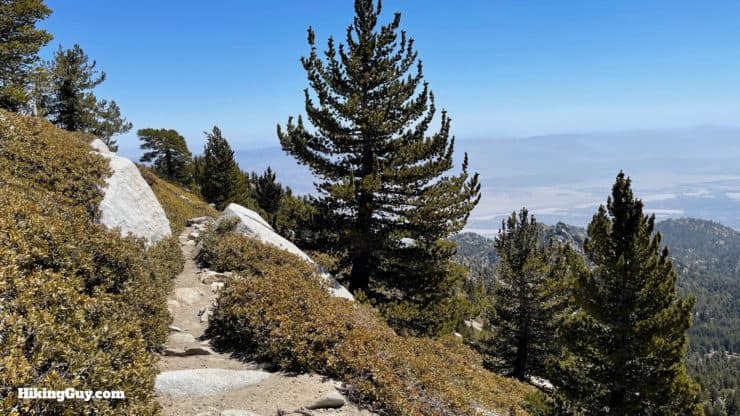
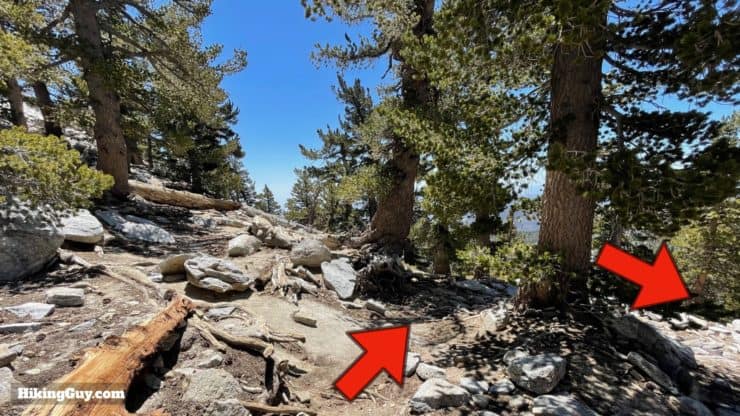
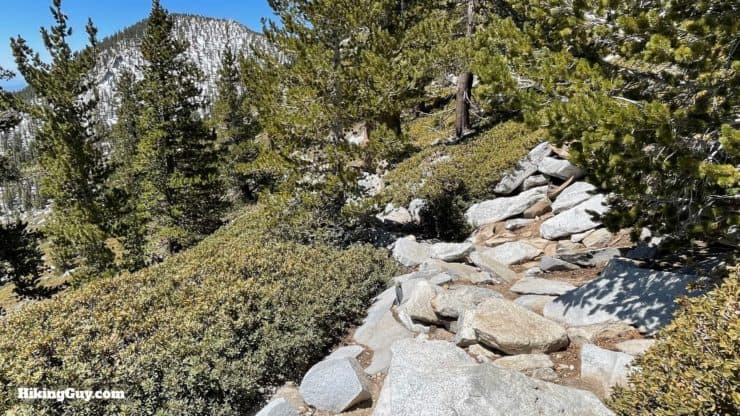
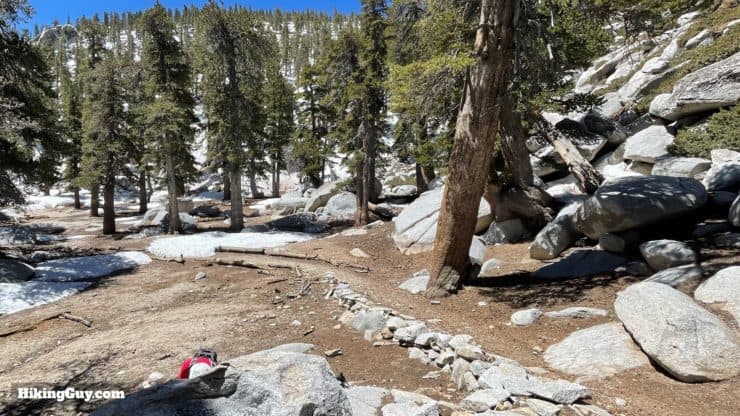
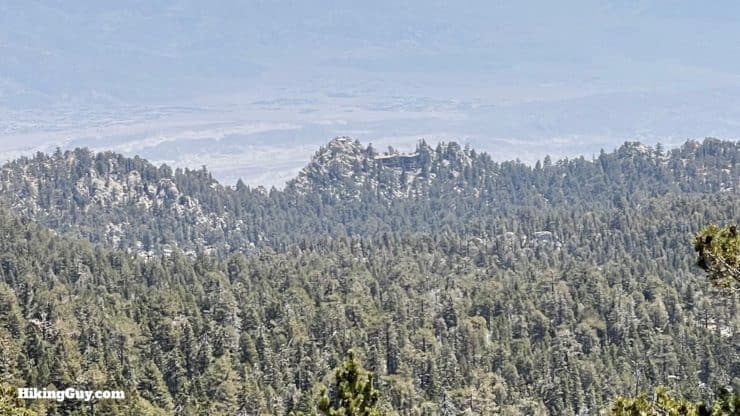
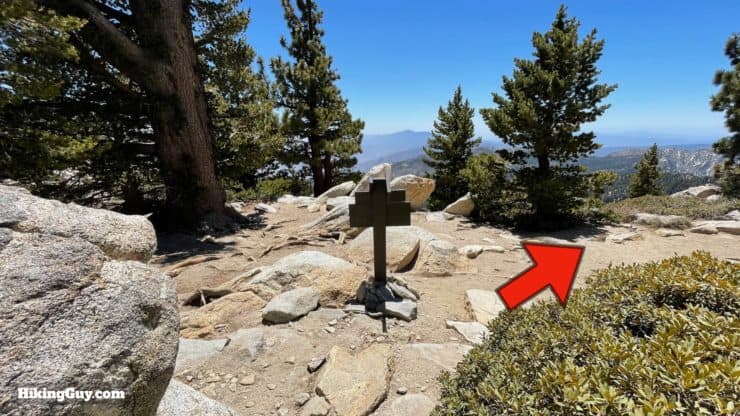
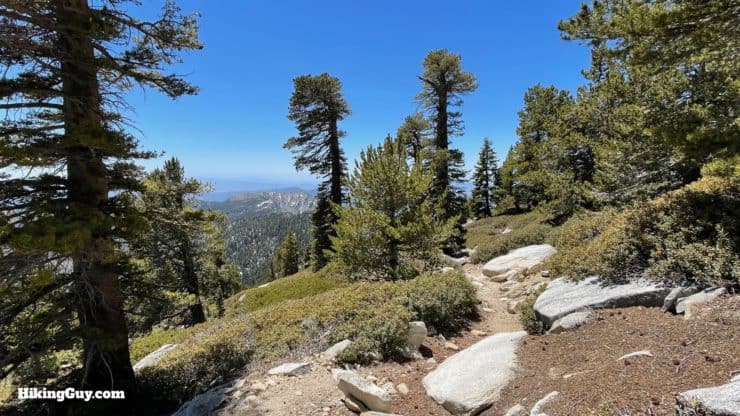
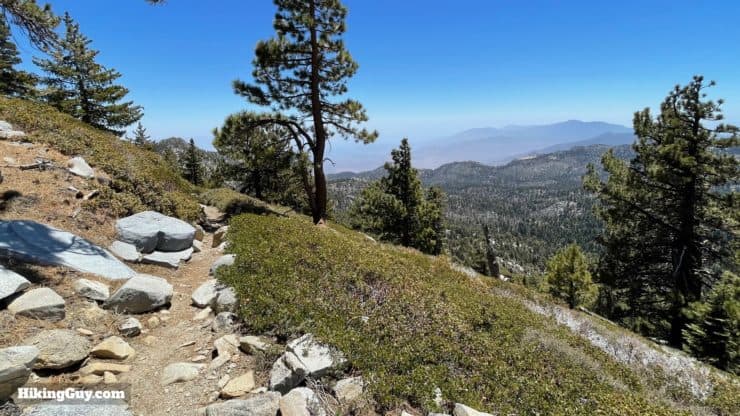
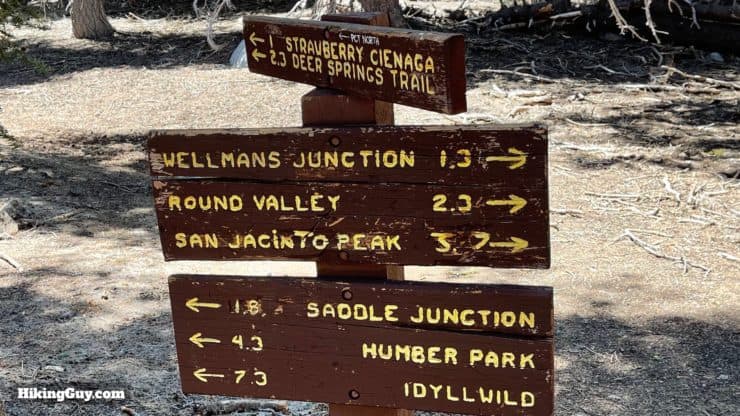
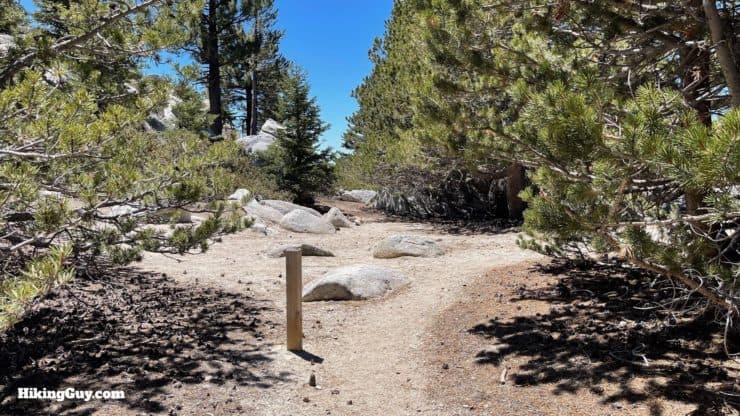
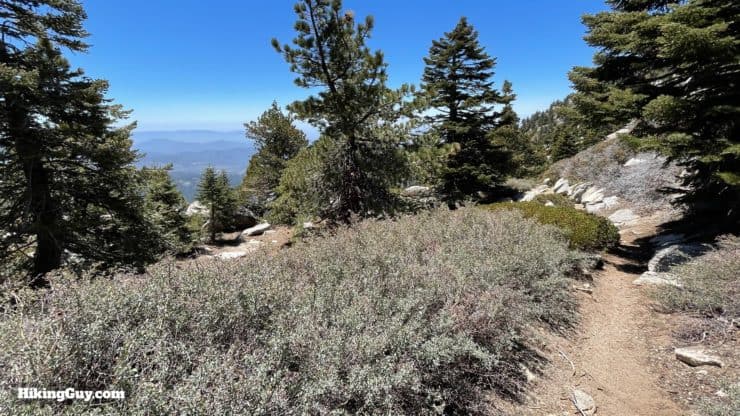
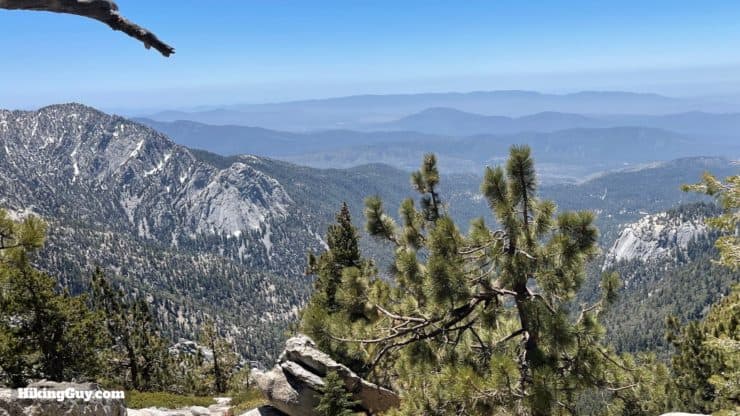
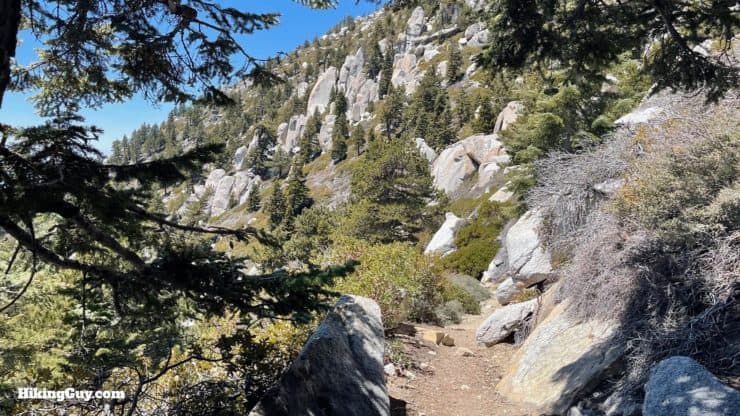
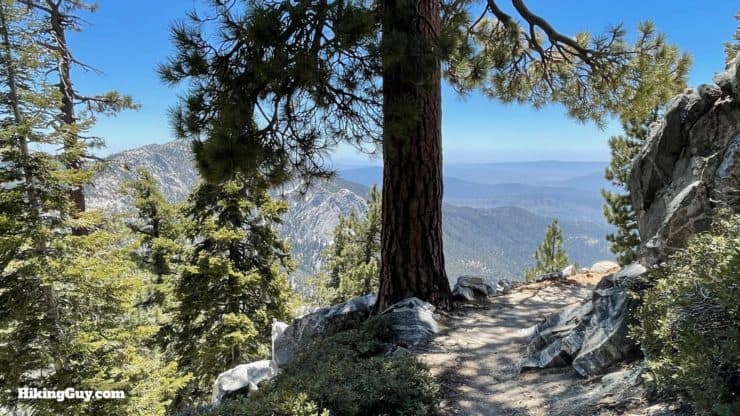
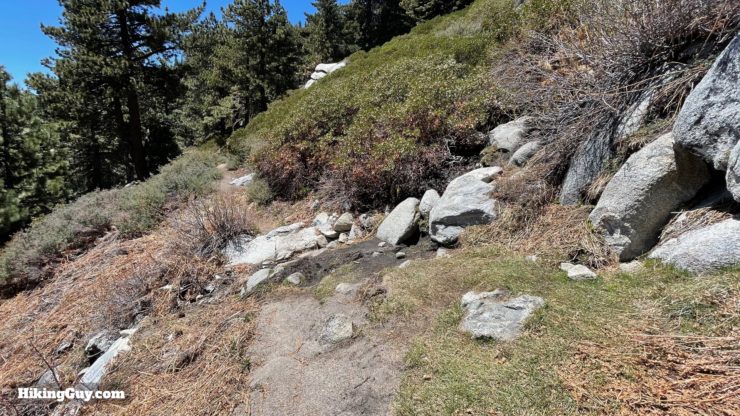
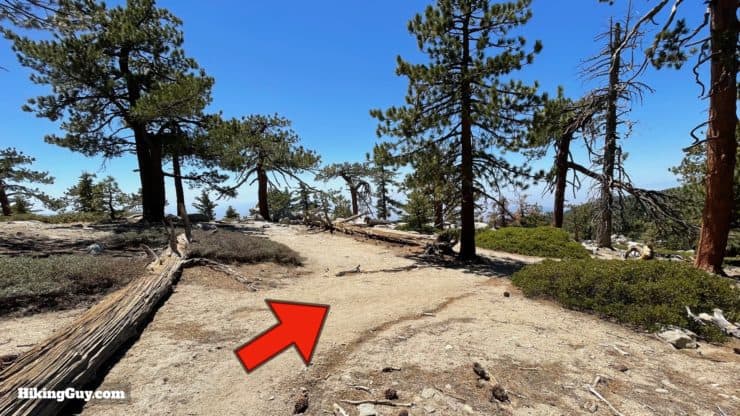
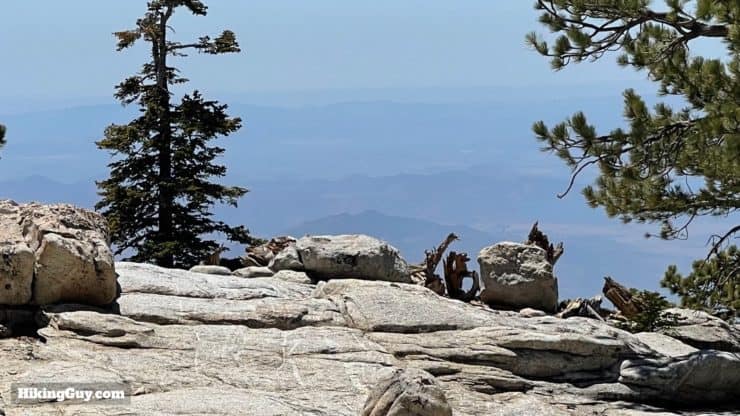
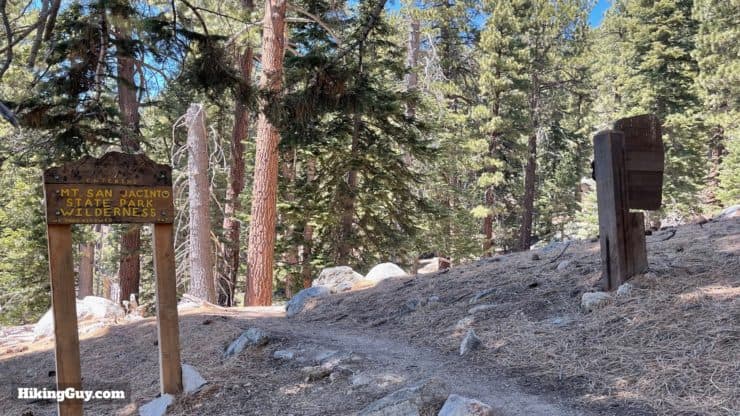
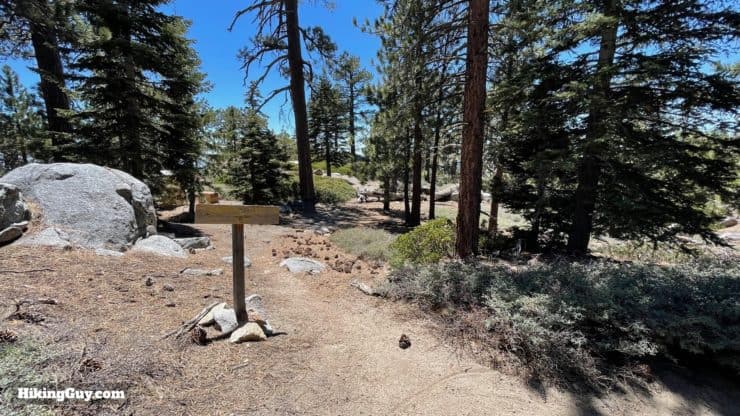
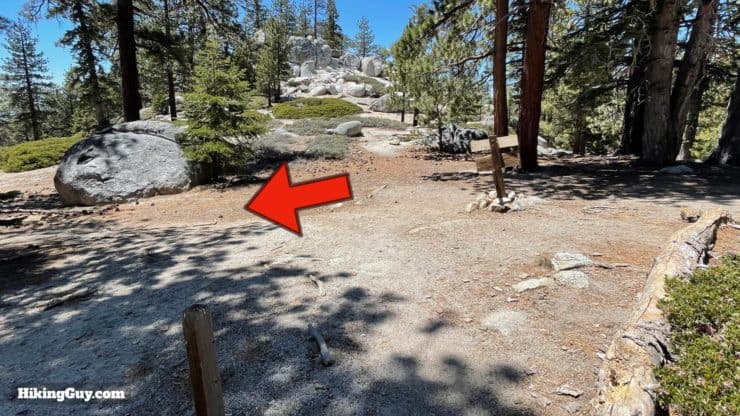
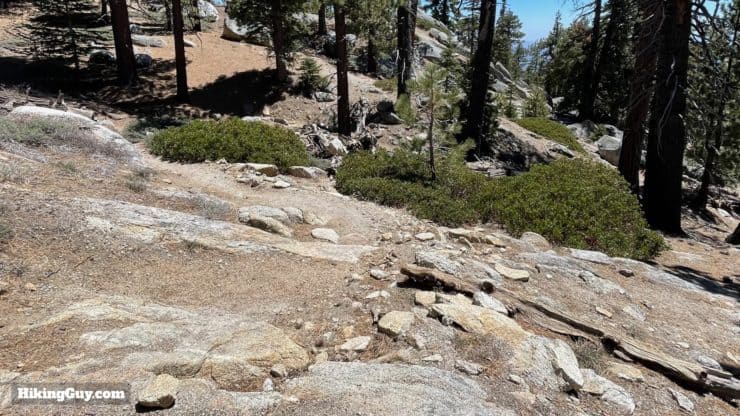
Look for the big trail leaving the east side of the parking area.At the top of the hill, make the left onto the wide dirt road.Continue up wide dirt road.There's a big sign telling you that you're entering the (free) permit area.And then you'll see the trail narrow off to the right. Hike right and start climbing.In a few minutes of climbing you'll get a nice break in the trees, offering the first view of many on this hike.And around 0.5 miles in you'll see a big sign for San Jacinto State Park.Here's a closeup of that sign. You'll pass in and out of the state and federal areas at different points on the hike.The climb up to the Suicide Rock Junction is steep and rocky in places.And also features a few switchbacks.And has a rare flat section or two. All in all you'll climb around 1200 feet before Suicide Rock junction.When you reach Suicide Rock junction, make the left and continue uphill.Here's the trail sign there. About 7 miles go to until San Jacinto Peak.On your right at the junction you'll get great views of Lily Rock, a popular spot for rock climbing. There are about 200 climbing routes up the rock. The high peak in the background is Tahquitz Peak, which is also a great hike.You have about 1100 feet of climbing in 2 miles as you keep heading uphill on Deer Springs toward Strawberry Junction. The trail is similar to the lower portion but you'll see more pines as you go up in altitude.As you approach Strawberry Junction the gradient mellows out.At Strawberry Junction, hike straight through. When we are finishing the loop about 11 miles later, we'll be coming back out on the trail on the right.Here's a closeup of the sign at Strawberry Junction. 5.5 miles to San Jacinto Peak.And now we're officially heading northbound on the Pacific Crest Trail (PCT). There's even a marker right after Strawberry Junction. Hopefully it won't be stolen when you get here.The next few miles undulate, with a good amount of flat portions.In the sections that come out of the trees you'll be able to catch some nice views.Even though there are flats, there still is a good amount of uphill as you continue on the PCT.At around 5.5 miles you'll reach a nice viewpoint off to the left which is worth checking out before continuing.You'll get views across Banning Pass to San Gorgonio Mountain, the highest peak in Southern California.When you reach the Marion Mountain Trail junction, go straight through.You'll see these neat PCT northbound (nobo) and southbound (sobo) signs in the area now. Here's one at that junction.And here's the other trail sign at the Marion Mountain Trail junction. 3.2 miles to San Jacinto Peak.Shortly after the Marion Mountain Trail you'll pass the junction for the Seven Pines Trail. Keep hiking straight.Between Seven Pines and the next junction at Fuller Ridge, the trail is easy to cruise on.There's also a decent amount of water to be found on the stretch between Strawberry Junction and Little Round Valley. It's good to refill along this stretch if you need to.At around 6 miles in, you'll say goodbye to the PCT off to the left and keep going straight.Here's the sign for that junction and the Fuller Ridge / PCT trail to the left. You're at about 9200 feet now.Now you have to start working again, with a steep climb up through the scrub.There are some nice views to help ease the pain on these steep sections.Eventually the Deer Springs Trail heads back into the pines.At around 7 miles in you reach Little Round Valley Campground.Wind your way through the campground by going straight through. There are small use-trails around the camp, but the main trail goes toward the other side of the valley.The tent sites all have funky names.There's a toilet here, the last one for about 7 miles.There's also a seasonal ranger station if you have a problem.Hike straight through Little Round Valley to start the last stretch of climbing to the summit.The ridge above you is the destination. The combination of altitude and distance often make this last steep stretch of climbing tough. You have about 1100 feet to go.There are a decent amount of switchbacks to help ease the gradient.And towards the top you'll start getting views through the trees.At the top, make the left turn at the junction to finish the last short stretch. At this point hikers from the tram and other routes will be joining in the climb.The trail between here and the shelter hut, the next stop, can be confusing. There are a lot of cutoffs and winding sections. Just follow the footprints and you should be okay.There's definitely a main trail here, and if you look closely, you'll be able to see it. Having my GPX file loaded into your GPS unit will also help.Look for the stone shelter up to the right, that's our next stop.When you get to the shelter, it's worth checking out. It was built in 1933s by the CCC using native stones, and was billed as "the highest building in Southern California" in the publicity for the wilderness area.From the hut you'll get nice views of Toro Peak. At 8717 feet it's the highest point in the Santa Rosa Mountains.The last short stretch to the summit is a (safe) scramble. In general, stay to the middle / right as you climb. Look to hikers descending for clues as to where to go next.Don't be scared to go right over big slabs of granite.This last little stretch is intimidating for some people, but you should never be close to a steep drop off the side. It's really just steep.And here you are, San Jacinto Peak! This is a very light crowd. If you get to the summit when the tram crowd is here, there is often a line to get pictures taken.
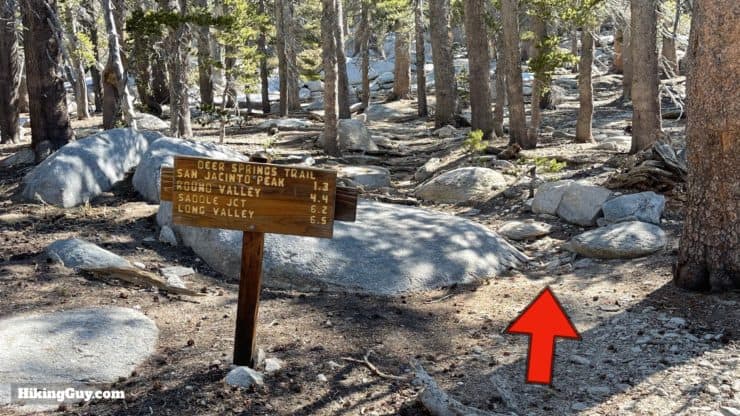
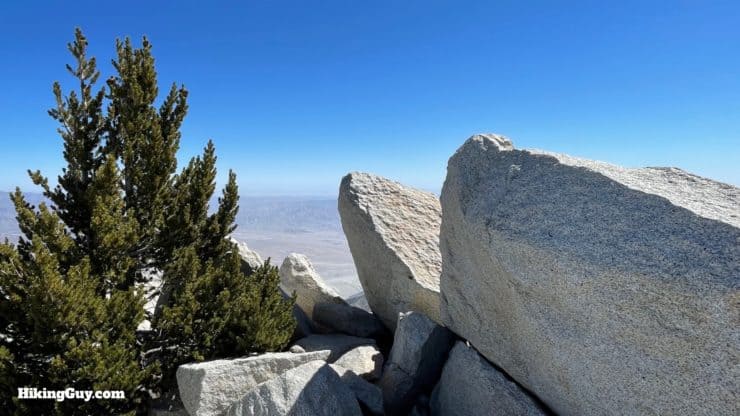
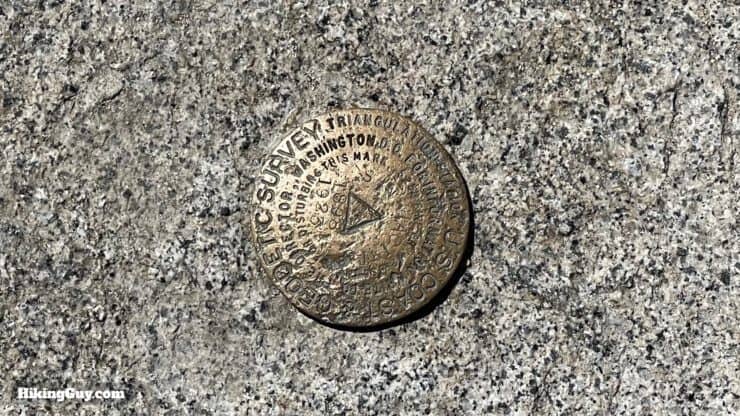
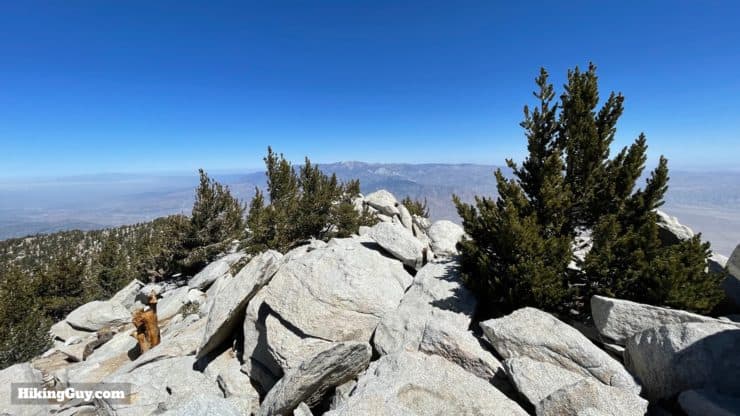
The tallest point is on these two boulders.if you're lucky, there will be a summit sign to pose with, but it does get stolen or lost occasionally. The USGS marker is always there though.There are a lot of boulders around the top if you want to escape the crowds.You'll get incredible views into Palm Springs and the Coachella Valley.And on a clear day you'll see Saddleback Mountain (here), the highest point in Orange County, and also Mt Baldy, San Gorgonio, and the peaks in Joshua Tree National Park.When you're done at the summit, hike back down to the last trail intersection.We came up Deer Springs on the right, to descend, go straight.Here's the sign at that junction. We're heading to Wellman Divide.You'll twist around and start heading down the east side of the peak, with the Coachella Valley in front of you.
Be very careful on this descent. The uneven and rocky surface, combined with fatigue, has lead to many sprained ankles and rescue calls. It's one of the busiest zones for rescues in the area.
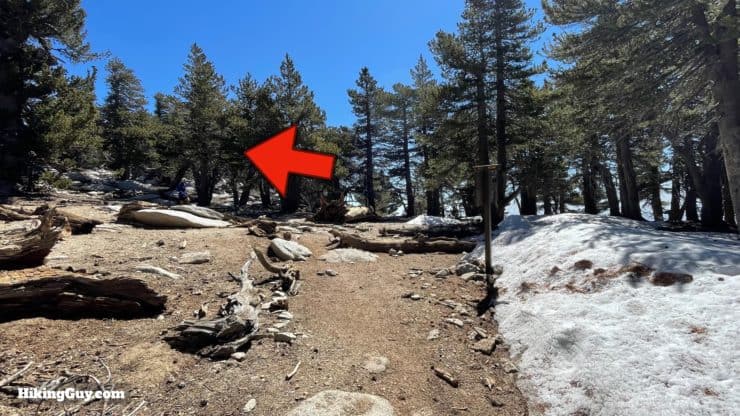
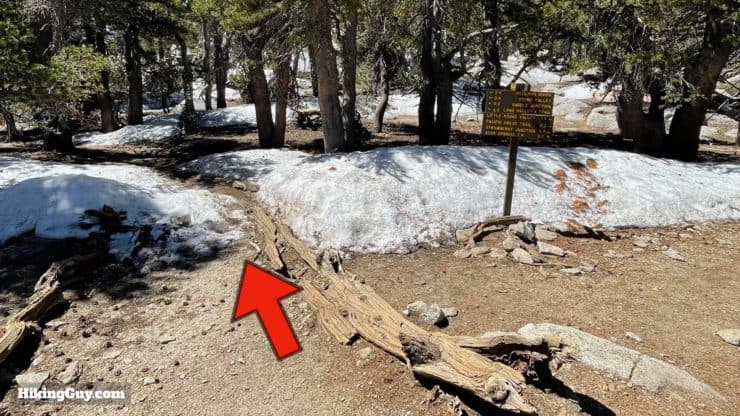
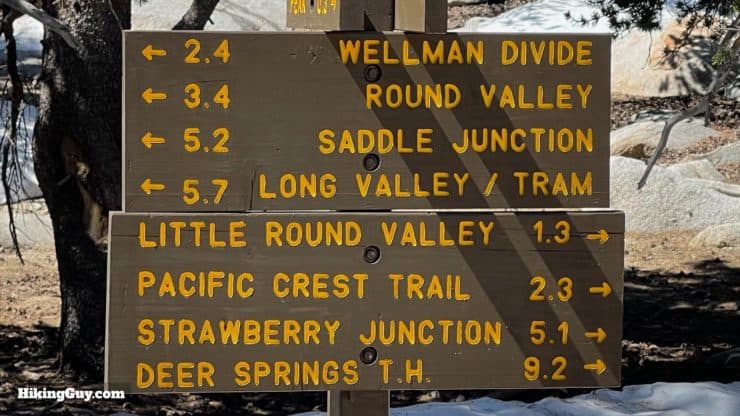
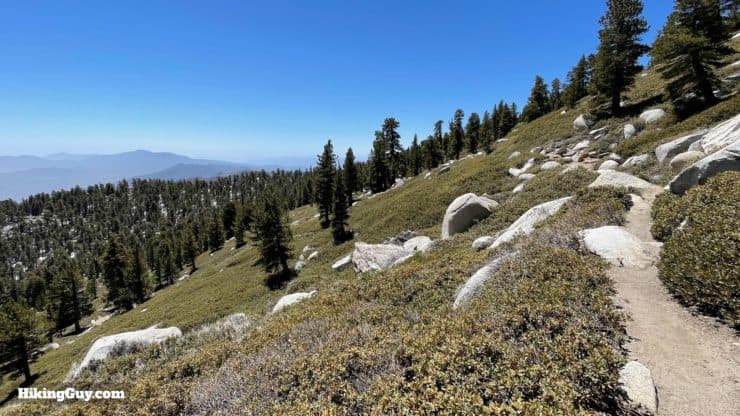
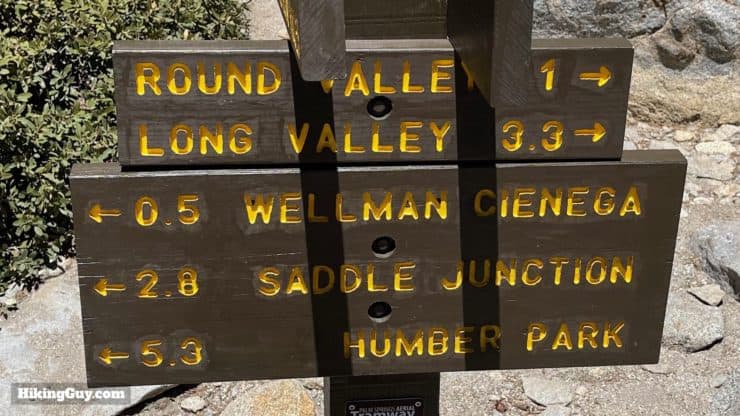
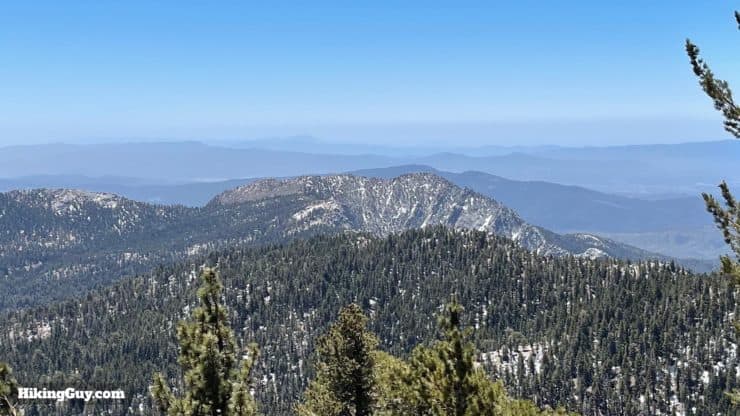
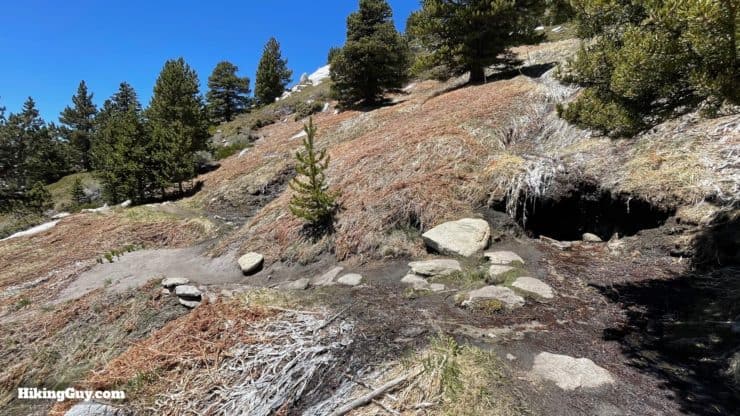
As you descend, keep your eyes open for the turn in the trail, back to the right. Going straight here will lead you back to the summit on a winter snow route.Now you have a long descent along the side of the mountain through the low scrub.There's a section where you hike through the pines again.And then another section through the scrub.Look back to your left here for views of the tram station.When you get to the junction at Wellman Divide, hike to the right. Those going back to the tram will be hiking left here.Here's a closeup of the sign at that junction. We're heading to Wellman Cienga.Get ready for a scenic descent away from the tram crowds.The spectacular granite slab in front of you is Tahquitz Peak at 8,846 feet, which is home to a fire tower.The trail winds down switchbacks.At around 11.5 miles you'll pass Wellman Cienga, which sometimes has water.
A ciénaga is a marsh formed by hillside springs.
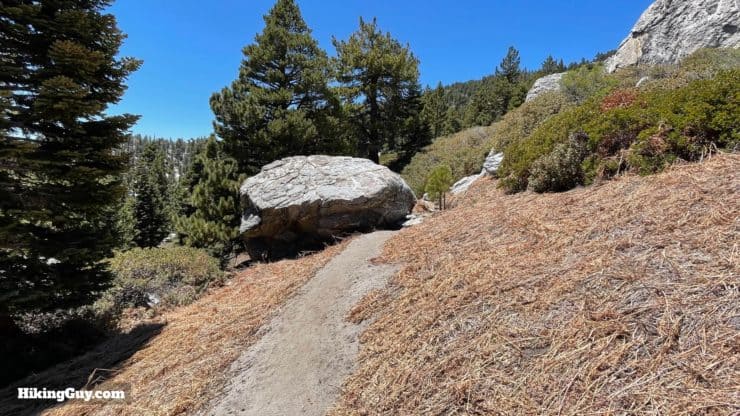
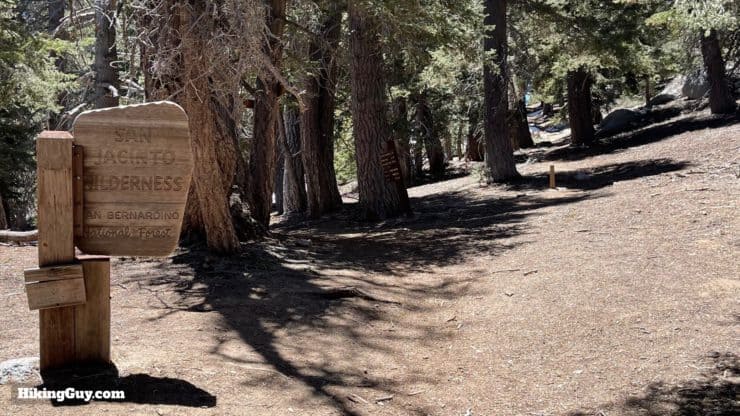
The descent mellows out and you can really cruise. And I just love this huge boulder.You'll leave the state land and enter the San Jacinto Wilderness.And right after that last sign you'll reach Annie's Junction. Make the right to hike slightly uphill.Here's the sign at that last junction. We're heading back to the Deer Springs Trail in 2.3 miles.You have one little (last) uphill. Bear right at the top.And then there's more miles of sweet downhill.From here you can see Suicide Rock on the right and Tahquitz Peak on the left. It feels more like Yosemite than Riverside County.There's lots of cool granite boulders along the trail as well.This section of trail is probably the quietest on the whole hike, and is just as scenic as the rest.You'll pass over Strawberry Cienga.And then bear right to continue past the unofficial viewpoint camp.The viewpoint is a nice place to take a break and enjoy the views.Re-enter the state park.And then pass Strawberry Junction Camp. There's a toilet here if you need it.And soon you'll be back at Strawberry Junction. Make the left to continue back to the start.From here you just descend the way you came up on the Deer Springs Trail until you get back to the parking lot. That's the hike!
Need More Info?
Have a question about the guide or want to see what other people are saying/asking? View the Youtube comments for this video. Leave a comment and I will do my best to respond.
When planning, always check the park website and social media to make sure the trails are open. Similarly, check the weather and road conditions.


 Using the Apple Watch for Hiking
 Garmin Fenix 7 & Epix Review For Hikers
 How To Read a Topographic Map
 Garmin GPSMAP 67i Review
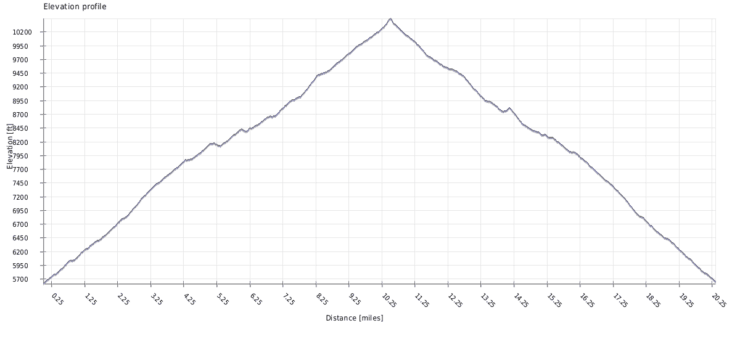


 Black Mountain Trail to the Fire Lookout (Idyllwild, CA)
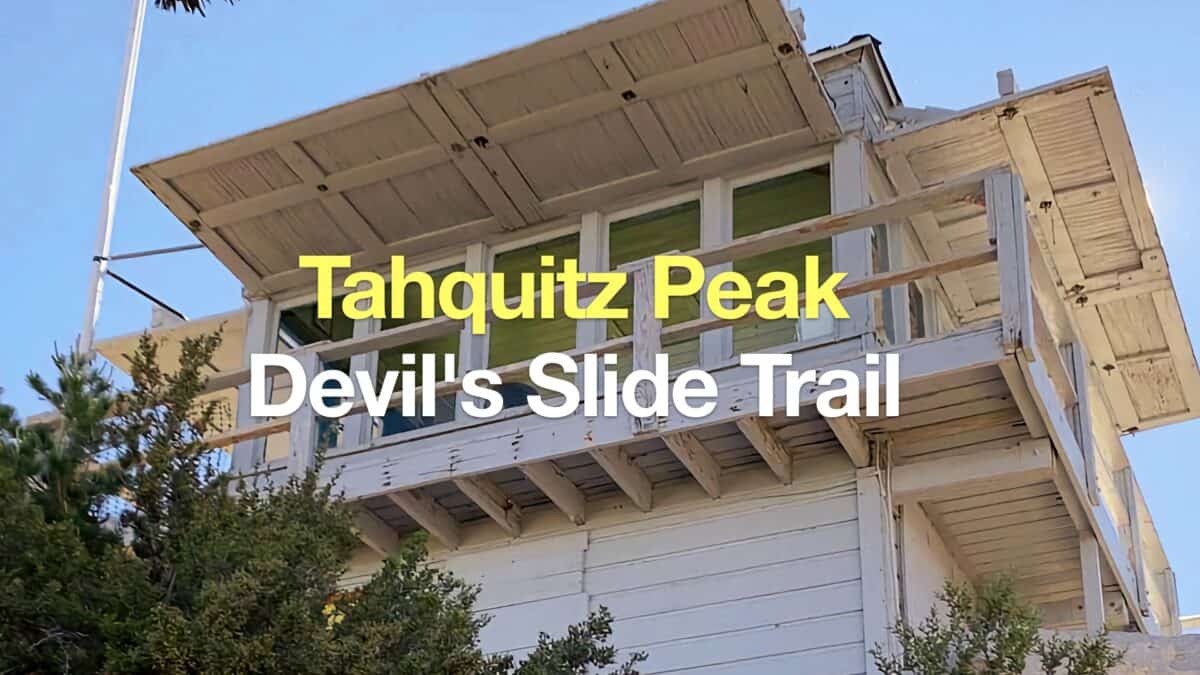 Tahquitz Peak via Devil's Slide Trail Hike
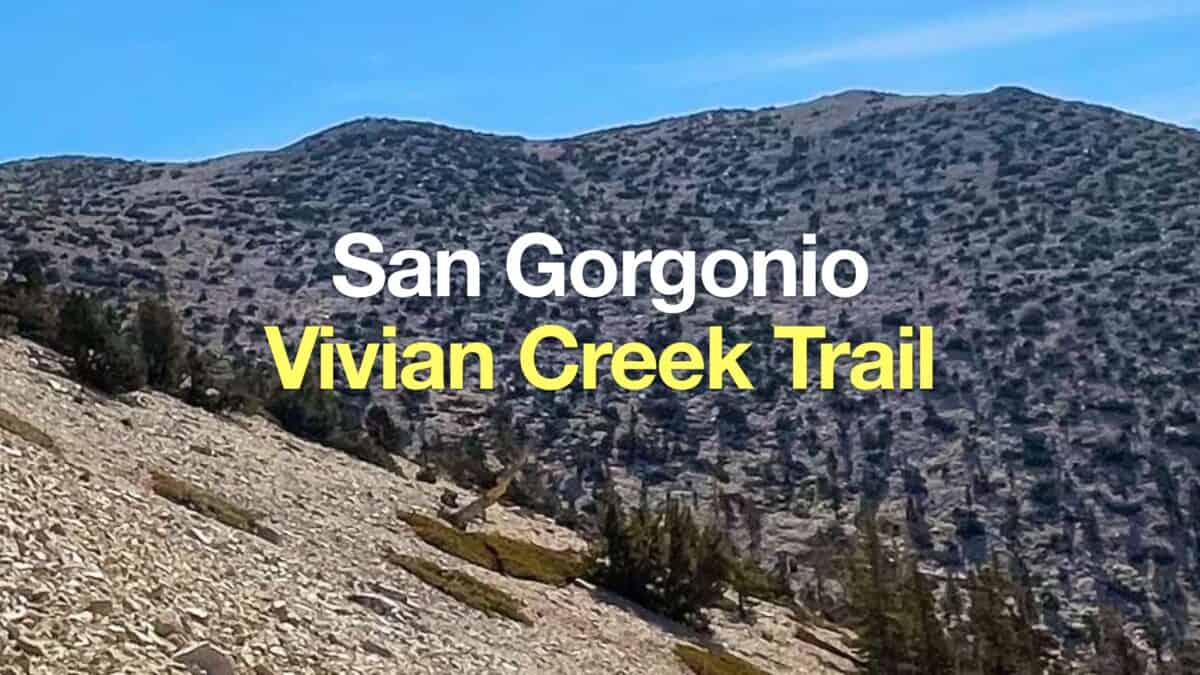 San Gorgonio Hike on the Vivian Creek Trail
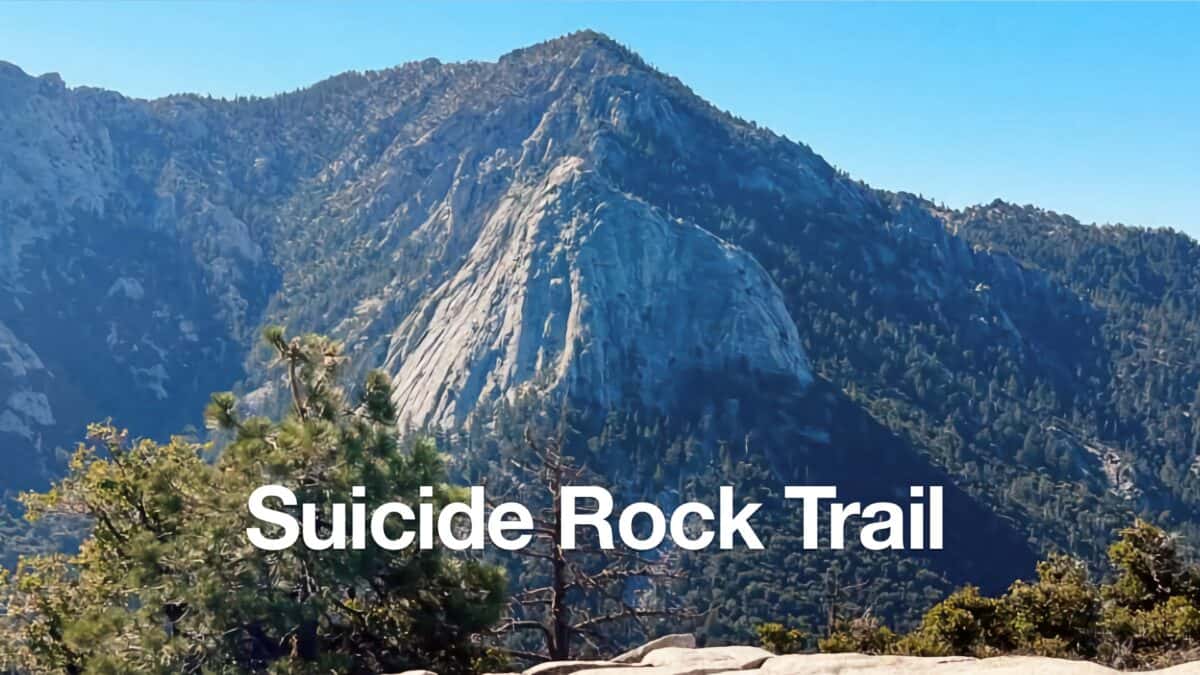 Hike the Suicide Rock Trail (Idyllwild)
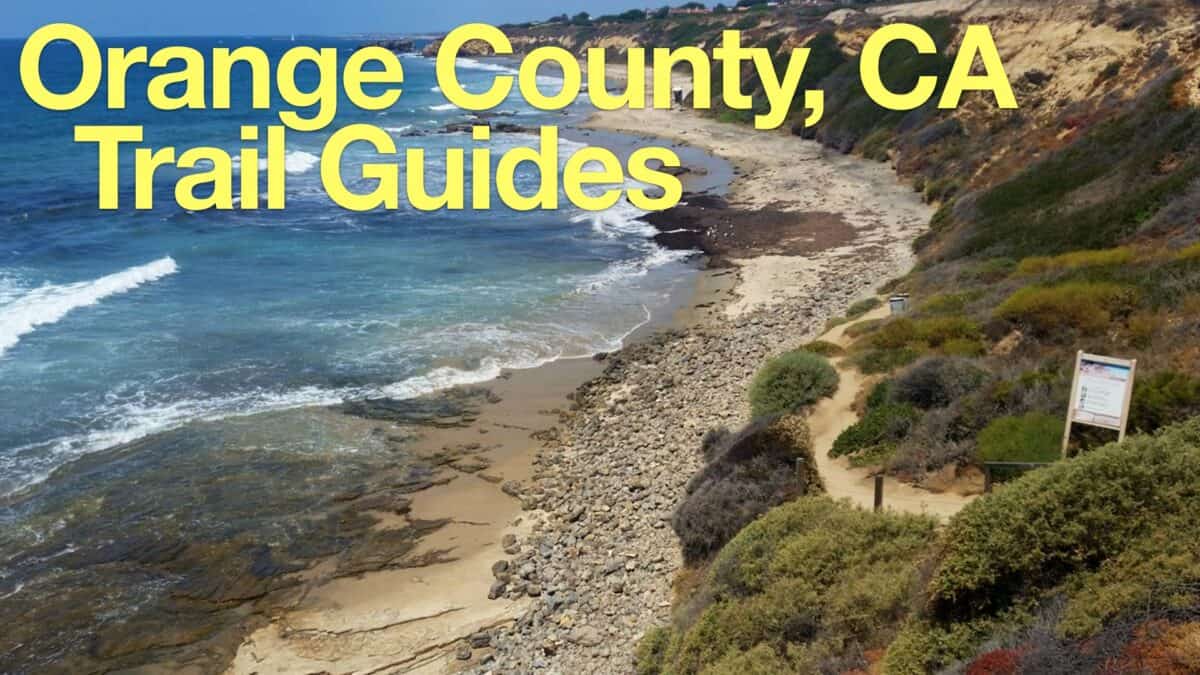 Hikes In and Around Orange County
 Los Angeles Hikes
 Palm Springs Hiking Trails
 Backpacking Trips
 Hikes In and Around Riverside County
 LA Mountain Hikes
 Sierra Club 100 Peaks
 Best Hiking Gear 2024
 Hiking Boots or Shoes: Do I Really Need Hiking Boots?
 When to Hit SOS on inReach