
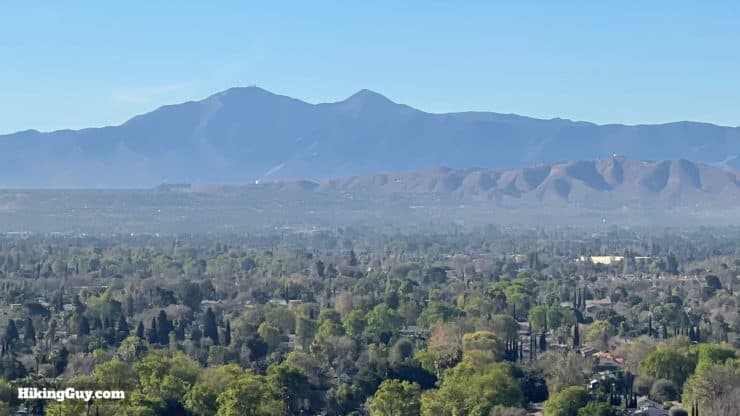
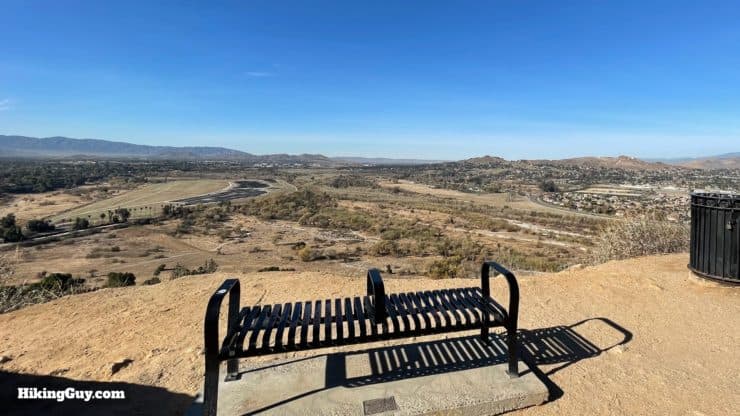
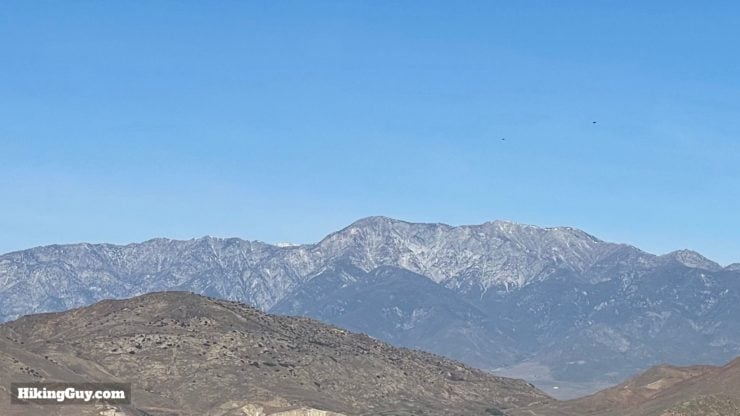
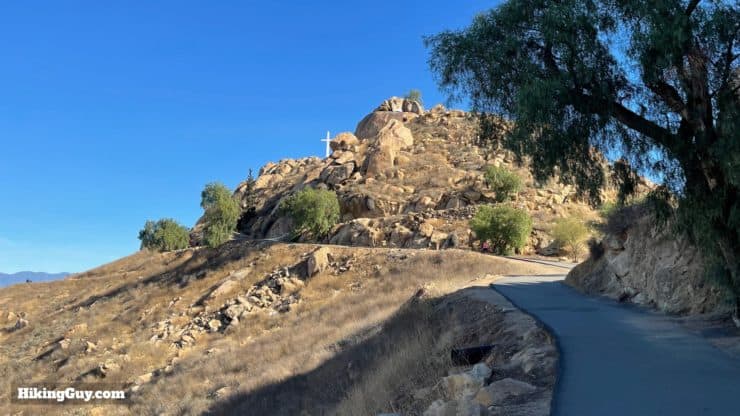
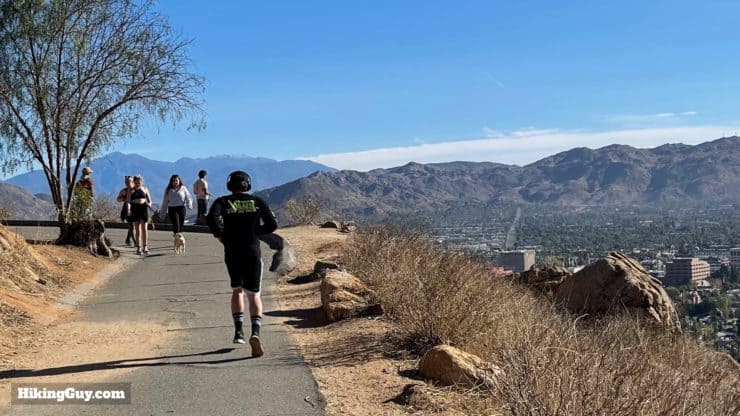
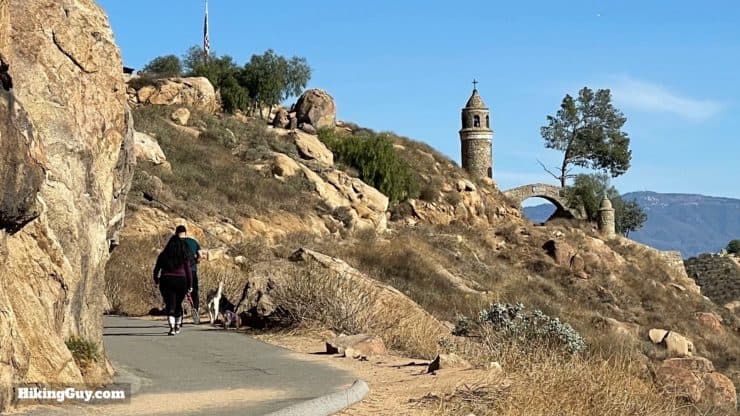
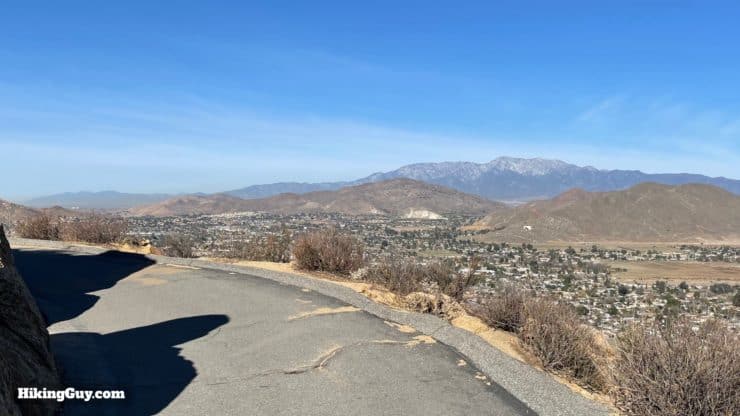
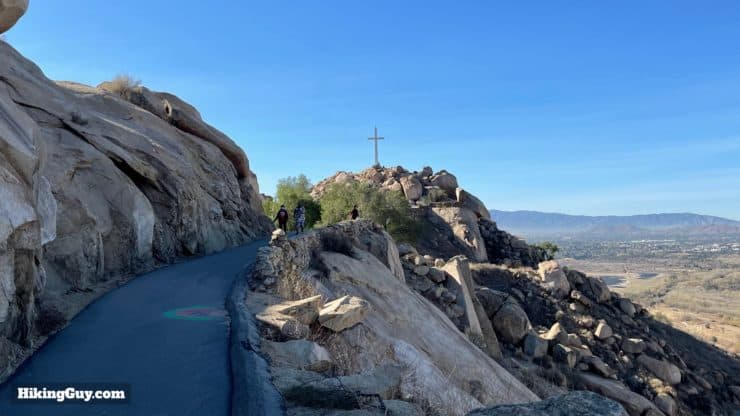
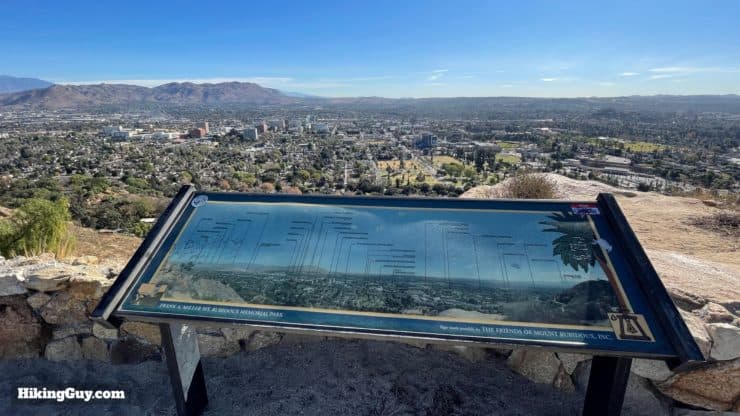
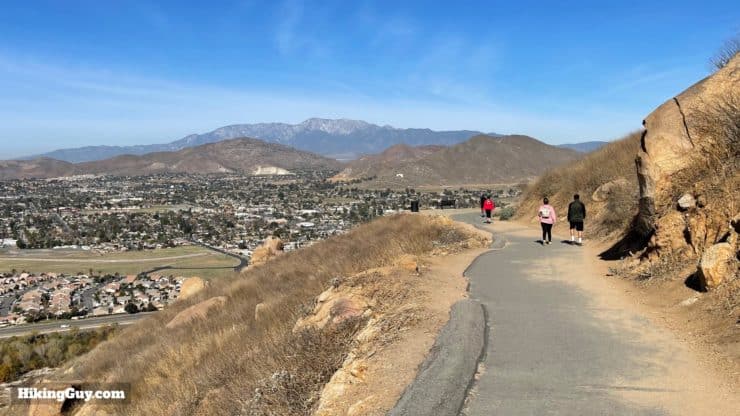
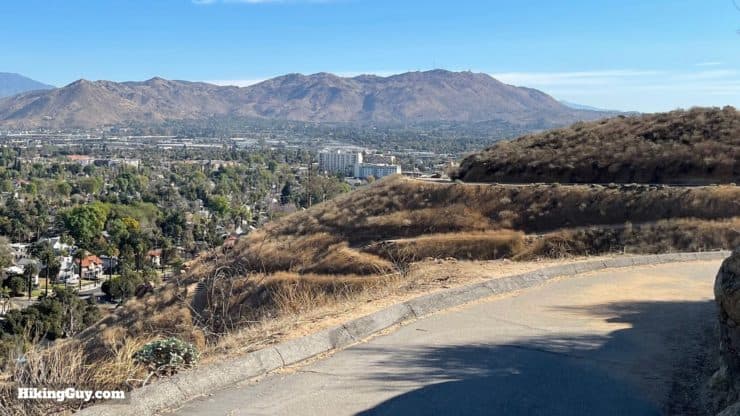
Although not a wilderness hike, the Mt Rubidoux Trail, nestled right in the middle of Riverside, CA, still has lots to offer and is worth a visit. A gradual, paved, family-friendly trail winds up to the top of Mt Rubidoux, where you are treated to panoramic views of the big mountain ranges, as well as attractions some historical attractions like the Serra Cross, the giant flag, and the Peace Bridge. Now there are many trails in Mt Rubidoux Park, but I'll show you the popular (and probably easiest) route to the top.
- Video and Turn-by-Turn Directions for the Mt Rubidoux Trail
- Where to Park for the Mt Rubidoux Trail
- Maps and Insider Tips for the Hike
And if you're a hardcore hiker and are considering this hike but don't like that it's paved, know that John Muir did this hike (really).
Where to Park for Mt Rubidoux
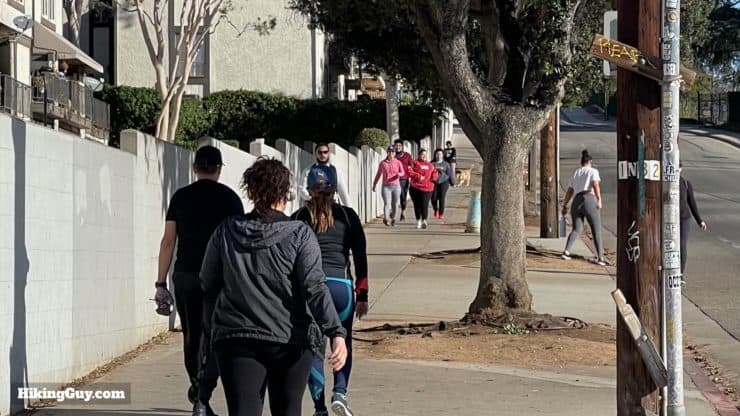
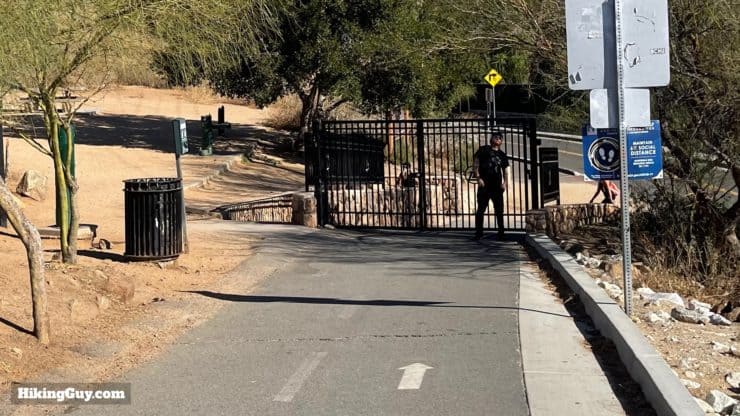
Official parking for the Mt Rubidoux Trail is about a five-minute walk away from the trailhead, at Ryan Bonaminio Park. There is no parking on the street in front of the trailhead. Use this trailhead address:
Ryan Bonaminio Park, 5000 Tequesquite Ave, Riverside, CA 92506
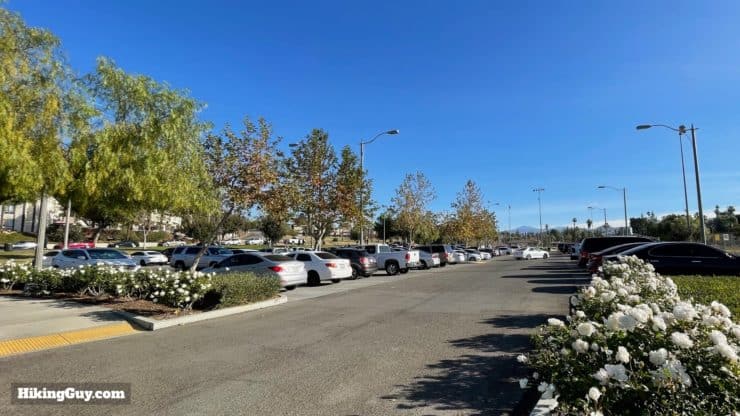
Parking at Ryan Bonaminio Park is free.
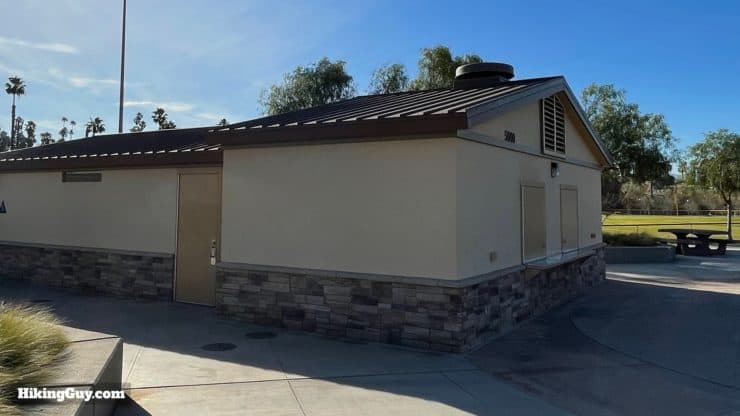

Mt Rubidoux Park is open from dawn to dusk.
Gear for the Hike
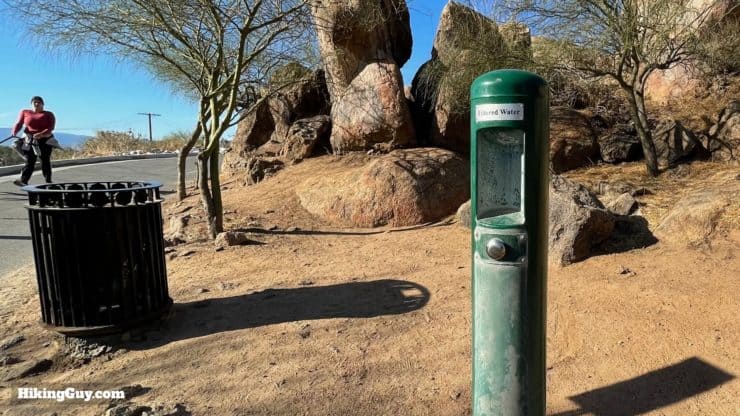
This is in no way a technical hike, and you're fine with fitness clothes and sneakers. The hike is very exposed, and I generally bring 1L of water and wear sunscreen. I'd highly recommend a camera for all the incredible views.
Gear That I Love Right Now
Nothing is sponsored or promoted, just the actual gear that I use.

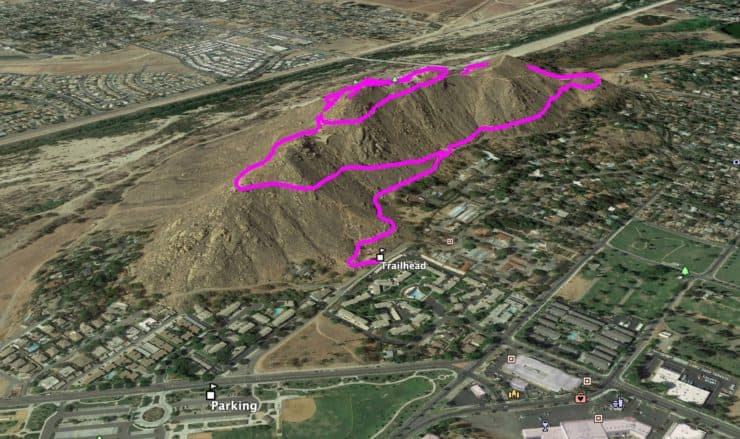
Mt Rubidoux Trail Maps
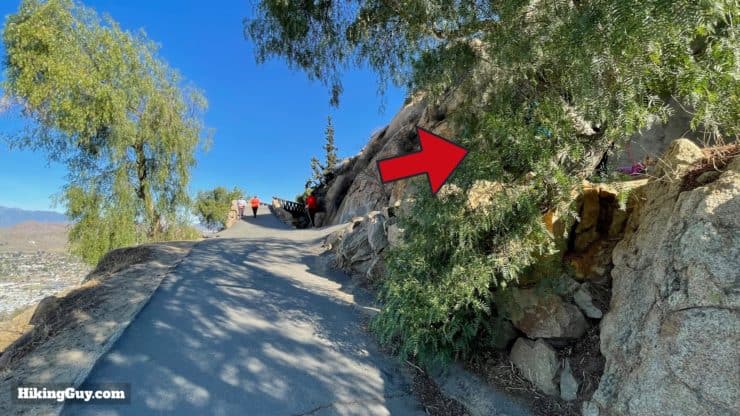
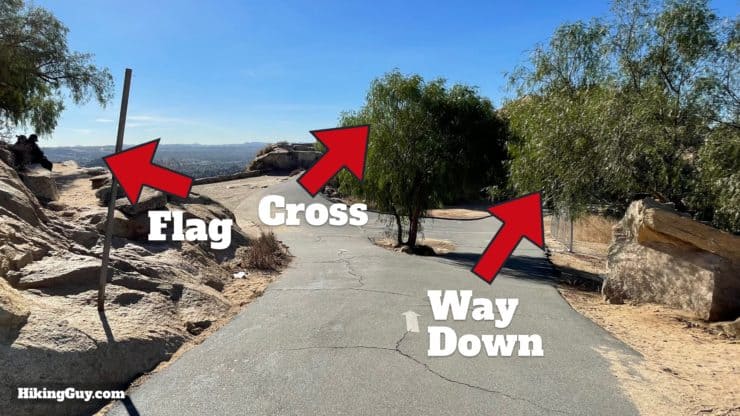
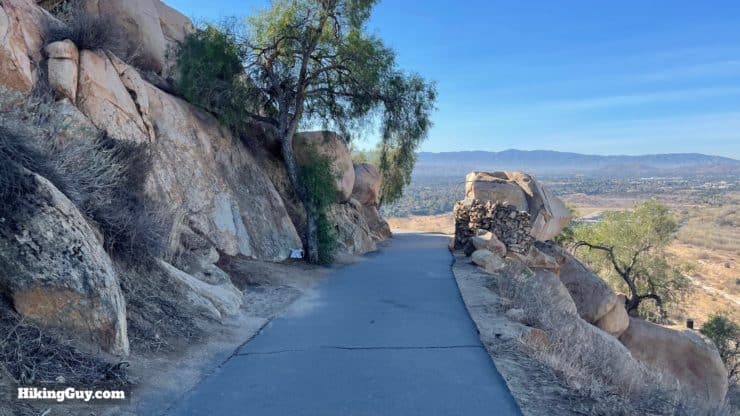
While there are many trails in Mt Rubidoux Park, many of them dirt, the main loop trail is all paved. If you've never done the hike before, I recommend starting with the official loop and adding some side trails if you want to explore. The park is small and has no tree cover; it's tough to get lost, if not impossible.
How Will You Navigate?
 Using the Apple Watch for Hiking
 Garmin Fenix 7 & Epix Review For Hikers
 How To Read a Topographic Map
 Garmin GPSMAP 67i Review
Elevation Profile

3D Map
Making the Hike Interesting
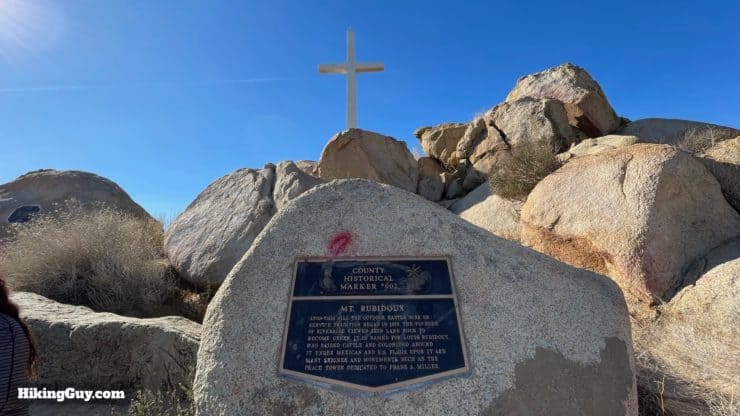
- Mt Rubidoux became a park in 1906 when Frank Miller (the force behind the famous Mission Inn in Riverside) and Henry E. Huntington (who you might know from the Huntington Library or Huntington Beach) purchased the land.
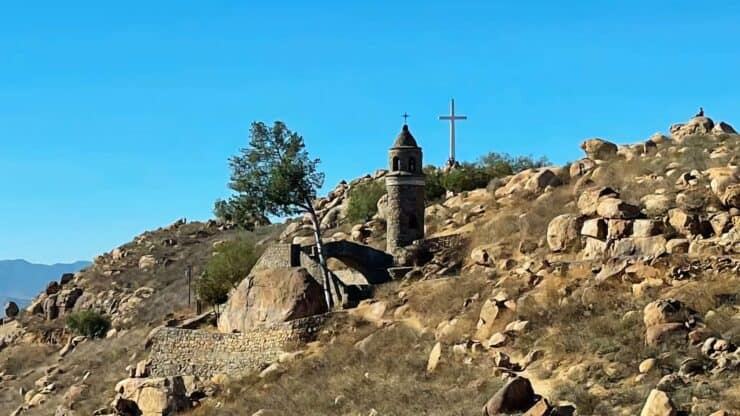
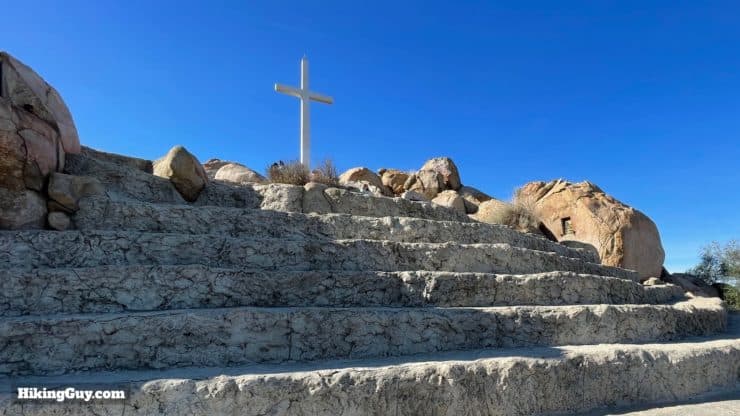
- The Serra Cross (the big cross at the top) has had its share of controversy. A group advocating the separation of church and state got into a legal battle with the city, since the cross was on public land. The city ended up selling the land under the cross to a private organization called "Totally Mt. Rubidoux" which now cares for it. And in recent years, the cross, named after early missionary Junipero Serra, has occasionally been vandalized as Serra's legacy is reexamined.
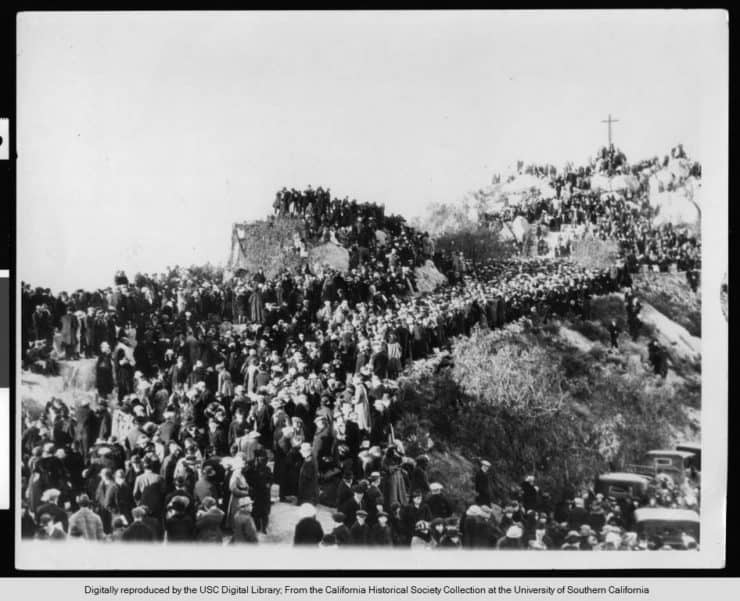
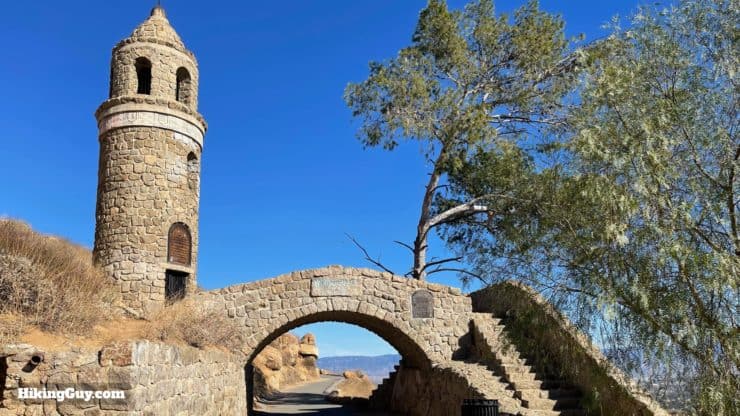
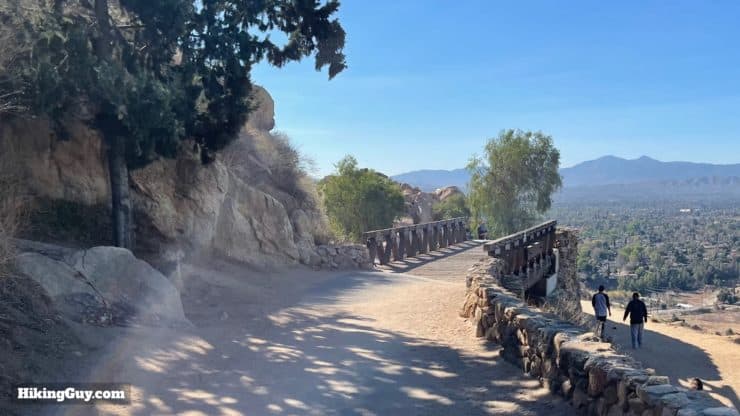
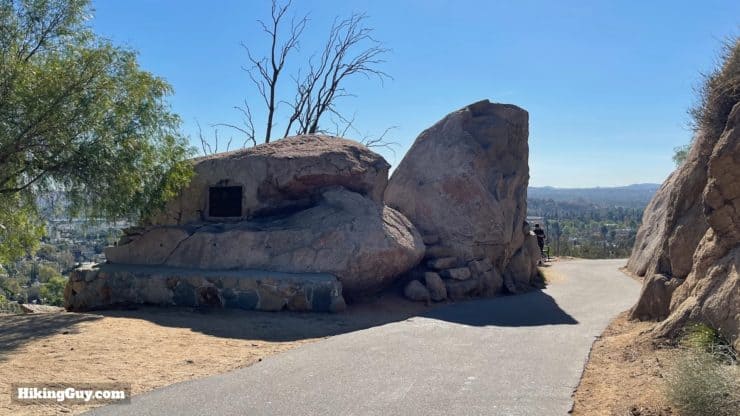
- My favorite attraction, aside from the views, is the Peace Tower and Friendship Bridge, built in 1925 to honor of Frank Miller. The style is based on a bridge in Alcántara, Spain, and it fits in nicely with the historic, Spanish-influenced vibe of the area.
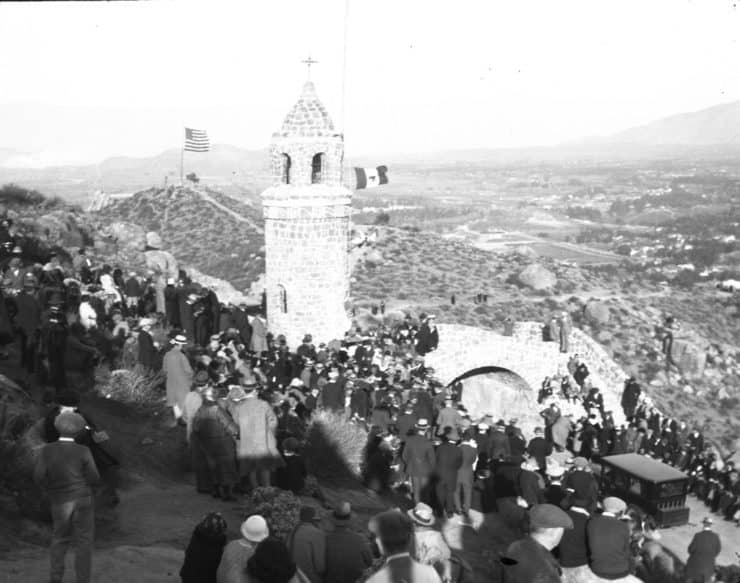
Crowds at the Peace Tower dedication in 1925. Photo Rivera Library
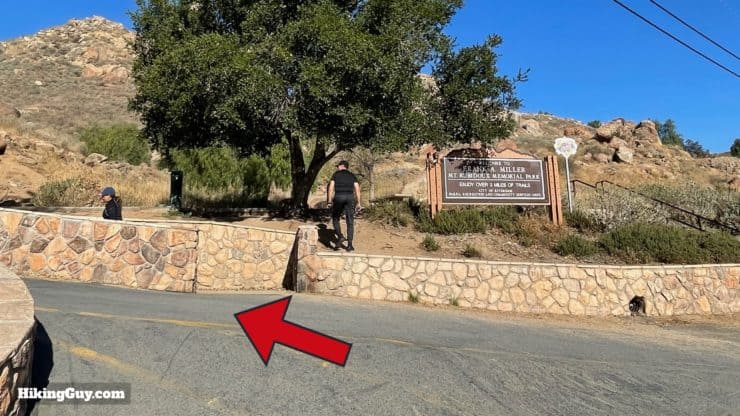
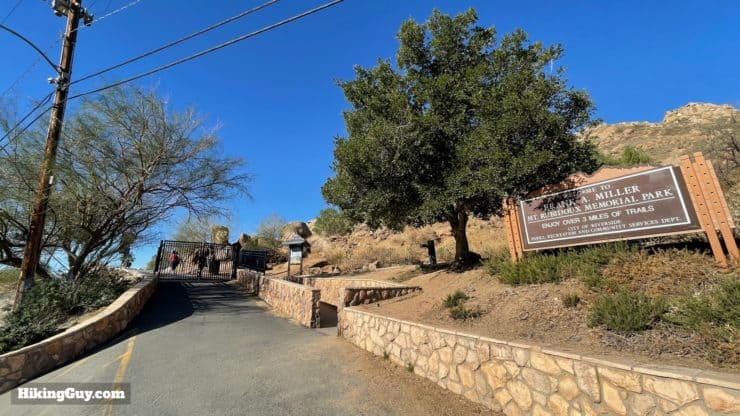
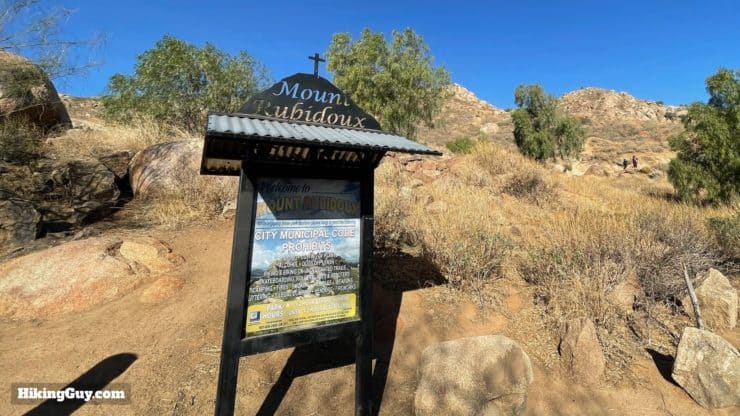
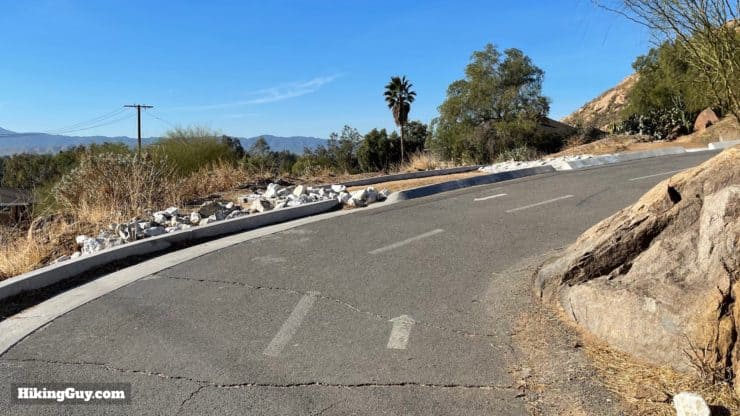
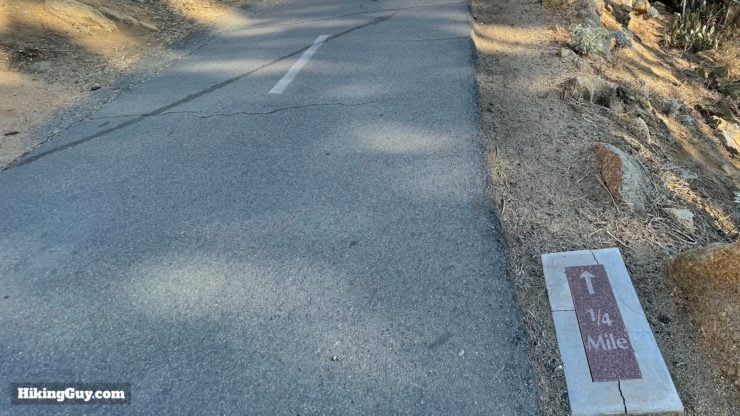
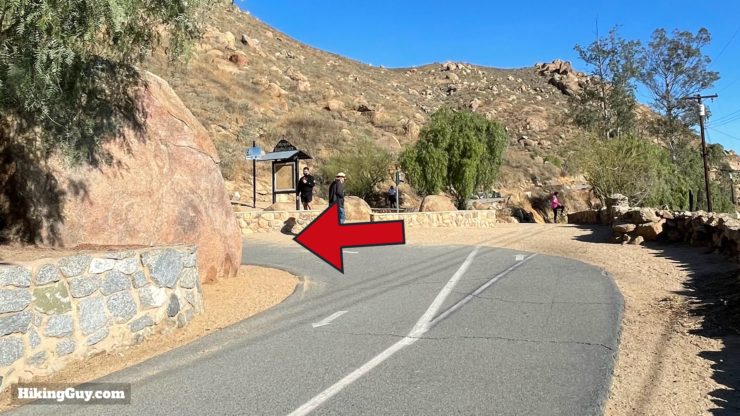
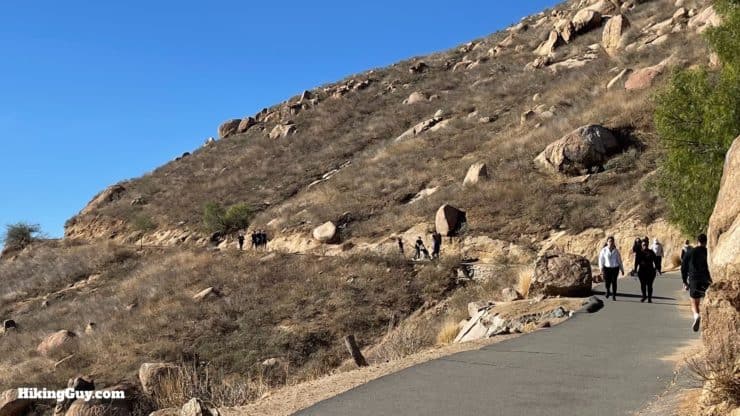
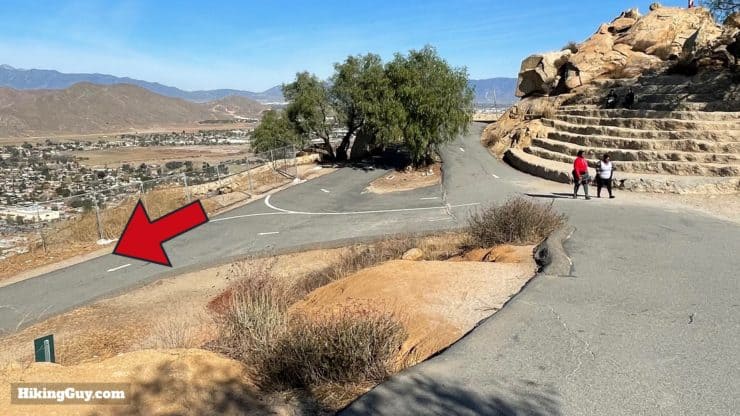
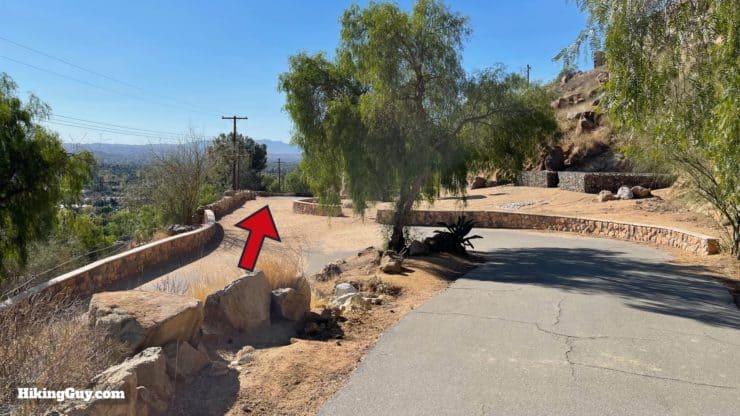
Mt Rubidoux Trail Directions


Need More Info?
- Have a question about the guide or want to see what other people are saying/asking? View the Youtube comments for this video. Leave a comment and I will do my best to respond.
- When planning, always check the park website and social media to make sure the trails are open. Similarly, check the weather and road conditions.
Related Guides
 Hike the Pumpkin Rock Trail
 Terri Peak Hike at Lake Perris
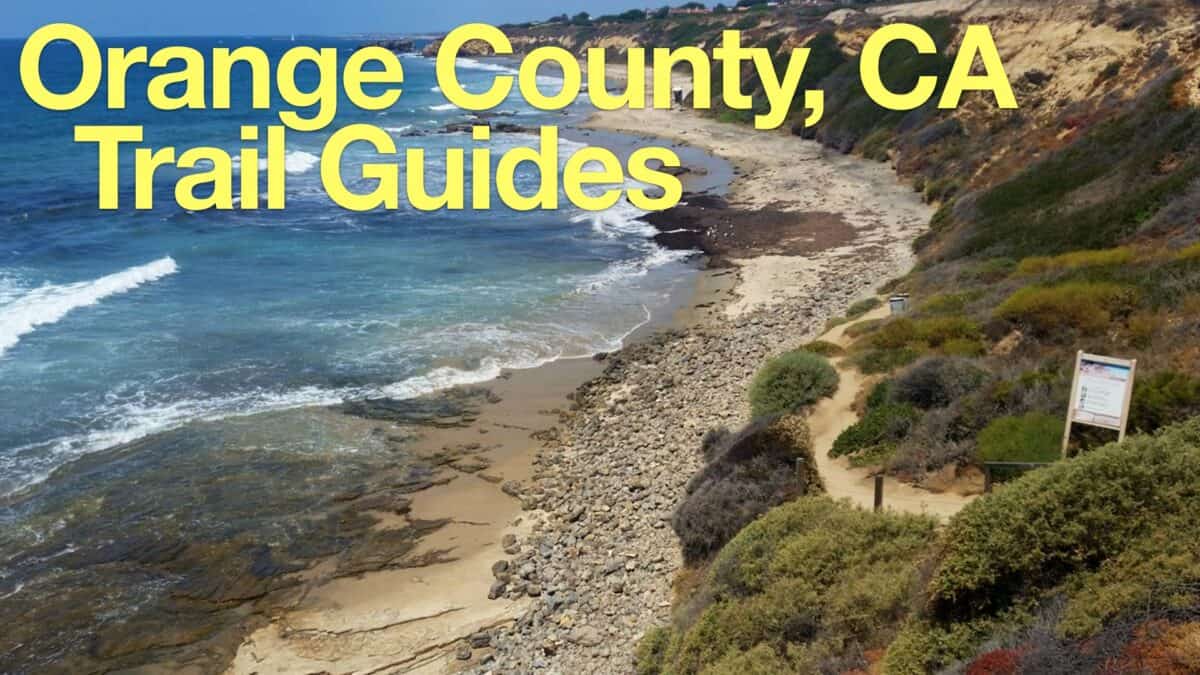 Hikes In and Around Orange County
 Los Angeles Hikes
 Hikes In and Around Riverside County
Popular Guides
 Best Hiking Gear 2024
 Hiking Boots or Shoes: Do I Really Need Hiking Boots?
 When to Hit SOS on inReach
This Guide Was Written by Cris Hazzard

Hi, I'm Cris Hazzard, aka Hiking Guy, a professional outdoors guide, hiking expert, and author based in Southern California. I created this website to share all the great hikes I do with everyone else out there. This site is different because it gives detailed directions that even the beginning hiker can follow. I also share what hiking gear works and doesn't so you don't waste money. I don't do sponsored or promoted content; I share only the gear recommendations, hikes, and tips that I would with my family and friends. If you like the website and YouTube channel, please support these free guides (I couldn't do it without folks like you!). You can stay up to date with my new guides by following me on YouTube, Instagram, or by subscribing to my monthly newsletter.