The Palm Springs Aerial Tramway Hike to Mt San Jacinto is a great way to bag Southern California's second-highest peak without putting in a considerable effort. It's still a challenging 11-mile hike, but it's nothing like climbing Mt San Jacinto from Palm Springs or Idyllwild; taking the Palm Springs tram cuts about 6,000 feet of climbing off the hike. The summit of Mt San Jacinto is one of my favorites because it straddles the line between Coastal California and the Sonoran Desert, allowing you to see the transition between the two ecosystems, and on a clear day, from Catalina Island to Mt Charleston, just outside of Las Vegas. It's a fun and insanely beautiful hike.
In this Guide:
Video & Turn-by-Turn Directions to San Jacinto Peak
The journey starts at the Palm Springs Aerial Tramway base station, where you take the tram 5873ft up to Mountain Station, the start of the hike. The tram station is about 15 minutes west of downtown Palm Springs off the main road. The address for the tram is: 1 Tram Way, Palm Springs, CA 92262.
There is a fee to park your car at the tram station.
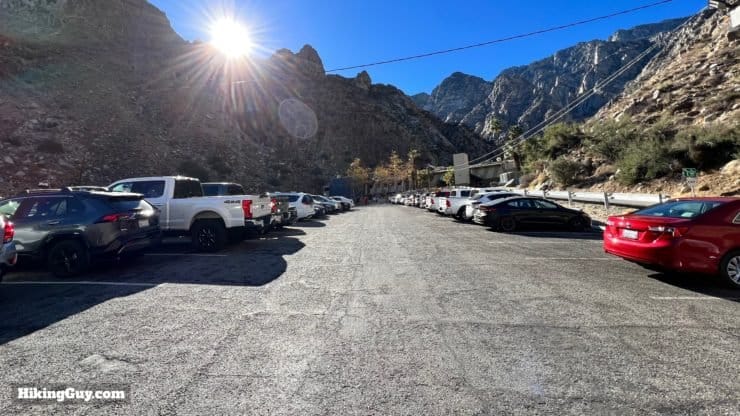
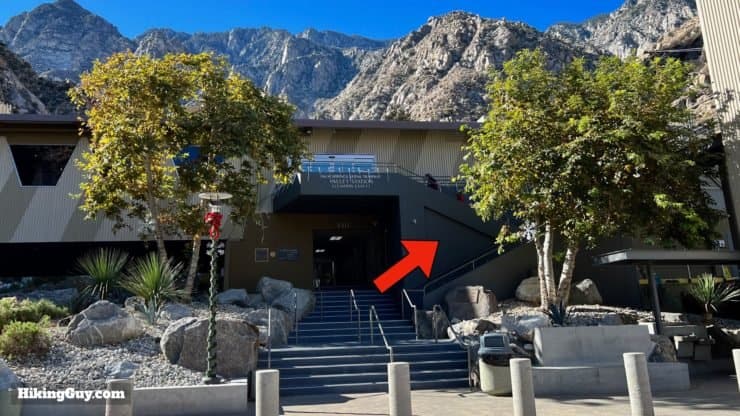
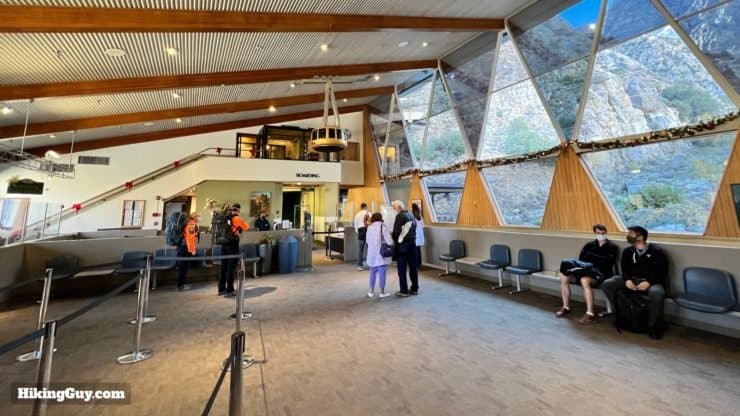
There are several parking areas, and when you go through the pay station, they'll direct you to the appropriate lot that is open. Ideally you'll park in Lot A, which is closest to the tram station. If it's crowded, you'll be in a lower lot where you need to take a shuttle bus.Go upstairs at the tram station for departures.There's a large waiting room where you can buy tickets, use bathrooms, and visit a small gift shop. You can also buy tickets online before you arrive.
Planning Your Tram Ride
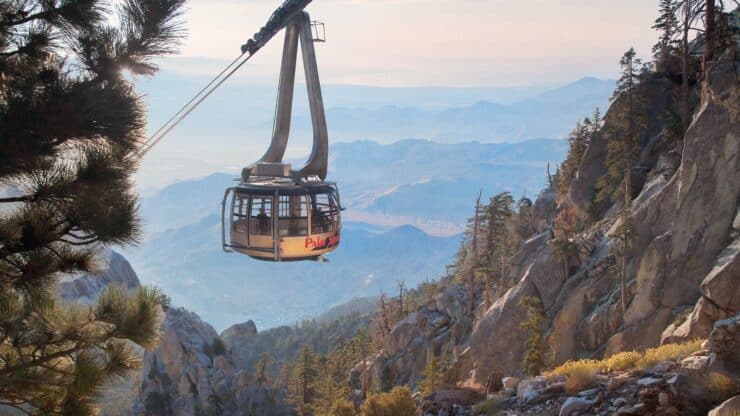
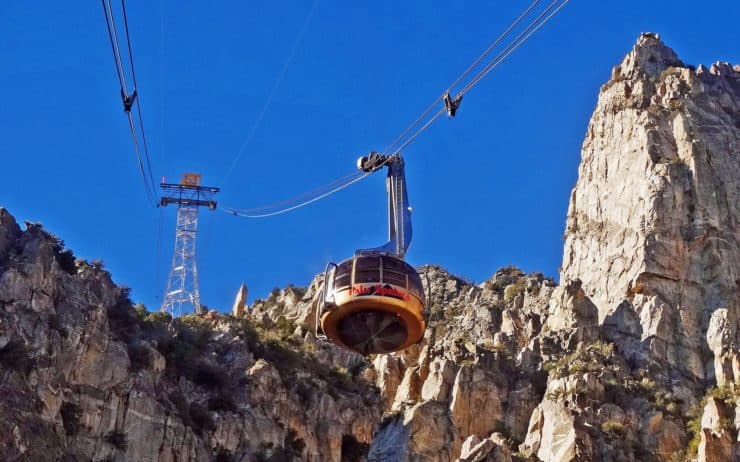
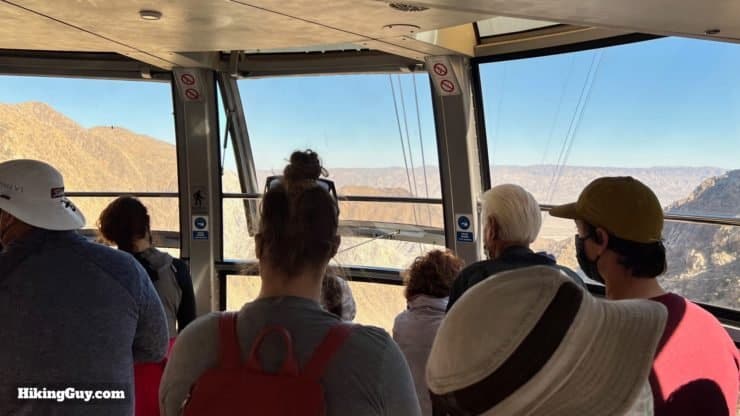
The tram ride to Mountain Station is a unique experience that can be freaky if you have a fear of heights. During the 10 minute ride you'll travel 2.5 miles and climb about 6000 feet. It took 15 years to build the tram and was marketed as "the eighth wonder of the world." Photo by Don Graham.
Half of the fun is taking the tram from the bottom up to Mountain Station, which sits at 8,516 feet. The tram is the world's largest rotating aerial tramway, starting in the Sonoran desert and ending in an alpine zone. During the ride, the floor slowly turns, allowing everyone to share the best views. And the tram crosses over five towers, with the car experiencing a small swing after going over them. Wind can also make the cars sway. The Swiss-built tram is regularly maintained and inspected, and has a great safety track record, but it can be intense for those with a fear of heights.
The tram schedule, parking fees, and ticket costs change, so I recommend going right to the Palm Springs Aerial Tramway website to get all the details.
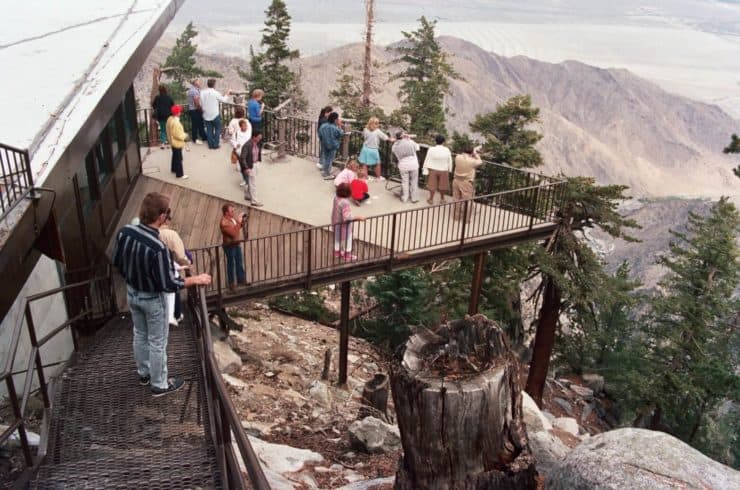
The multi-level Mountain Station is jam packed with observation decks. Photo by Alan Light.
Once at the top, in Mountain Station, you are at a tourist attraction. There are restaurants, viewpoints, gift shops, bathrooms, and interpretive displays. It's a fun place, built in the mid-century modern style that Palm Springs is famous for. I recommend budgeting some time in after your hike to grab a bite and enjoy it.
When you plan your visit, try to take the first tram up in the morning to avoid the crowds. The tram and this hike can get very busy. Also, look at the schedule and see when the last tram down leaves. If you miss this, you'll be sleeping on the floor at Mountain Station.
Gear for the Hike to Mt San Jacinto
Don't let the fact that you take a tram for a few thousand feet fool you, this is a high-altitude mountain hike and you should be prepared. I always have the 10 essentials, at least 2L of water, snacks, and plenty of layers. If you like to use trekking poles, bring them too.
Some folks feel the attitude. There's not much you can do aside from keeping hydrated and taking your time. If you start to feel nauseous or get a headache, it's time to head back down. And if you're not comfortable hiking 11 miles at lower altitudes, it won't be any easier here.
In the summer, the summit will be about 30 degrees F cooler than Palm Springs, making for a nice temperate hike. In the winter, the summit can be covered in snow and ice. And in just about every season it will be windy at the summit. Before you do the hike, check the summit weather and prepare for those conditions. If there is snow, and you have experience hiking in it, the trail is doable with micro-spikes and sometimes snowshoes.
If you want to overnight on the mountain, your best bet is grabbing a backcountry permit and staying at one of the 19 primitive sites at Round Valley, which is along the hike route. Round Valley (not to be confused with Little Round Valley, which is on the other side of the mountain) has primitive campsites, vault toilets, water, and a seasonal ranger station. Camp at Round Valley, and then summit early in the morning before the first tram (and potential crowds) arrive. If Round Valley is full, try Tamarack Valley Campground, right next to it.
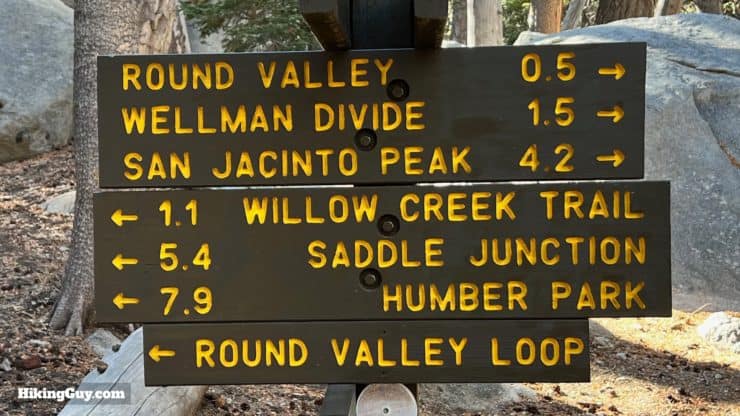
Trail Maps & Signs
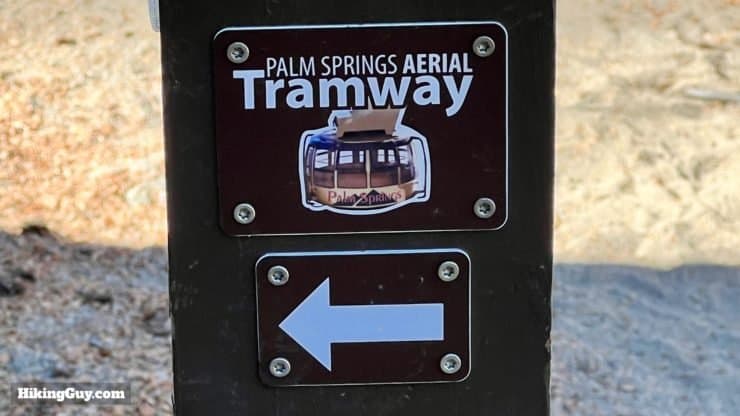
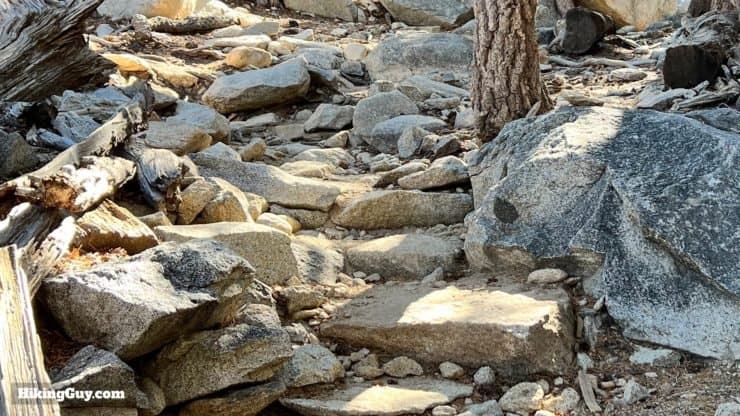
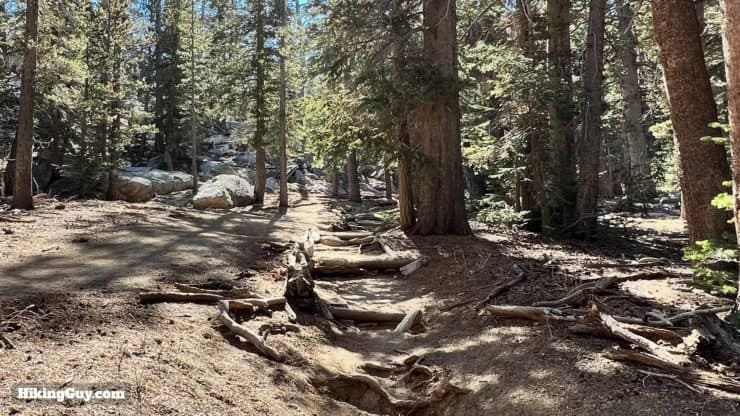
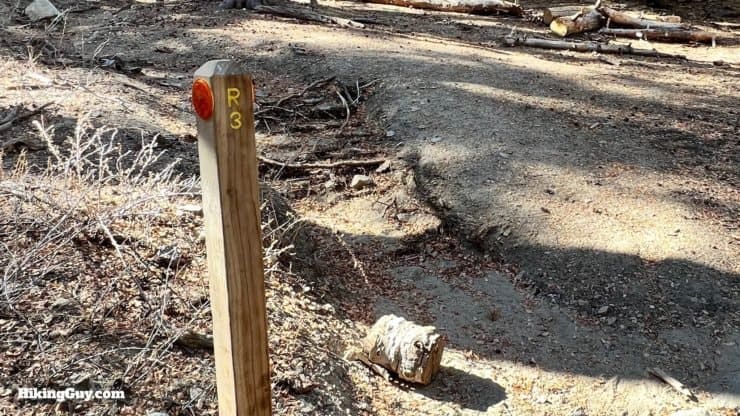
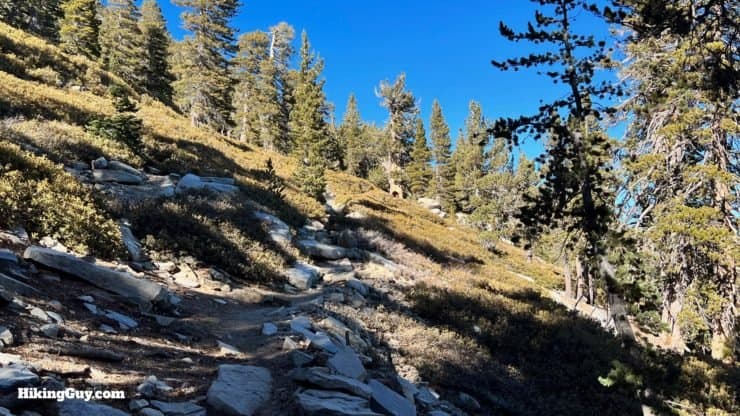
The trail is well-marked with signs along the whole route.And if you get confused on the way back, look for these "tramway" badges on the trail posts.The trail can be really rocky in places, but is always easy to follow.
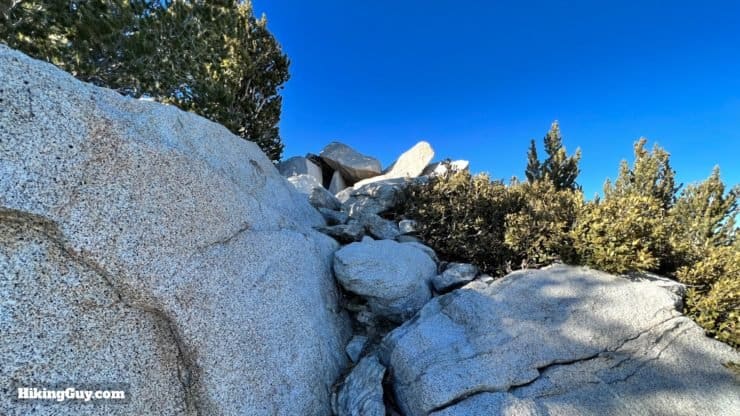
Here's the profile one-way to the summit. The first mile has some downhill and flat sections, but then you'll climb steadily up to the summit. The last little section to the peak has some easy scrambling.
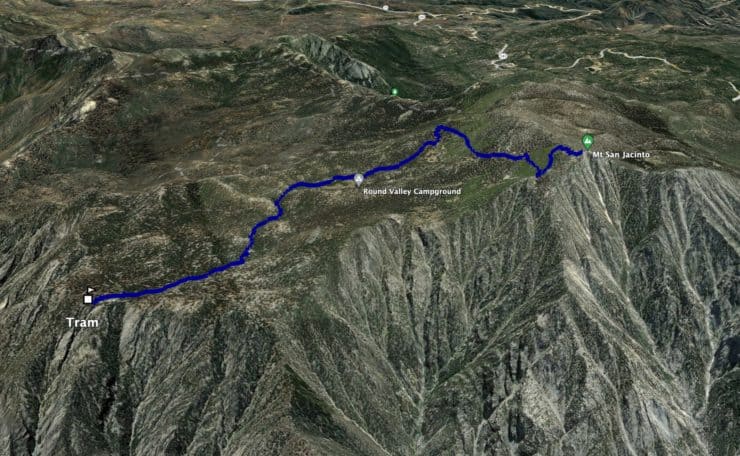
3D Map
The tram does most of the work, bringing you up past the steep part of the mountain. From here, you'll wind up past Round Valley, then make a sharp turn at Wellman Divide, and then climb to the summit.
Landmarks on the Hike
Landmark
Distance
Elevation
Mountain Station
0
8516
Ranger Station
0.4
8415
Round Valley
2.5
9100
Wellman Divide
3.3
9700
Summit
5.5
10834
Tram to Mt San Jacinto Hike Directions
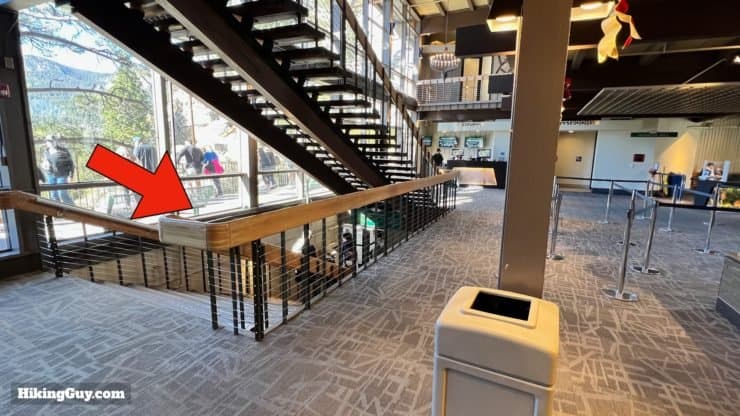
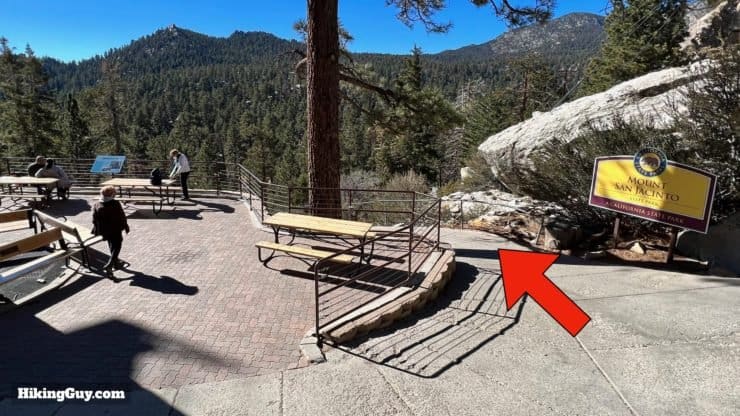
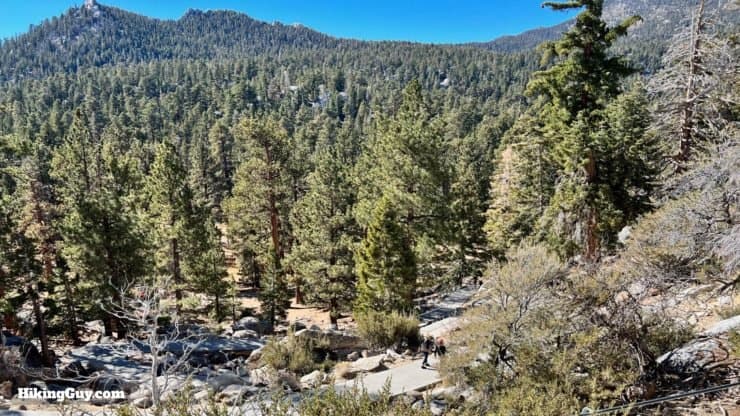
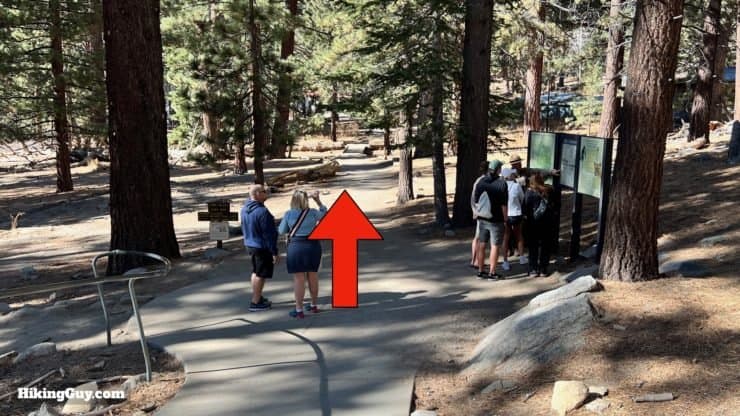
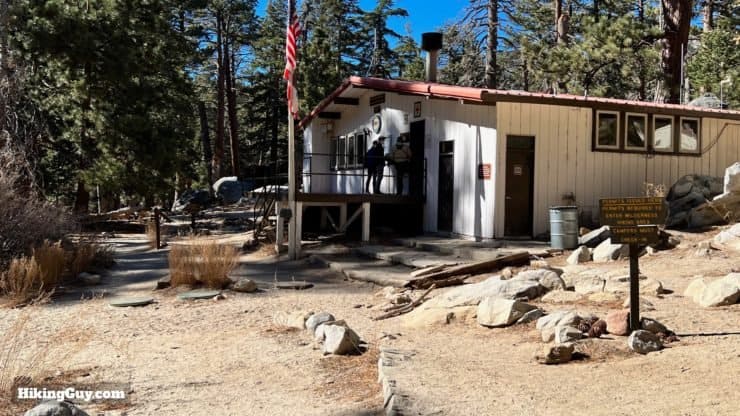
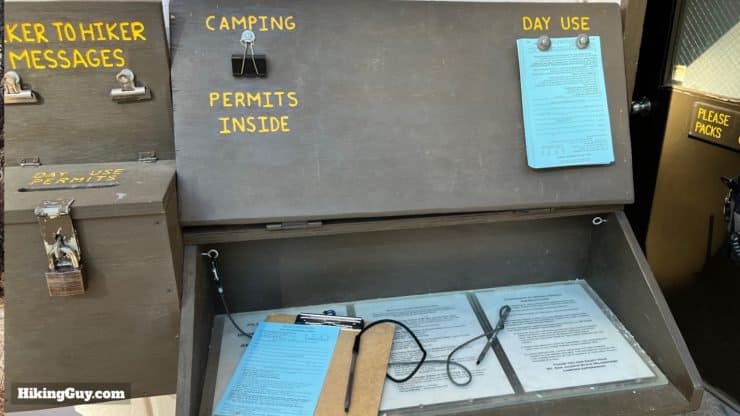
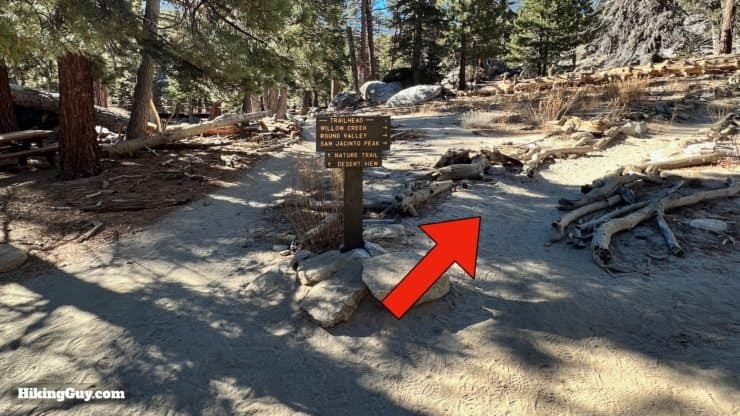
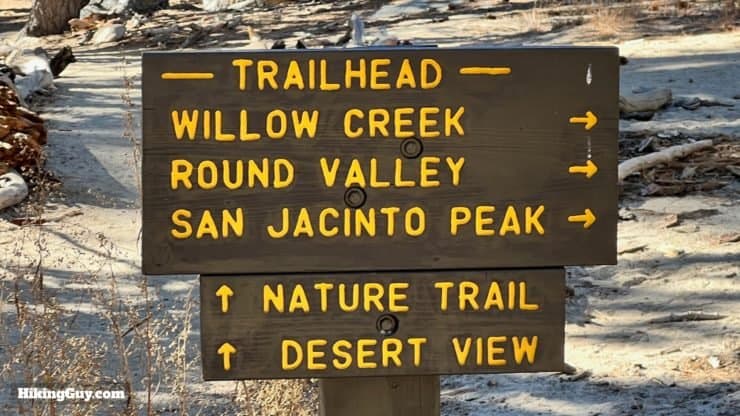
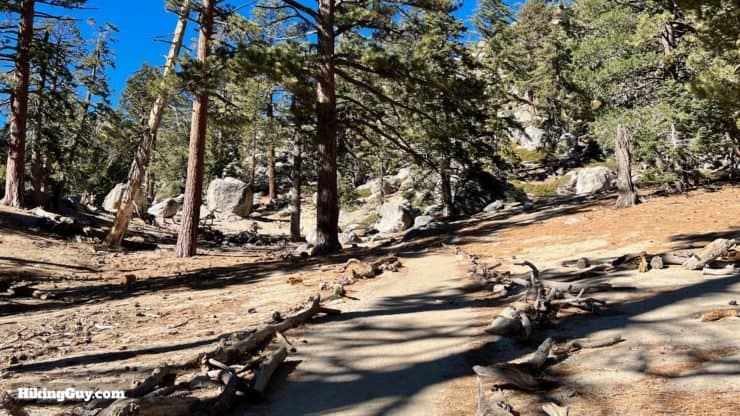
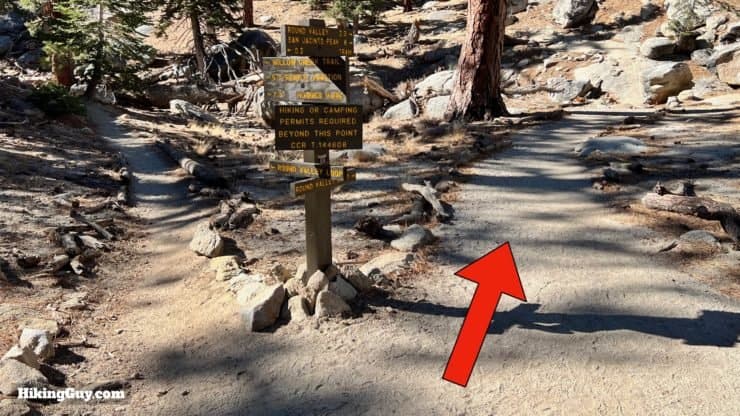
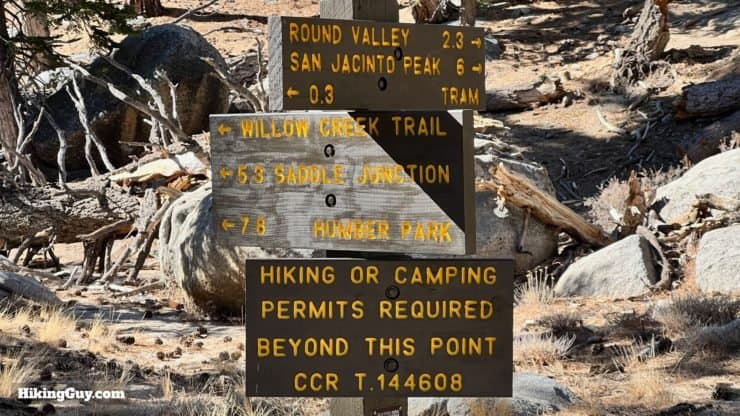
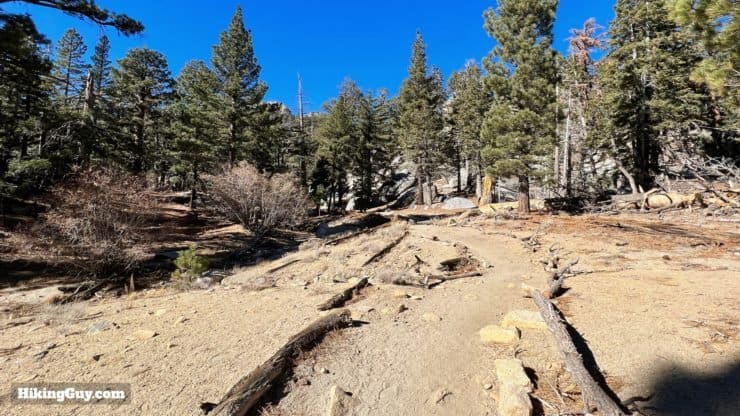
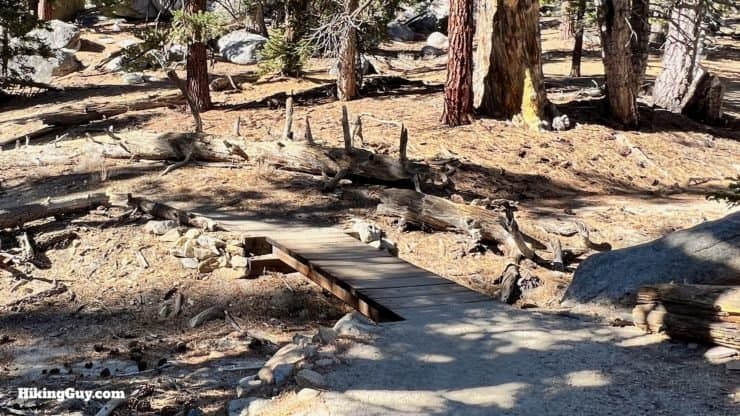
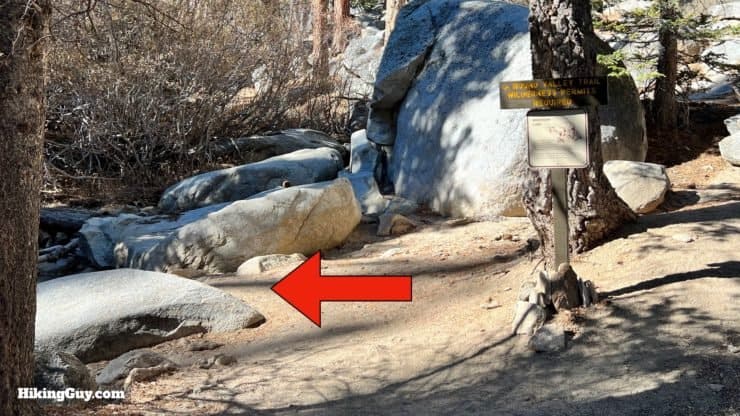
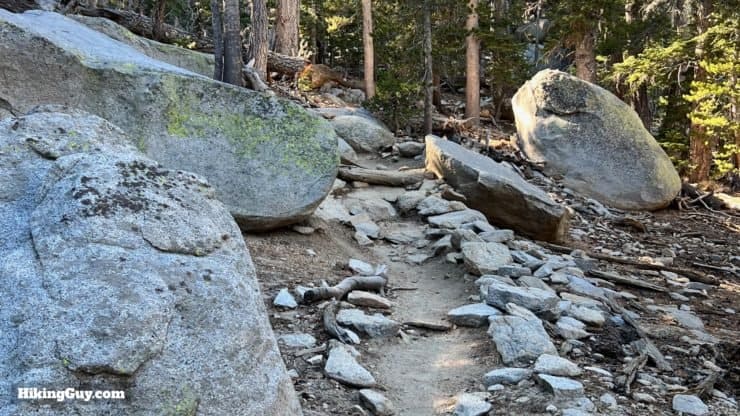
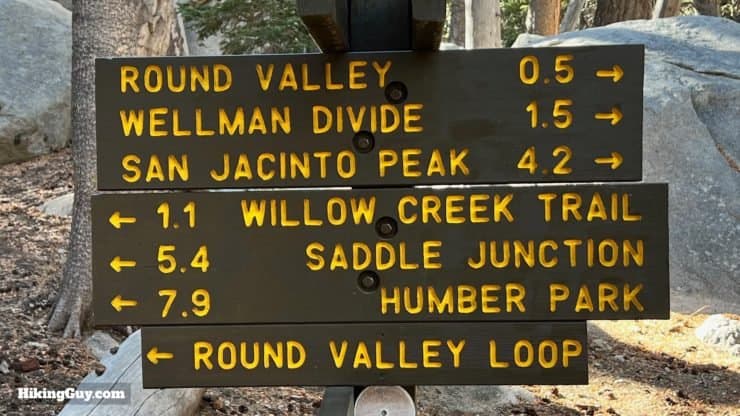
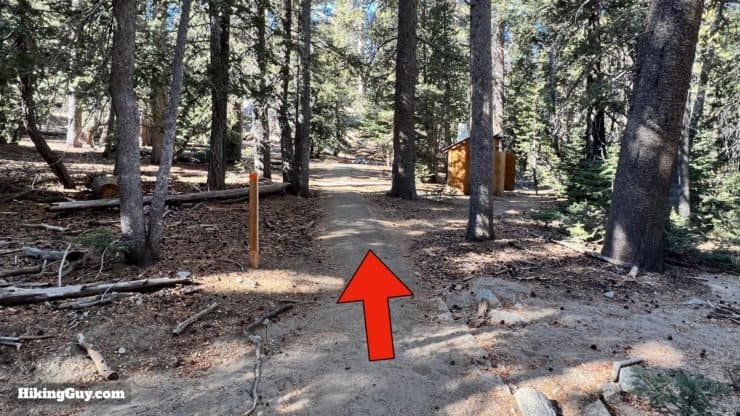
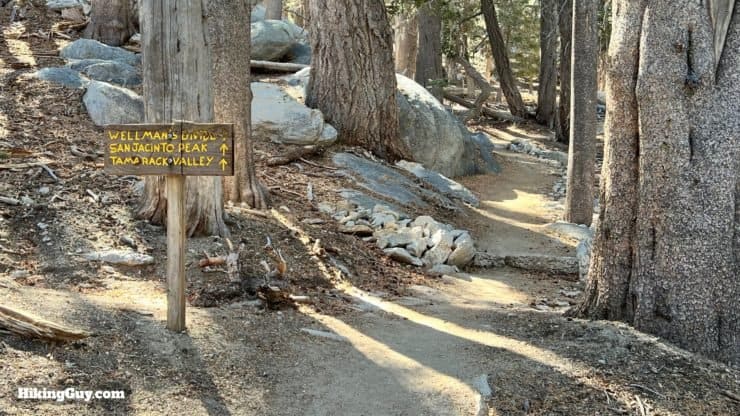
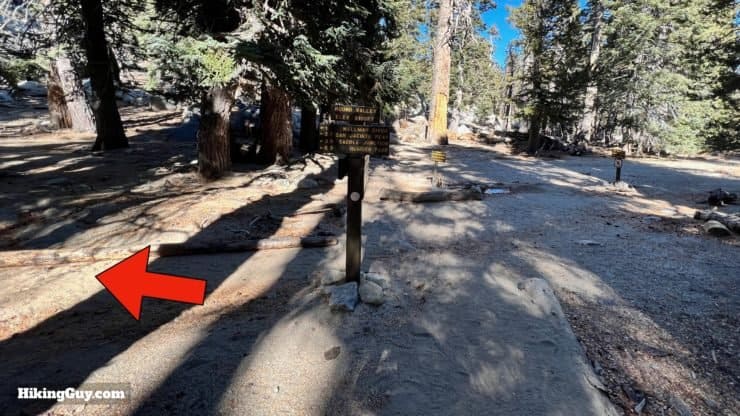
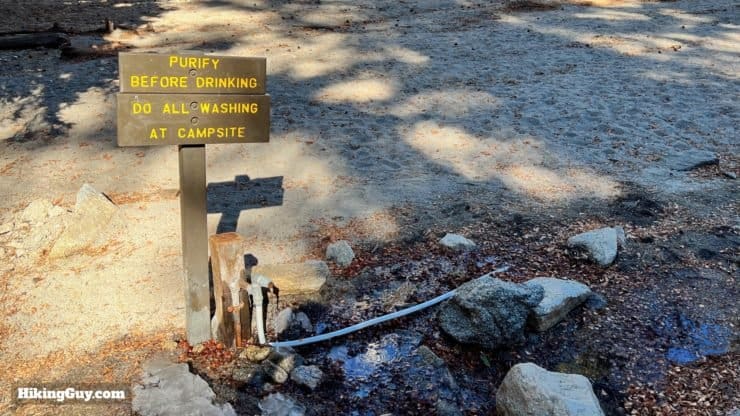
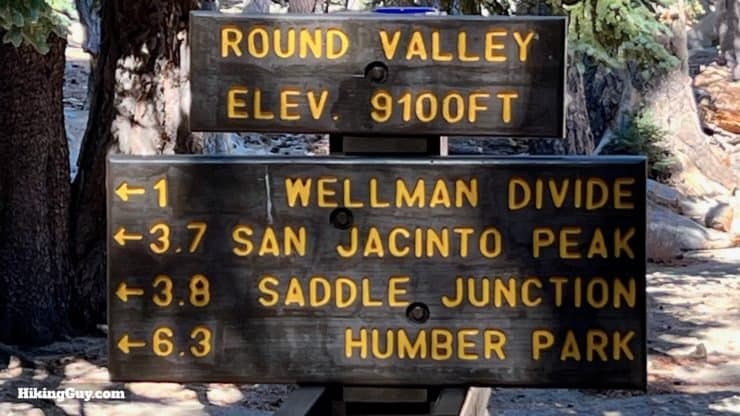
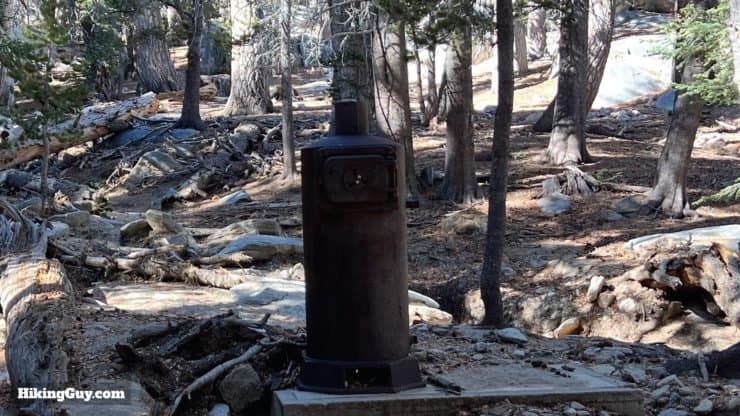
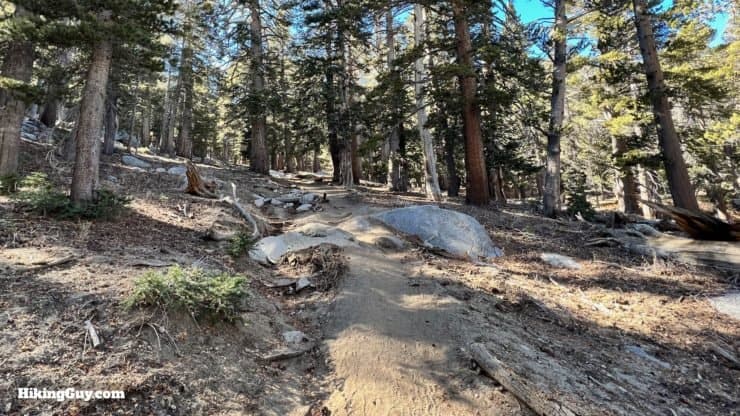
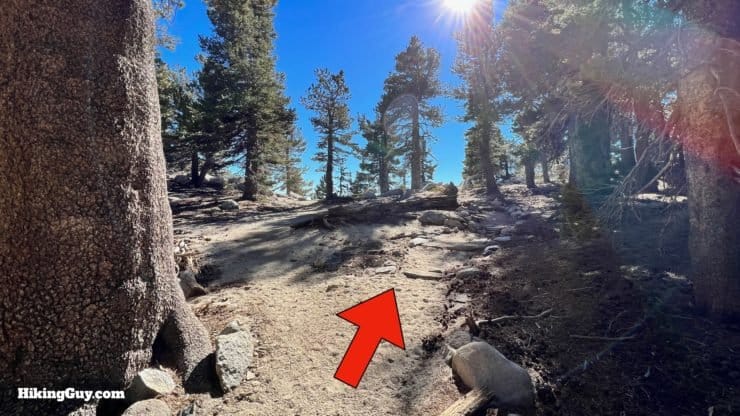
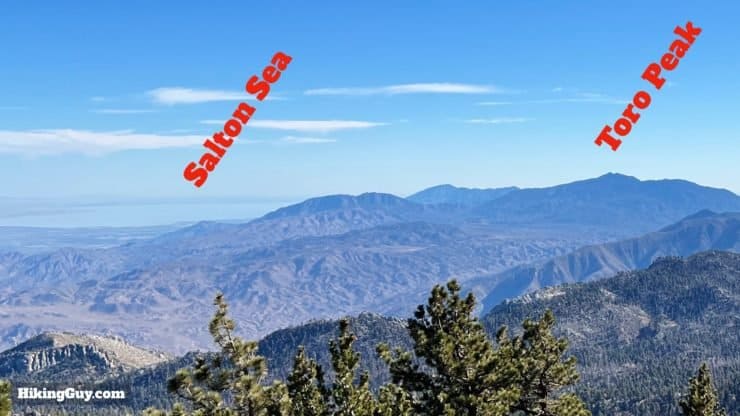
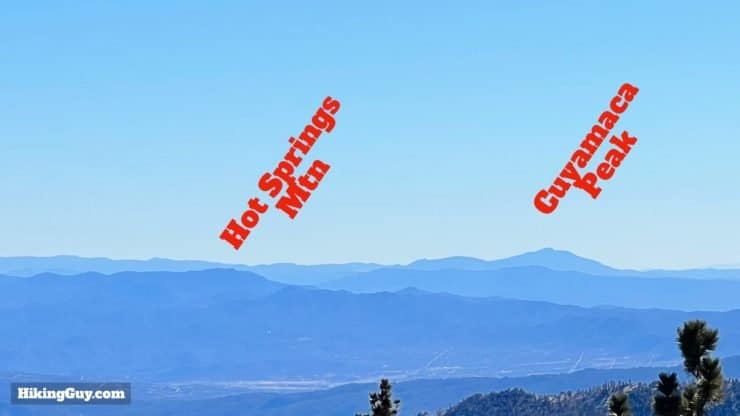
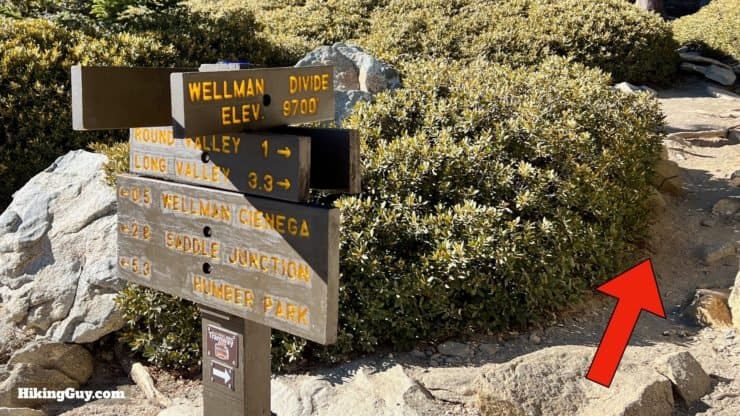
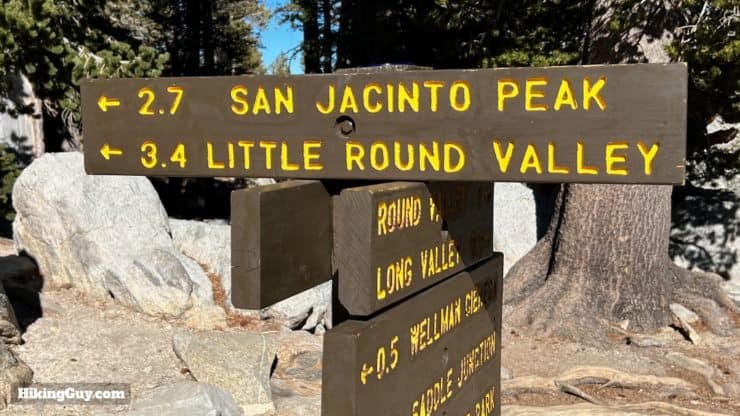
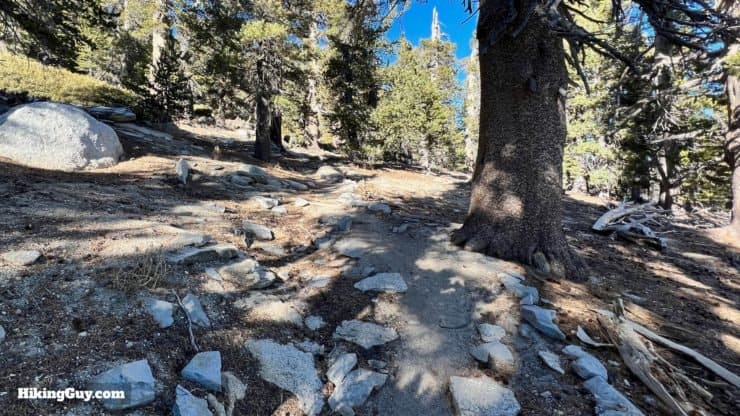
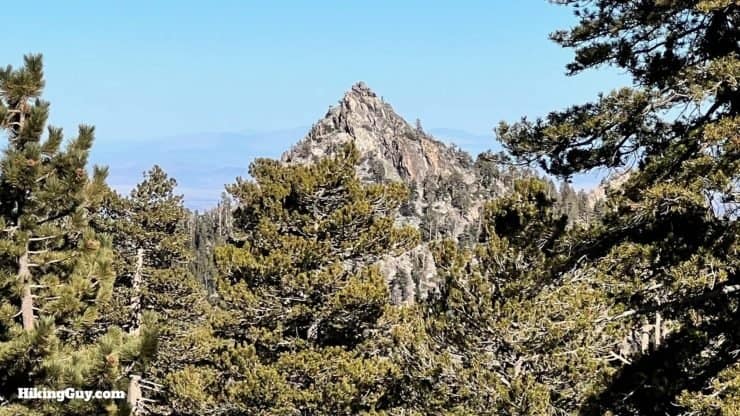
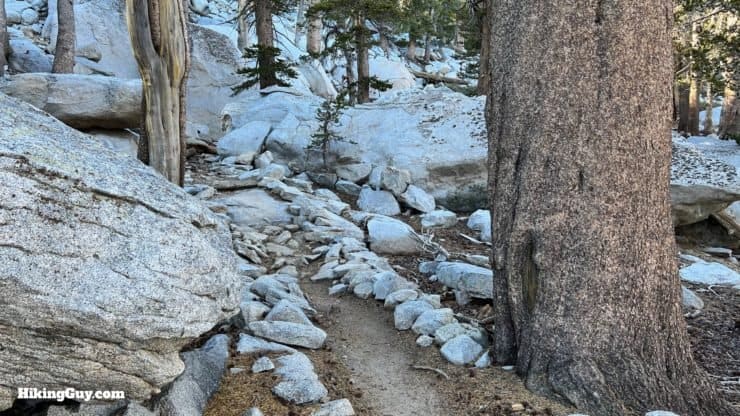
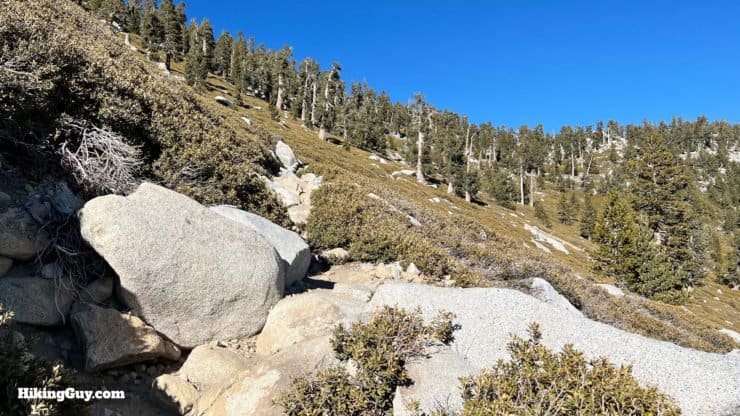
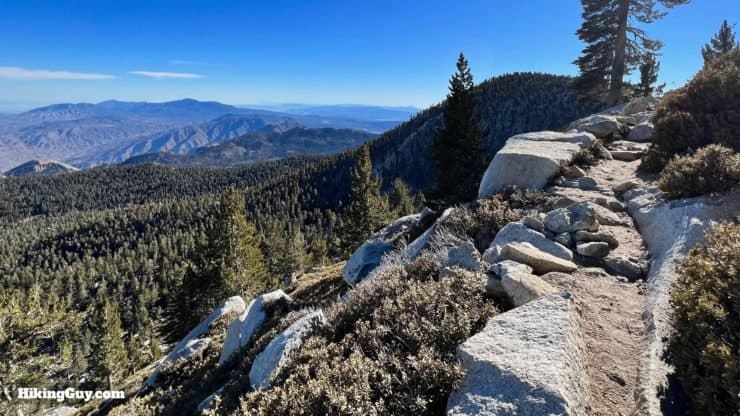
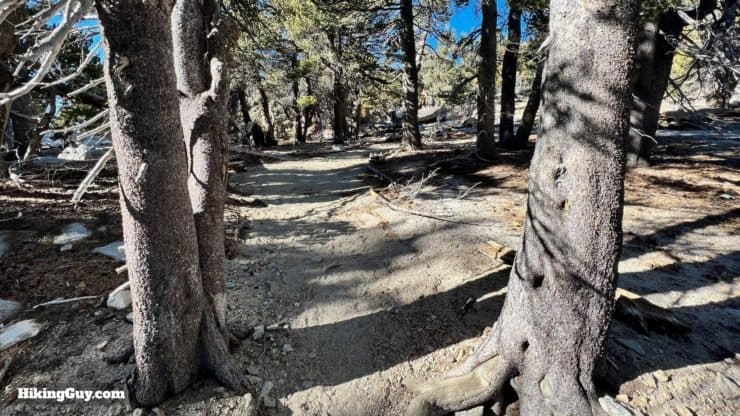
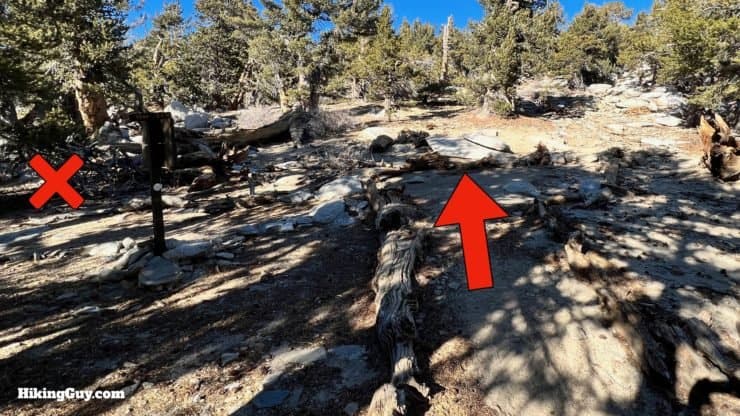
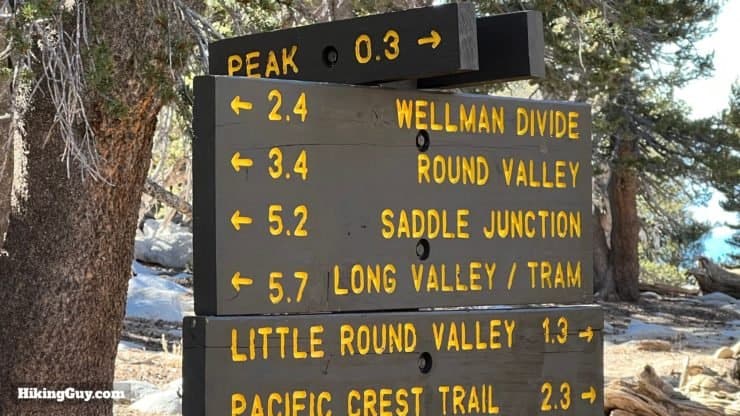
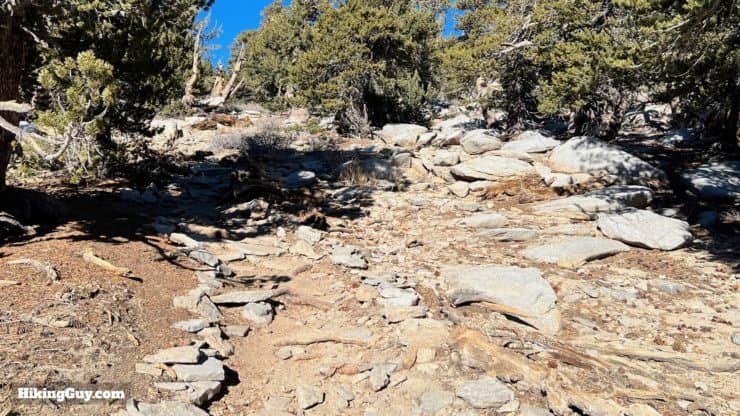
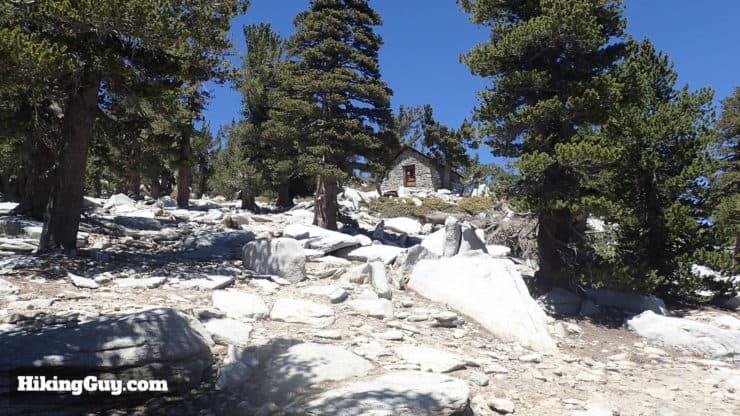
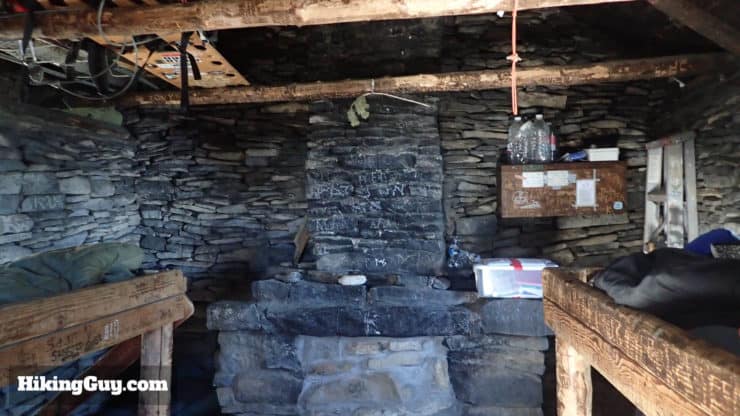
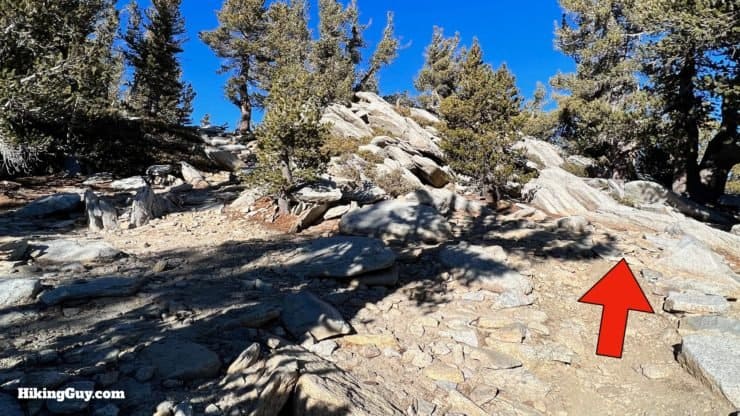
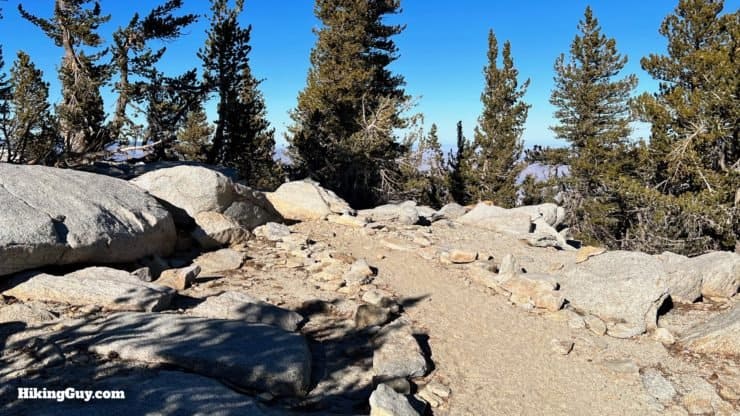
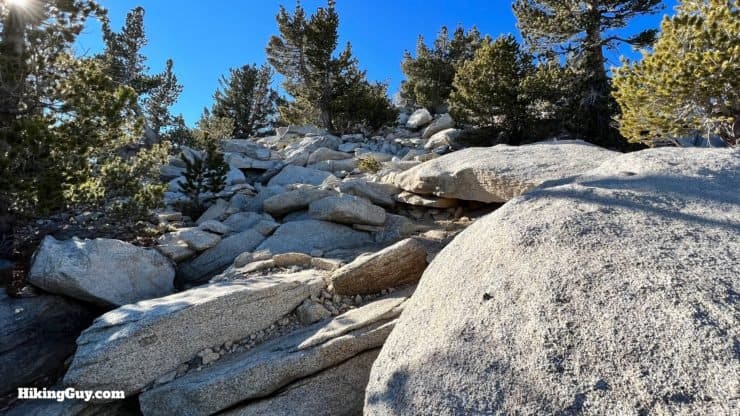
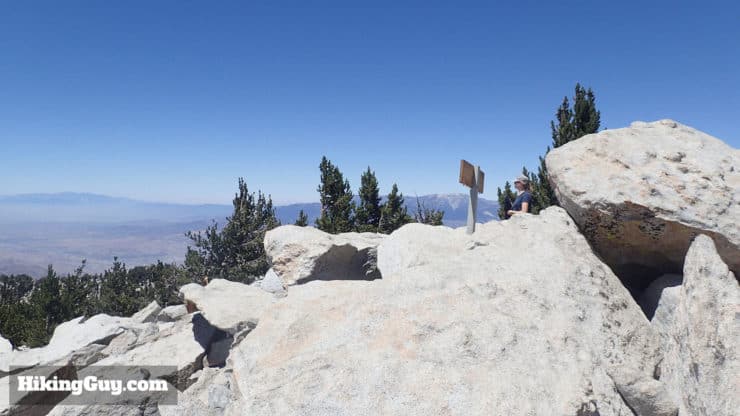
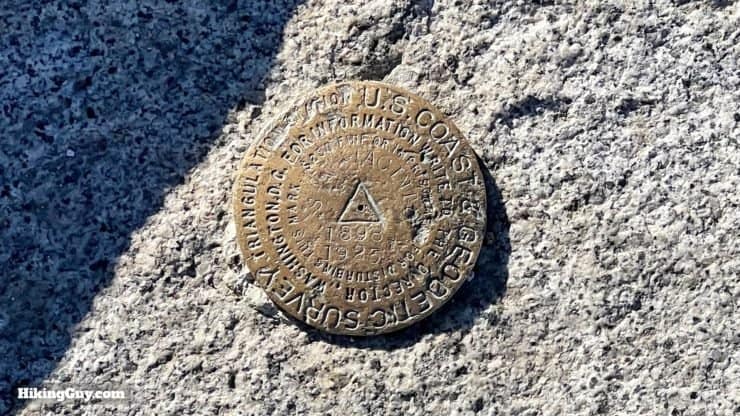
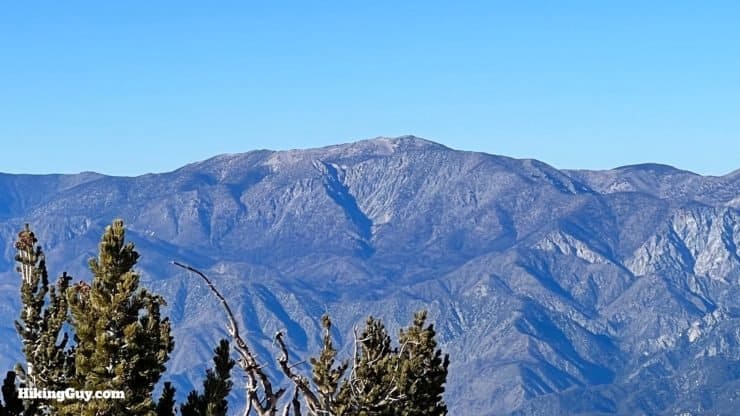
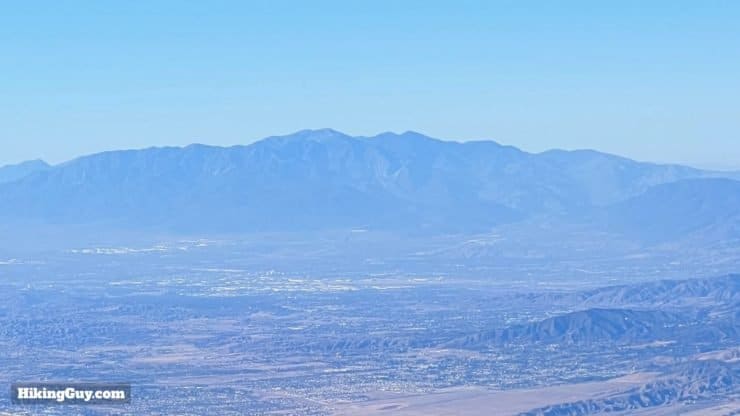
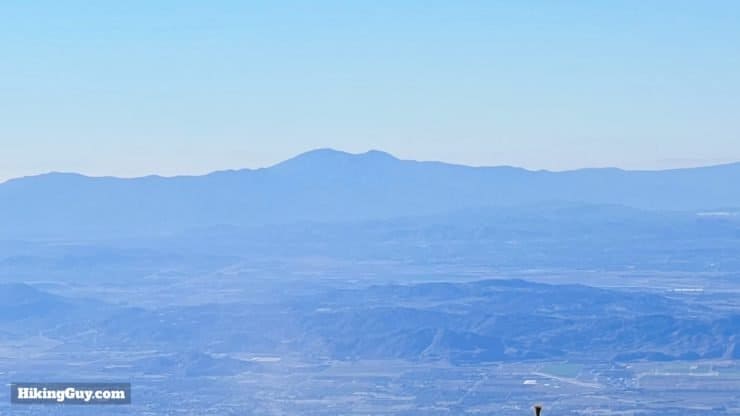
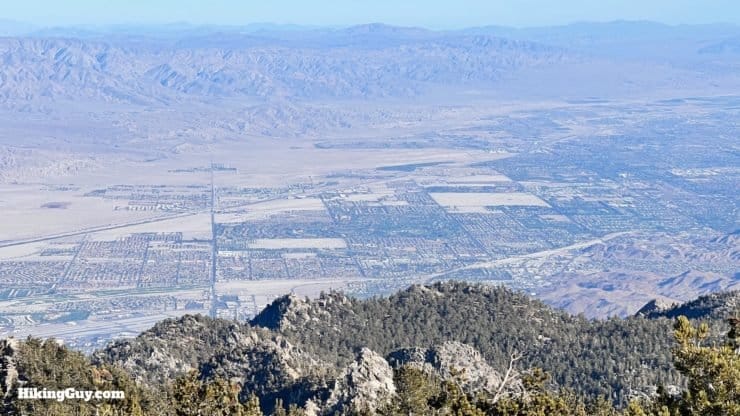
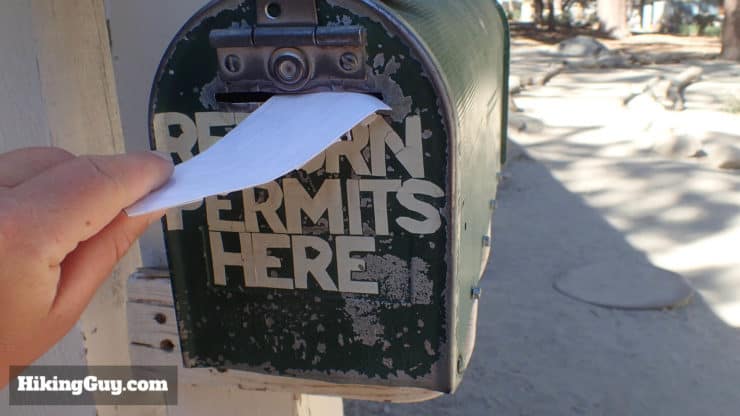
On the tram ride up notice all the climbing that you get to skip. If you want to hike to San Jacinto from Palm Springs, try the Cactus to Clouds hike, voted one of the hardest hikes in the USA by Backpacker Magazine and only for the very experienced hiker.Once you get to Mountain Station, take the stairs down and go outside.Start the hike by going down the paved path by the San Jacinto State Park sign.You'll wind down a steep paved path.At the bottom, pass the trail board and go straight through.You'll need to stop at the Long Valley Ranger Station and fill out a free permit.The permits help rangers keep track of who is out on the mountain. Fill out the permit, and then drop the blue copy in the box. Carry the white copy with you and return it to the mailbox at the bottom of the steps on your way back to the tram.Just past the ranger station, start the trail to the right.Here's a closeup of the sign at the junction. We're heading to San Jacinto Peak.The trail winds away from the crowds and is easy to follow.Hike right at the junction with the Willow Creek Trail (left).Here's a closeup of the sign at the last junction.The trail rolls along through the pine trees and boulders.You'll cross two small bridges.And then there's a sharp turn left.And now you start the climbing. This section in the beginning can be rocky.At about 1.5 miles in, the climbing eases up and gets less rocky.At about 2 miles in you'll arrive at the junction with the Round Valley Loop. Stay right.Here's a closeup of the sign at the last junction. Also note that the distances are not quite accurate here.Hike straight through some of the campsite markers. There are new pit toilets here (right).Keep hiking toward San Jacinto Peak.These markers are for tent sites at Round Valley.At about 2.5 miles in, you'll reach the junction at Round Valley Campground. Make the hard left at the sign.There's water just to the right of the junction. The water is not always running, and you need to treat it with a water filter before drinking.Here's a closeup of the sign at Round Valley.As you pass Round Valley, you'll see some rusty artifacts on your right, including a stove, all brought here by the California Conservation Corps in the 1930s and 40s to build a ranger station.. The stove allegedly marks the spot where the burro who carried it all the way up here died.Keep climbing up through the pines.And at about 0.8 miles past Round Valley, you'll reach Wellman Divide. Bear right.You'll reach a group of boulders with epic views to the south. It's a great place for a snack before the final ascent on the summit.You'll be able to see lots of high peaks south, toward San Diego, including the highest point in San Diego County, Hot Springs Mountain, and the second-highest point, Cuyamaca Peak.The trail junction is to the right of the boulders. Continue heading uphill toward San Jacinto Peak.Here's the trail sign at Wellman Junction.The trail climbs through the trees.And then pops out into the scrub, allowing you to have an unobstructed view for miles.To your right is the distinct Cornell Peak, named by a USGS geologist in 1897 because it reminded him of McGraw Tower at his alma mater of Cornell University.You have another short stretch through pines and massive granite boulders.And then pop back out into the low scrub. This section of trail can get rocky.When you approach the trees, look for the trail to cut back to the left. It can get confusing - there is a smaller trail straight that is often used in the winter when this whole area is covered in snow.Keep heading back uphill. In front of you is Jean Peak.At the ridge the trail heads into the trees.And then you'll find a junction where you want to hike straight to continue for the last stretch to the summit.Here's the sign from that junction. Again, don't confuse Round Valley with Little Round Valley on the way back.Continue uphill. The trail can split and join back together in places where folks take shortcuts.Soon you'll see the refuge hut, built in 1933 by the CCC and billed as “the highest building in Southern California.”Feel free to check out the hut and leave any extra supplies you might have for hikers in danger. If the conditions are bad, you are free to take refuge in here. Also, some people leave their heavier packs outside of the hut and do the final stretch to the summit with lighter gear. It's generally safe to leave a pack outside here, but rodents and crows can try to get in if you have food.When you pass the refuge, there are a few trails, and multiple options to get to the top. Whichever way you go, you'll have to do some light scrambling to ascend. It's nothing dangerous or on an edge. If you find yourself in that situation, you are in the wrong place. I find that heading right offers an easy path to follow.Just past the hut the path winds around to the left.And then you start climbing up the rocks and boulders to the top.Soon the trees will end you'll see the top.There's usually a summit marker there.And a few USGS benchmarks.Directly north is Mount San Gorgonio.To the northwest is Angeles National Forest and Mt Baldy.And to the west is Saddleback Mountain.And down the mountain is Palm Springs and the Coachella Valley.
From the top, just head back down the way you came. Watch your footing on the rocky trail. It's easy to trip when it's rocky.
When you get back to the ranger station, drop your copy of the permit into the box to let the rangers know that you've safely completed the hike.
Need More Info?
Have a question about the guide or want to see what other people are saying/asking? View the Youtube comments for this video. Leave a comment and I will do my best to respond.
When planning, always check the park website and social media to make sure the trails are open. Similarly, check the weather and road conditions.


 Using the Apple Watch for Hiking
 Garmin Fenix 7 & Epix Review For Hikers
 How To Read a Topographic Map
 Garmin GPSMAP 67i Review
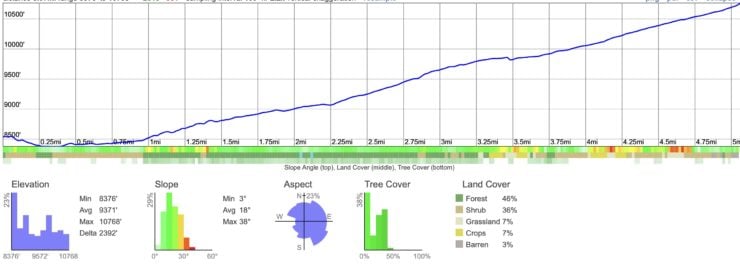


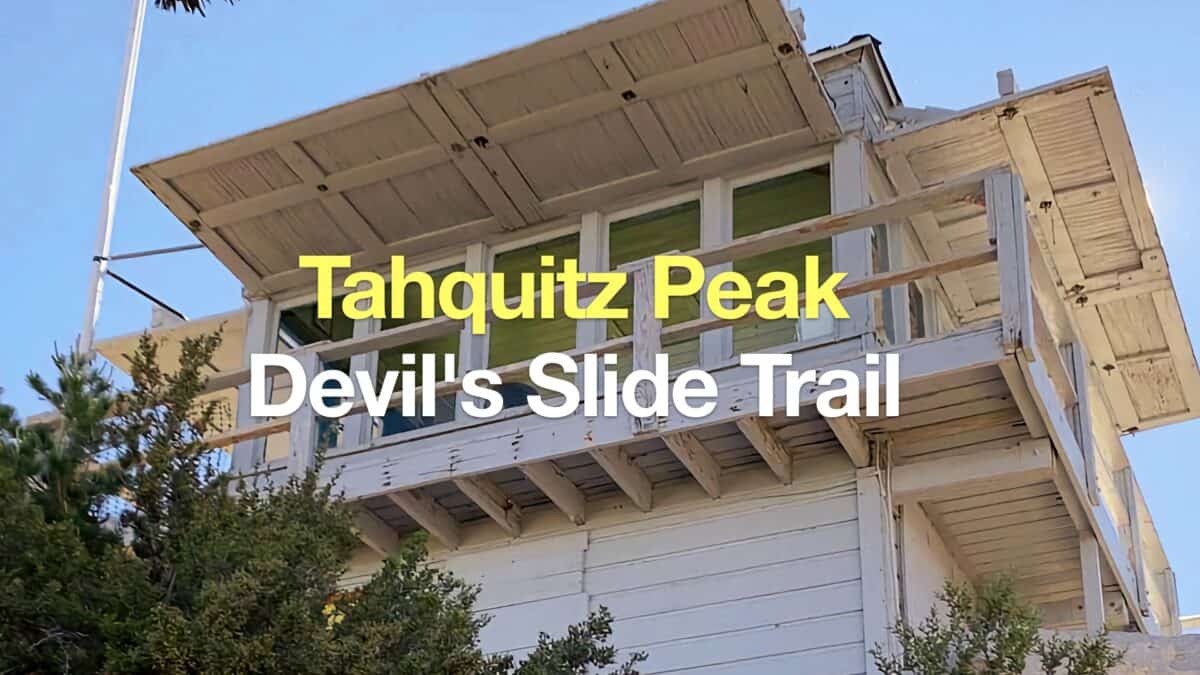 Tahquitz Peak via Devil's Slide Trail Hike
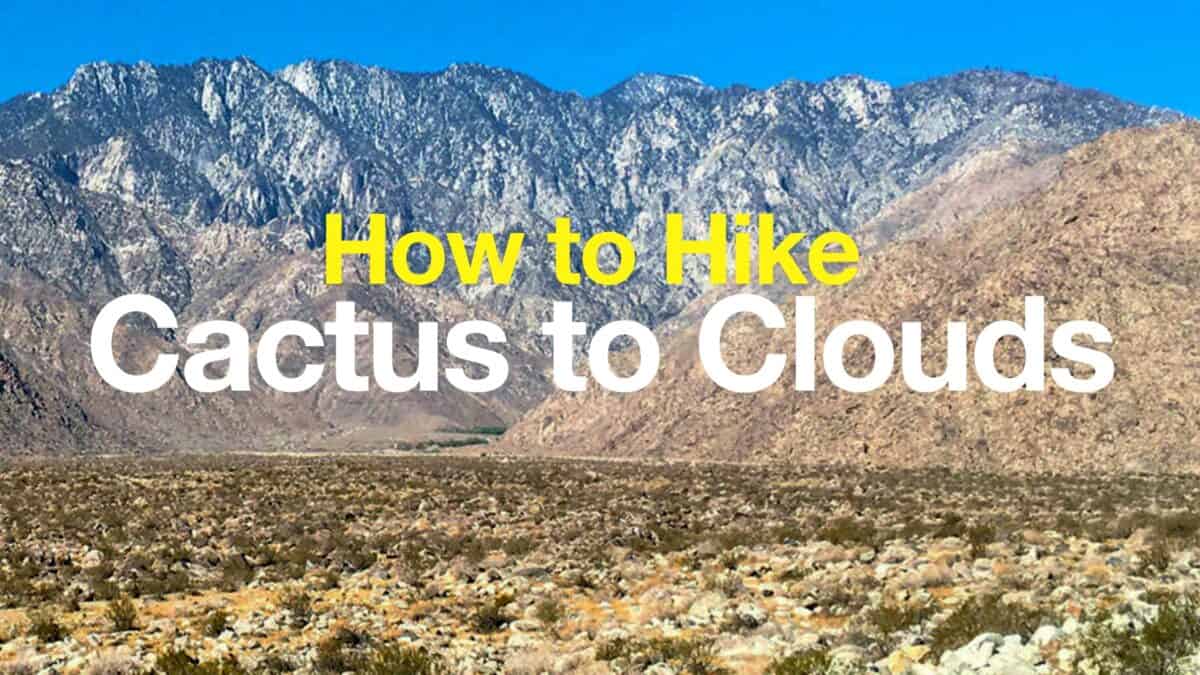 Cactus to Clouds Hike
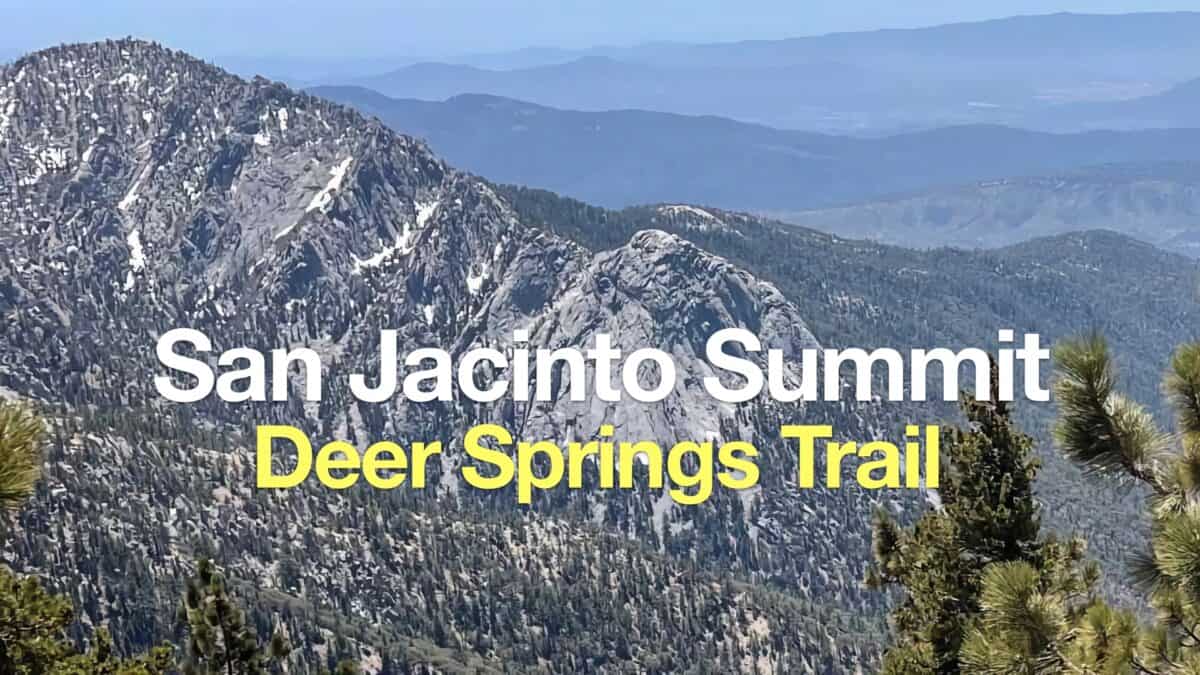 Hike Mt San Jacinto Peak on the Deer Springs Trail
 Los Angeles Hikes
 Palm Springs Hiking Trails
 Backpacking Trips
 Hikes In and Around Riverside County
 LA Mountain Hikes
 San Bernardino National Forest Hiking Trails
 Santa Rosa and San Jacinto Mountains National Monument Hikes
 Sierra Club 100 Peaks
 Best Hiking Gear 2024
 Hiking Boots or Shoes: Do I Really Need Hiking Boots?
 When to Hit SOS on inReach
.jpg)
