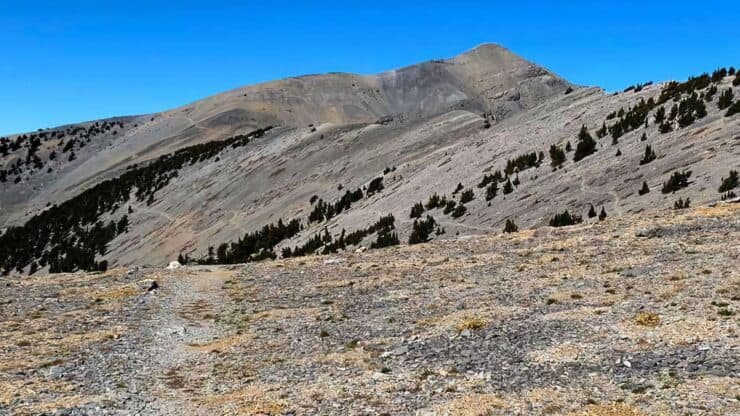

The Mt Charleston Peak hike takes you to the highest point around Las Vegas, at 11,916 feet. This guide to Charleston Peak follows the South Loop Trail, a tough 8.5-mile climb with half the hike done above 10,000 feet in an alpine wonderland. It's got scenery that rivals any National Park, and it's all under an hour from the Las Vegas Strip. This underrated hike needs to be on your bucket list; it's one of my favorites.
- Turn by Turn Hike Directions & Hike Video
- Mt Charleston Peak Trail Maps
- Prepping For the Hike
- How to Get to the Mt Charleston Peak Hike
When to Hike Mt Charleston Peak
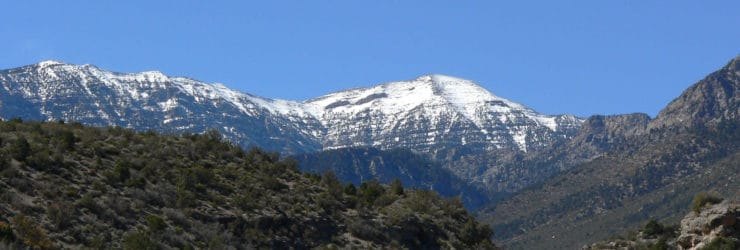
- You want to hike Mt Charleston when it's snow-free, which is usually May to October. The best months are June and September.
- In the winter the summit can have extreme conditions with snow and ice turning the normally easy trail into an advanced mountaineering experience. Hikers have died of exposure here, even on the lower slopes; you need to take the conditions seriously.
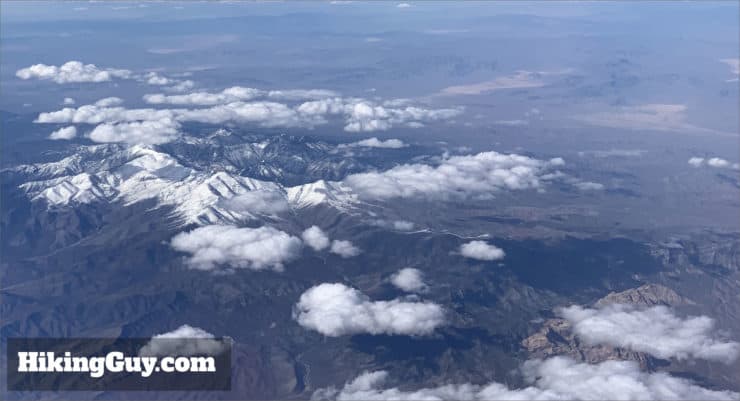
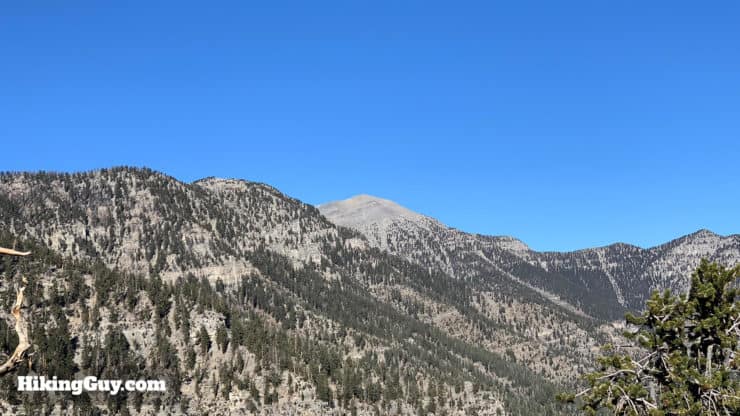
- If it's a shoulder month and you need to figure out the snow situation, you can see Mt Charleston from most of the Northeast parts of Las Vegas, some areas in Southwest Vegas around South Rainbow Blvd and 215, and also from the top of the short Lone Mountain Trail hike.
- There is also a snow report website here, but I can't verify it's accurateness.
- July and August is the monsoon season, which can produce violent thunderstorms, especially in the mountains. This hike goes along an unprotected ridge and should not be attempted if thunderstorms are in the forecast.
- It's generally pretty windy on the second half of the hike. Prepare for a bad hair day.
- The Charleston Peak hike usually takes 8+ hours, so leave at sunrise so you don't get stuck out after dark. You can also camp on the hike; more on that later.
- Even if the weather is cooperating, make sure you check out the summit forecast. The weather in Mount Charleston is often very different than it is in nearby Las Vegas. In general, the trailhead is 10-20F cooler than Las Vegas, and the summit can be another 10-20F cooler (if not much more in bad conditions).
If the weather is not cooperating or deteriorates, hike to the summit on another day. It's not worth risking your life.
How to Get to the Mt Charleston Peak Hike
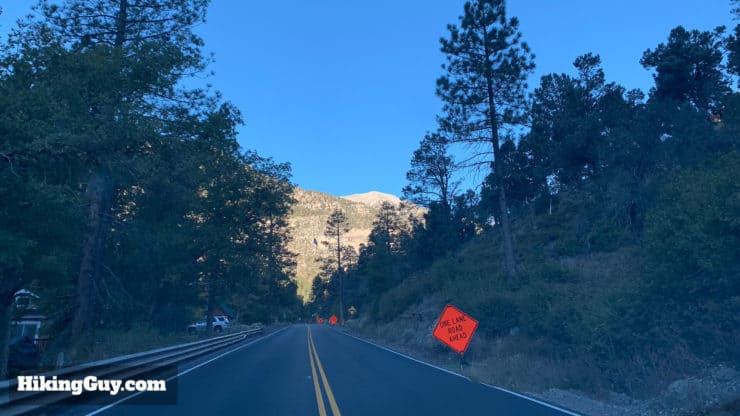
The Charleston Peak is trailhead is only 45 minutes from downtown Las Vegas in the scenic resort town of Mount Charleston, NV.
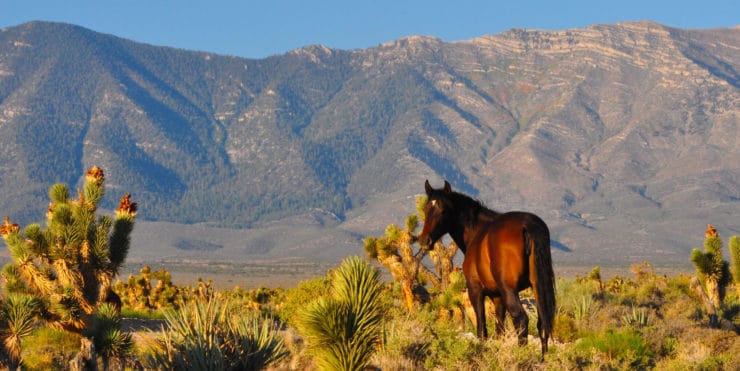
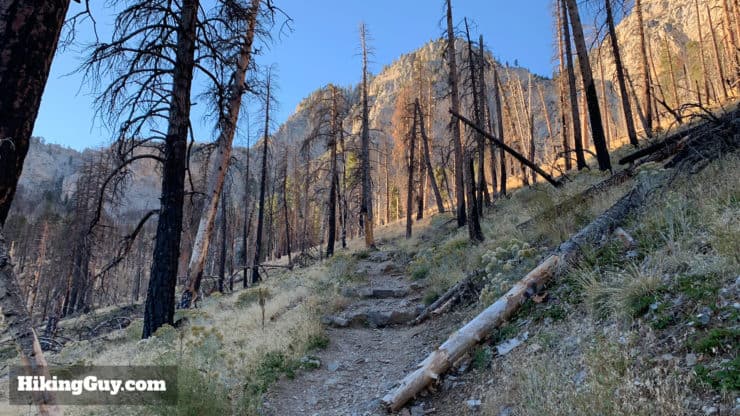
After turning off the main freeway you'll take Rt 157 for about 20 miles, climbing about 5000 feet up Kyle Canyon. This stretch of road goes through the Spring Mountains National Recreation Area (part of the Humboldt-Toiyabe National Forest) and takes you from the Mojave Desert to the alpine environment of the Mount Charleston Wilderness. The area is home to 50 sensitive and endangered plants and animals, some of which are only found in this part of the world (see the Fletcher Canyon hike).
You'll also pass the Spring Mountains Visitor Center on the way to the trailhead, which is worth a stop if you have the time.
There are no gas stations in Mount Charleston or on Rt 157.
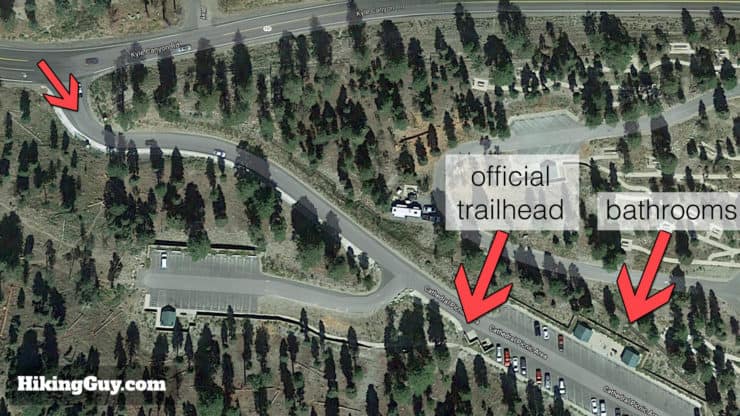
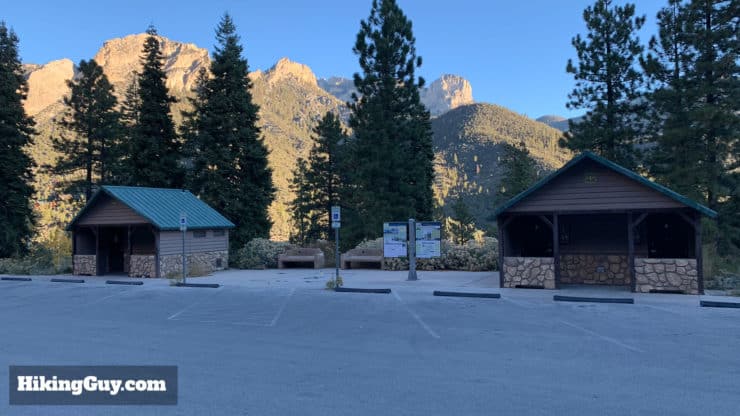
Parking is free at the first lots in the Cathedral Rock Picnic Area. There is a fee area further on in the parking lot. Do not park in the fee area, the gates get locked when the park closes. Parking fills up quickly in summer and on weekends.
Gear for the Hike
This is a serious hike and I recommend being prepared. I take plenty of extra layers for the summit, 3-6L of water, food, and survival gear to spend the night. Trekking poles are also helpful on the hike. Don't follow the advice of some of the Yelp reviewers who recommend "a windbreaker and bottle of water." You need real hiking gear here.
If you want to check if there's snow on your hike, read this guide.
Gear That I Love Right Now
Nothing is sponsored or promoted, just the actual gear that I use.


Camping on Mt Charleston
You can easily turn this South Loop Trail hike into an overnight backpacking trip. The land is run by the Forest Service, so you can technically camp anywhere you want as long as it's 200 feet away from springs and trails. If you'd like to camp on the hike, my picks are:
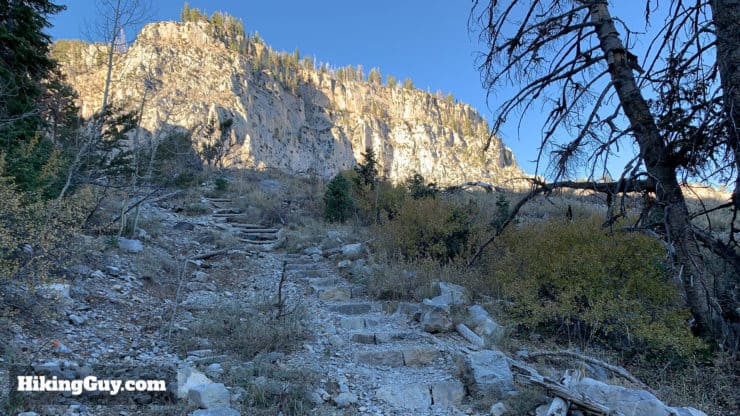
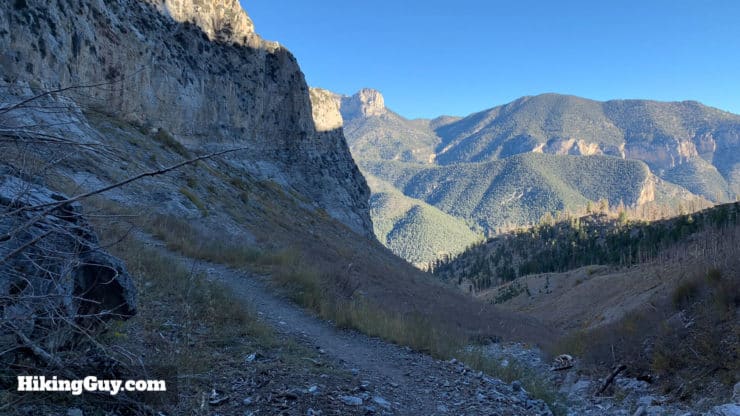
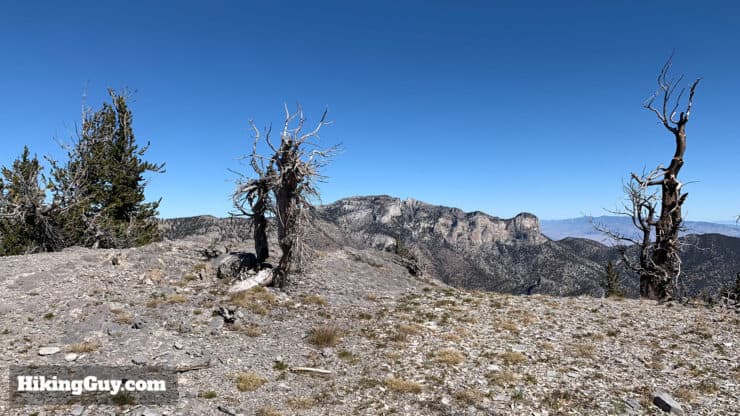
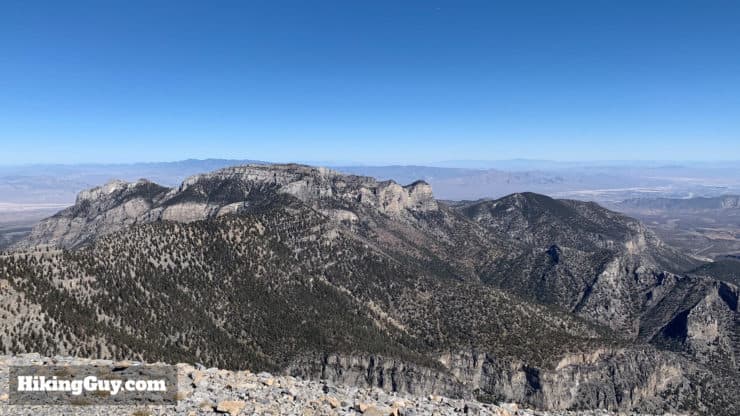
- There are two flat areas at switchback turns on the climb up Echo Cliff, starting after about 3 miles. They offer nice views of Mummy Mountain and flat areas for a tent.
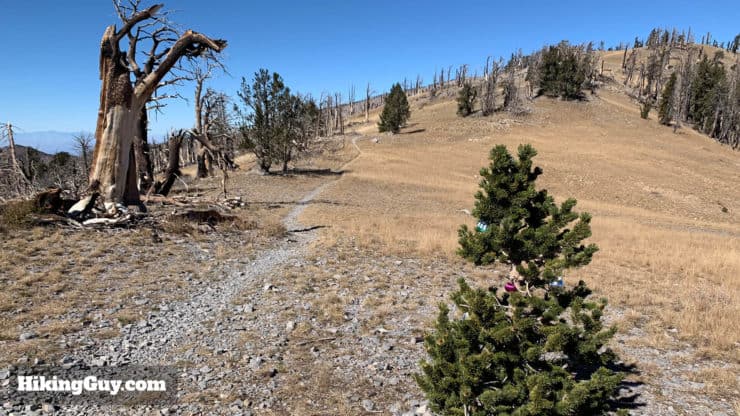
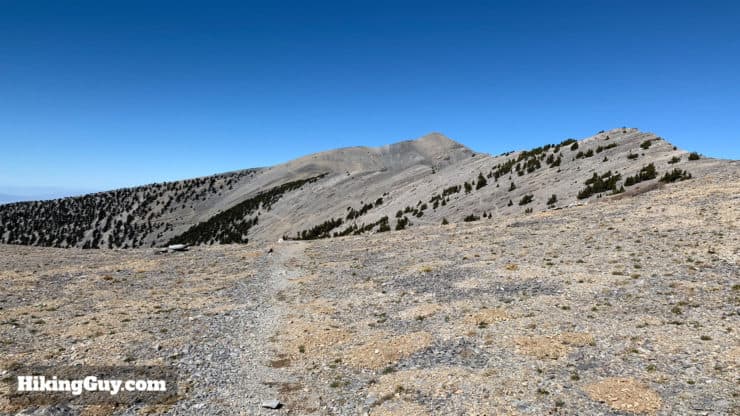
- The meadow area after you reach Griffith Peak Junction (after around 5 miles). Don't camp at the junction, as it's often very windy. Continue on the Meadow proper and find a flat, sheltered areas along the way. Camping up here is one of my favorite things; it's can get chilly but the views and stars are incredible.
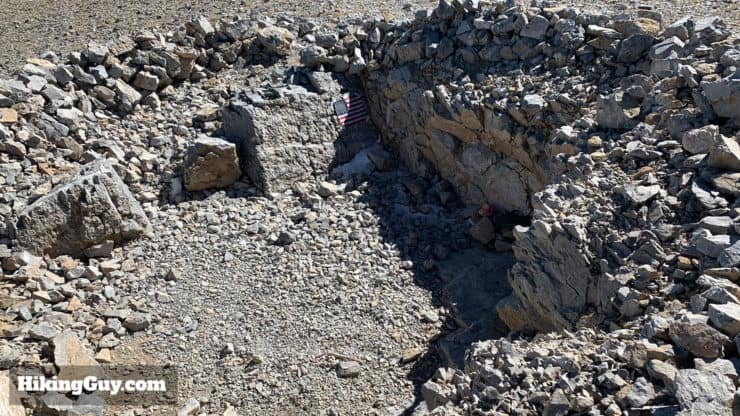
- You can also sleep on the summit in a pit that's about 10 feet wide by 4 feet deep. It's nice to get out of the wind but very rocky and not flat.
If you don't want to camp in the backcountry, you have some options.
- Fletcher Canyon Campground
- (Free) backcountry BLM camping along Rt 157, with a good option being the dirt side roads about halfway on the drive.
- There used to be a great old school lodge, the Mt Charleston Lodge, but unfortunately it burned down in Sep 2021. Check the website, they do have cabins and hopefully they will rebuild.
- Stay in Las Vegas. It's really close and the drive is easy.
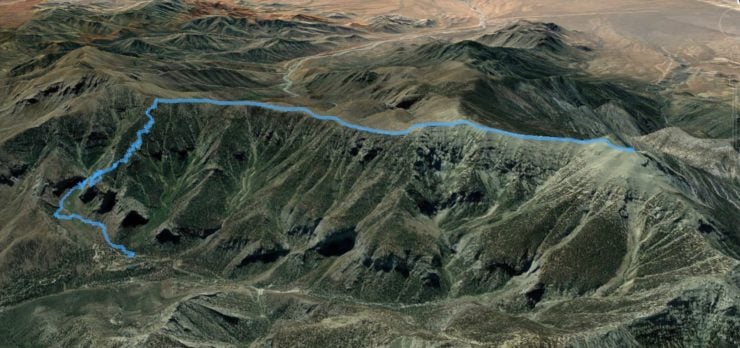
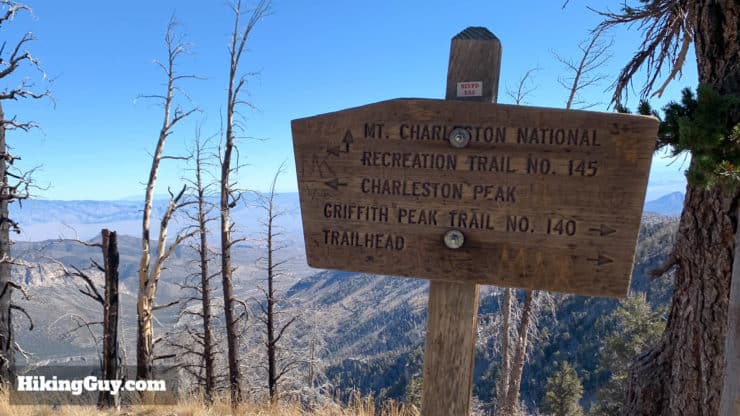
Mt Charleston Peak Hike South Loop Trail Maps
This route follows the South Loop Trail to Charleston Peak, and you return the way you came. You can also hike on the North Loop Trail to the summit, or combine for a full loop hike. If you do the South/North Loop combo, there is about a mile of road that you'll need to hike on to return to your car at the end.
If this is your first time doing the hike, I recommend doing the out-and-back route on the South Loop Trail (as described here) and leave the full loop for subsequent hikes.
How Will You Navigate?
 Using the Apple Watch for Hiking
 Garmin Fenix 7 & Epix Review For Hikers
 How To Read a Topographic Map
 Garmin GPSMAP 67i Review
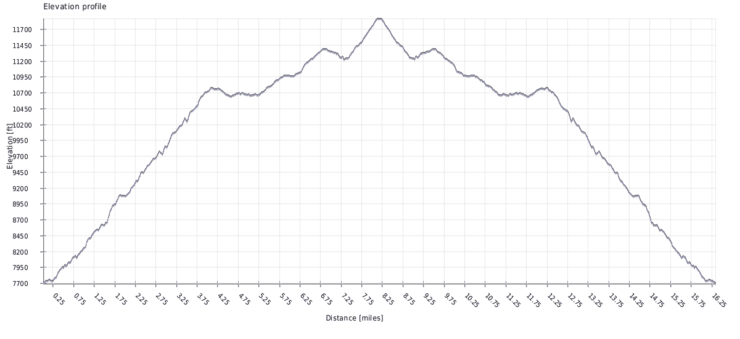
South Loop Trail Hike Brief
- The official name for the summit is Charleston Peak, and the name of the town is Mount Charleston (Village). People also call the peak Mt Charleston.
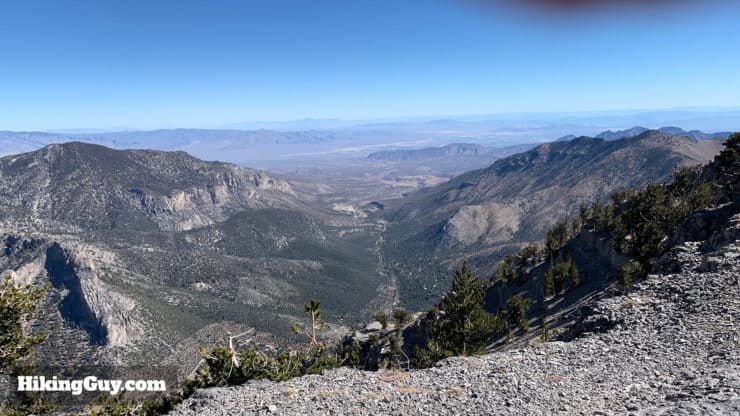
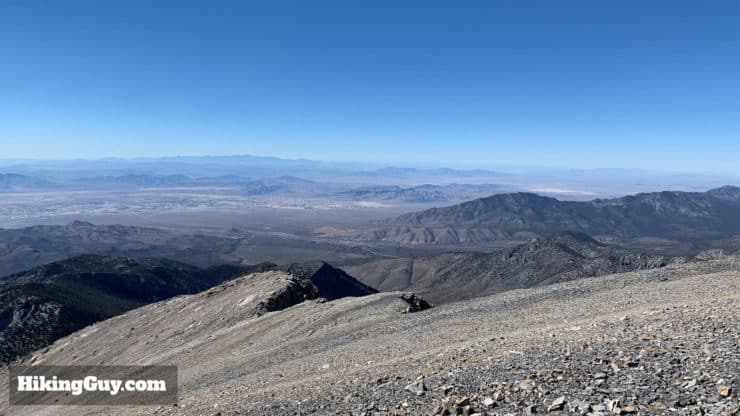
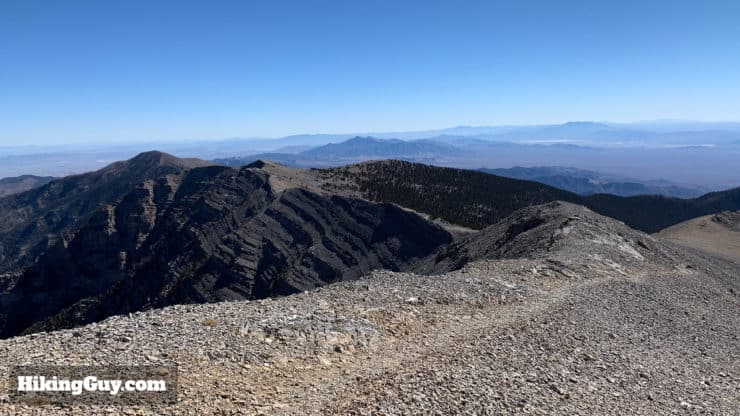
- Charleston Peak, at 11,916 feet, is only the 8th highest in peak Nevada. However, it's the 8th most prominent peak in the lower-48, which gives it some great views. It is the highest peak in Clark County (Vegas) and in the Spring Mountains.
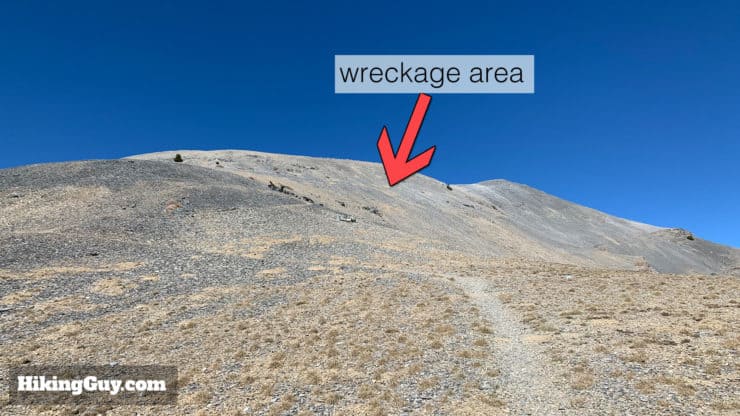
- Near the summit you can see wreckage from a CIA plane crash that occurred on November 17, 1955. Fourteen men lost their lives when the C-54 military plane carrying them crashed into the summit during a blizzard. The men were traveling to Area 51 where they were working on the U-2 spy plane. I marked the wreckage site in the GPX file with a waypoint if you'd like to take a look. There is a memorial to them and other silent heroes of the Cold War at the Visitor's Center.
- You don't have to worry about bears.
- You don't need a permit.
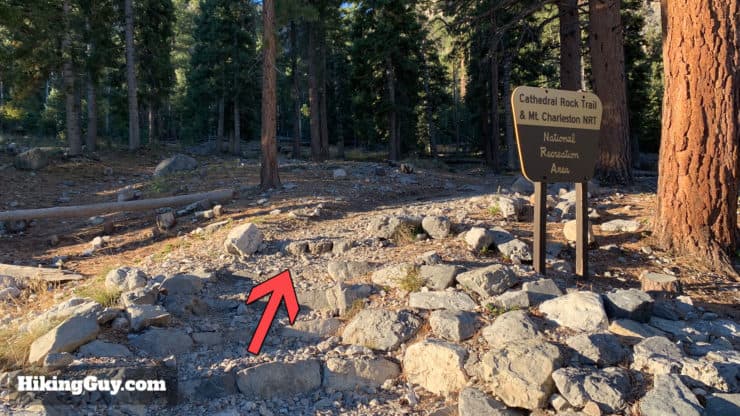
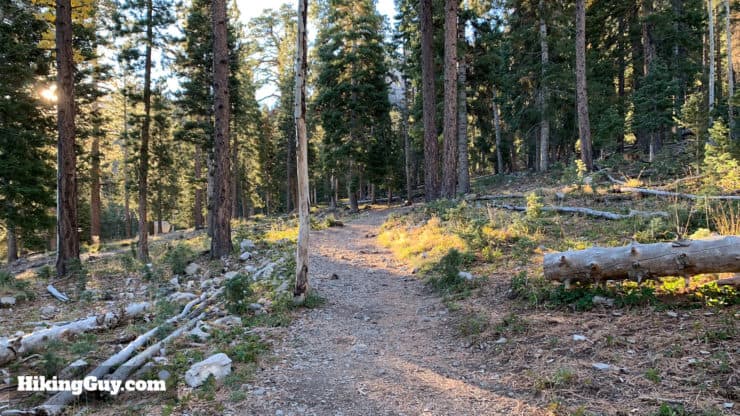
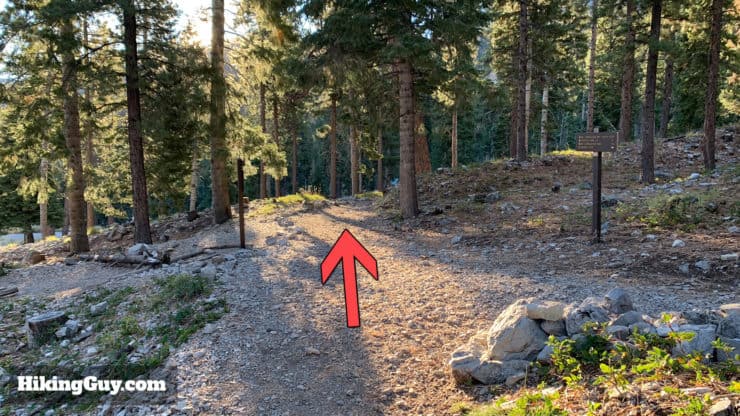
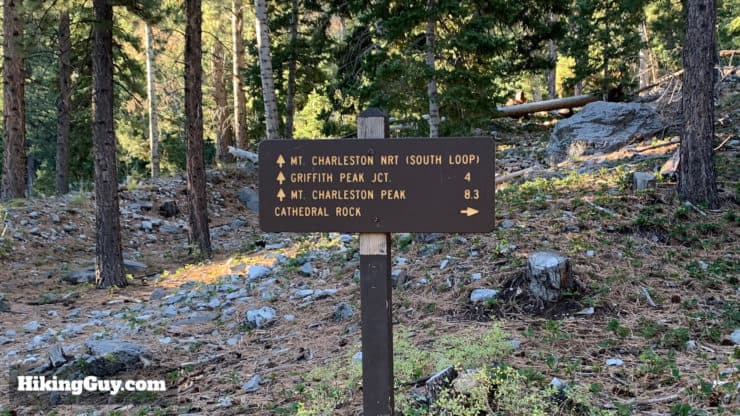
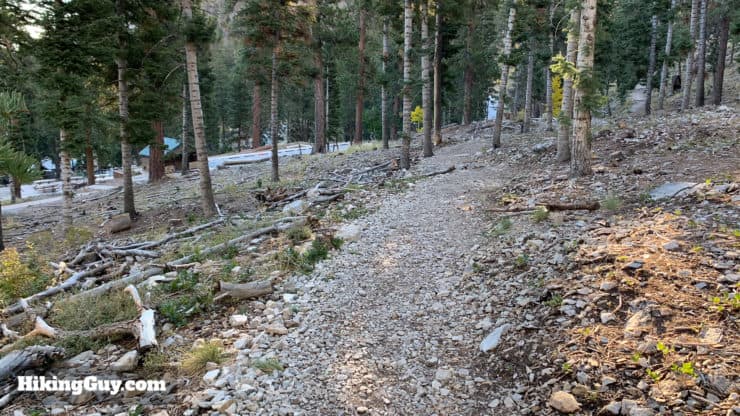
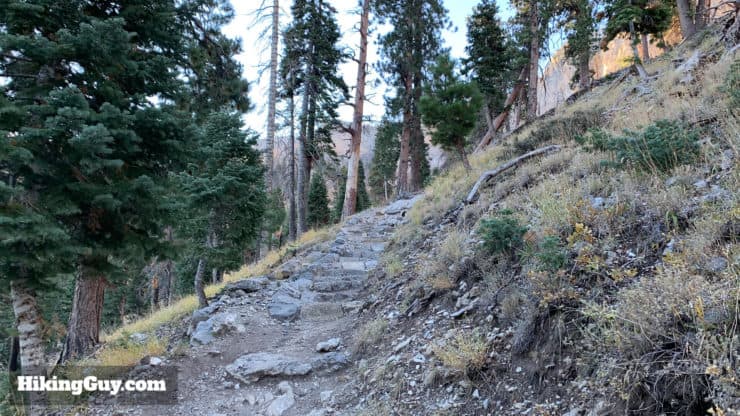
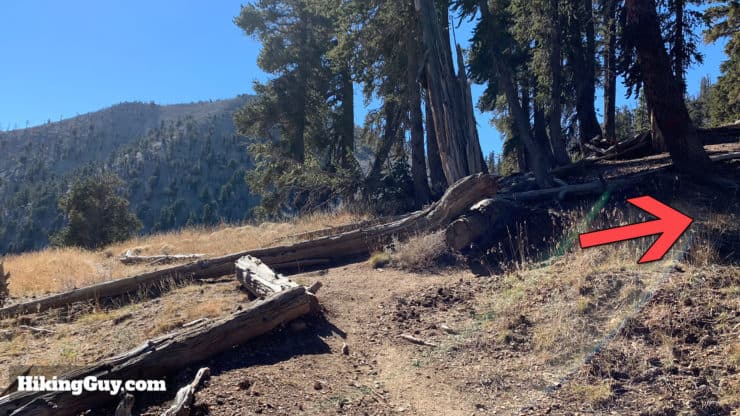
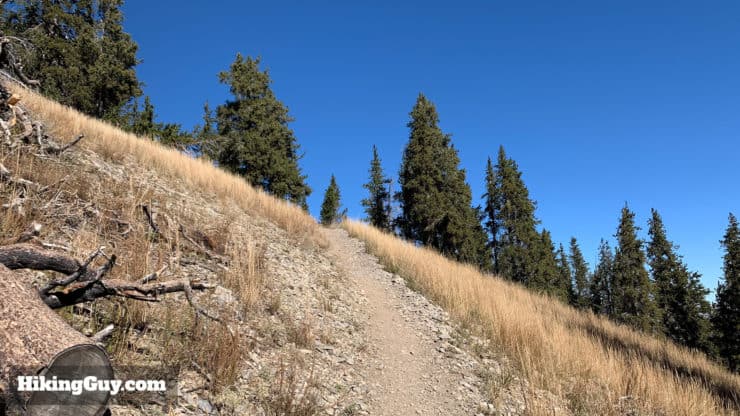
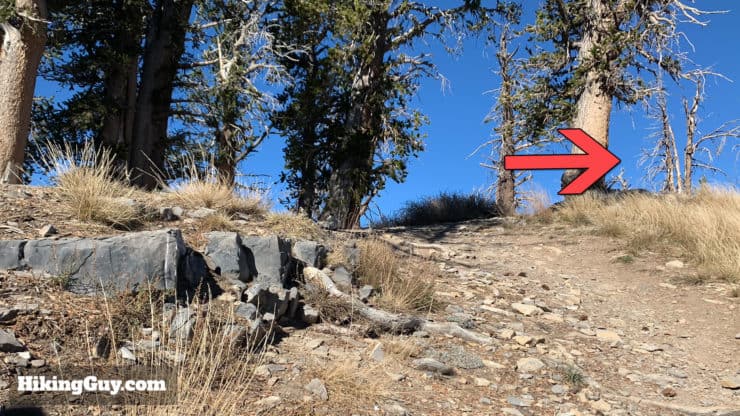
Mt Charleston Peak Hike South Loop Hike Directions


Need More Info?
- Have a question about the guide or want to see what other people are saying/asking? View the Youtube comments for this video. Leave a comment and I will do my best to respond.
- When planning, always check the park website and social media to make sure the trails are open. Similarly, check the weather and road conditions.
Related Guides
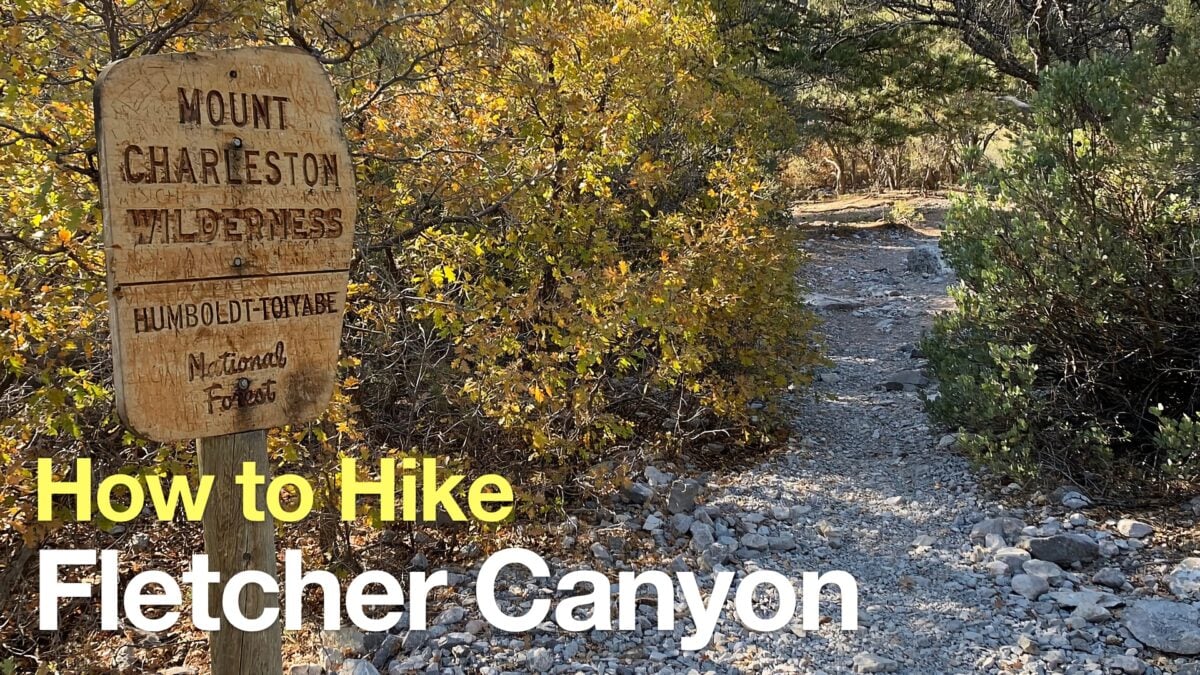 Fletcher Canyon Trail Hike
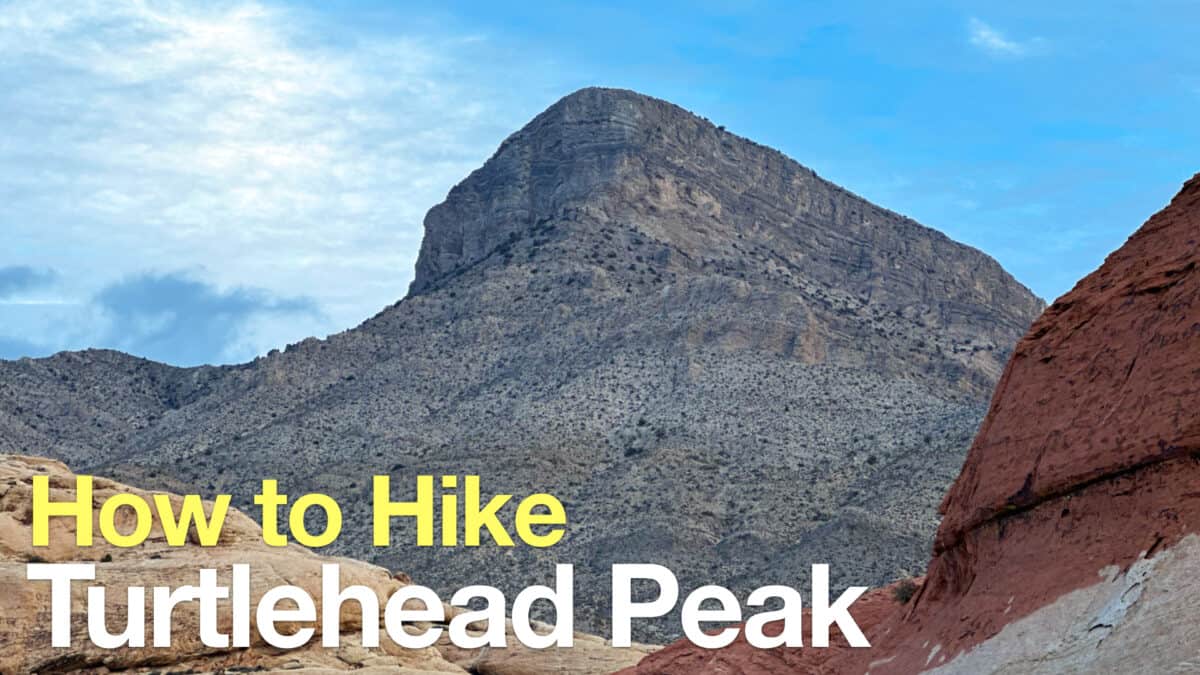 Turtlehead Peak Trail
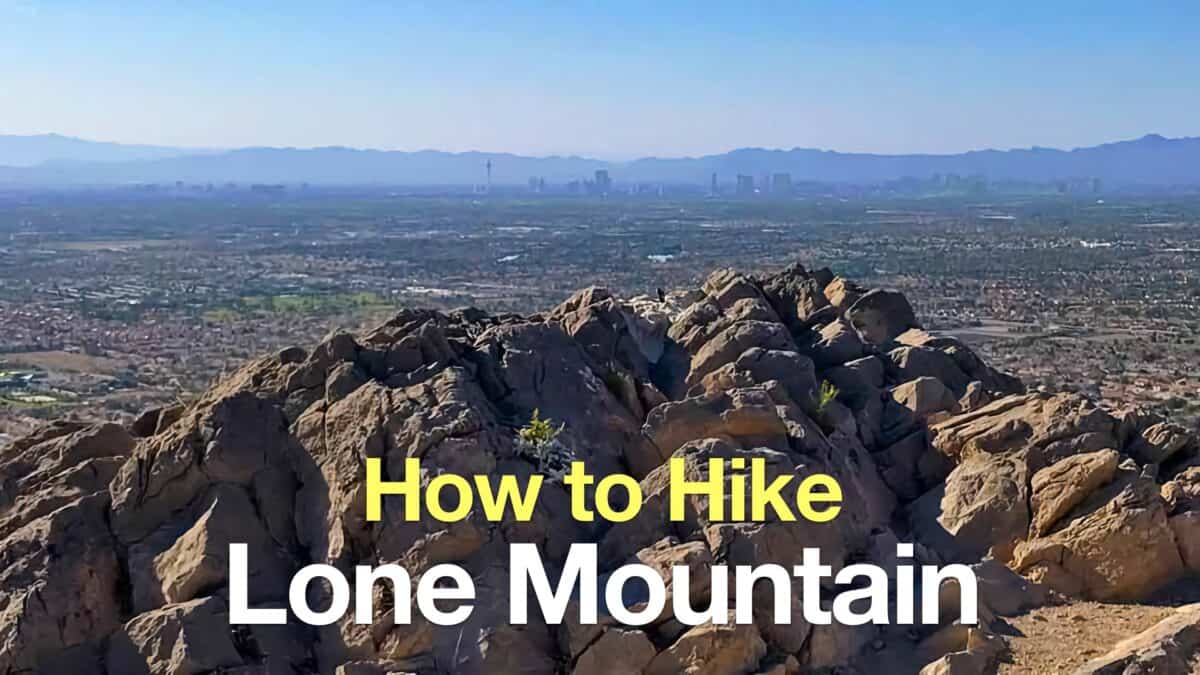 Lone Mountain Trail (Vegas)
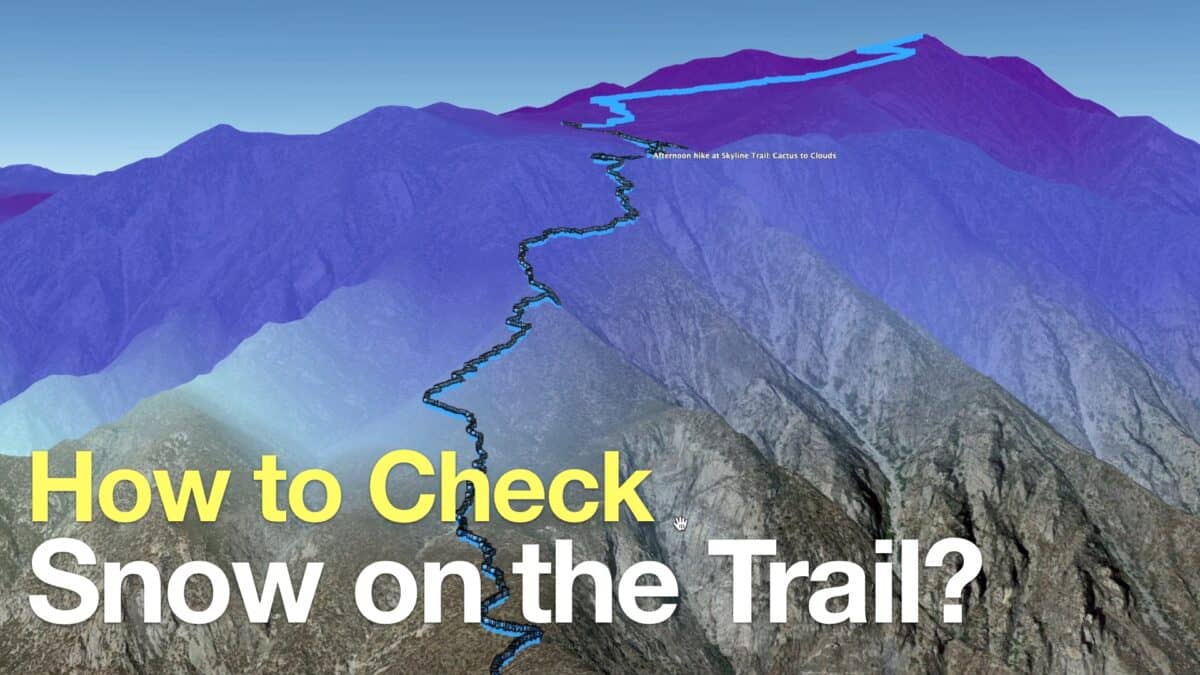 How to Check If There Is Snow On the Trail
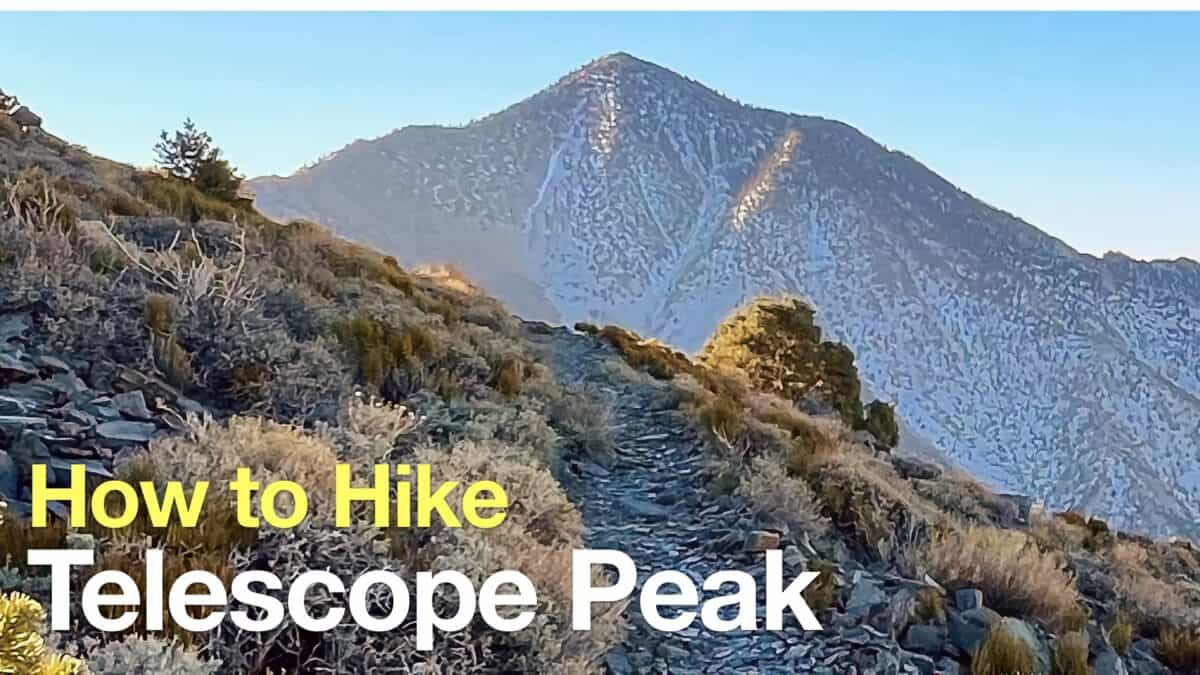 Telescope Peak Hike (Death Valley)
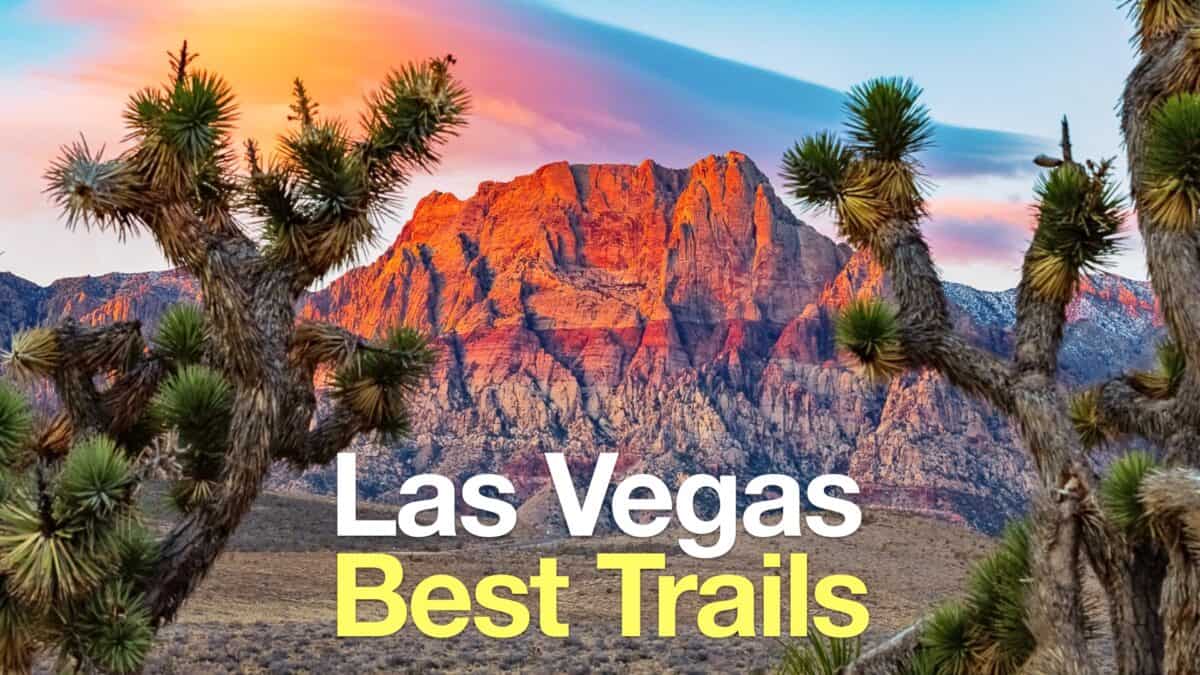 Las Vegas Hikes
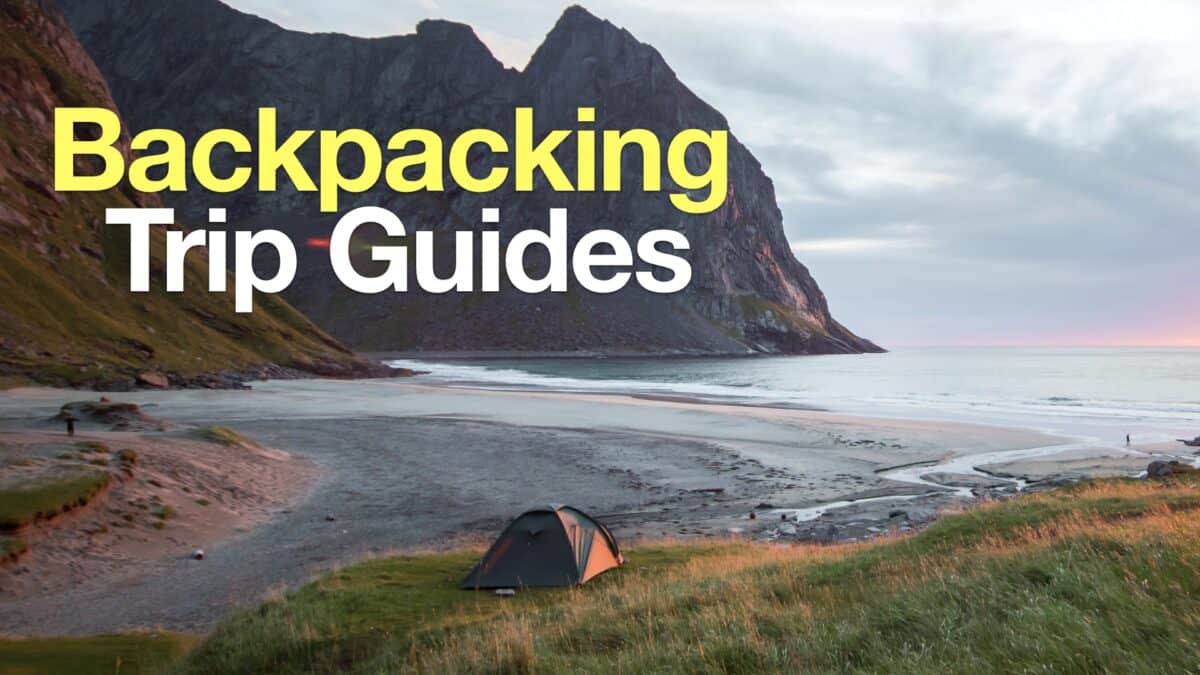 Backpacking Trips
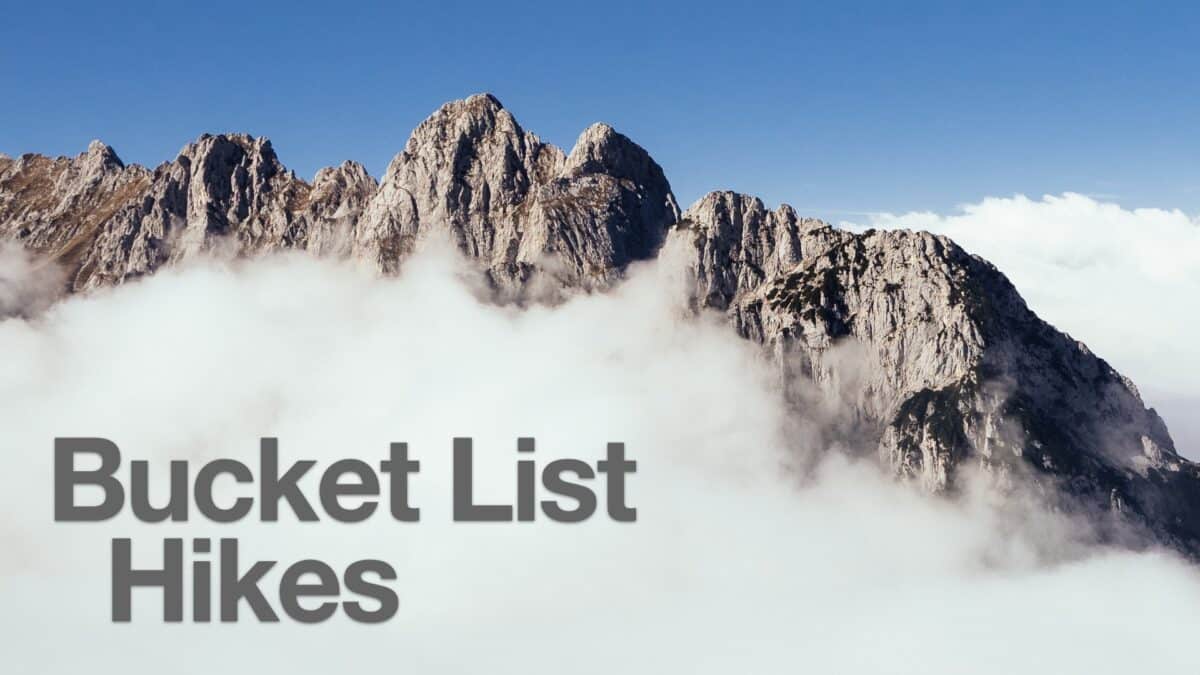 Best Hikes in the World
Popular Guides
 Best Hiking Gear 2024
 Hiking Boots or Shoes: Do I Really Need Hiking Boots?
 When to Hit SOS on inReach
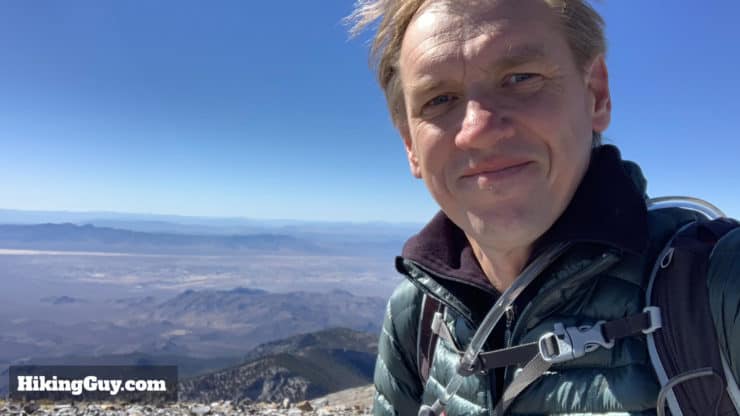
This Guide Was Written by Cris Hazzard

Hi, I'm Cris Hazzard, aka Hiking Guy, a professional outdoors guide, hiking expert, and author based in Southern California. I created this website to share all the great hikes I do with everyone else out there. This site is different because it gives detailed directions that even the beginning hiker can follow. I also share what hiking gear works and doesn't so you don't waste money. I don't do sponsored or promoted content; I share only the gear recommendations, hikes, and tips that I would with my family and friends. If you like the website and YouTube channel, please support these free guides (I couldn't do it without folks like you!). You can stay up to date with my new guides by following me on YouTube, Instagram, or by subscribing to my monthly newsletter.