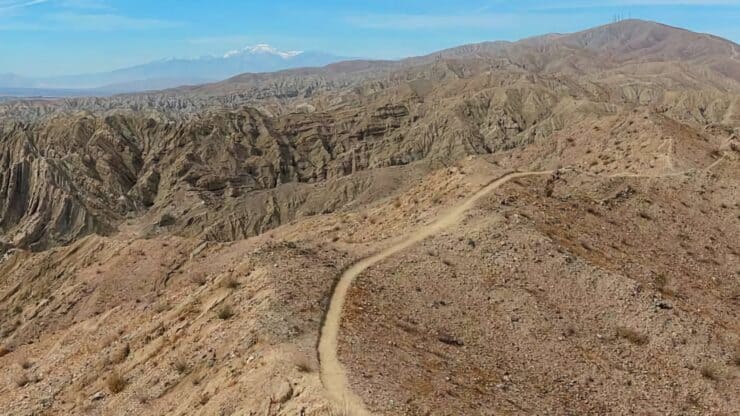
Just opened in 2020, the East Indio Badlands Trail hike offers a spectacular loop through a classic badland topography formed by thousands of years of erosion and an active San Andreas Fault. You'll hike through slot canyons, in the shadow of tectonic uptilts, and along a prominent ridge with 360 views from the Salton See to San Gorgonio Mountain. It's an extremely fun hike at a shorter distance that makes it accessible to almost all types of hikers.
In this Guide:
Video and Turn-by-Turn Directions for the East Indio Badlands Trail
Badlands: a barren area in which soft rock strata are eroded into varied, fantastic forms.Dictionary.com
Where Is the East Indio Badlands Trail?
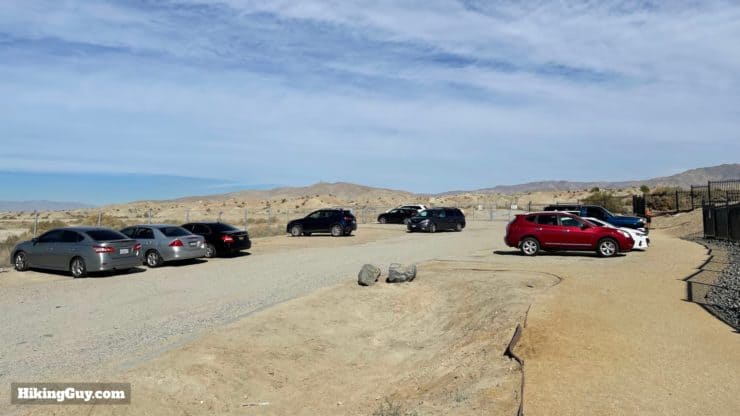
Because this is a newer trail, the trailhead parking lot isn't found on some mapping services. Use this trailhead address: 42000 Golf Center Pkwy, Indio, CA 92203
There's a medium-sized parking lot where Golf Center Drive and Ave 42 connect at the 90-degree turn. If the parking lot is full, you can park along the street in any areas not marked no-parking. The lot fills up with locals and isn't usually indicative of the number of people on the East Indio Badlands Trail.
There are no toilets or water refills at the trailhead or on the hike.
Gear for the Hike
This is a sandy hike in a harsh area, so I'd recommend proper hiking gear if you have it. If not, you can get away with fitness clothing.
Don't attempt this hike when it's hot out. There is no shade and temperatures are extreme.
Bring at least 1L of water with you.
Trekking poles will help on the climbing portions but most people are fine without them.
Low gaiters will help keep the sand and debris out of your shoes.
Gear That I Love Right Now
Nothing is sponsored or promoted, just the actual gear that I use.
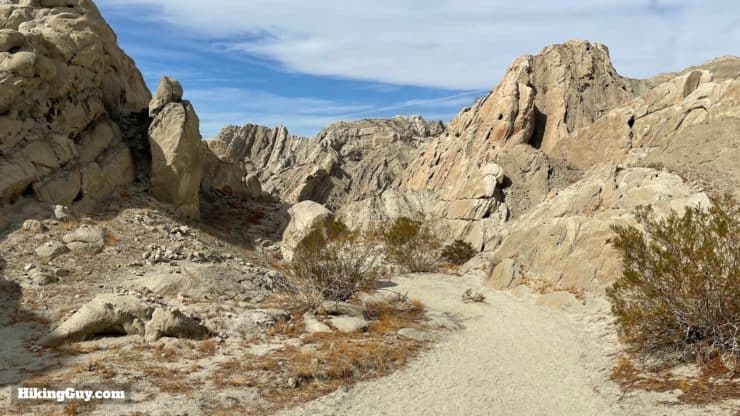
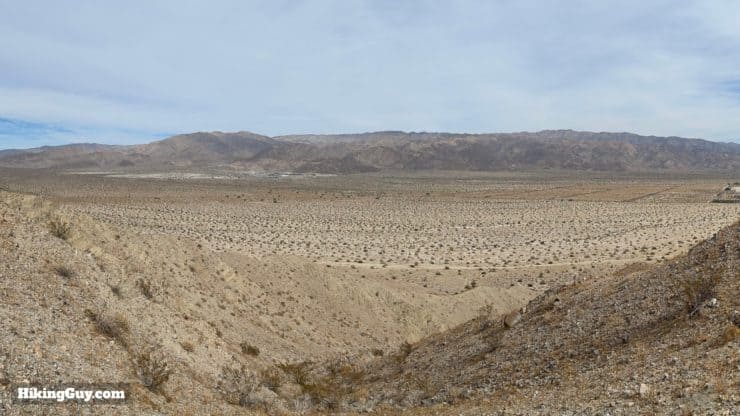
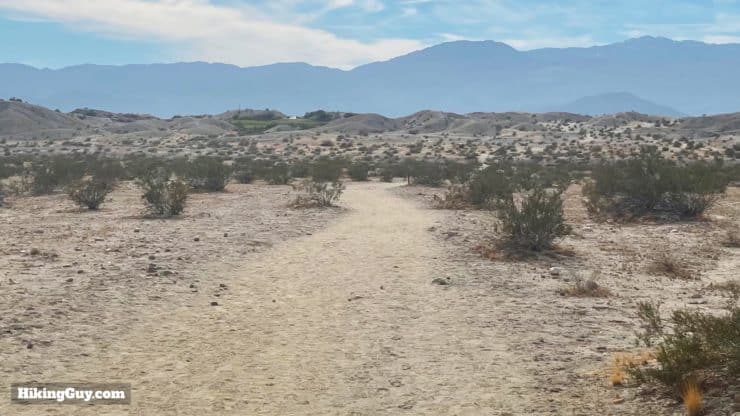
You can break the hike into two rough sections: getting to the badlands and the badlands. The hike to the badlands crosses a flat and sandy area often used by locals that's pretty average. And then you enter the badlands, which is a magical spot that feels like you are in a National Park. The interesting parts of this hike make the ho-hum approach worth the effort.
This trail is also referred to as the Indio Hills Badlands Trail, the East Indio Hills Trail, and the Golf Center Trail.
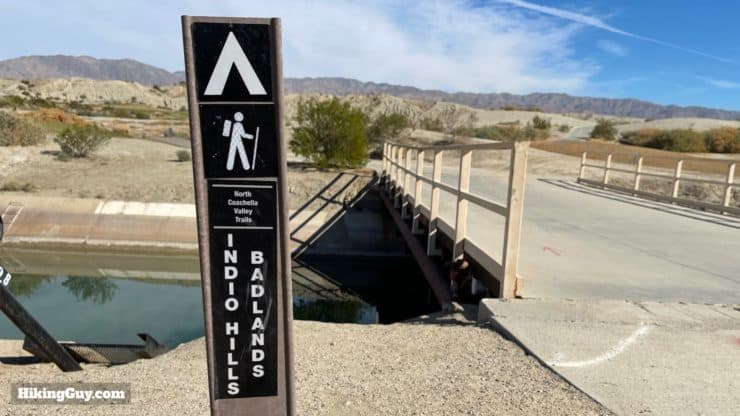
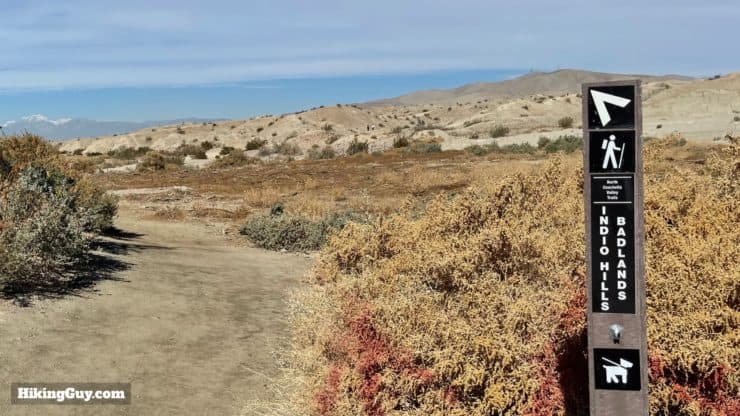
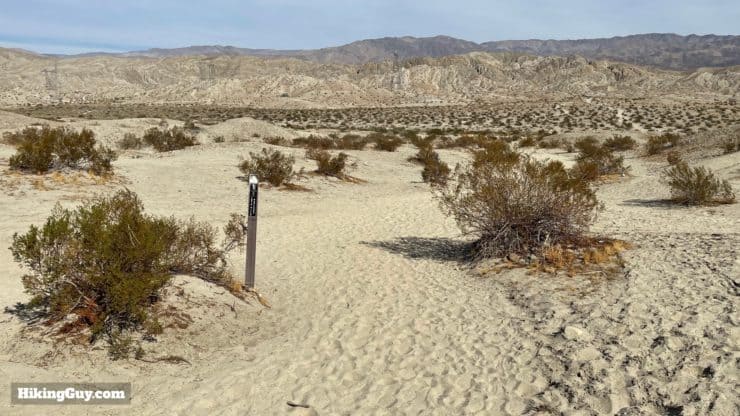
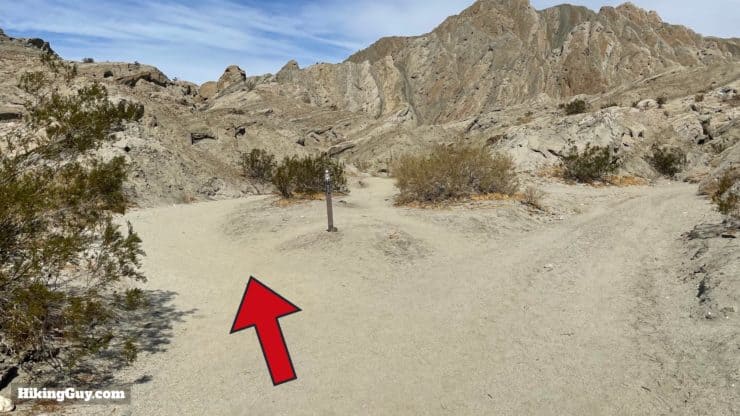
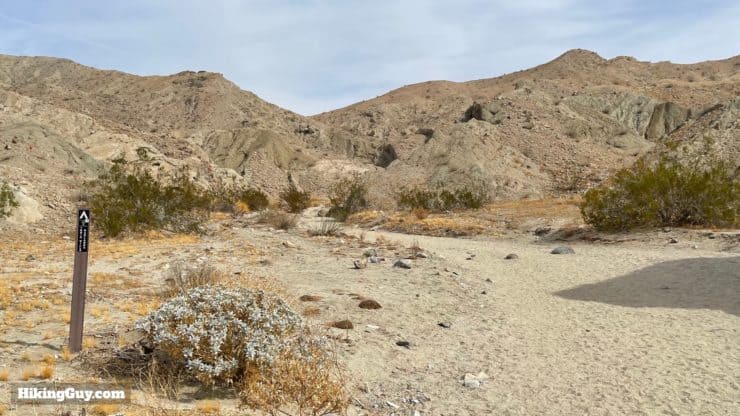
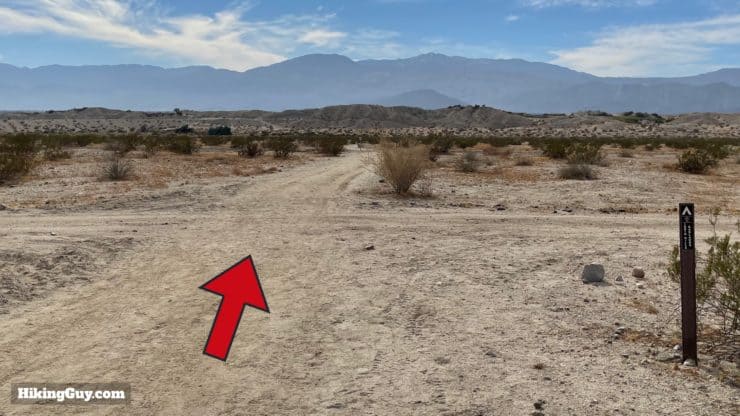
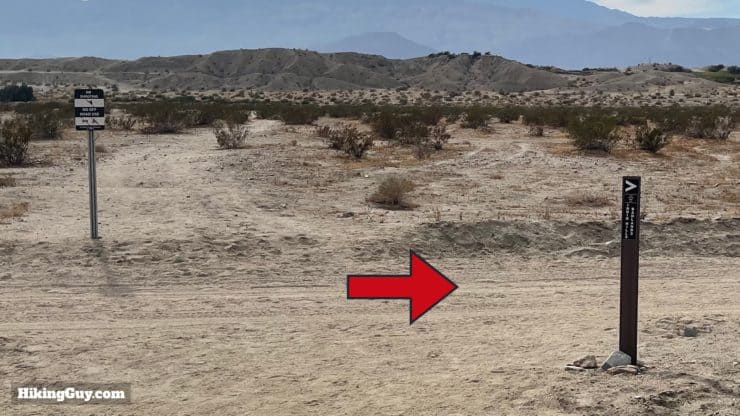
The key to staying on the trail are these trail markers. The arrow on the top points you in the direction of the trail. There are markers like this on the entire loop. If you don't see one every 5 minutes or so, you might be in the wrong place.
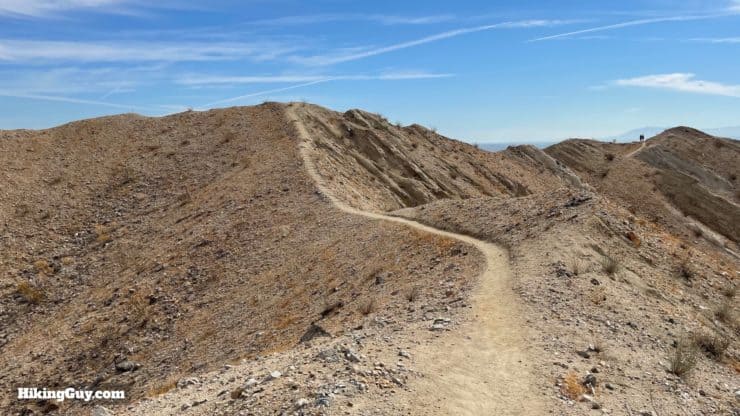
In general you hike up to the viewpoint toward the middle of the loop, but there are a few of ups downs along the way.
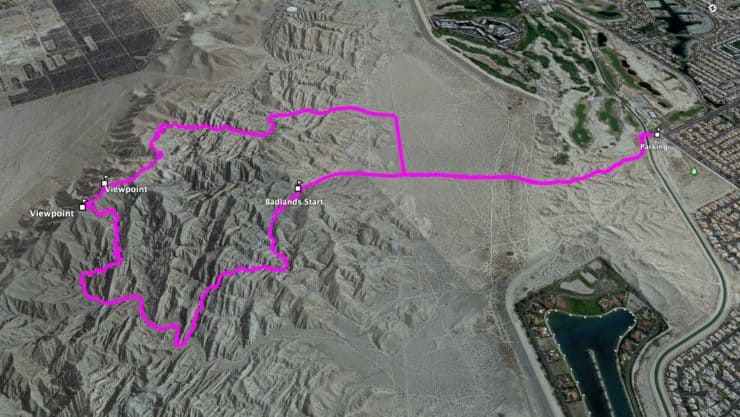
3d Map
Here you can see the approach on the lollipop route. Once you get into the badlands, you do your loop through the canyons.
Quick Trail History
Before the official East Indio Badlands Trail opened, a mix of use trails crisscrossed this area. Understanding the need to preserve the badlands while sharing it in a responsible way, the Coachella Valley Mountains Conservancy, Friends of the Desert Mountains, City of Indio, Indio Water Authority and the Bureau of Land Management got together and secured funding to create a trail. Local volunteers led by Friends of the Desert Mountains designed the route, built new sections of trail, and cleaned up the area around it. Today we have this awesome hike thanks to their efforts.
East Indio Badlands Trail Directions
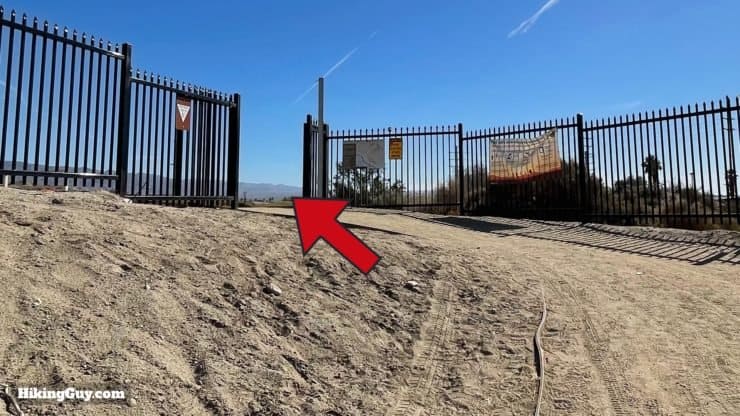
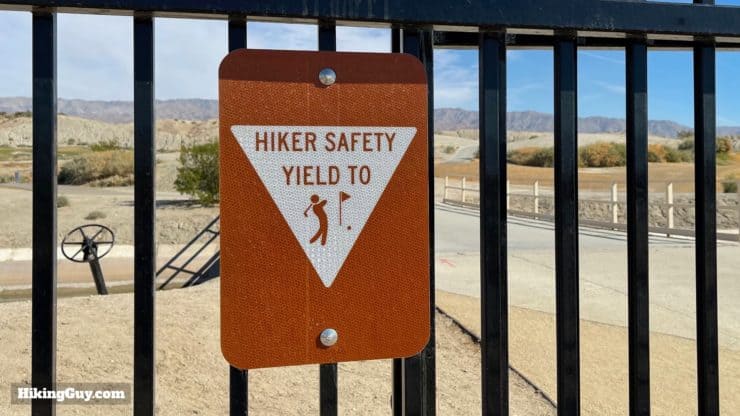
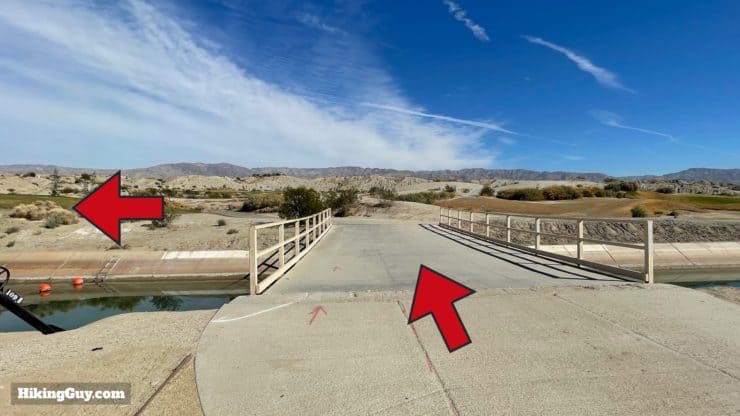
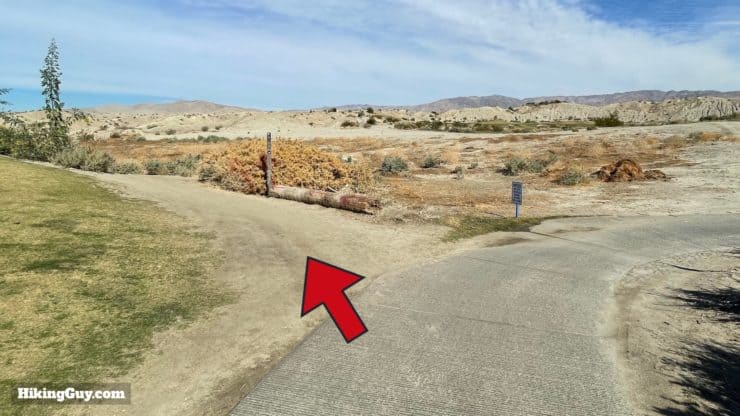
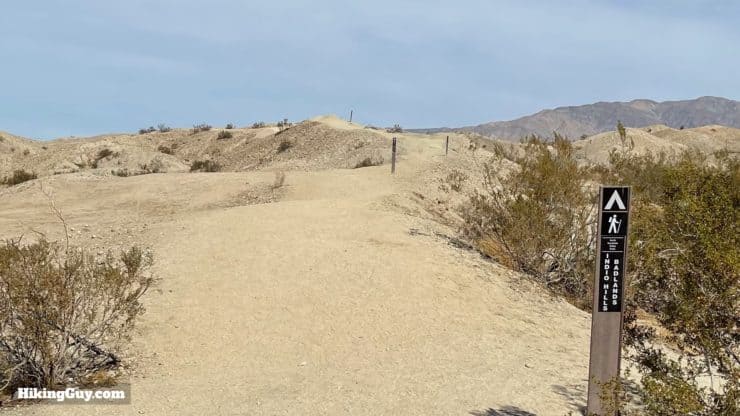
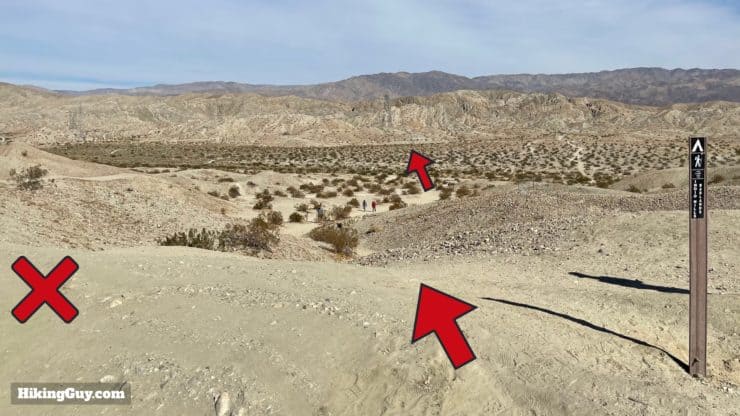
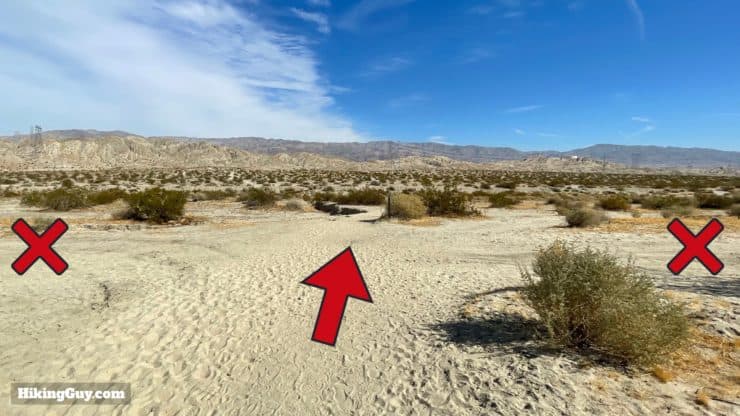
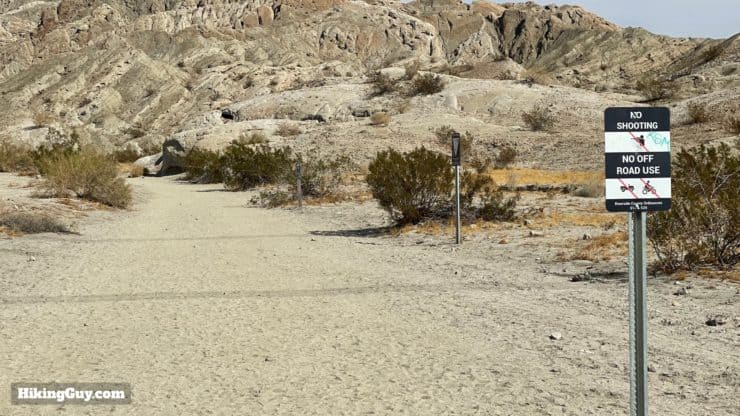
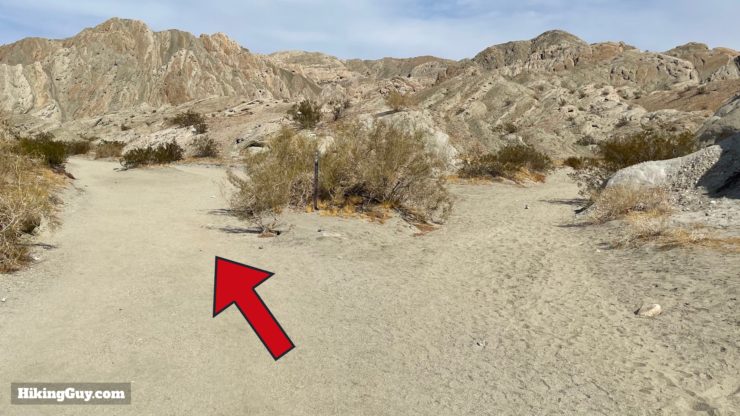
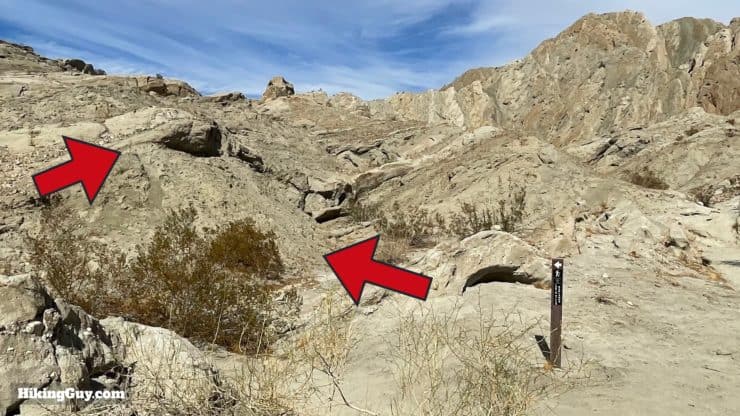
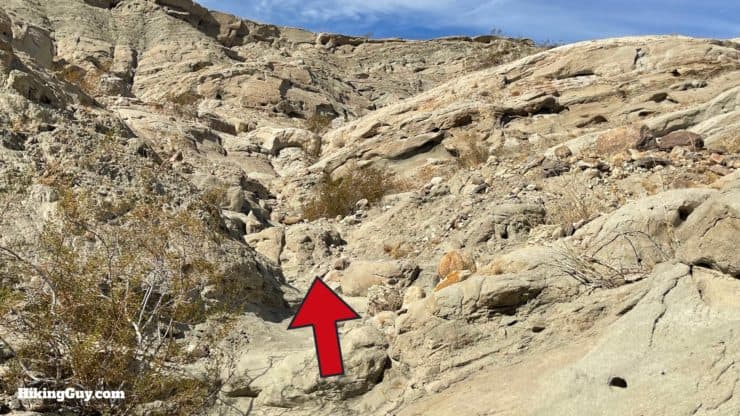
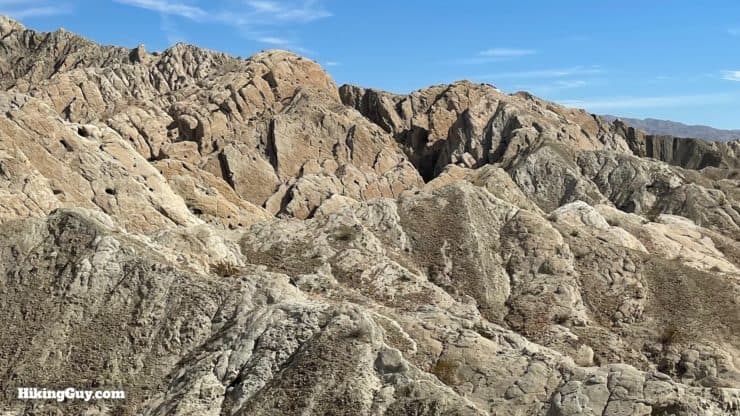
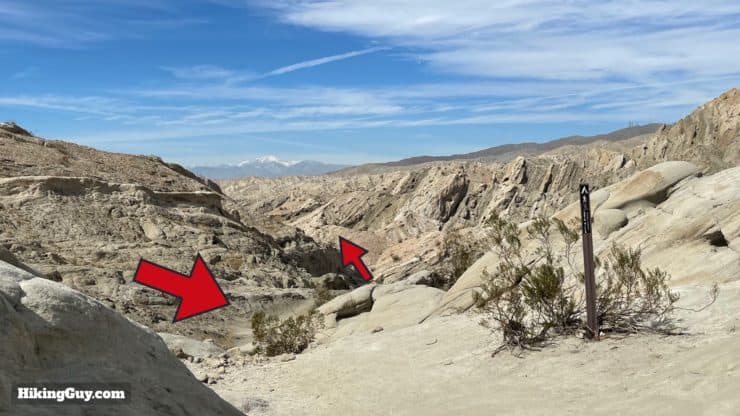
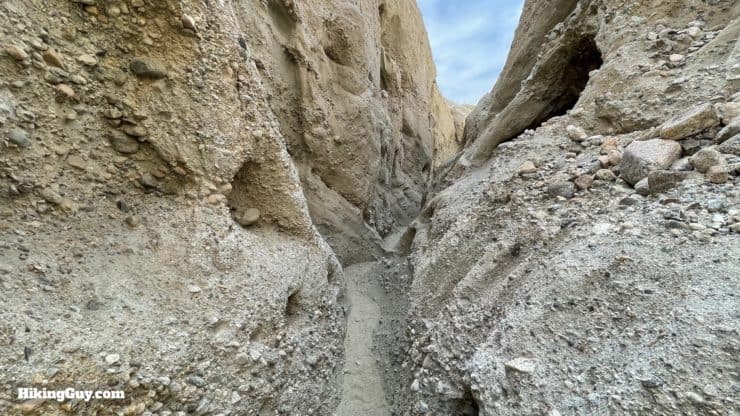
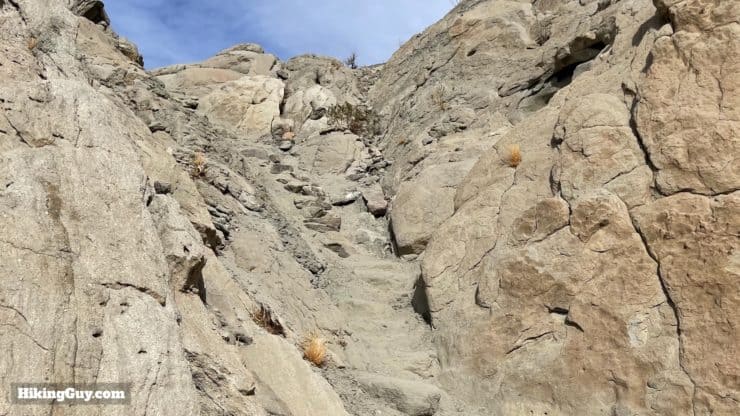
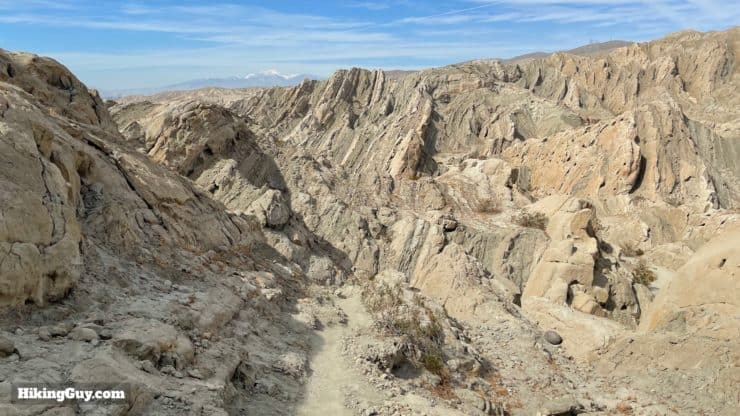
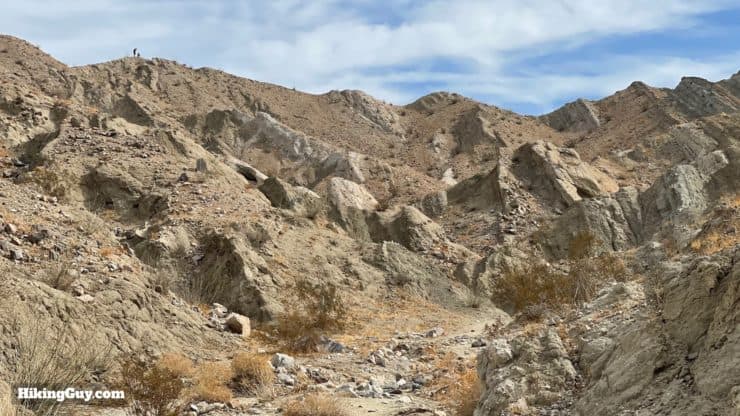
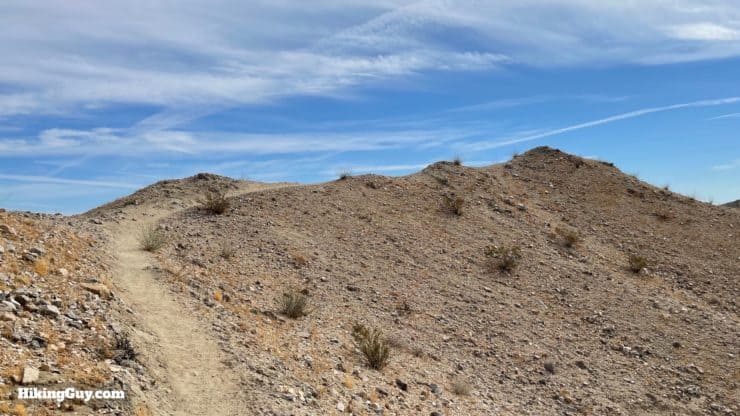
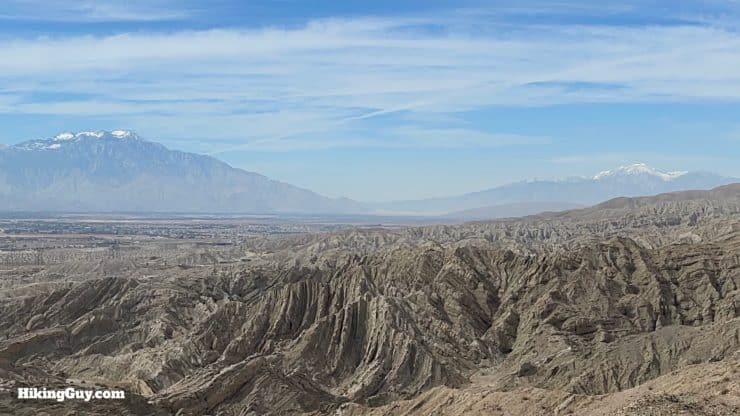
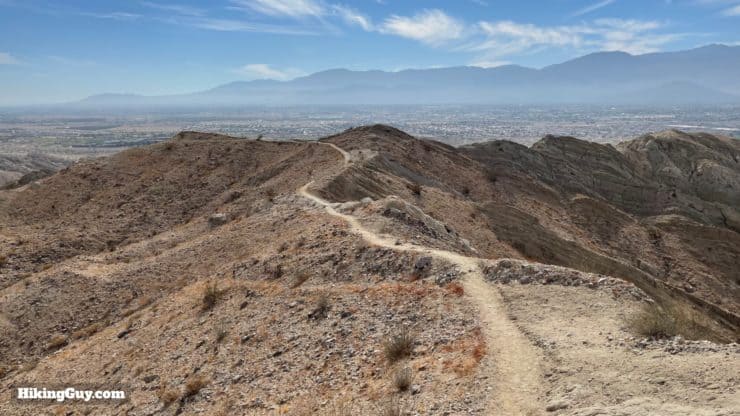
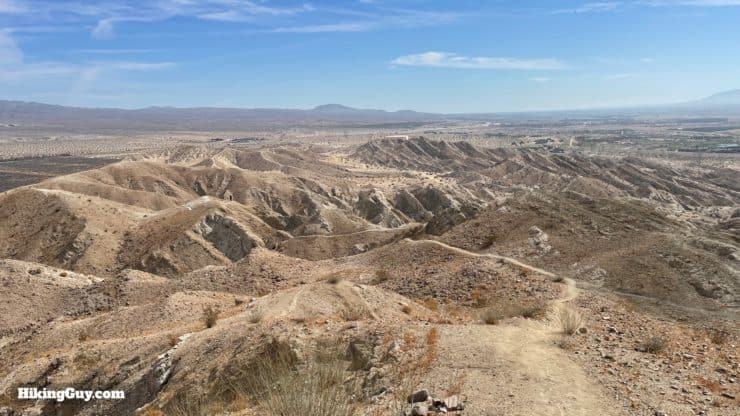
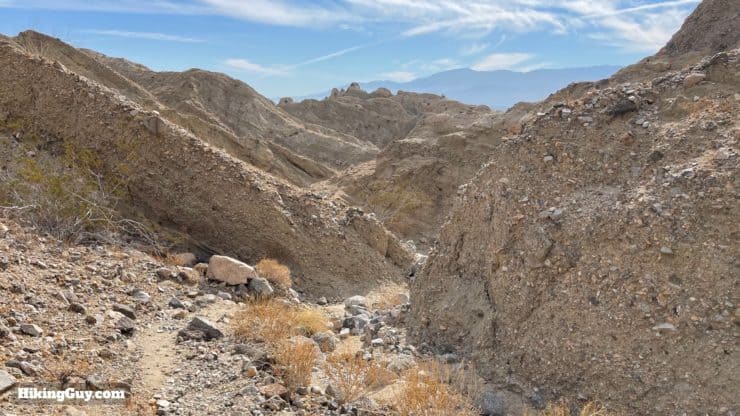
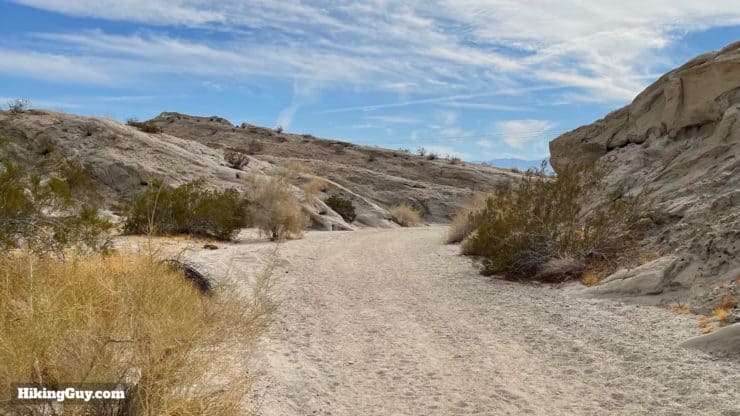
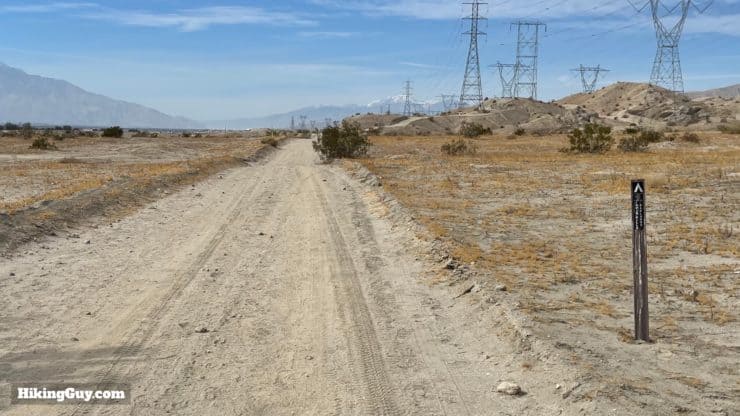
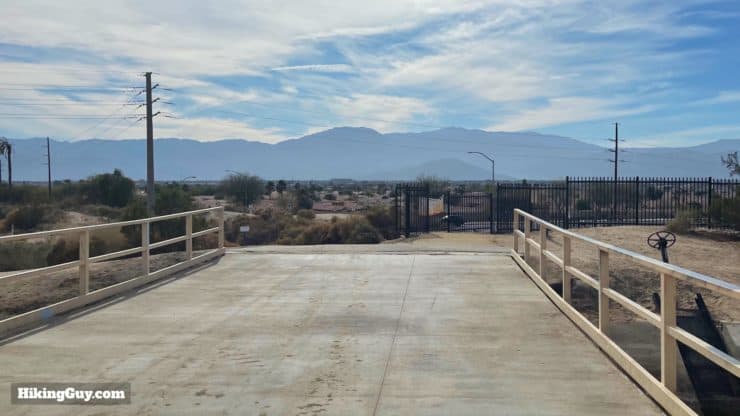
From the parking area, hike up the hill and through the gate.This is a new one for me! The first minute or two of the hike shares a cart path with the golf course, just a heads up.Hike over the bridge and bear left.And then make the left onto the trail. Notice the East Indio Badlands Trail marker too. As I mentioned before, follow them, they are your friends on this hike.This part of the trail is busy with walkers and mountain bikes. Keep following the signs and don't follow fellow walkers, who often use other trails here.The trail turns and you'll see trail markers extend in front of you.This turn is easy to miss. As you go straight along the ridge, don't make the sharp turn to the left at the end. Instead, go straight, over the bump, down the hill, and then straight into the flat desert. Again, you'll see East Indio Badlands Trail trail markers here.Once you're down the hill, you basically have a long, straight stretch of trail across the desert to reach the badlands. This is the not-so-exciting section I mentioned earlier.Avoid any side trails or roads and just hike straight, following the trail markers.When you approach the badlands you'll see signs letting you know that this will be a little calmer and nicer. I've never seen anyone shooting on the last stretch, but I have occasionally seen dirt bikes and ATVs.Bear left at the split.And then another left after that.And then a hard left into the badlands and the cool part of the hike. The trail climbs up the rocky hill, following the markers.keep your eyes open for the trail makers. Some sections go right up and over the rock.Get into the rhythm of spotting the trail markers. Sometimes you can miss it if you space out.As you climb you are treated to some beautiful topography.After you crest the hill, head downhill and start the slot canyon below.The trail narrows as it makes its way through the canyons. Again, the beauty is striking.After the slot canyon opens up, look for a hard right turn.The trail climbs up the rock to the next little ridgeline.At the top are some incredible views of the rock stratum pushed up by San Andreas Fault action. The East Indio Badlands Trail starts to go downhill here.The trail winds its way through the canyon.When the canyon widens and splits, hike to the right. Again, the trail markers show you the way.Now you have a stretch of trail that heads up this canyon. Keep following the canyon.Eventually the canyon narrows and you have an uphill stretch with some small switchbacks.You gain the ridge and the the trail follows it to the viewpoints.The view to the North opens up and you can see the hills toward Joshua Tree National Park.Continue hiking up to the high point.From this highpoint you'll get panoramic views from Mount San Jacinto, the Coachella Valley, San Gorgonio, and the Salton Sea. It's an incredible spot.It's all downhill from here. Follow the trail down and along the ridge.The trail descends into a canyon.And you follow the canyon back toward the desert area.As you hike downhill the canyon widens.When the canyon opens up, bear to the right on the wider trail, following the trail marker.Follow the trail marker and cross over the crossing trails.
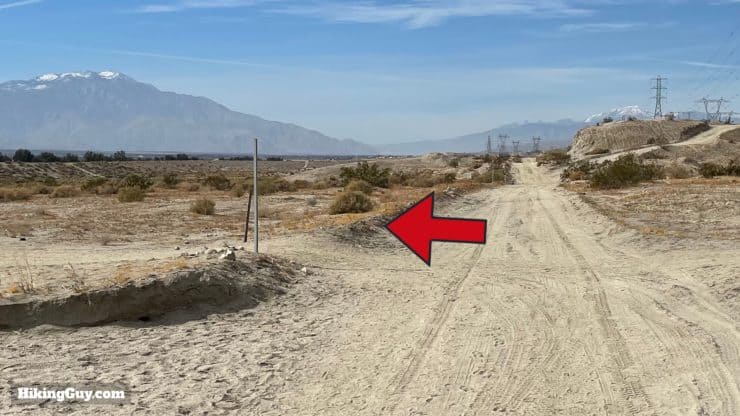
This section can get confusing, there are several trails intersecting. You want to go straight until you cross under the power lines.
Make the right on the sand road right after the power lines, again following the marker.Hike straight on the sand road.Look for the trail markers on the cross trail that you came up earlier. When you reach the official trail with the markers, hike left and go back down the way you came.You'll wind down the same trail you came up earlier.And eventually reach the bridge at the end. That's it. Bonus tip: look in the water for fish, they're in there.
Need More Info?
Have a question about the guide or want to see what other people are saying/asking? View the Youtube comments for this video. Leave a comment and I will do my best to respond.
When planning, always check the park website and social media to make sure the trails are open. Similarly, check the weather and road conditions.


 Using the Apple Watch for Hiking
 Garmin Fenix 7 & Epix Review For Hikers
 How To Read a Topographic Map
 Garmin GPSMAP 67i Review
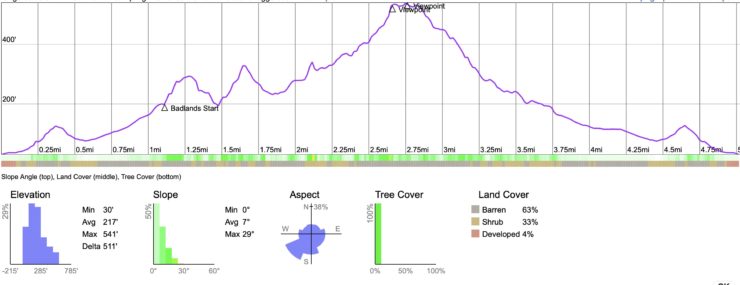


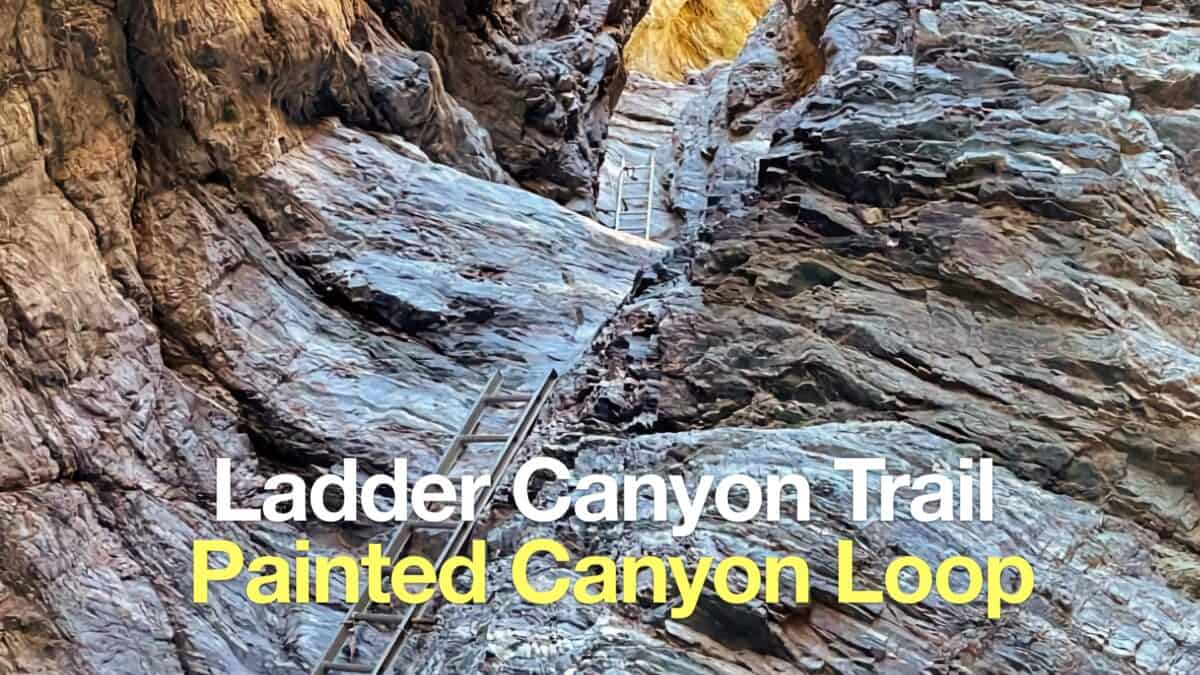 Ladder Canyon Trail & Painted Canyon Loop Hike
 Pushawalla Palms Trail Loop
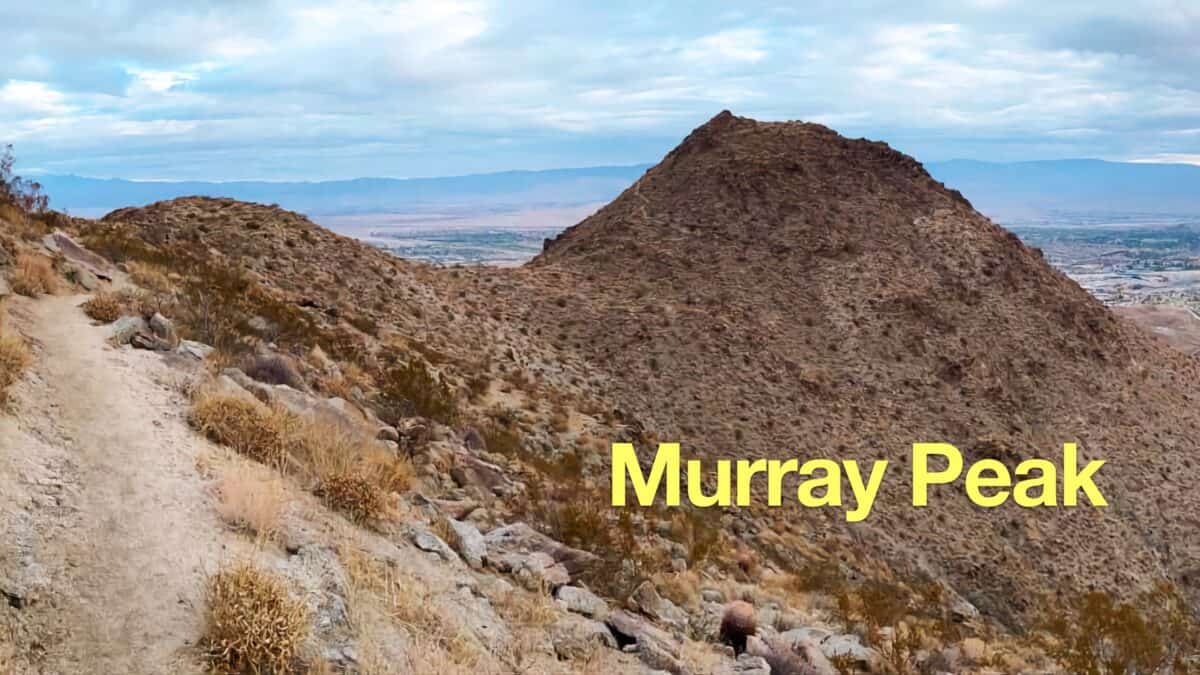 Murray Peak Hike (Palm Springs)
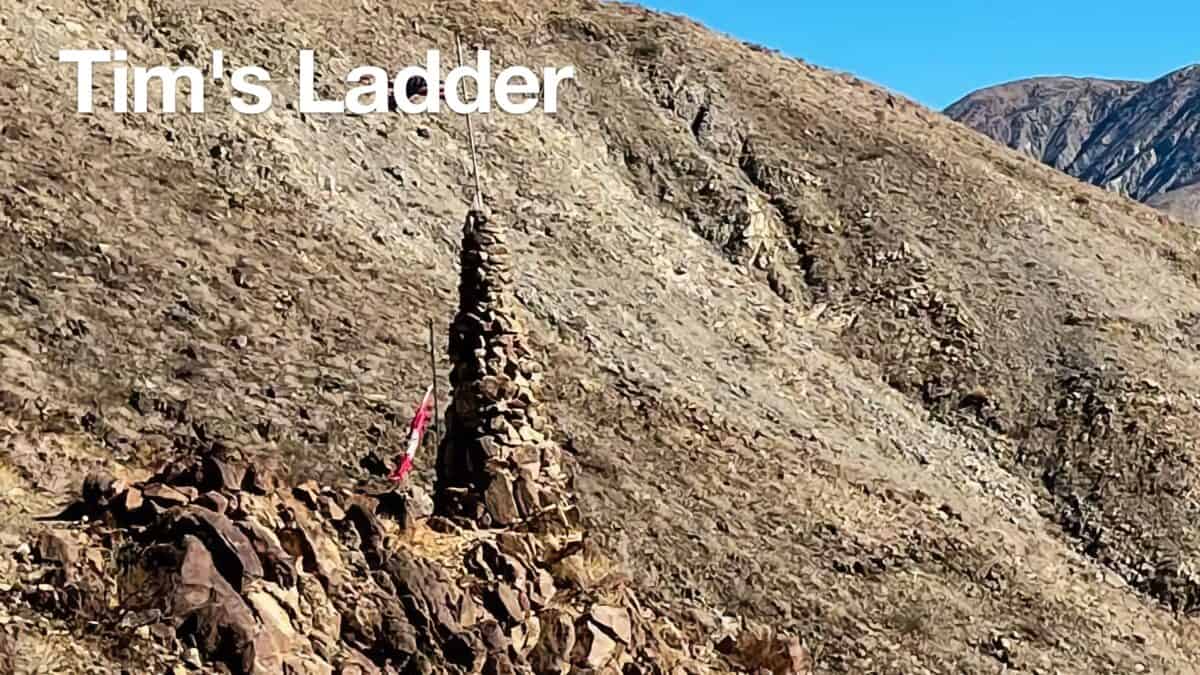 Tim's Ladder Trail
 Palm Springs Hiking Trails
 Hikes In and Around Riverside County
 Best Hiking Gear 2024
 Hiking Boots or Shoes: Do I Really Need Hiking Boots?
 When to Hit SOS on inReach