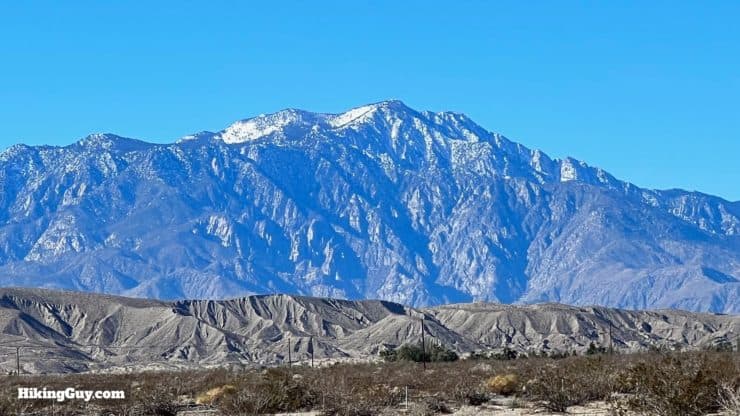
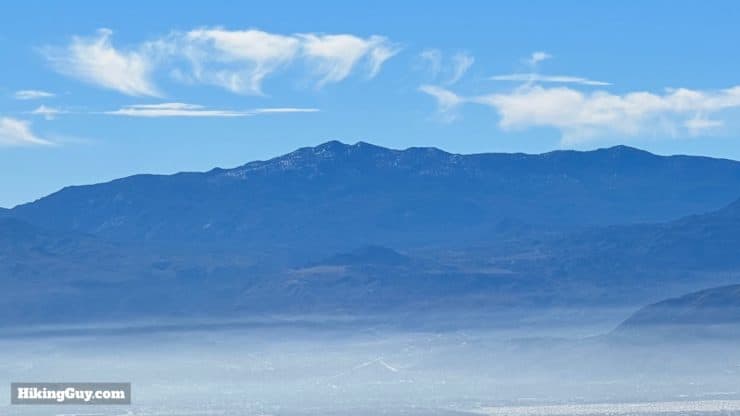
A local's favorite, the Tim's Ladder Trail offers a rugged adventure into the hills of the northern Coachella Valley. Along the way, you'll encounter a monument built by a local artisan. Then, you'll enter the Joshua Tree National Park backcountry and finish with a panoramic viewpoint overlooking the Little San Bernardino Mountains. And 2000 feet of climbing in under 3 miles means that you'll earn the views.
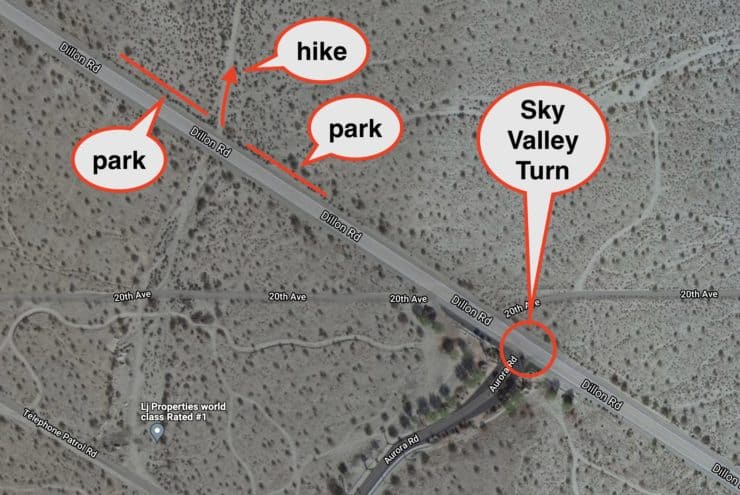
There's no official trailhead for the hike, but parking and starting the hike are easy enough. If you can enter latitude and longitude into your driving GPS, use this trailheads address: 33.904815, -116.362112
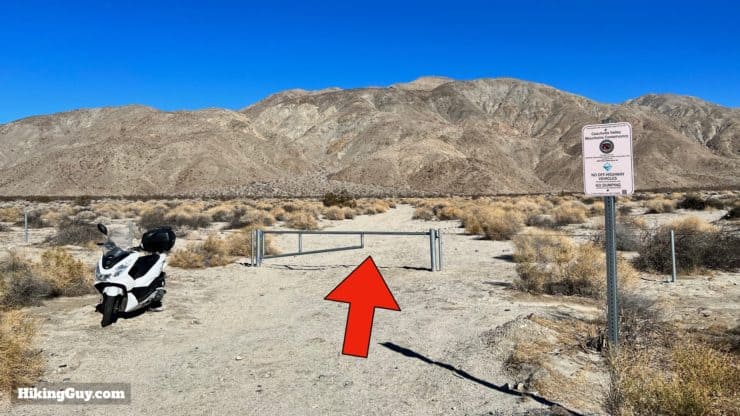
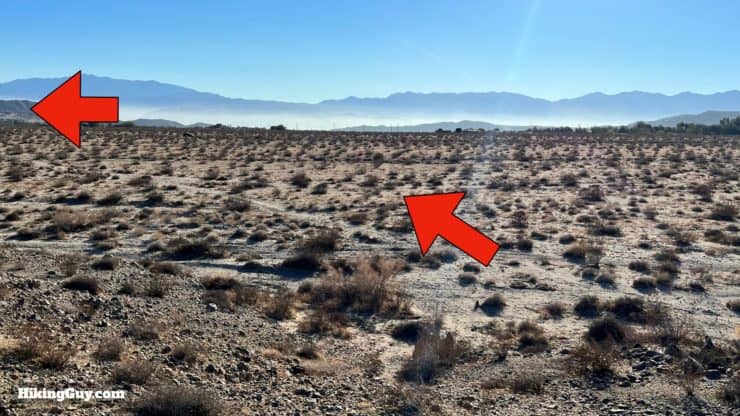
Parking is on the roadside, before the turnoff to the resort.There's a wide shoulder where you can park alongside the road.And there's a gate that marks the start of the hike.
Gear For the Hike
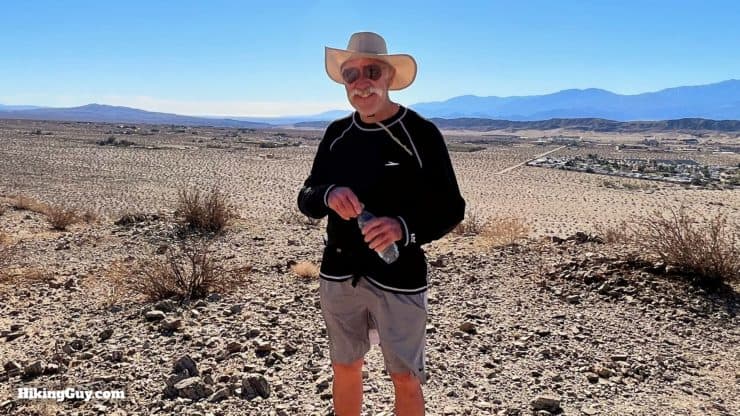
This is a rugged hike in the desert. In the summer and when temperatures are high, doing Tim's Ladder is not an option and can be deadly. When temperatures are safe, I bring about 2L of water and sun protection. Trekking poles are also a must on some of the steep slopes. Lastly, having a GPS with this trail's GPX track loaded will be helpful. The trails are unofficial use trails, and are generally easy to follow, but having access to the GPX track will resolve any confusion.
Gear That I Love Right Now
Nothing is sponsored or promoted, just the actual gear that I use.
Even though it's not a long hike, it's a steep one. You'll climb about 2000 feet in 2.5 miles.
Landmarks on the Hike
Landmark
Distance
Elevation
Trailhead
0
1090
Monument
1.1
2020
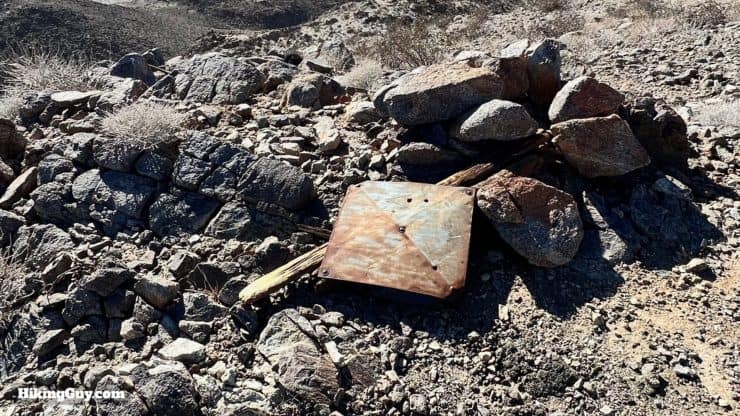
Witness Post
1.6
2460
Joshua Tree
2
2750
Viewpoint
2.6
3100
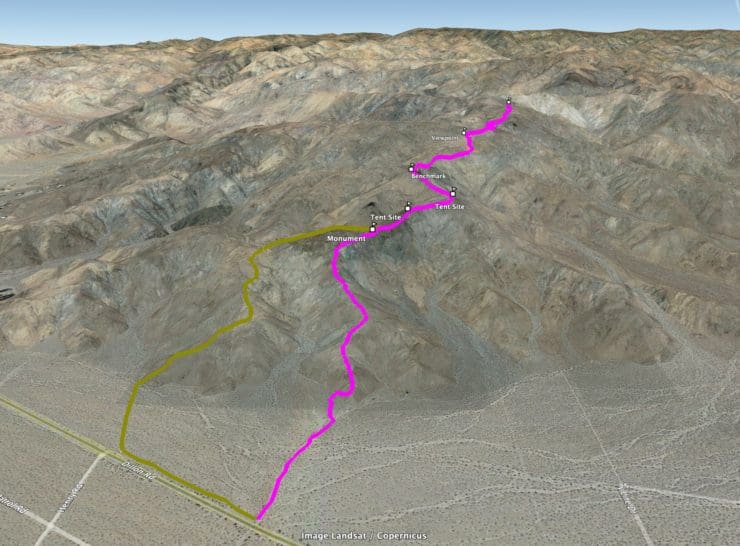
3D Map
We're going to climb straight up and into the foothills. I have an alternative loop that's longer but not as steep on the way back.
Hike Brief
Meet Tim, of Tim's Ladder! Tim and his wife Pam started Sky Valley Resort, which is across the street from the trail. They're both avid hikers and are on these trails often. Sky Valley offers vacation rentals and the Farm Fresh market, which sells local eggs and baked goods with an Austrian flair (the owners are Austrian transplants).
The land you are hiking on is owned by the Coachella Valley Mountains Conservancy, a state agency created in 1991 to protect the natural and cultural resources of the Coachella Valley. It would be great if the Friends of the Desert Mountains would mark this trail at some point, it's a great area.
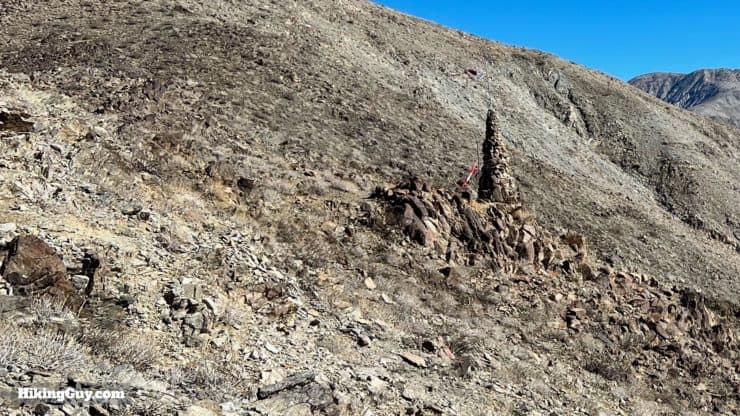
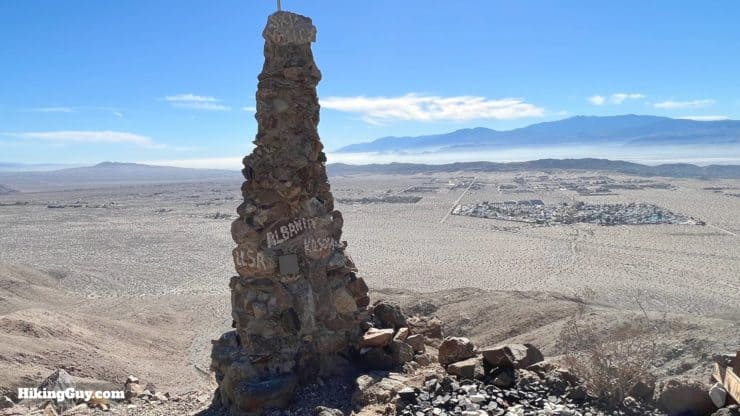
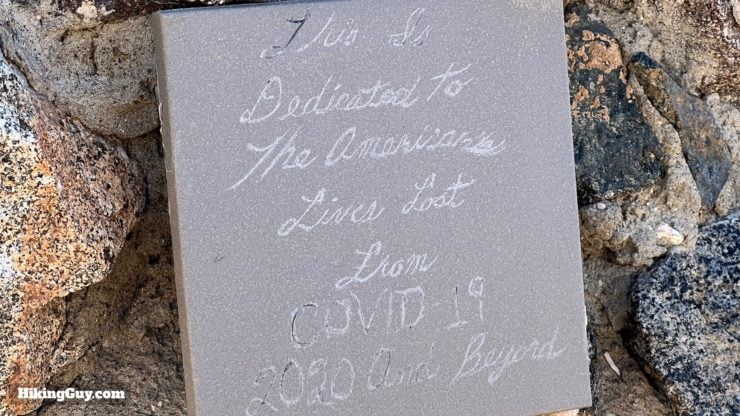
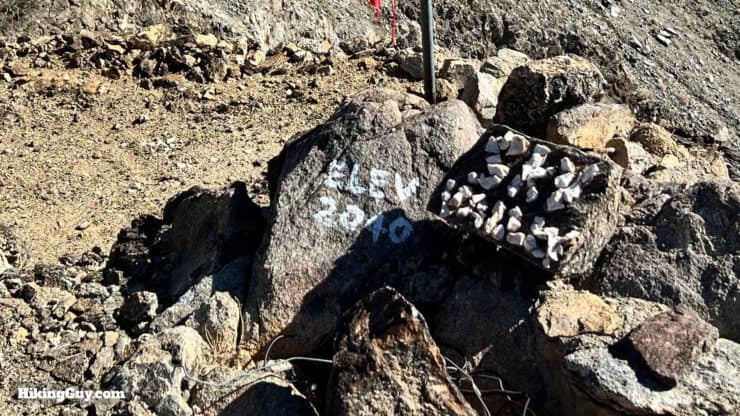
The monument you pass on the hike was created by Din Kossova, who lives at Sky Valley, to commemorate the founding of the modern Albanian state in 1920, largely through the efforts of Woodrow Wilson. Originally he built another monument, unknowingly just inside the (then unmarked) boundary of Joshua Tree National Park. When the park found it, they (pretty harshly) fined Kossova and blew up the monument. The video about it on the Desert Sun site is worth watching if you're interested.
You'll cross into Joshua Tree National Park, but you don't need any special entrance fees or permits to day hike here.
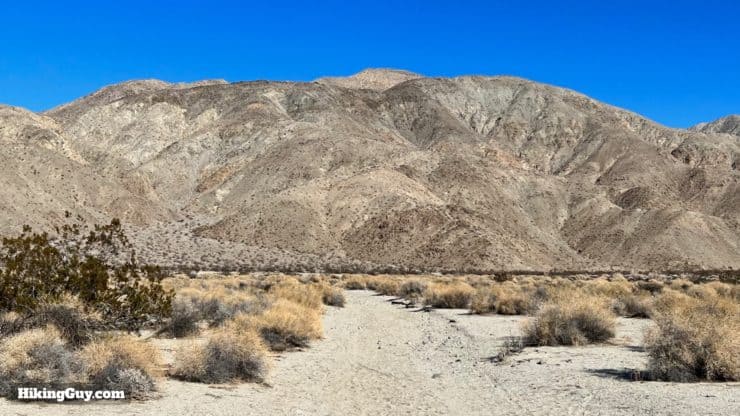
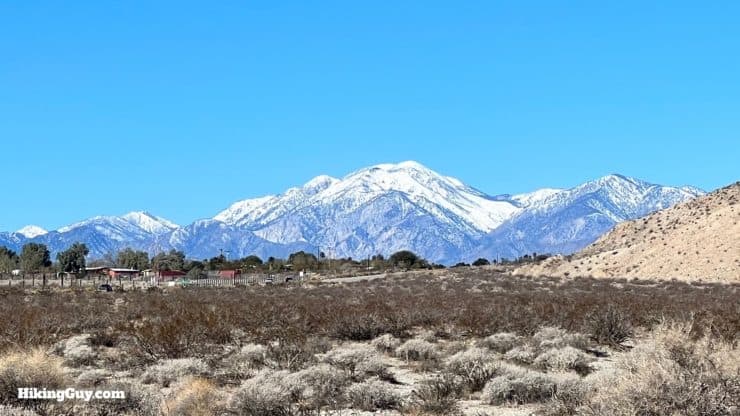
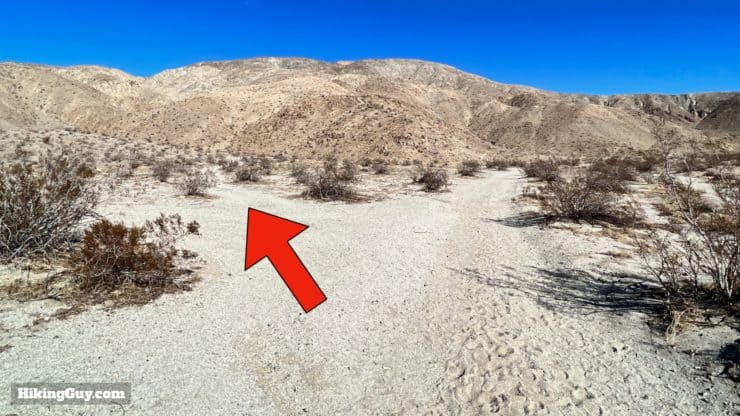
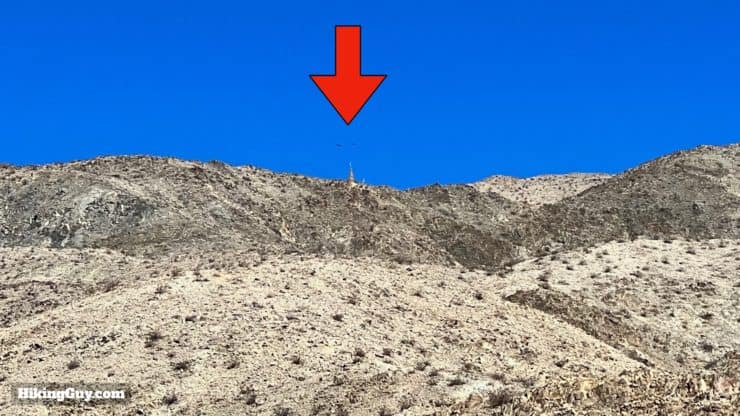
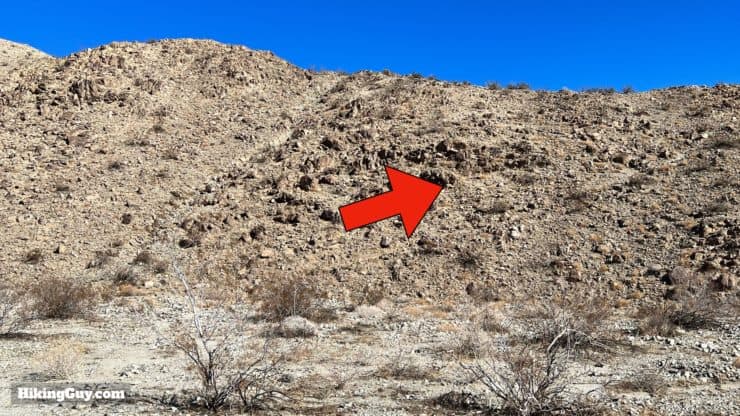
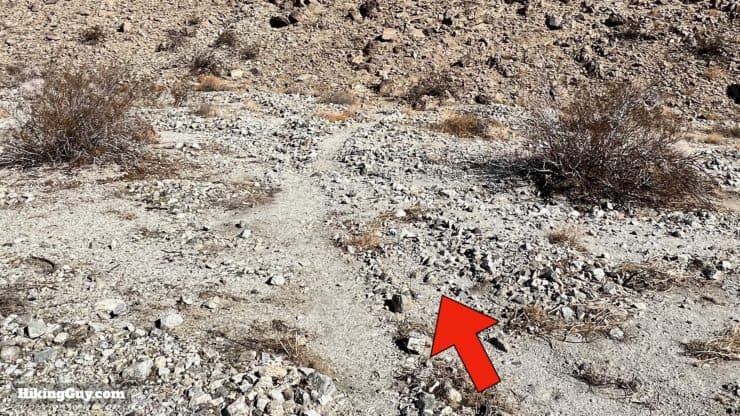
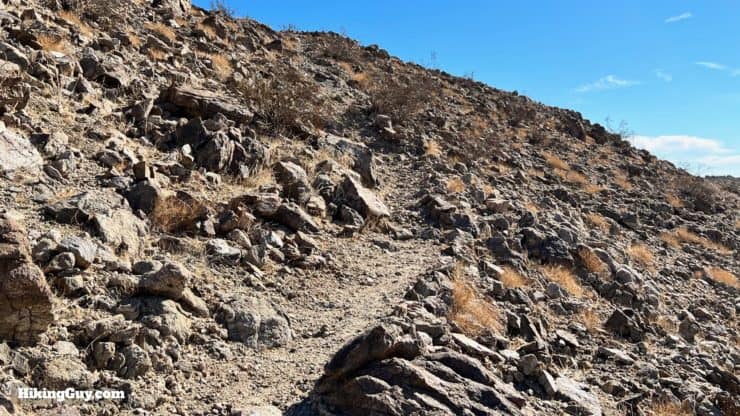
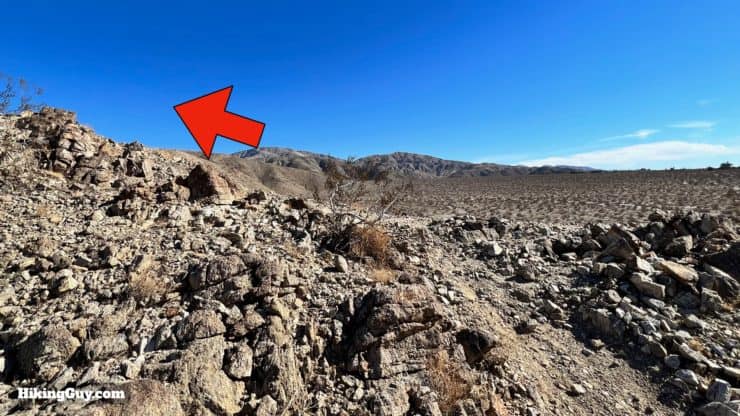
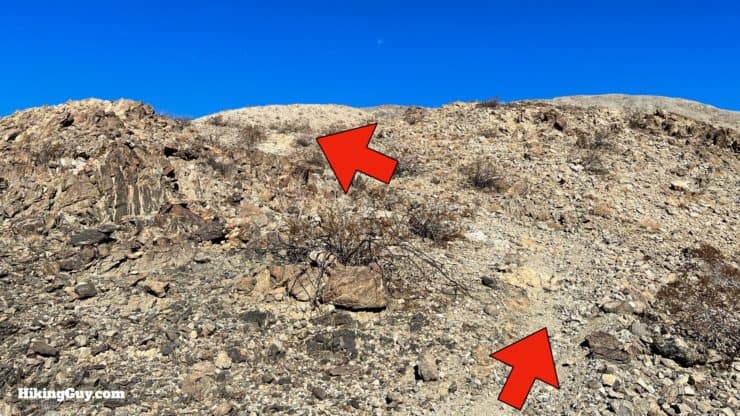
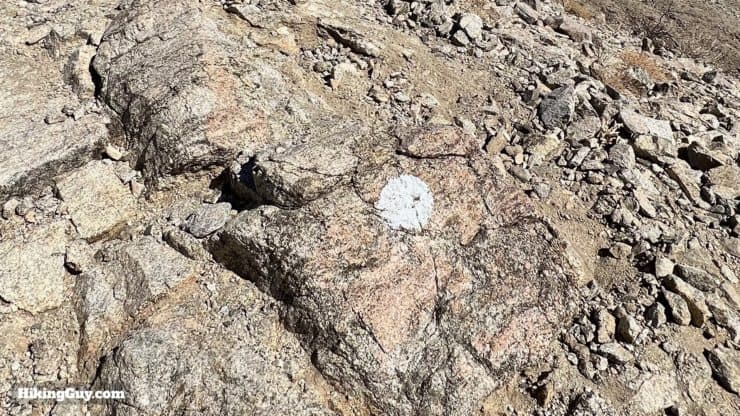
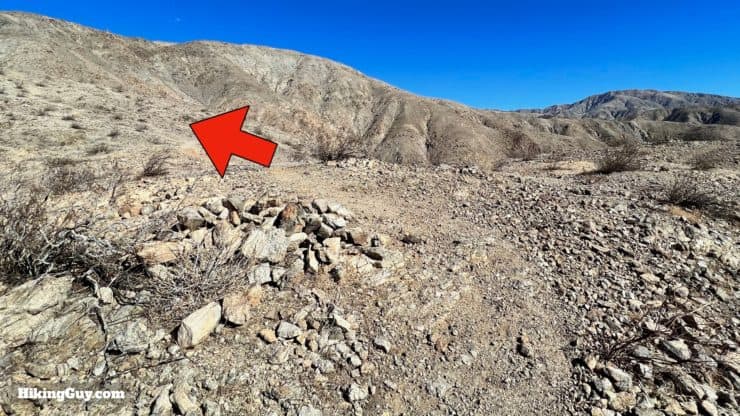
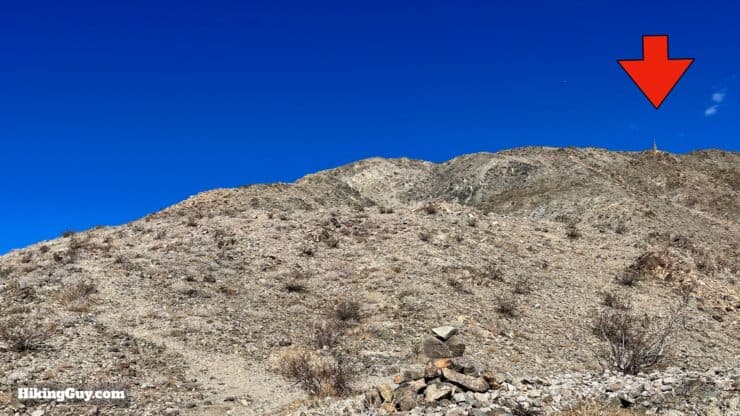
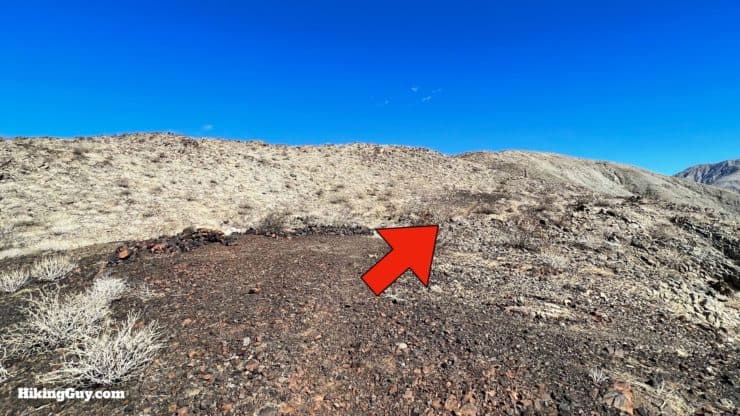
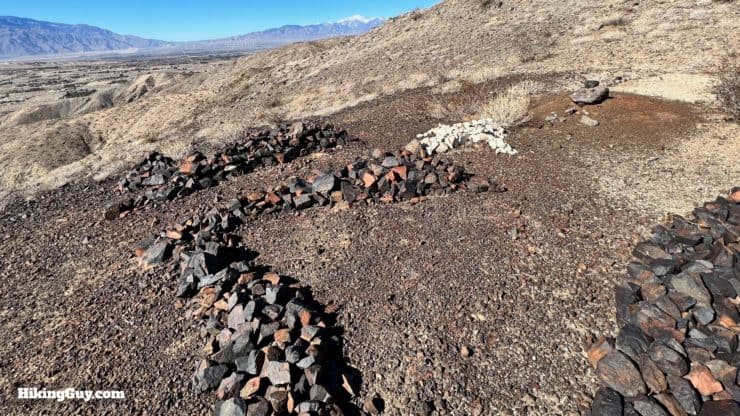
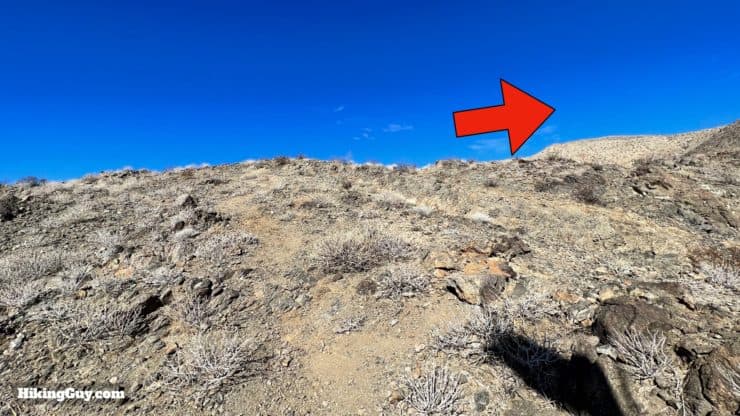
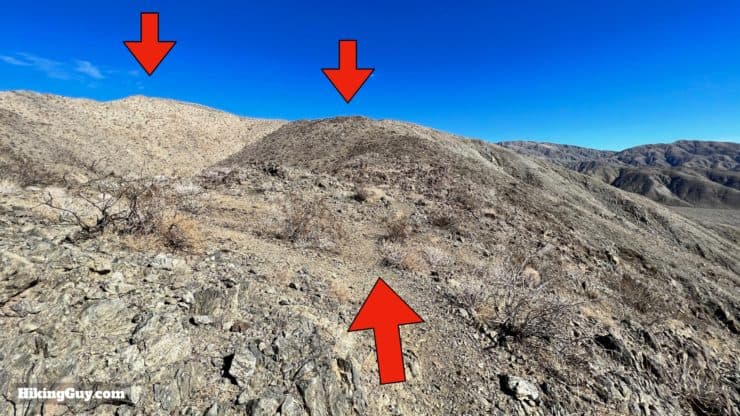
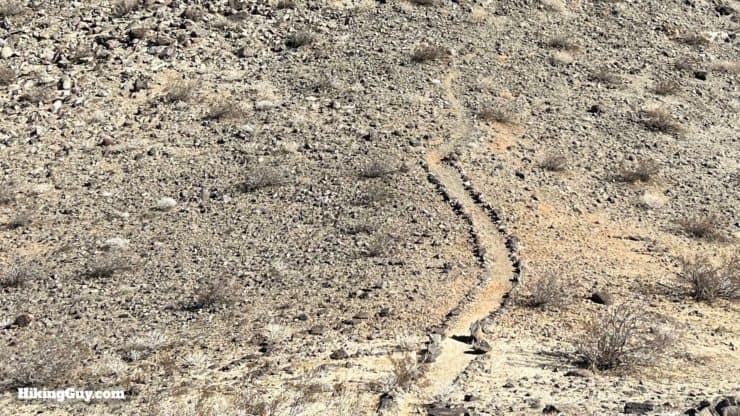
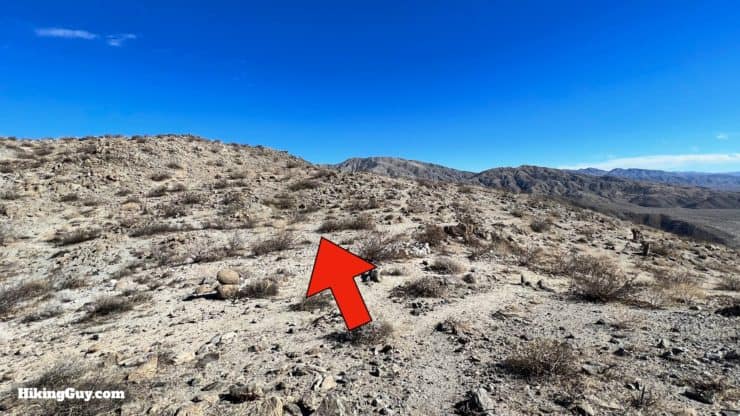
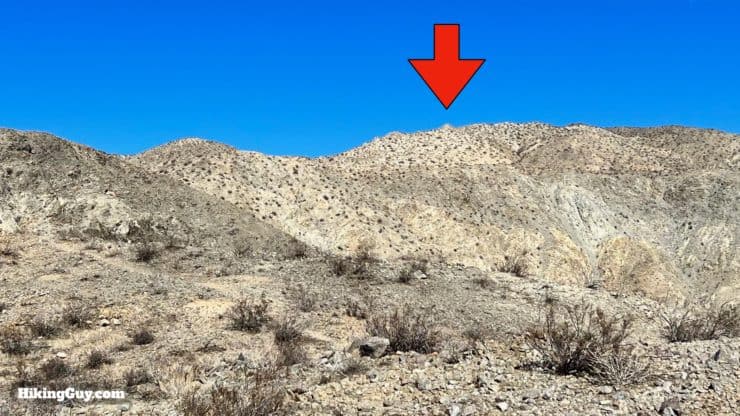
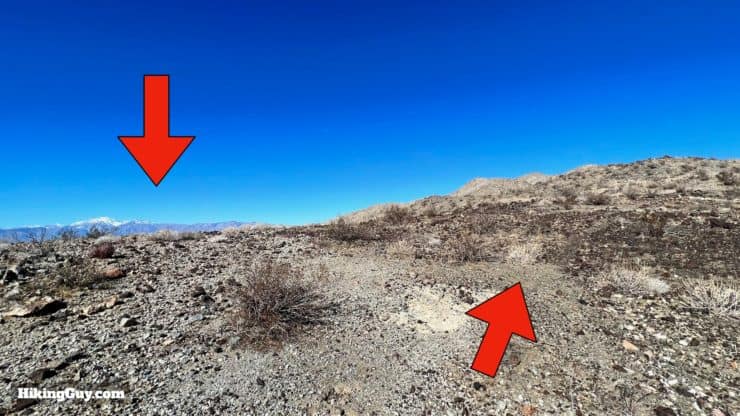
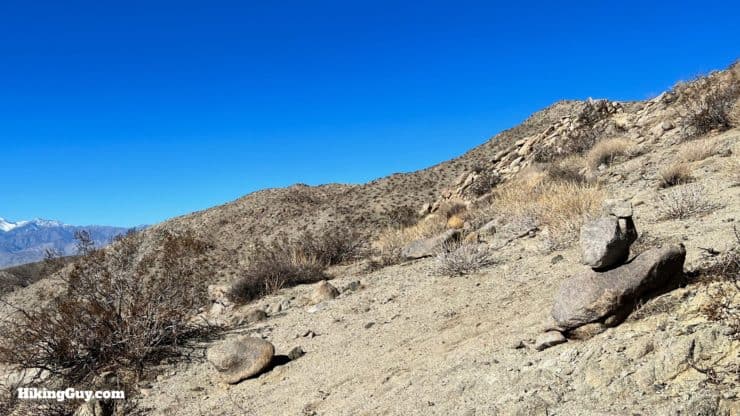
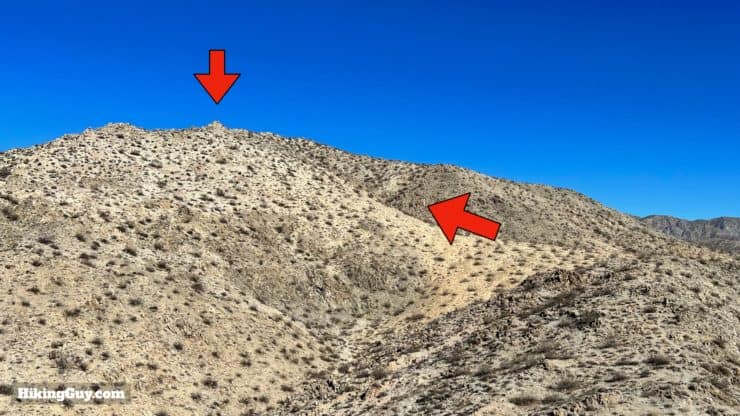
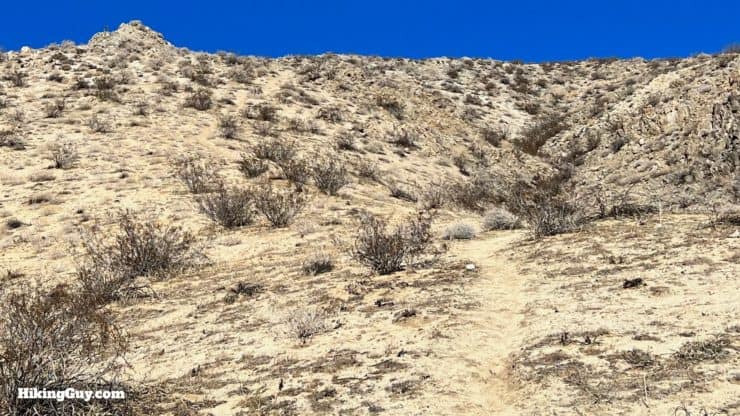
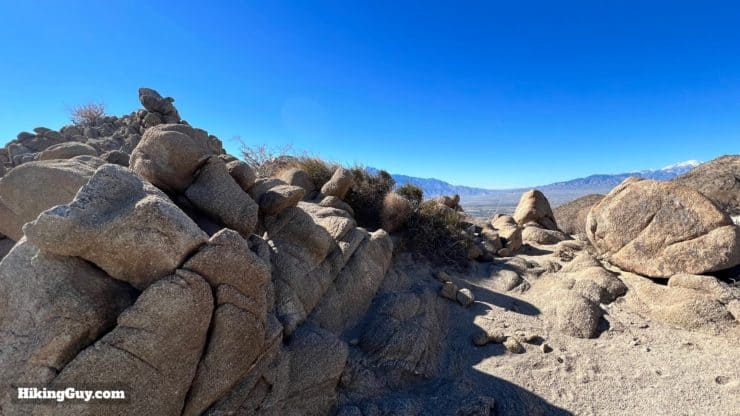
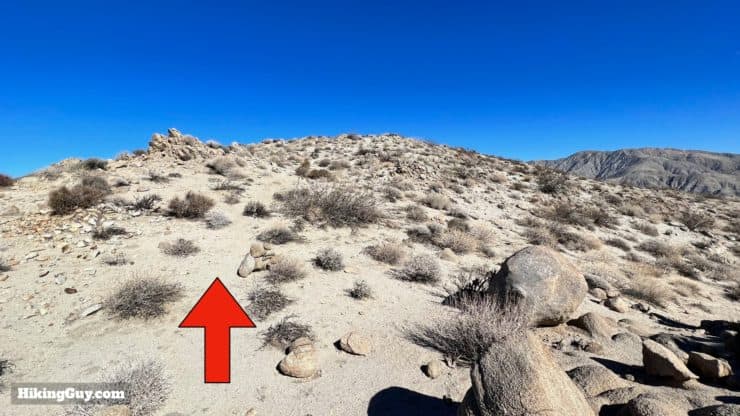
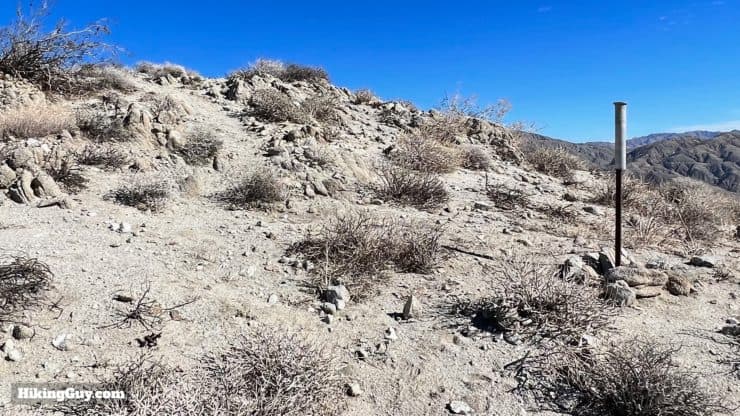
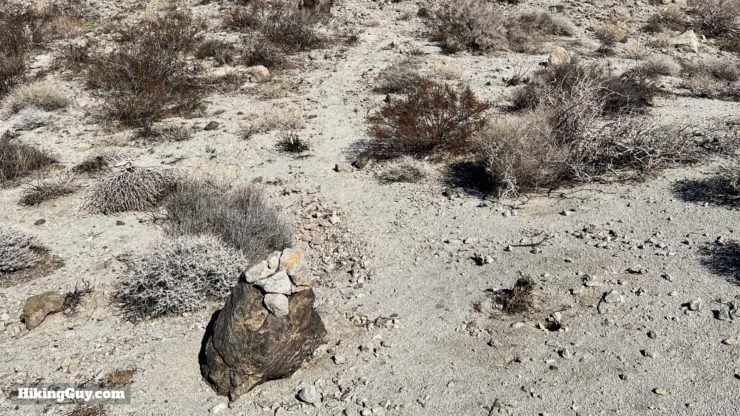
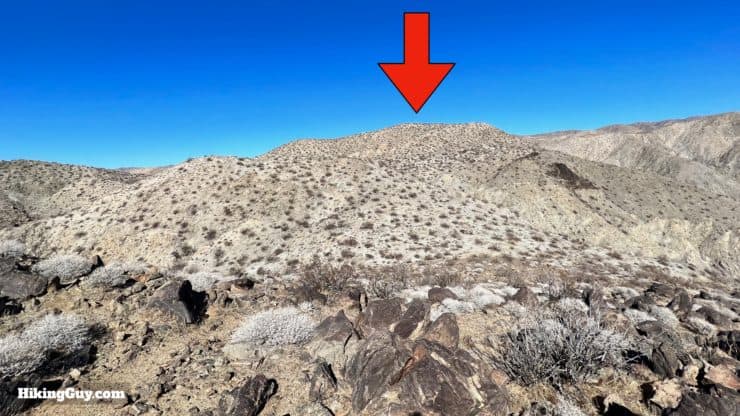
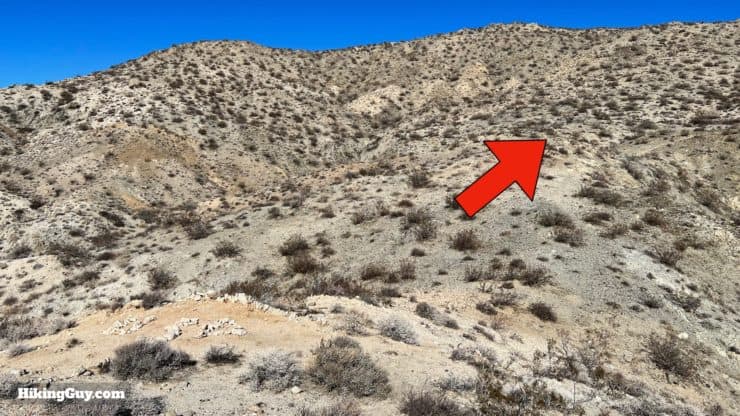
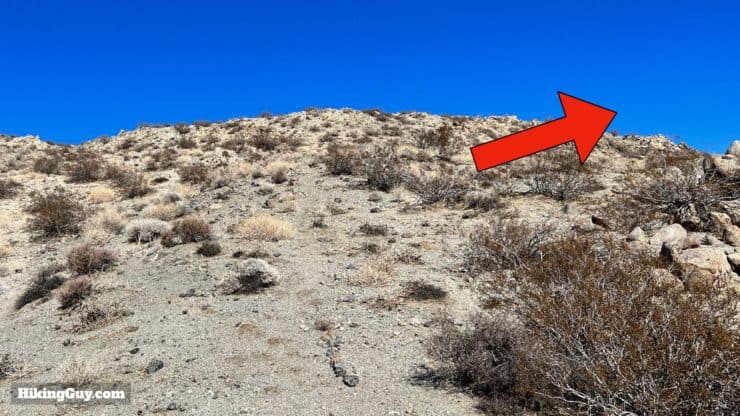
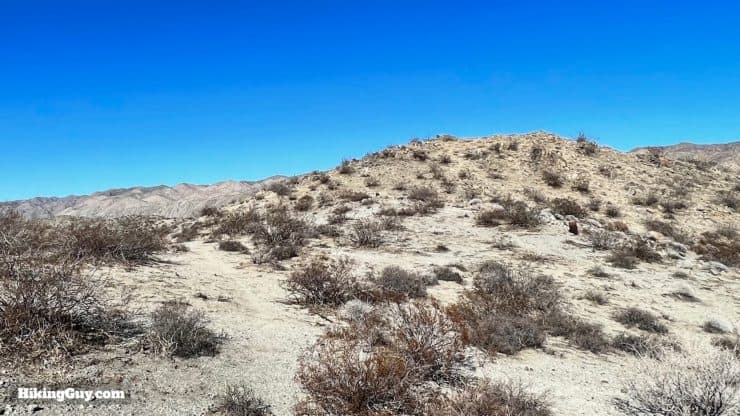
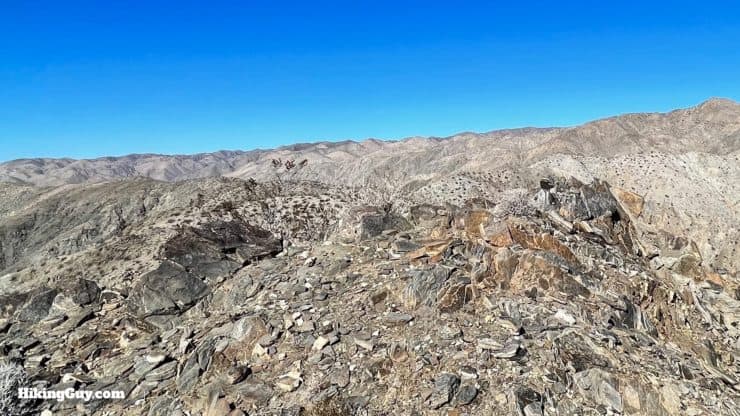
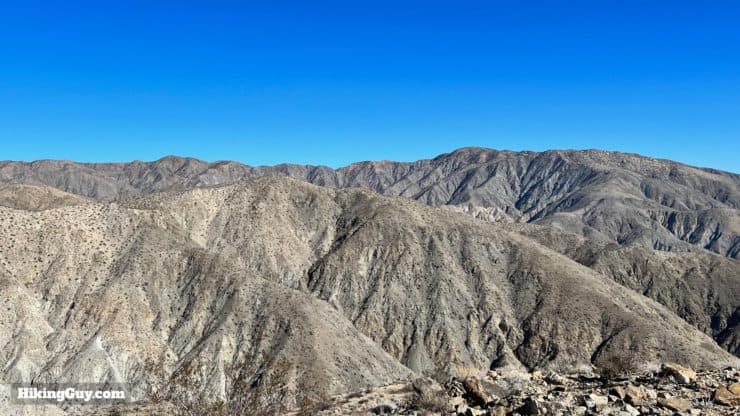
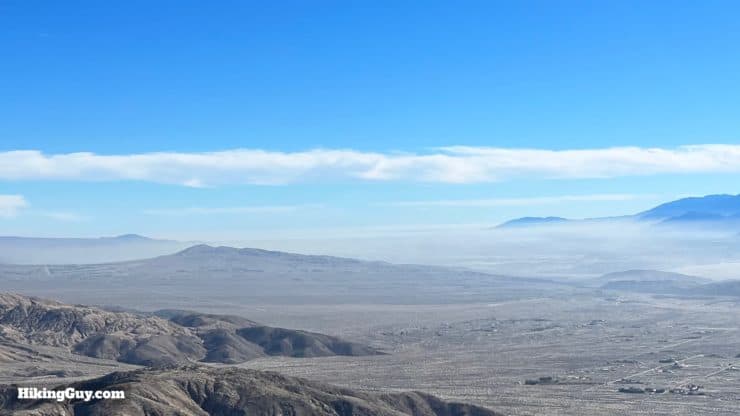
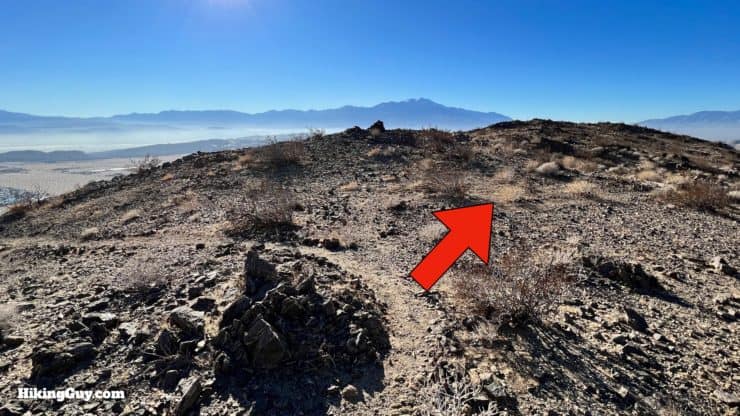
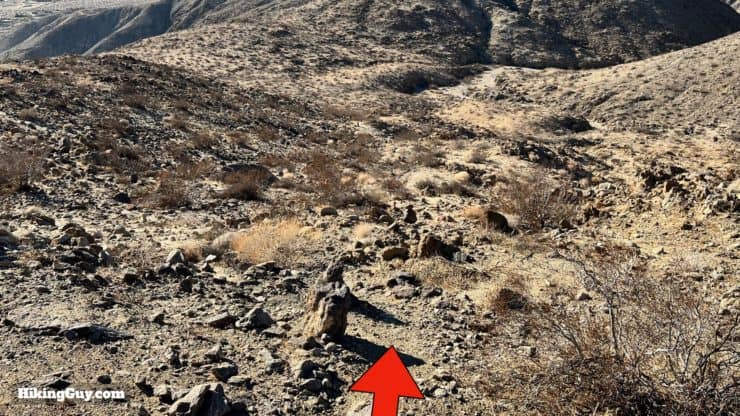
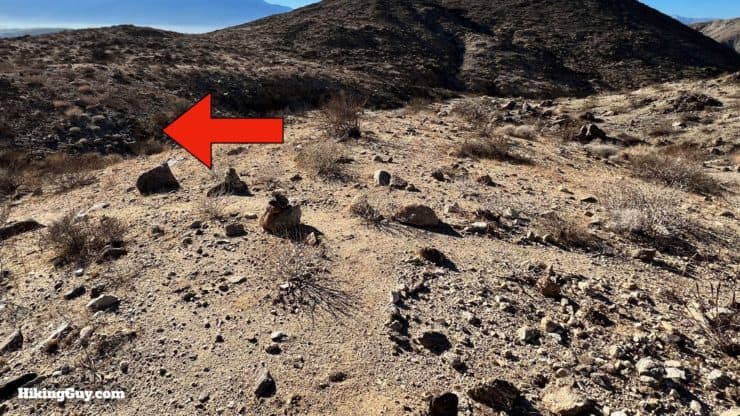
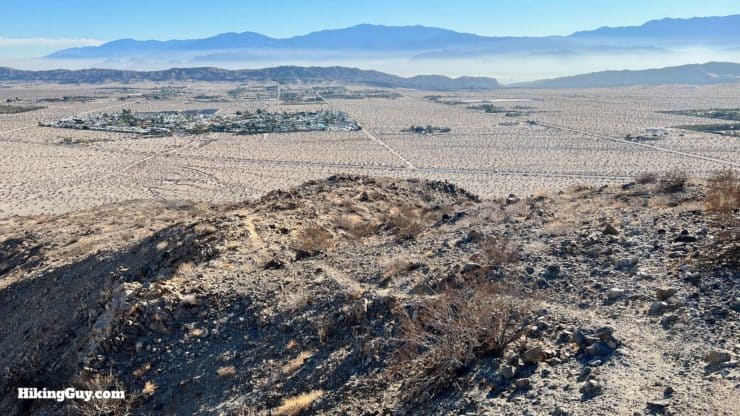
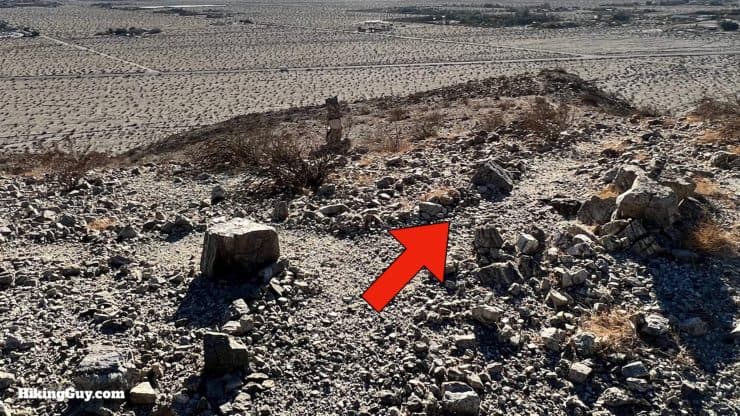
Hop over the gate and start walking straight down the sandy road.Follow the road straight. There are a ton of other roads and tracks coming in and out of this one, but just go straight back toward the mountain.Off to your left is San Gorgonio.And behind you to the left is San Jacinto.When you get close to the mountain, at about 0.3 miles, bear off to the left on the diagonal road.If you look up from here, you'll see the monument in the distance.When you approach the hillside, look for the path climbing up to the right.There's usually stones marking the path to the start as well.And now you start the climb. The trail is small, but it's there.At about 0.4 miles in, you gain the ridge. Hike left and follow the trail up along the ridge. You're pretty much going uphill all the way to the monument from here.Keep looking ahead to find the path of the trail. If it goes downhill, it's not the right trail.There are a few random marks and cairns along the way.When you get to the first flat(ish) section, the trail continues up to the left.You'll see the monument again as you get higher up.Then you reach a flat area of dark rock. There are two trails to the monument, the shortest is the one on the right.There's some rock art at the flat area.Just after a mile or so you'll reach the monument.This is the monument, built by Din Kossova.There's a few areas of rock art and plaques around the monument.You've climbed about 1000 feet from the start of the hike.Continue uphill from behind the monument. We're heading left. On the way back (later in the guide), we'll descend on the trails to the left here.We're heading straight, up the hill, and then up the sandy ridge to the left.In some places the trail is very well marked, others it's less well marked but still there.If you look back as you climb, you'll see Toro Peak, the highest point in the Santa Rosa Mountains.Keep straight at the flat section, avoiding the viewpoint trail to the right.And you gain a crest, with the next (small pointy) peak in the distance.As you crest the next rise, there's a flat area near the top. Off to the left are the remains of a witness post.You can still see this witness post referenced on USGS topographic maps as 2513T, although I think the elevation is not that high.Crest a ridge just past the witness post.Head downhill for a short stretch.And then start climbing. There are some cairns to mark the way.We'll be going around on the ridge to the right.The end of the climb is sandy and steep.And then you get to the pointy peak. There's a small wooden marker on the rocks to the right, along with some nice views. Otherwise the trail continues to the right.Hike uphill from the rock pile.You'll shortly pass the pole, which is the boundary marker for Joshua Tree NP. The Colorado River Aqueduct also runs roughly under this spot. From now on we're in Joshua Tree NP.The trail is not as popular as the early stretch, but it's still here. Look for cairns and footprints.Our final destination is at the top of the hill in the distance.After a short downhill, continue up to the right.At the top of the small ridge, bear right.And then you're at a flat sandy area. The viewpoint is straight ahead.Climb up on the granite to enjoy the panoramic views.To the north and east, the many unnamed peaks in the Little San Bernardino Mountain range, and Joshua Tree NP.To the southwest, San Jacinto.And to the southeast, the Salton Sea.
From here, head back the way you came. When you approach the monument, pick up the directions below to descend on the loop route.
When you see the monument off to the left, take the trail to the right.And then at the junction, go right again.Now we have a long, generally gentle descent down toward the wash. The trail back from here is well marked with cairns.There's a steep section but it's not too long.At the bottom of the steep section, make the left.And continue down the gradual descent.At the y-junction, bear right.And soon you'll be back at the flat section. You can take any of the paths that heads left to rejoin your initial approach path.
Need More Info?
Have a question about the guide or want to see what other people are saying/asking? View the Youtube comments for this video. Leave a comment and I will do my best to respond.
When planning, always check the park website and social media to make sure the trails are open. Similarly, check the weather and road conditions.


 Using the Apple Watch for Hiking
 Garmin Fenix 7 & Epix Review For Hikers
 How To Read a Topographic Map
 Garmin GPSMAP 67i Review
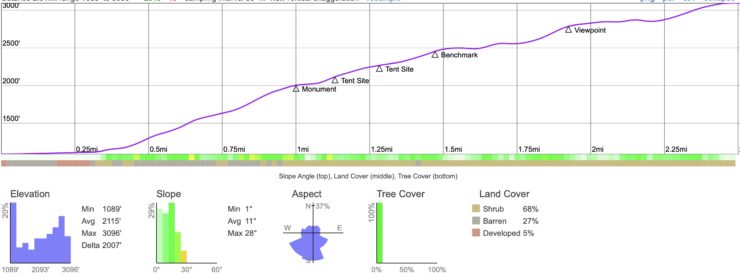


 East Indio Badlands Trail Guide
 Murray Peak Hike (Palm Springs)
 Pushawalla Palms Trail Loop
 Joshua Tree Hikes
 Palm Springs Hiking Trails
 Hikes In and Around Riverside County
 Best Hiking Gear 2024
 Hiking Boots or Shoes: Do I Really Need Hiking Boots?
 When to Hit SOS on inReach