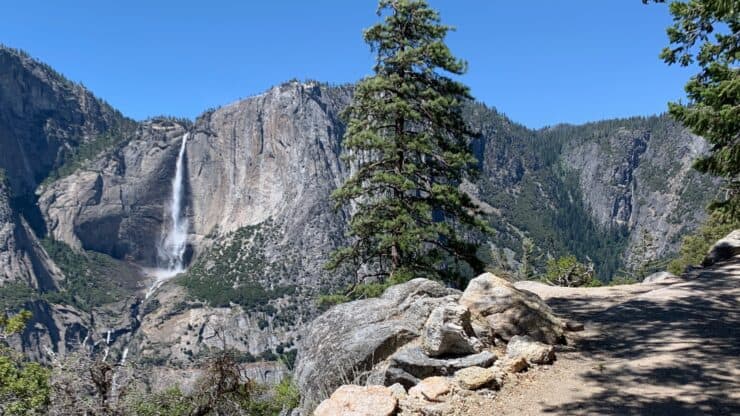

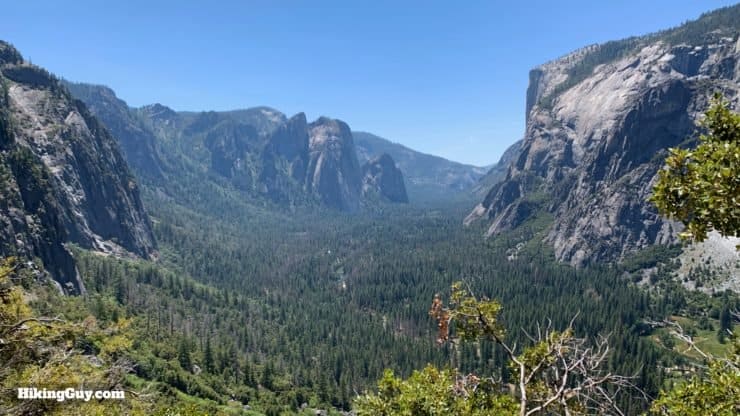
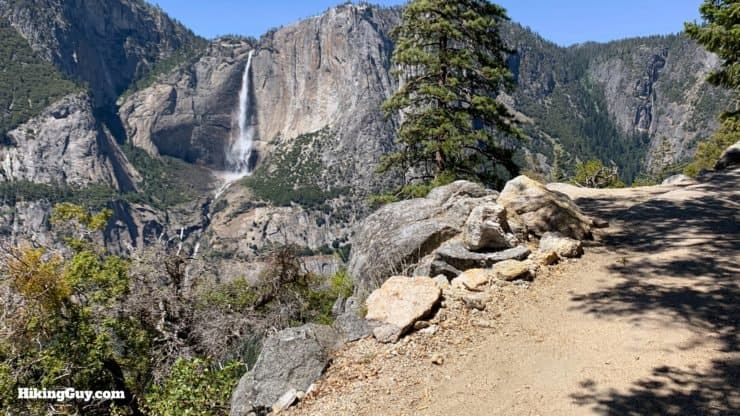
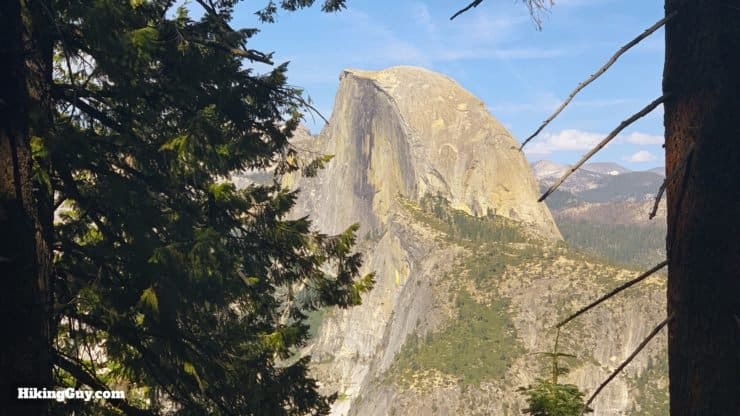
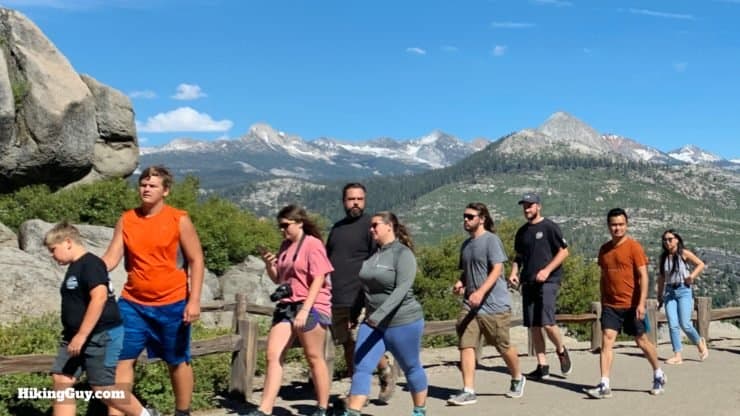
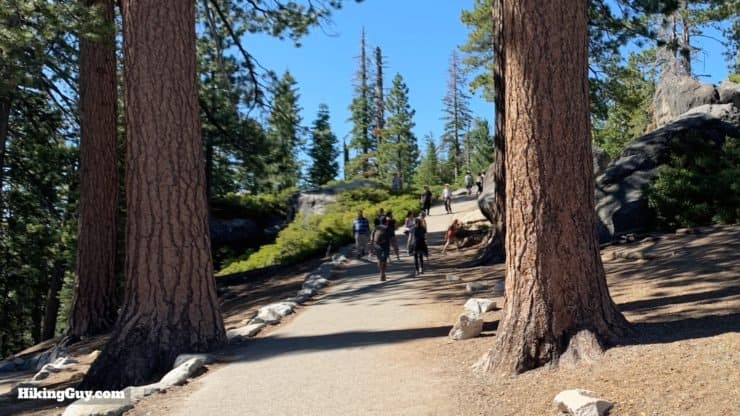
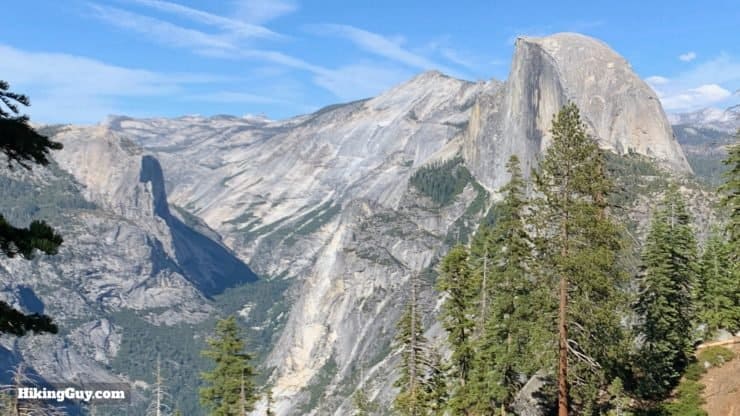
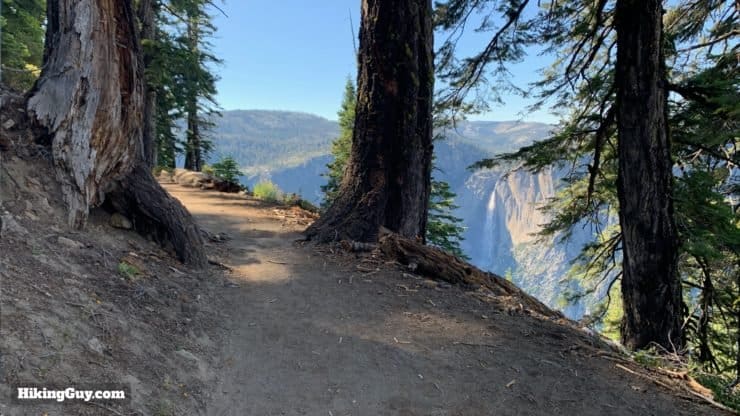
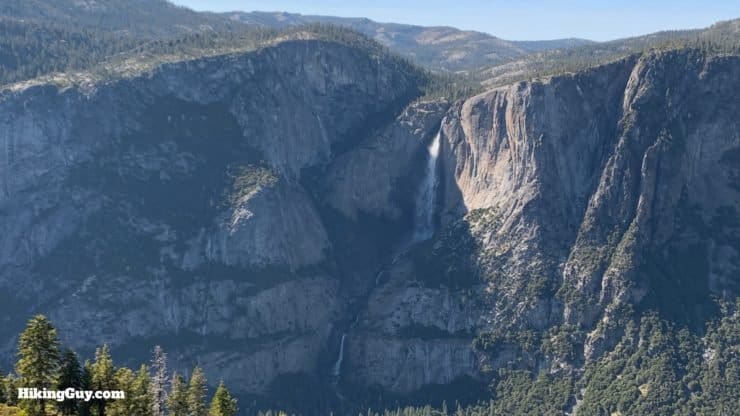
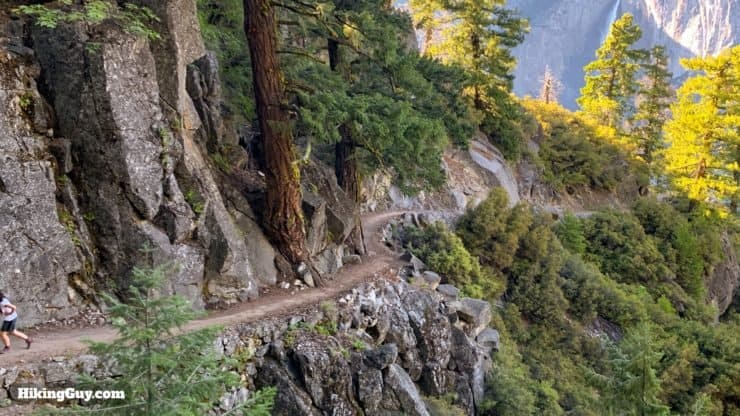
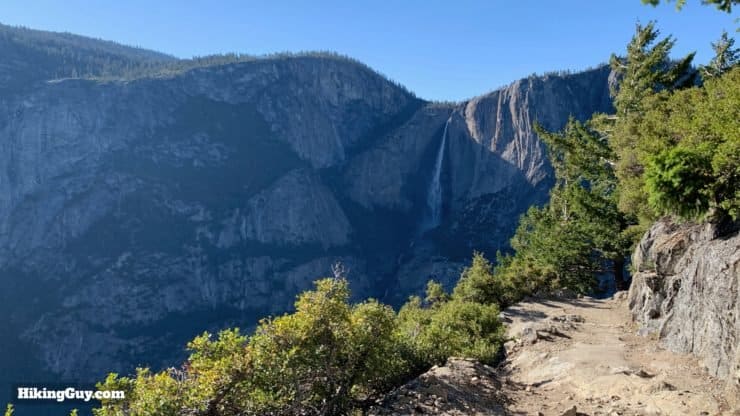
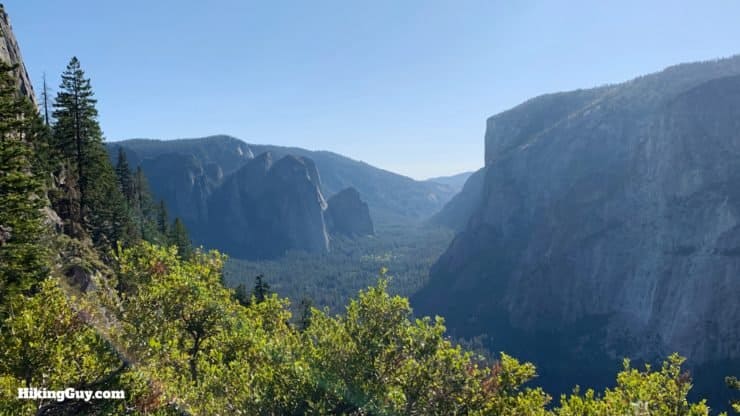
The Four Mile Trail hike is like a "best of" Yosemite hike. Built in 1872 as a $1 toll road, the Four Mile Trail connects the two most popular spots in the park, the Yosemite Valley and Glacier Point. Along the way up the switchbacks of this engineering marvel, you are rewarded with turn after turn of breathtaking views of the Yosemite Valley. You'll see El Capitan, Yosemite Falls, Half Dome, and everything in between. And if you hike up, you are rewarded with a rest at Glacier Point, probably the most stunning vista in the park.
- Deciding Which Way to Hike the Four Mile Trail
- Video & Turn by Turn Directions For the Four Mile Trail
- Four Mile Trail Logistics and Shuttles
- Everything You Need to Know To Prepare for the Hike
The Four Mile Trail hike is like a "best of" Yosemite hike. Built in 1872 as a $1 toll road, the Four Mile Trail connects the two most popular spots in the park, the Yosemite Valley and Glacier Point. Along the way up the switchbacks of this engineering marvel, you are rewarded with turn after turn of breathtaking views of the Yosemite Valley. You'll see El Capitan, Yosemite Falls, Half Dome, and everything in between. And if you hike up, you are rewarded with a rest at Glacier Point, probably the most stunning vista in the park.
There are a few ways that the hike can be done: up and down, just up, or just down. I'll go over the pros and cons of each option in this guide and help you work out the logistics for your hike.
Planning Your Four Mile Trail Hike
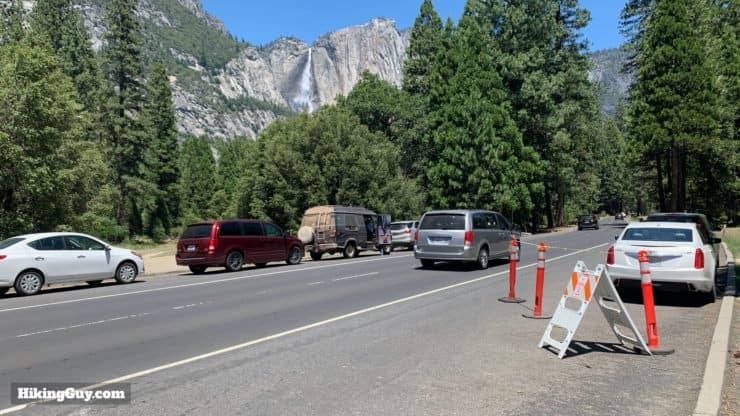
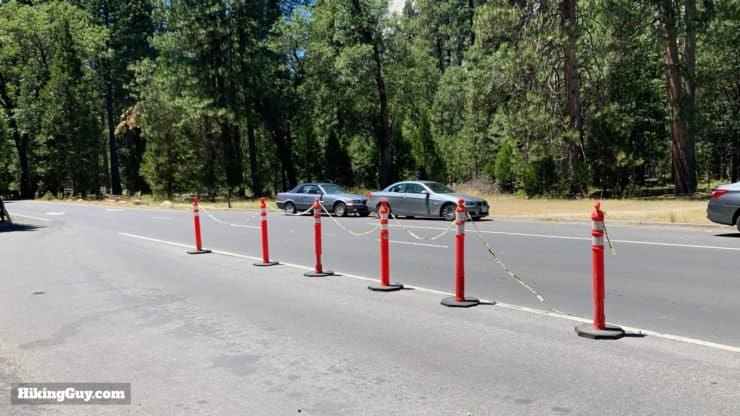
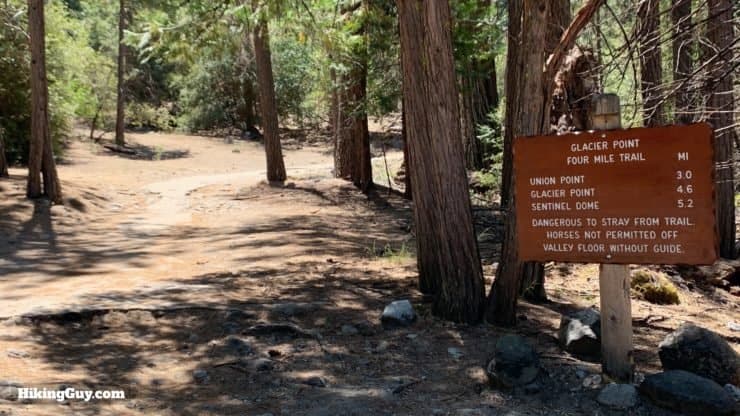
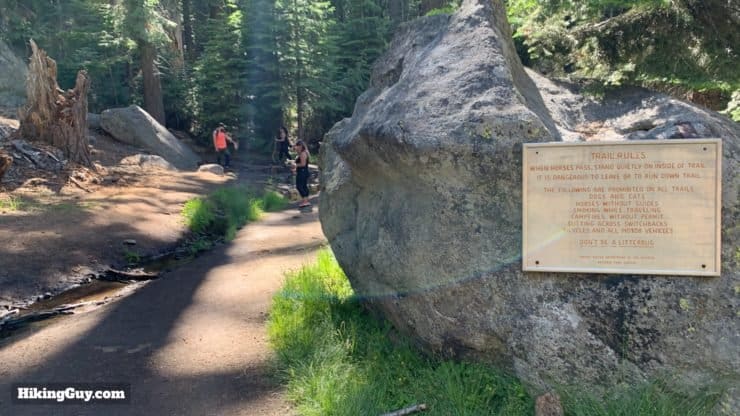
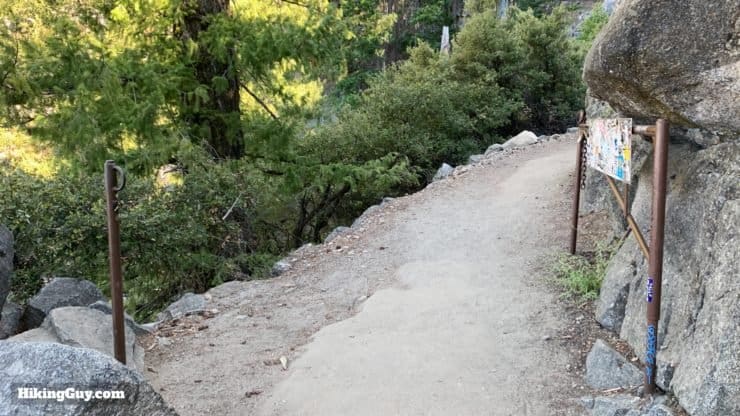
The Four Mile Trail starts on the south side of Yosemite Valley by the swinging bridge and climbs up to Glacier Point. You can start the hike from either end, but there are some logistics involved on a one-way hike.
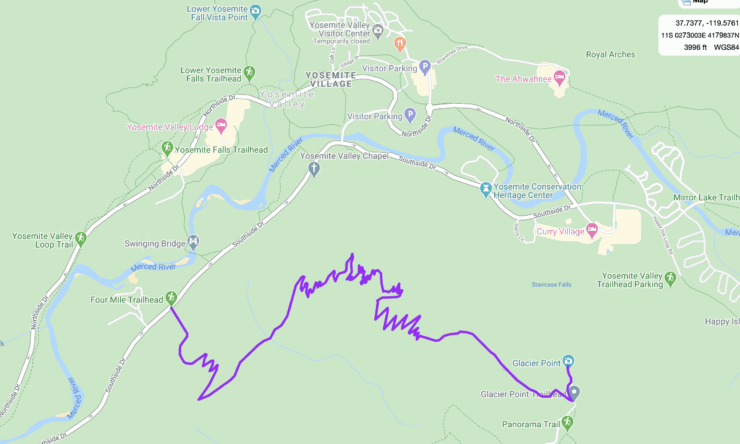
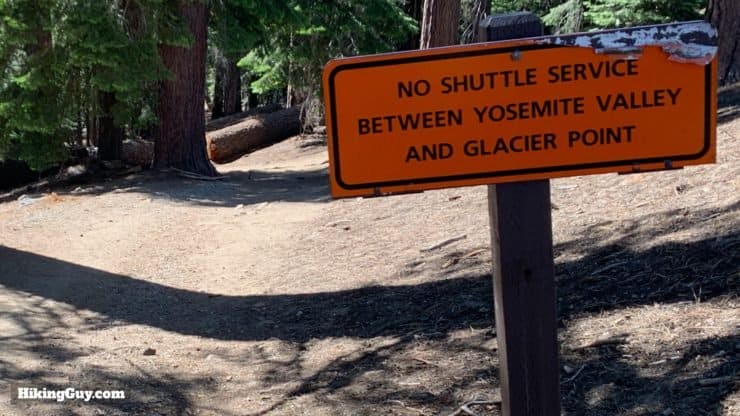
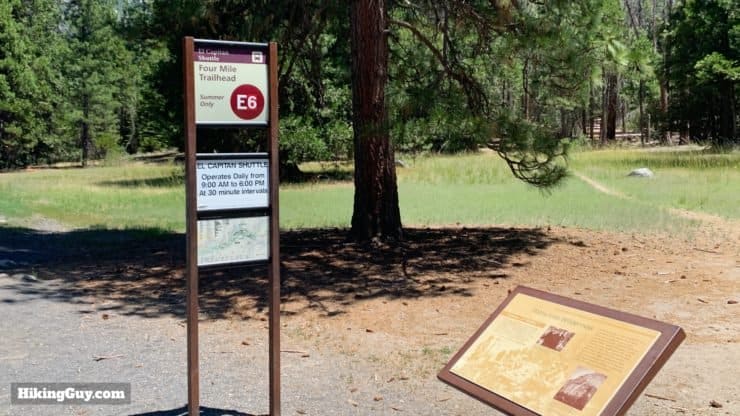
- The easiest way to do the hike is to start at the bottom in Yosemite Valley, hike to Glacier Point, and then hike back down. This is the full hike distance of 10 miles outlined in the guide. If 10 miles seems long, just remember that Glacier Point offers a snack bar and is a good place to rest at the halfway point, and the whole second half of the hike is downhill. You can park at the trailhead or take a free shuttle bus there. It's a great adventure for the day.
- You can also hike one-way from the bottom up to Glacier Point and then get a ride back down. There are no free shuttle buses from Yosemite Valley to Glacier Point. Your options are to arrange a car shuttle with family or friends, or to hop on a one-way leg of a guided tour bus, which has limited departures and requires a reservation. Even if you're not used to hiking 10 miles, walking back downhill from the top is easier than the hassle of a shuttle bus in my opinion.
- You can take the guided tour bus to Glacier Point (or get dropped off by friends or family), and then hike about 5 miles downhill. This option makes the most sense for hikers who want to experience the Four Mile Trail, but perhaps don't have the fitness to attempt the climb up from the bottom. Doing the hike this way offers a nice tour bus ride to Glacier Point and an easy downhill hike back into the Yosemite Valley.
I've included video and turn-by-turn guidance for both directions of the hike.
One thing NOT TO DO is start at Glacier Point, hike down, and then hike back up. The dynamic is like in the Grand Canyon. People hike down much farther than they should because it's easy to go downhill, and then have to turn around and do a hard uphill to return to the start. Only attempt this if you know what you're getting yourself into.
Where Is The Four Mile Trail?
The Yosemite Valley Trailhead is located at:
Four Mile Trailhead, Southside Dr, Yosemite Village, CA 95389
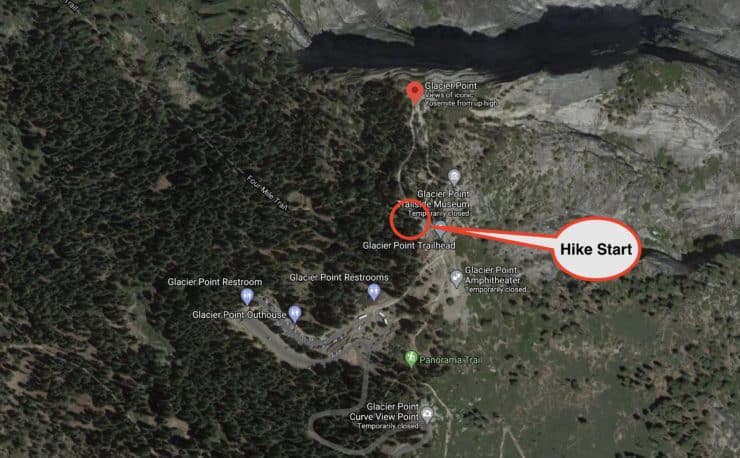
The Glacier Point trailhead is, well, located at Glacier Point:
Glacier Point, Glacier Point Rd, Yosemite Valley, CA 95389
Gear for the Hike
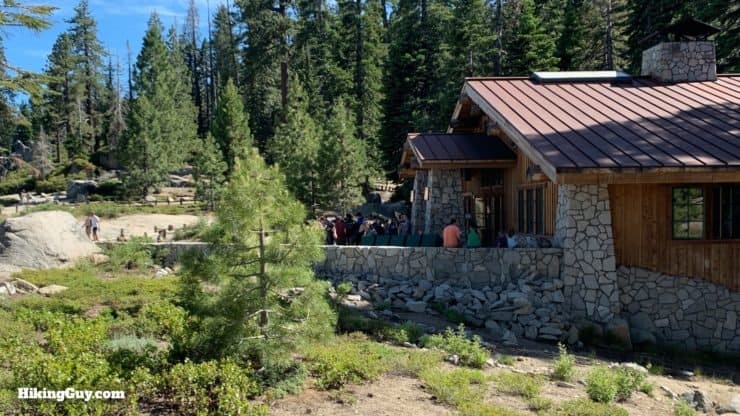
This is a "hike hike," and I recommend proper hiking gear if you have it. In a pinch, you can get away with fitness clothing. I recommend bringing 2L of water for the way up and then refilling at water fountains at Glacier Point. There's also a (seasonal) gift shop at Glacier Point that has all kinds of great bad good stuff like ice cream, snacks, and soda. It's always been a tradition for me to do the hike up, eat some ice cream and enjoy the views, and then hike back down. After hiking up, you've earned it.
Gear That I Love Right Now
Nothing is sponsored or promoted, just the actual gear that I use.


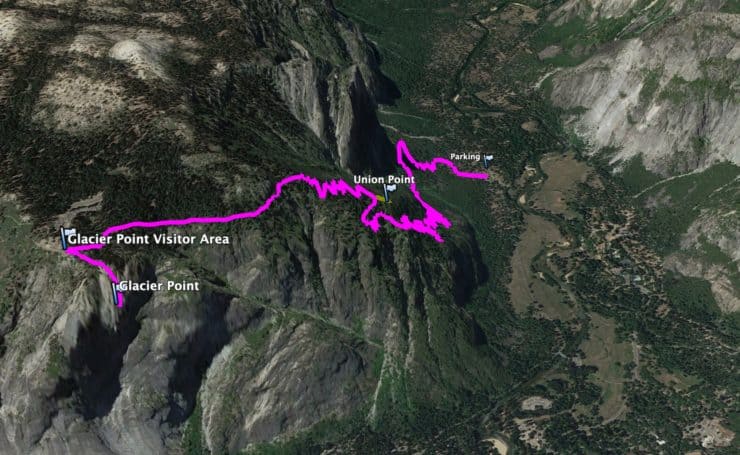
Four Mile Trail Trail Maps
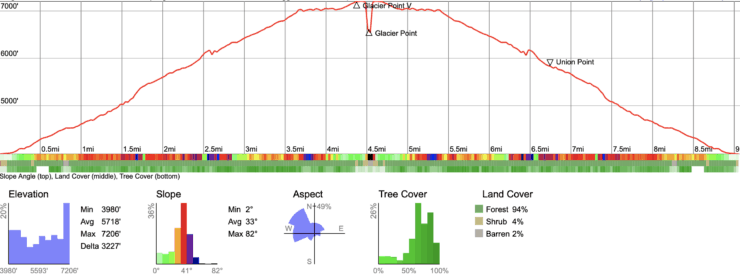
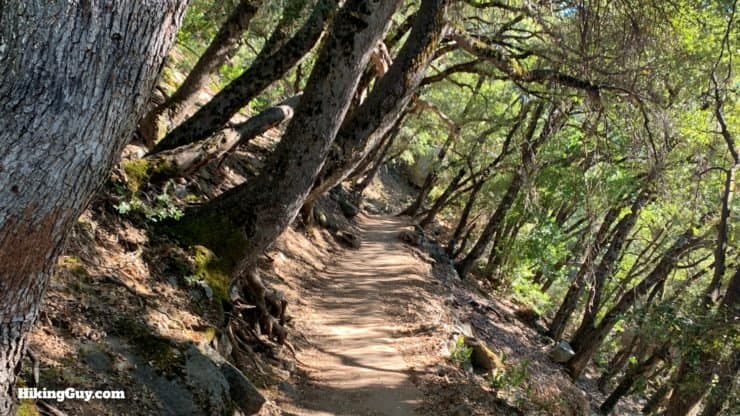
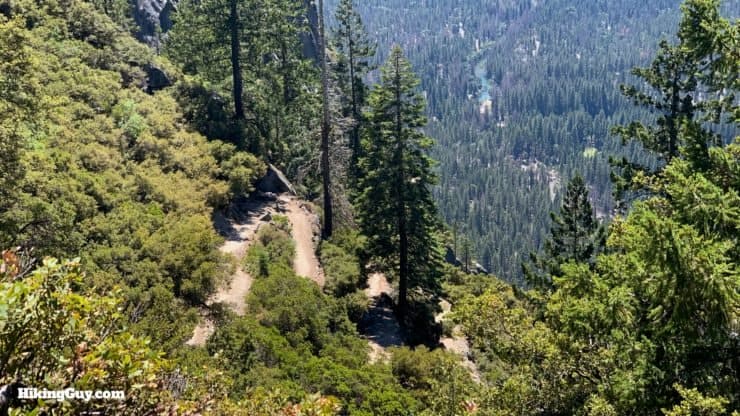
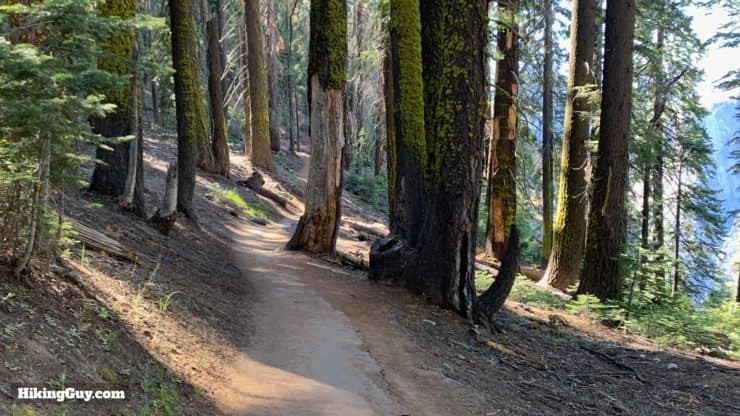
When the Four Mile Trail was first built in 1872, it was a toll road ($1!), so the gradient is consistent, but tough. The trail was modified in the early 1920s to ease the grade, and in the process it was extended to 4.8 miles. Add on the stretch of trail to Glacier Point and it's more like 5 miles one-way. Set your expectations accordingly.
How Will You Navigate?
 Using the Apple Watch for Hiking
 Garmin Fenix 7 & Epix Review For Hikers
 How To Read a Topographic Map
 Garmin GPSMAP 67i Review
The original Four Mile Trail was built by the man the John Muir dubbed "Yosemite's master trail builder," John Conway. Conway surveyed the entire trail route using only a ship's protractor.
Elevation Profile
3D Map
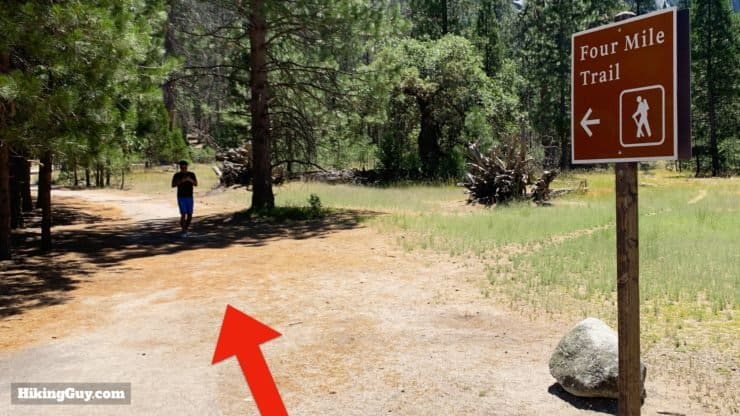
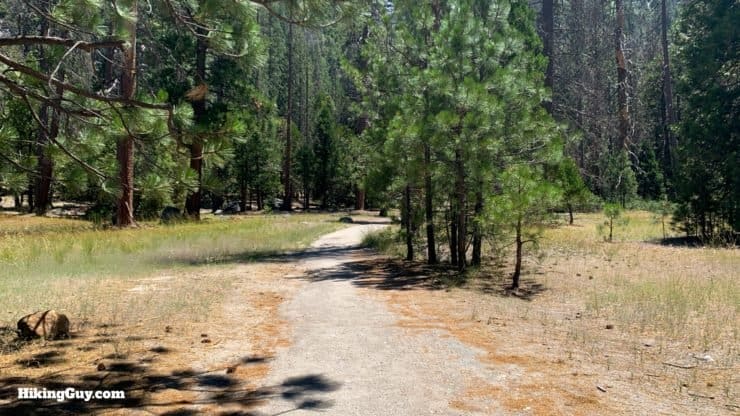
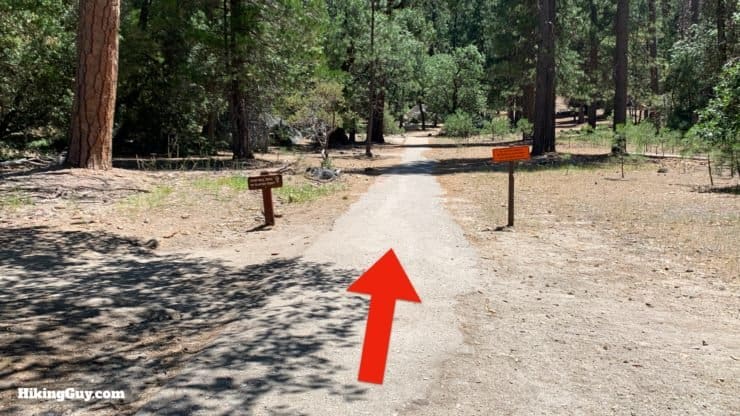
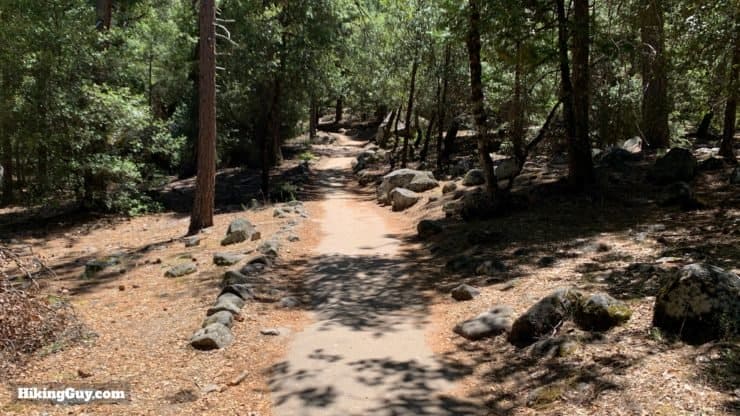
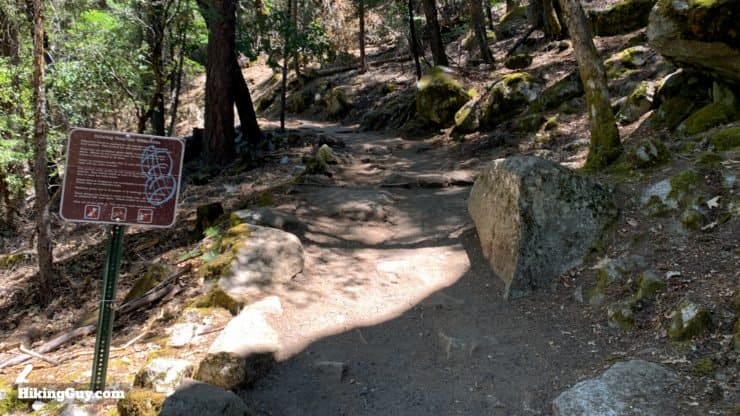
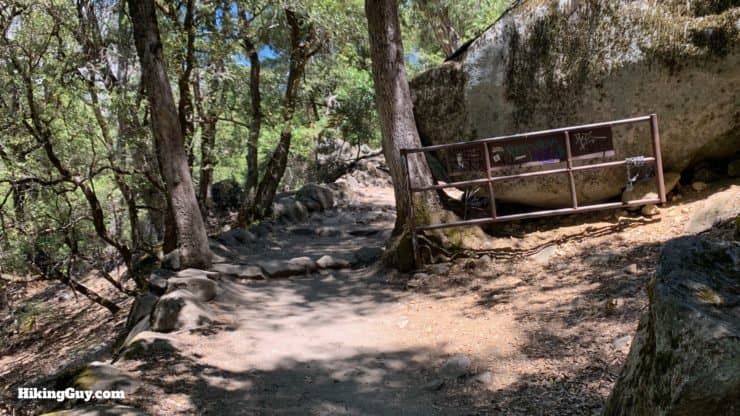
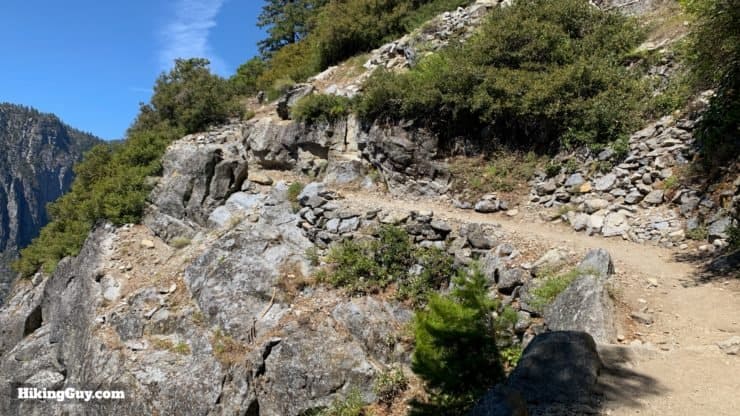
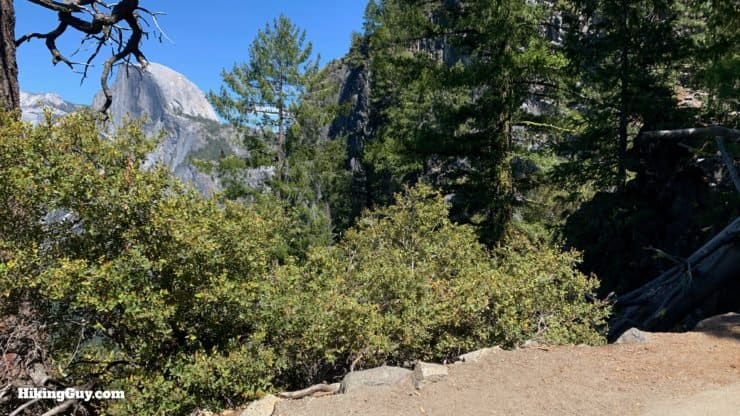
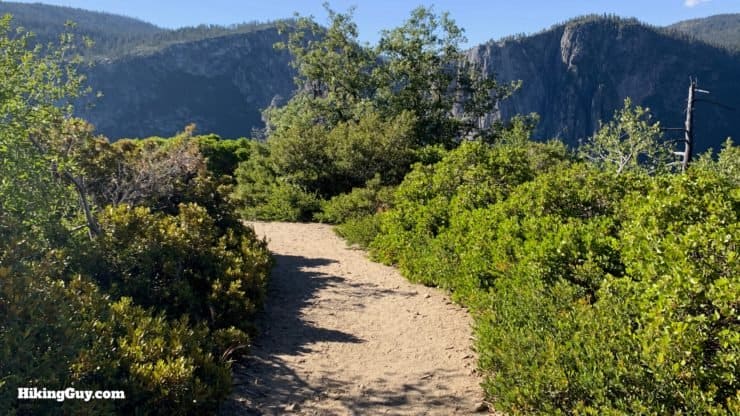
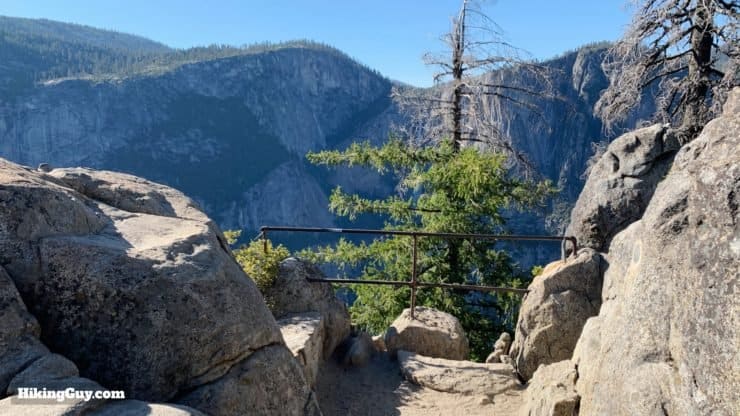
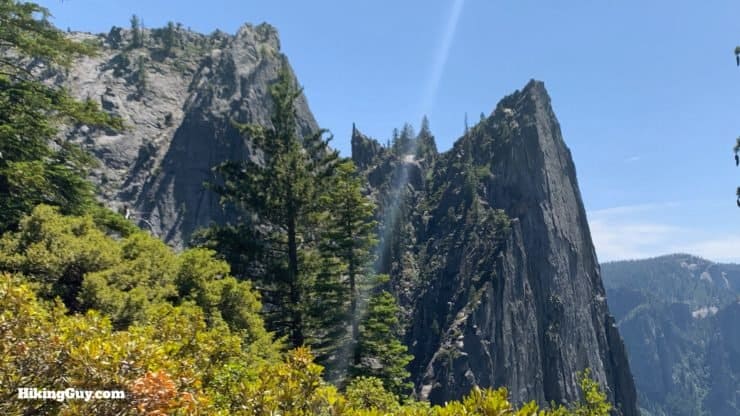
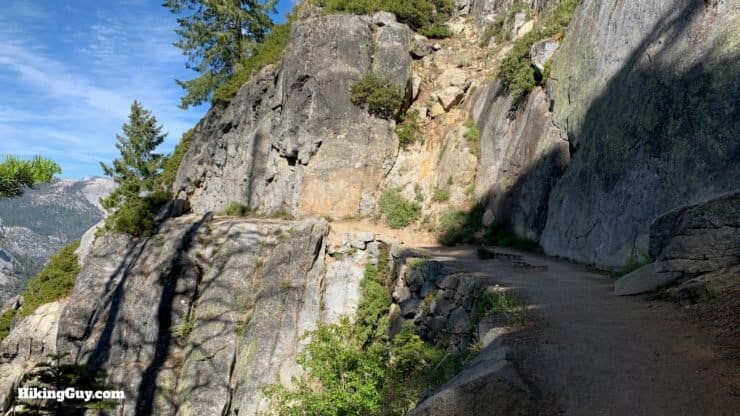
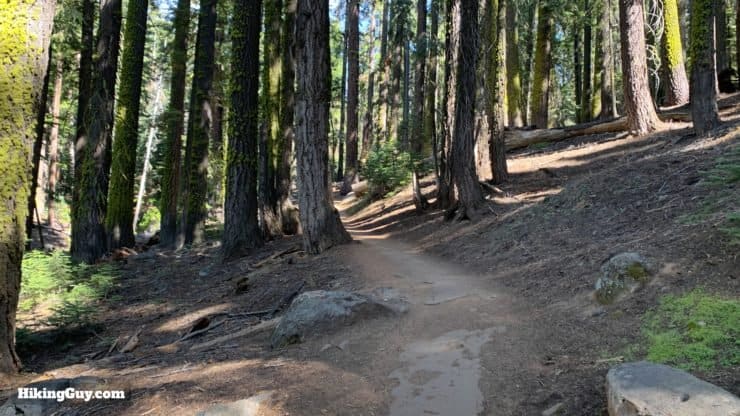
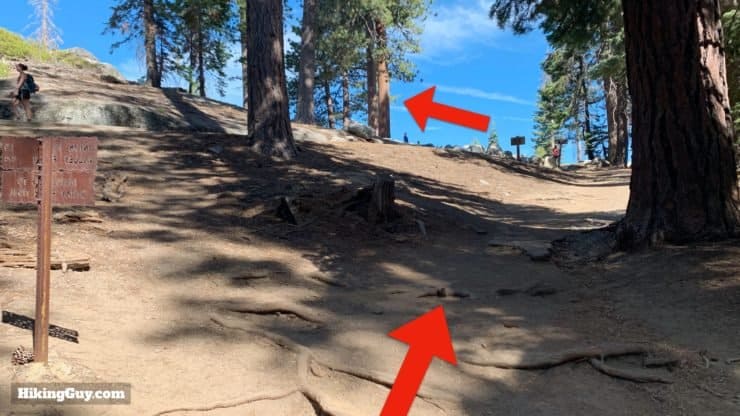
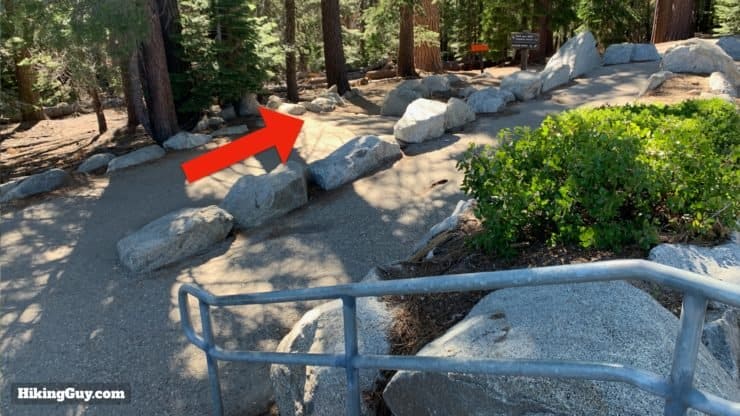
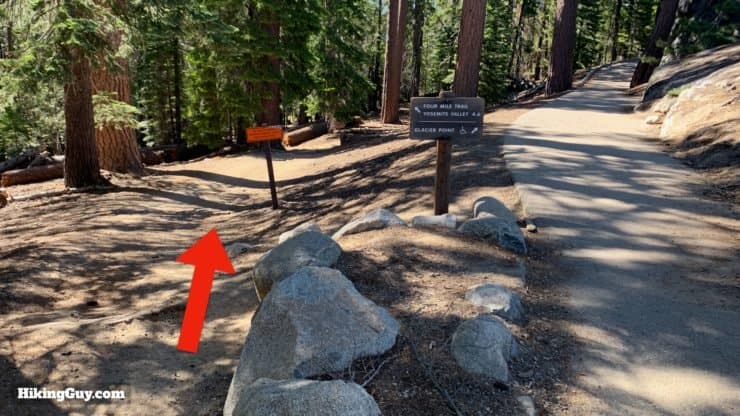
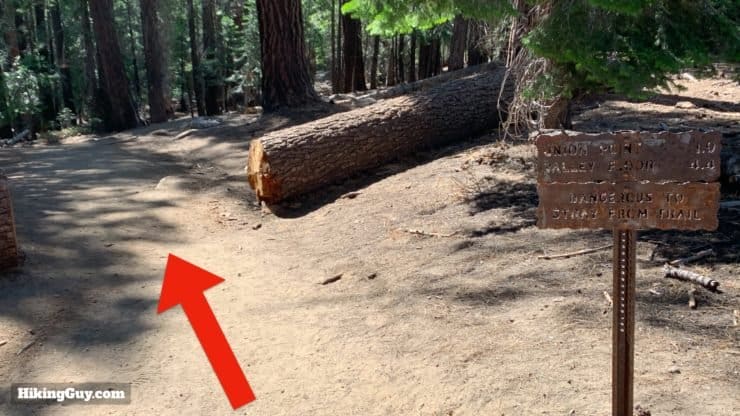
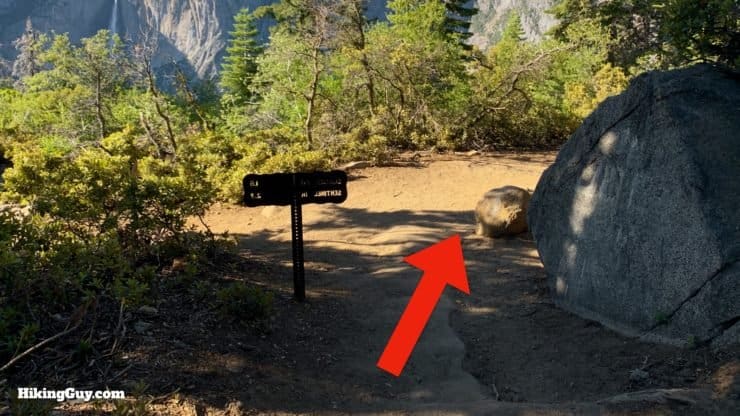
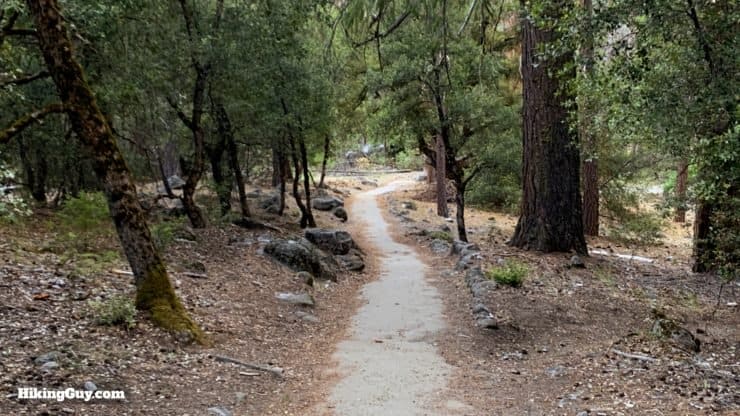
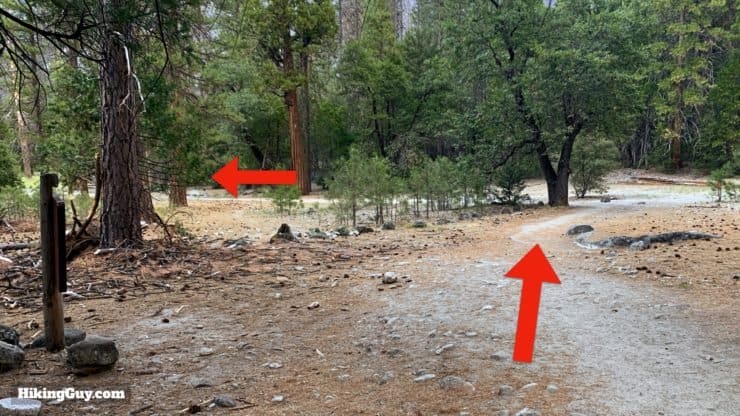
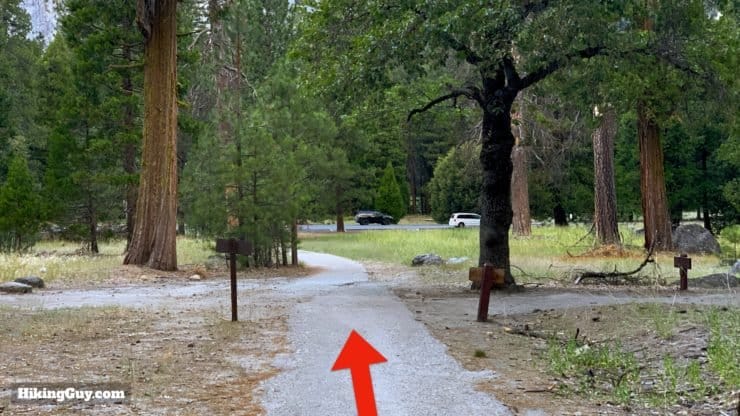
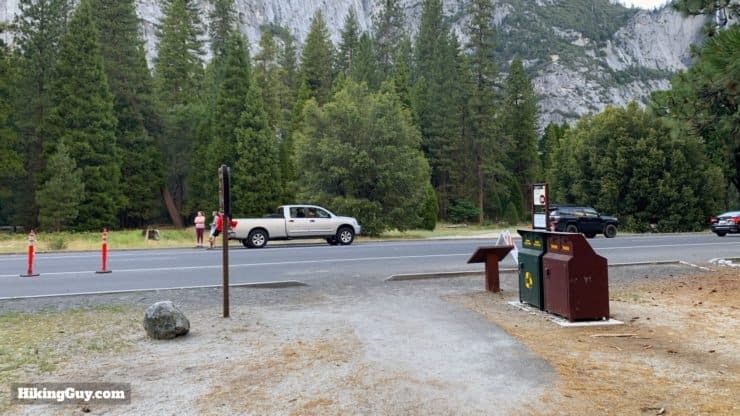
Four Mile Trail Hike Directions
Yosemite Valley to Glacier Point
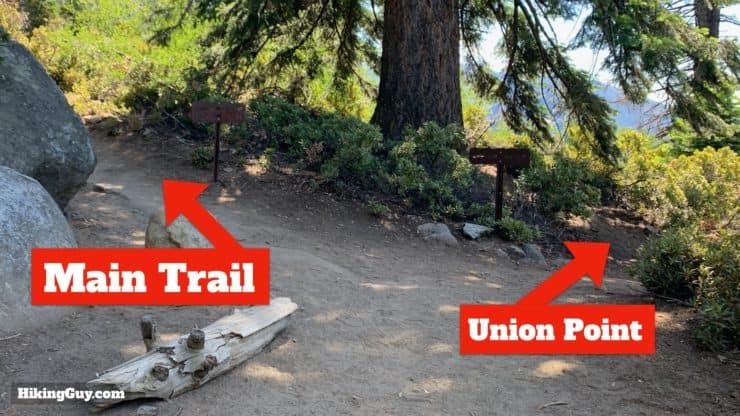
Let's continue back on the main Four Mile Trail.

Glacier Point to Yosemite Valley
Check out the earlier map to pinpoint the trailhead.
Need More Info?
- Have a question about the guide or want to see what other people are saying/asking? View the Youtube comments for this video. Leave a comment and I will do my best to respond.
- When planning, always check the park website and social media to make sure the trails are open. Similarly, check the weather and road conditions.
Related Guides
 Upper Yosemite Falls Hike
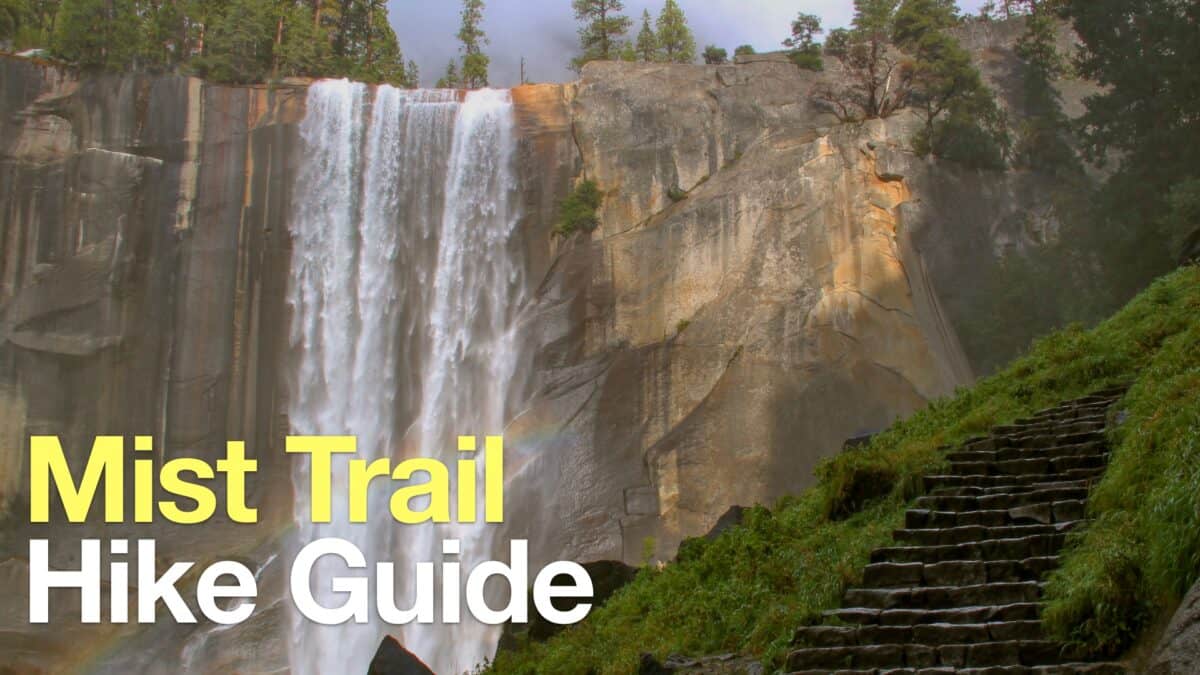 Mist Trail to Vernal and Nevada Falls
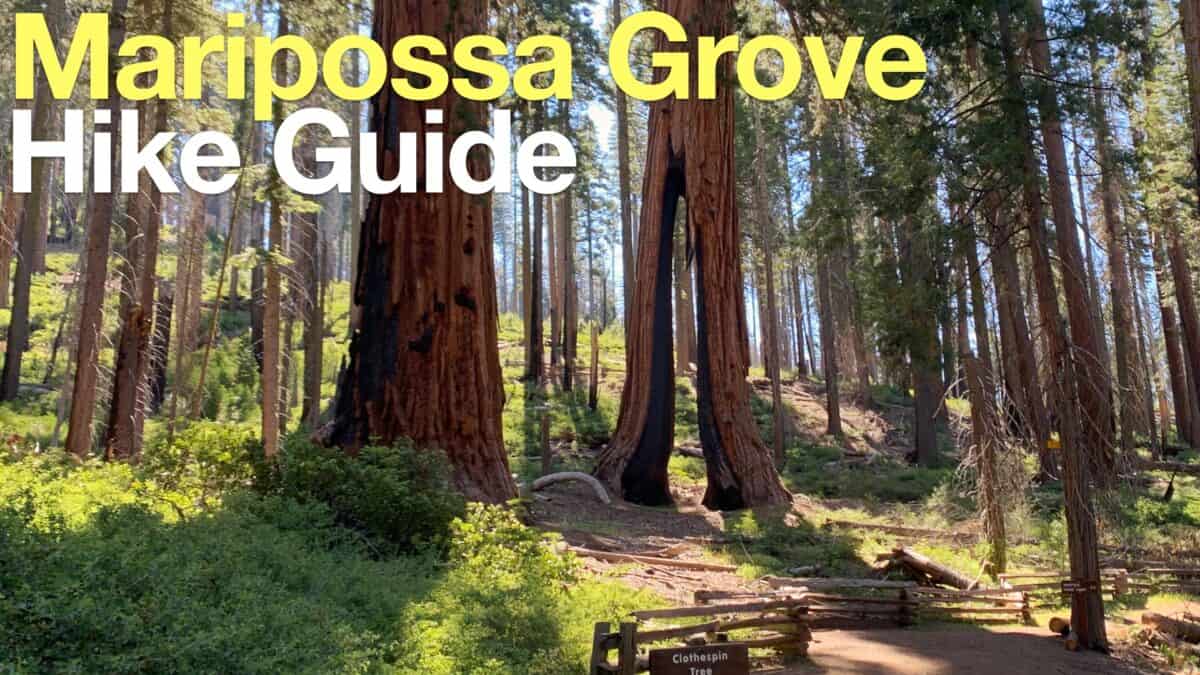 Mariposa Grove of Giant Sequoias Hike Guide
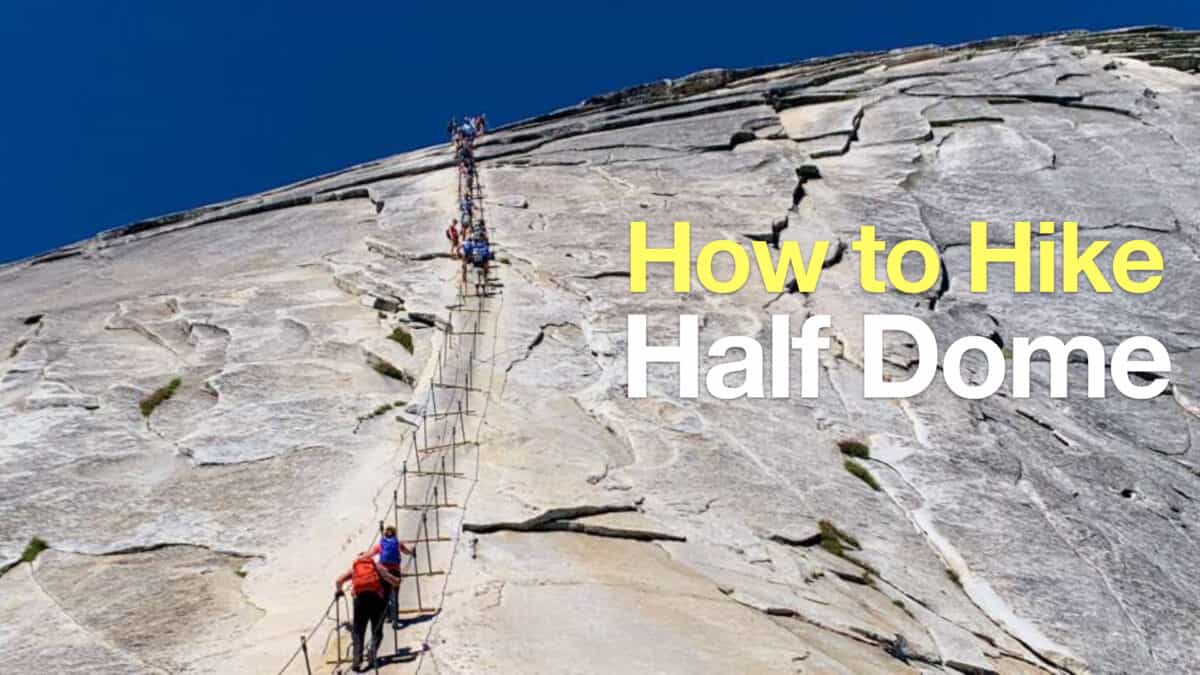 How To Hike Half Dome
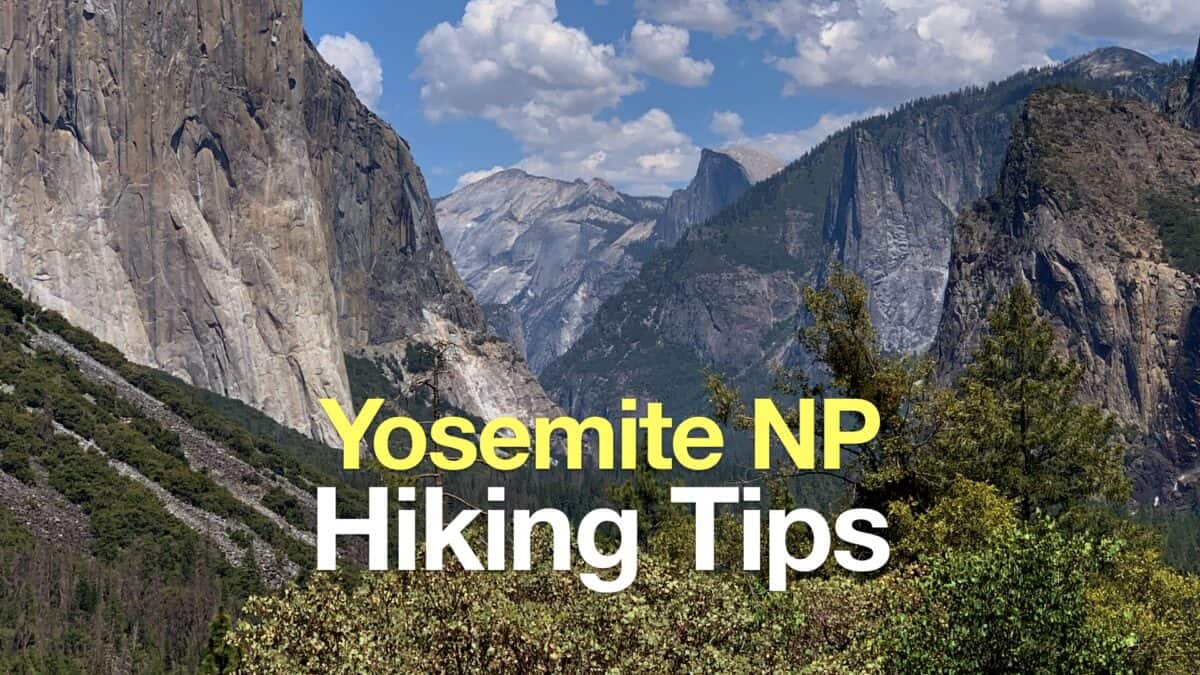 Yosemite Hiking Tips
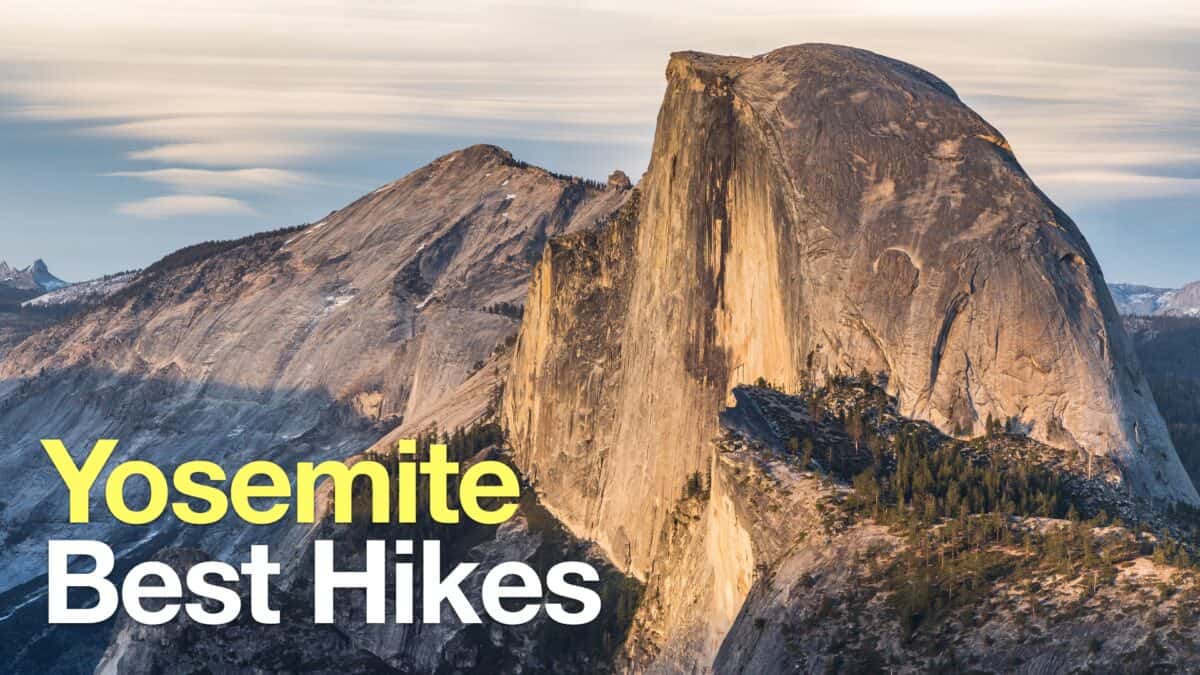 Yosemite Hikes
Popular Guides
 Best Hiking Gear 2024
 Hiking Boots or Shoes: Do I Really Need Hiking Boots?
 When to Hit SOS on inReach
This Guide Was Written by Cris Hazzard

Hi, I'm Cris Hazzard, aka Hiking Guy, a professional outdoors guide, hiking expert, and author based in Southern California. I created this website to share all the great hikes I do with everyone else out there. This site is different because it gives detailed directions that even the beginning hiker can follow. I also share what hiking gear works and doesn't so you don't waste money. I don't do sponsored or promoted content; I share only the gear recommendations, hikes, and tips that I would with my family and friends. If you like the website and YouTube channel, please support these free guides (I couldn't do it without folks like you!). You can stay up to date with my new guides by following me on YouTube, Instagram, or by subscribing to my monthly newsletter.