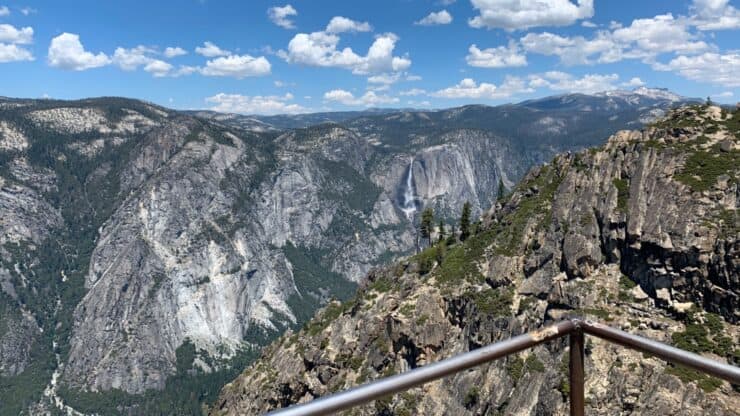

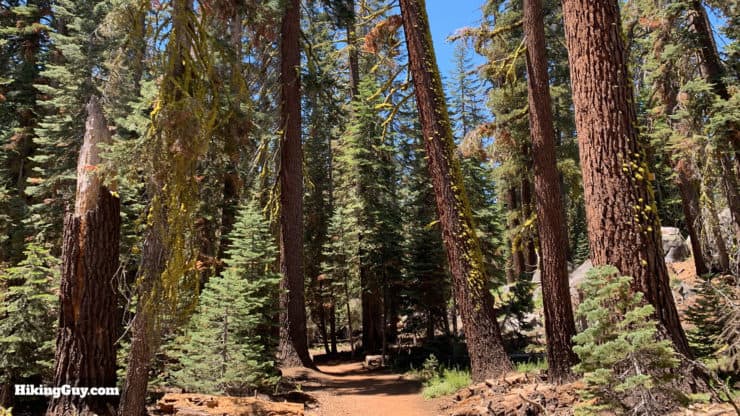
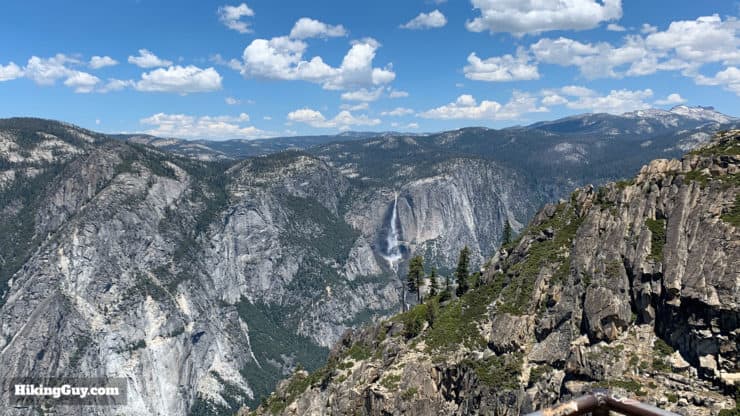
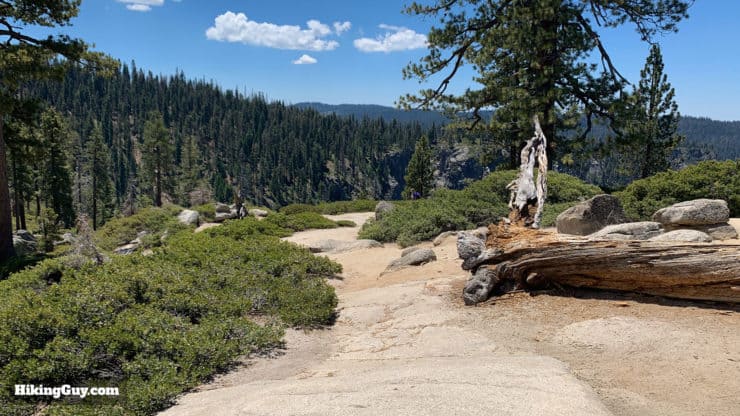
The 2.5-mile hike to Taft Point Overlook and the Fissures offers a lot of incredible scenery away from the crowds, all for a small effort. After hiking through lush forest, you arrive at the fissures; massive gashes cut into the granite cliffs. And from there, it's a short walk to Taft Point, which offers sweeping views into the Yosemite Valley. The hike is downhill to Taft Point, and then has a mild uphill back to the start on Glacier Point Road. Do yourself a favor, get away from the crowds along the road and enjoy the pristine wilderness on this hike. You won't be disappointed.
- Video & Turn by Turn Directions to Taft Point Overlook
- How to Get to the Trailhead
- Everything You Need to Know To Prepare for the Hike
If you bring children on this hike, please make sure they are supervised when you reach Taft Point and the fissures area; there is no guardrail.
Where is Taft Point Overlook?
The trailhead for Taft Point is on Glacier Point Road, which is closed in the winter. Check the park website for the status of any road closures.
Use this trailhead address:
Taft Point Trailhead, Glacier Point Road, Yosemite National Park, CA 95389
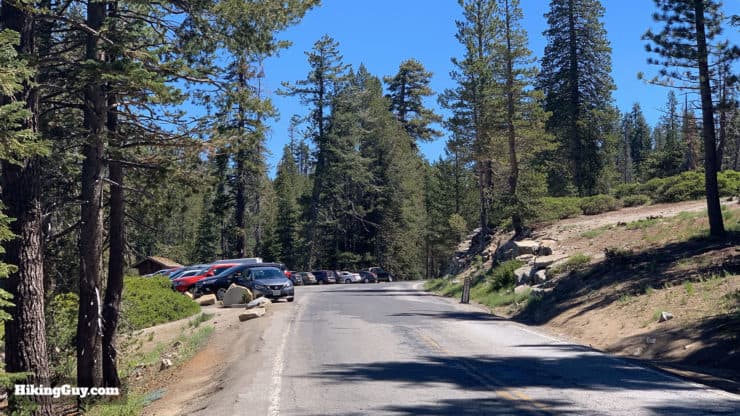
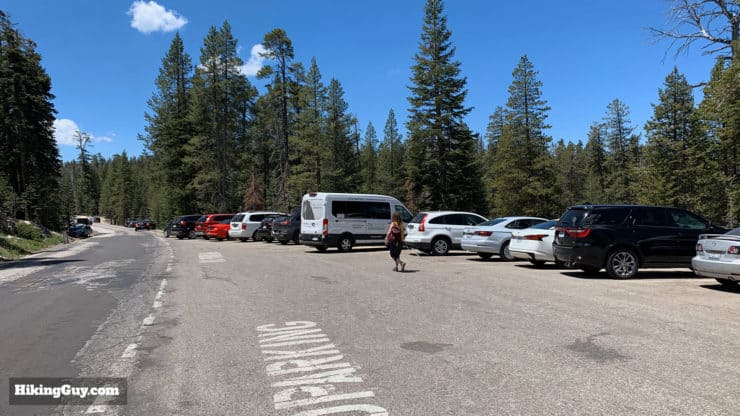
The trailhead is about 6 miles after you turn-off onto Glacier Point Road, and the parking lot is on the left-hand side of the road. There is also parking along Glacier Point Road if the lot is full. The trailhead is about 2 miles before the end of the road at Glacier Point.
Gear for the Hike
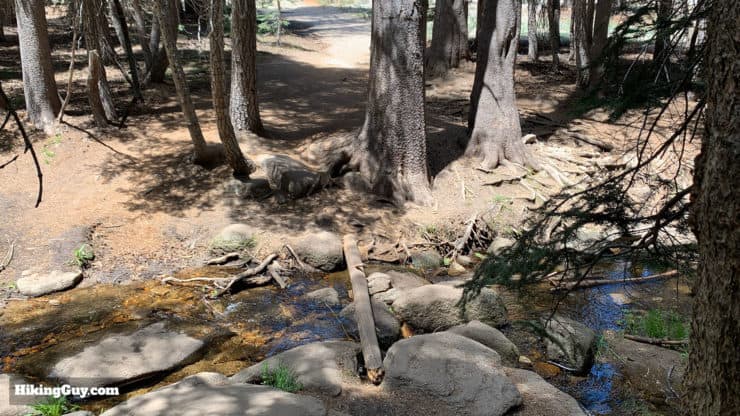
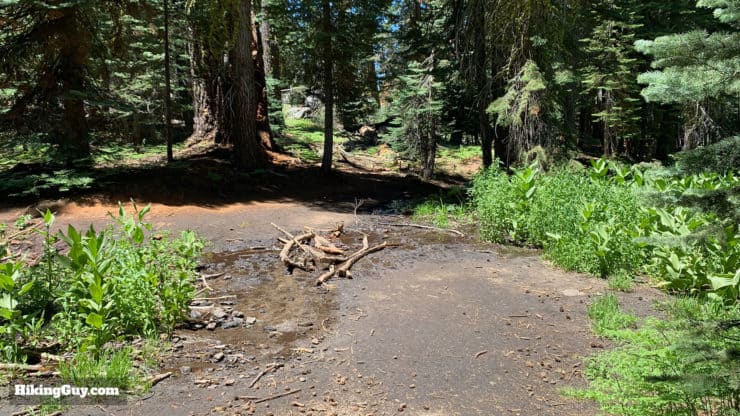
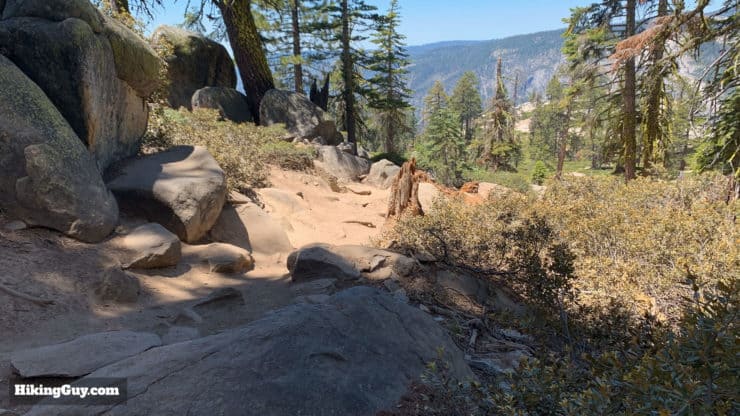
- There can be muddy portions of the trail, so wear hiking boots or trail runners if you have them. Sneakers will be okay in a pinch but you might have to hop around the muddy spots.
- I use light hiking gear, but you can also get away with fitness clothes or even casual wear.
- Bring 0.5L of water and of course, a camera.
- If you want snacks or supplies, head up Glacier Point Road for a few minutes to Glacier Point which has gift shops, snacks, etc.
Gear That I Love Right Now
Nothing is sponsored or promoted, just the actual gear that I use.


Taft Point Overlook Trail Maps
How Will You Navigate?
 Using the Apple Watch for Hiking
 Garmin Fenix 7 & Epix Review For Hikers
 How To Read a Topographic Map
 Garmin GPSMAP 67i Review
3d Map

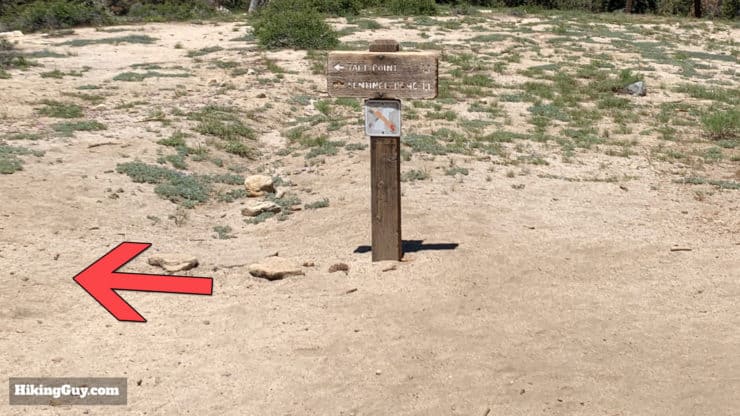
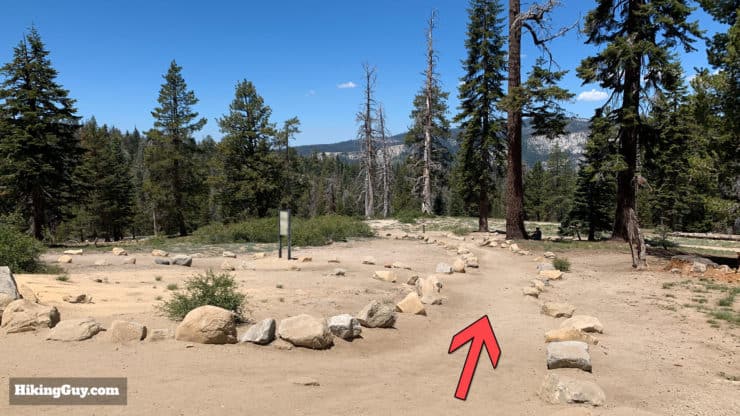
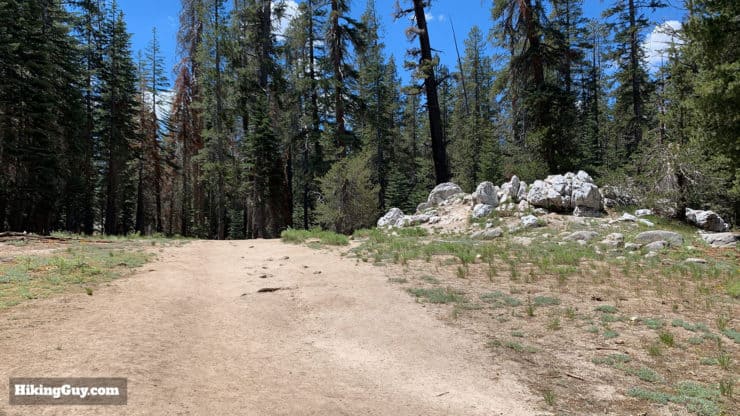
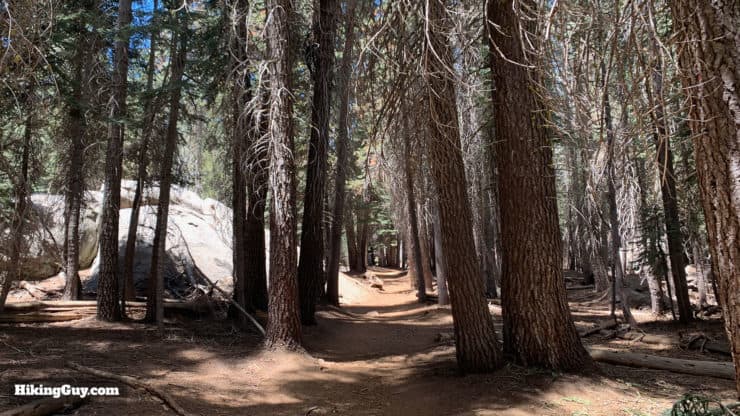
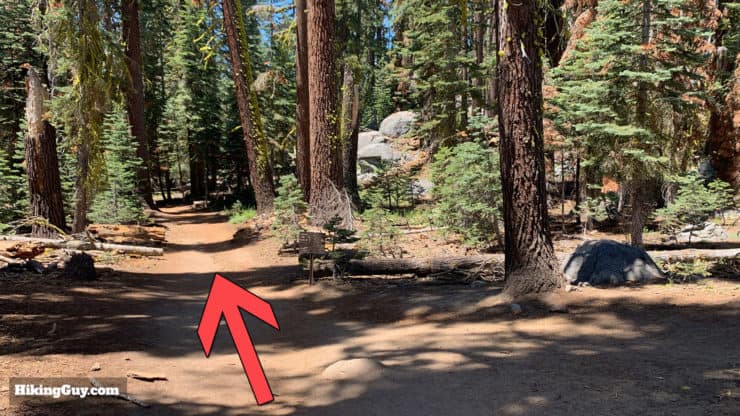
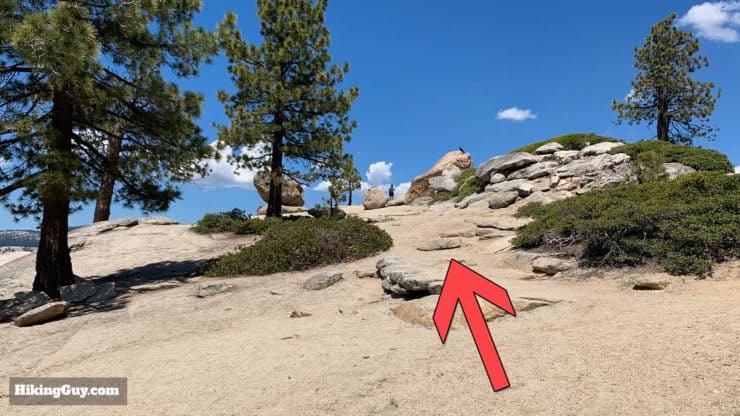
Taft Point Overlook and Fissures Hike Directions
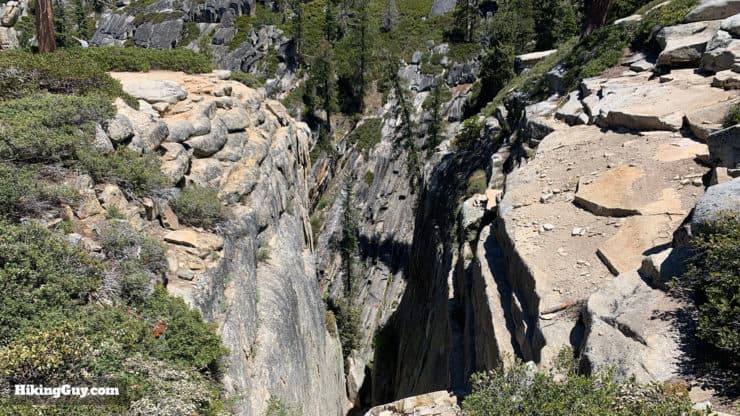
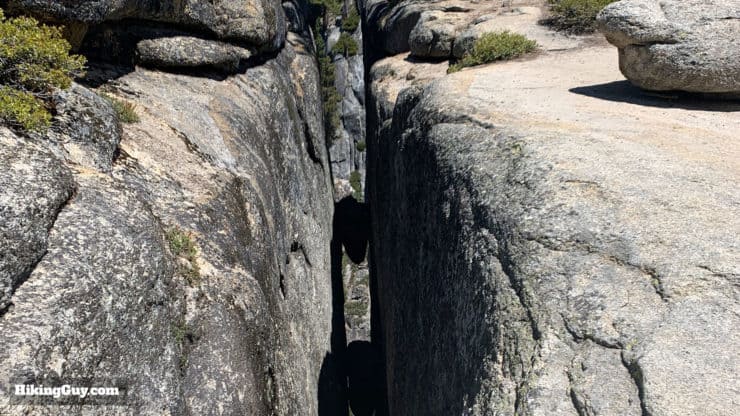
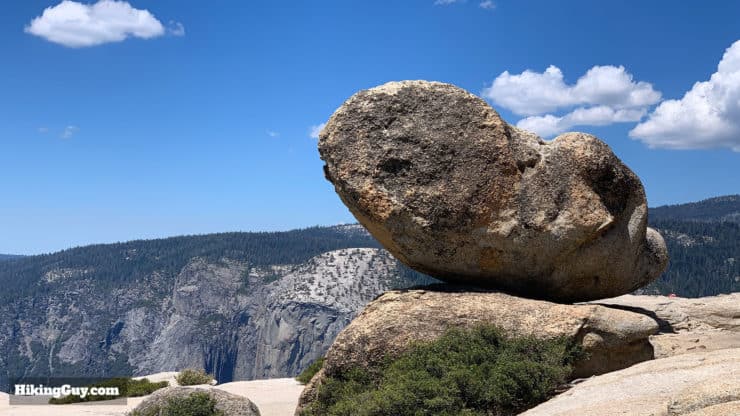
Granite is formed underground, under tremendous pressure. When the granite gets pushed to the surface and the pressure is relieved, the rocks expand and crack apart, forming these fissures.
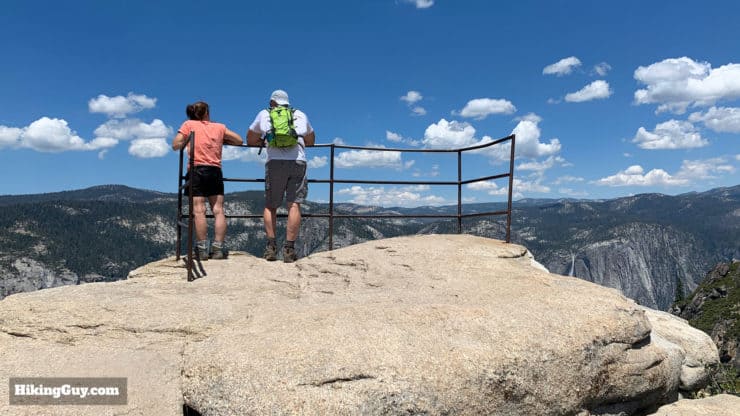
Taft Point is named after the 27th president, William Taft, who had lunch here with John Muir in 1909. They were supposed to ride on horseback down to the valley, but Taft, at 300lbs, was too heavy, and had to walk instead. After finishing the (downhill) hike drenched in sweat, Taft said "while I am tired from the open-air exercise, I feel greatly the better for it."
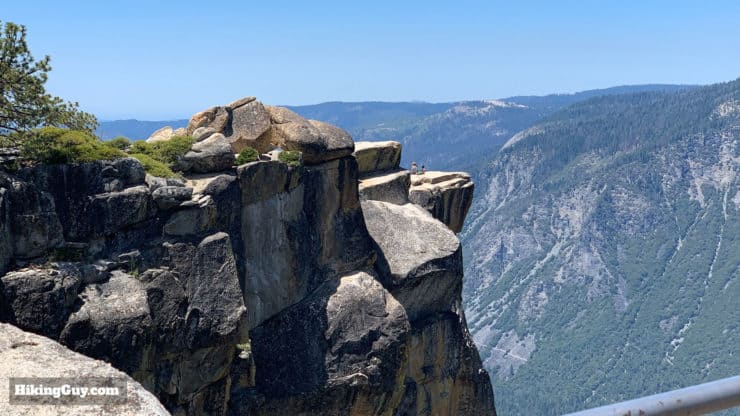
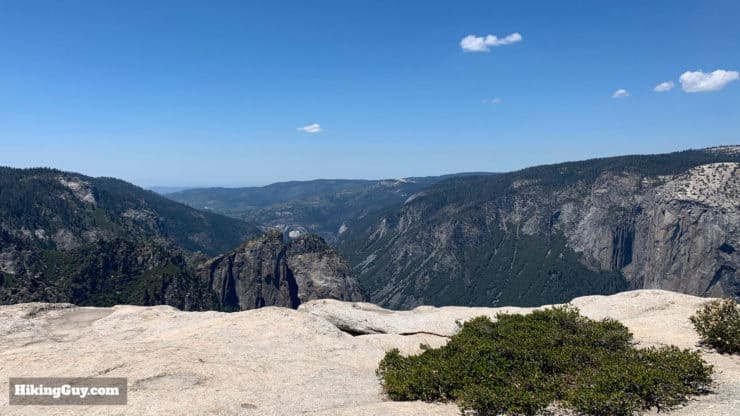
There are no guardrails here and the drop is 3,000 feet. People have fallen to their death here. Please be safe and keep your distance.
From here, just head back the way you came and that's the hike!
Need More Info?
- Have a question about the guide or want to see what other people are saying/asking? View the Youtube comments for this video. Leave a comment and I will do my best to respond.
- When planning, always check the park website and social media to make sure the trails are open. Similarly, check the weather and road conditions.
Related Guides
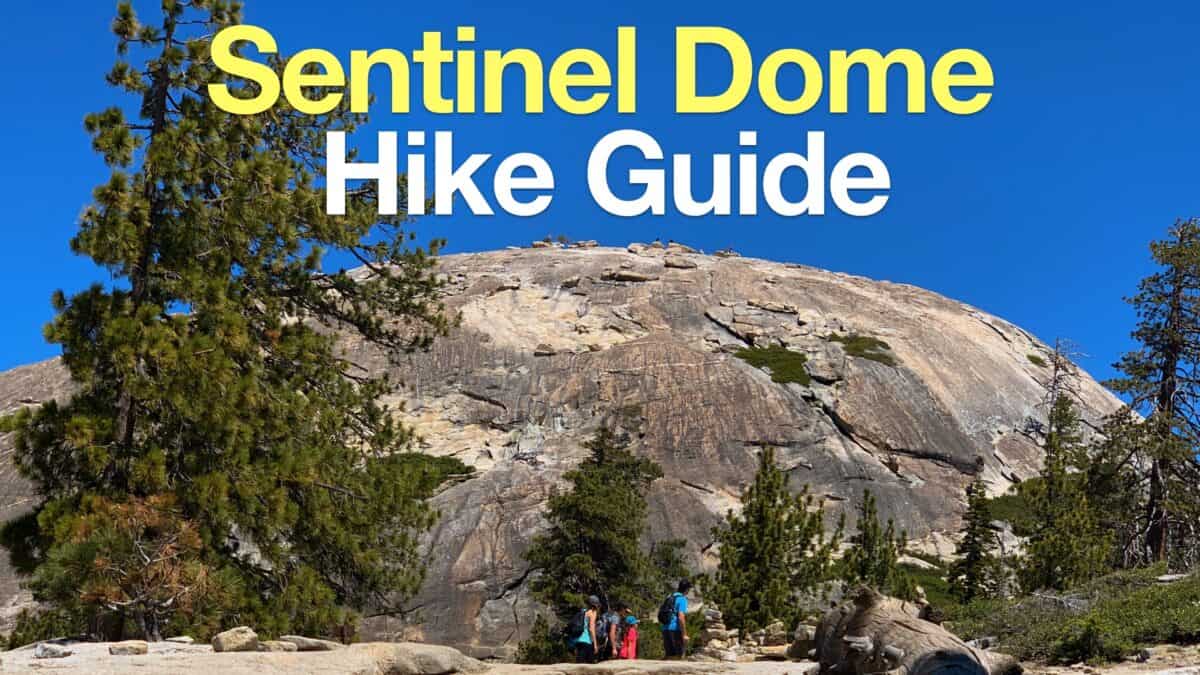 Sentinel Dome Hike
 Hike Columbia Rock (Yosemite)
 Artist Point Yosemite Hike
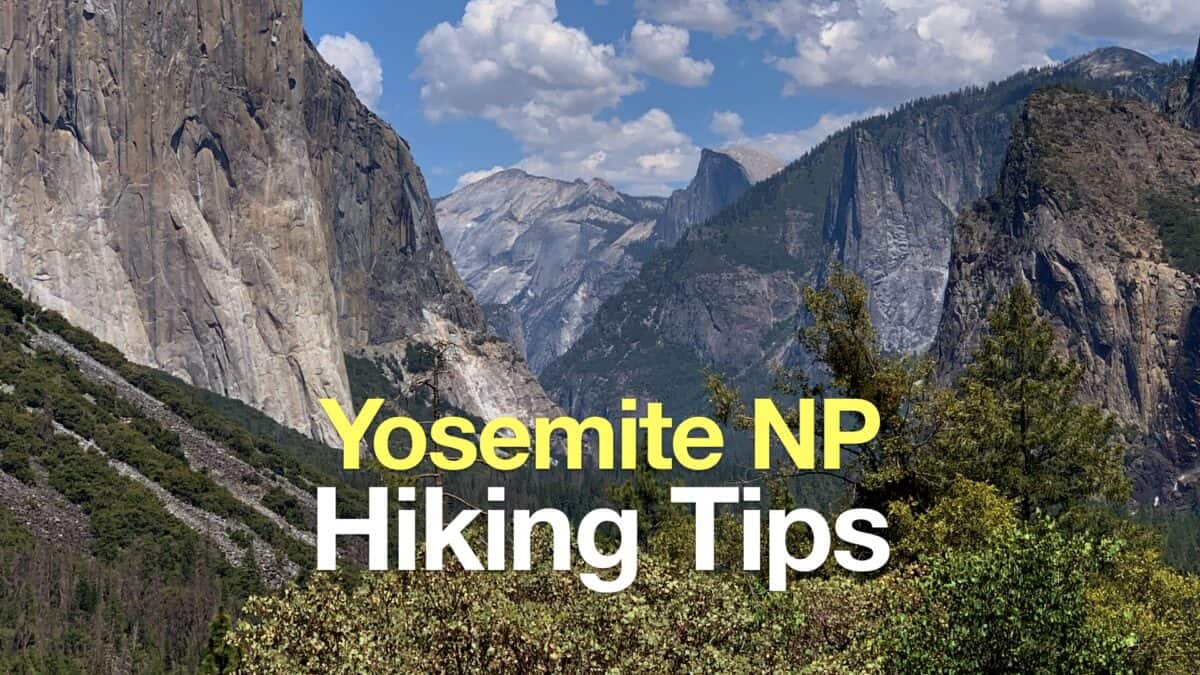 Yosemite Hiking Tips
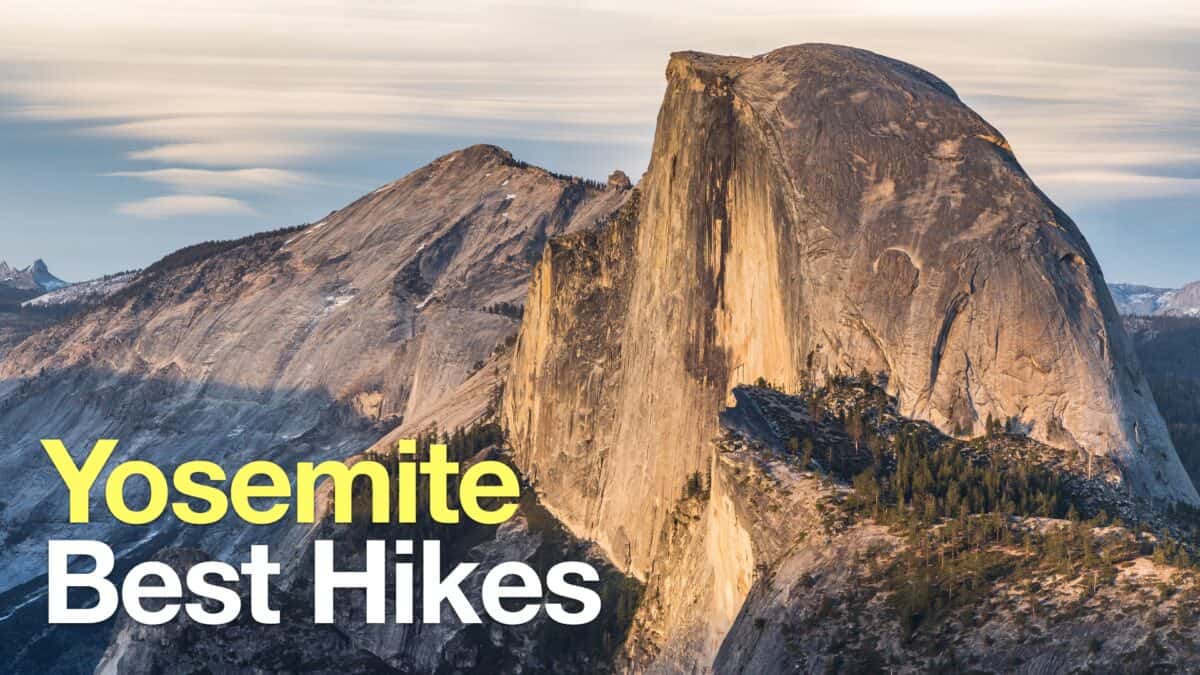 Yosemite Hikes
Popular Guides
 Best Hiking Gear 2024
 Hiking Boots or Shoes: Do I Really Need Hiking Boots?
 When to Hit SOS on inReach
This Guide Was Written by Cris Hazzard

Hi, I'm Cris Hazzard, aka Hiking Guy, a professional outdoors guide, hiking expert, and author based in Southern California. I created this website to share all the great hikes I do with everyone else out there. This site is different because it gives detailed directions that even the beginning hiker can follow. I also share what hiking gear works and doesn't so you don't waste money. I don't do sponsored or promoted content; I share only the gear recommendations, hikes, and tips that I would with my family and friends. If you like the website and YouTube channel, please support these free guides (I couldn't do it without folks like you!). You can stay up to date with my new guides by following me on YouTube, Instagram, or by subscribing to my monthly newsletter.