
How to Hike the Lost Coast Trail
Hike Stats
- Total Distance
- 25.5 miles
- Time
- 2-4 Days
- Total Climbing
- 1000 feet
- Difficulty
- Hard
- Crowds
- Moderate
- Dogs
- Leashed
- Gear
- What I Use
- Weather
- Latest Report
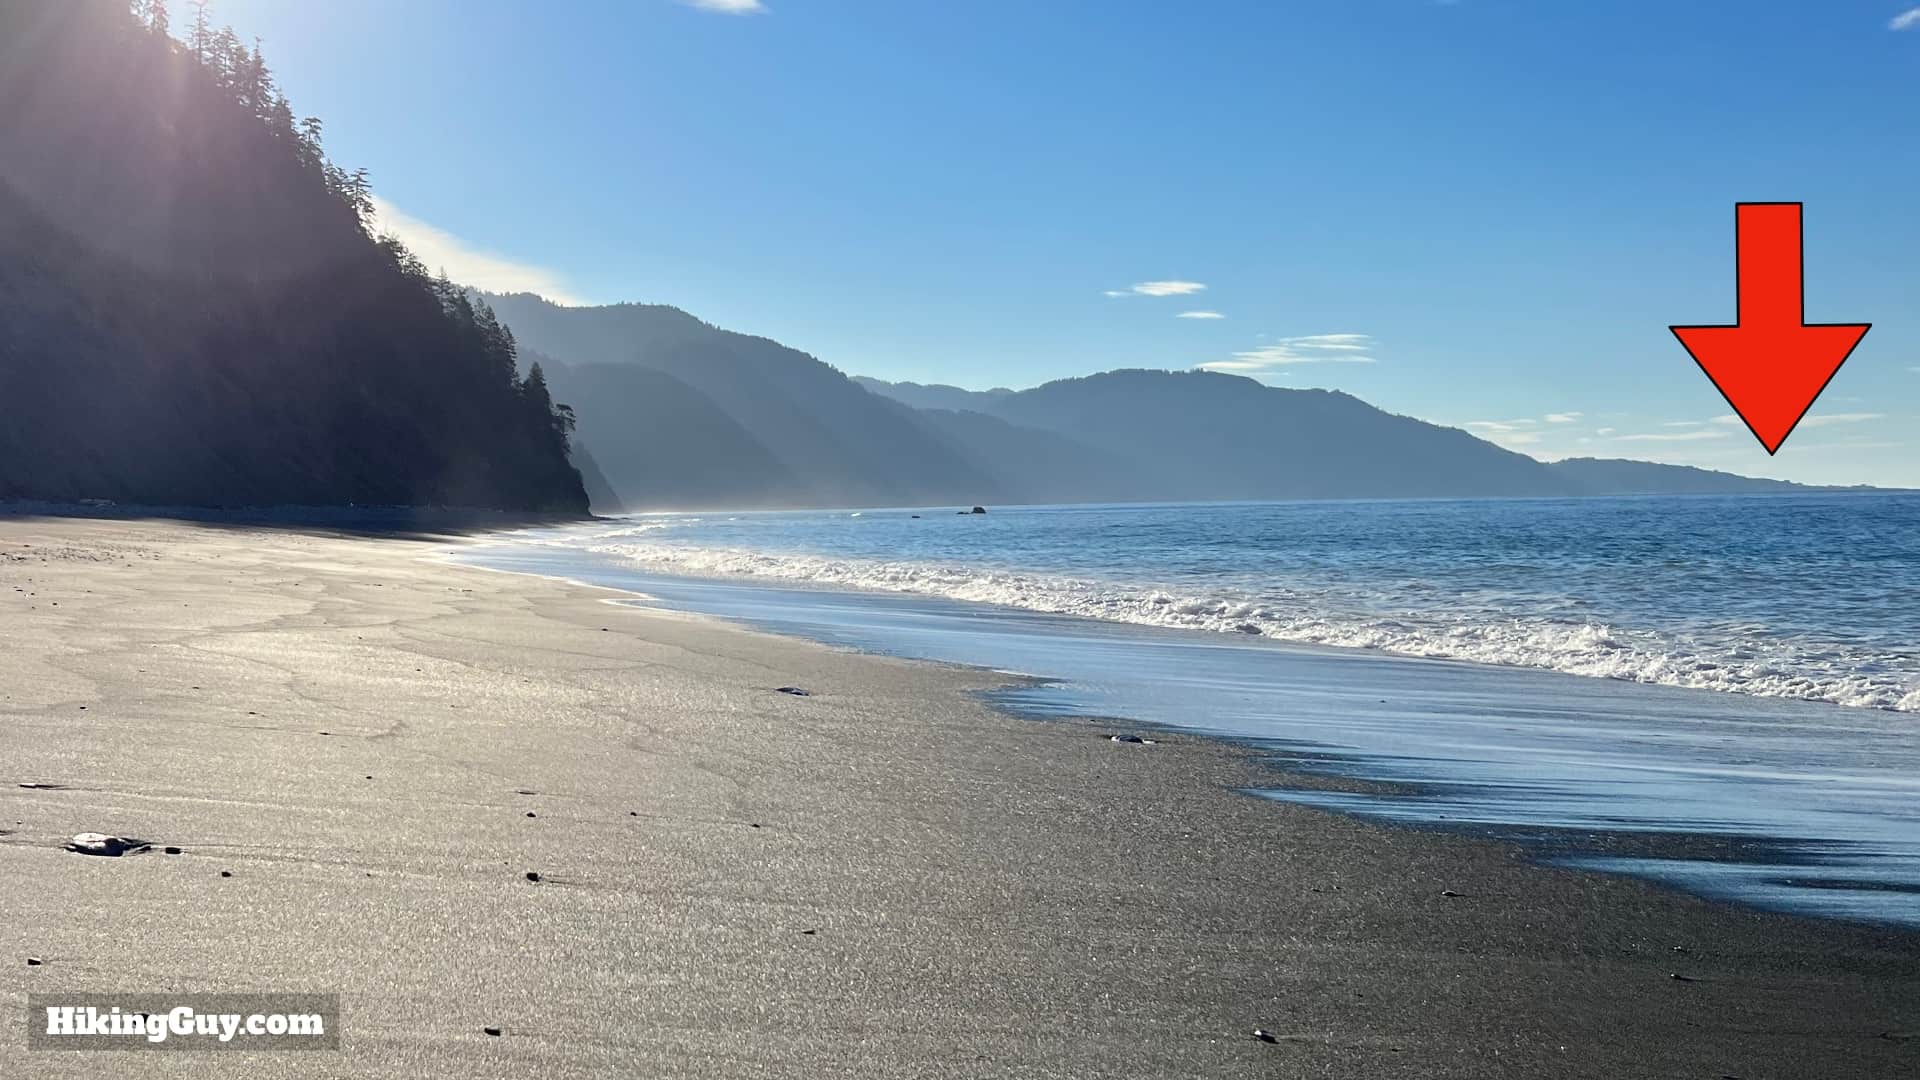
Worthy of any hiking bucket list, the Lost Coast Trail offers a challenging adventure along California's longest stretch of undeveloped coastline. You'll hike along the boundary where the King Range Wilderness and the Pacific Ocean collide, showcasing nature's beautiful and powerful forces. This guide will cover everything you need to know to make the Lost Coast Trail a reality, from planning to preparing and then doing the hike. There are several sections of Lost Coast Trail; in this guide, I'll cover the most popular stretch from Mattole Beach to Shelter Cove's Black Sands Beach.
Quick Lost Coast Trail Overview
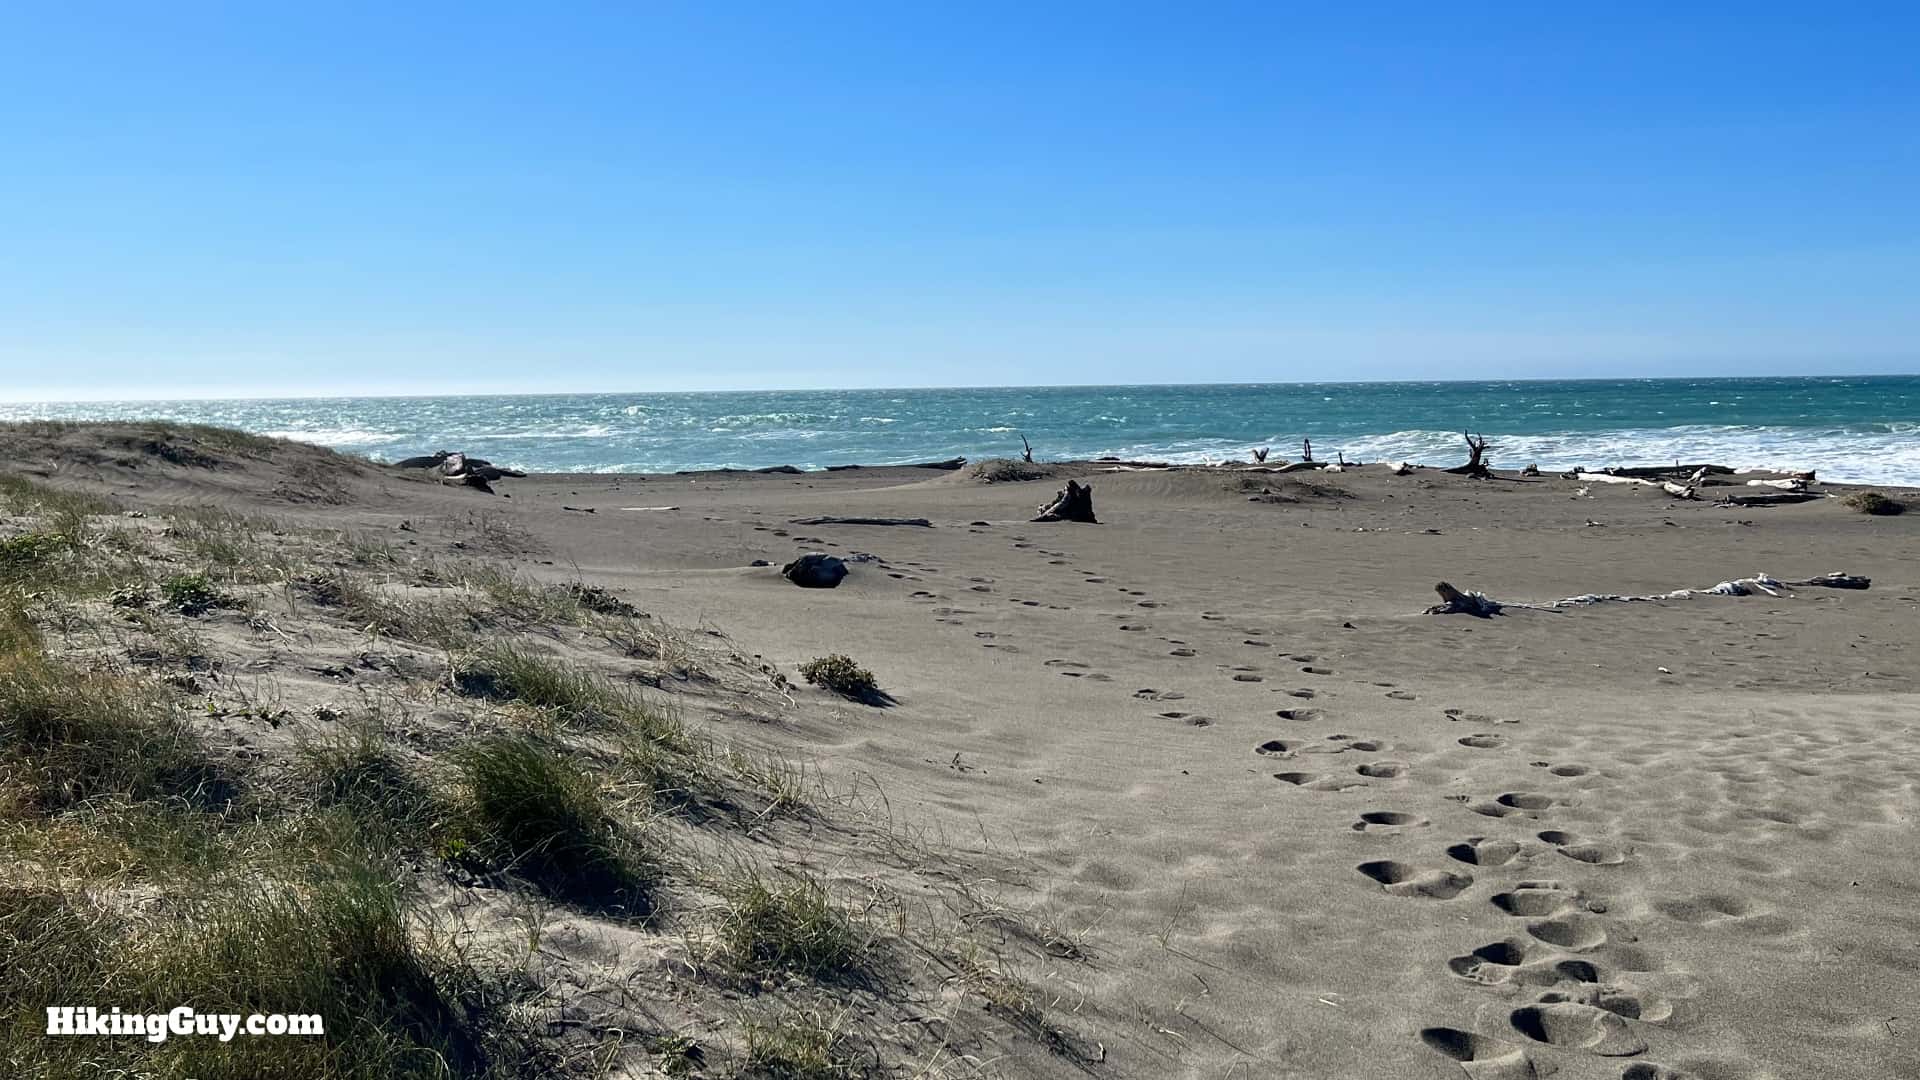
- The Lost Coast Trail is in the remote King Range National Conservation Area of Northern California, where steep 4,000-foot mountains drop down to primitive black sand beaches on the Pacific Ocean.
- The Lost Coast is considered the most rugged coastlines in the lower-48. Originally planners wanted to route the PCH (Pacific Coast Highway) here, but abandoned the plans after seeing that the landscape made it impossible.
- Even today, getting to the hike usually involves a 4 hour or more drive from San Francisco or Sacramento.
- You need a permit to hike the Lost Coast Trail and they're tough to snag. You'll want to plan a year in advance for this one. Permits are released on October 1st for the following year.
- Once you have a permit to hike, you do not need to make reservations at any campgrounds. You can camp anywhere along the trail that isn't private property.
- Most people take 2-4 days to hike (and camp) the Lost Coast Trail one way, from north to south, including a shuttle ride. There are plenty of campsites and water sources along the way.
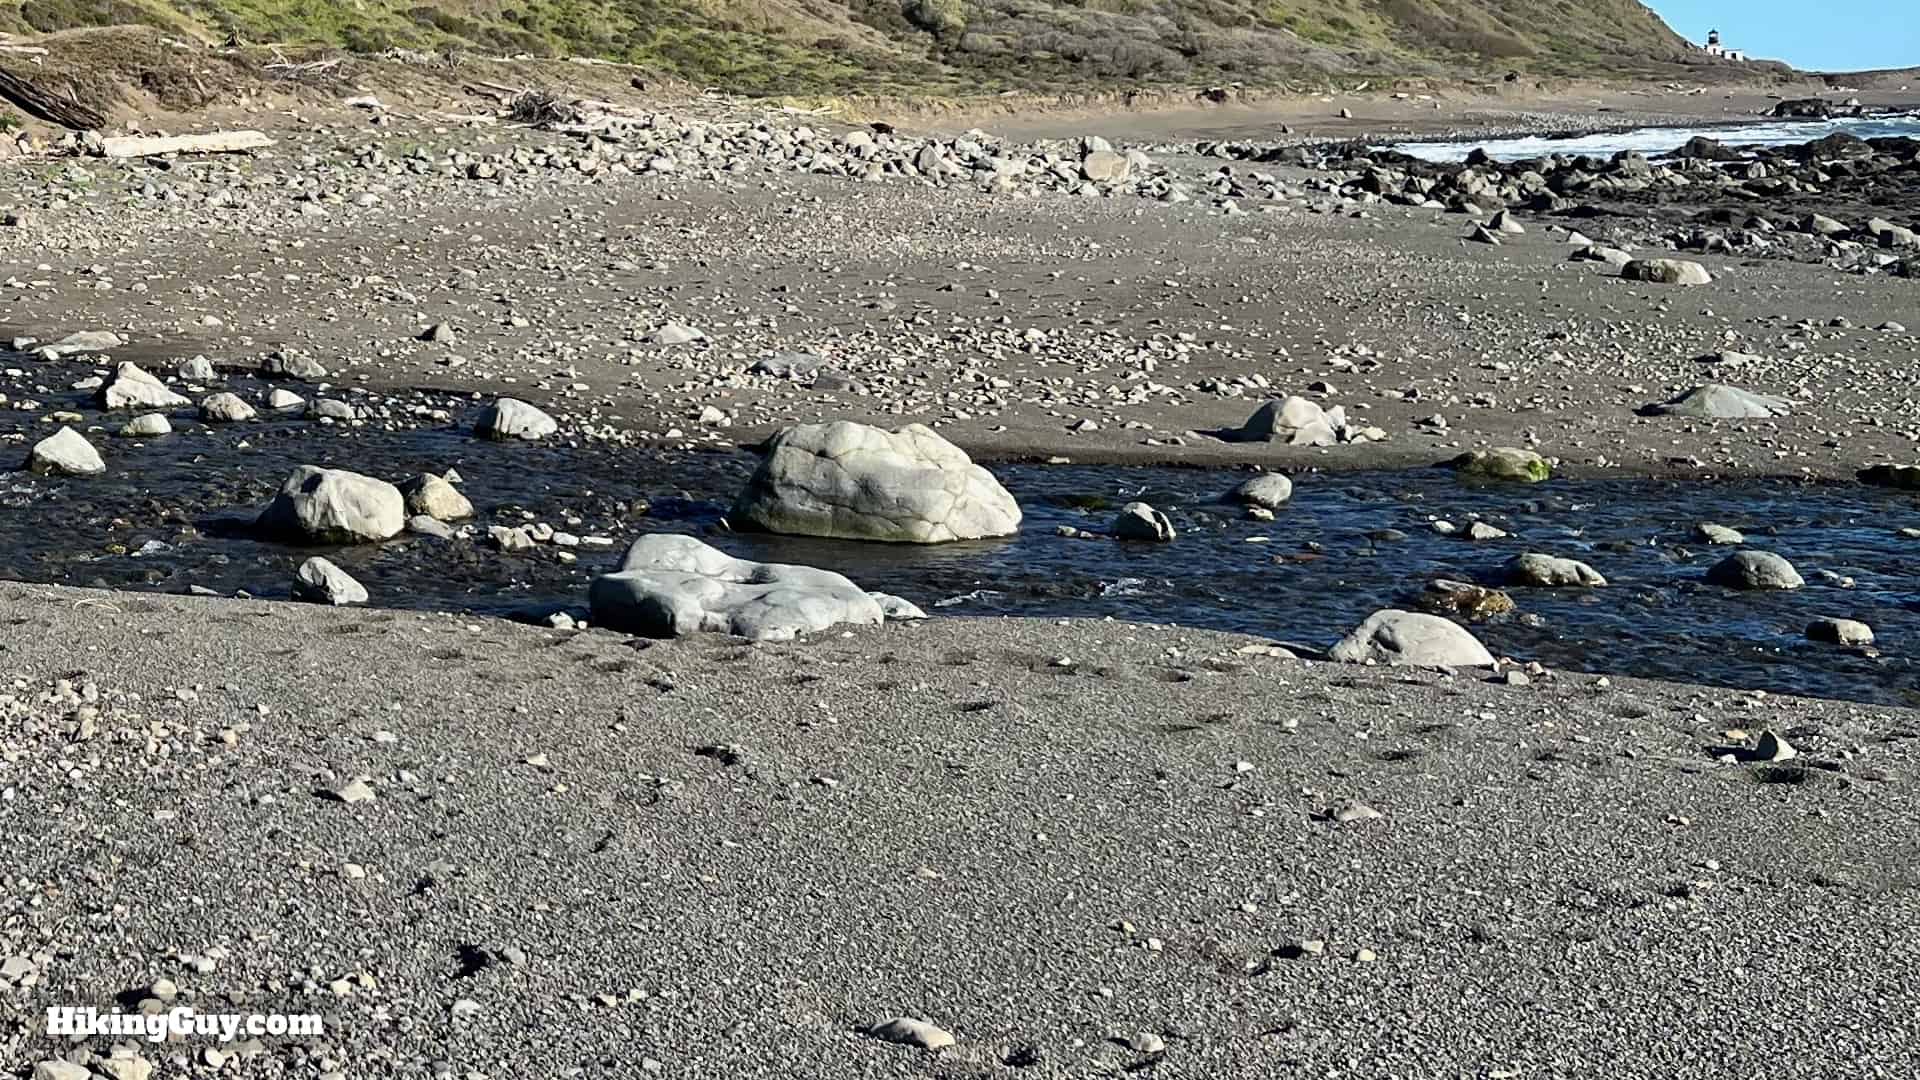
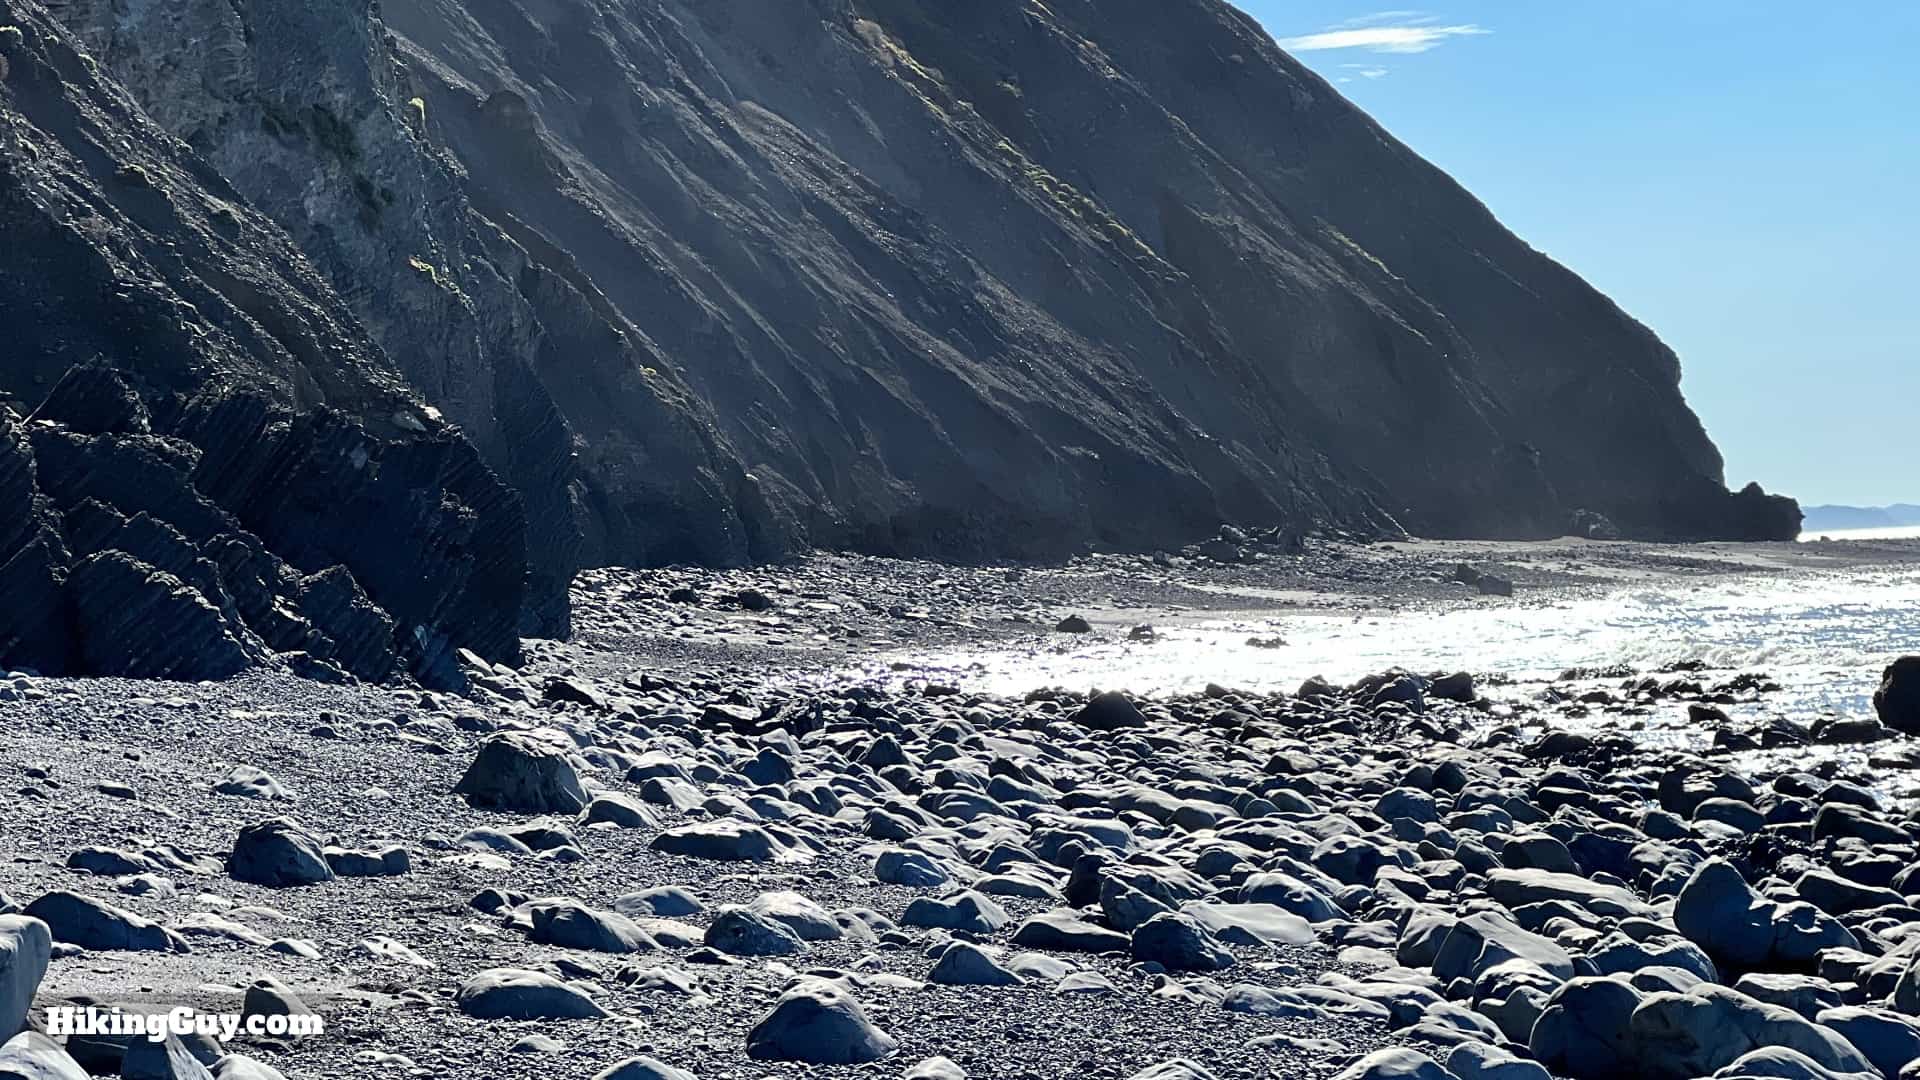
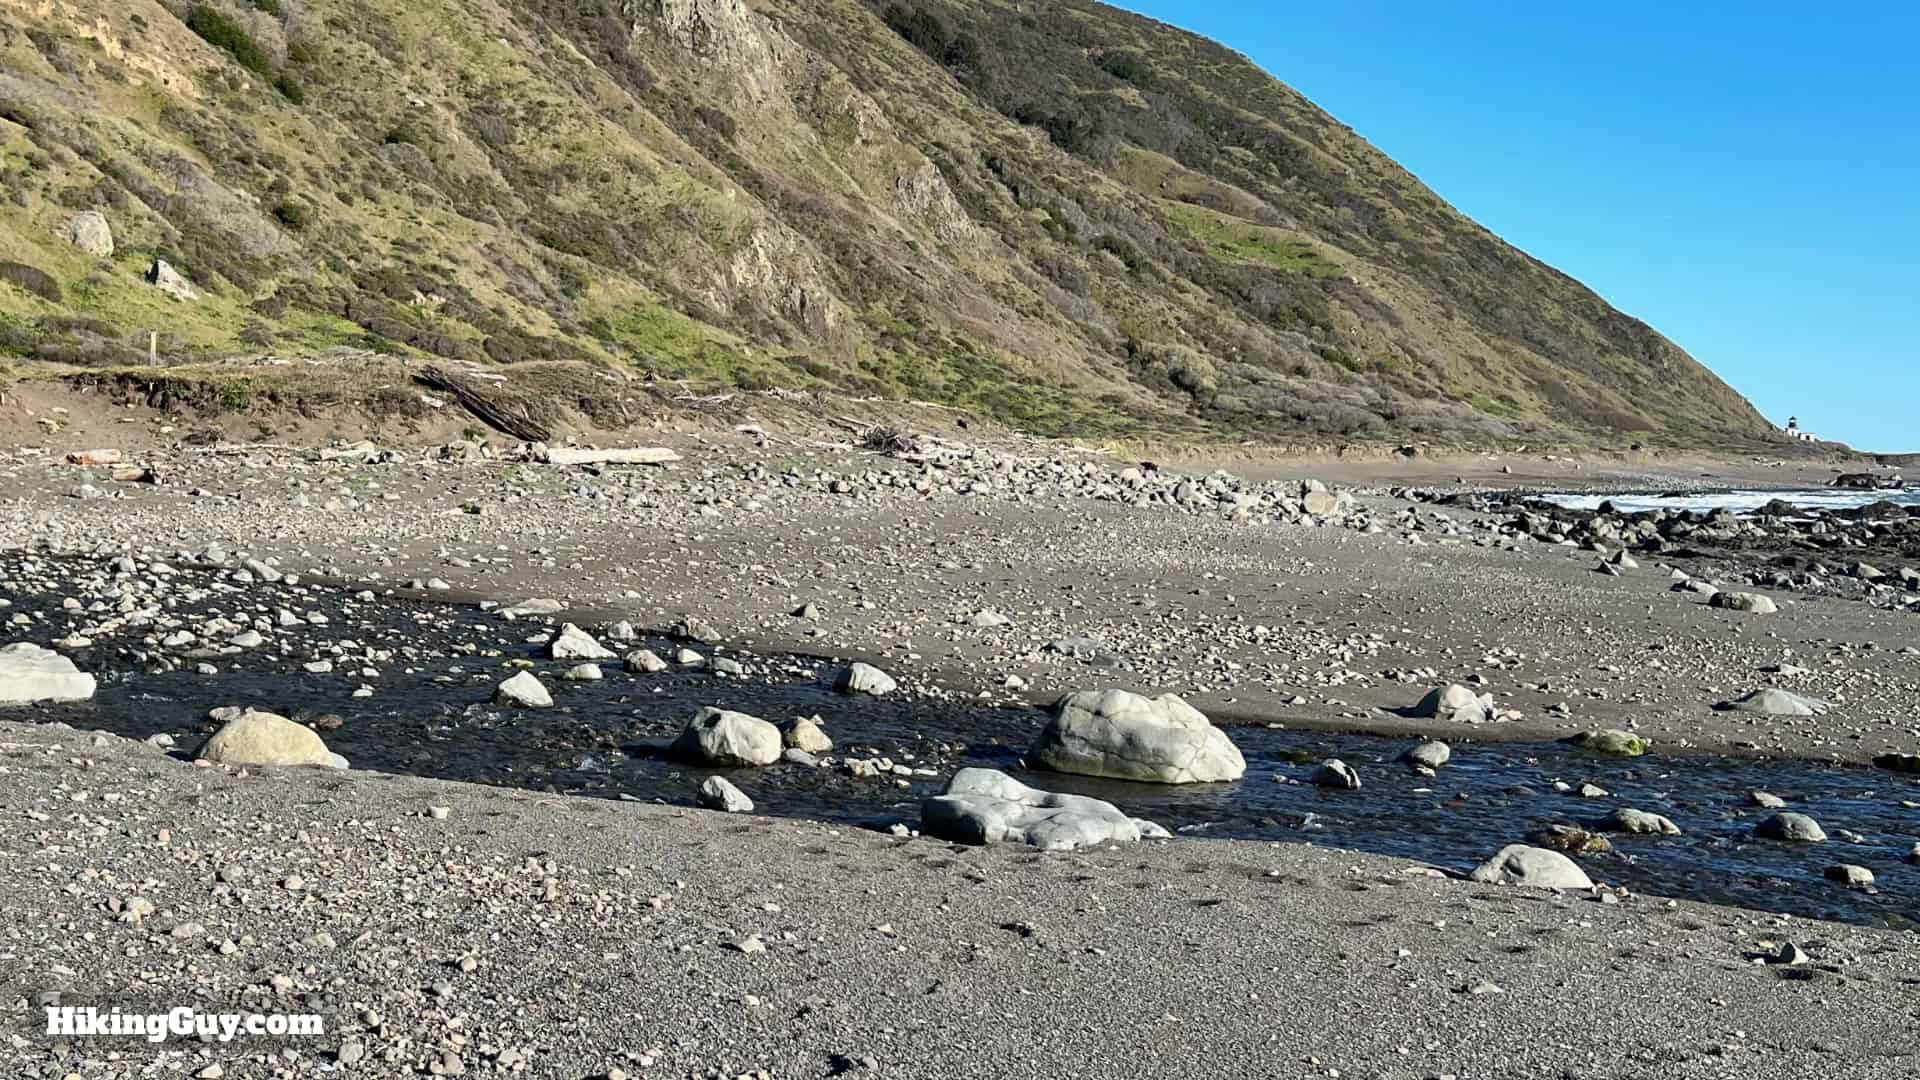
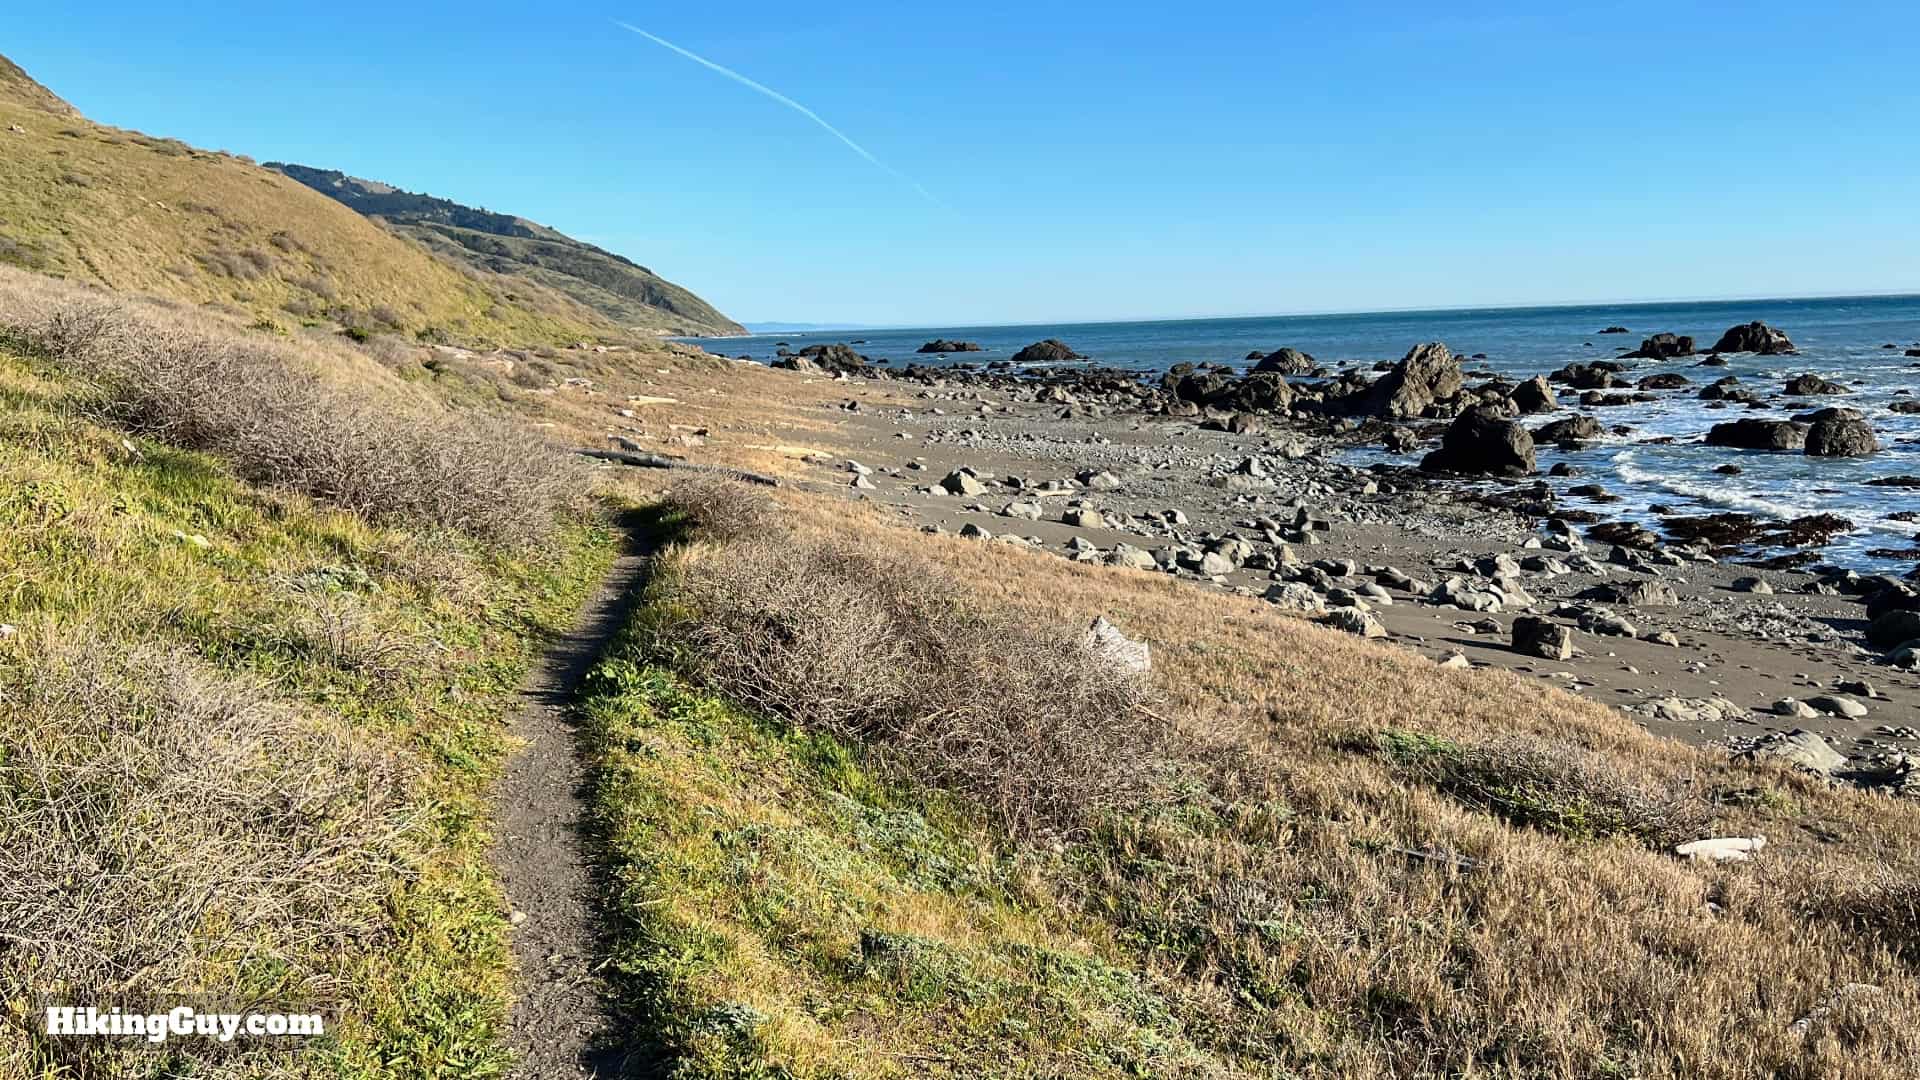
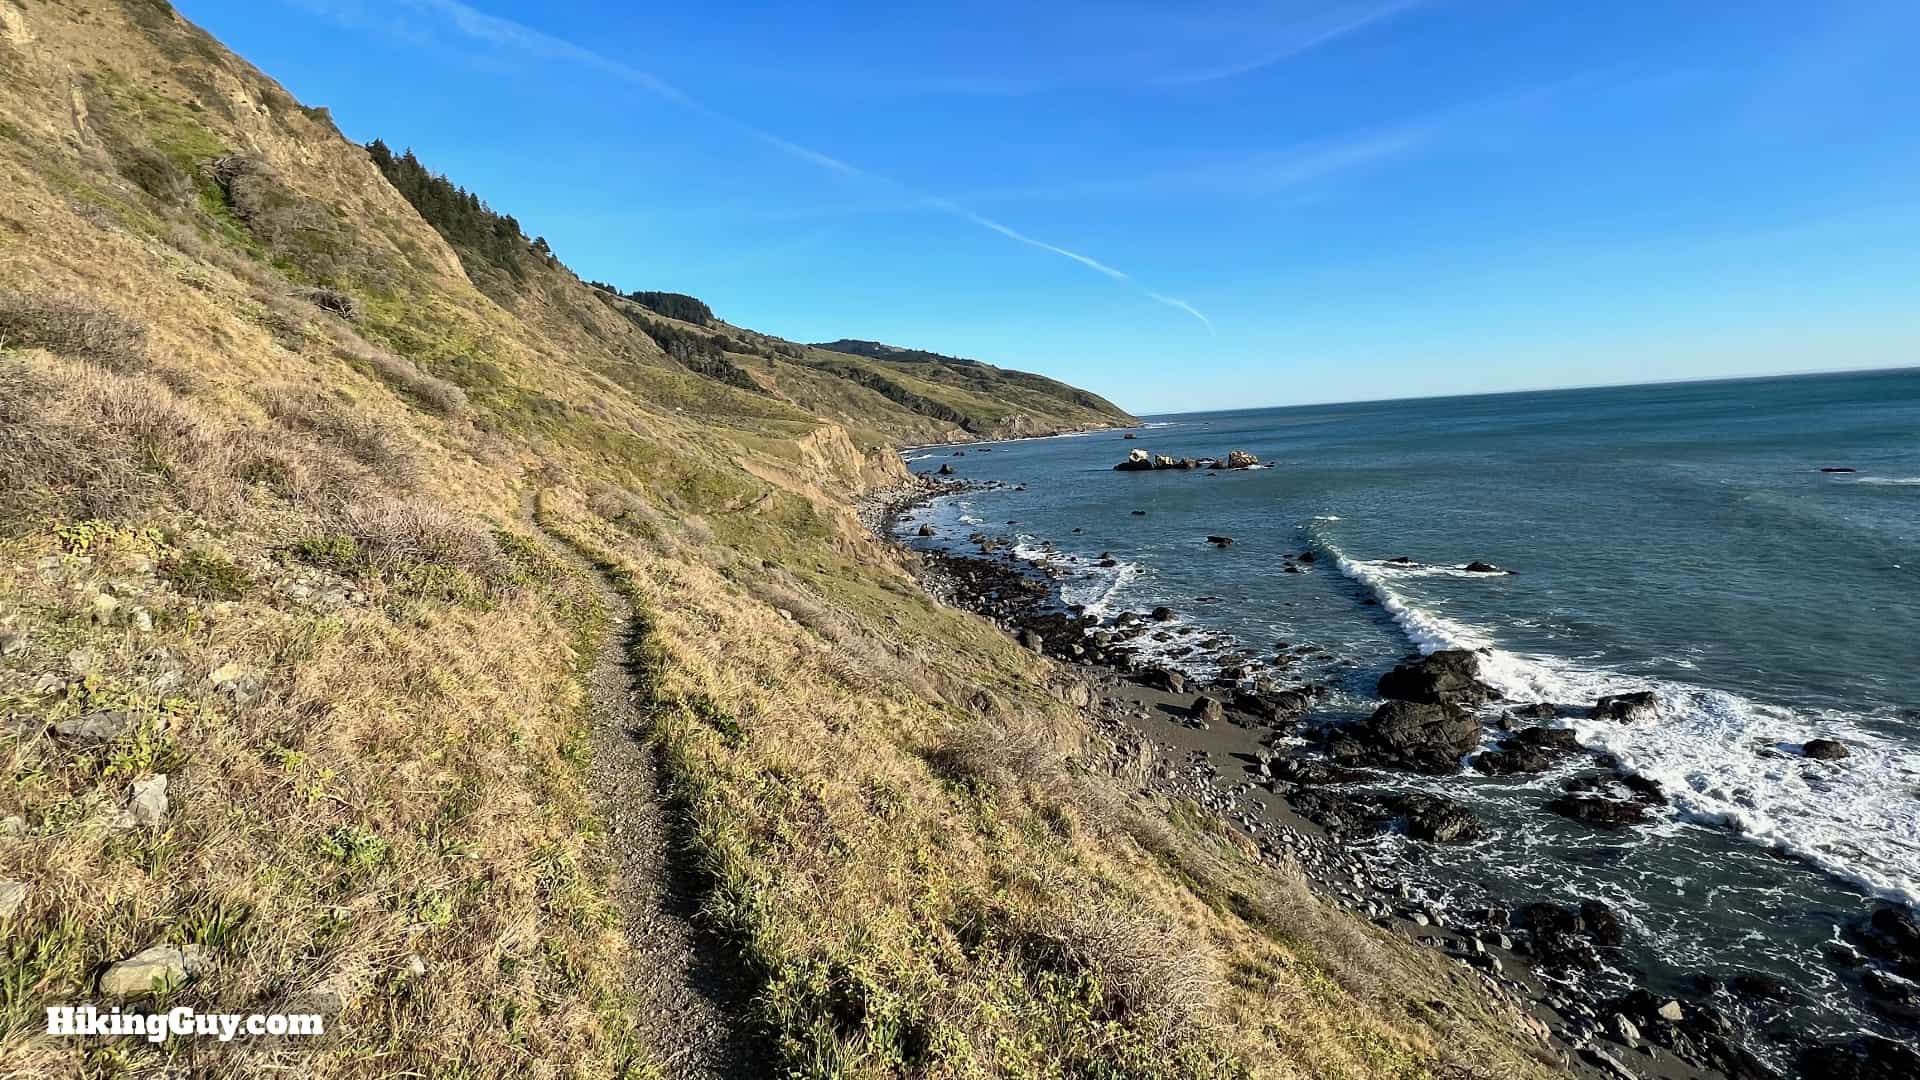
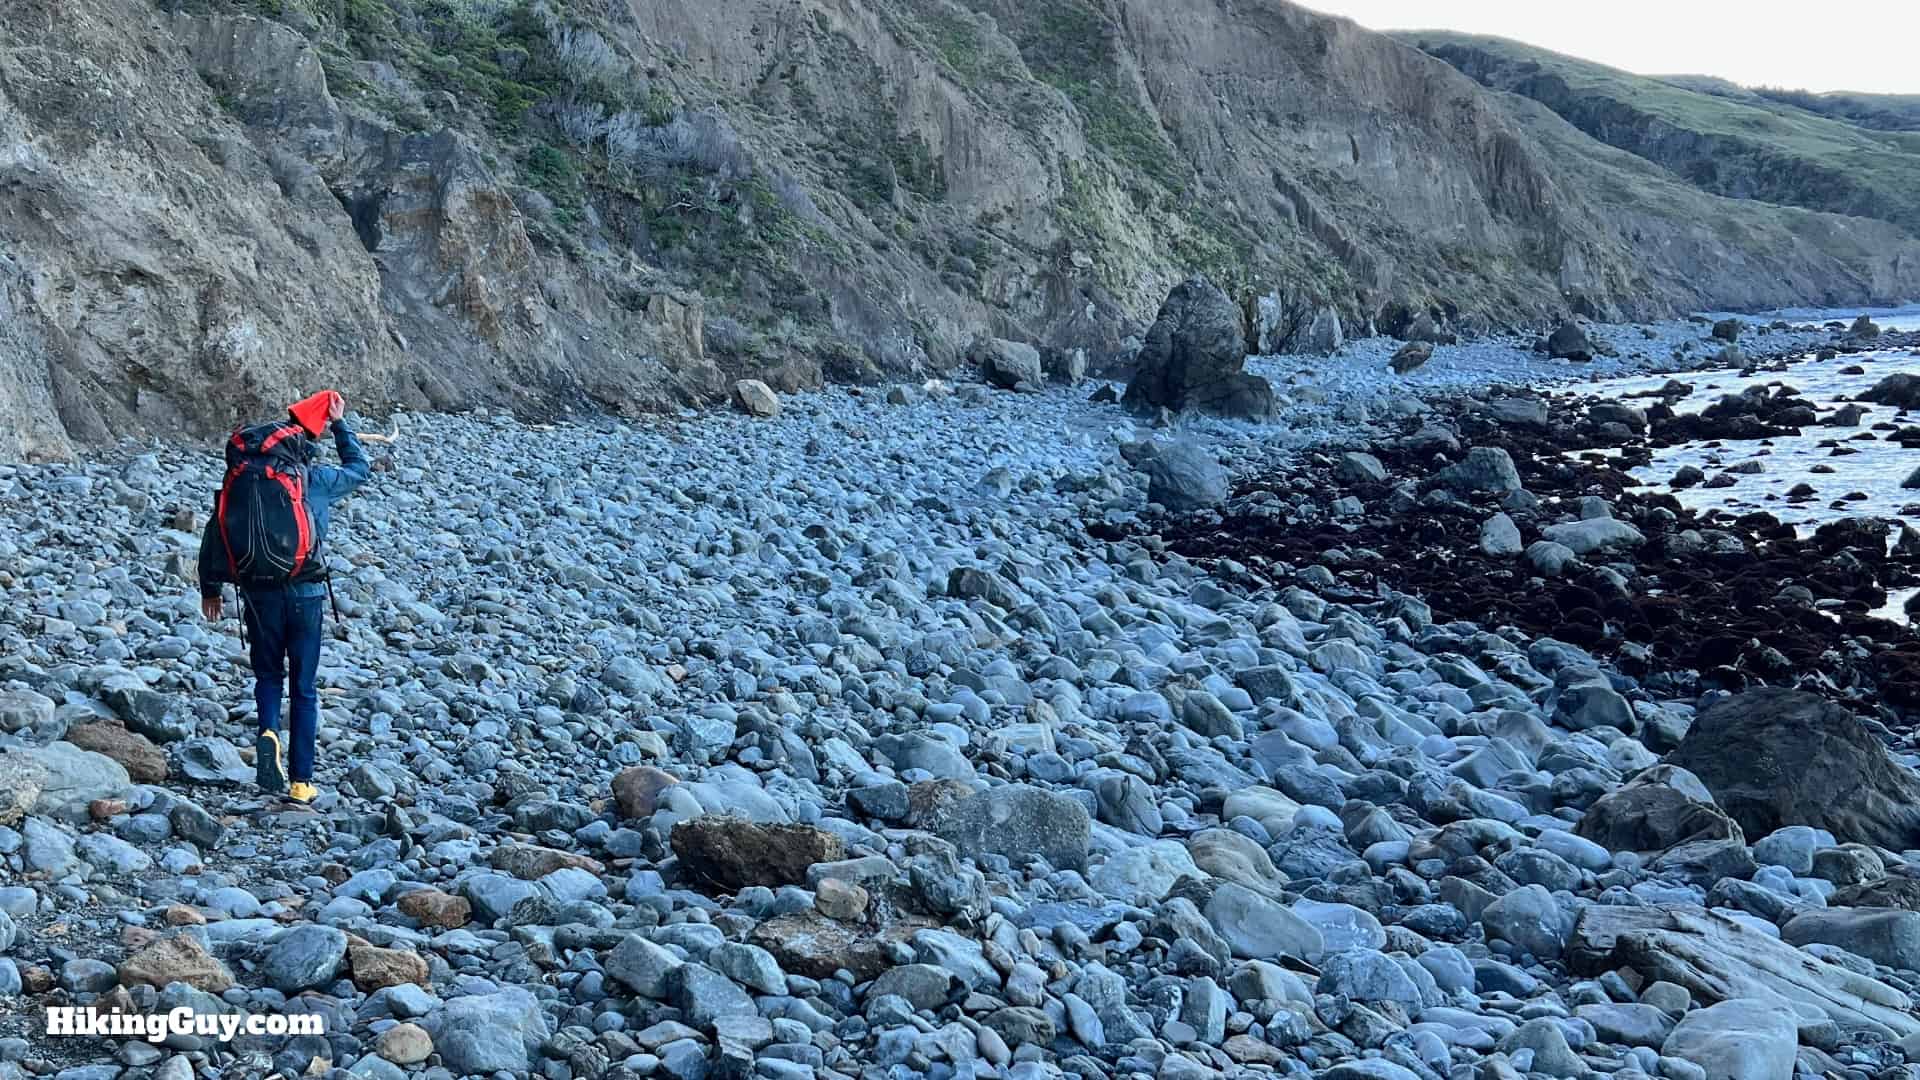
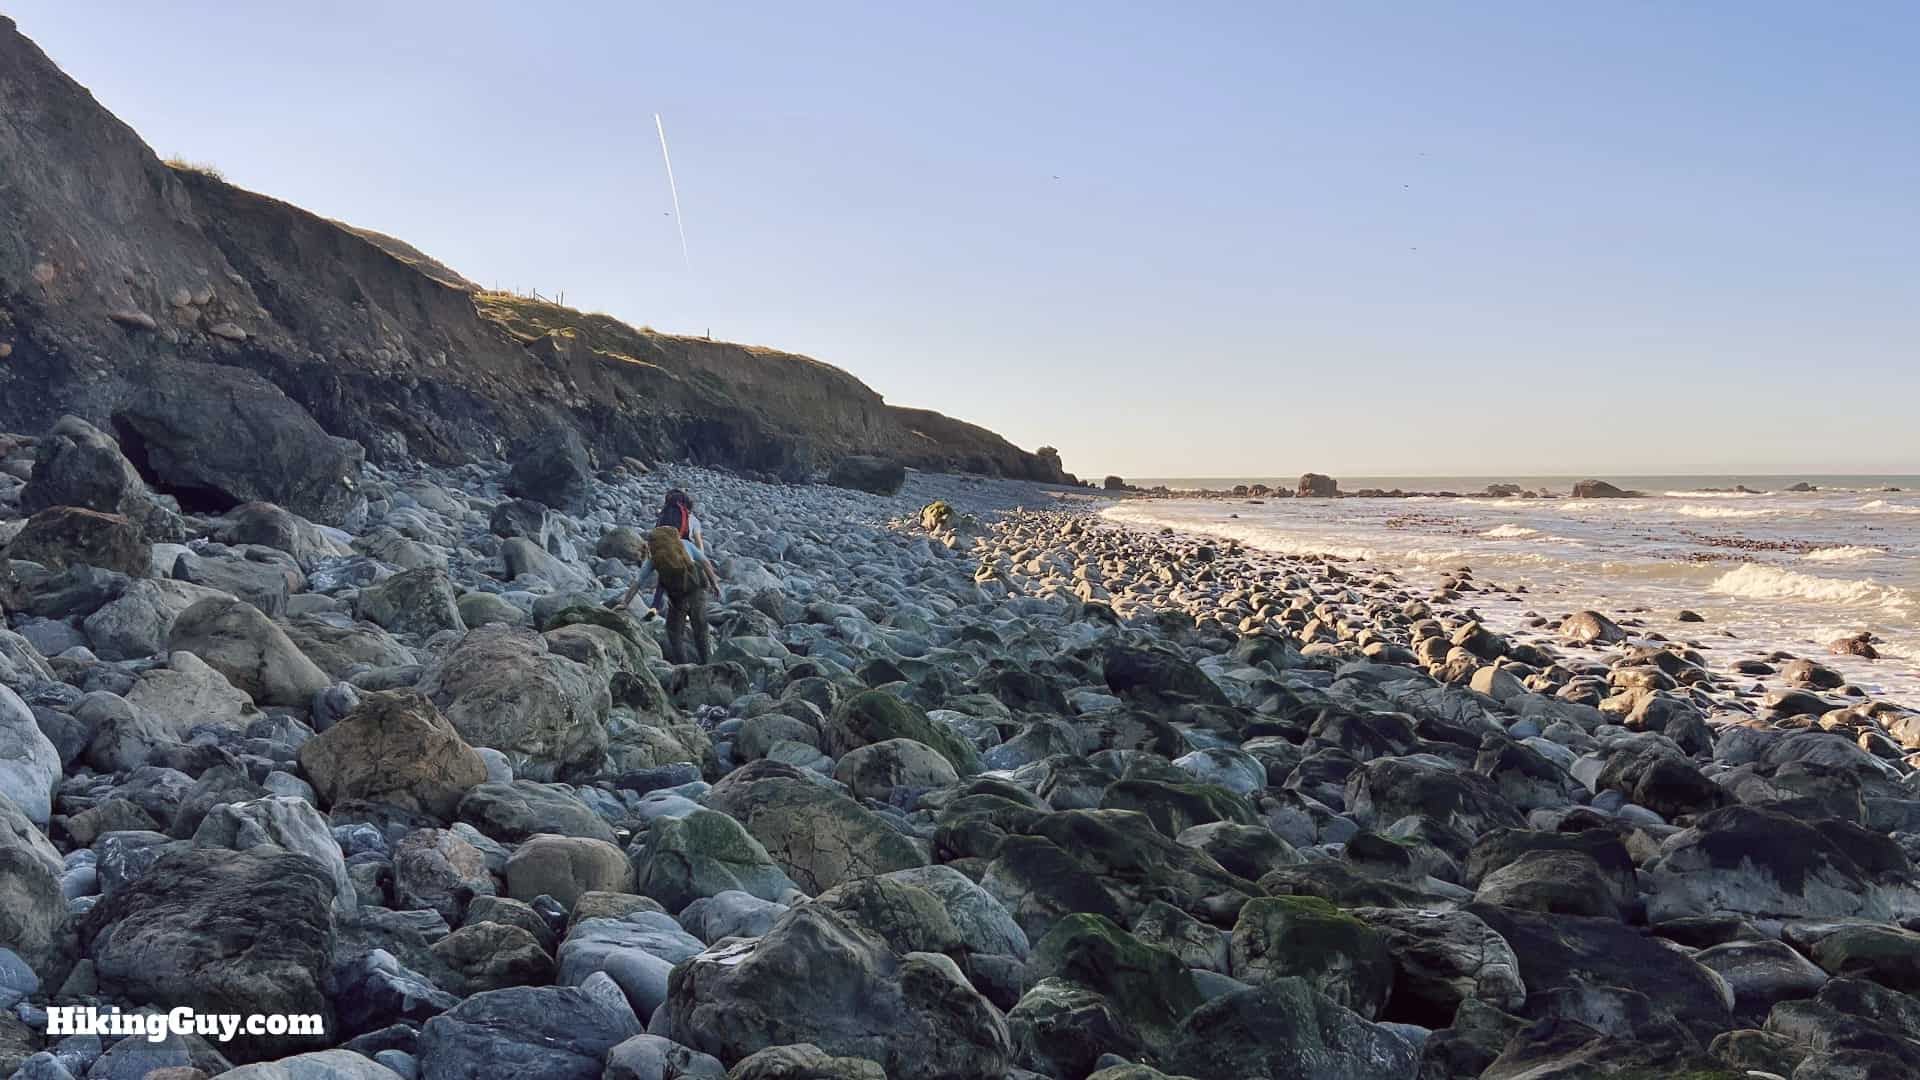
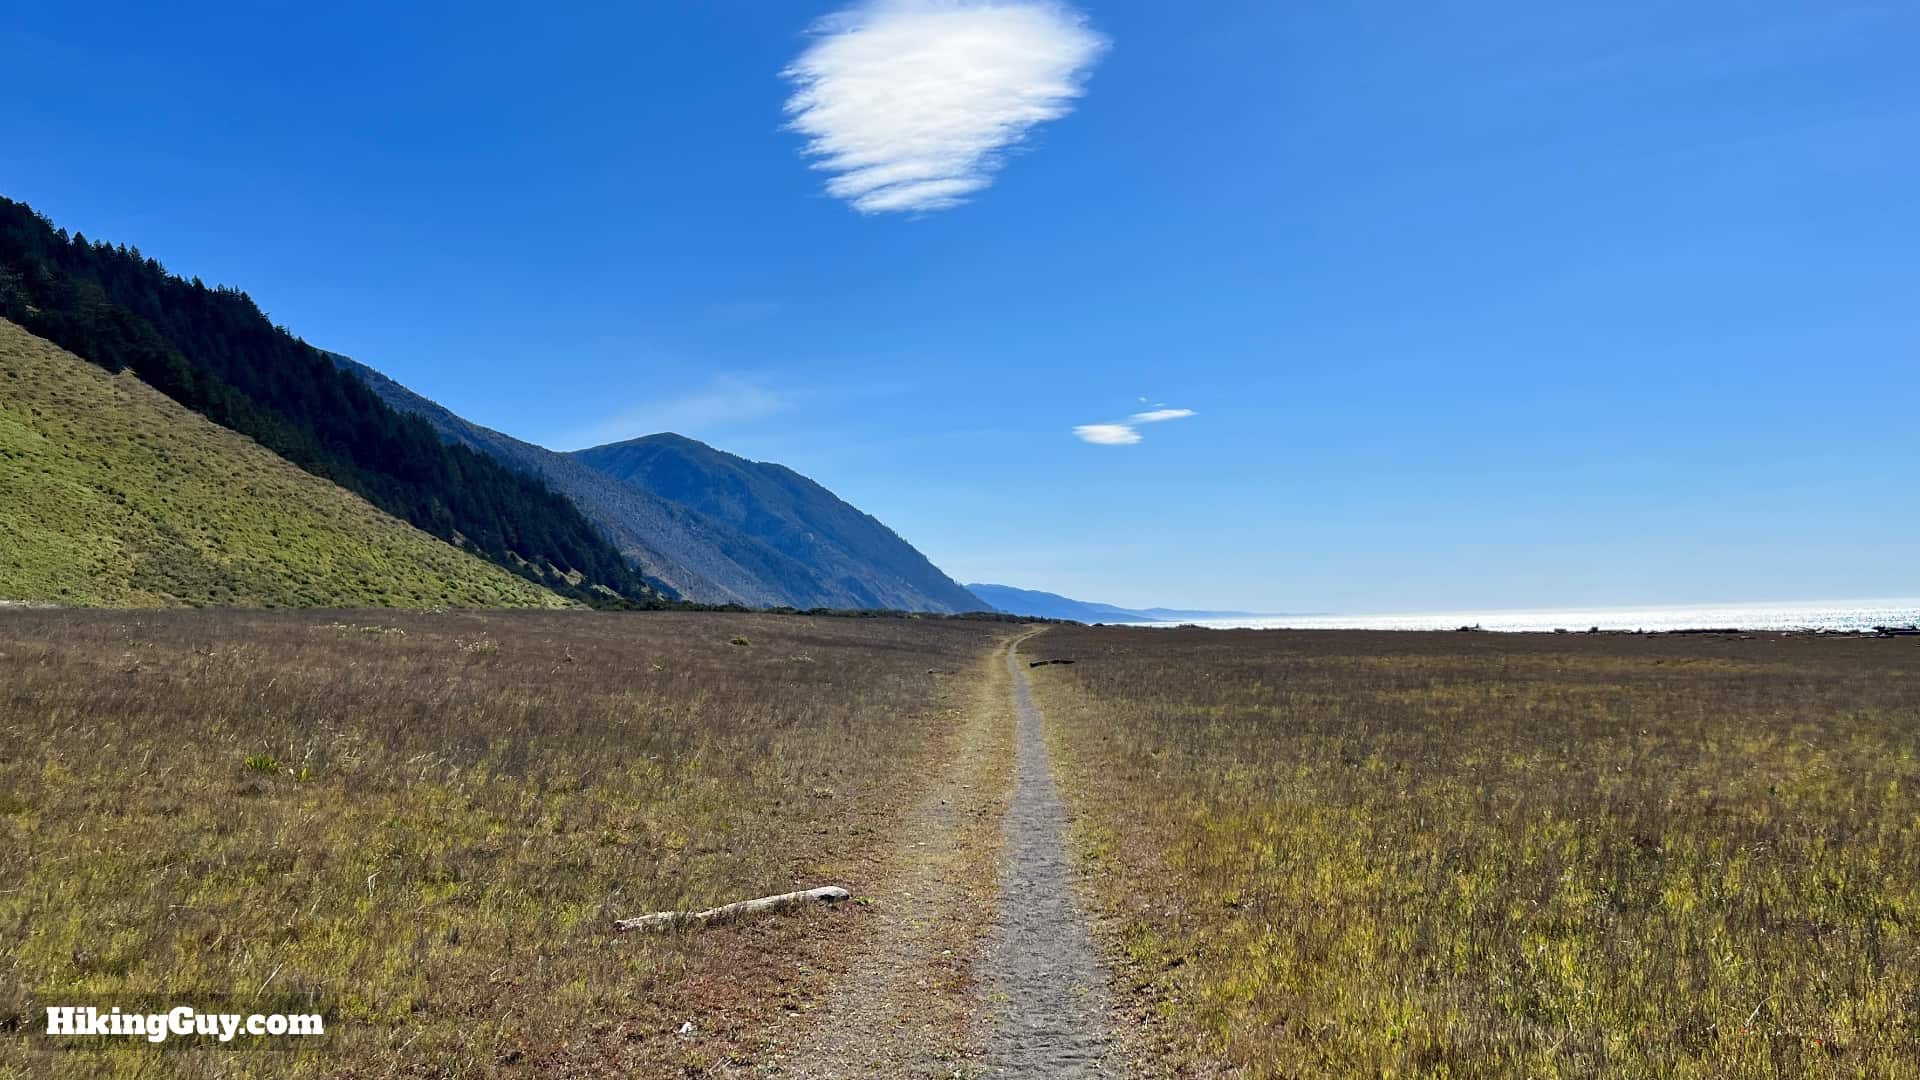
- Although the hike is flat and relatively short, the main challenge is timing your hike to avoid impassable sections of the trail during higher tides. The terrain, which often includes soft sand and rocks of all sizes, can be challenging mentally and requires more effort than a typical trail.
Planning Your Lost Coast Trip

The Lost Coast Favors the PreparedBureau of Land Management
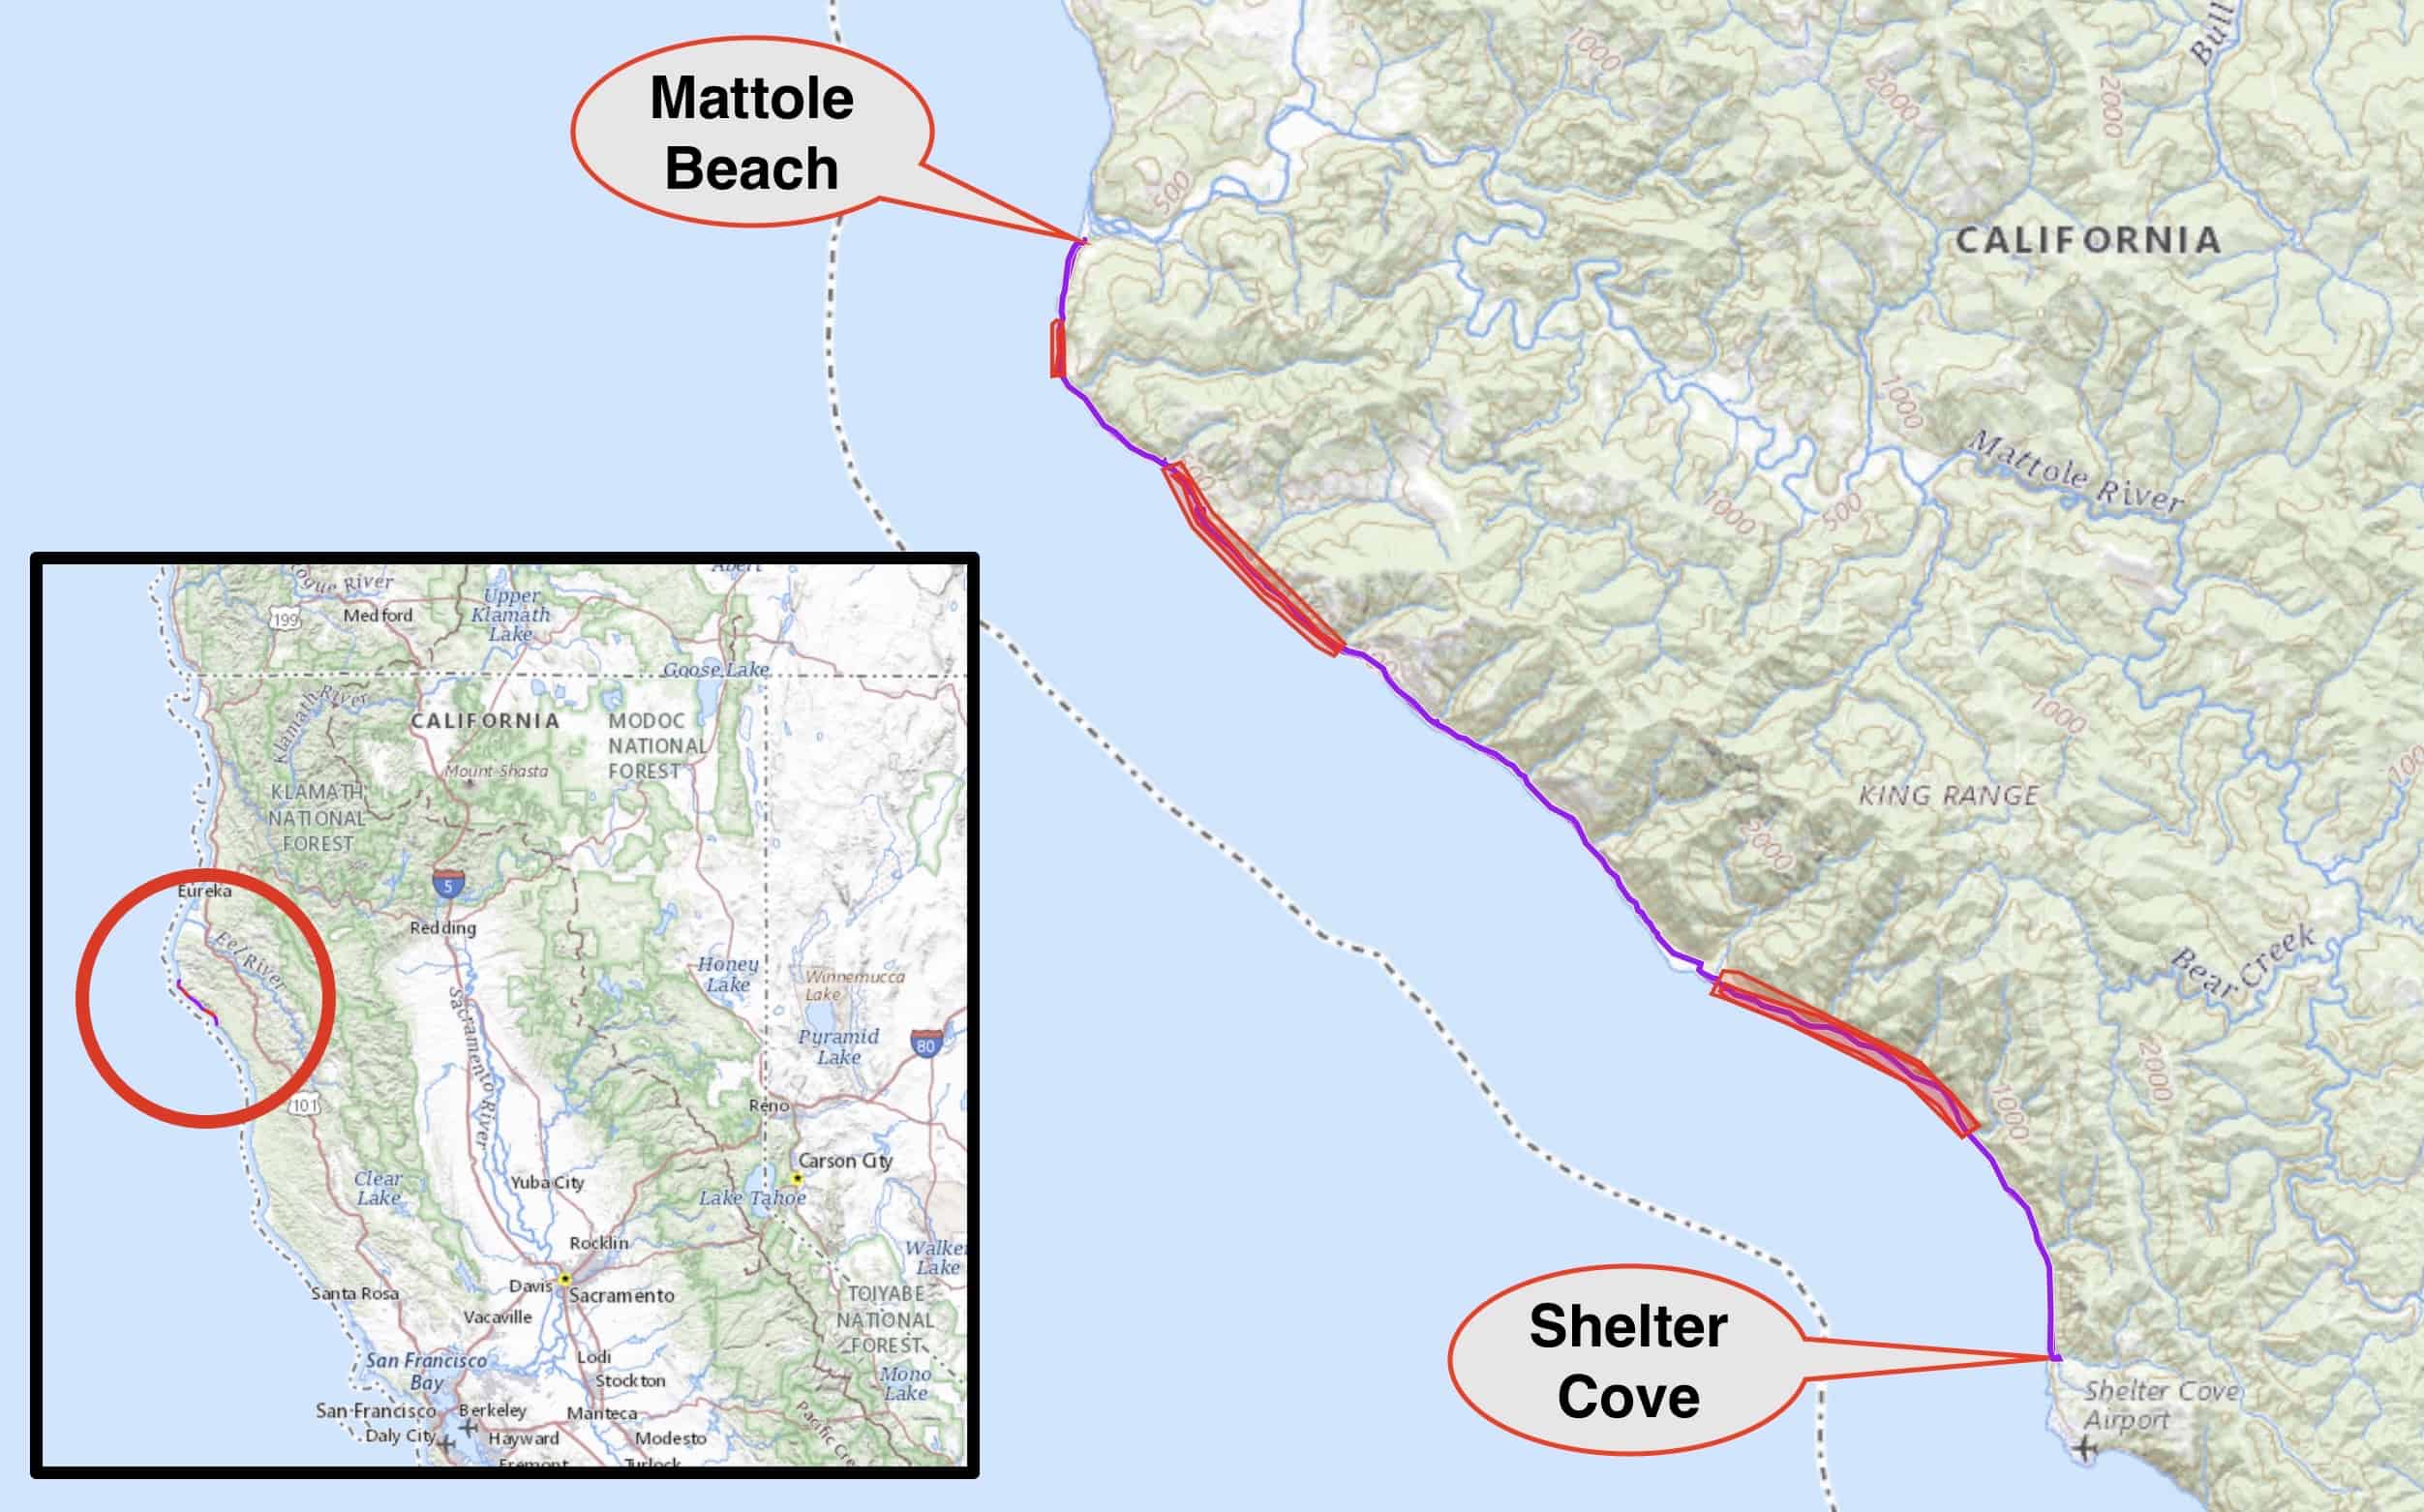
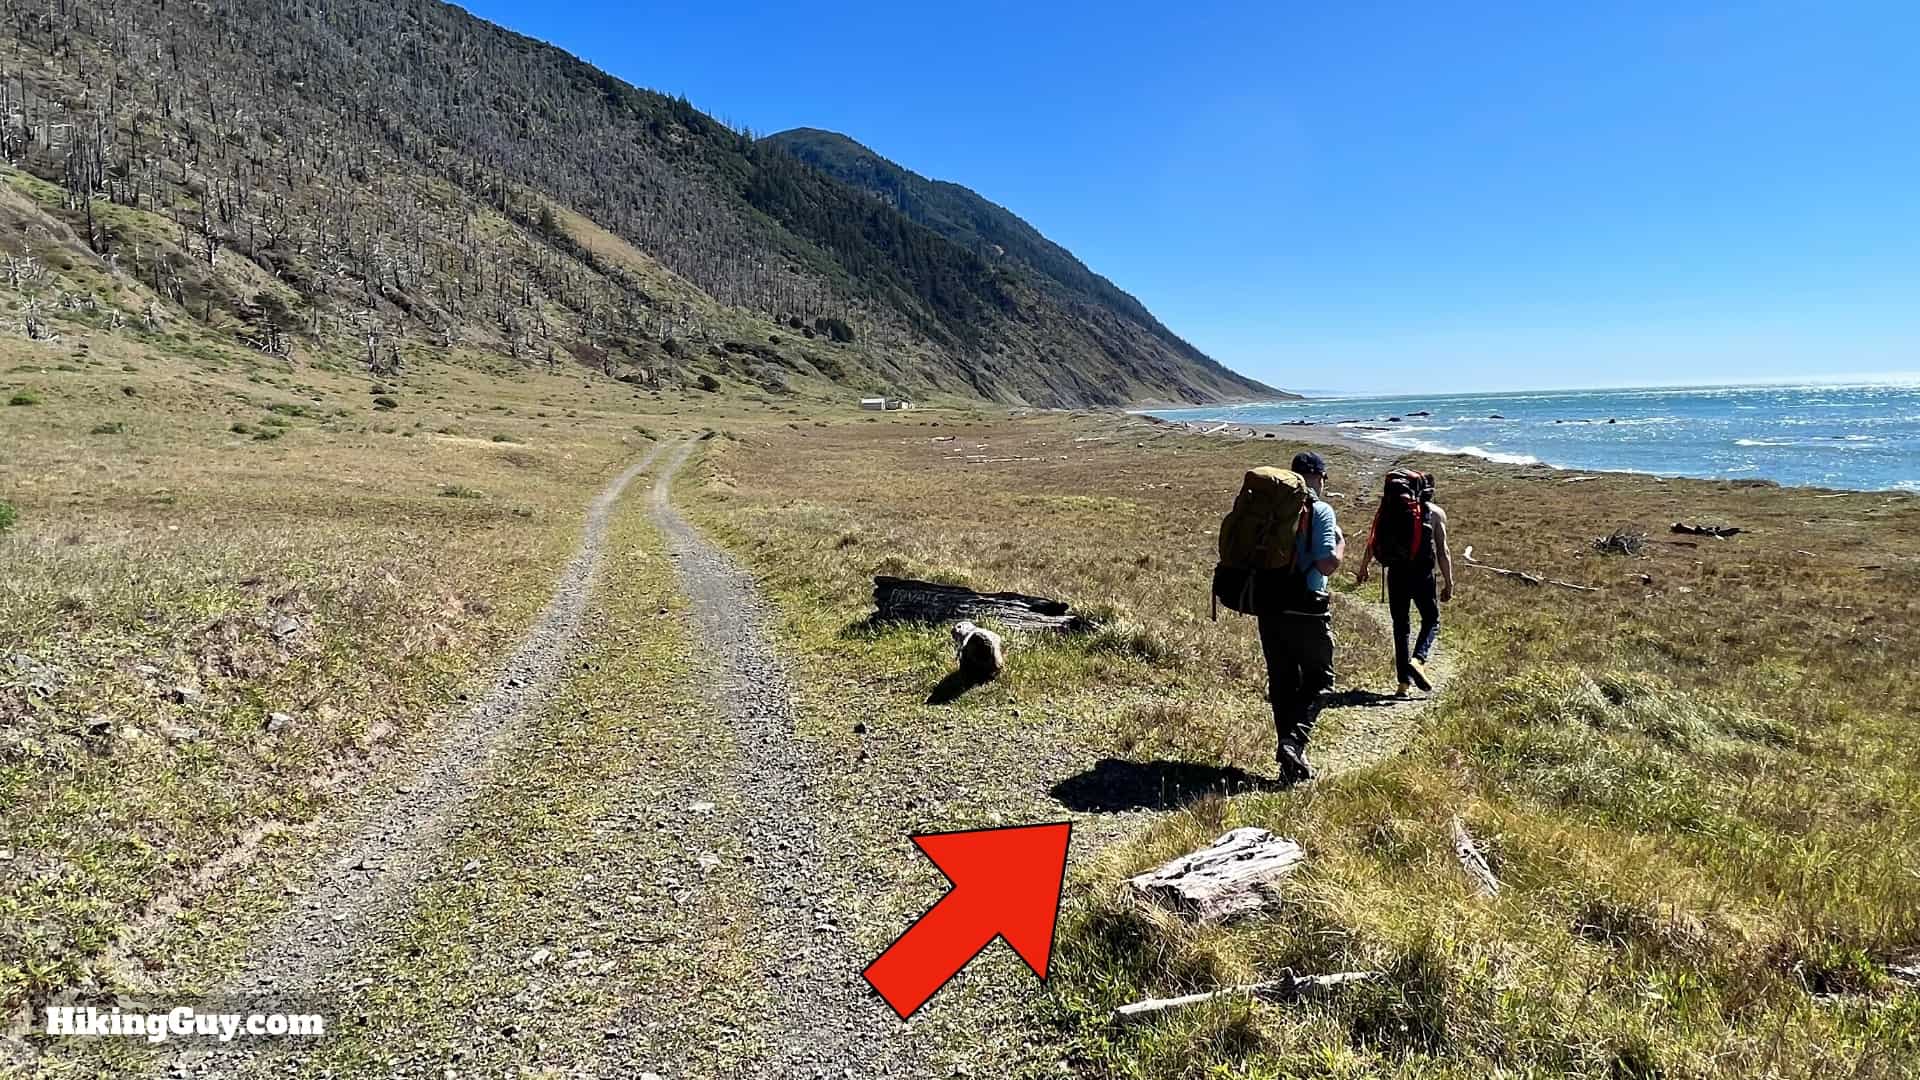
The King Range NCA and Lost Coast have many miles of trails. There are hundreds of itineraries and routes you could put together. There are inland trails (that don't have water) where you could do a loop. There's a southern section of the Lost Coast. And they're all fun. But the classic "Lost Coast Trail Hike" is the section from Mattole Beach to Shelter Cove, which we'll cover here.
- The classic hike is usually done Mattole Beach to Shelter Cove (north to south), which puts the prevalent northwest wind at your back.
- The trip is point-to-point, and the north-south route offers (paid) shuttles to make the logistics easier.
- Expect to hike slower than your usual pace because of the terrain. If you usually backpack at 2.5mph, you'll probably average around 1.5mph in the soft sand and cobbles. Rain and challenging weather can also slow you down. Planning on doing 50% of your average pace is smart.
How Many Days Do You Have?

First off, pick how long you'd like to take for the hike. Since this hike is so remote and difficult to line up, I'd recommend spending as much time here as possible. Here are my recommendations.
- If you have the time, take 4 days and take it easy. This is a leisurely itinerary that involves a few hours of hiking per day, and then plenty of time to relax, explore, and soak it all in.
- You can get by on 2 days if that's all you have and if the tides cooperate. Plan on two full days of hiking without a shuttle ride. Usually a two-day trip involves camping at Mattole Beach campground the night before and getting an early start on day one.
- 3 days seems to be the sweet spot for most people. It gives you a half day to travel to Mattole Beach and then hike for a few hours. The next day you do a full day of hiking, and on day 3 you arrive at Shelter Cove in time to travel back out.
When Do You Want to Go?
The "season" on the Lost Coast is April to September. During this time the weather is often dry and the temperatures are warm. And although it's easier to bag a permit (there are 60 persons allowed per day from May 15 to September 15), it's still very competitive to get a slot.
The off-season conditions on the Lost Coast are tougher. The weather can be stormy, the temperatures can go down to freezing, and there can even be light snow on the mountains above (but not on the trail). Occasionally after heavy rains the stream crossings are impassable. If you really want a challenge, attempting the Lost Coast Trail when it's raining, with above-normal tides, and temperatures in the 40Fs has got to be up there. There are also only 30 persons allowed per day on the Lost Coast Trail from Sep 16 to May 14.
A sweet spot can be the shoulder seasons, which in today's climate often have summer-like conditions. Mid-March to May 15 and September 16 to November 1st can be great options.
Note that whenever you visit the Lost Coast Trail, the weather can be horrible. This is a marine environment where the weather can be finicky. No matter how much planning you do, you can't control the weather.
Planning For the Tides
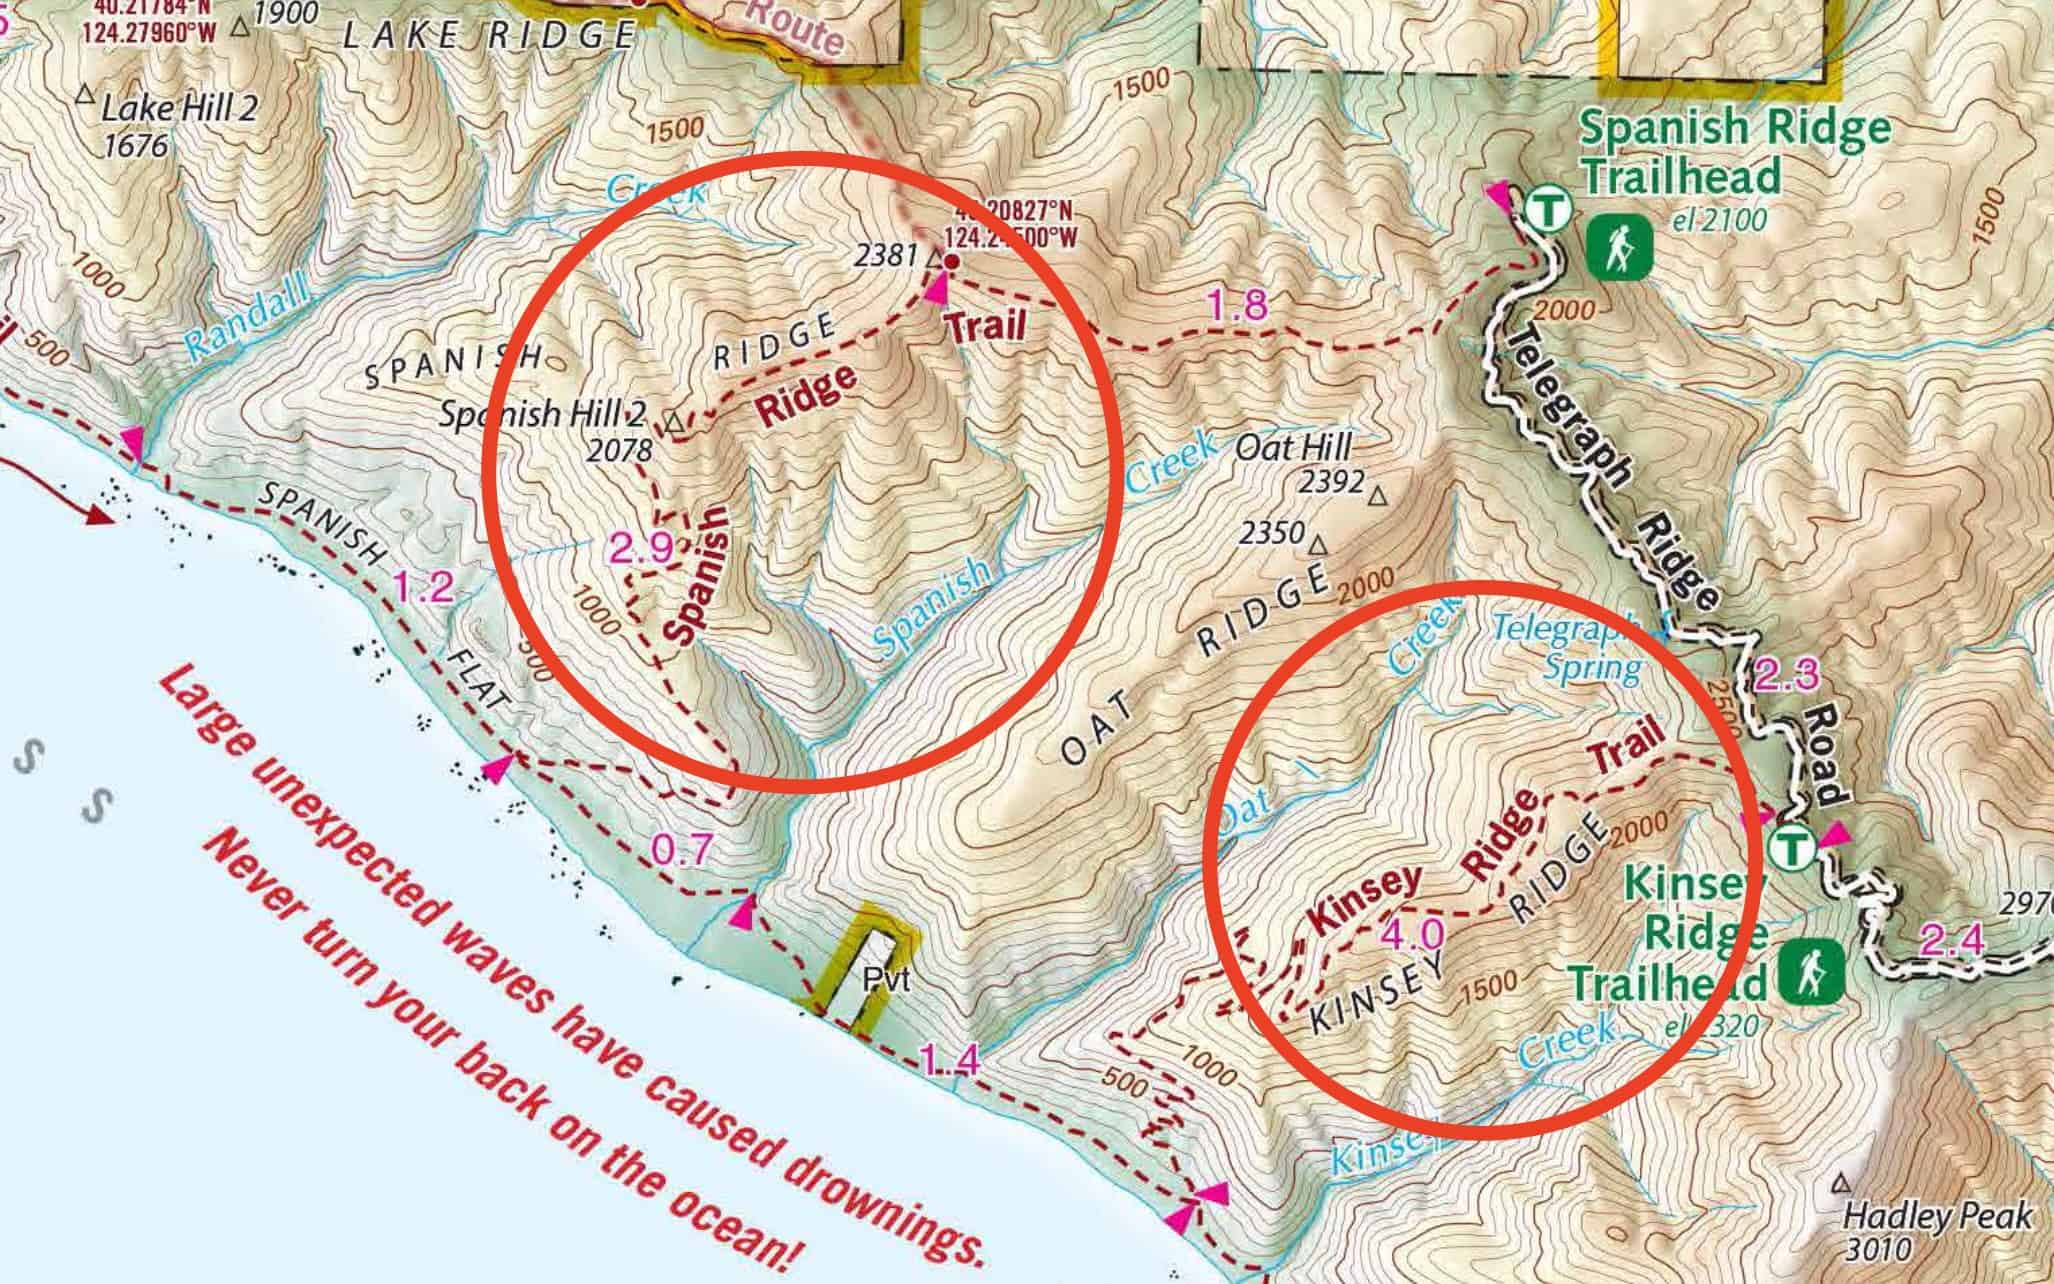
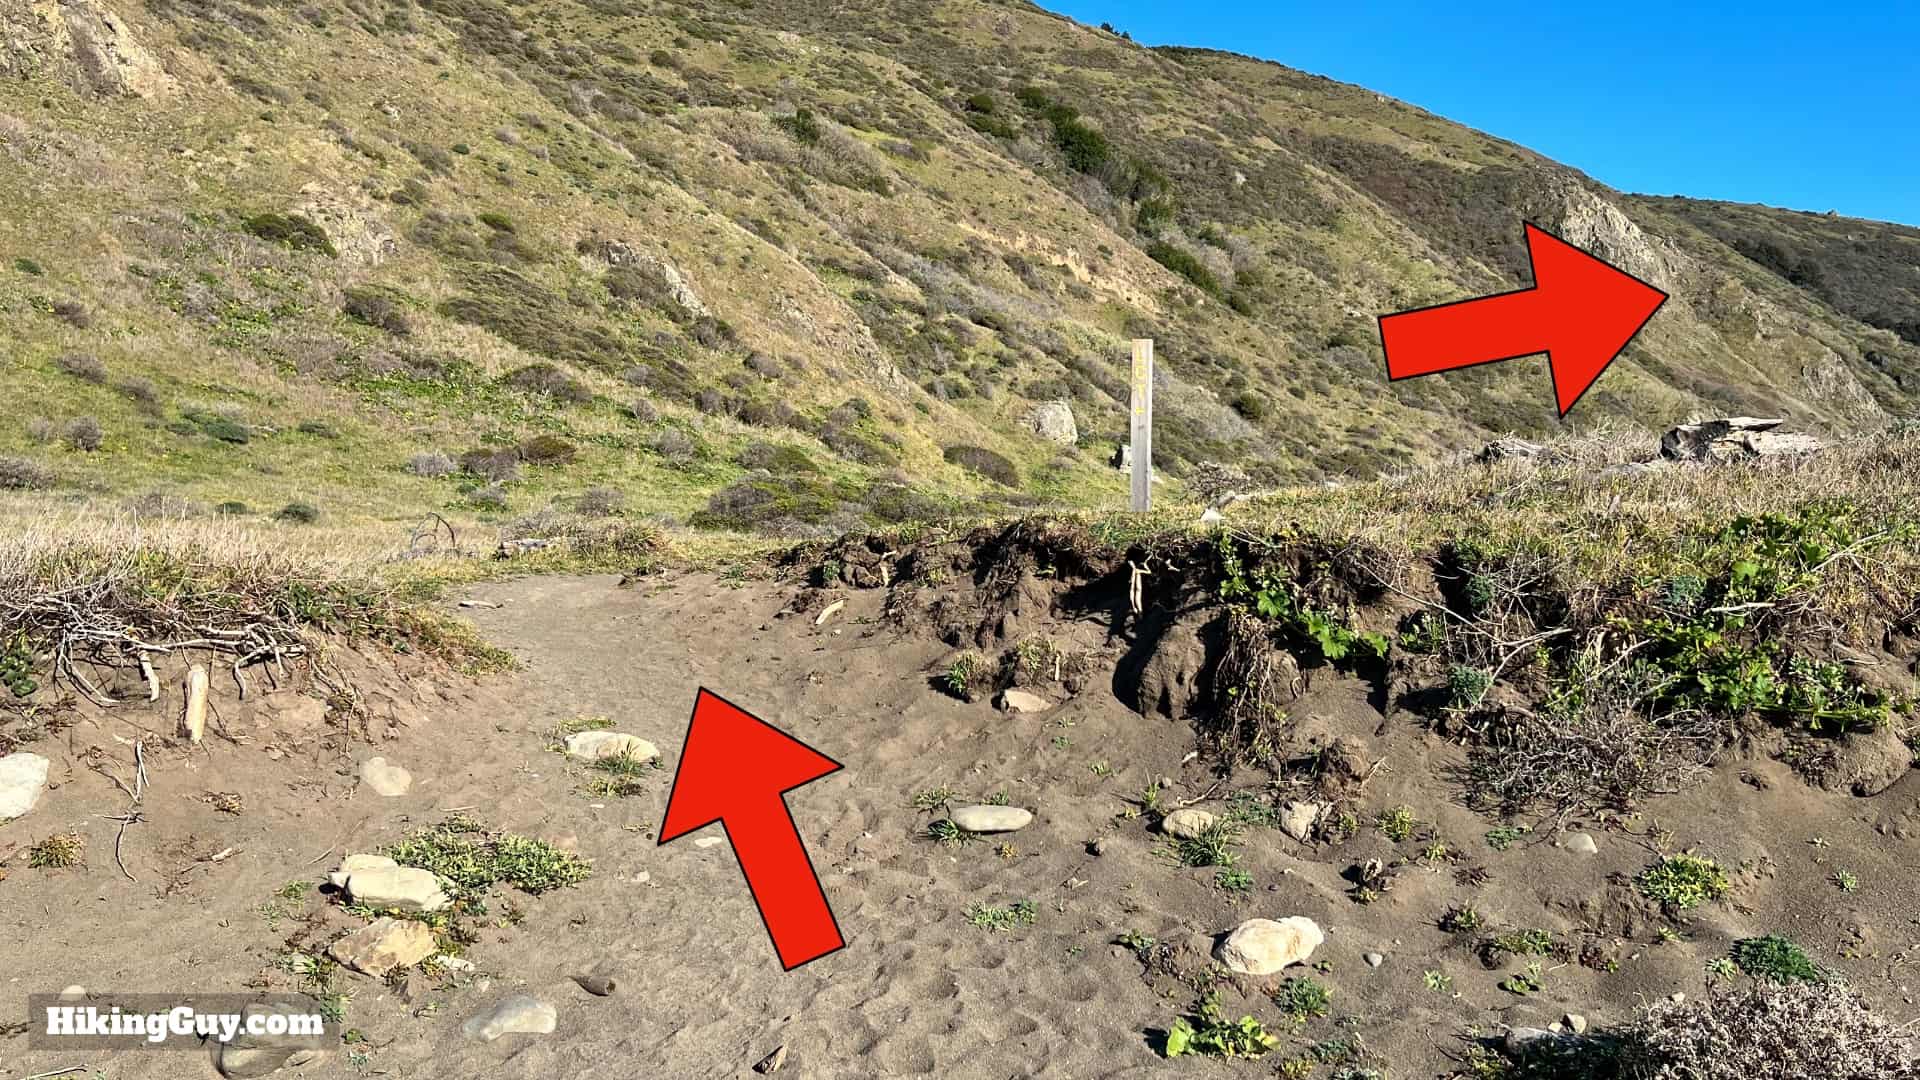
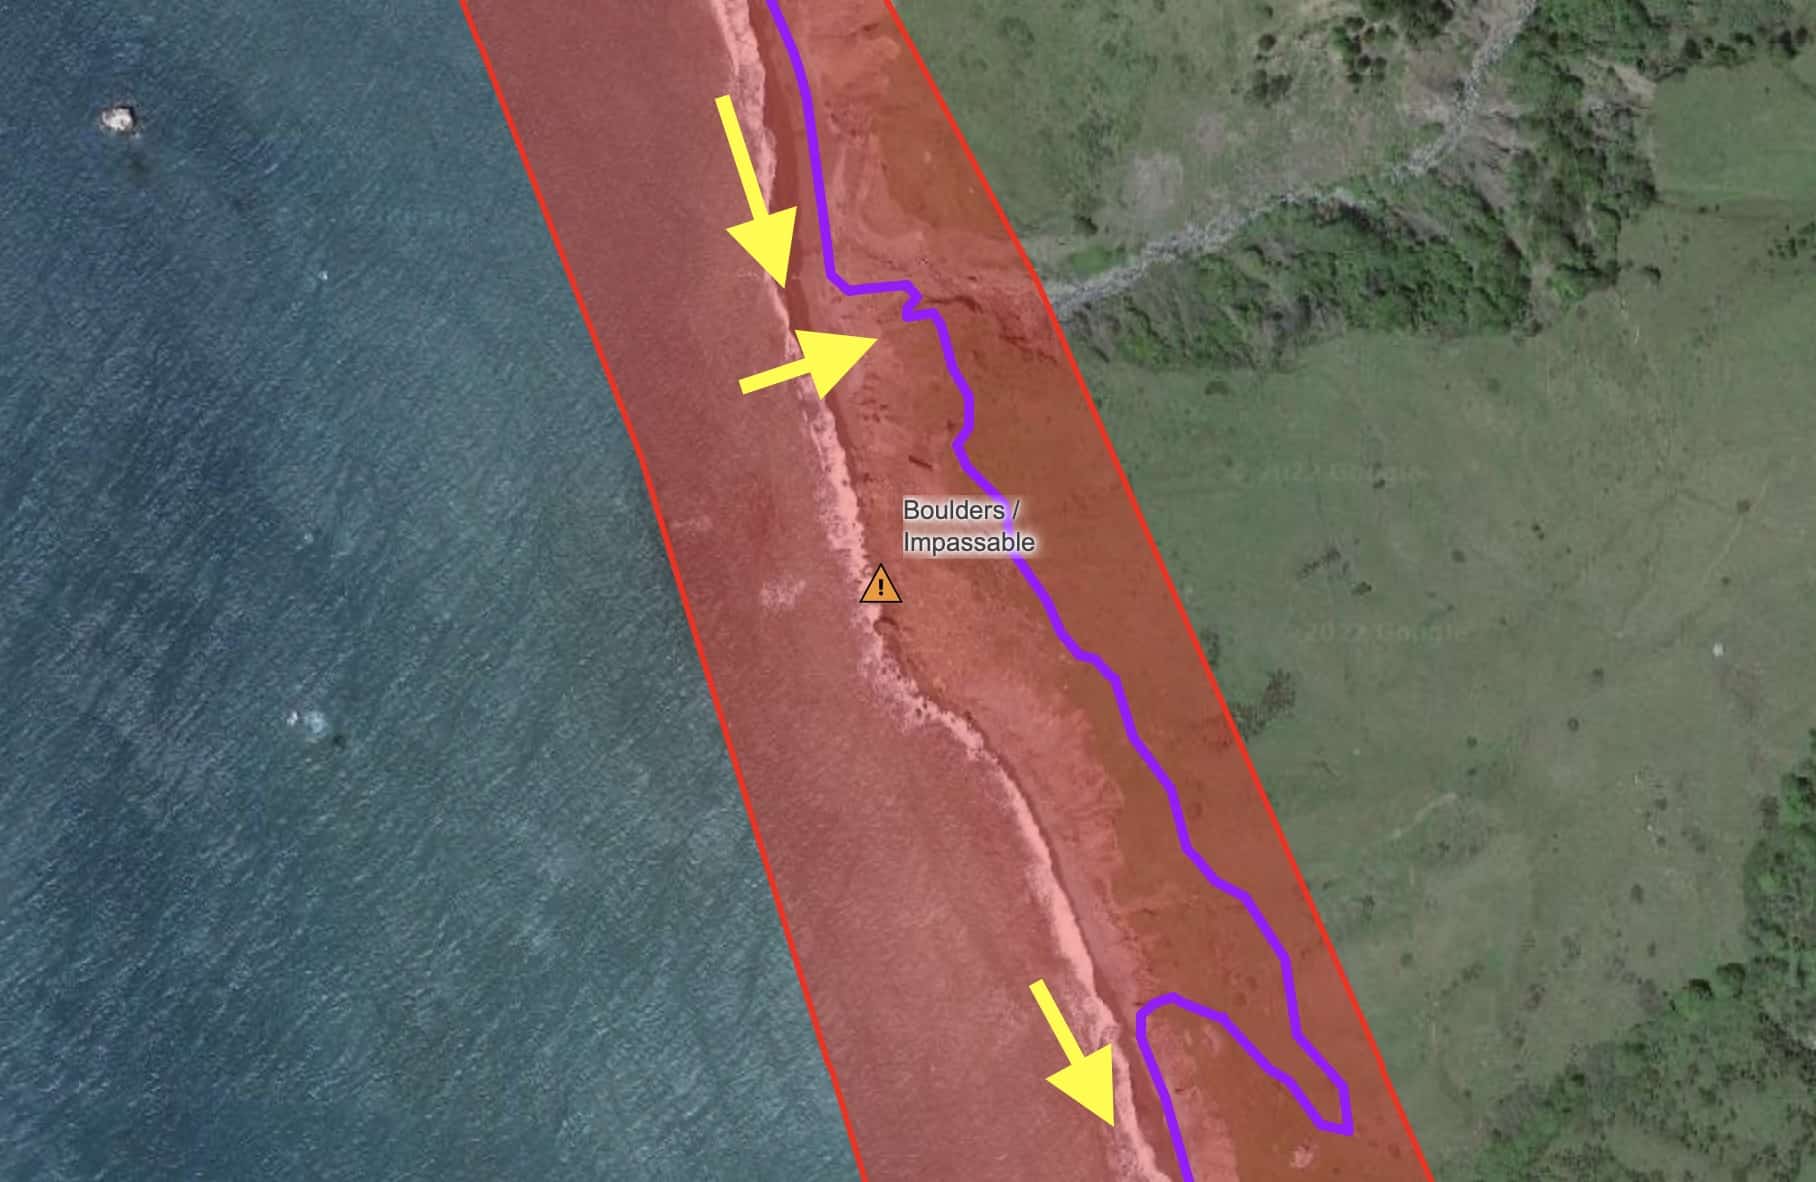
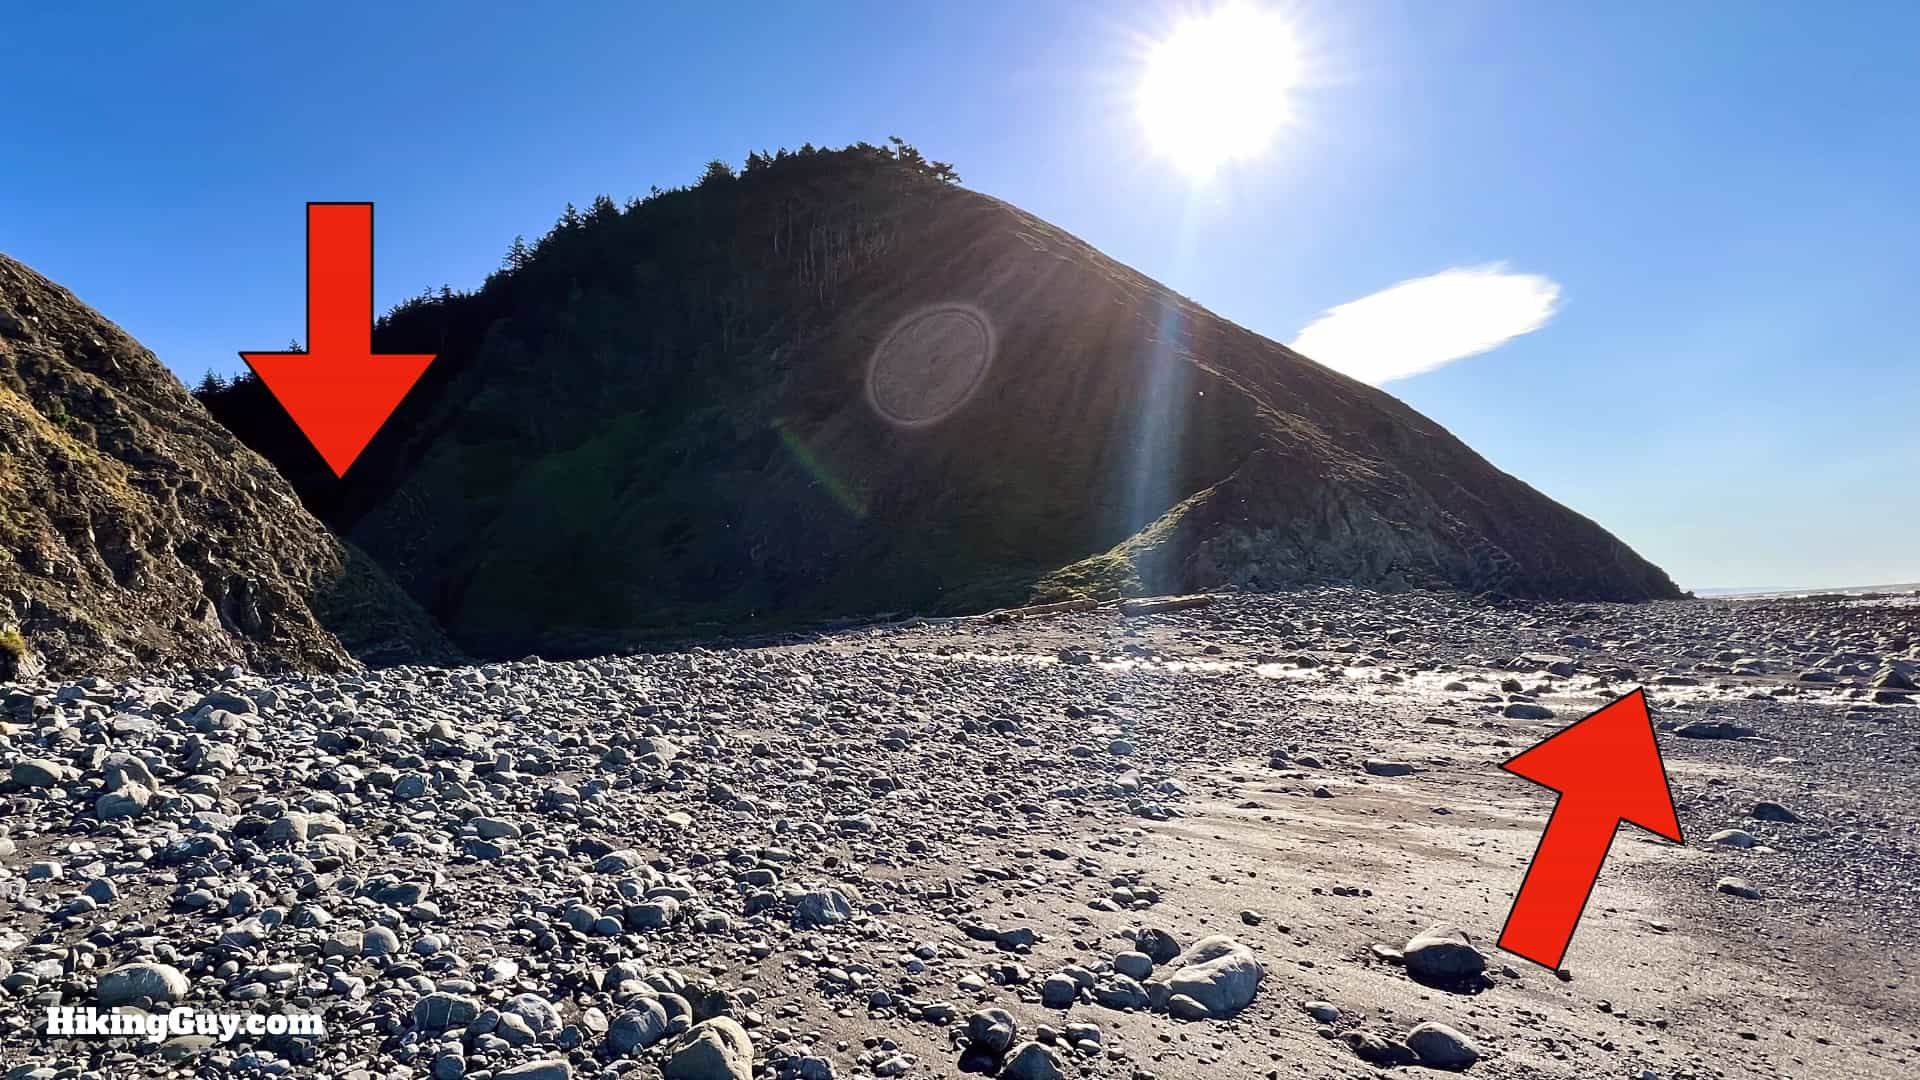
After you pick the dates you want to hike, you need to make sure that the tides will allow you actually to hike on those days. There are three "impassable zones" along the Lost Coast Trail that you can only cross when the conditions are right.

To figure out when the tides are low enough to cross the zones, go to the NOAA website for Shelter Cove tides. Put your dates in, and then enter "3" in the "threshold value" box, and press "plot daily." We're entering 3 for 3 feet, which is considered the maximum tidal height to cross. Anything below 3 and you should be good. You'll get something that looks like this.
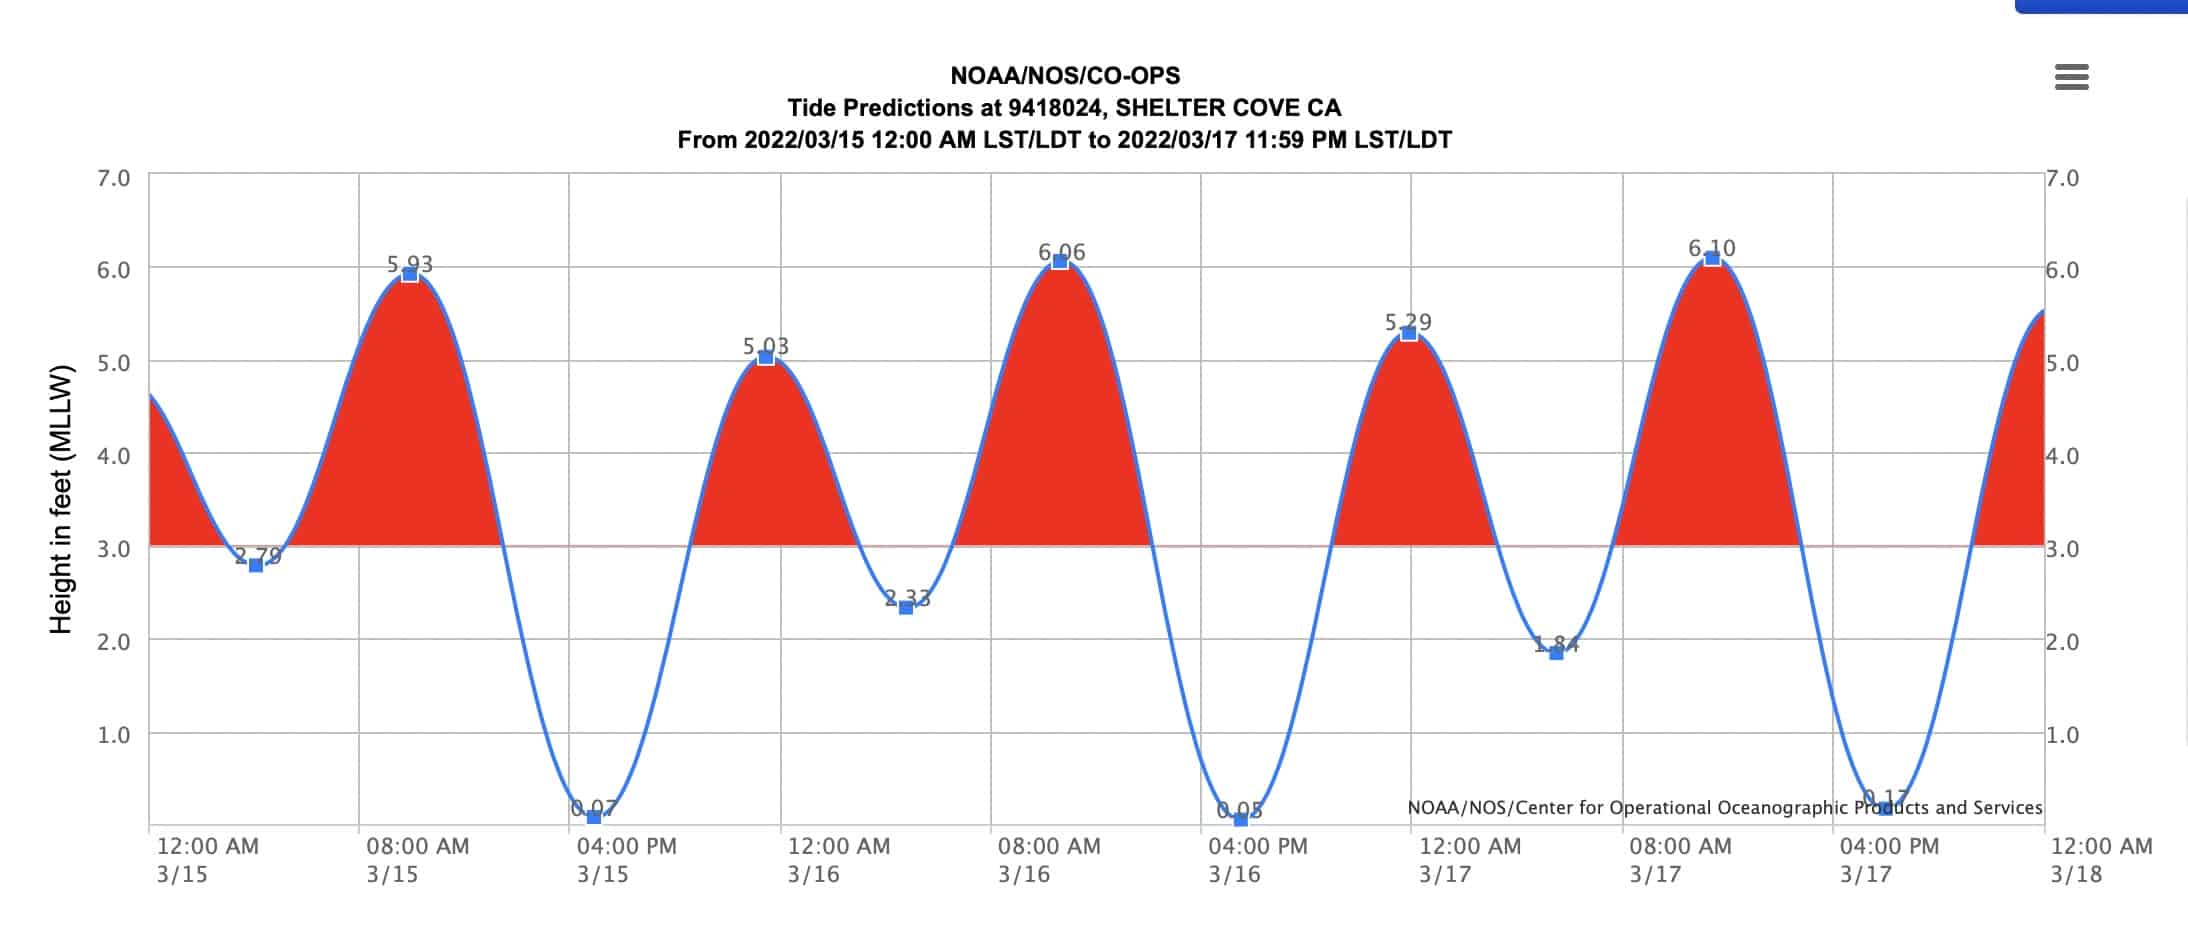

There's a handy-dandy new tide planning tool on the website that can snag you permits.
Hikers have died in the tidal zones. If swept in the water, you will have a maximum of 20 minutes before you go hypothermic, have the clothes ripped from your body by the strong currents, and get battered against the sharp rocks. Bodies from those swept to sea are rarely recovered.
Plan a Rough Itinerary
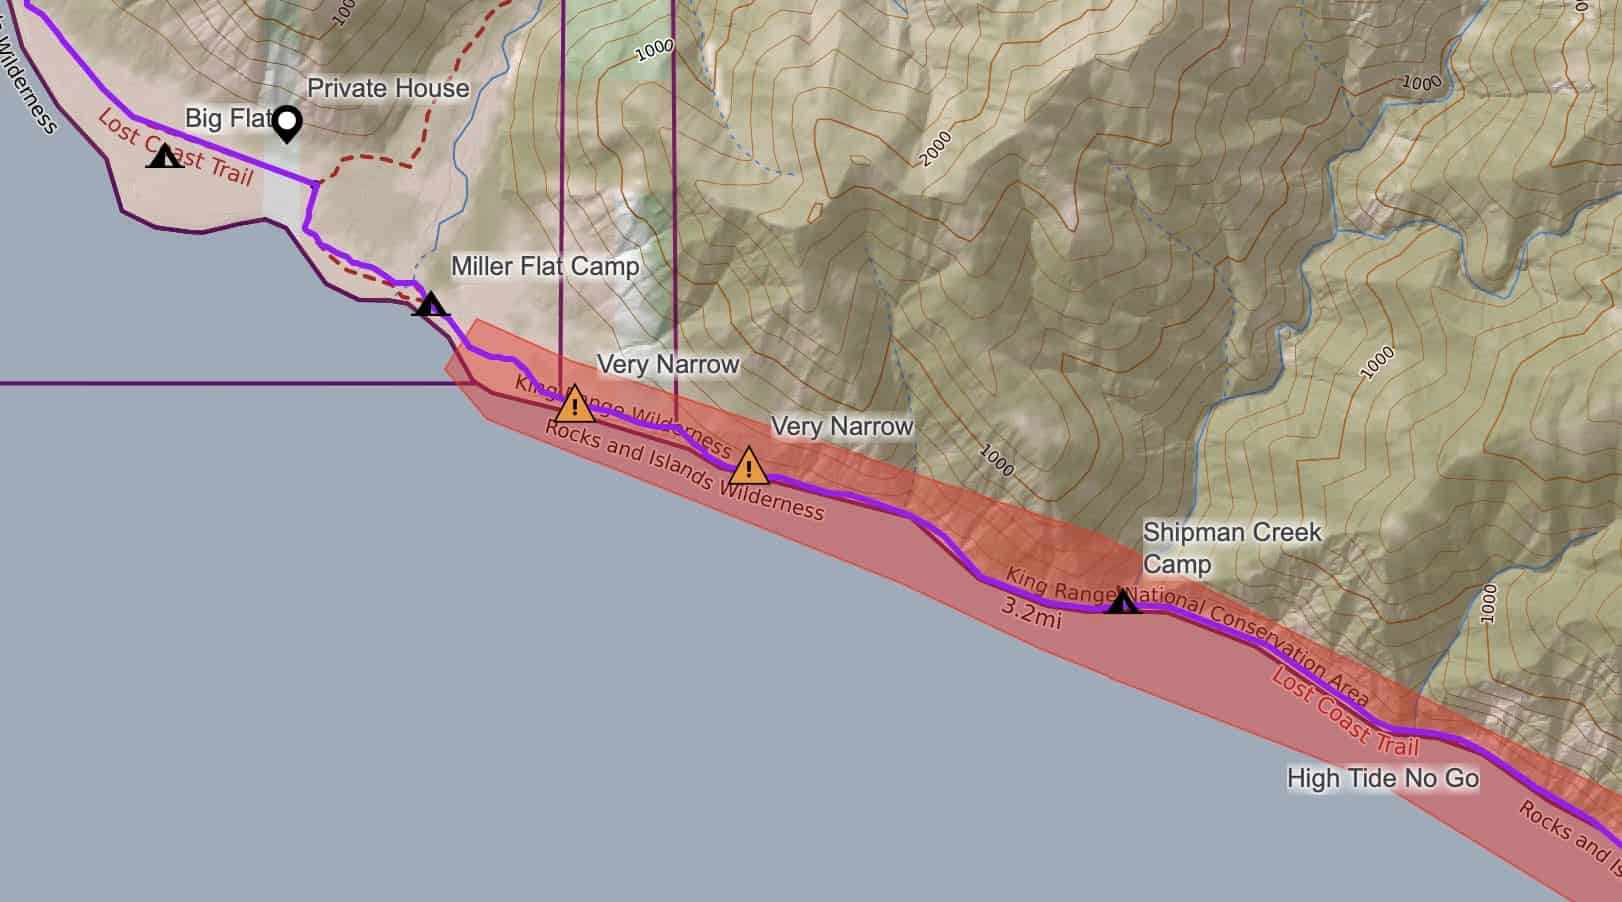
Once you have your dates and know the tides, it's time to plan a rough itinerary along the route. There's an interactive map below with the impassable tide zones and campsites that you can plan with. The nice thing about the Lost Coast Trail is that there many options for camping. The campsites are all primitive and usually have several flat clearings for tents and maybe a fire ring. Outside of the marked campsites you can camp on the beach (where it's safe from tides) or on any flat that isn't private land (more later). Which campsites are the nicest? You can't go wrong at any of them.

Permits
Alright, by this point you have some dates, you know where you want to hike, and you have an idea of the challenges. So know you can get a permit. Well, hopefully get a permit.
You can only get a permit online at Recreation.gov. As of October 2023, permits are released on a rolling 3 month basis. I've never had a problem getting the dates that I want if I go on the website very early when permits open up. The King Range Visitor Center will also sell one walk-up permit, good for two people, each day. I wouldn't plan a trip around that though.
The maximum group size is 3 people. If you have more than 3 people, you need to get multiple permits.
You can also check the website anytime for random open slots. Don't expect any in the high season, but you can usually find a few in off-season. And if you have a reservation and can't make it, be kind, go online and cancel your reservation so that it opens up for others.

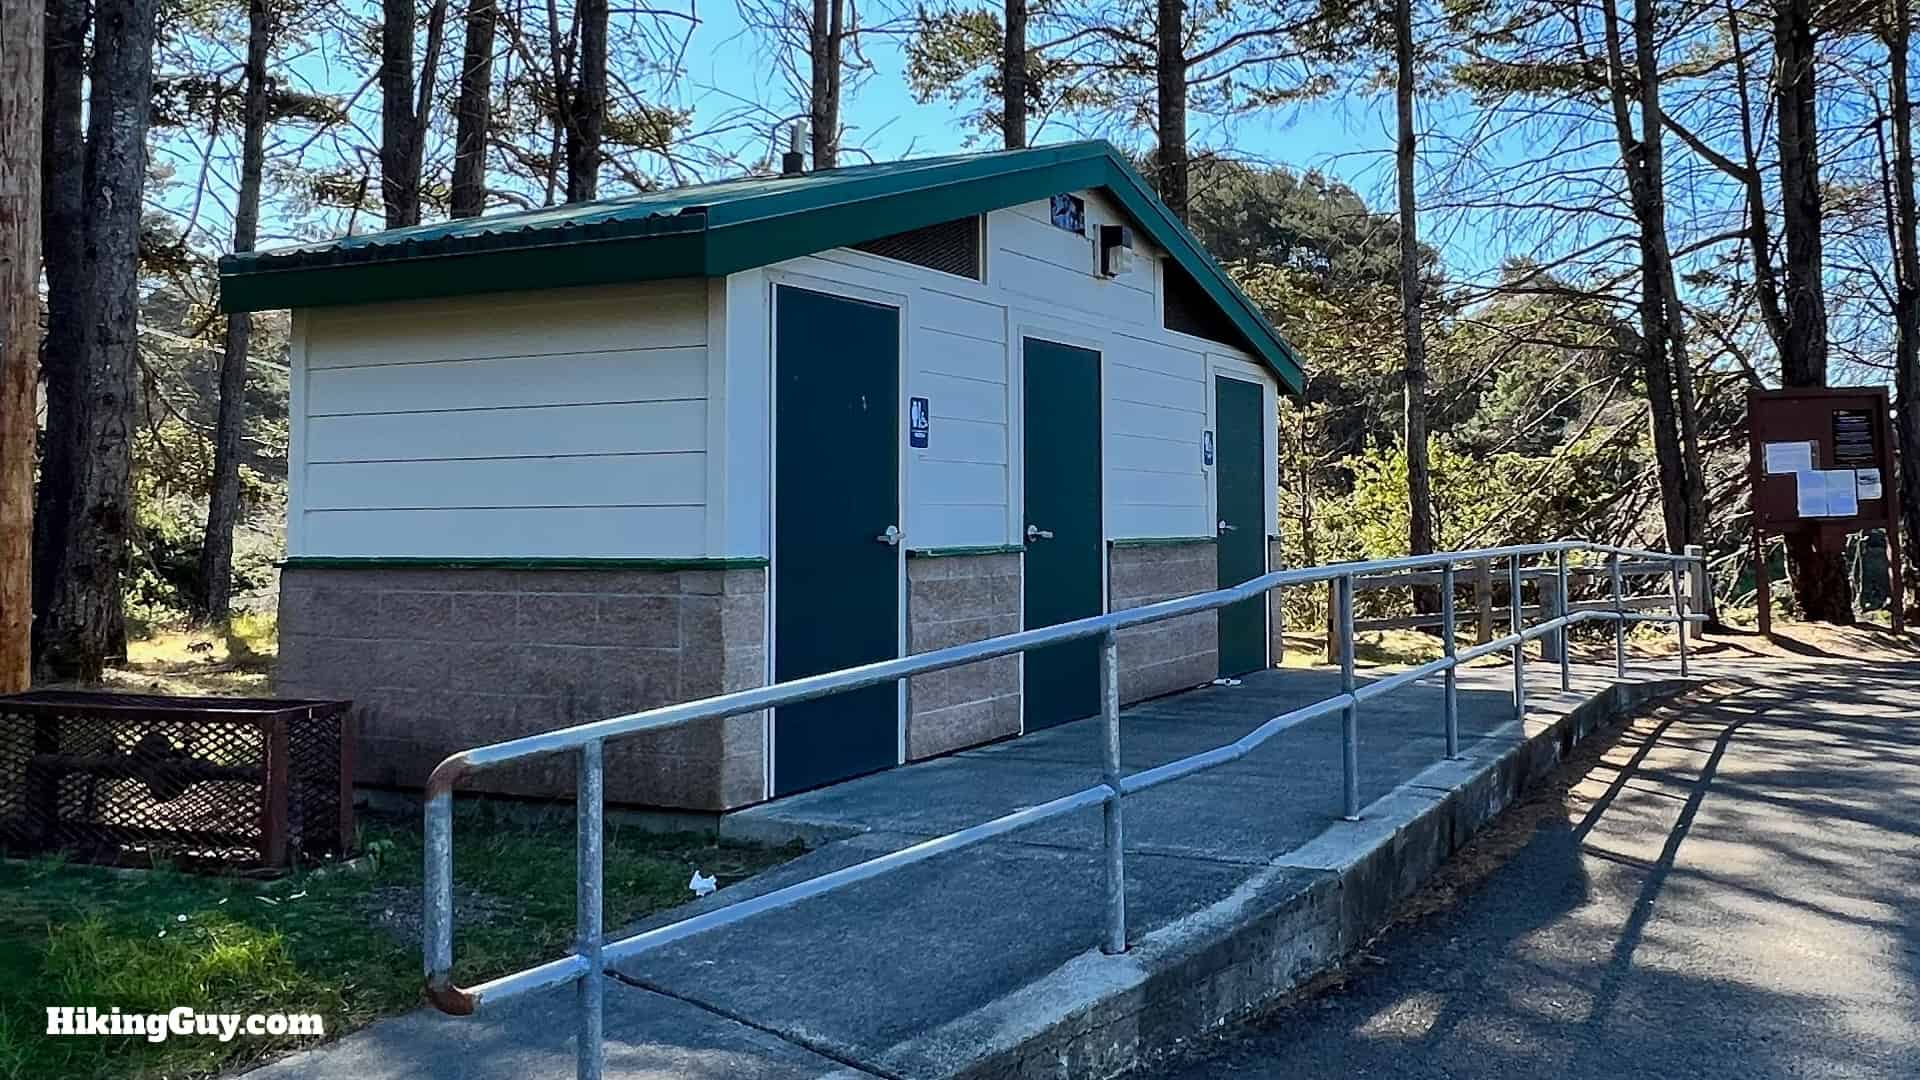
There is no formal check-in with the permit, but you will occasionally find rangers waiting at the shuttle drop at Mattole Beach to check permits. I've also heard of rangers doing permit checks at the Shelter Cove / Black Sands Beach parking area for backpackers. If you are doing a day hike on any stretch of the Lost Coast Trail, you do not need a permit.
Getting to the Lost Coast Trail
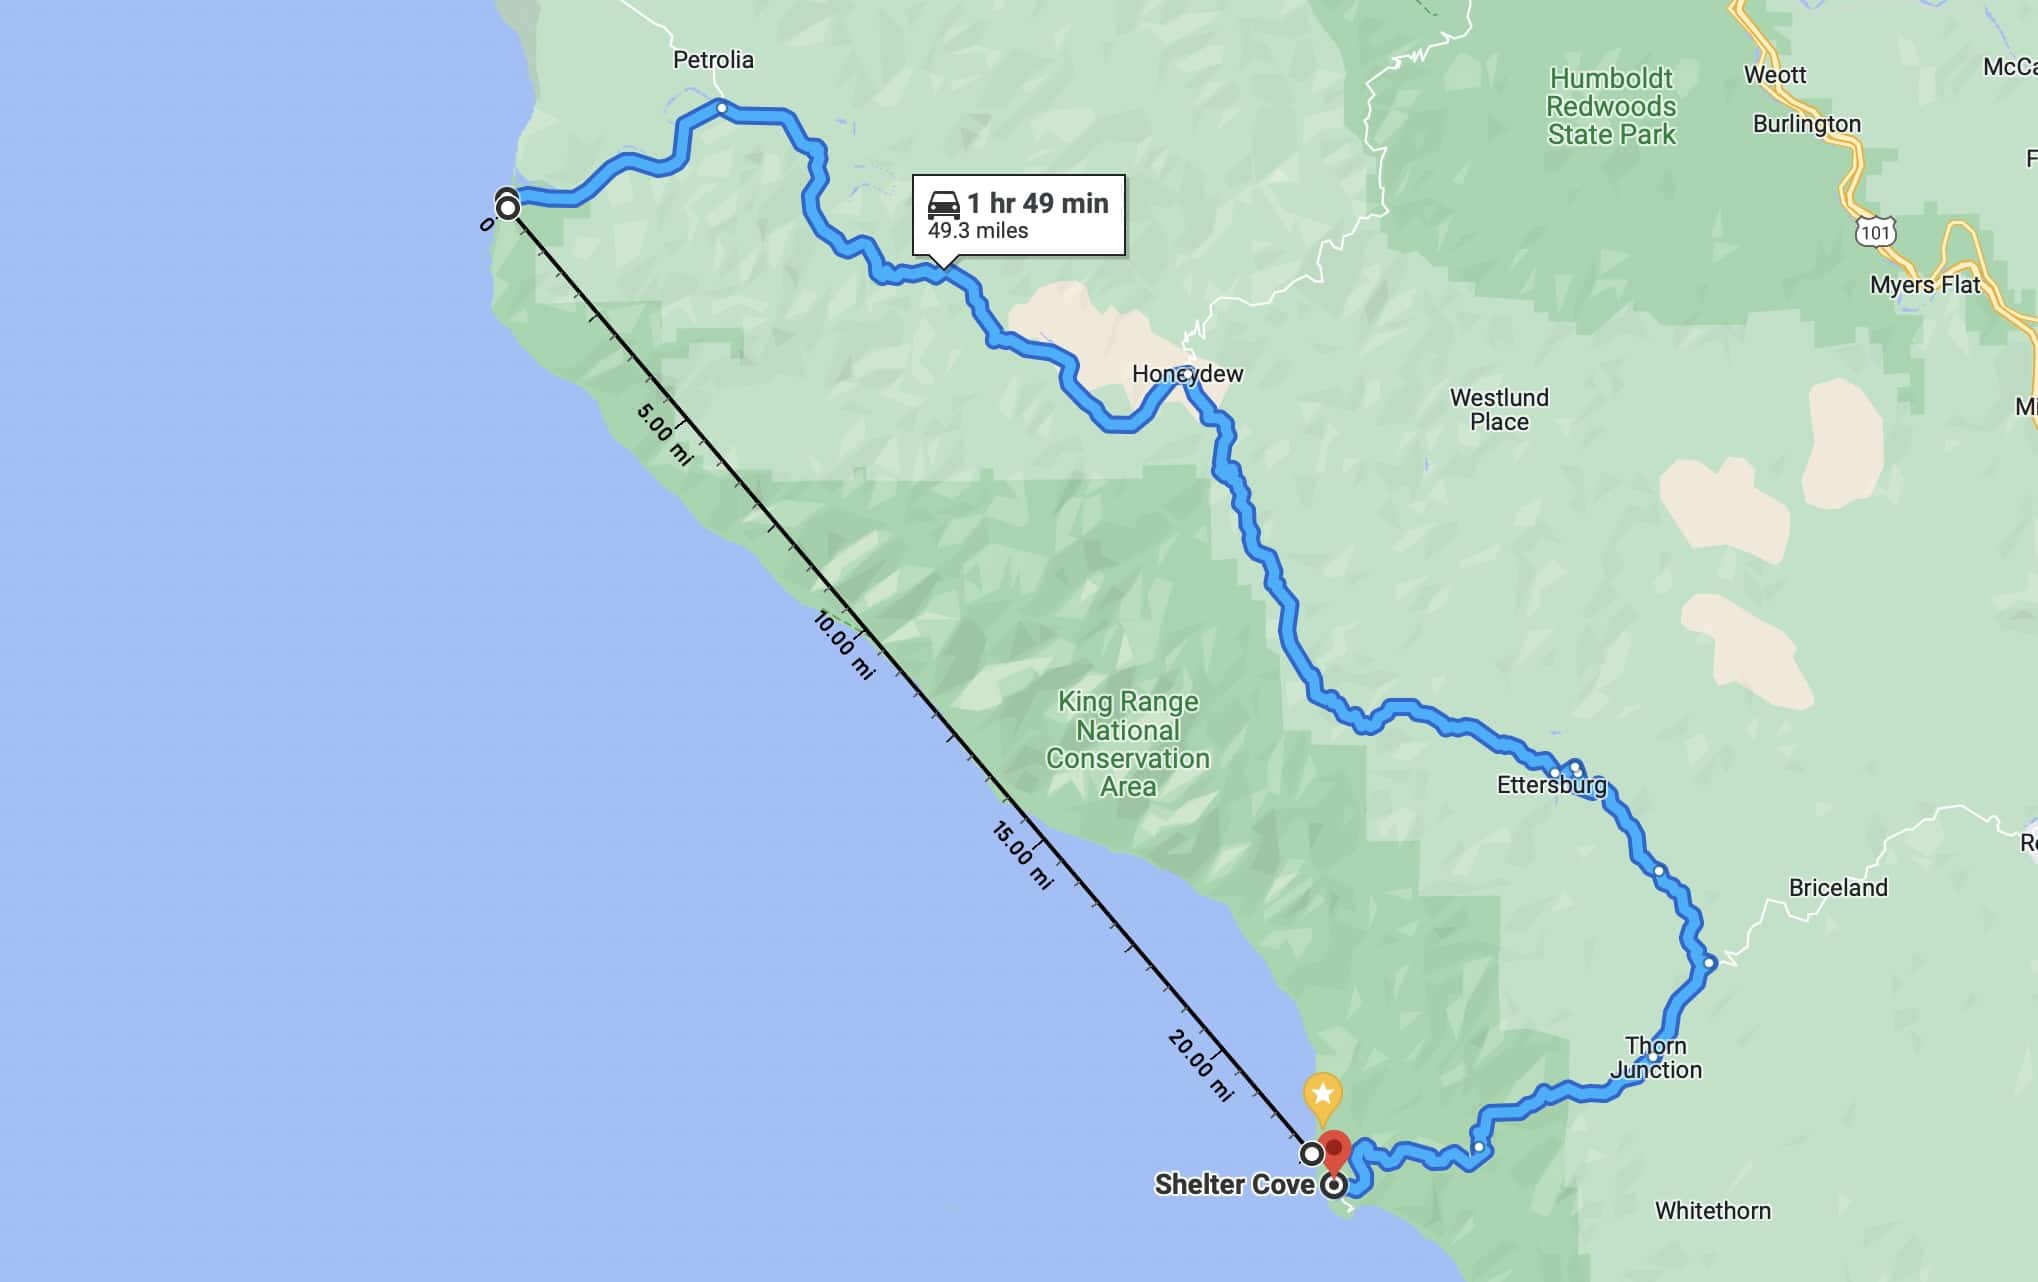
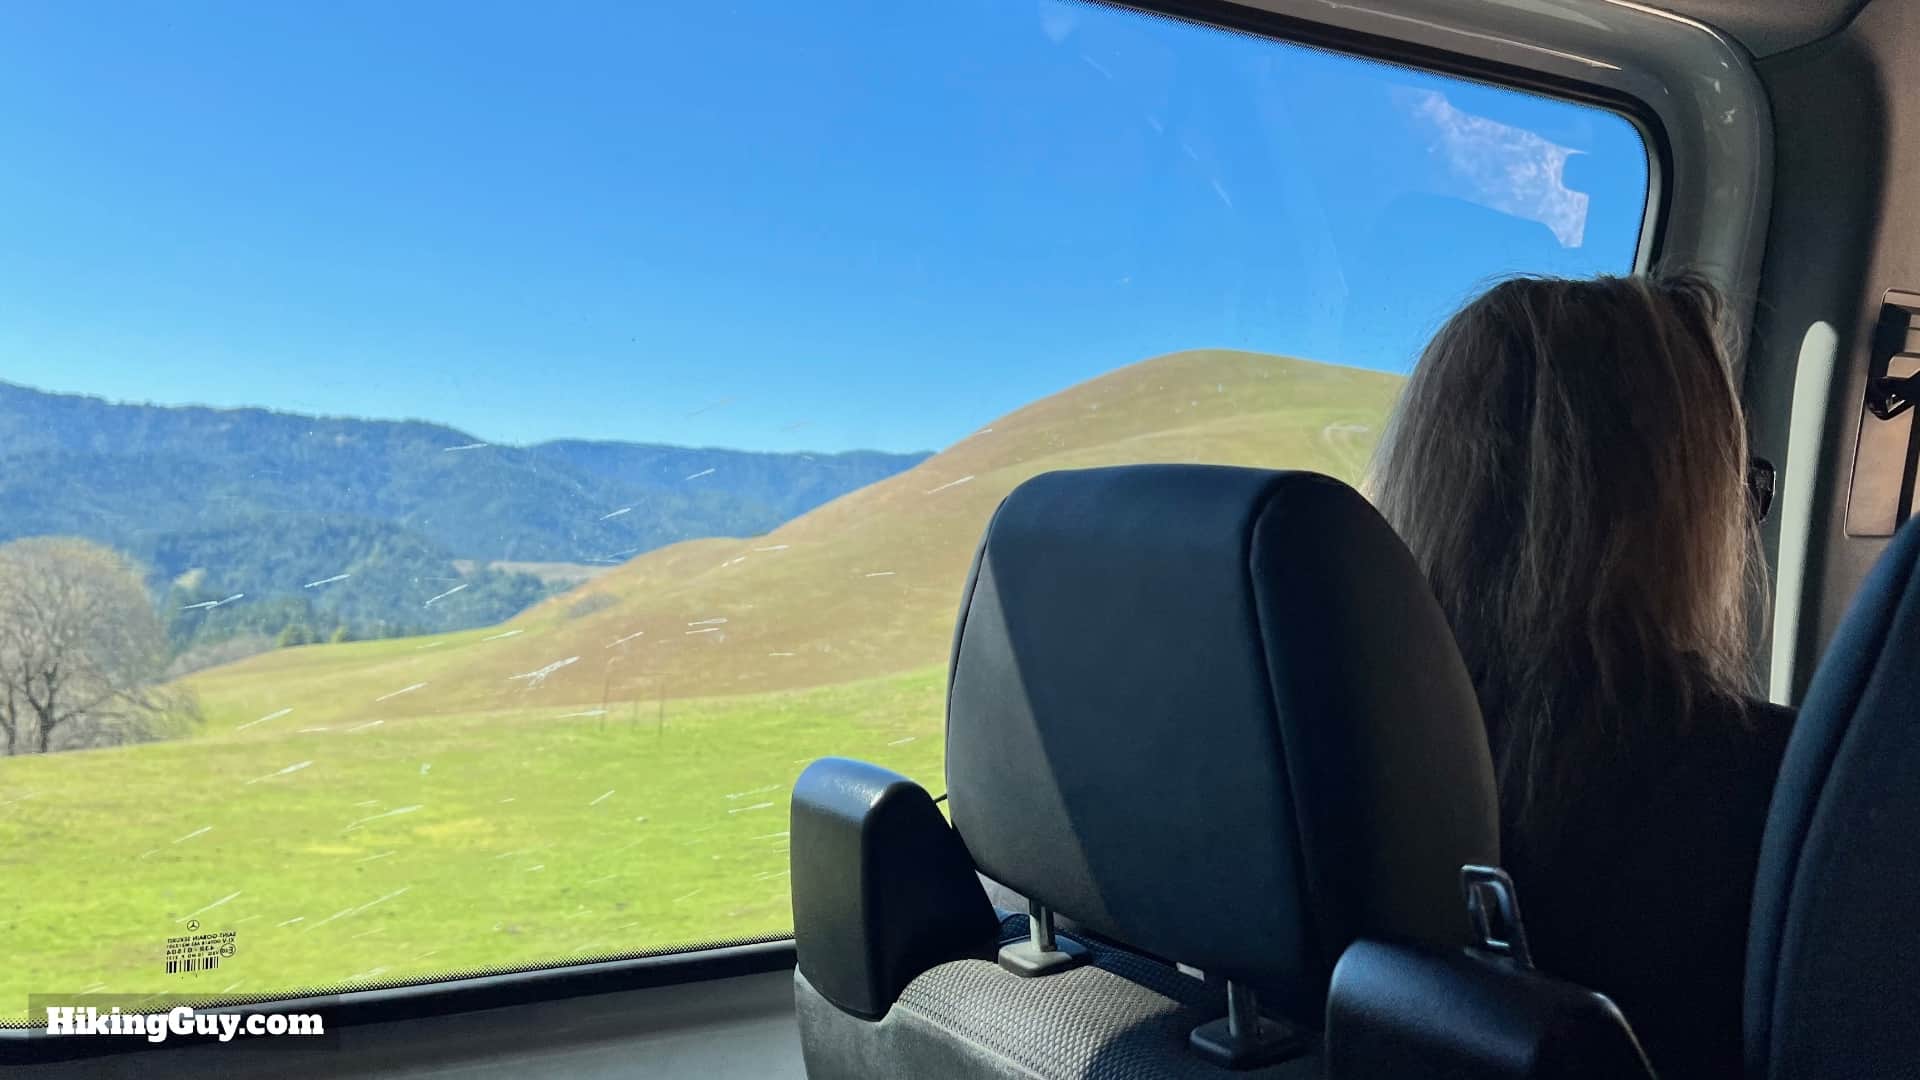
When you have your permit, you'll need to book your travel. The Lost Coast Trail is remote; even the trip to the trailhead is a challenge. Unless you live close enough to drive to the trailhead, you'll probably be flying in and renting a car.
[caltopo link="https://www.google.com/maps/d/u/0/embed?mid=10D5WG8okQmRkRKpgcfzB9kPKYY-g19Q_&ehbc=2E312F"]
Guided tour groups generally do their pickups from Sacramento Airport because they have decent airline service and are away from Bay Area traffic. Your best flight options will be into San Francisco (SFO), but you might have to fight through some traffic on an already long drive. The other airports in the area are all small with limited service and limited rental car options. The closest airport, in Eureka, is known for fog. In fact, the Navy built that airport specifically to test conditions for landing in fog. And even Eureka is still two hours away from Shelter Cove.
If you are going to overnight before or after the hike, I highly recommend staying in an inn at Shelter Cove instead of some of the other farther away options. Shelter Cove is a quiet little town perched next to the ocean where, as one local says, “no one comes here without intending to come here.” The lodging and dining options are limited compared to more developed areas, but they are all friendly, clean, charming, and generally lovely.
Bucket list backpacking trip, but harder than you think. Shelter Cove is a great little town, and Gyppo Brewery is a must-stop. Don't tell your friends about this trail.Recreation.gov Reviewer
Lost Coast Trail Trailheads
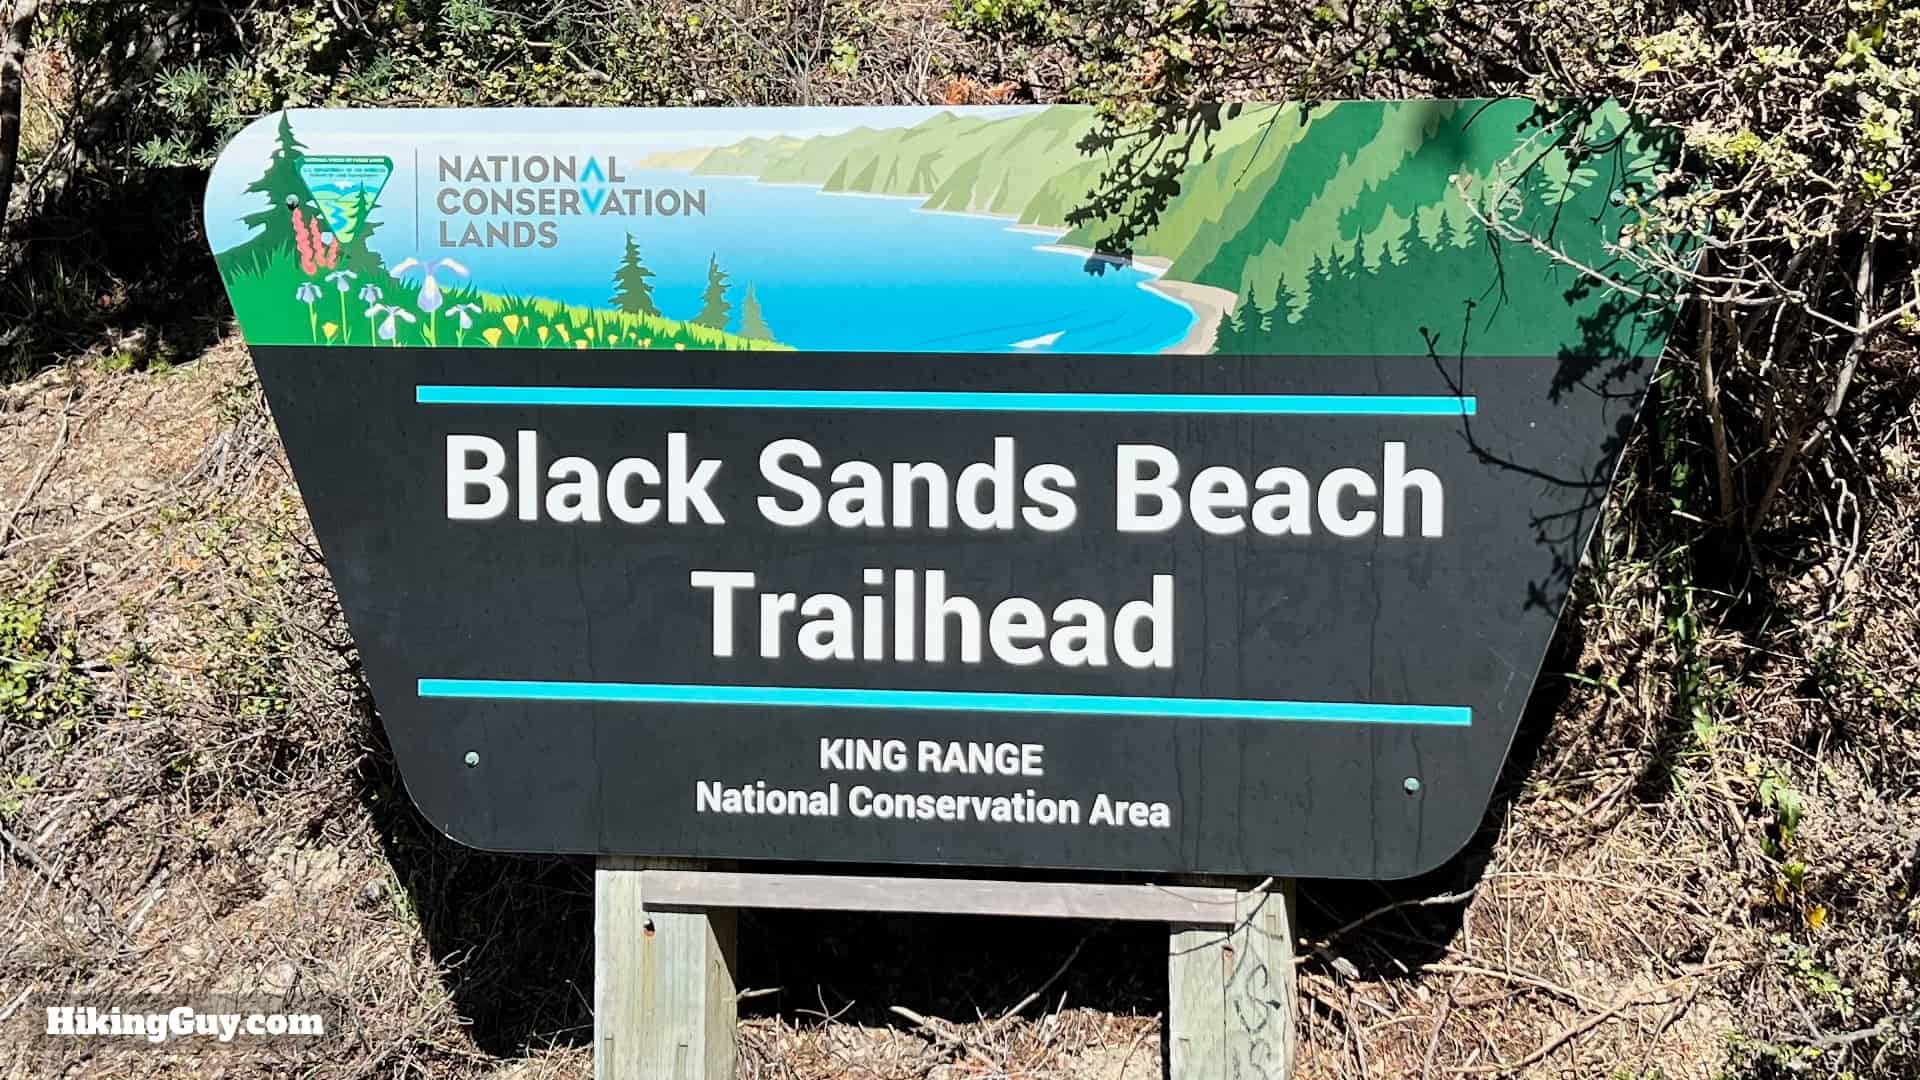
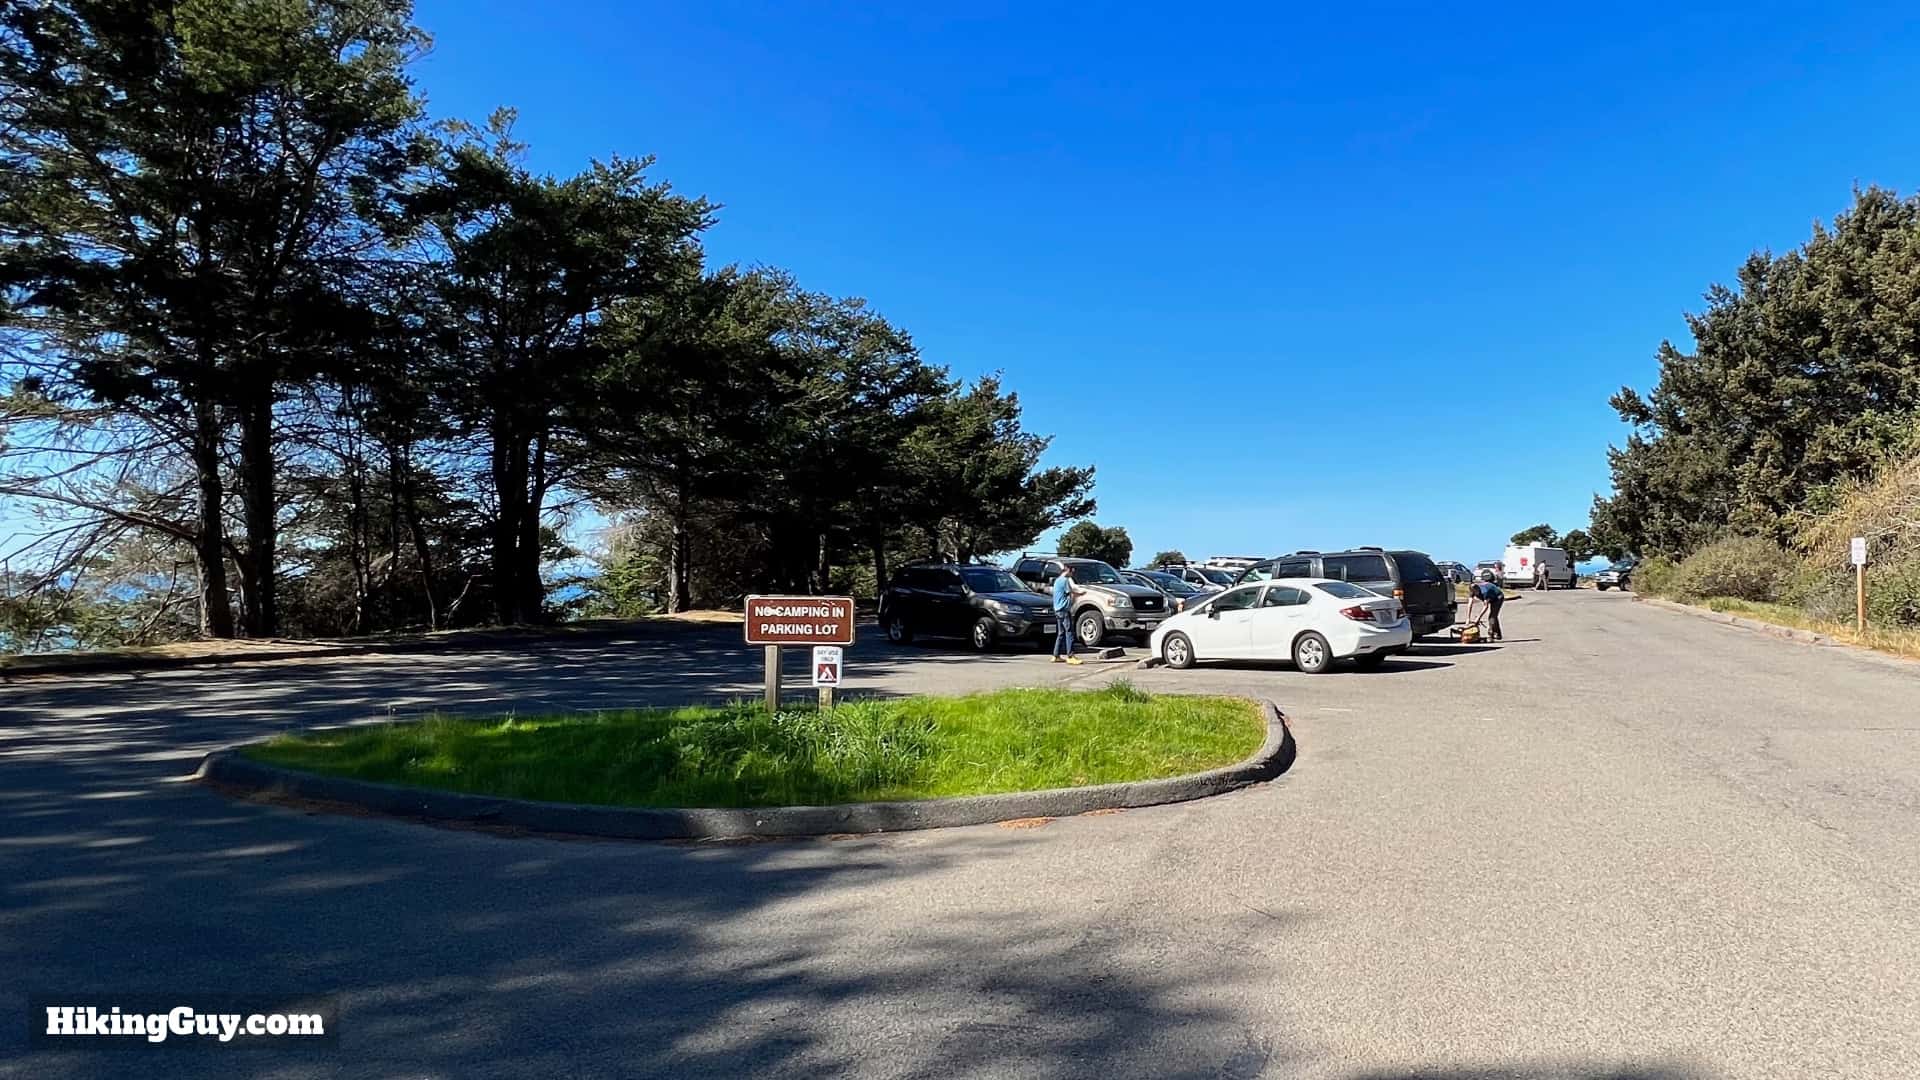
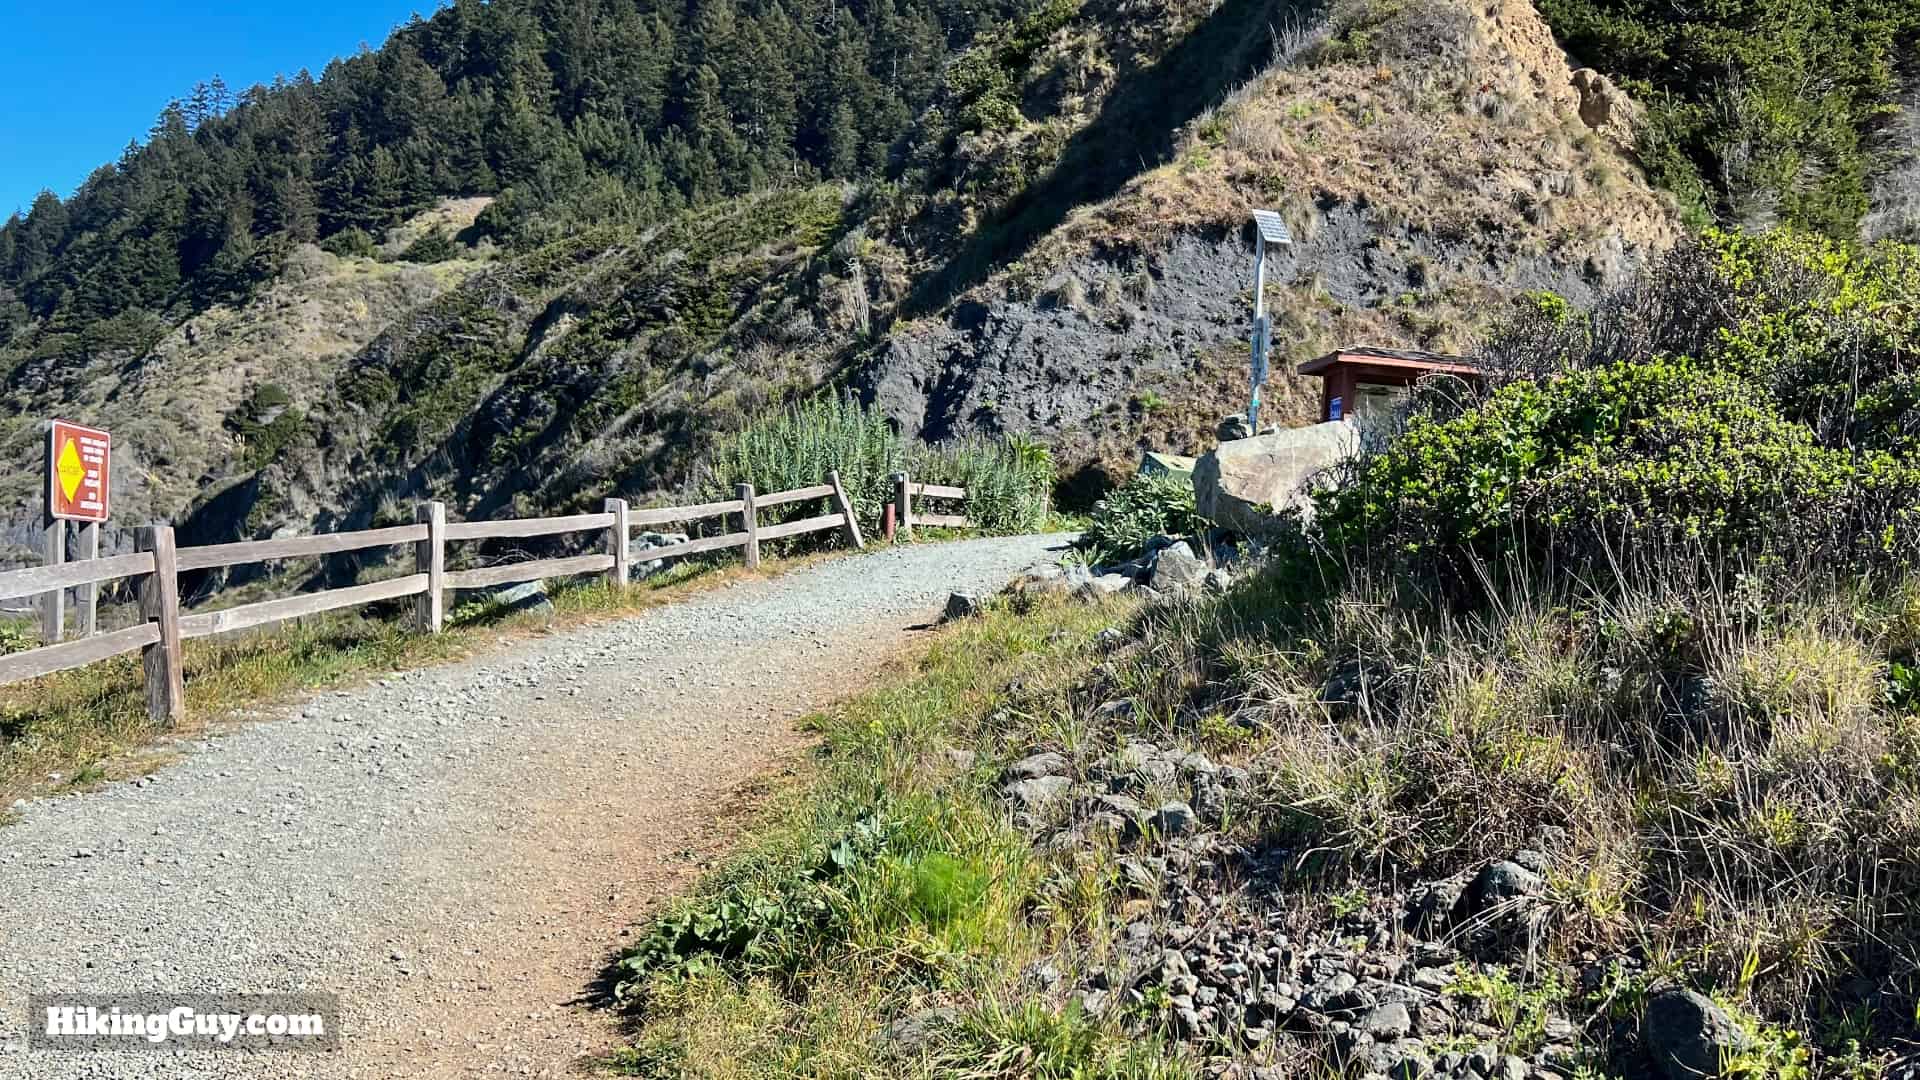
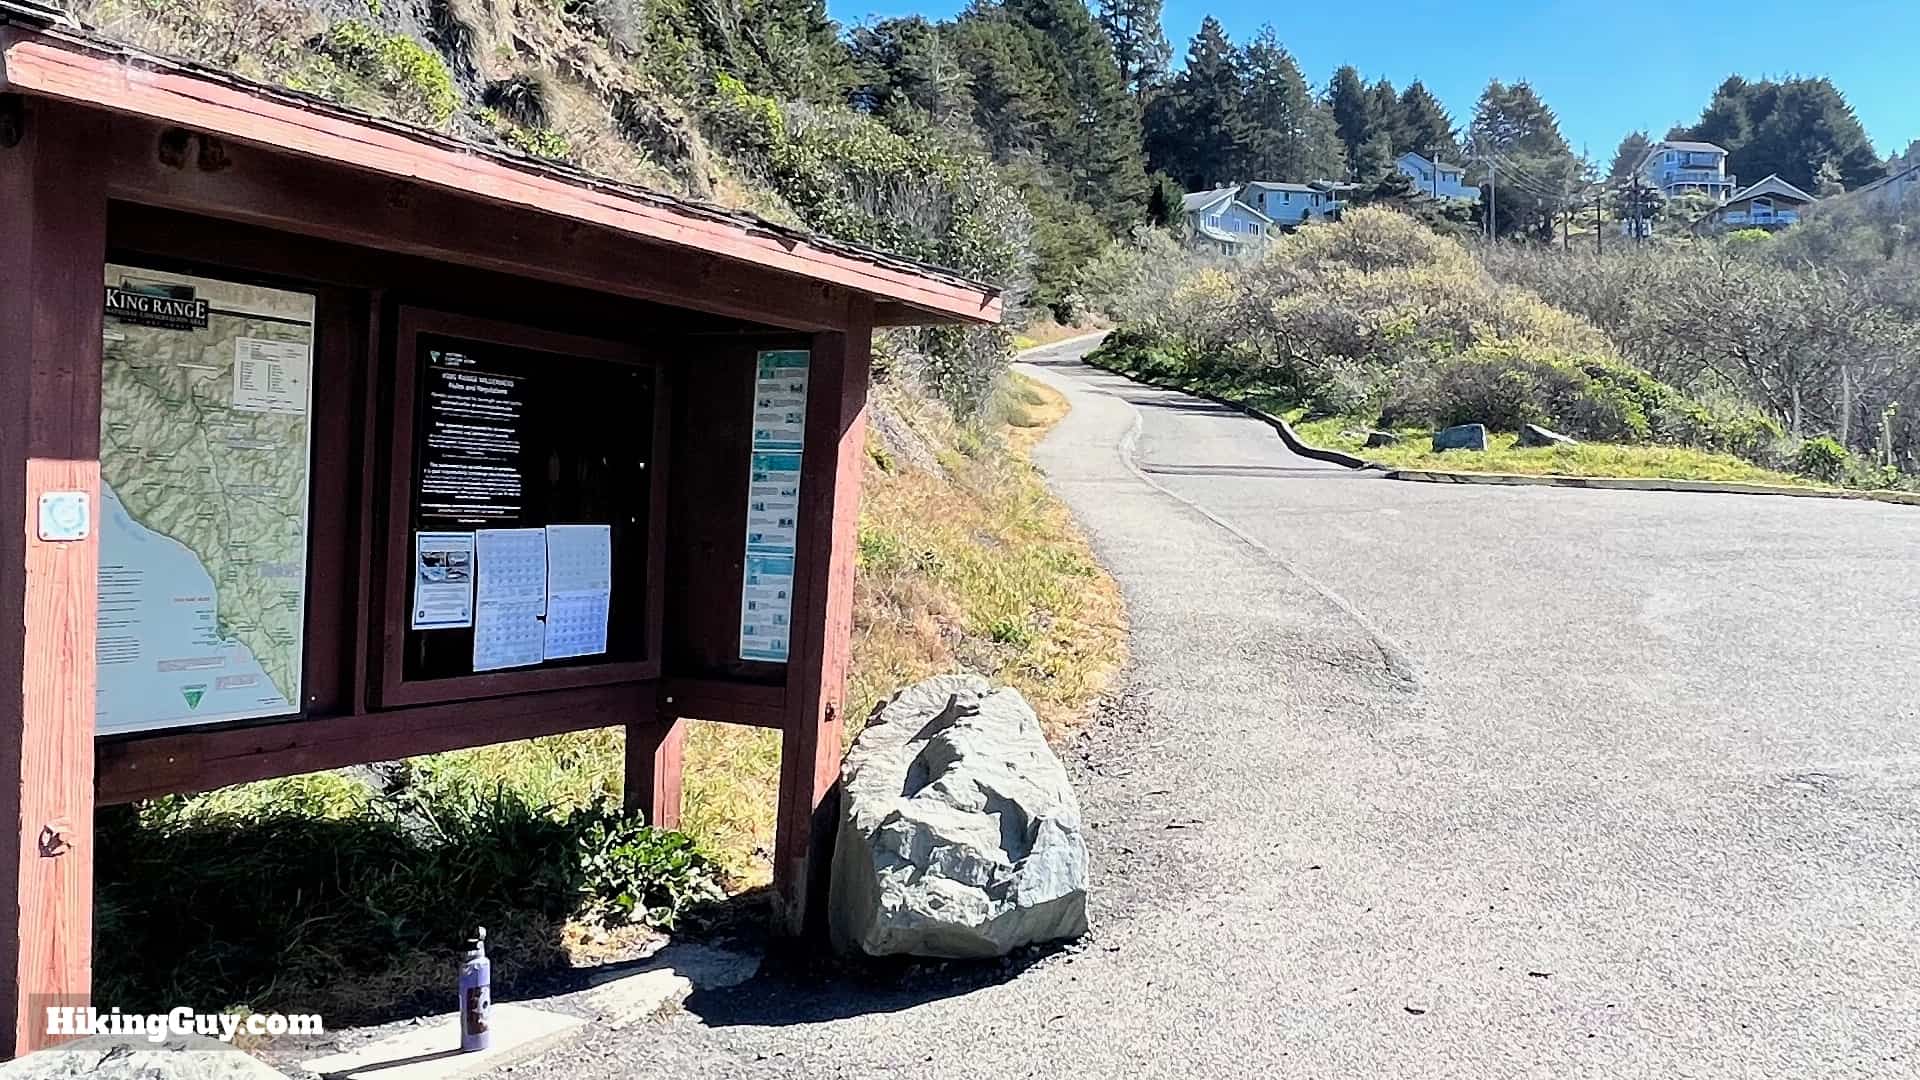
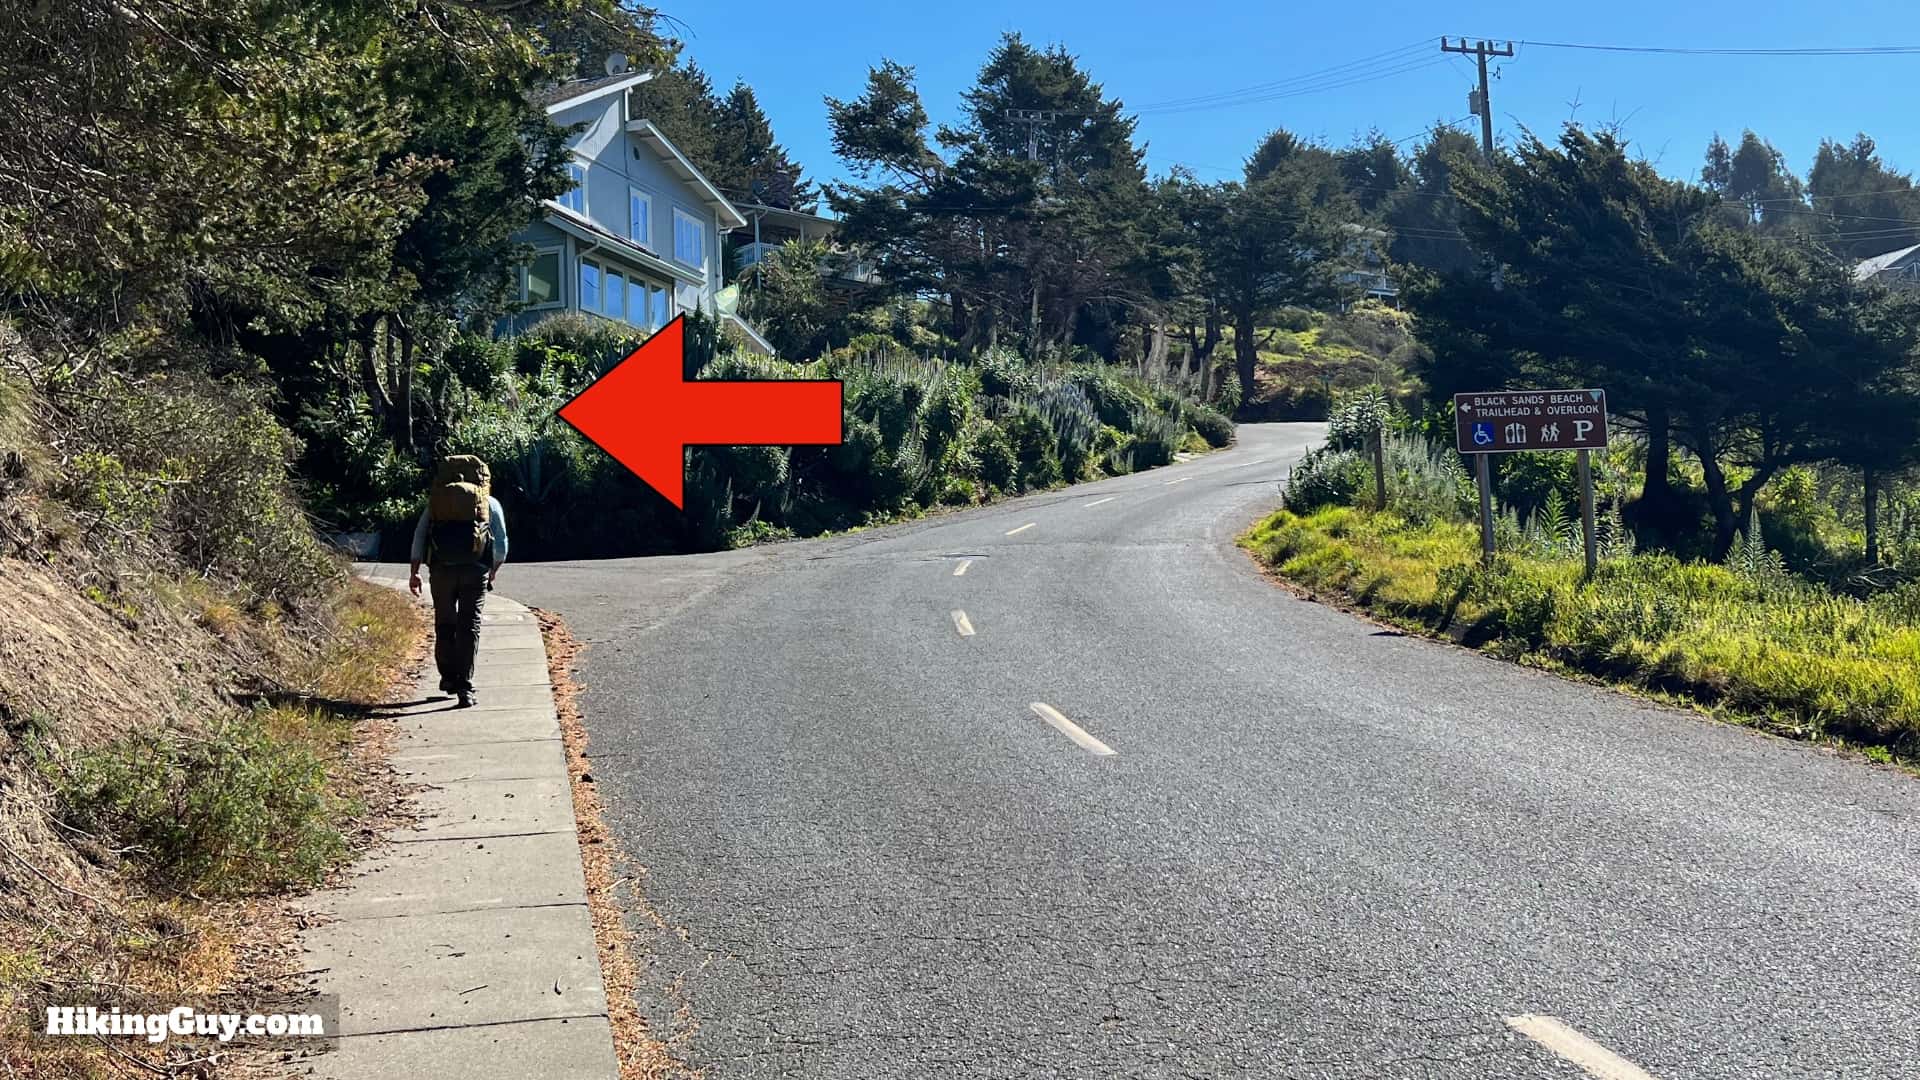
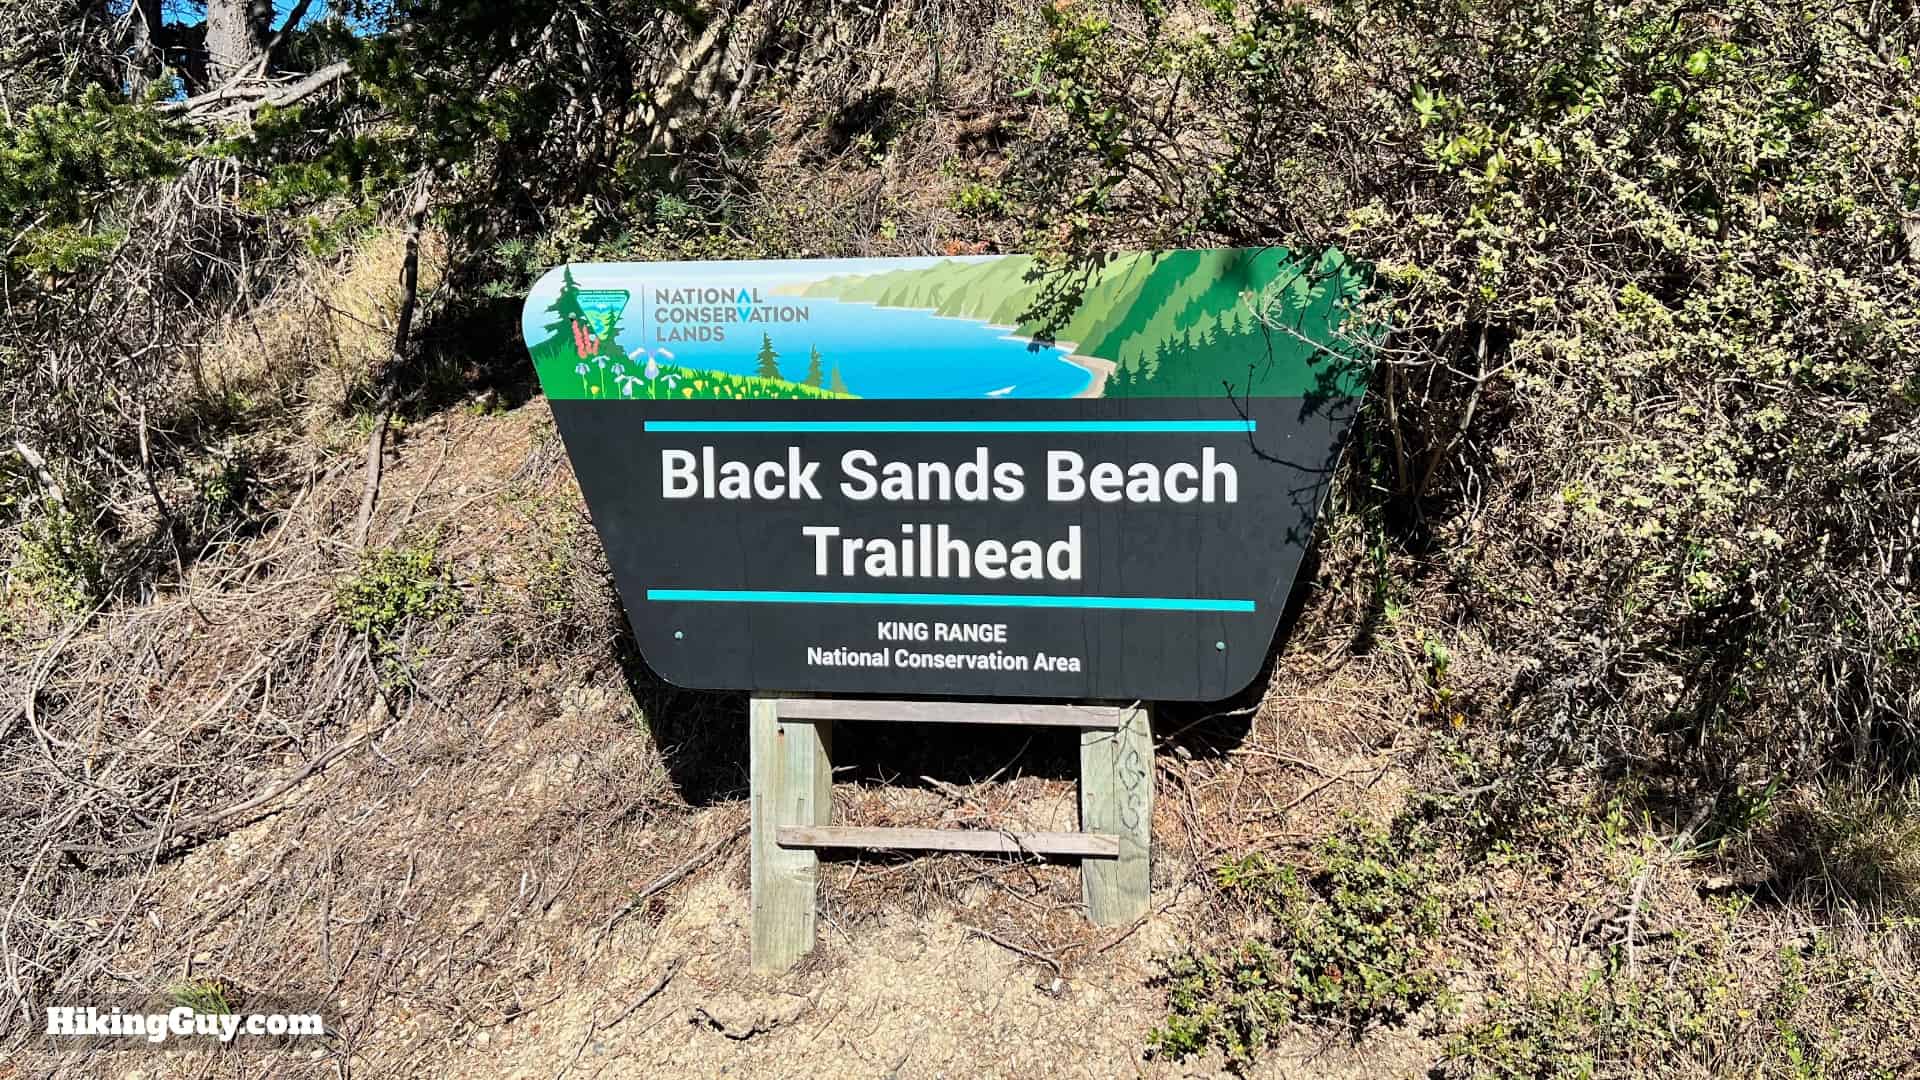
The southern trailhead for this hike is in Shelter Cove, CA. You can leave your car here if you have a permit, and you pick up the shuttle in this parking lot. Use this trailhead address:
Black Sands Beach Trailhead, 865 Beach Rd, Shelter Cove, CA 95589
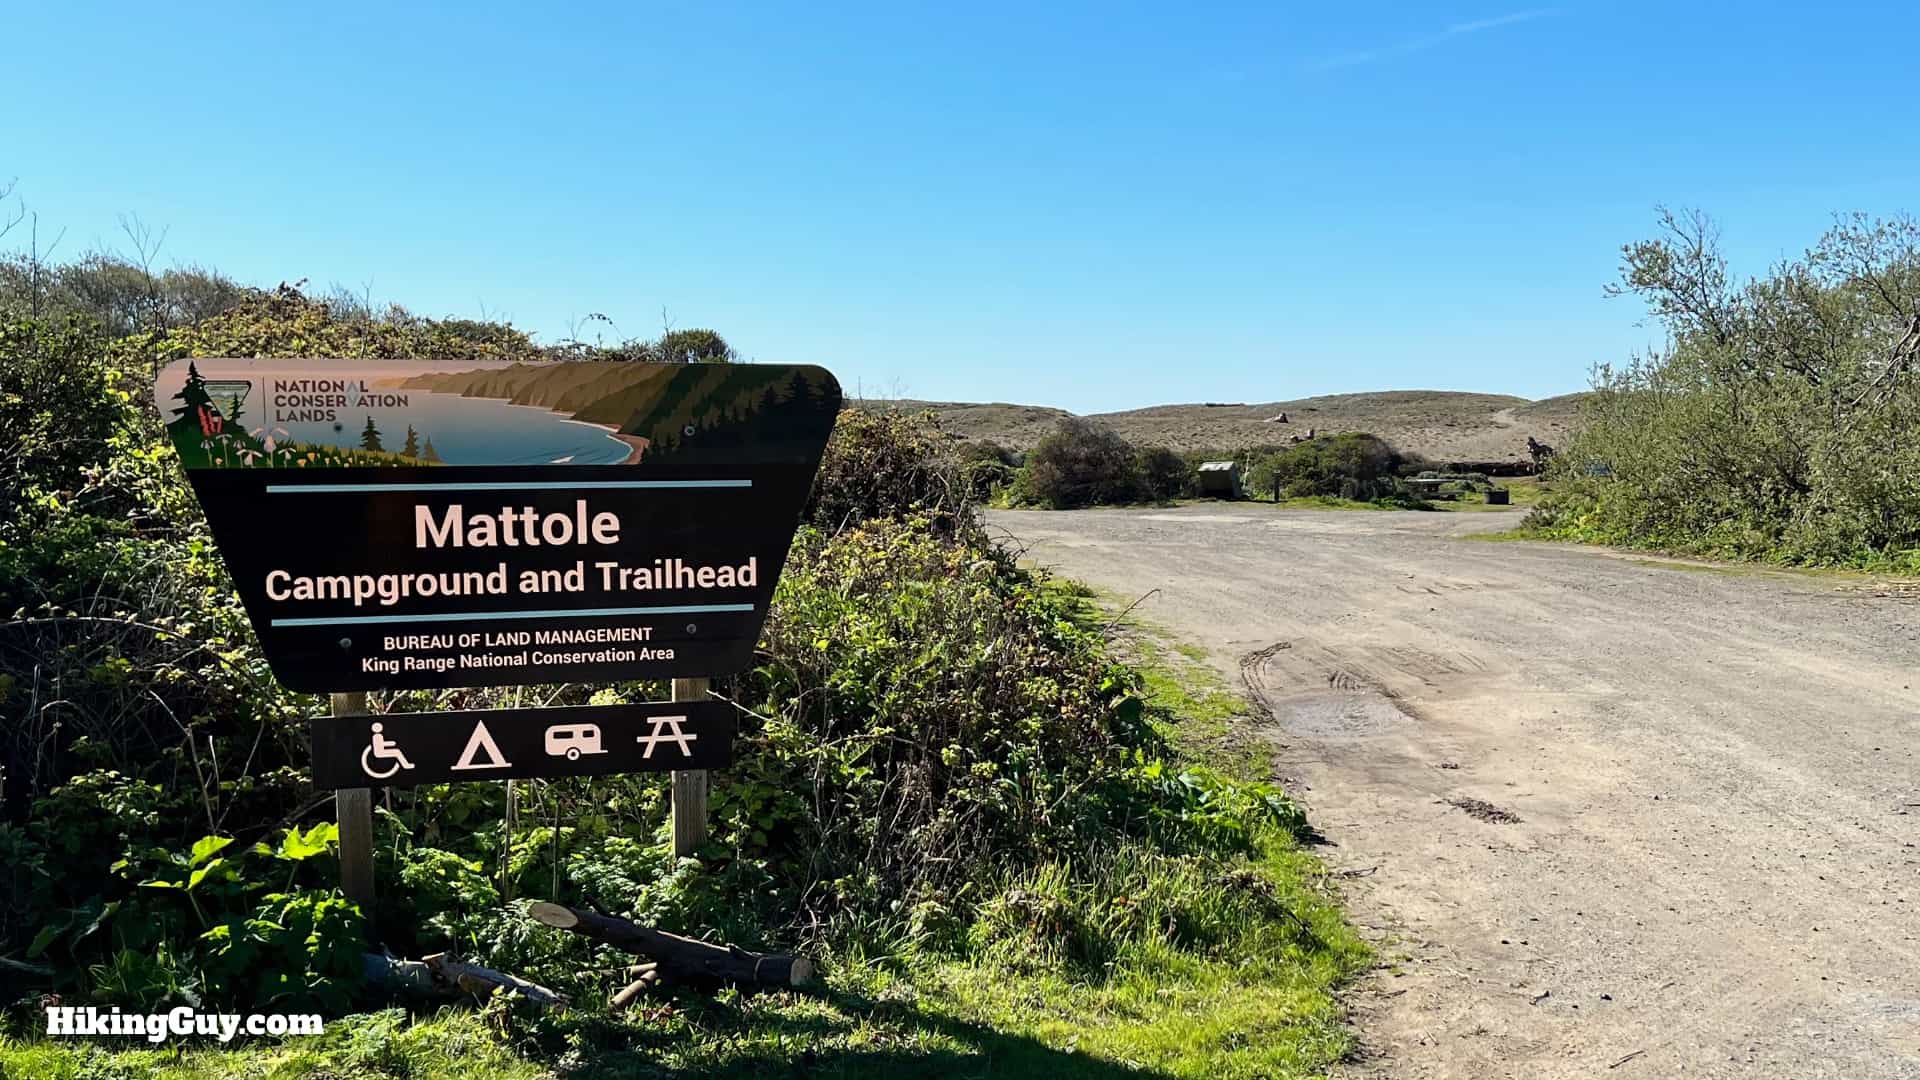
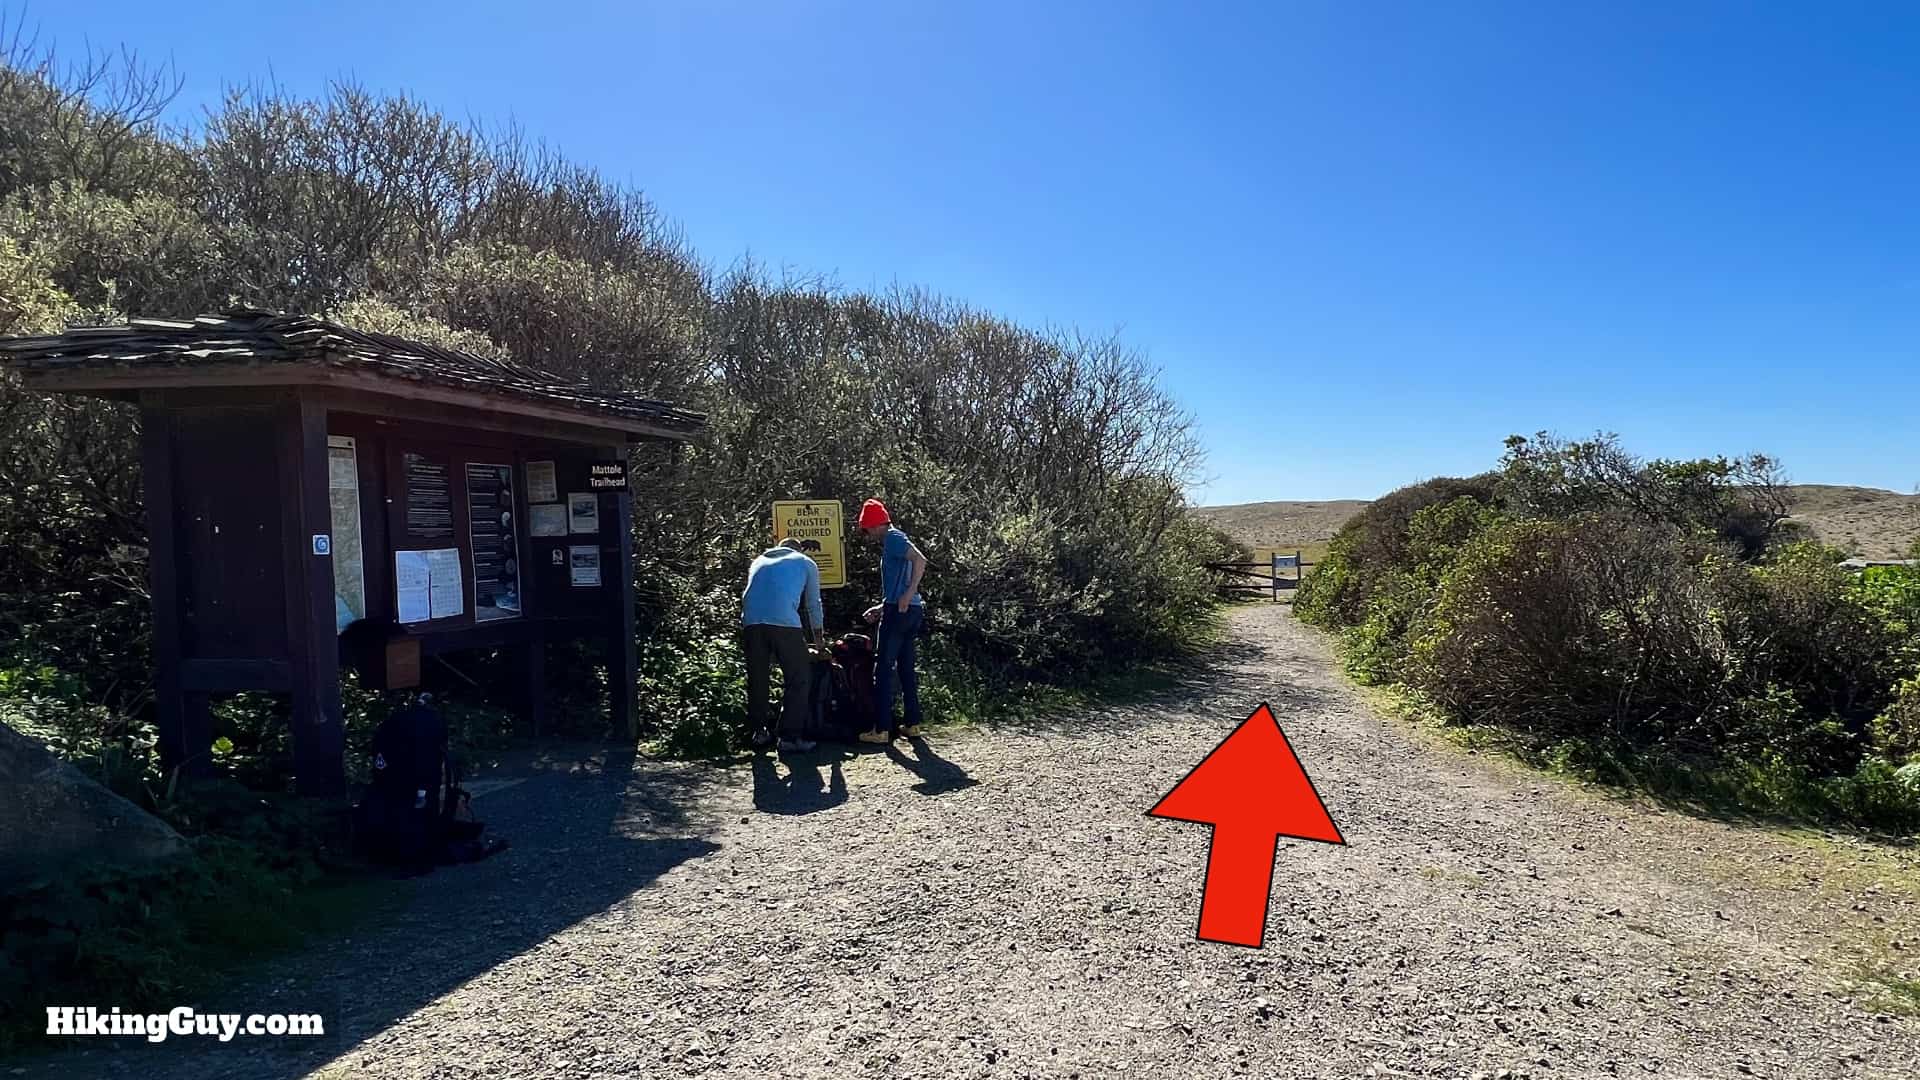
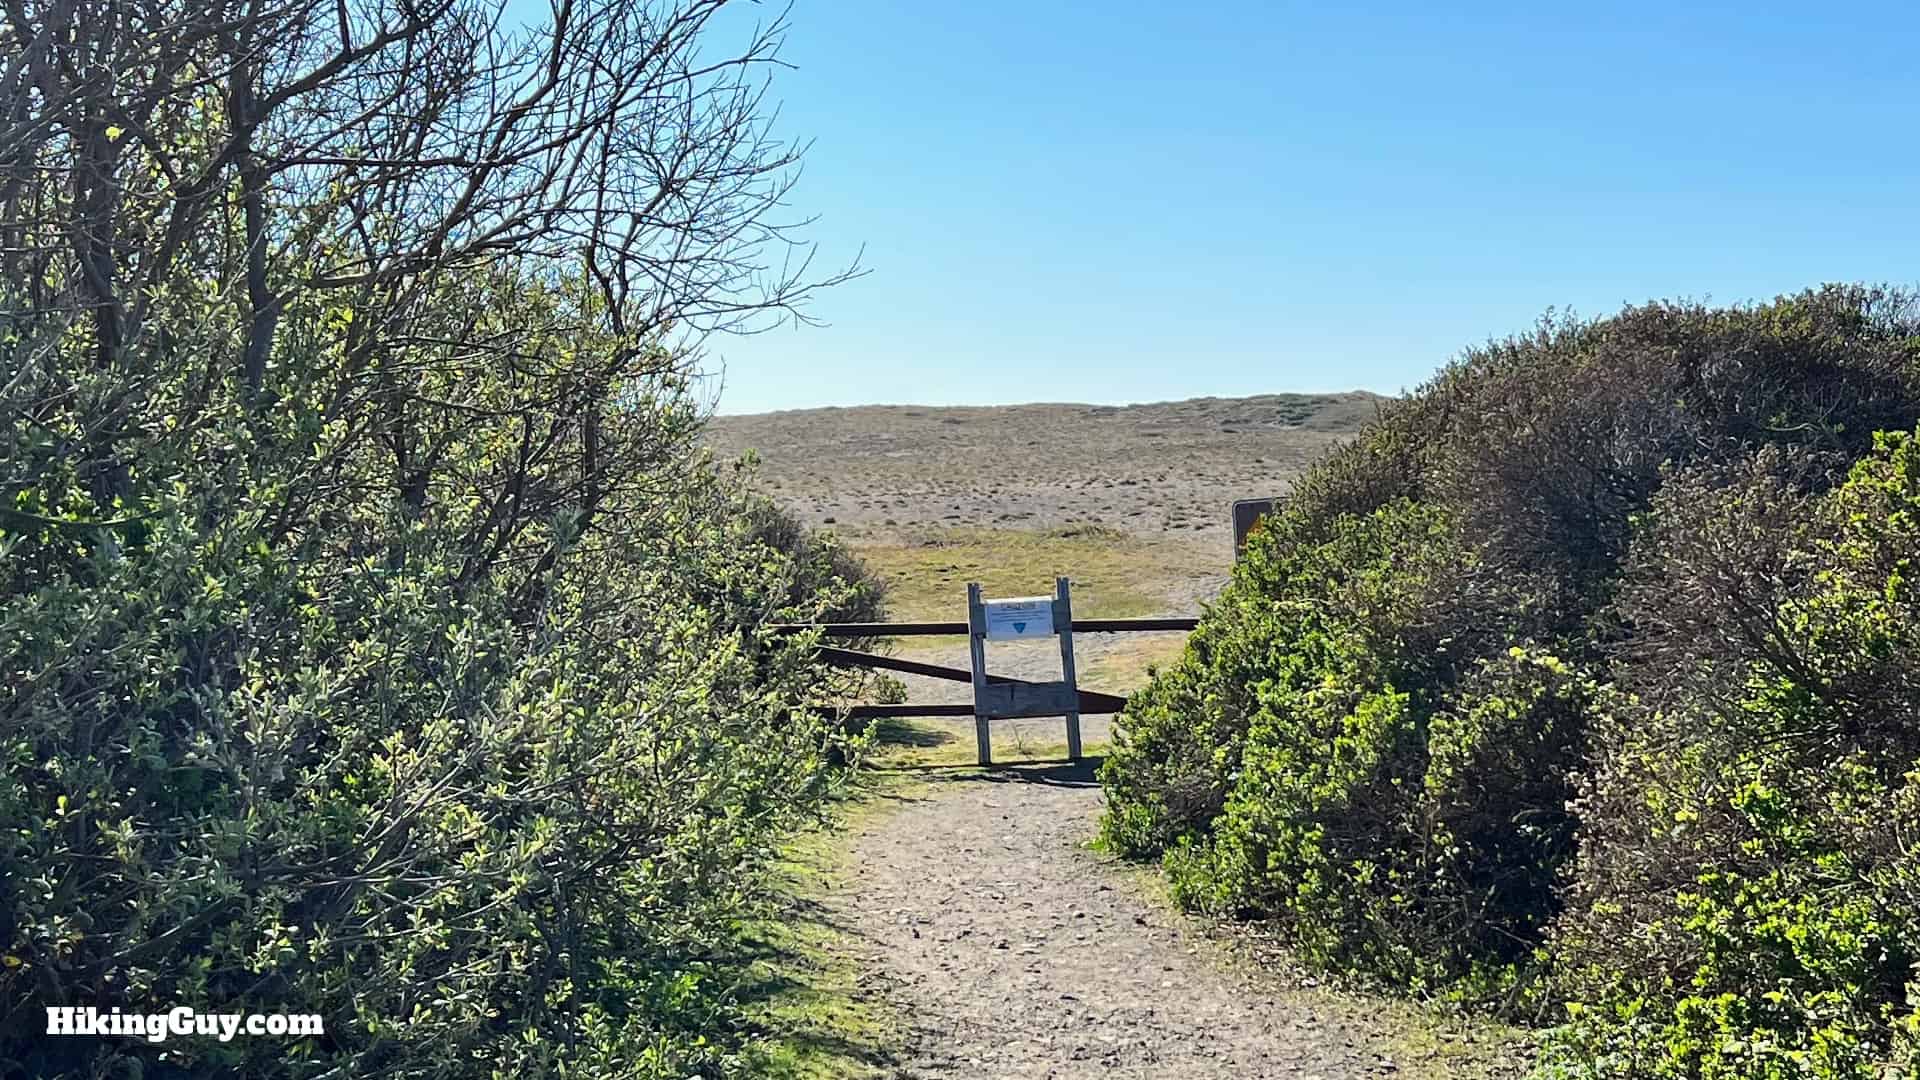
The northern trailhead (if you're doing your own shuttle) is:
Mattole Campground, 3750 Lighthouse Rd, Petrolia, CA 95558
Trail Logistics & Shuttle
Even if you have two cars, I'd recommend taking a one-way shuttle to the start at Mattole Beach. Why?
- You'll save time. A round-trip to pick up your car at Mattole Beach will add 4 hours of driving to your trip that is best spent elsewhere.
- The drive is intense. The road is usually one lane, prone to washouts, winding and steep. Locals in their massive pickups sometimes tailgate you. There is livestock wandering on the roads. There is no cell service for Google Maps. It's a lot to deal with before a hike.
- Shelter Cove rarely, if ever, has car break-ins. Mattole Beach is remote and there have been smash and grabs from hiker's cars.
- You have 2 hours on the shuttle ride to ask questions to your driver. Drivers know the local conditions, often even lead the Lost Coast Trail tours, and are an excellent resource.
I've used Lost Coast Adventure Tours shuttle service and they've always been great. They can even rent you bear canisters (more on that in a bit). Book your shuttle as soon as you bag your permit; the shuttles can sell out as well.
Tipping Tip: It's customary to tip the shuttle driver 20% or so.
You can also do a key swap with other hikers using this tool.
Gear For the Lost Coast Trail
Gear for the Lost Coast Trail is pretty straightforward and luckily you don't have to lug a lot of water around. But you do hike through wet sand, over slippery rocks, and across some boulders where carrying a pack can be tricky. Overall try to stay as light as possible and you should be okay. There are no outfitters in the area; your should buy your gear before arriving and practice with it at home.
For specific gear recommendations, check out my gear page, which was last updated November 2025.
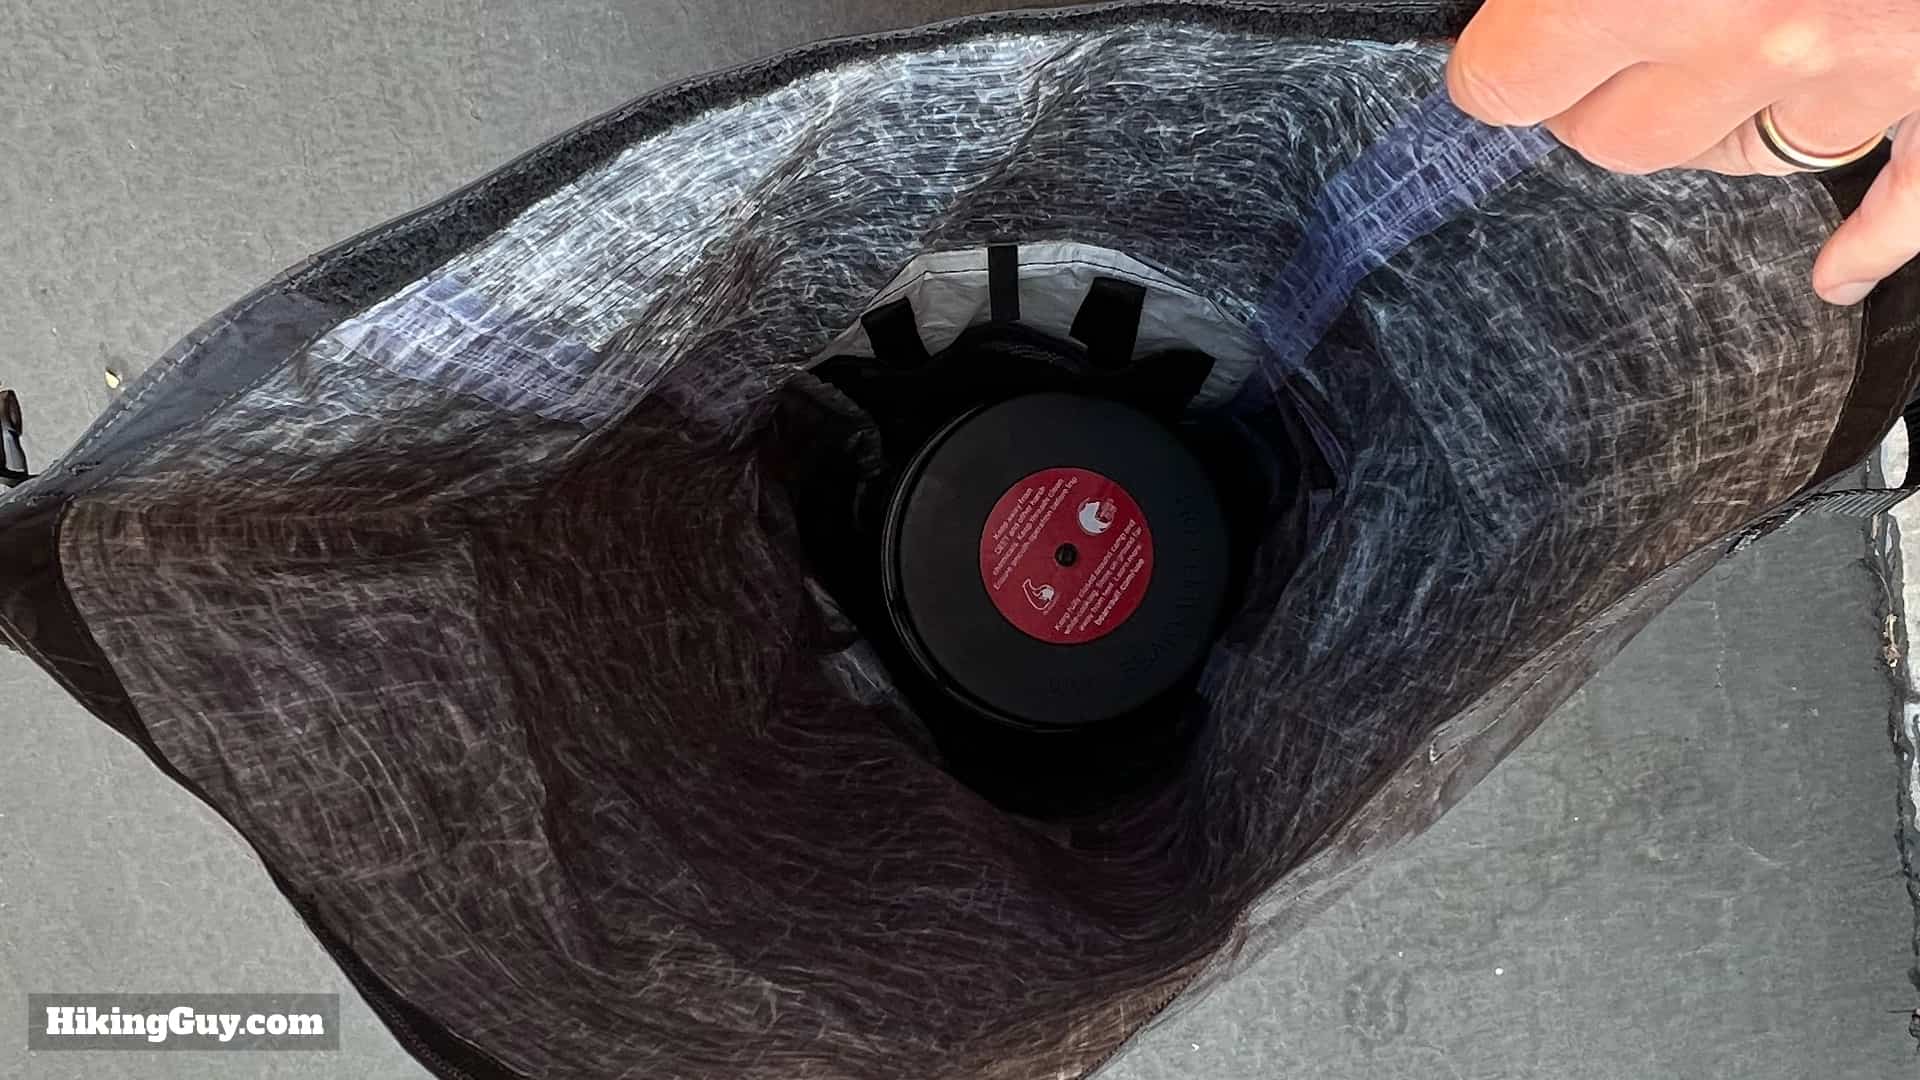
- 50+ Liter Backpack - You'll need a big enough backpack to carry a bear canister and all of your gear, including wet weather coverings. A 50+ liter pack will probably give you enough room not to have to get clever when fitting everything in the pack. Bring a big heavy duty trash bag and use it as a pack liner. If it rains, you will want to make sure all of your gear stays dry.
The bear canister takes up a lot of room in the pack, but you can easily stuff gear around it with a big enough pack. - Wet Weather Gear - Unless you are very familiar with the weather patterns and get a good dry window, you'll want to be prepared for changing conditions and wet weather. The Kings Range is one of the wettest places in the USA, with between 100 and 200 of inches of rain annually. I bring a shell, rain pants, rain hat, and wet socks (latest recommendations here). Avoid cotton and go with wool or synthetic, which doesn't get soggy when wet. And wearing breathable trail runners means that your feet can wet and it's okay. It's probably near impossible to never get your feet wet on this hike. I like to bring neoprene wet socks for when it's colder too.
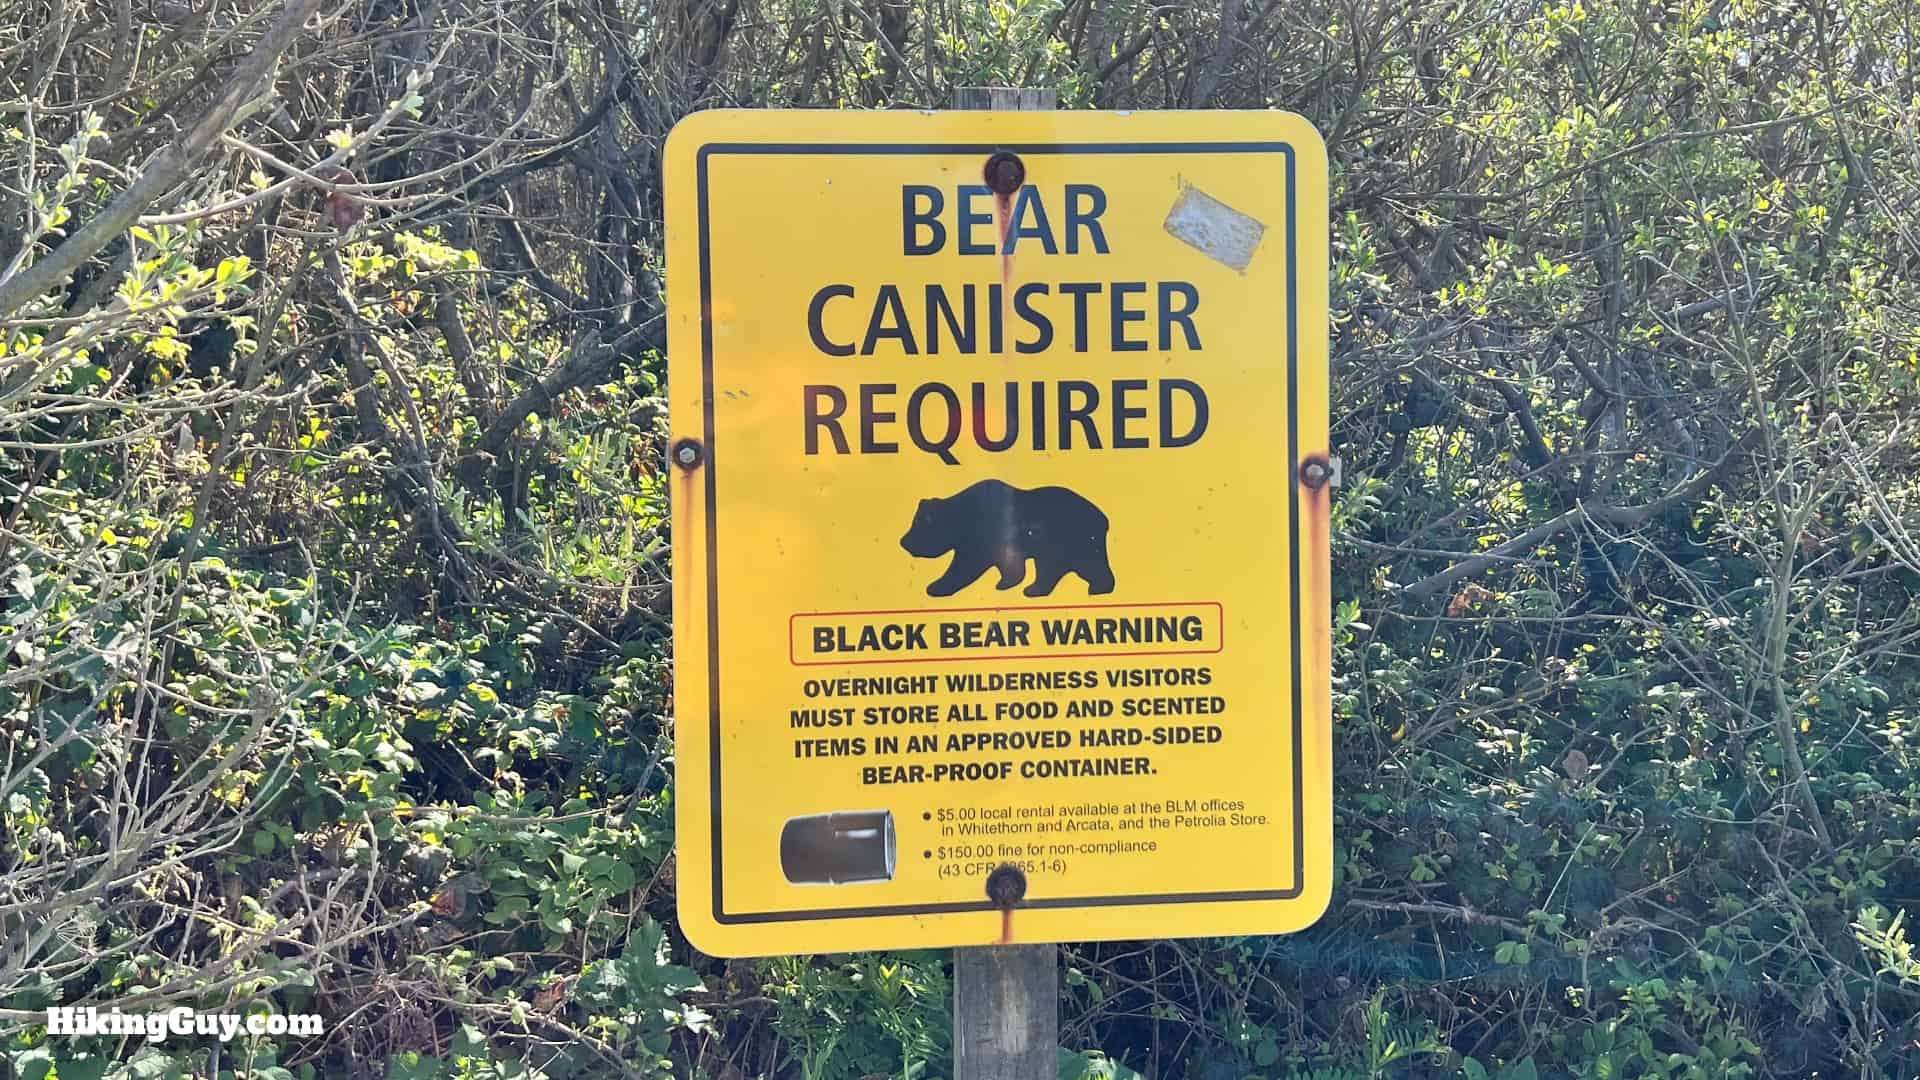
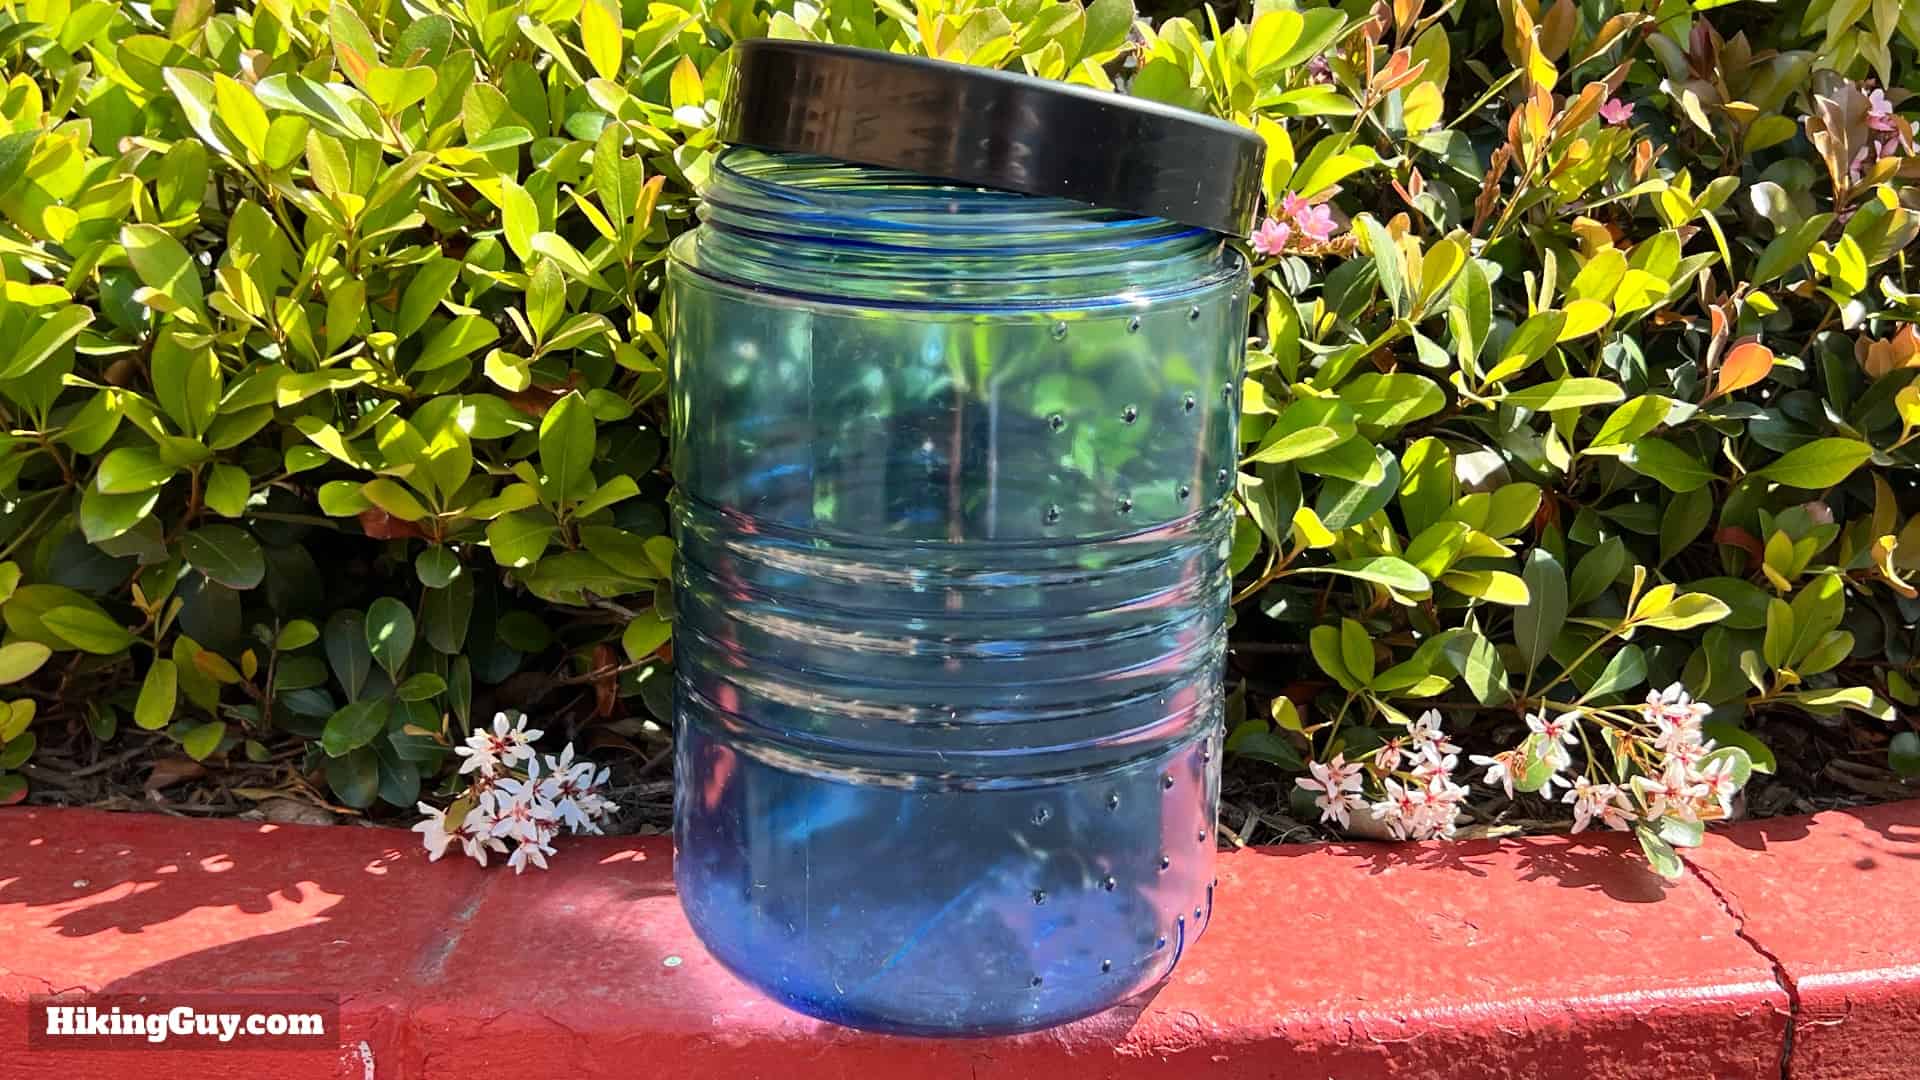
- Bear Canisters - You must have a hard-sided bear canister (my latest recommendation here), you can't use a bear hang or soft bear sack. If you don't want to invest in one, Lost Coast Adventure Tours can rent you one when you take the shuttle or you can rent from the BLM visitor center. You must store everyone's food and scented items (sunscreen, toothpaste, trash) in bear canisters. They're a pain to carry, but as you eat through your food, you can use it to store non-scented items too. A 7 liter capacity bear canister should be plenty for 1 person to hike 4 days. A tighter but doable option is one 11 liter canister for 3 people on a 3 day hike. When you store your bear canister, you can simply put it somewhere away from camp, hidden if possible; there is no need to wedge it or bury it in rocks like you often need to in the Sierras. Bring a gallon Zip-Loc bag for your trash. Wash your food bags and utensils out in the streams after eating to remove any scent.
Bear canisters have a locking lid and thick plastic walls that keep critters out. And although there are black bears in the King Range NCA, the canister is also for raccoons and rodents. Make sure the lid is always fully closed and secured. - Trekking Poles - I don't use them all the time, but when I have a heavy pack on my back and I'm walking over wet, slippery rocks, trekking poles are invaluable.
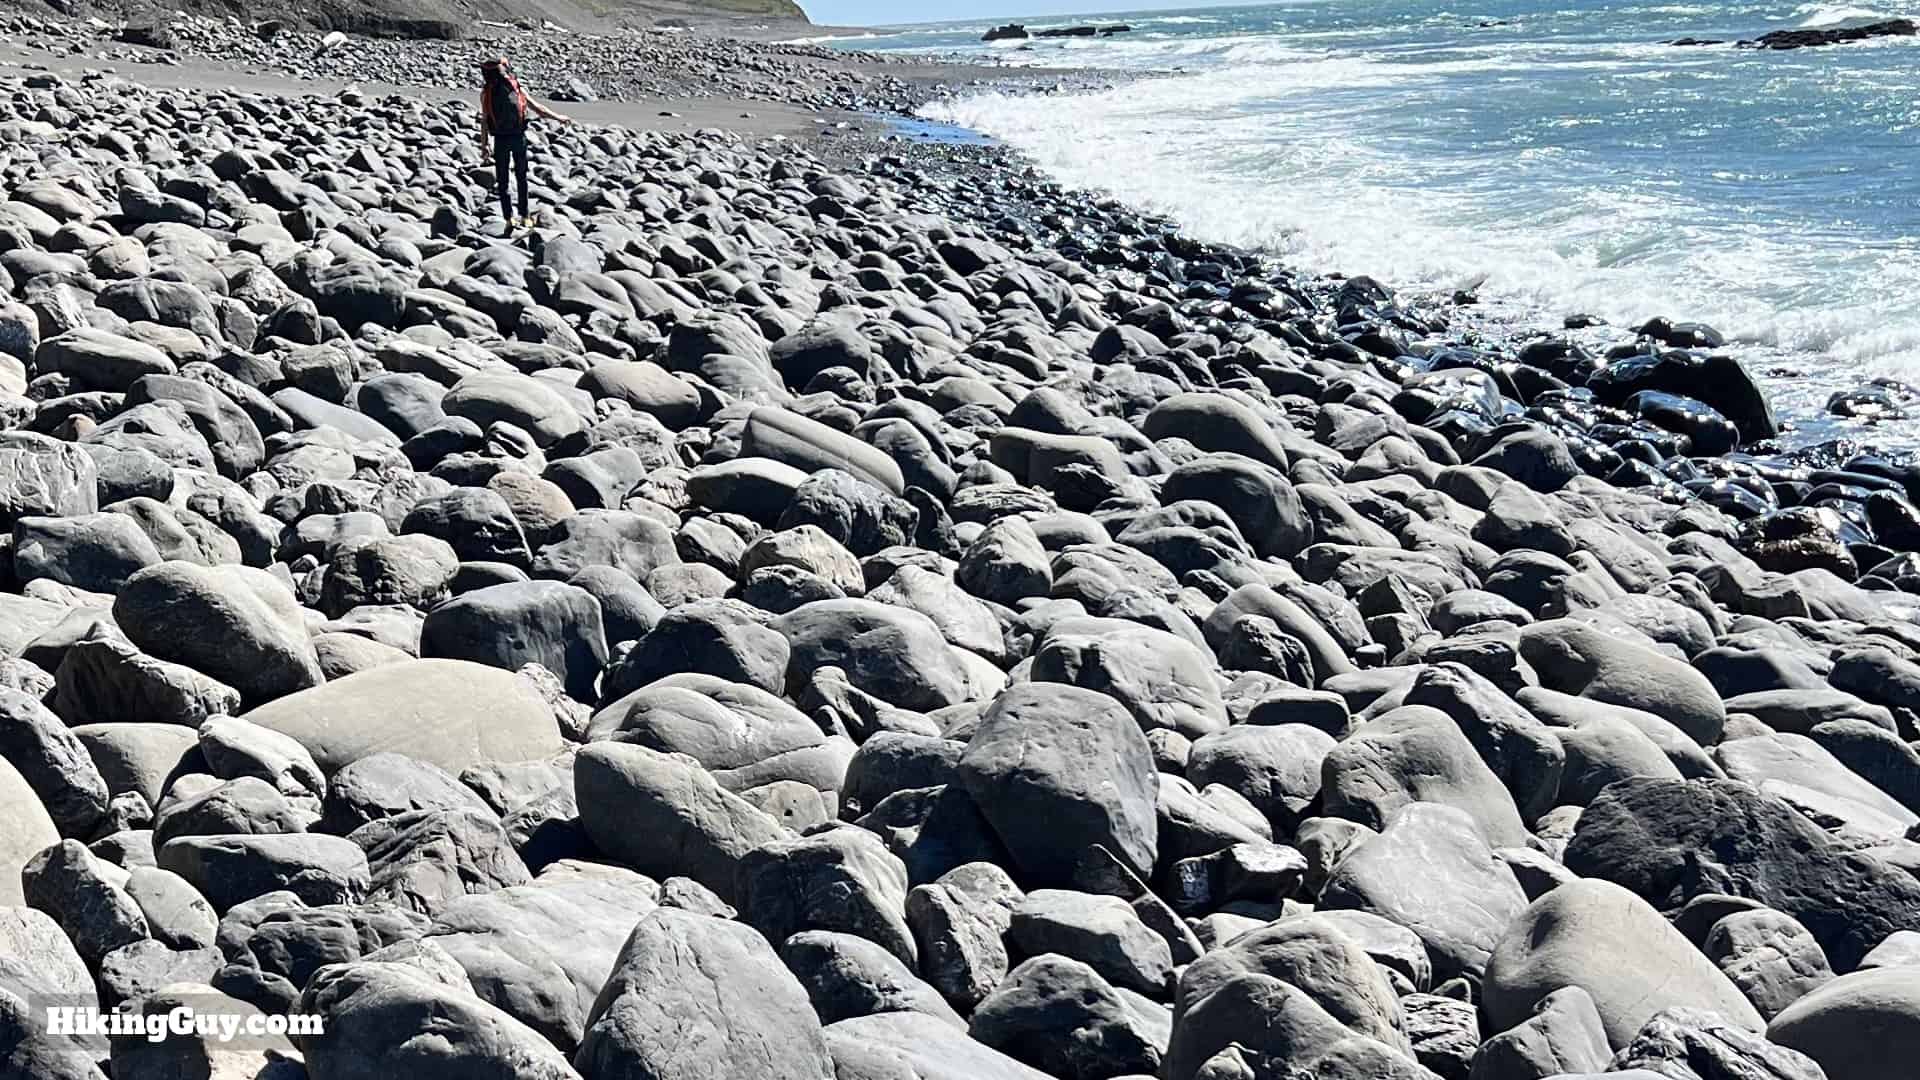
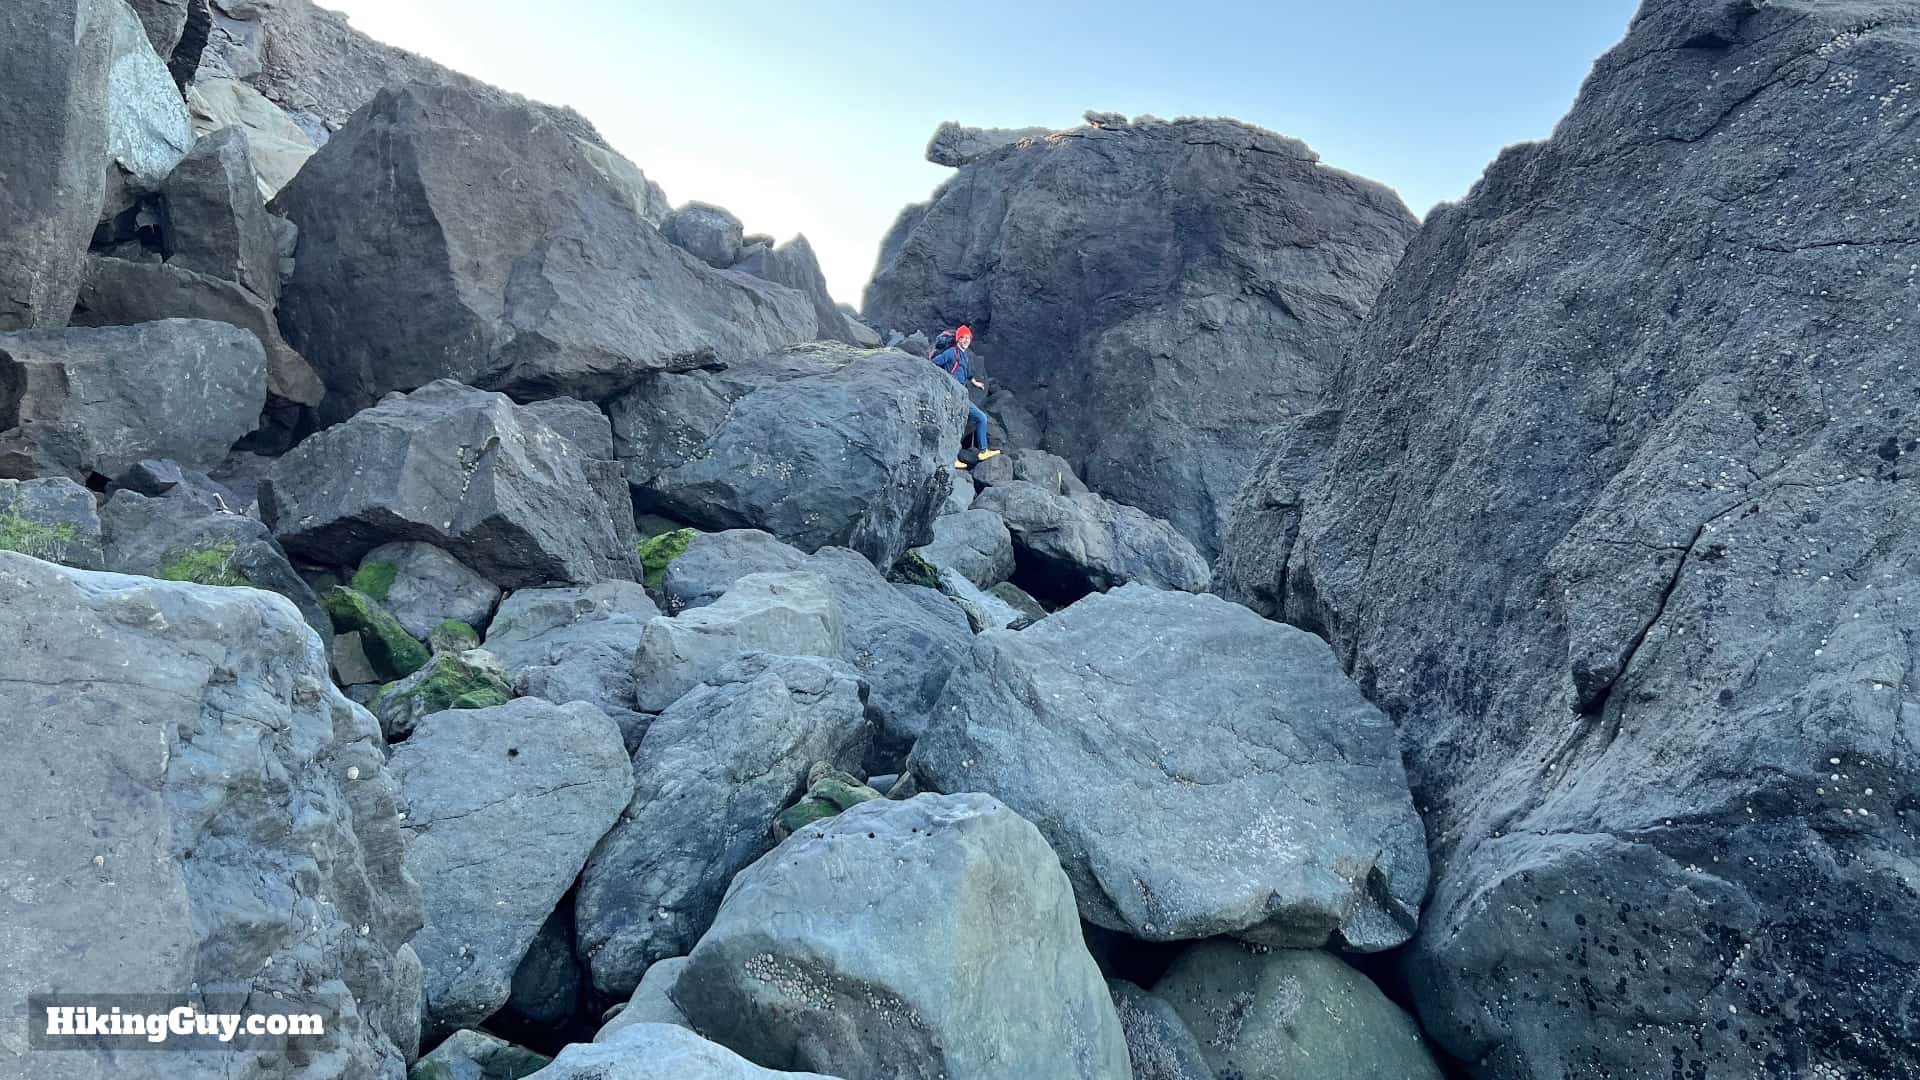
Picking your way across these rocks, called "cobbles" is way easier with poles, especially when they are wet. - Navigation - Although you are simply walking down the coast, having some navigation tools is important to ensure that you can navigate the tidal zones correctly. I'd recommend three things:
- Order a King Range / Lost Coast map from the BLM (Bureau of Land Management). It's much better than other commercial maps out there and half the cost.
- Download the same map onto your smartphone for free with the Avenza app. Download the map for offline use before you leave and put the phone in airplane mode to save battery when you hike. Bring a USB charger to top off your phone at night.
- Grab a backup of the detailed PDF map here and download it to your phone.
- Find an app like TideAlert that has offline tide charts. If you take a shuttle, you can also pick up a tide chart from your driver.
- And note that if it's raining, the touchscreen on your phone will likely not work well. If you have a dedicated non-touchscreen GPS device, this is the time to bring it. Most GPS devices also have tide charts. Otherwise huddle over your phone if it's raining and do your best.
- SOS Device - There are a few small pockets of cell coverage on the Lost Coast Trail, but usually you will be out of range. Having a PLB or satellite communicator will be crucial if you have to hit the SOS button for whatever reason. And if you have a communicator, you can also check the weather and let your family know that you are okay.
- Trowel, Toilet Paper & Hand Sanitizer - If you have to poop, you're supposed to go on the beach in the tidal zone. Dig a hole to fit all of your business in the sand, go, cover it up, and let the ocean do its thing when the tide comes in. There are often rocks on the beach where you find some privacy. Gel hand sanitizer can also be used as a fire starter when lighting a campfire.
- Camping Stove - If it's raining, having a hot meal will be a major morale boost. Generally my camping meal workflow is a hot breakfast, energy bar lunch, and a hot dinner. A mug with some instant coffee (the Starbucks ones work well) or tea is also nice when camping.
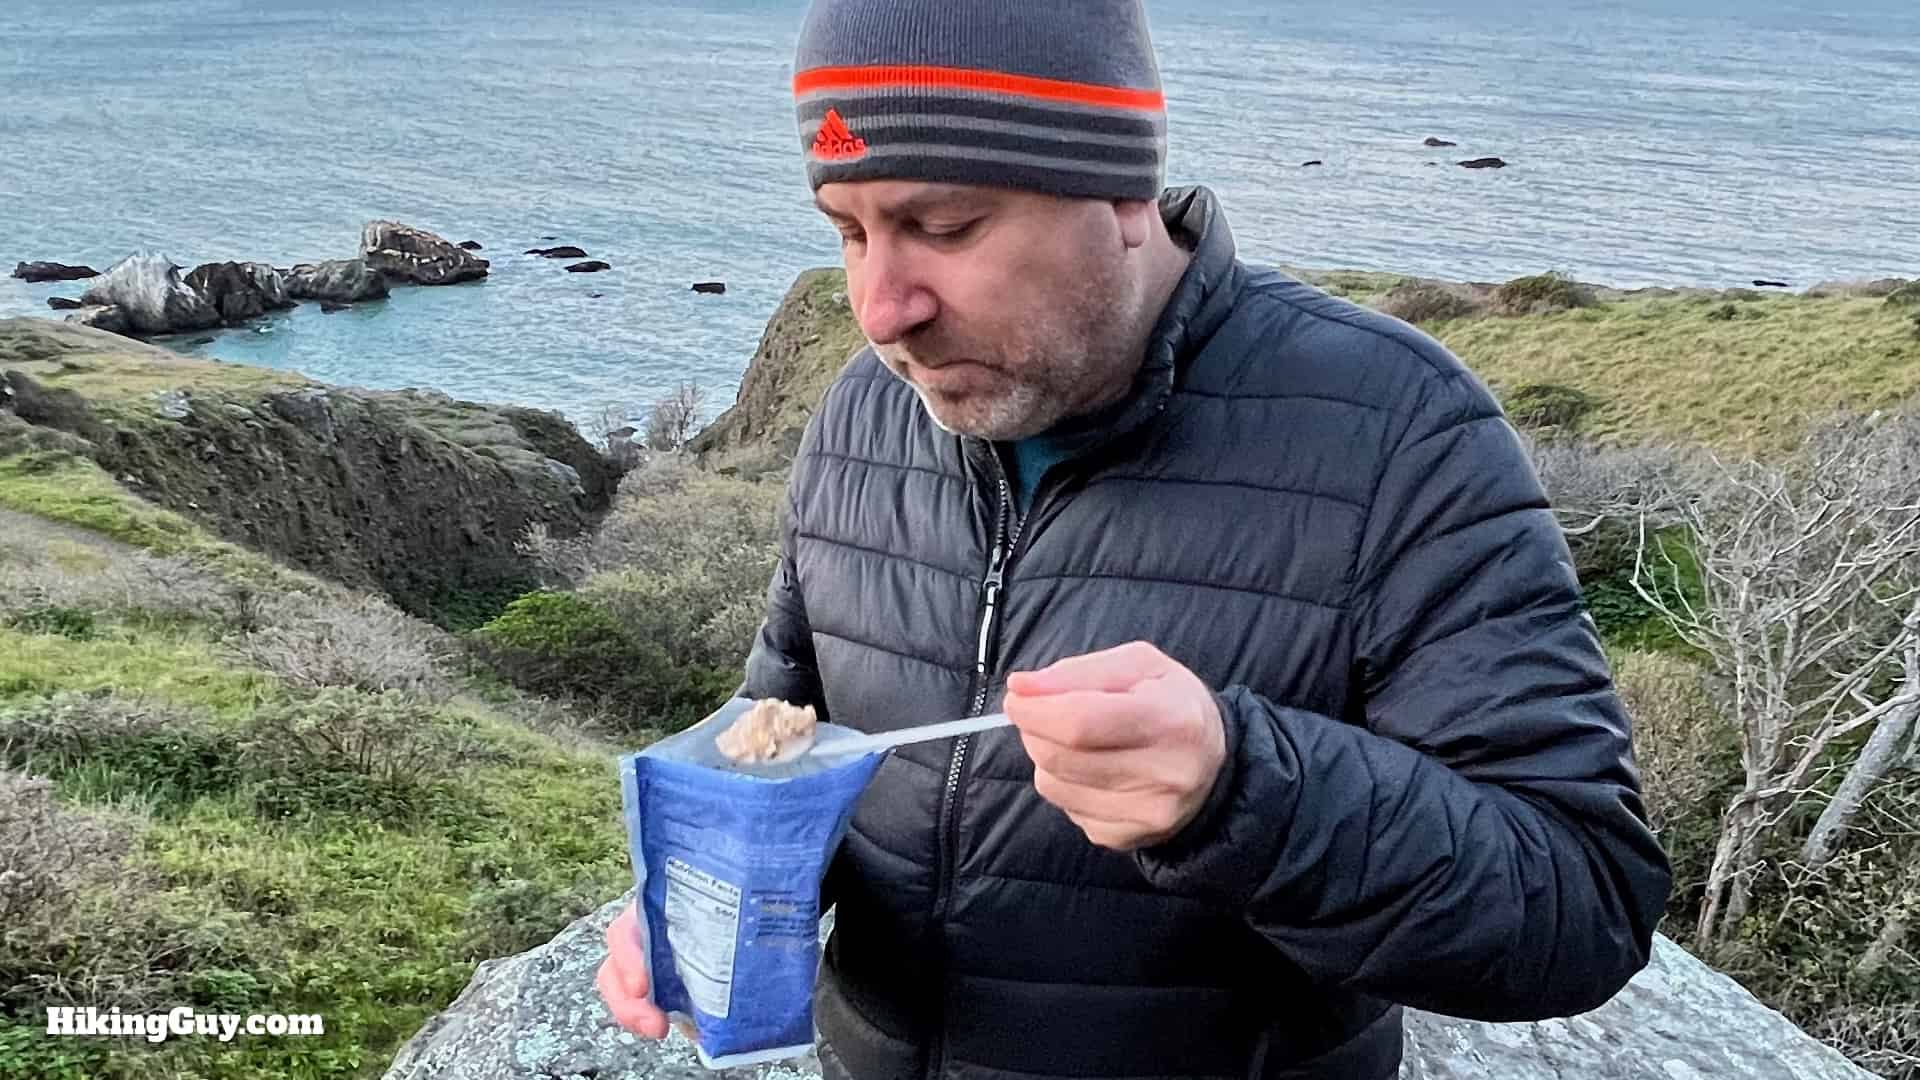
Boil water, pour it in the food bag, stir, let it sit, and then eat directly from the bag with a long spork. The "2 serving" packs are usually good for one meal after a day on the trail. 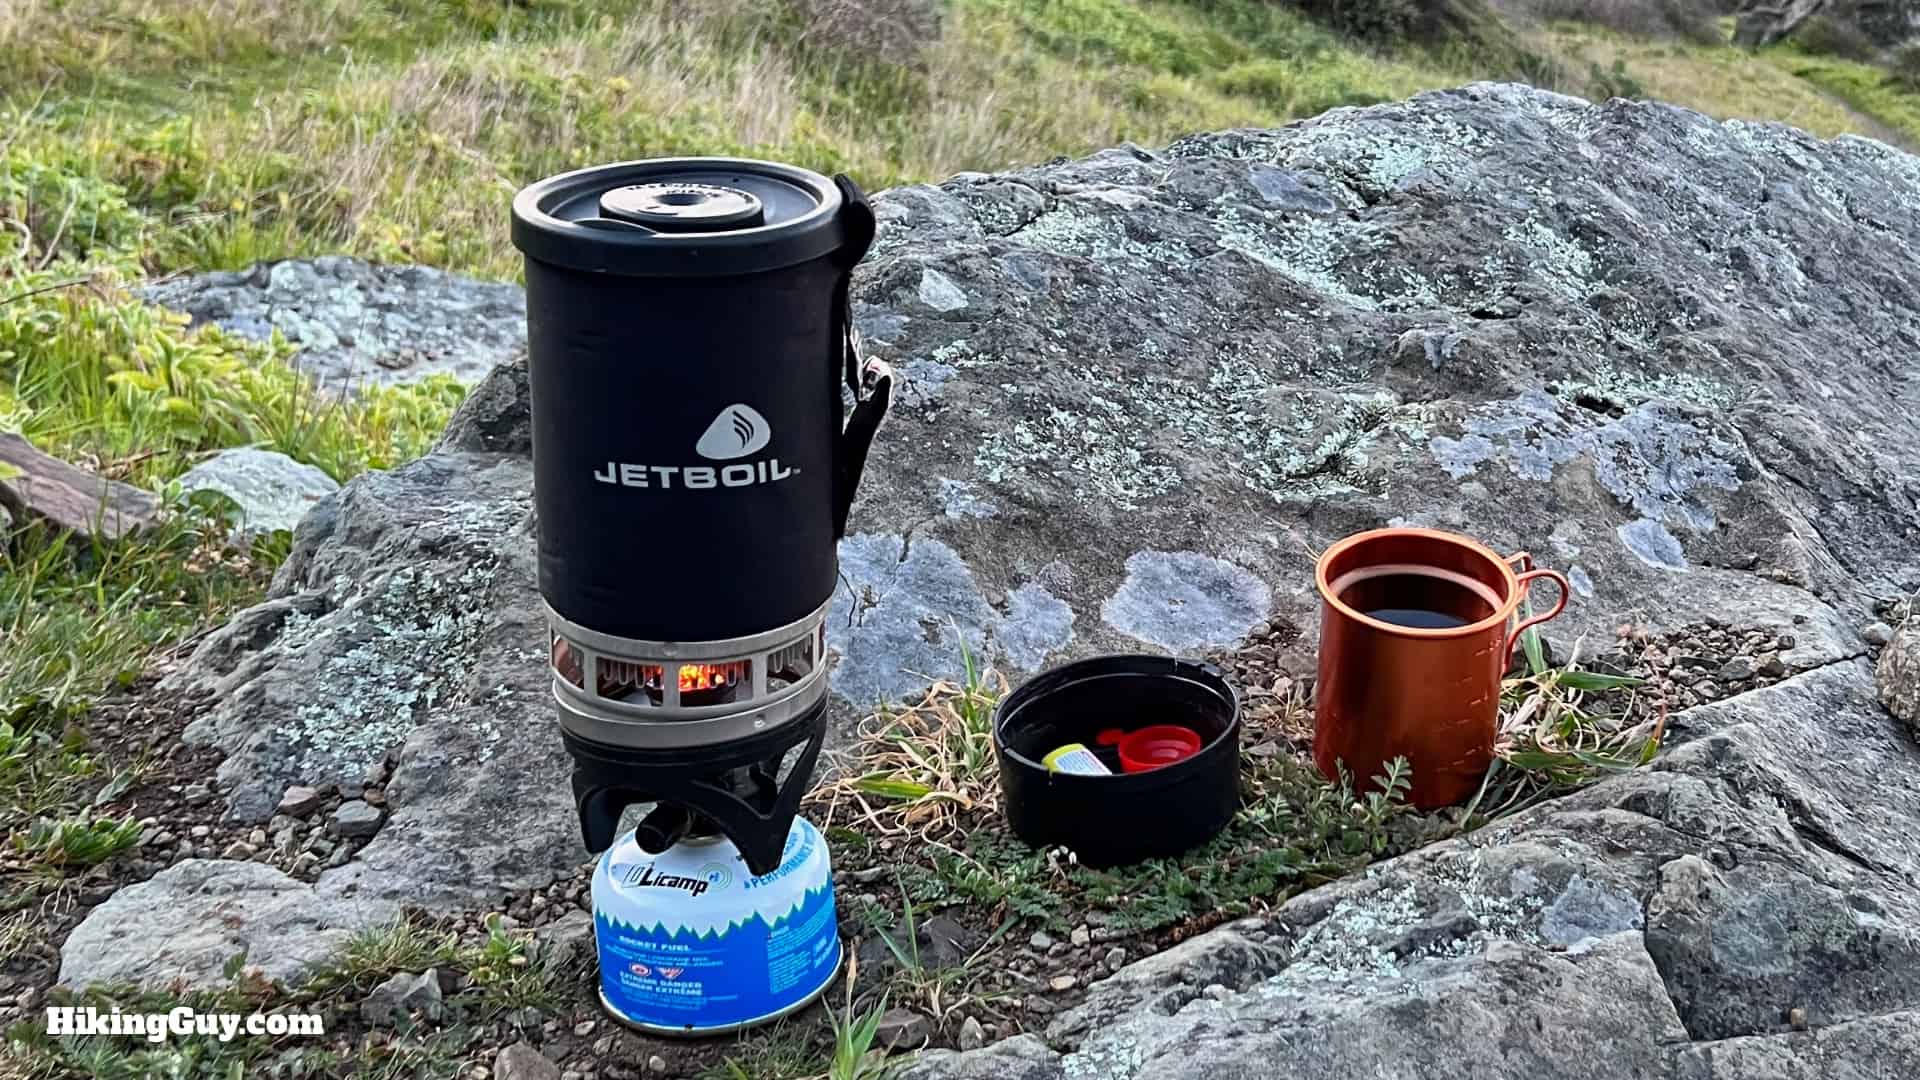
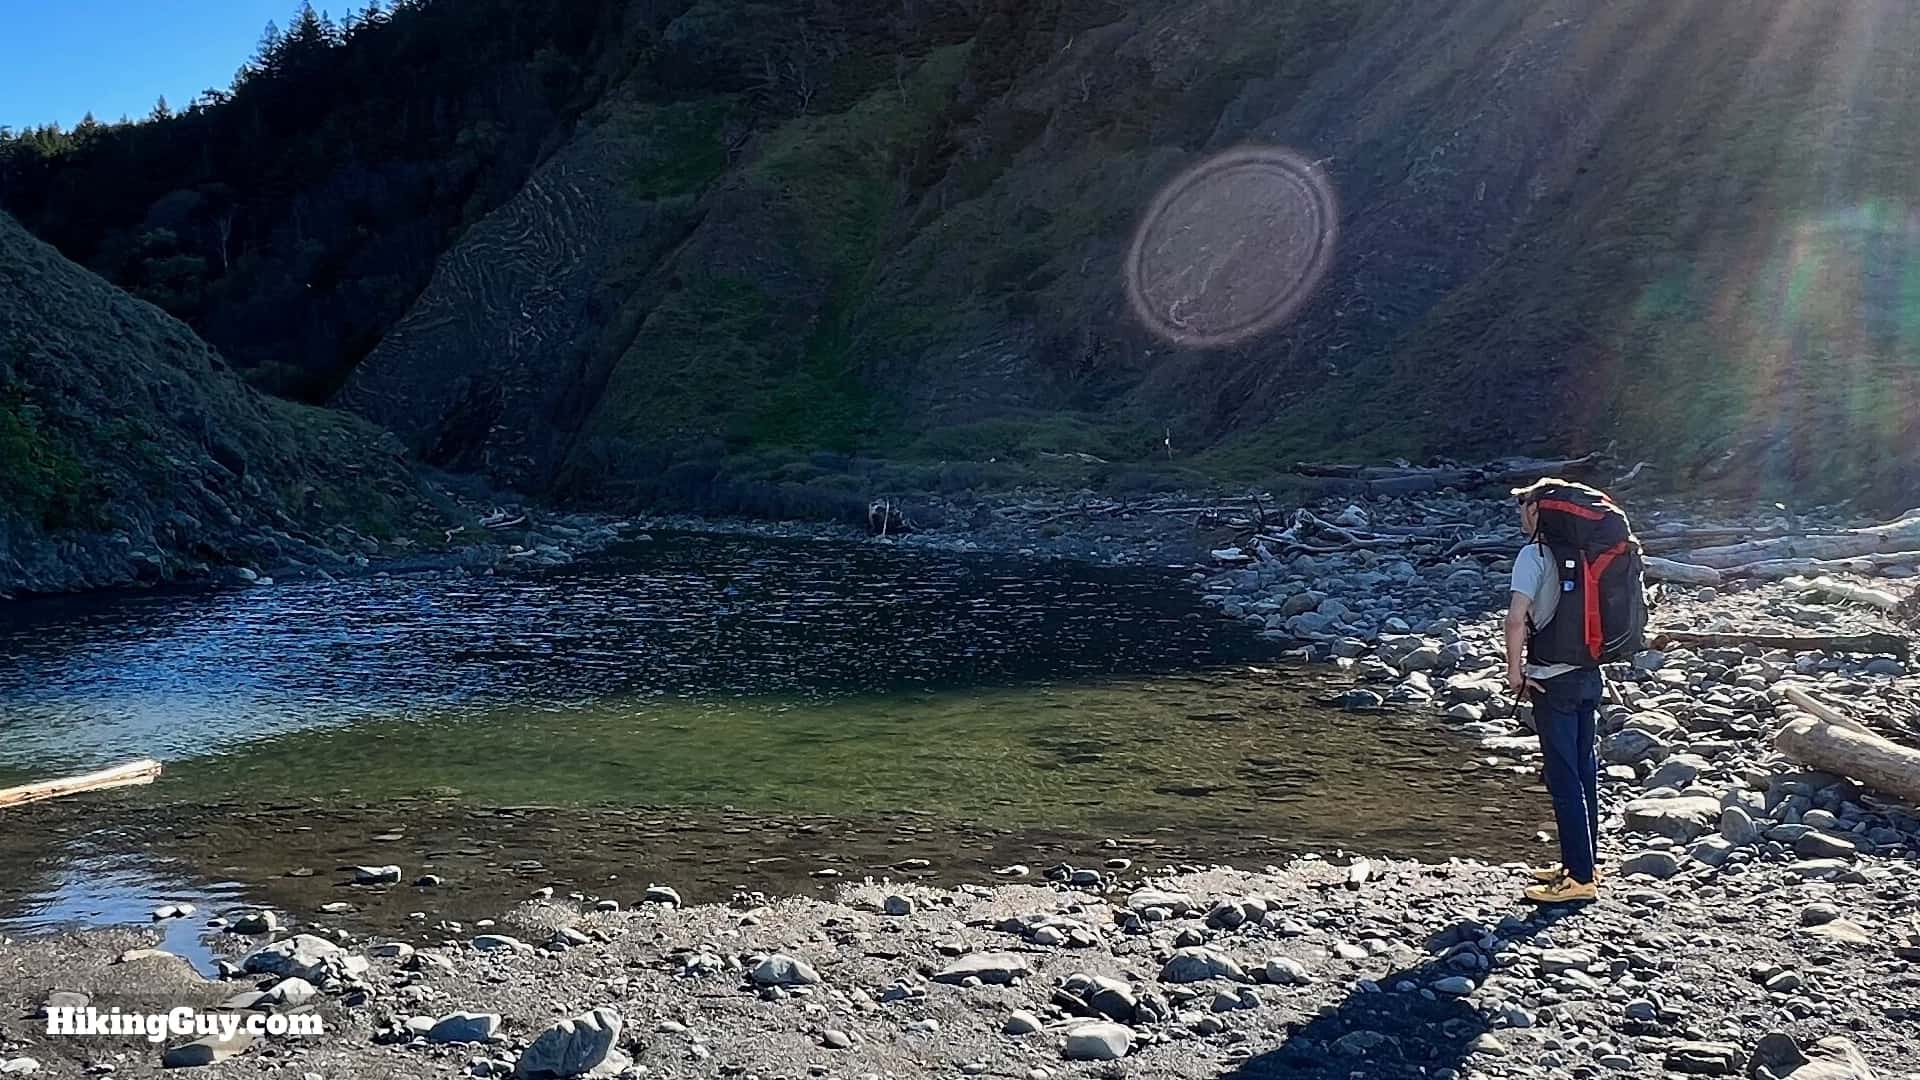
A tea or coffee in the morning is a great way to enjoy camp. Just boil water and throw it in the cup. With this setup the only cookware I carry is a cup and long spork. You could also drink the coffee right out of the stove cooker. - Water Filtration - This one is important. All of the named streams and rivers on the route generally flow year-round. But cattle and sheep graze in the hills, and their waste can contaminate the water. Getting a simple water filter that screws onto a water bottle is simple and works. You shouldn't have to carry more than 1L of water at a time.
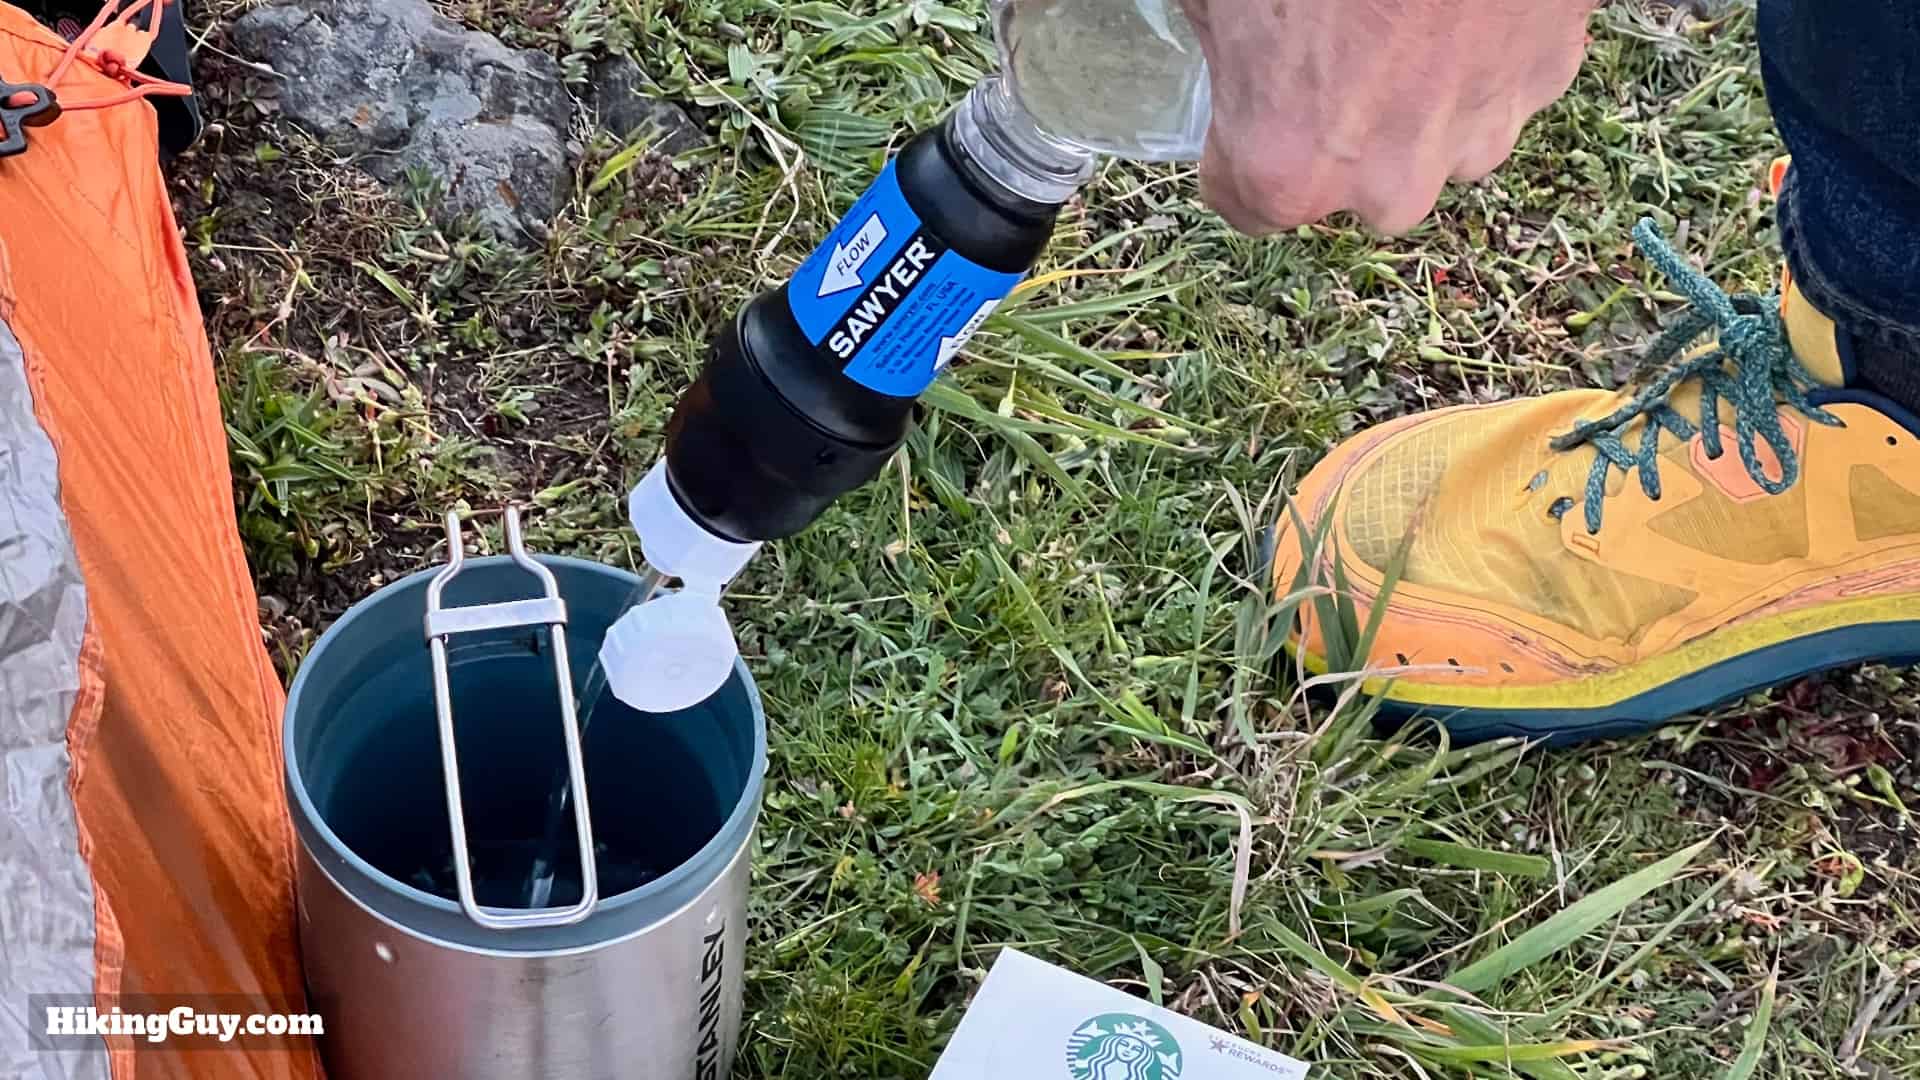
A simple water filter system like this is all you need. Don't buy the expensive pump filters, it's overkill. - Headlamp - Easy to forget but essential. Bring extra batteries.
- Sleeping System - The campsites on the Lost Coast Trail are tent-friendly. It's either sand or soft grass, making it easy to get stakes into the ground. I'd recommend a free-standing tent, a sleeping bag or quilt, and a sleeping pad. You can store your pack in the vestibule of the tent; as long as there is no scented items it will be fine. Practice setting up your tent at home so that you can do it quickly if it's raining out. Don't forget to practice staking it out too; gale-force winds can easily whip up a tent.
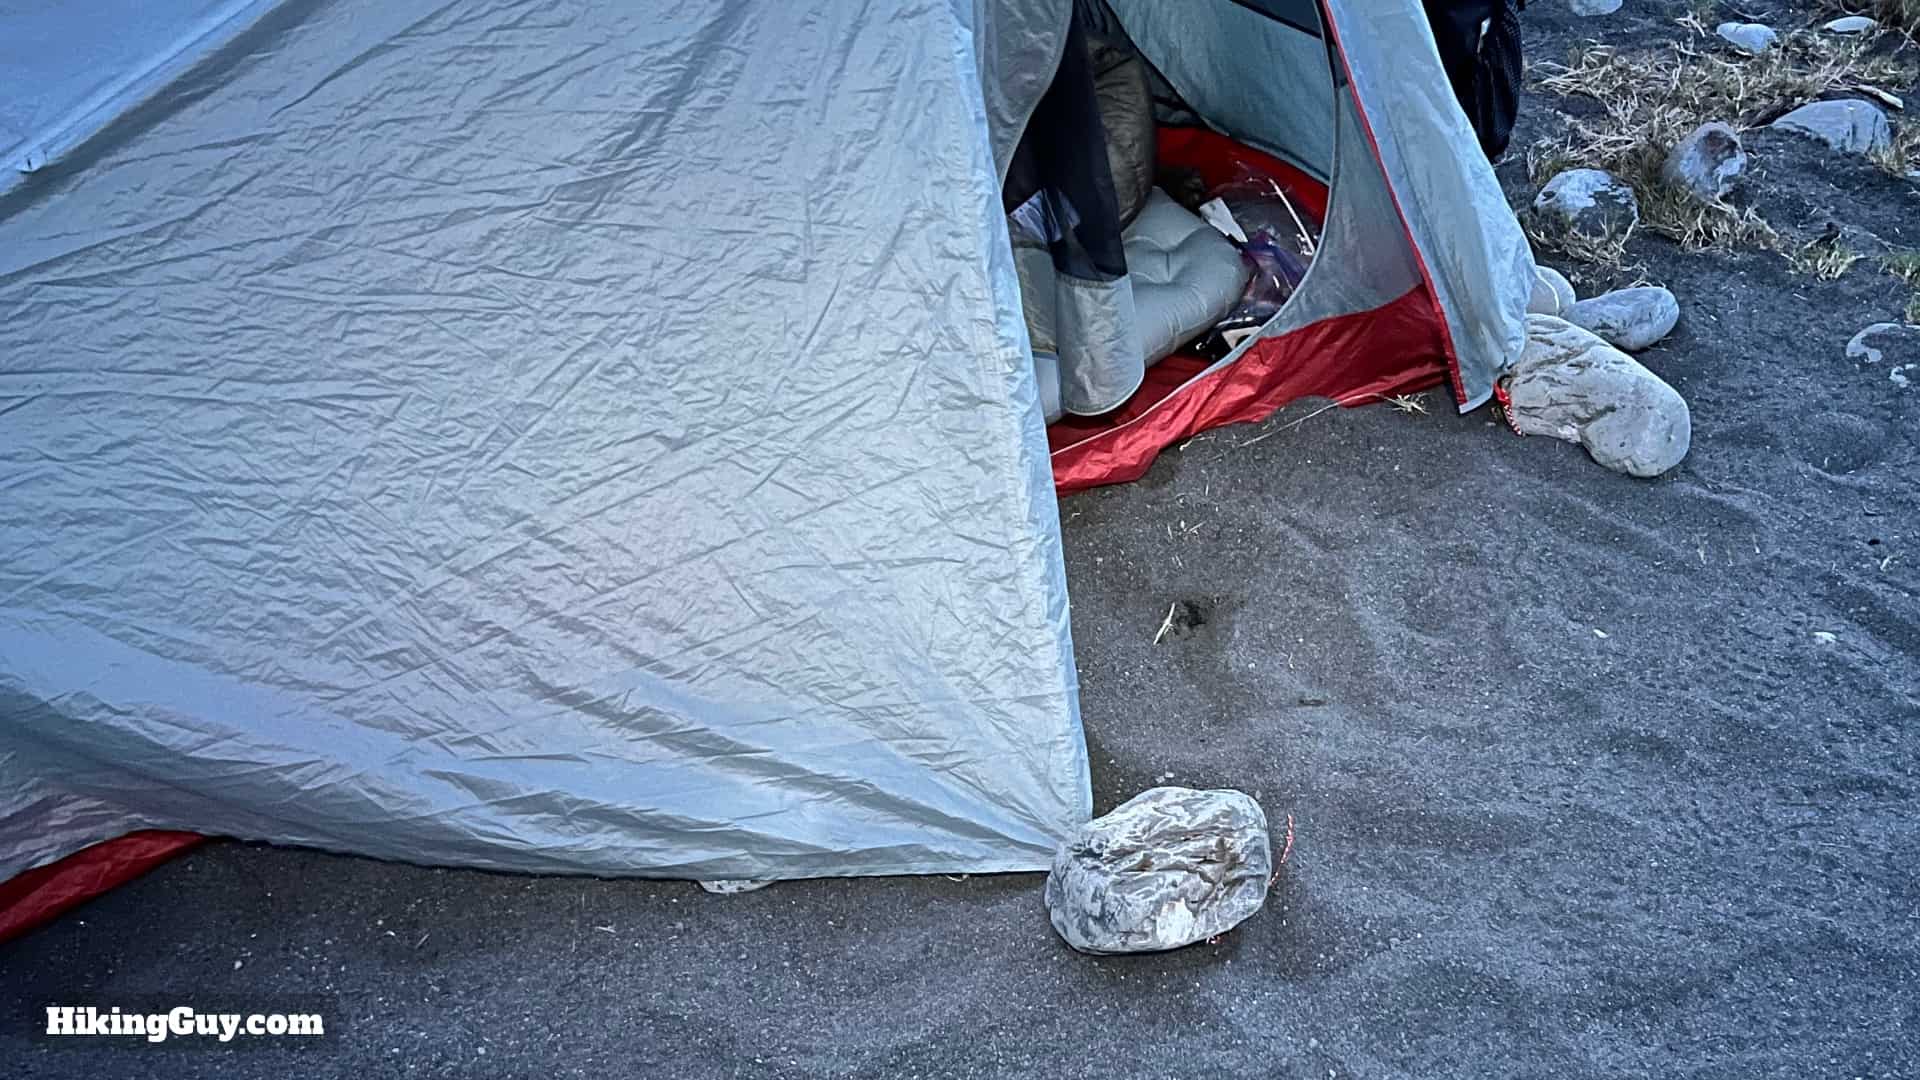
Use stones on top of your tent steaks to provide extra support. - Dry and Warm Clothes - Bring dry clothes in a Zip-Loc bag and put them on when in your tent. Sleeping when you're wet is not a fun time. Bring another heavy duty trash bag to store your wet gear.
- Sandals - If you want to give your feet a break from your hiking footwear at camp, lightweight flip-flops or Crocs are good. Overall the ground is sandy and soft, and you can get away without them if you pick your campsites carefully.
Essentials I’m Using Now
- Garmin inReach Mini 2: Reliable SOS Everywhere on Earth
- Sawyer + CNOC Water Filter: Easy & Reliable Safe Water
- Nitecore NU25 Headlamp: Running late? Get home safe
- Altra Olympus 275: Favorite trail shoes right now, no blisters and very comfy.
- AllTrails Plus (30% off): Offline maps on your phone with the Plus level
- Full November 2025 Gear List →
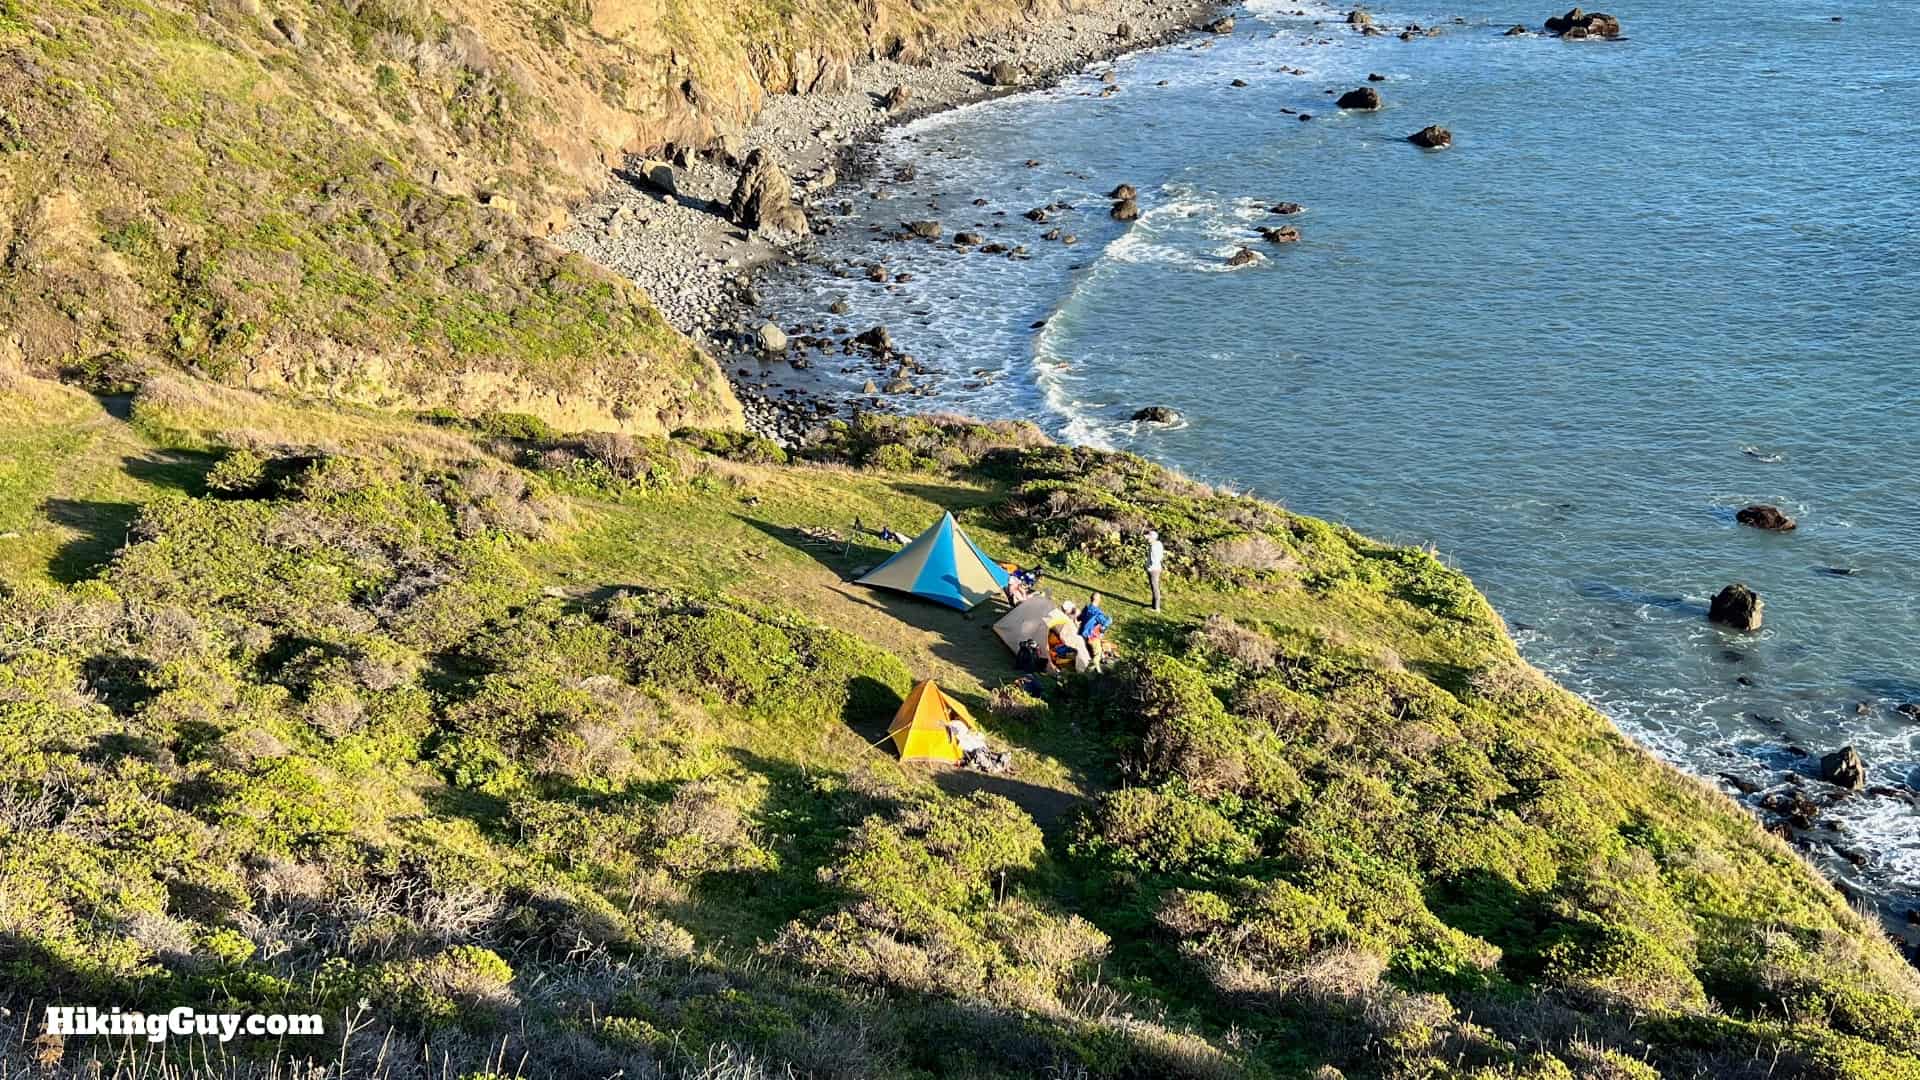
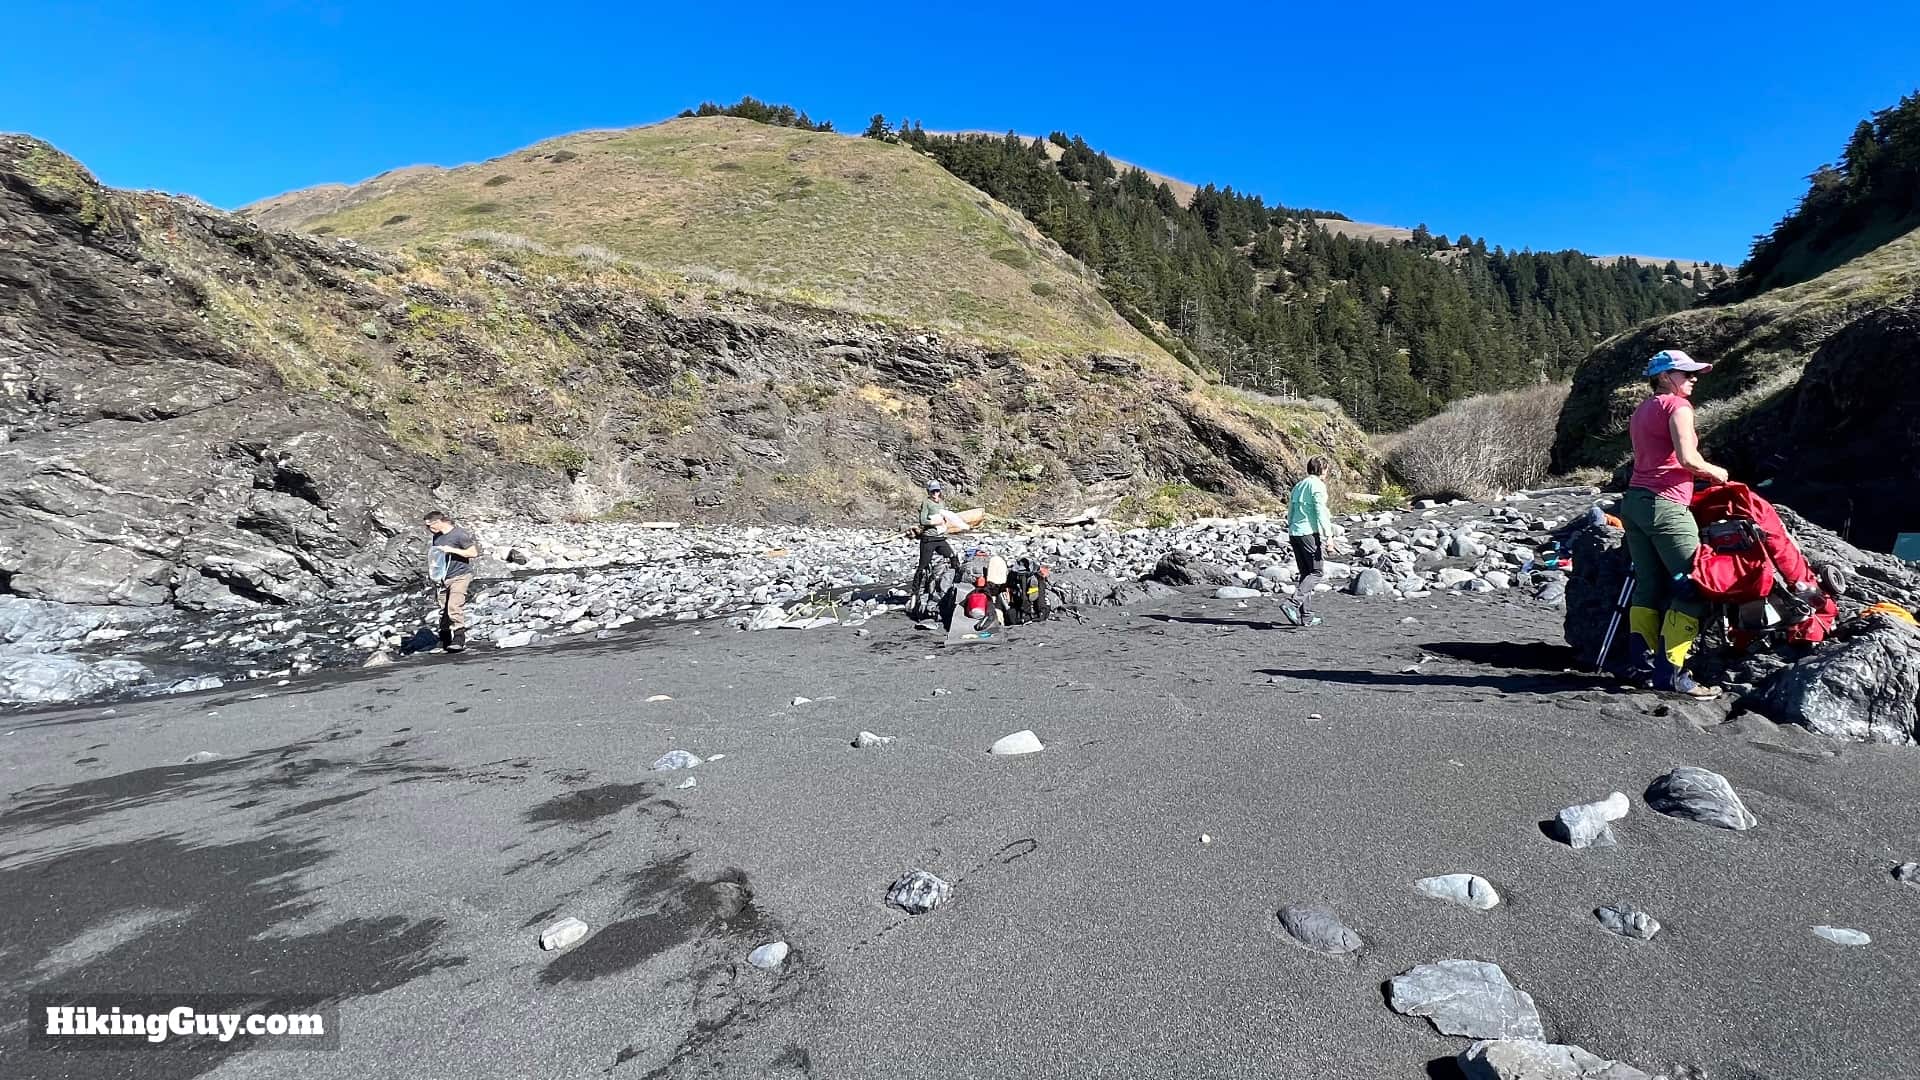
Lost Coast Trail Camping
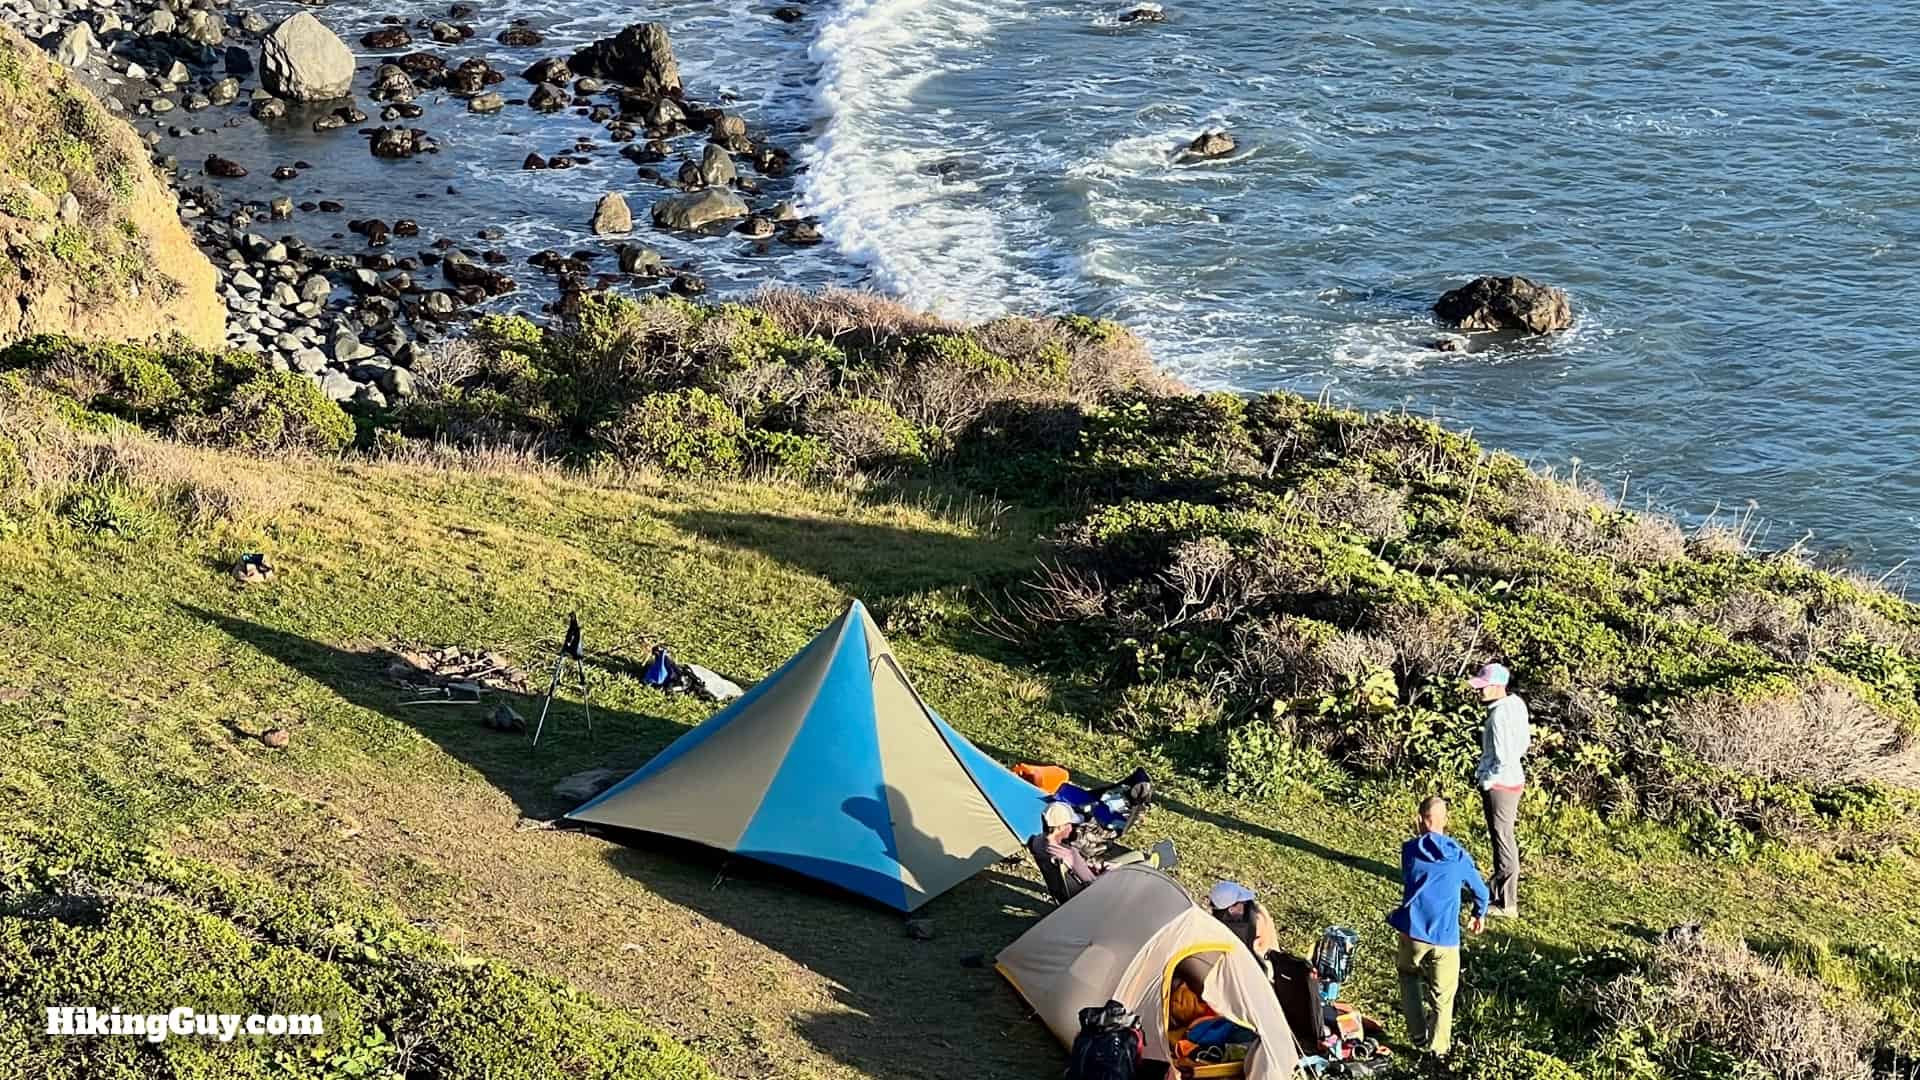
Good campsites are found, not made.
Camping is pretty straightforward on the Lost Coast Trail. Here's the deal.
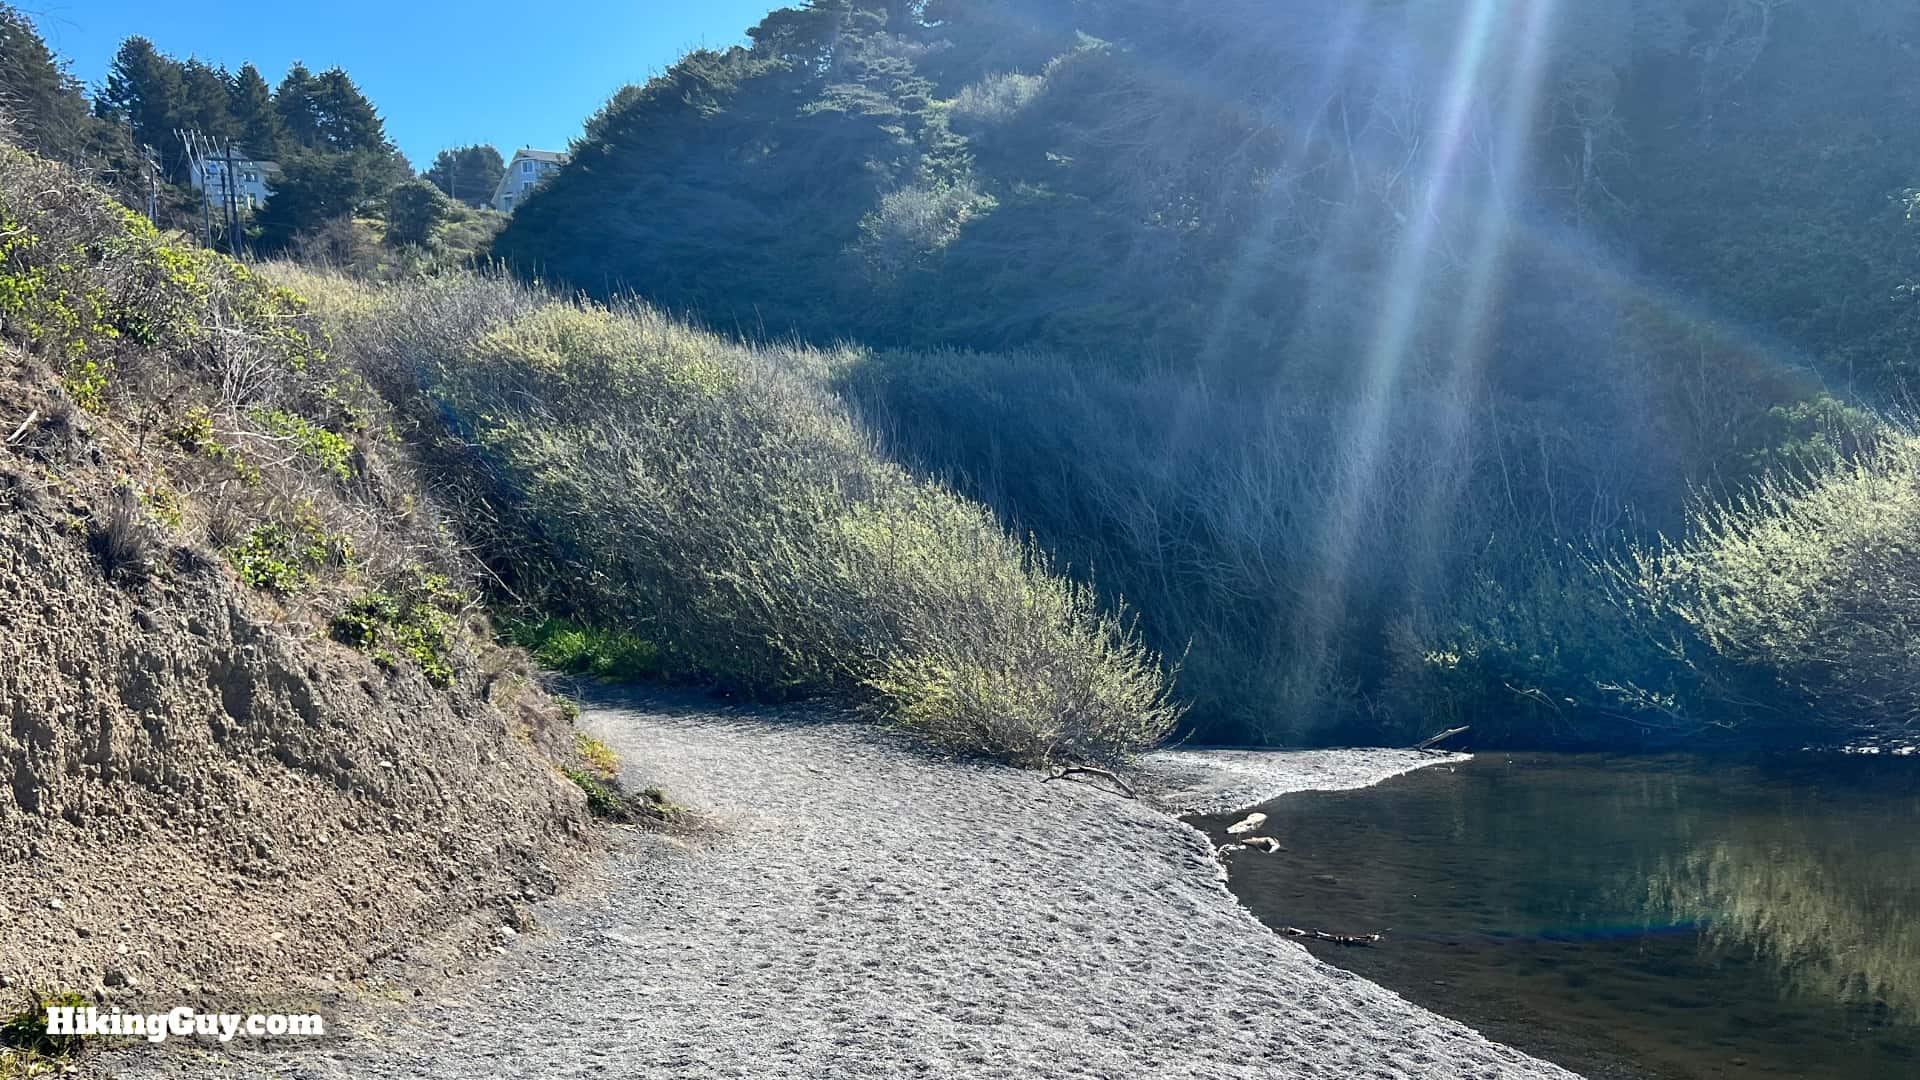
- You can set up your tent anywhere between Mattole Beach and Telegraph Creek, 5 minutes north of Black Sands Beach at Shelter Cove. You can't camp in Shelter Cove.
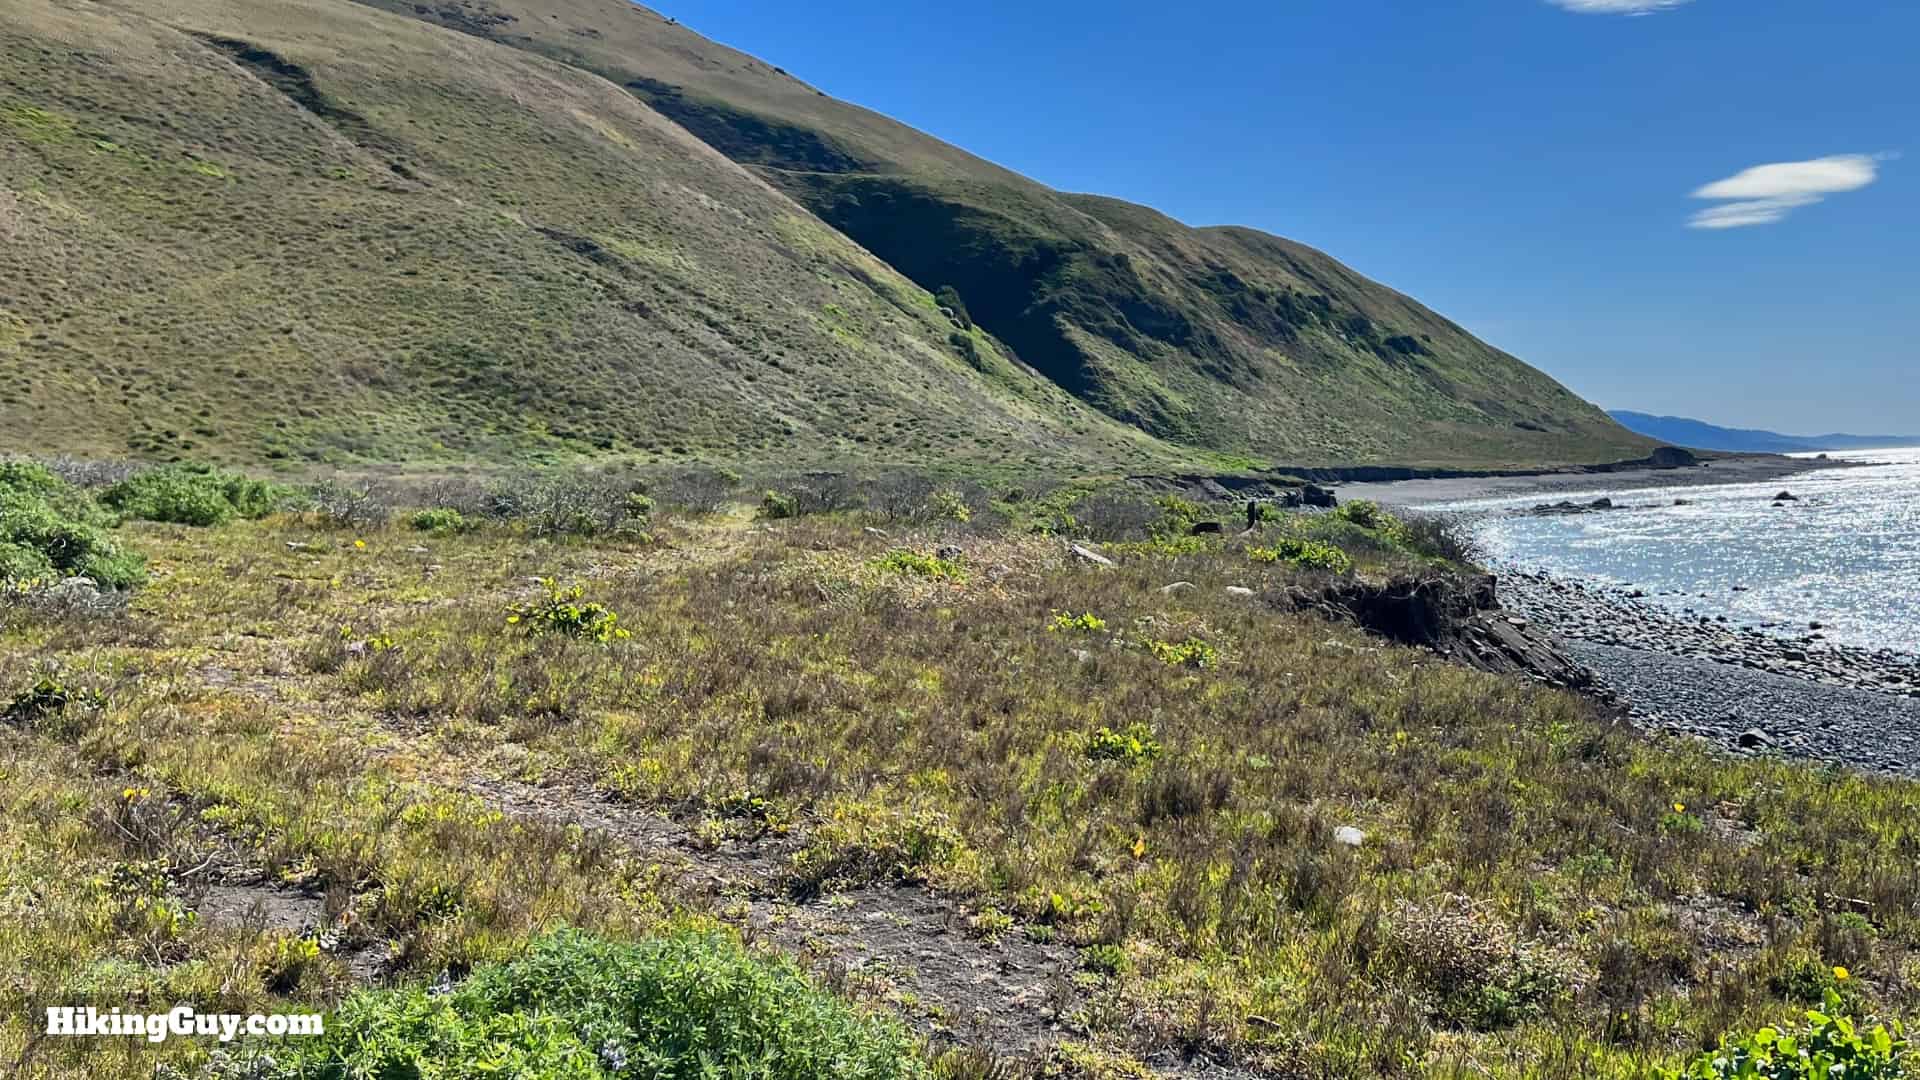
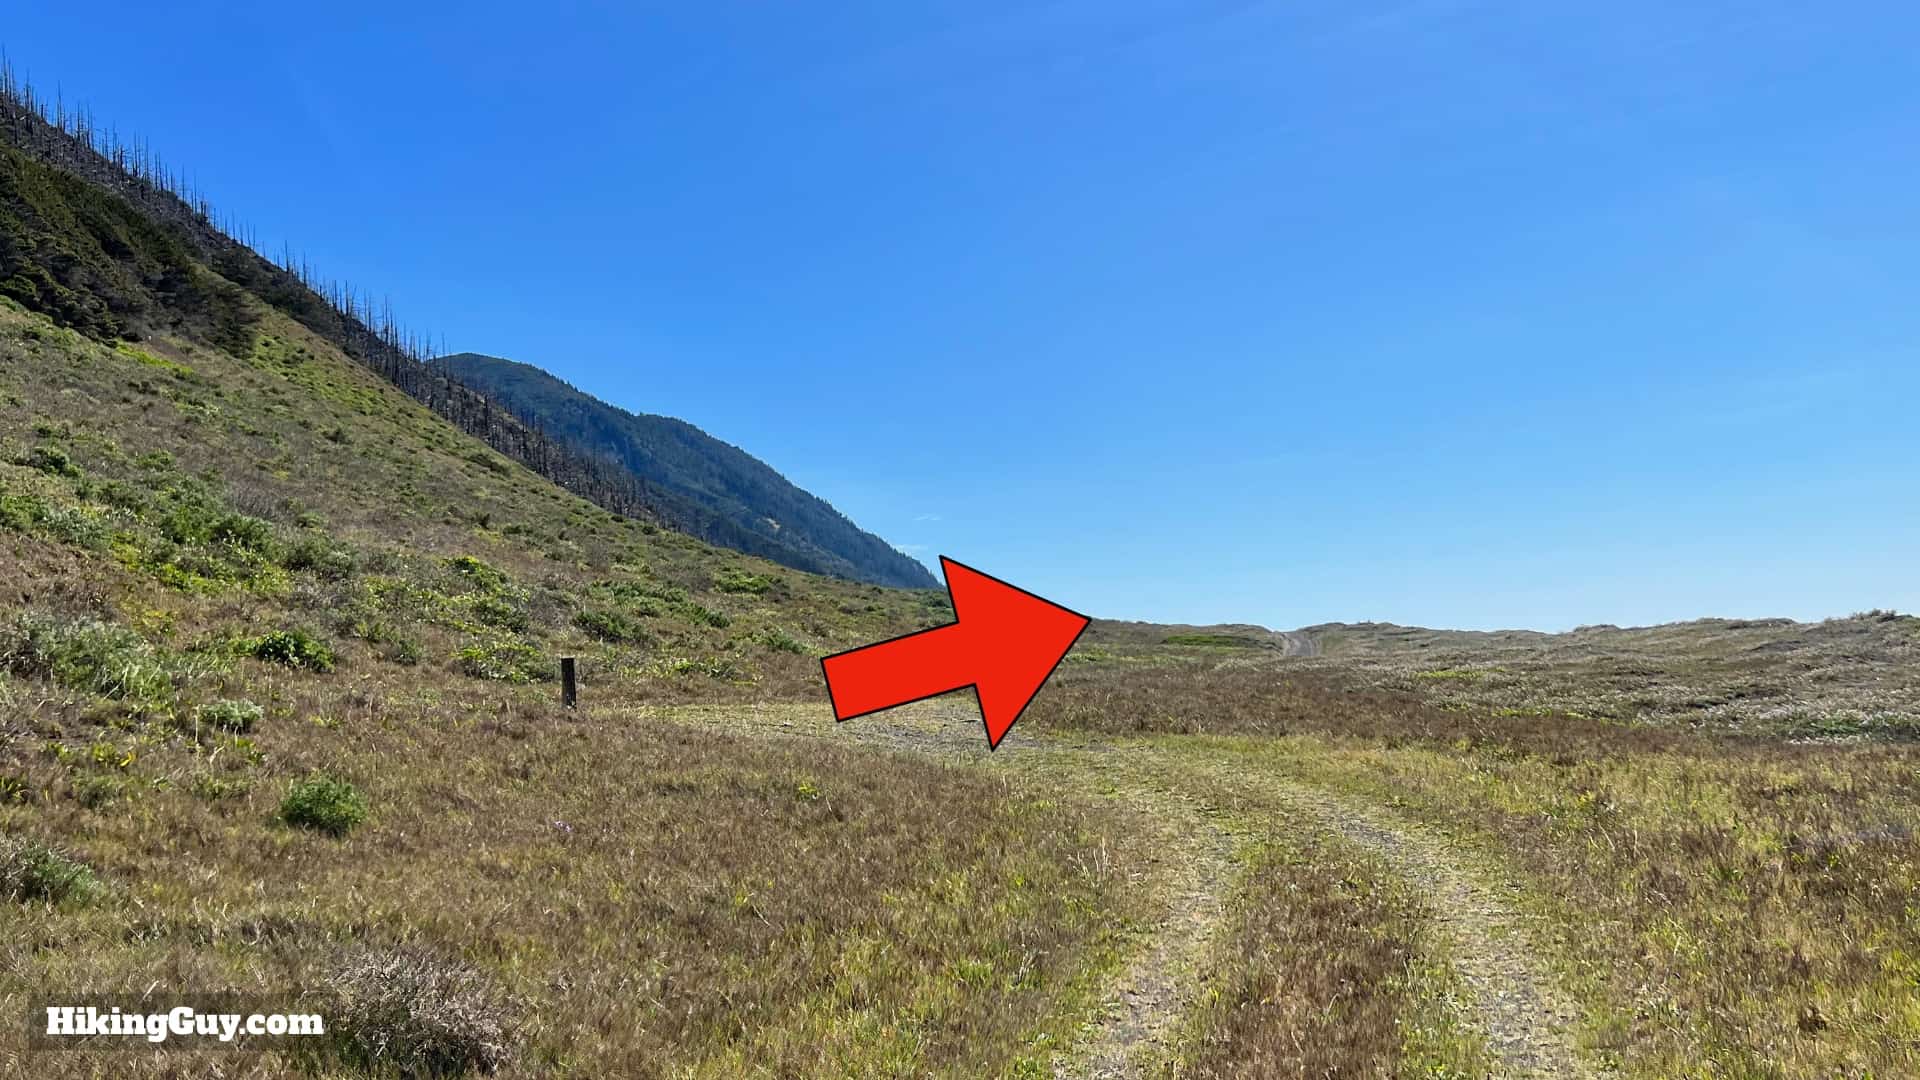
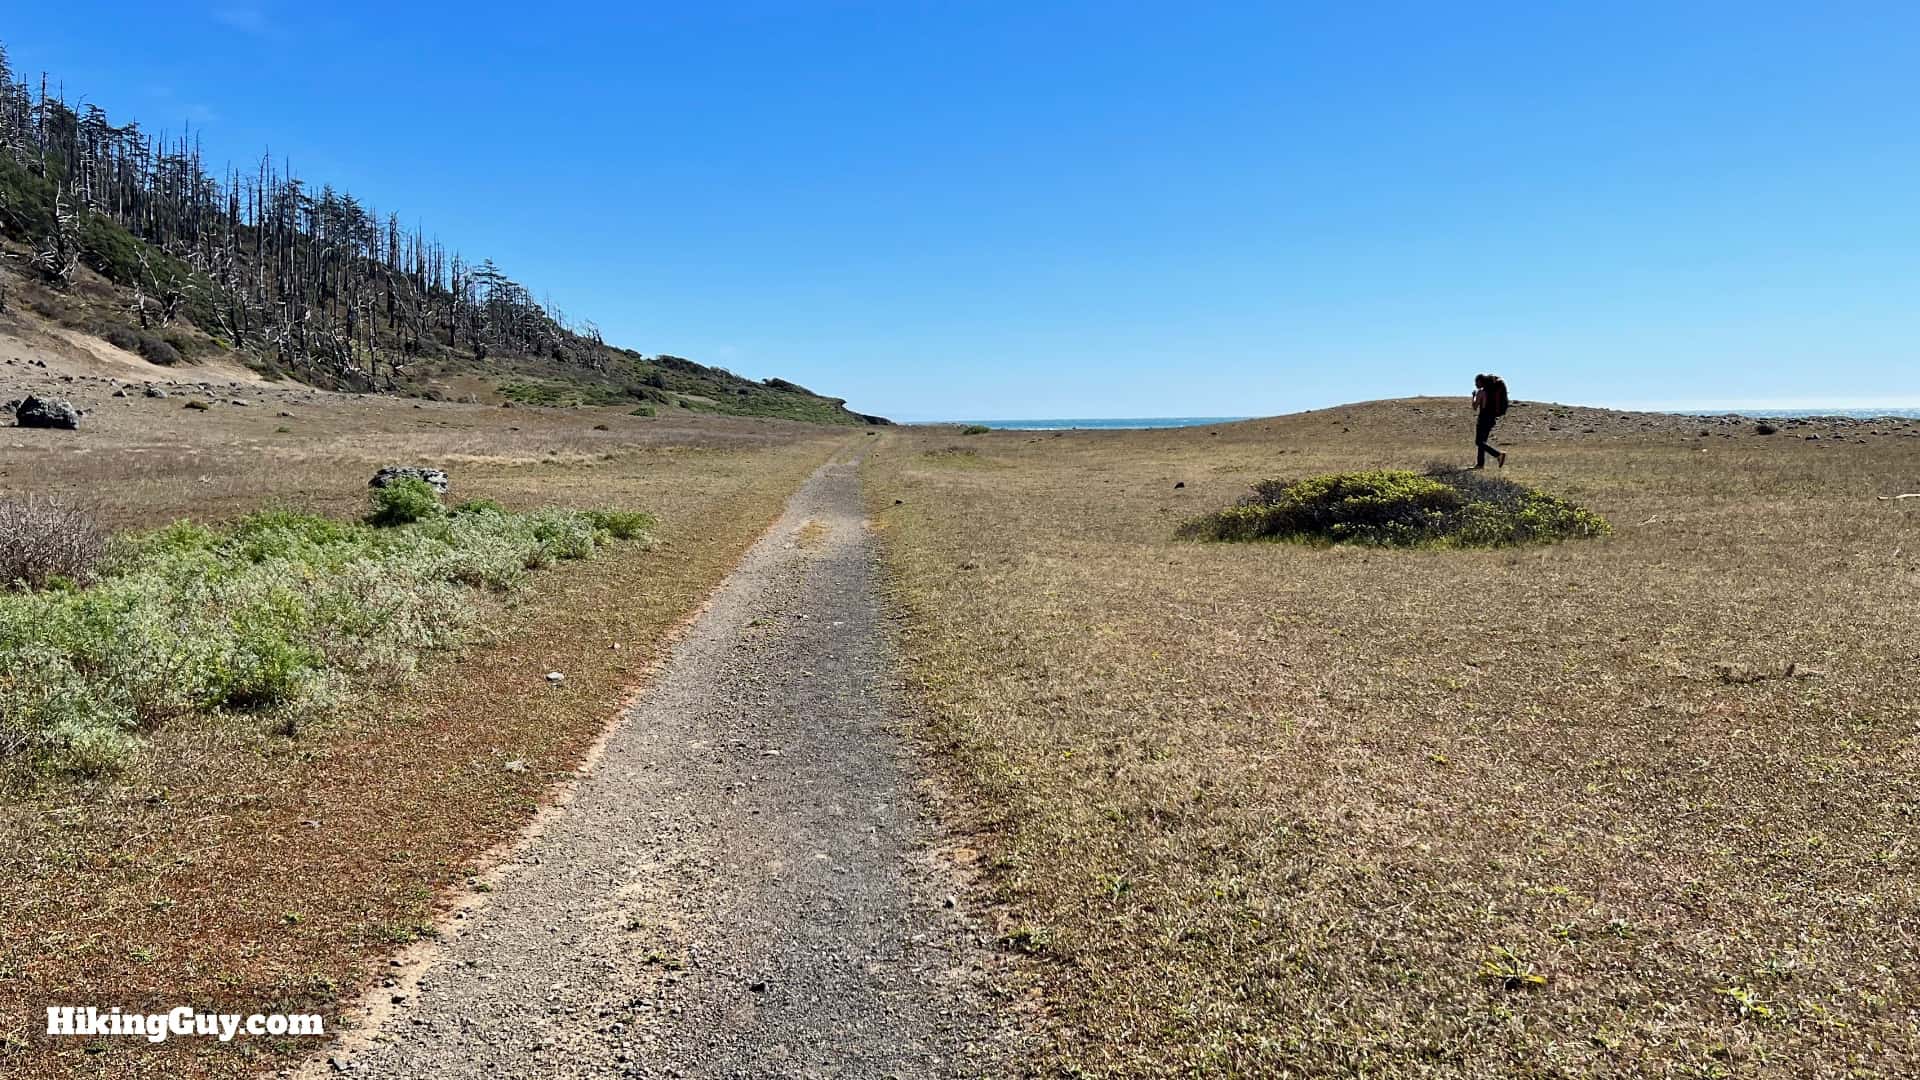
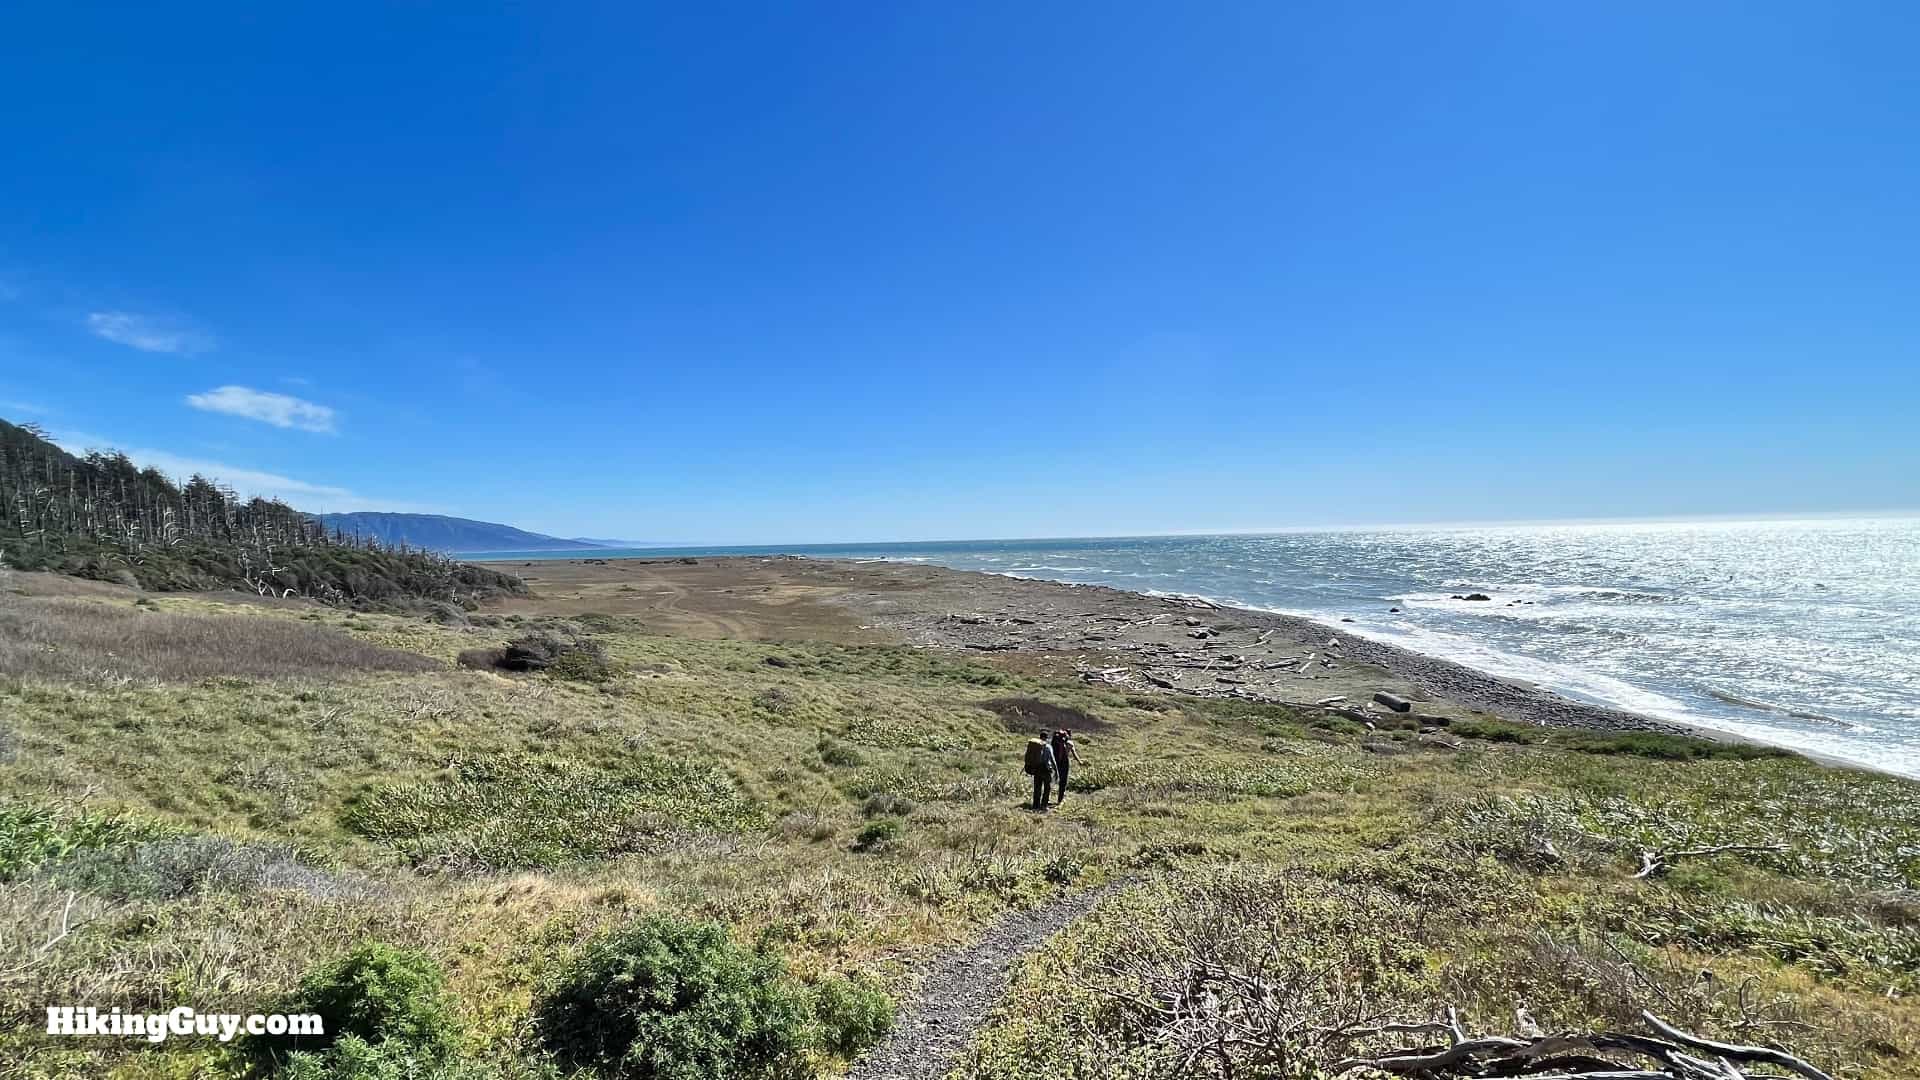
- The trail alternates between beach and grass on the bluffs behind the beach, most of which is level. They are all great places to set up a tent.
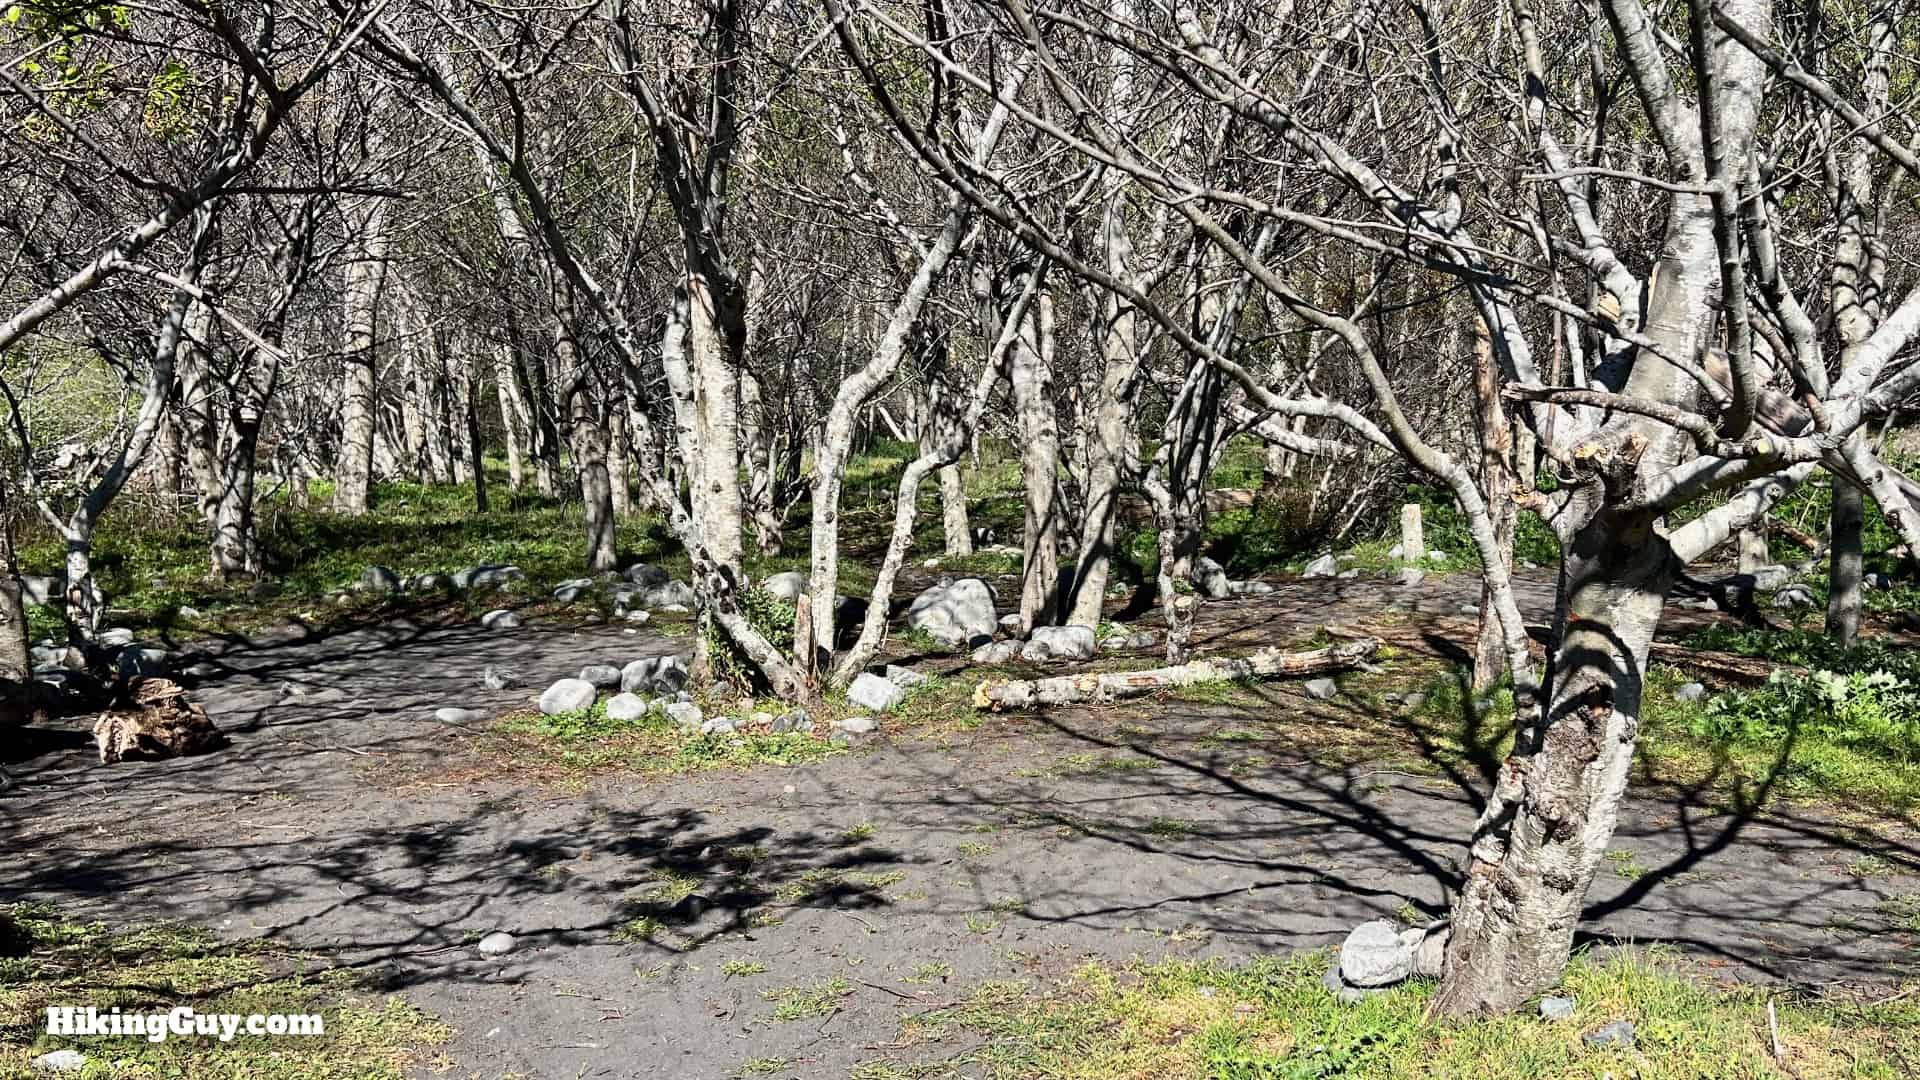
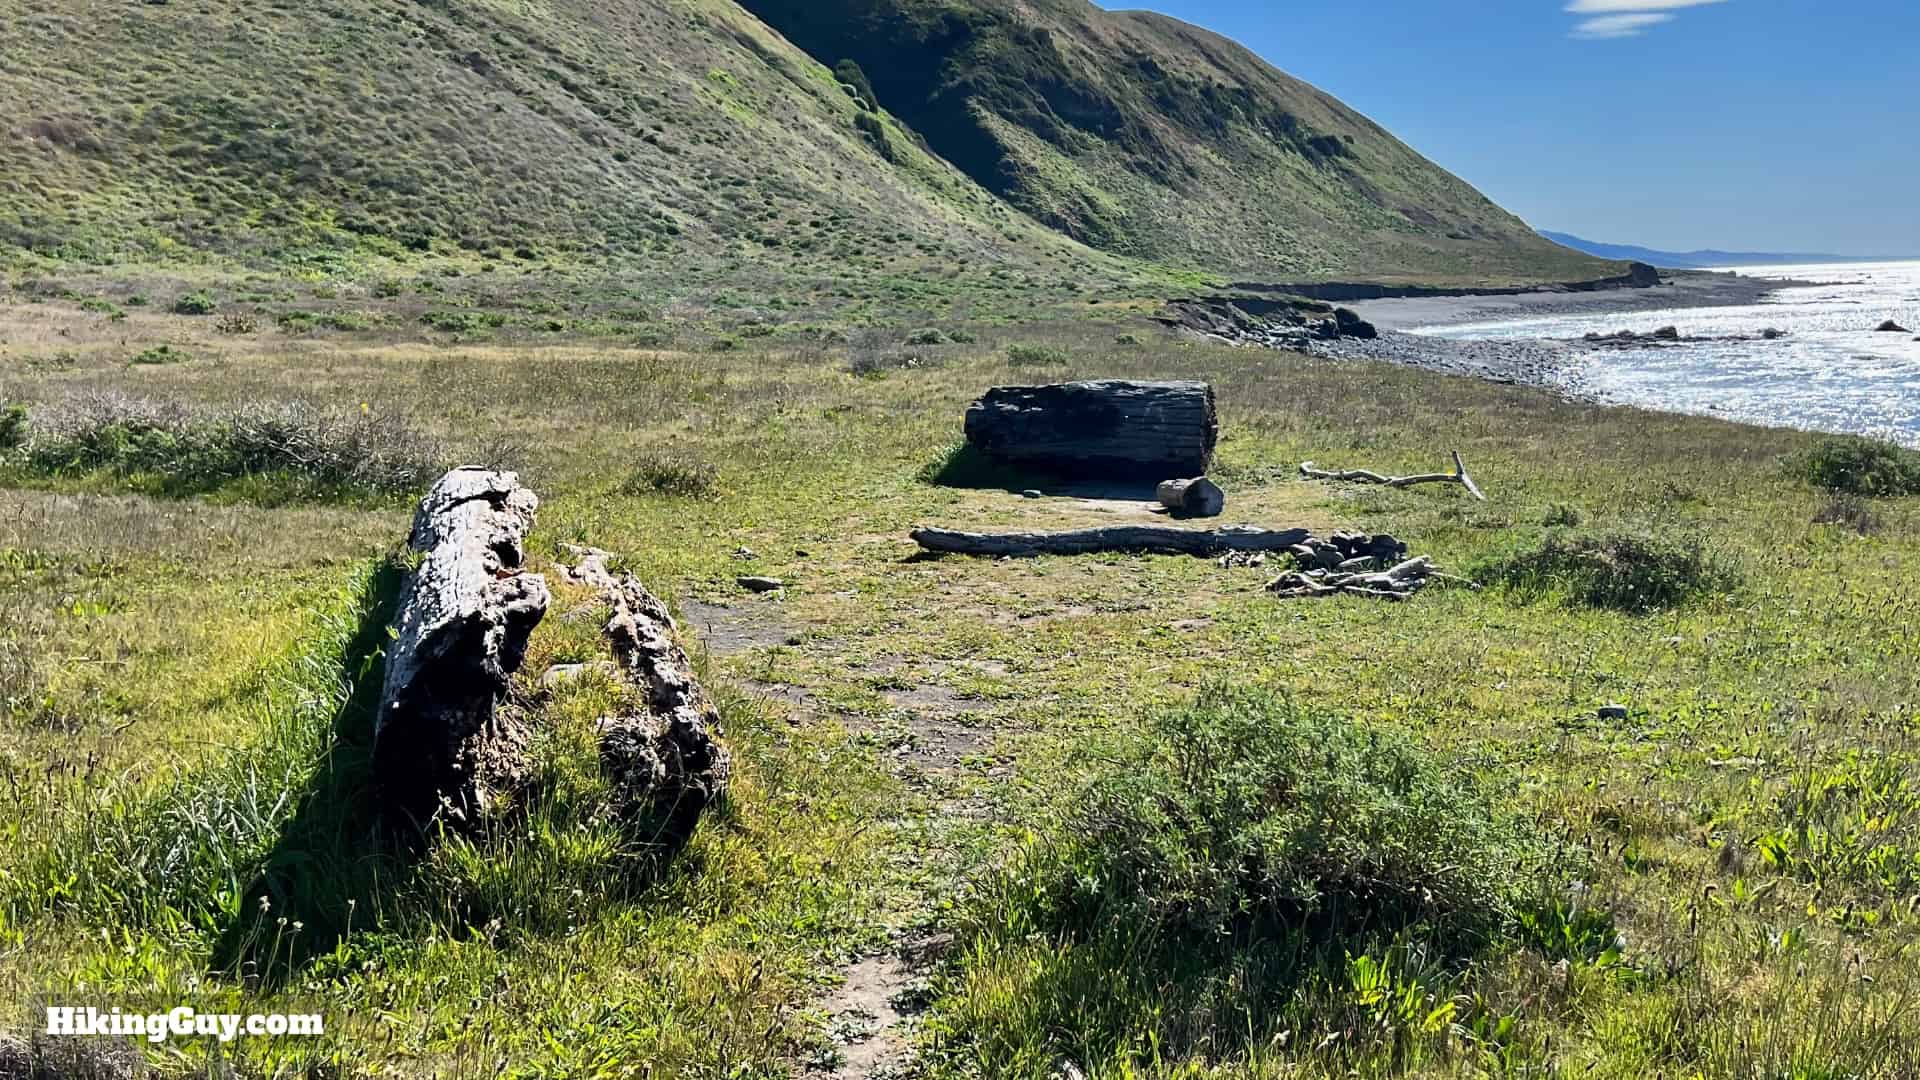
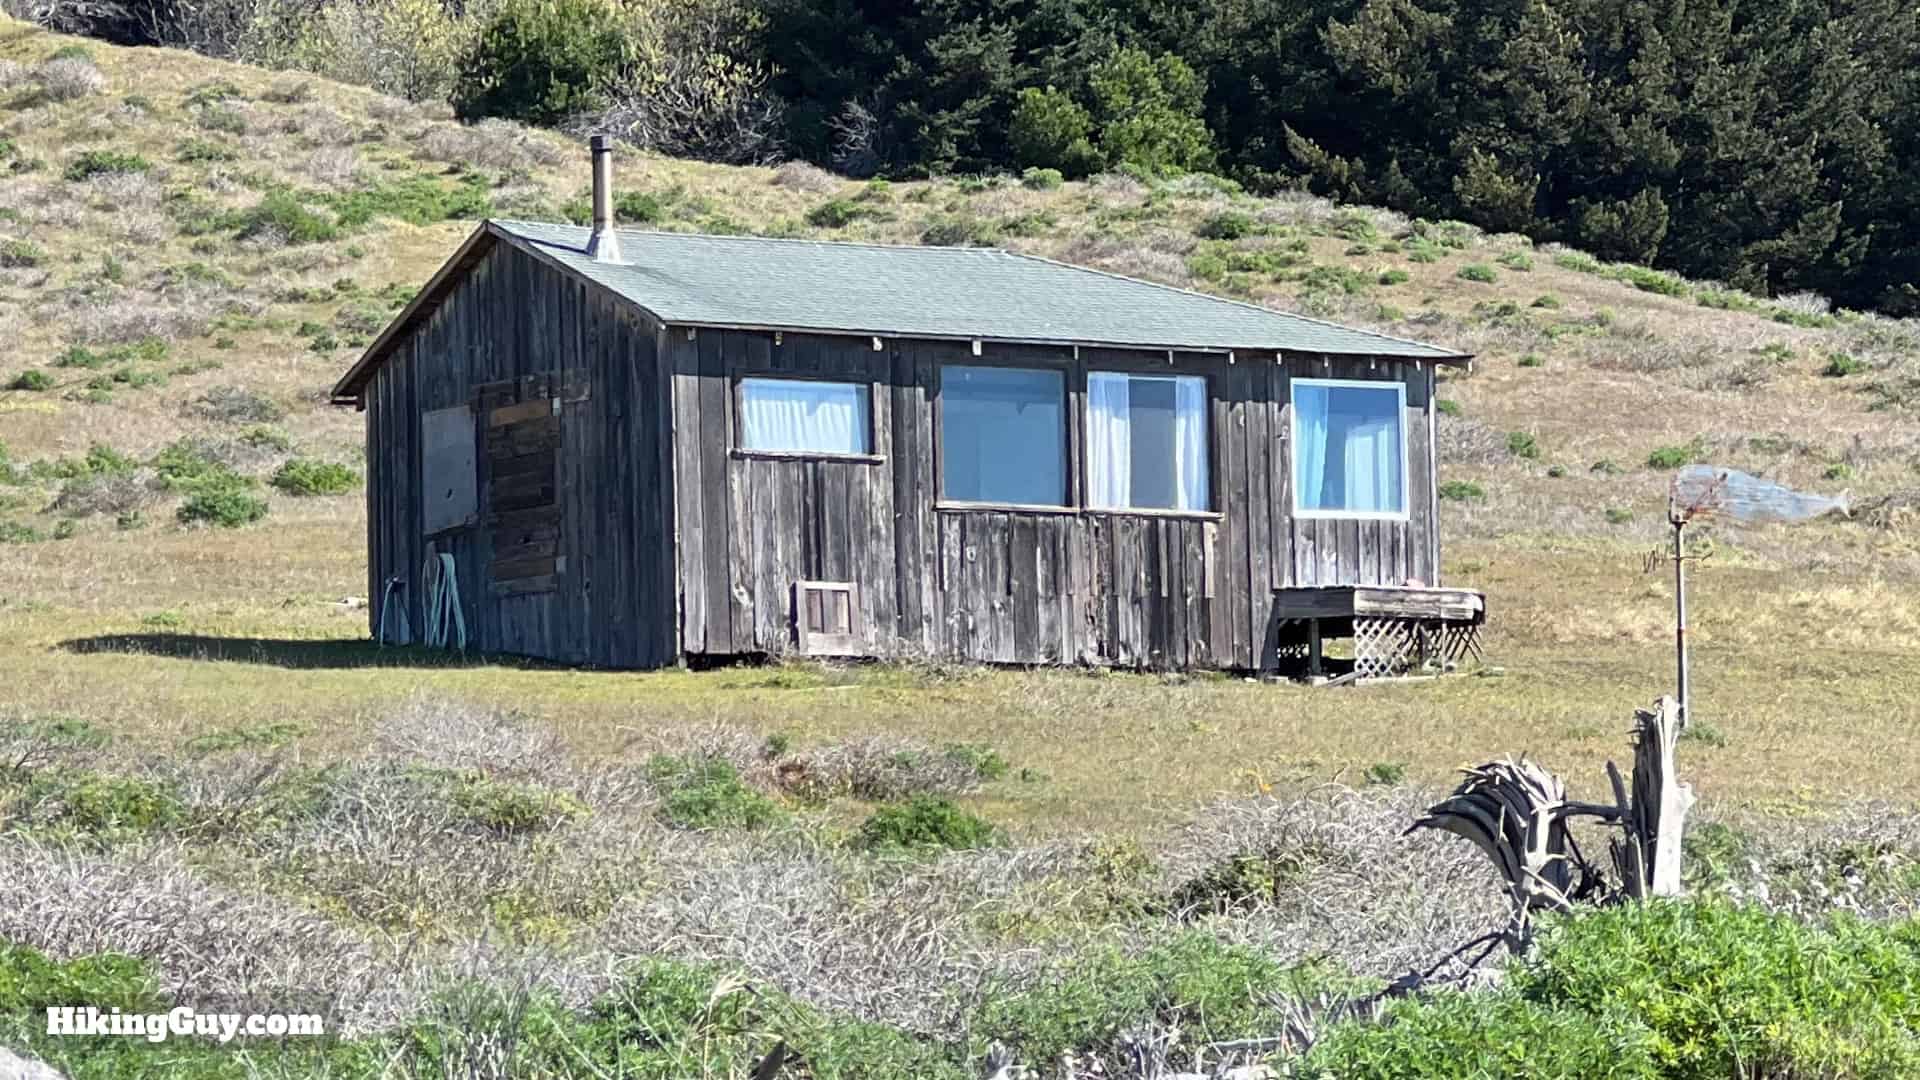
- There are campgrounds listed on the map. These campgrounds are really just sheltered areas with pre-established clearings to pitch a tent. Try to pick a pre-established site to avoid your impact on the land.
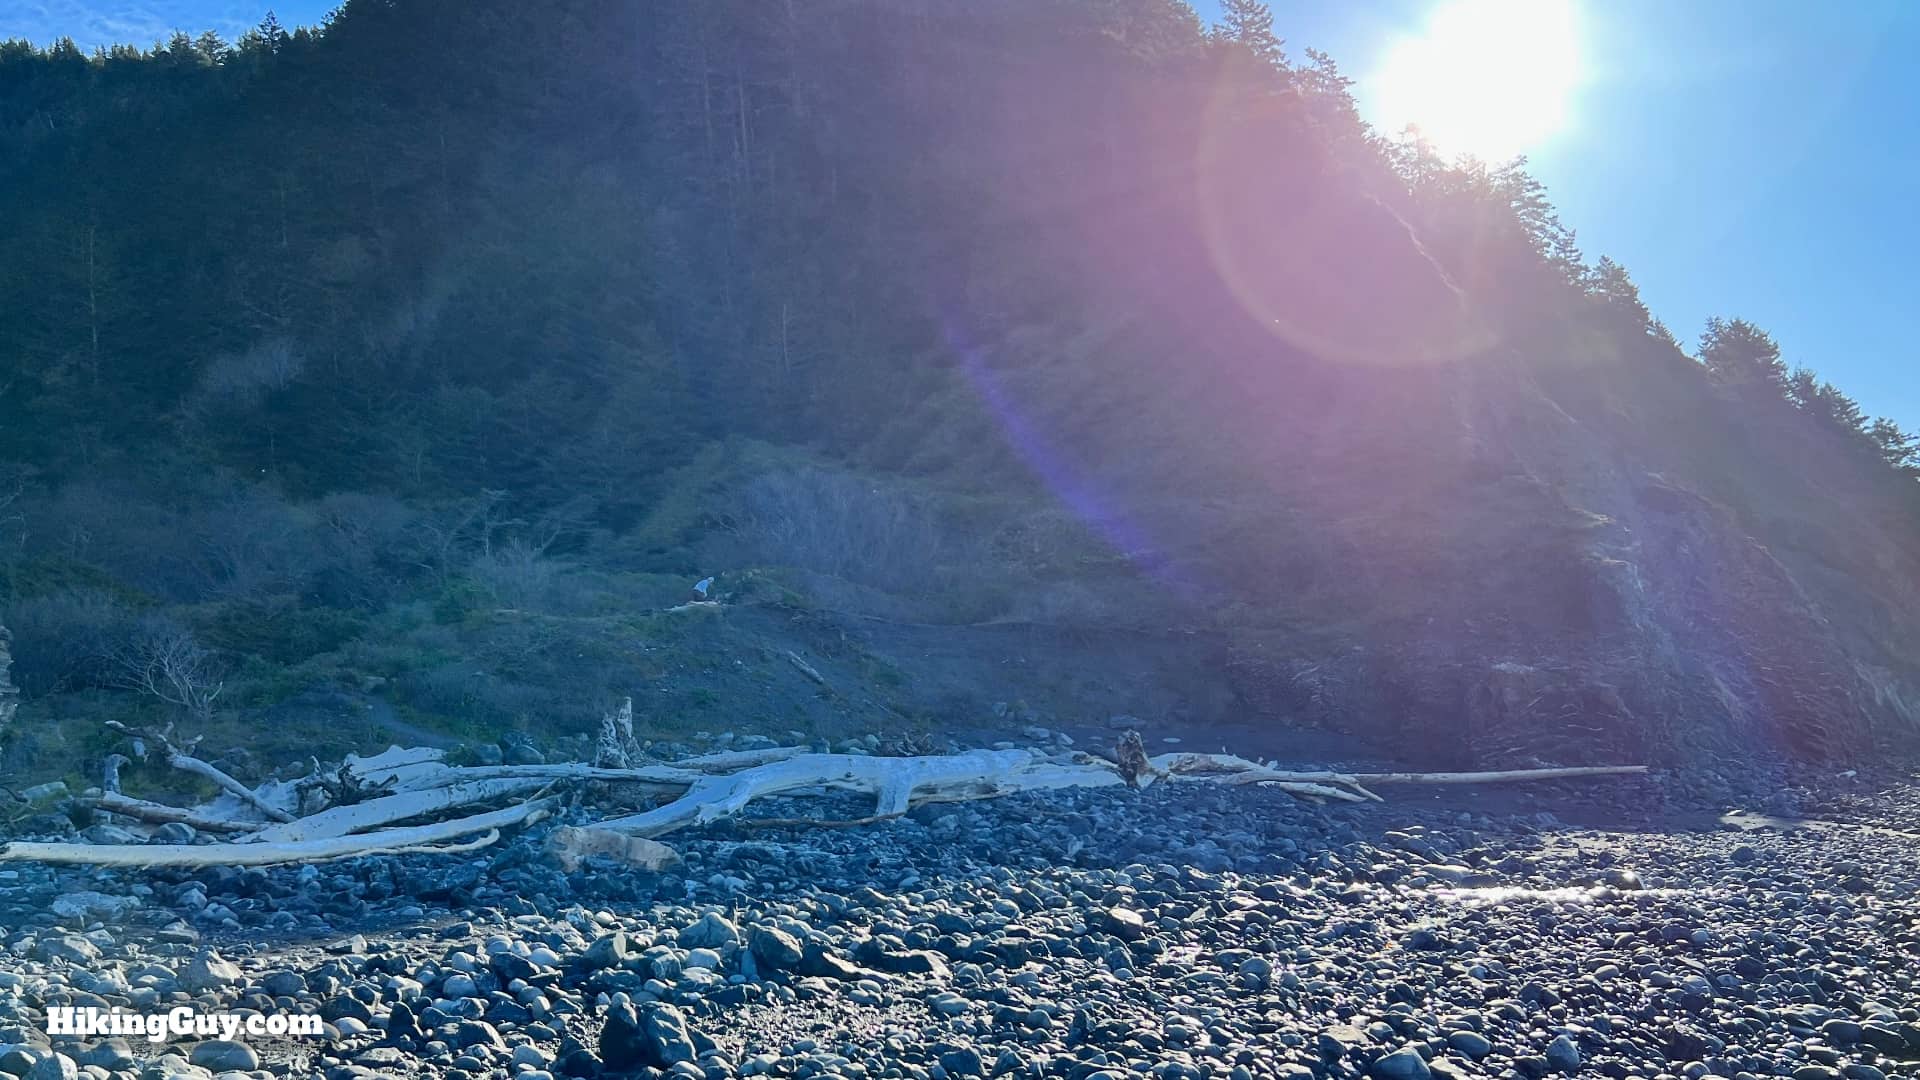
- If you camp by a driftwood shelter, know that they are home to rodents.
- Use your bear canister whenever you are away from your food. Animals can raid your food while you step away for a minute to refill water or whatever.
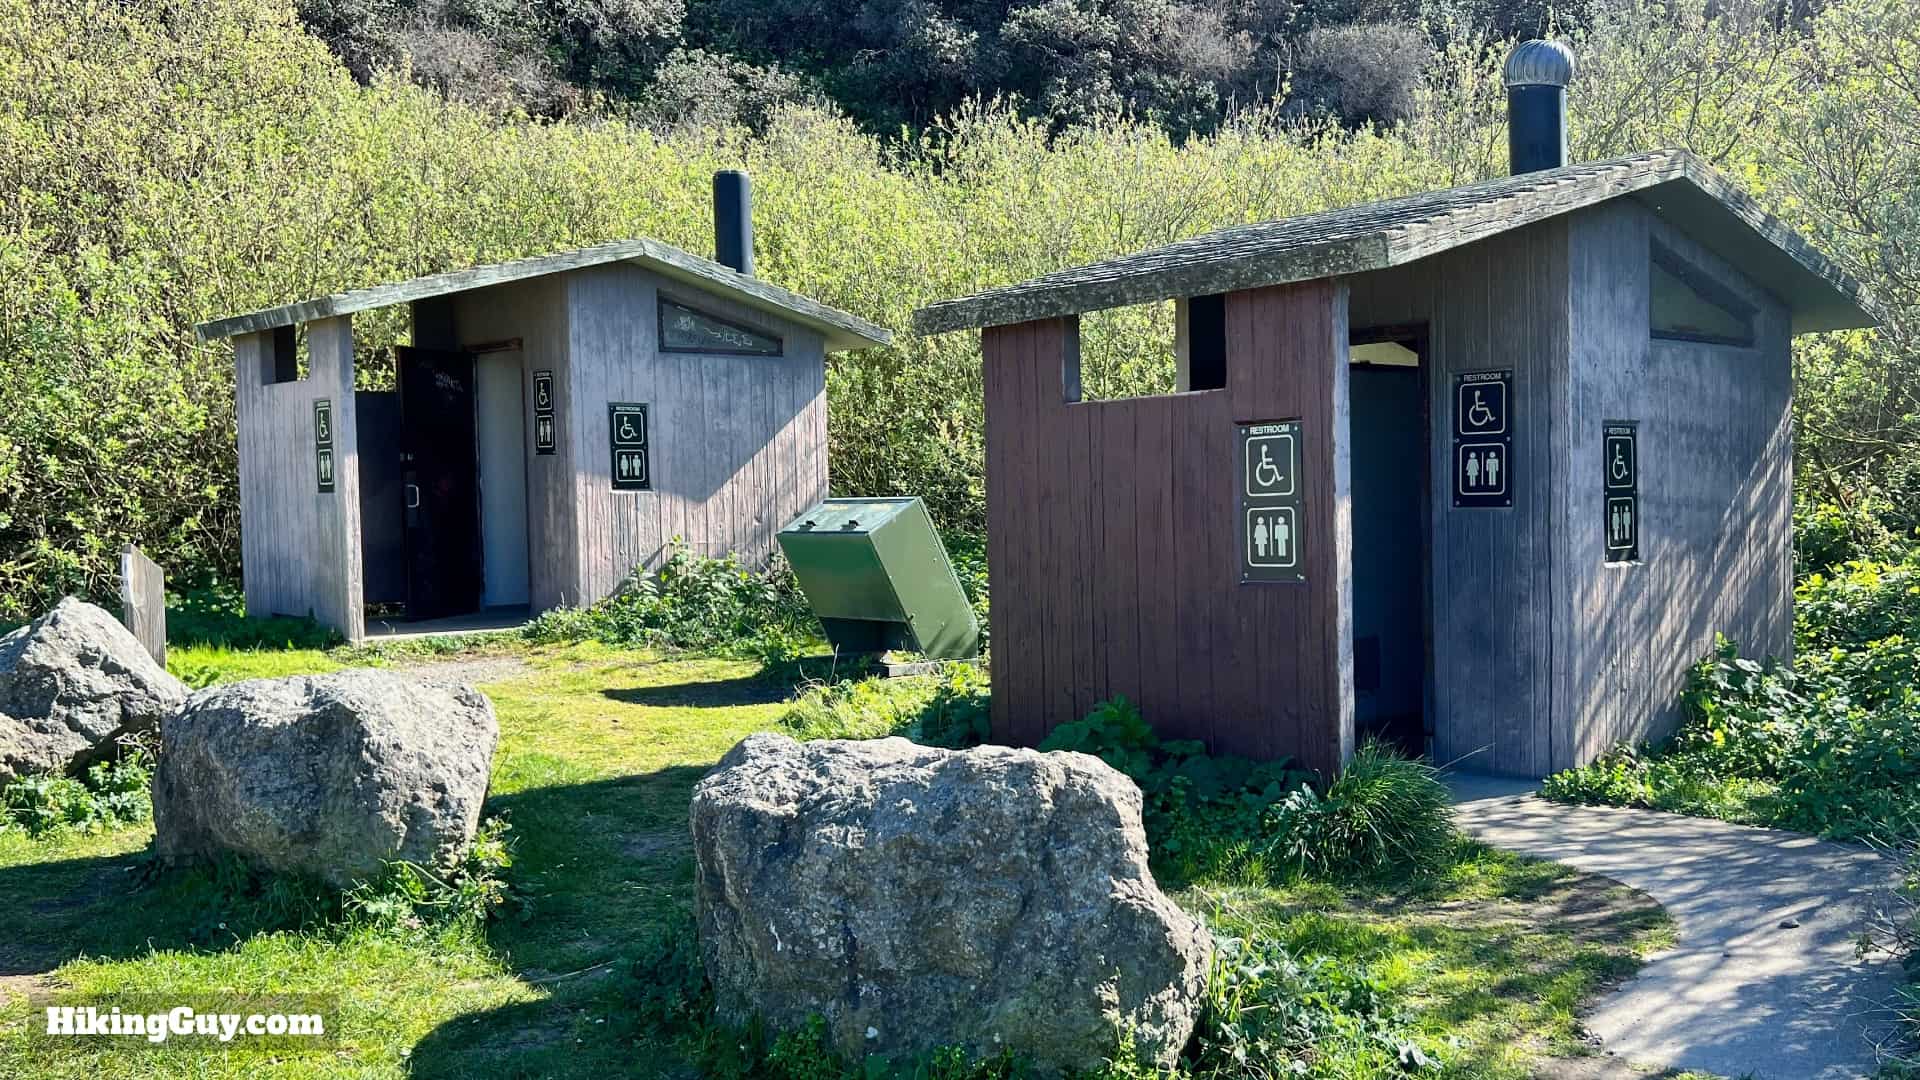
- There are no toilets or facilities outside of the two trailheads. Poop in the tidal zone of the beach-nowhere else.
- Carry all of your trash out in a Zip-Loc bag. Freeze-dried food packaging does not burn. Practice "Leave No Trace" when on the Lost Coast.
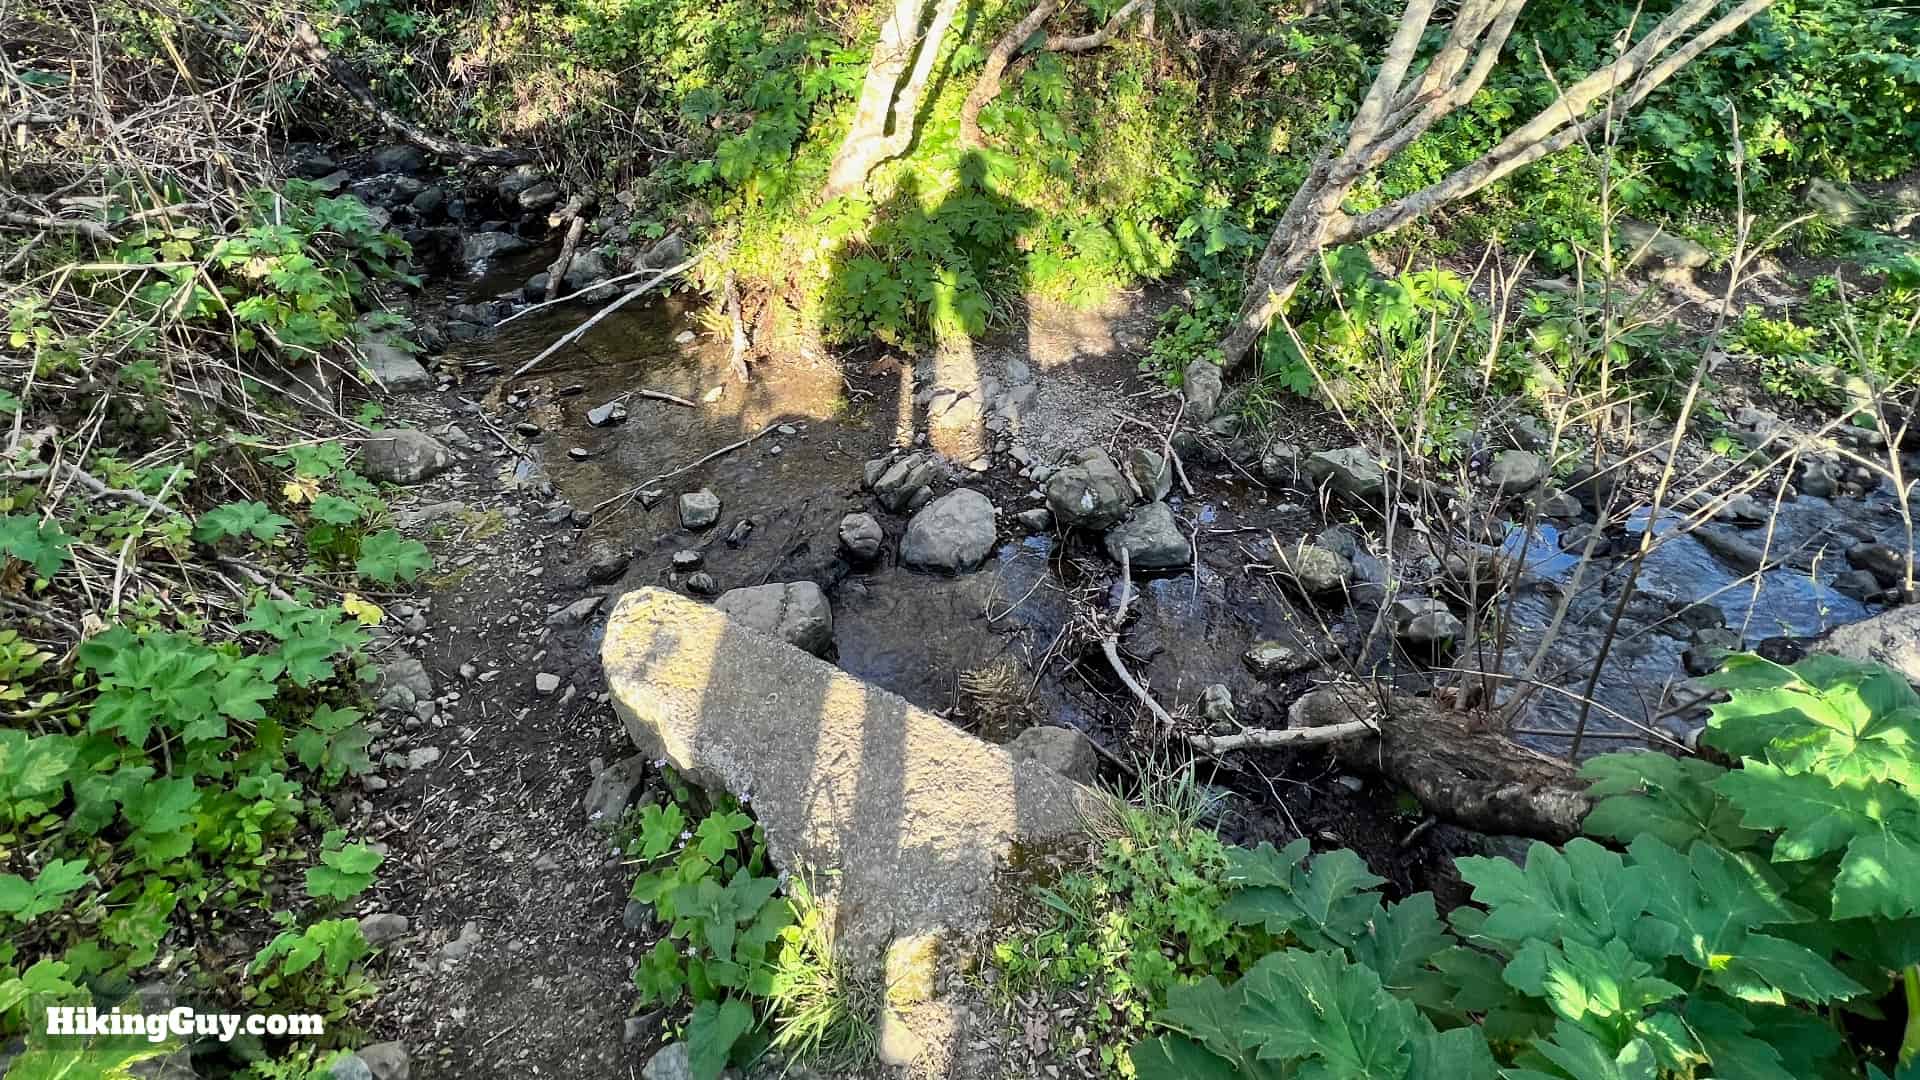
- Most campgrounds are adjacent to a creek that flows out to the sea. This makes it easy to get water while camping, wash your cooking gear, etc.
- The wind can be intense, and usually comes from the northwest. Pick a spot that's sheltered from the wind if possible. Otherwise your tent will likely be loudly flapping all night.
Campsites in canyons where the rivers flow out often have nice hidden spots protected from the wind. - If you do camp on the beach, make sure you are in a spot safe from the high tide and sneaker waves. Generally established camp areas are safe.
- Some areas have fire rings and there is driftwood you can burn. If you want to start an open campfire, get a CA campfire permit. And check the restrictions on the permit page for fires. In the dry season campfires are often banned completely. The high winds can easily blow cinders and ash. Keep your fire small and under control.
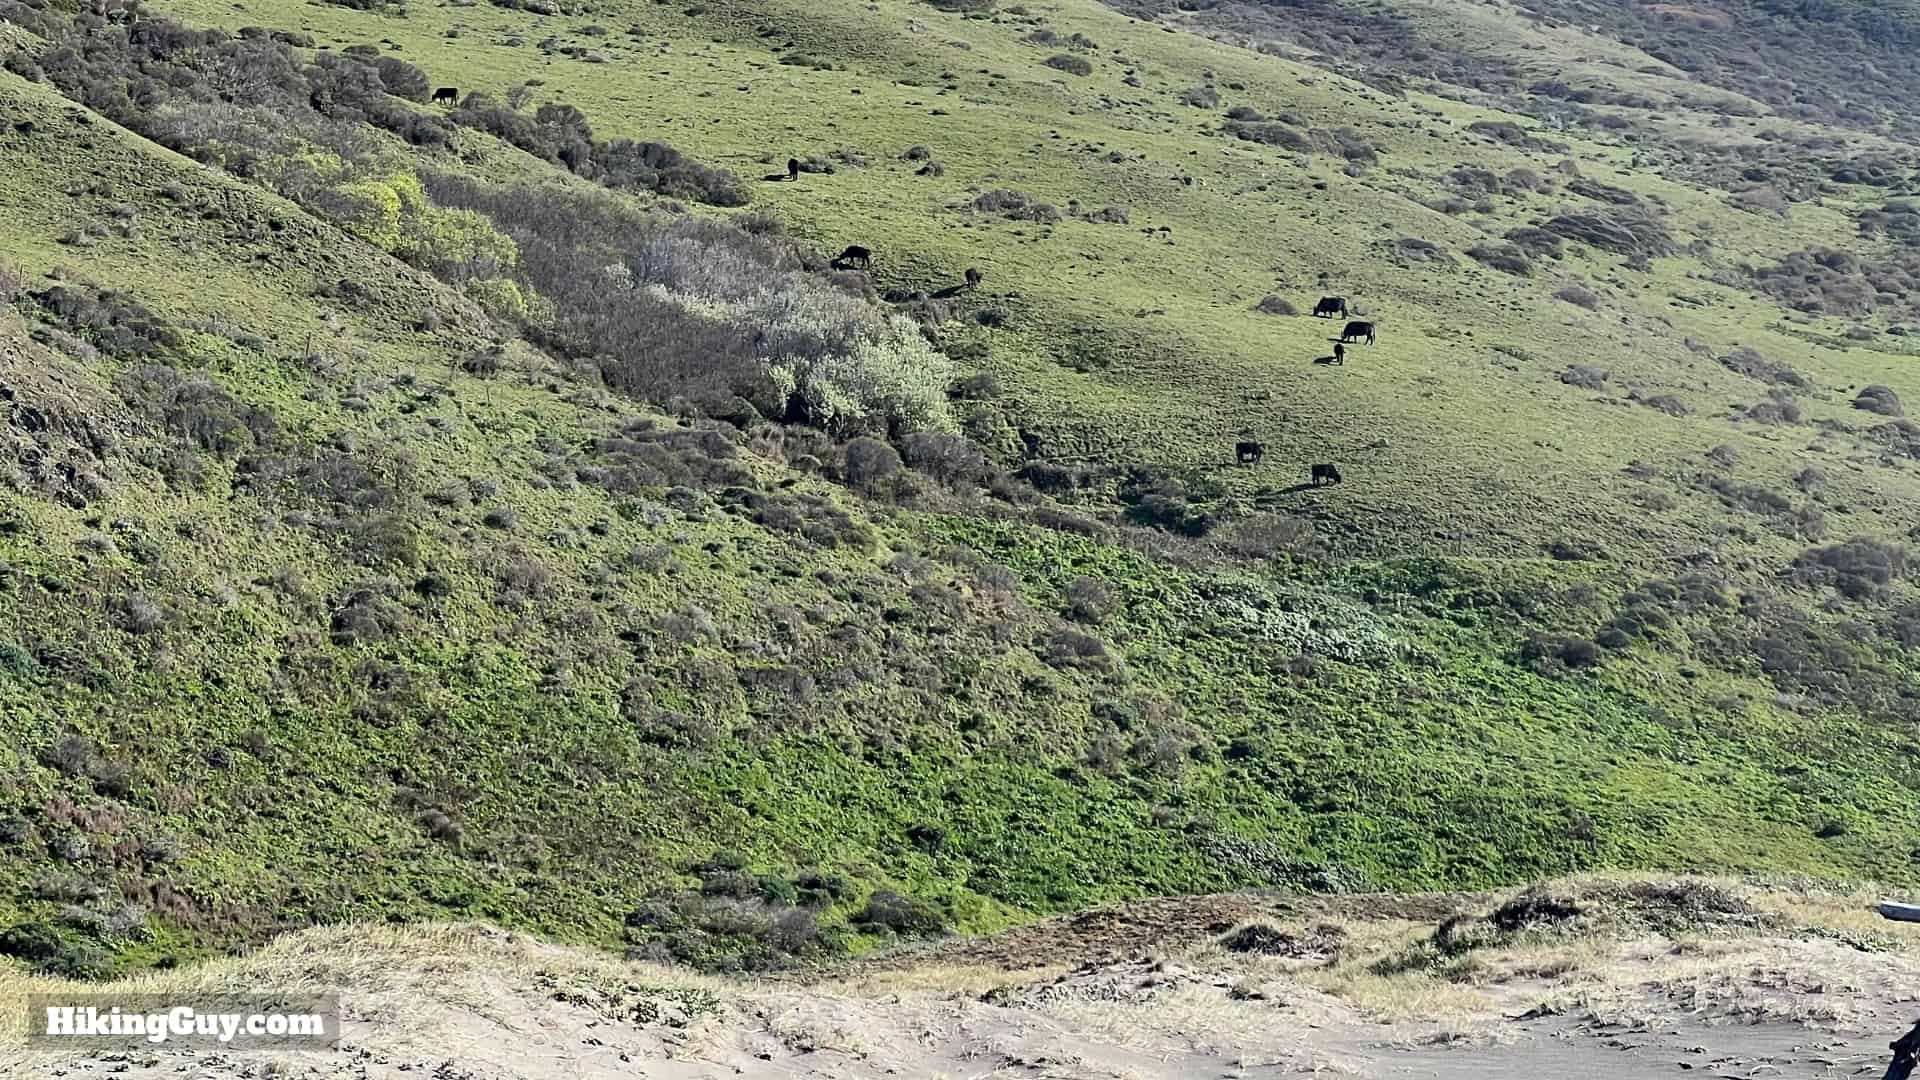
Considering bringing a dog? They are allowed and I often see them on the Lost Coast Trail, but it's a tough slog, so make sure your pup is energetic and that you have paw pads. And leashes are required between Punta Gorda and Sea Lion Gulch to protect the marine wildlife (and your dog).
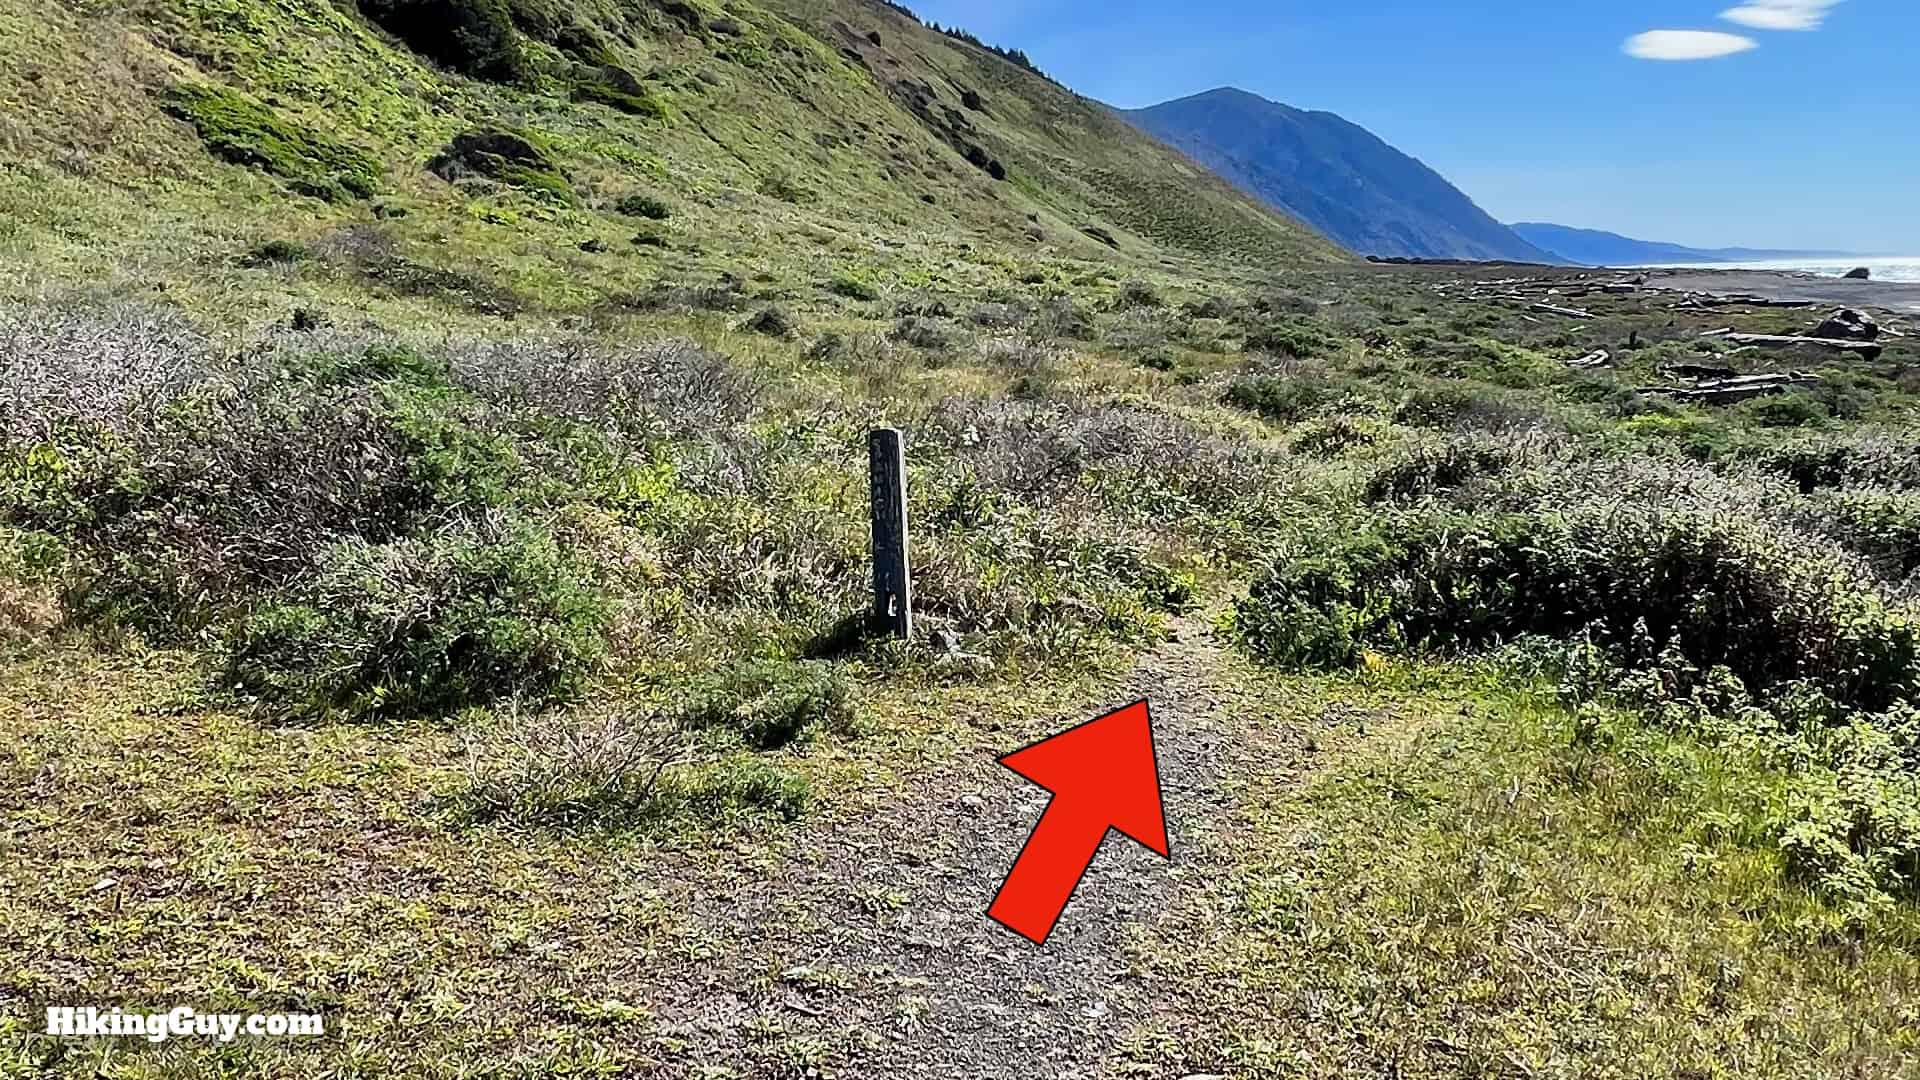
Lost Coast Trail Maps
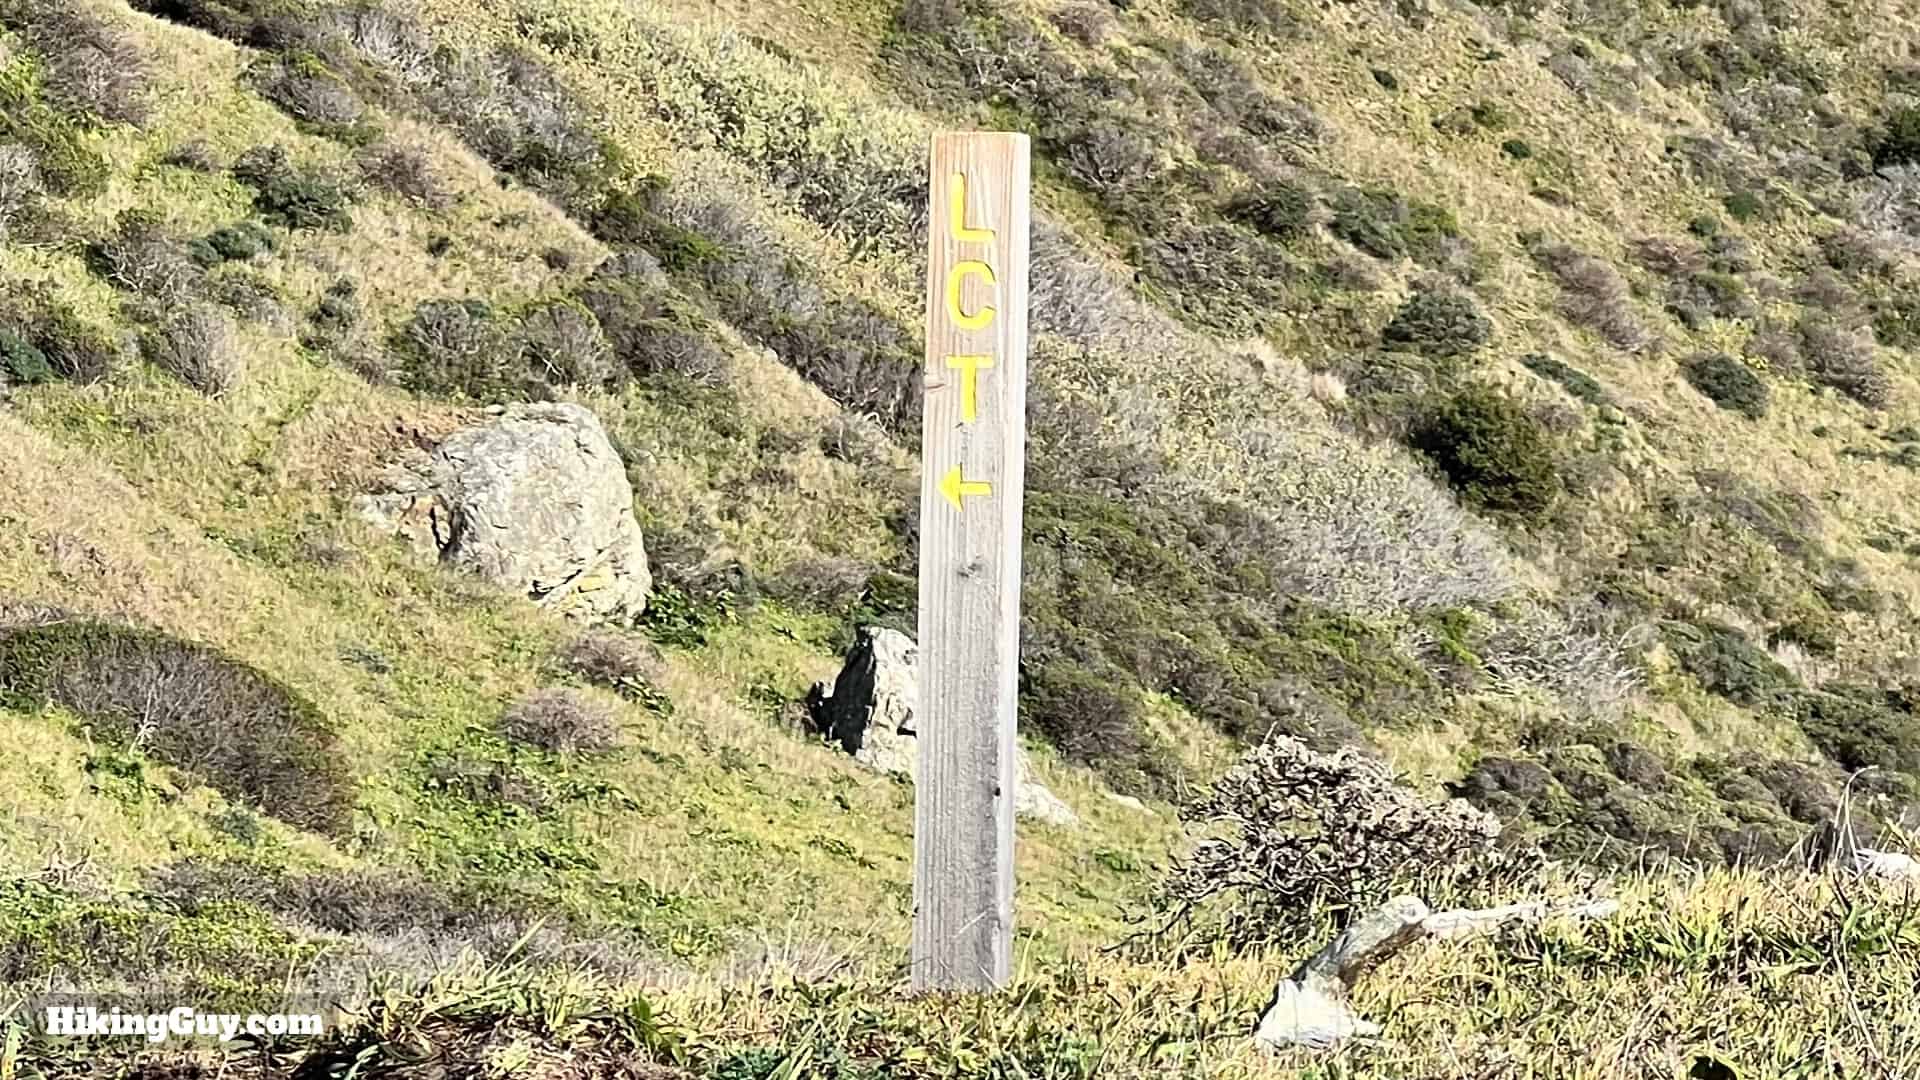

Landmarks on the Hike
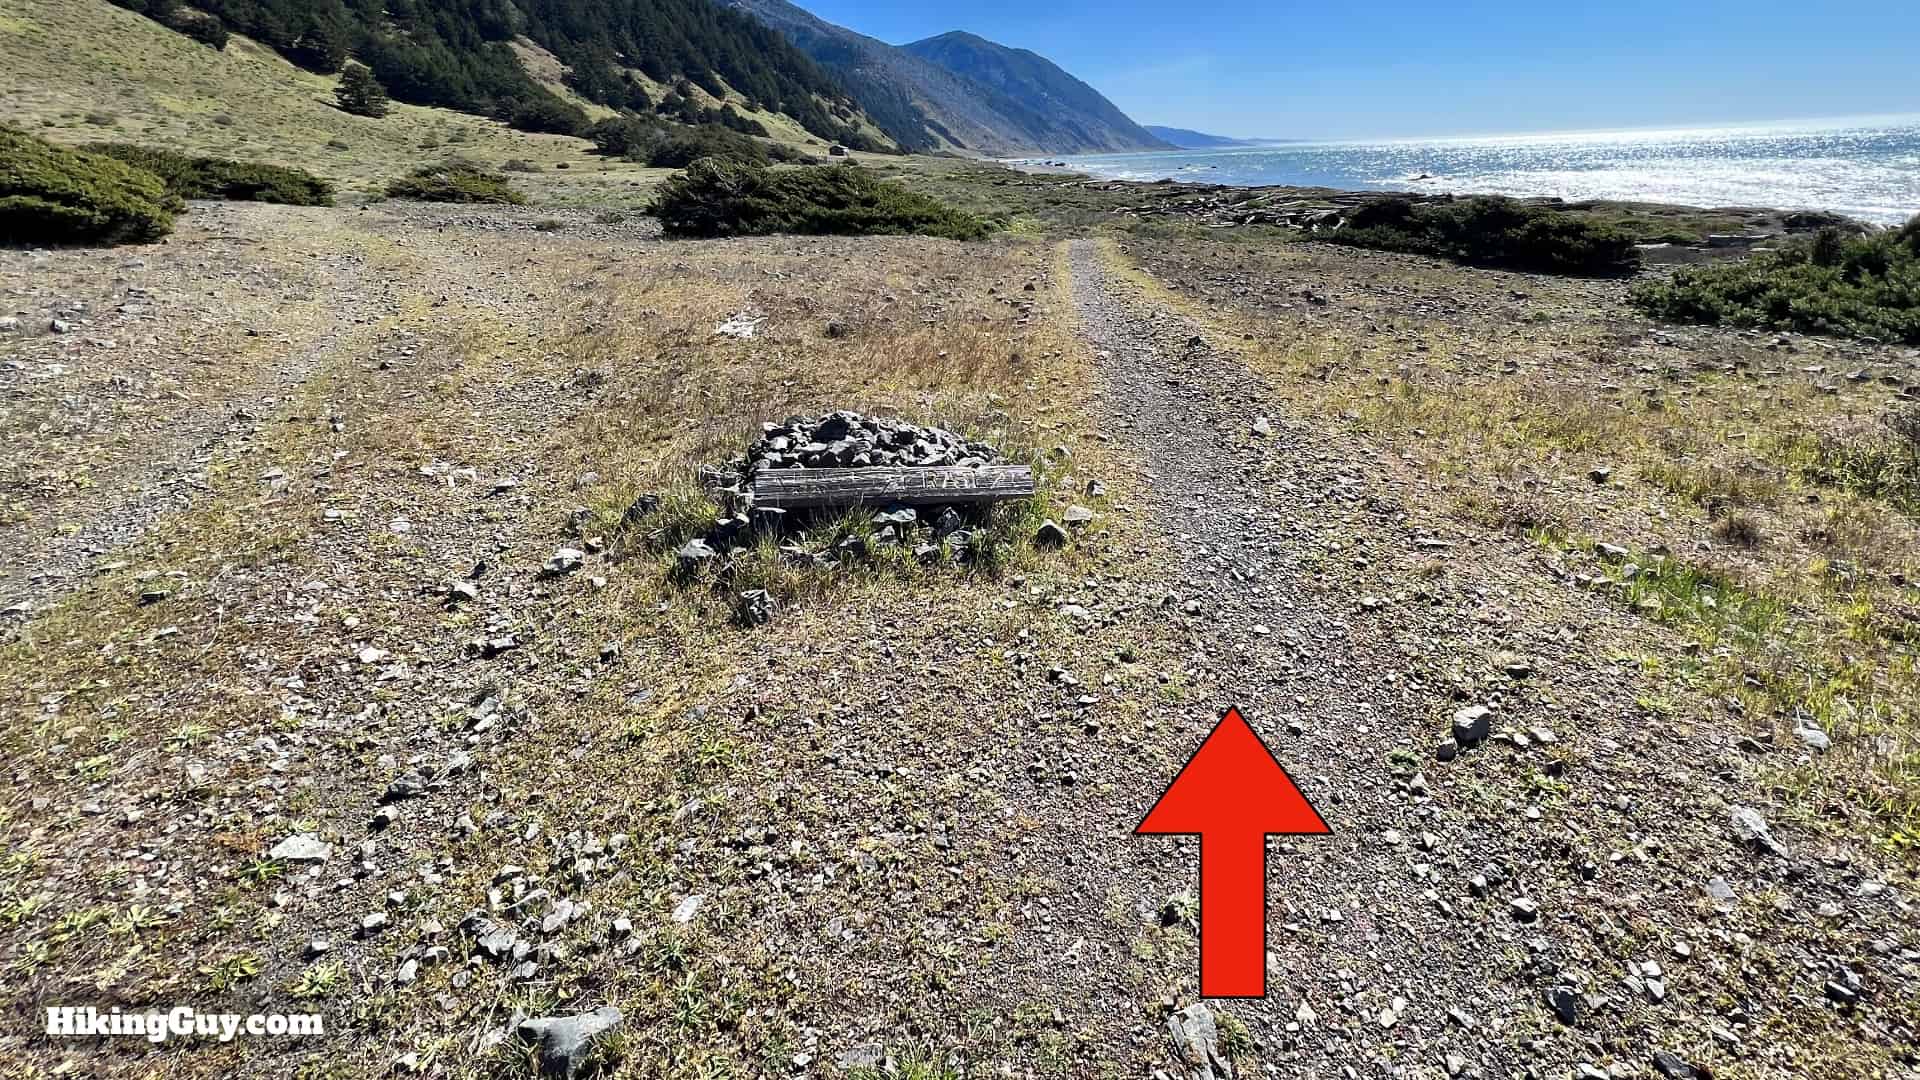
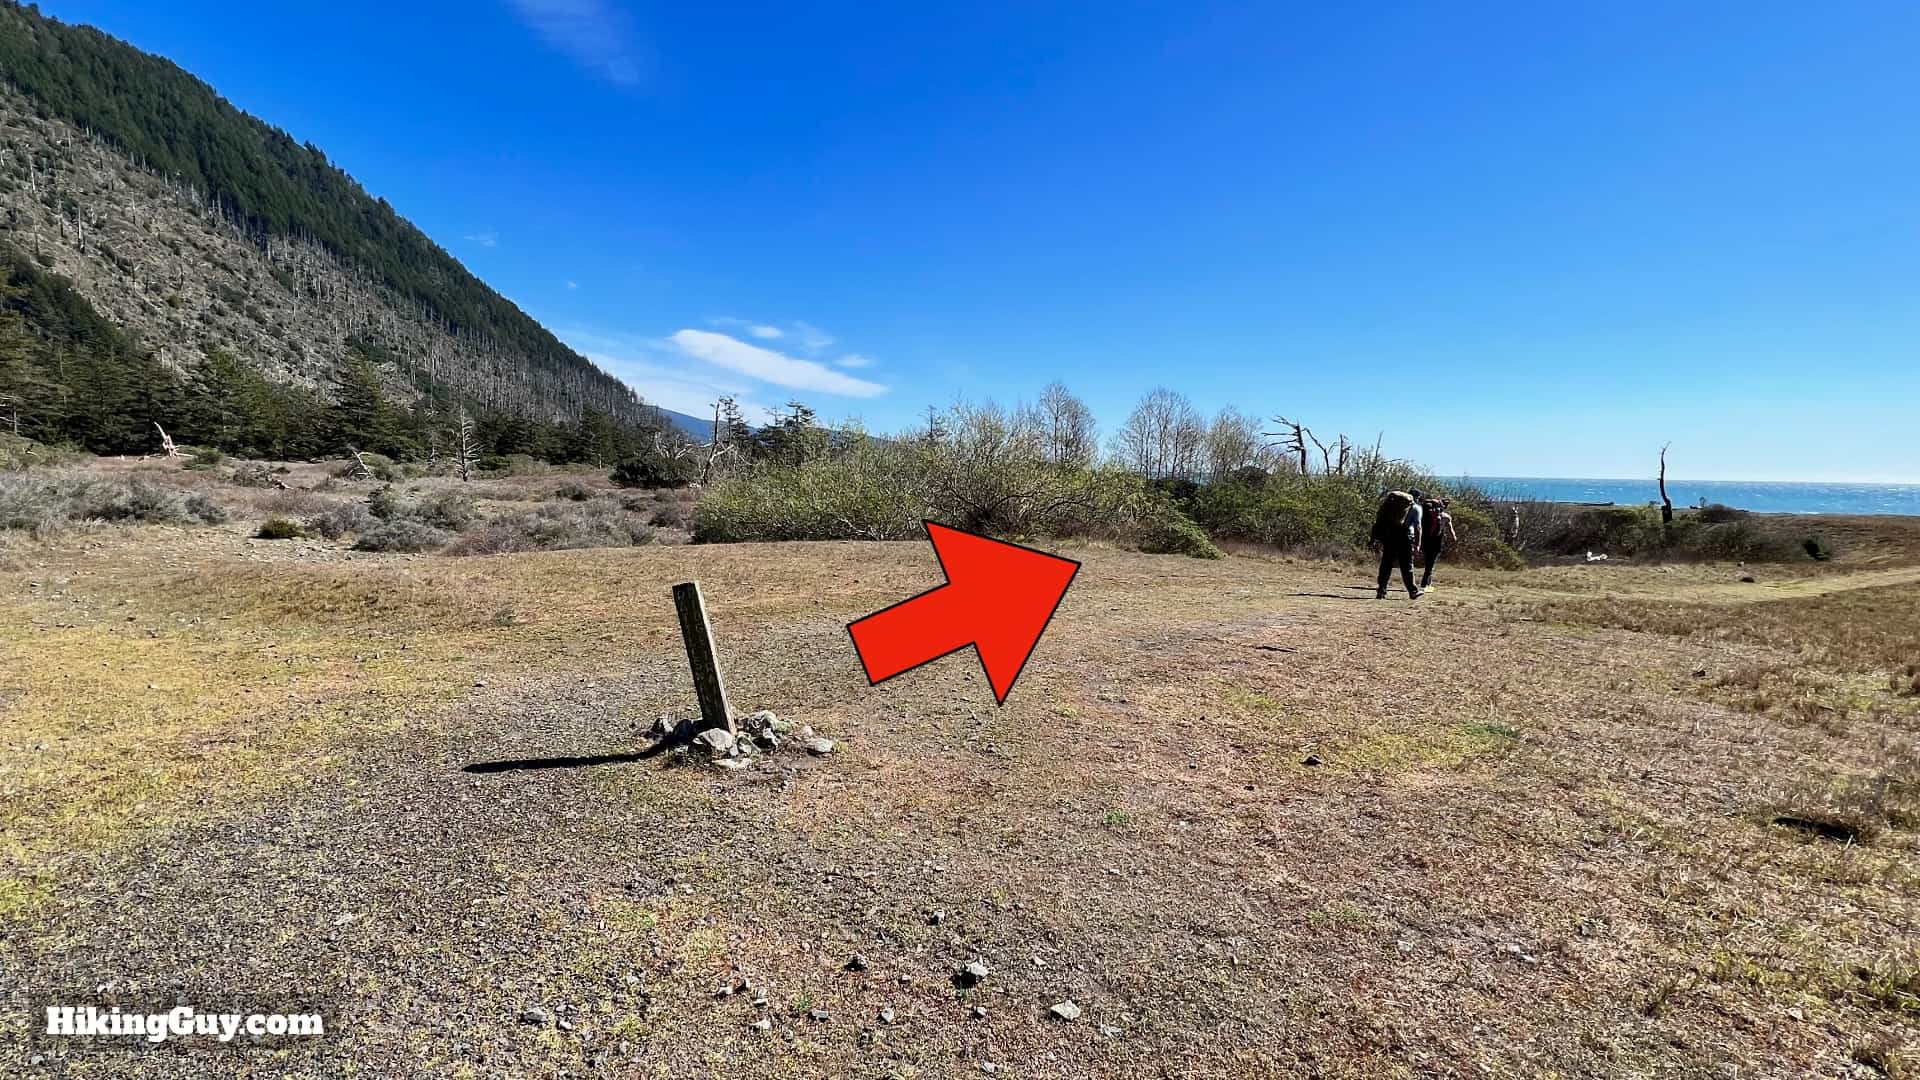
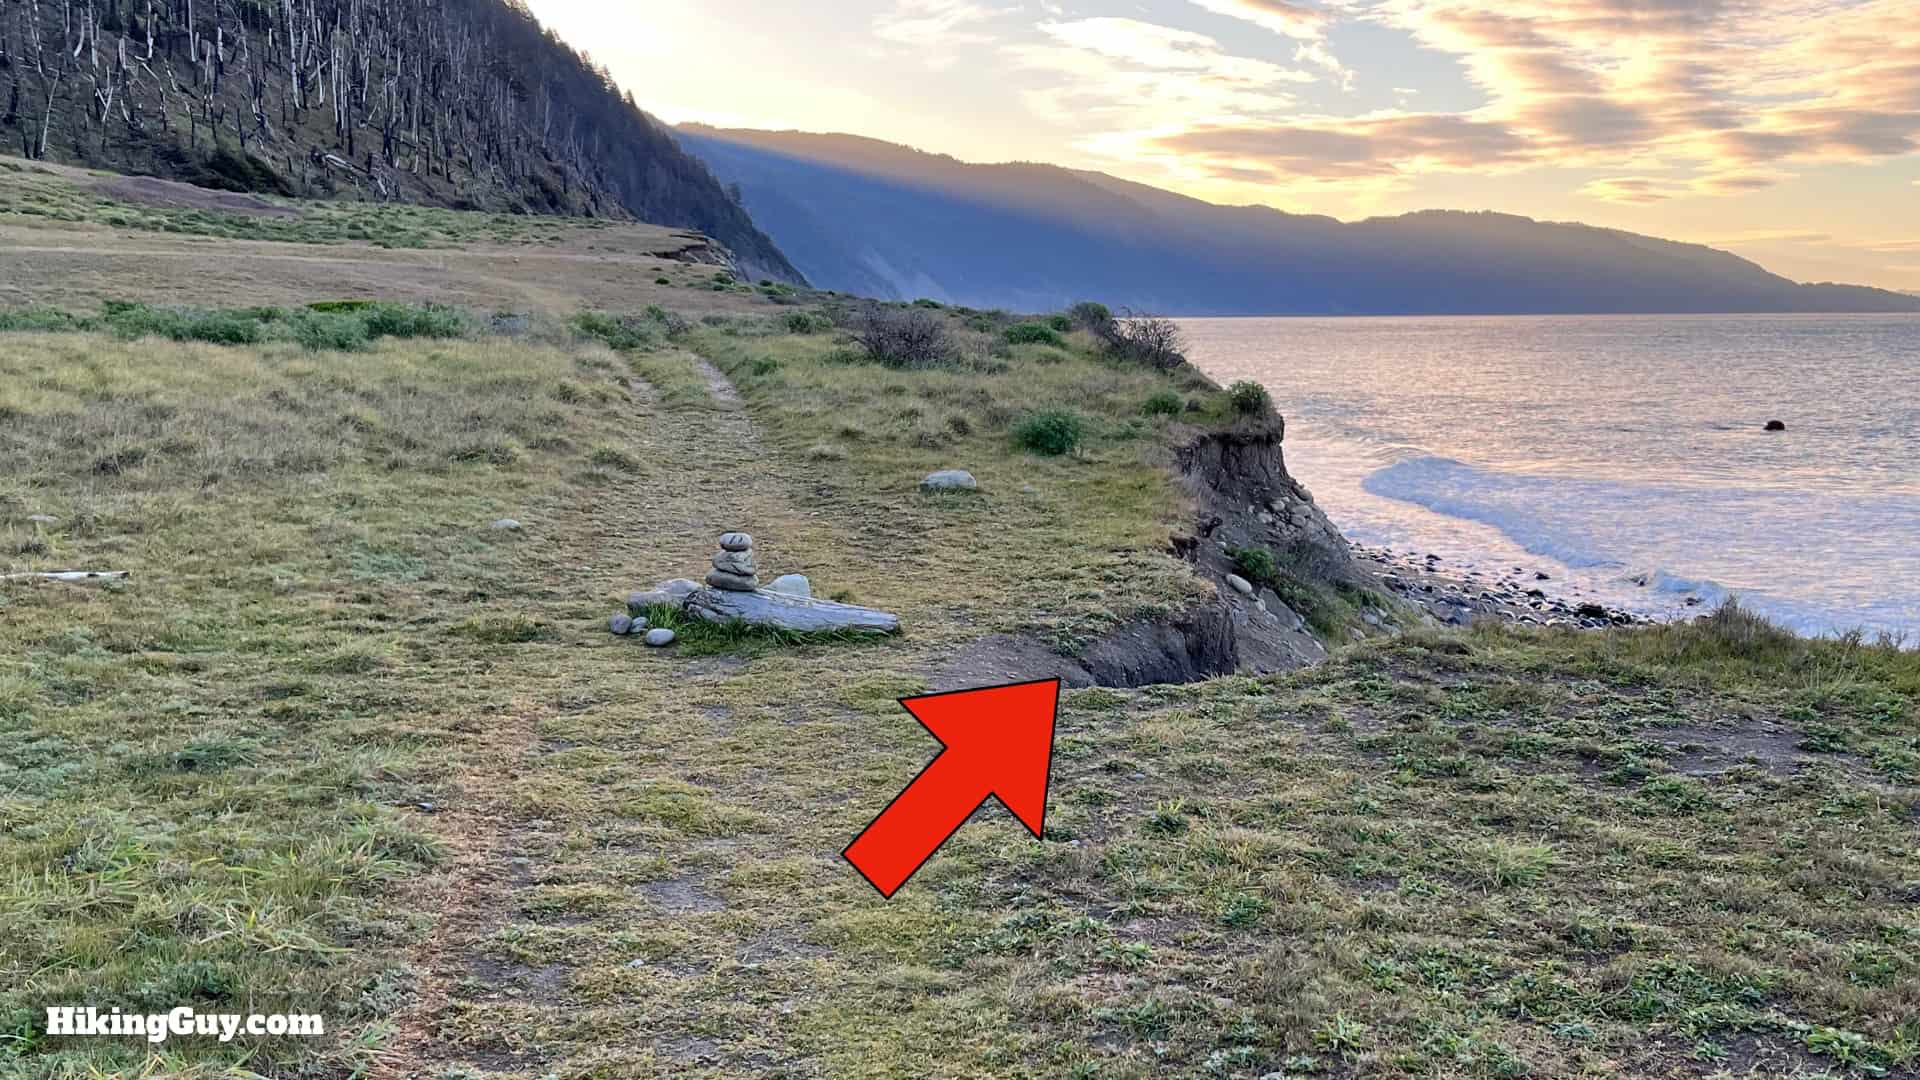
Some impassable zones have "bailout" sections where you escape the tides, usually at the mouth of a creek. They are marked on the interactive map as campsites. Similarly, any campsite in the tidal zone is safe.
| Landmark | Distance | Low Tide Only |
|---|---|---|
| Mattole Beach | 0 | no |
| Tide Zone 1 Start | 1.5 | yes |
| Tide Zone 1 End | 2.2 | no |
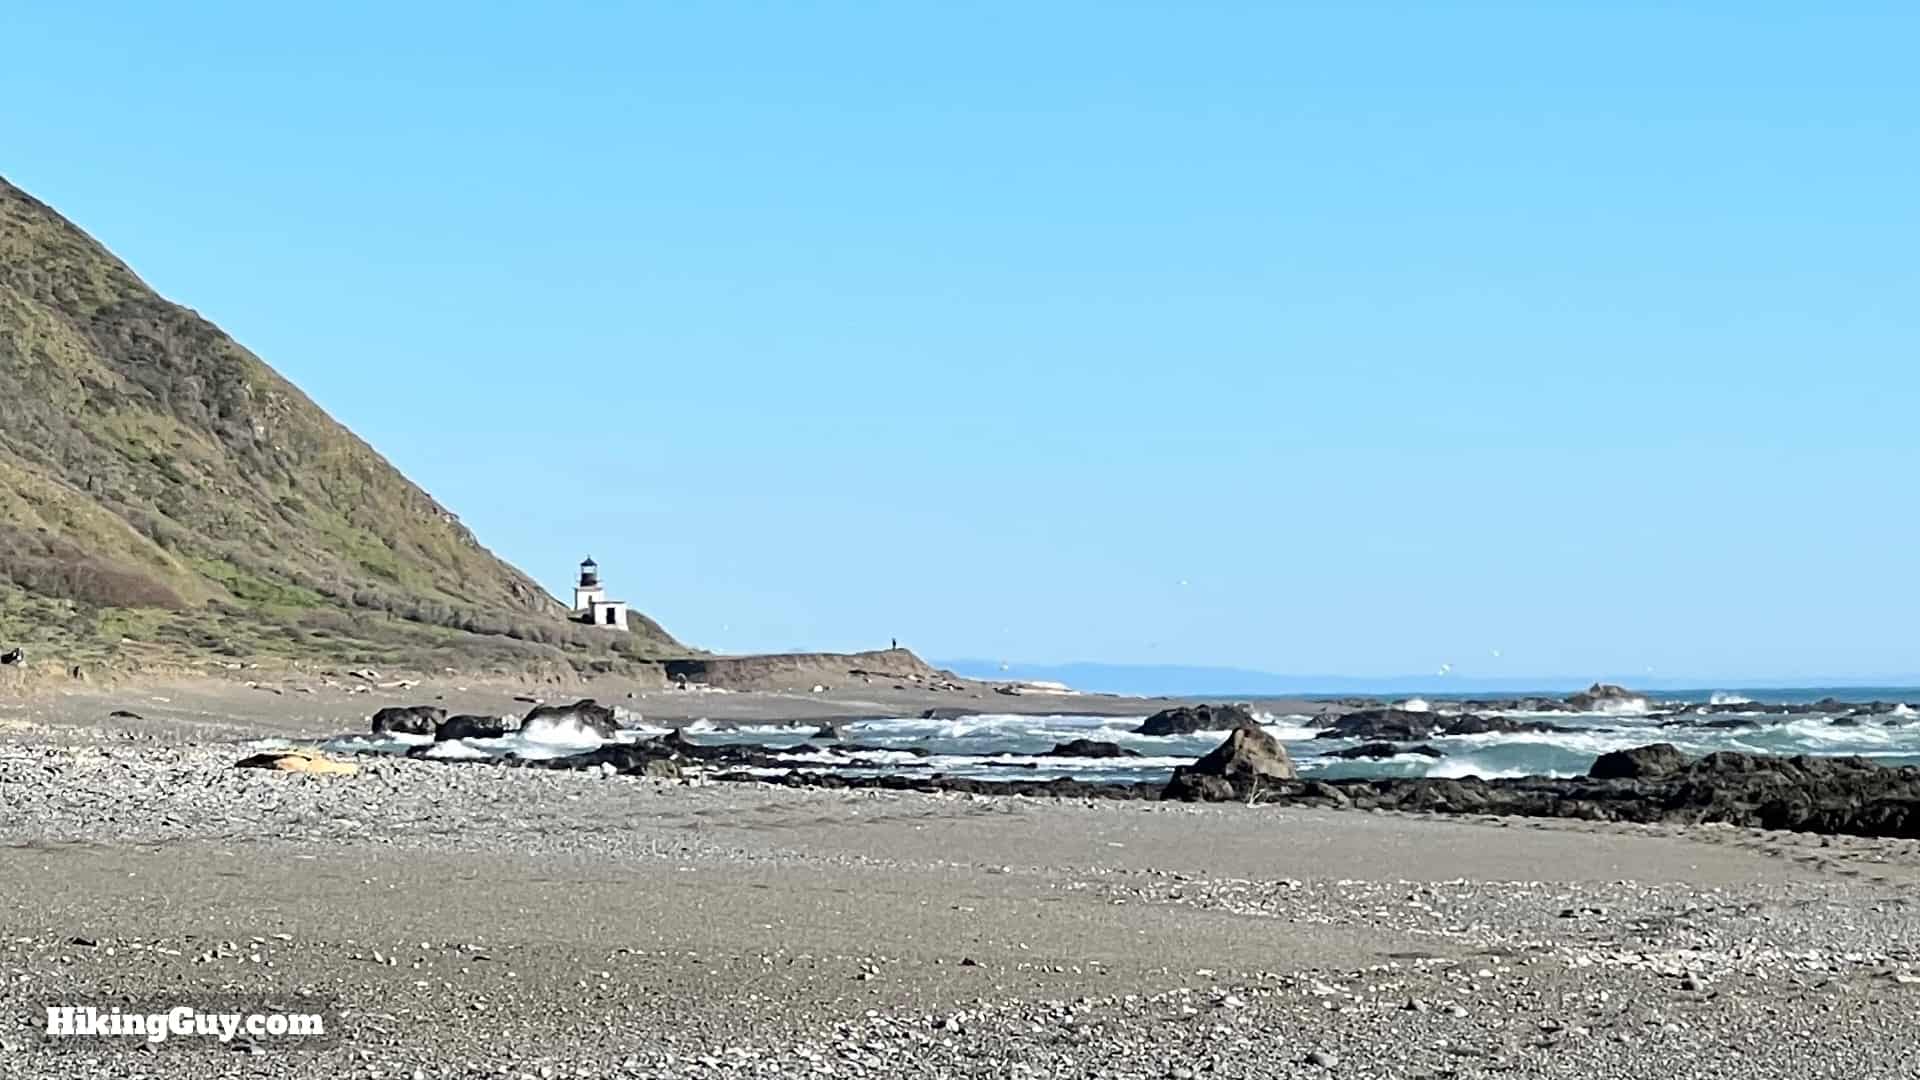
| Punta Gorda Lighthouse | 3.2 | no |
| Sea Lion Gulch Camp | 4.5 | no |
| Tide Zone 2 Start | 4.7 | yes |
| Cooksie Creek Camp | 6.6 | yes |
| Tide Zone 2 End | 8.6 | no |
| Randall Creek Camp | 8.7 | no |
| Spanish Creek Camp | 10.6 | no |
| Kinsey Creek Camp | 12.2 | no |
| Big Creek Camp | 13.8 | no |
| Miller Flat Camp | 16.8 | no |
| Tide Zone 3 Start | 17 | yes |
| Shipman Creek Camp | 18.6 | yes |
| Buck Creek Camp | 20 | yes |
| Tide Zone 3 End | 21.4 | no |
| Gitchell Creek Camp | 21.6 | no |
| Horse Mountain Creek Camp | 23.6 | no |
| Black Sand Beach Parking Lot | 25.5 | no |
Weather

Start checking the long-range forecast for Shelter Cove to get an idea of the general conditions. As your date gets closer, I like to use the marine forecast for the Lost Coast to get an idea of the wind direction, wave intensity, and precipitation. A northwest wind is favorable as it will be at your back.
Challenges on the Trail
Plan to get yourself out of the situations you put yourself into.Lost Coast BLM Ranger
- Hiking on the sand and stones requires some serious focus and mental toughness. Make sure your body is strong and prepared for a challenge.
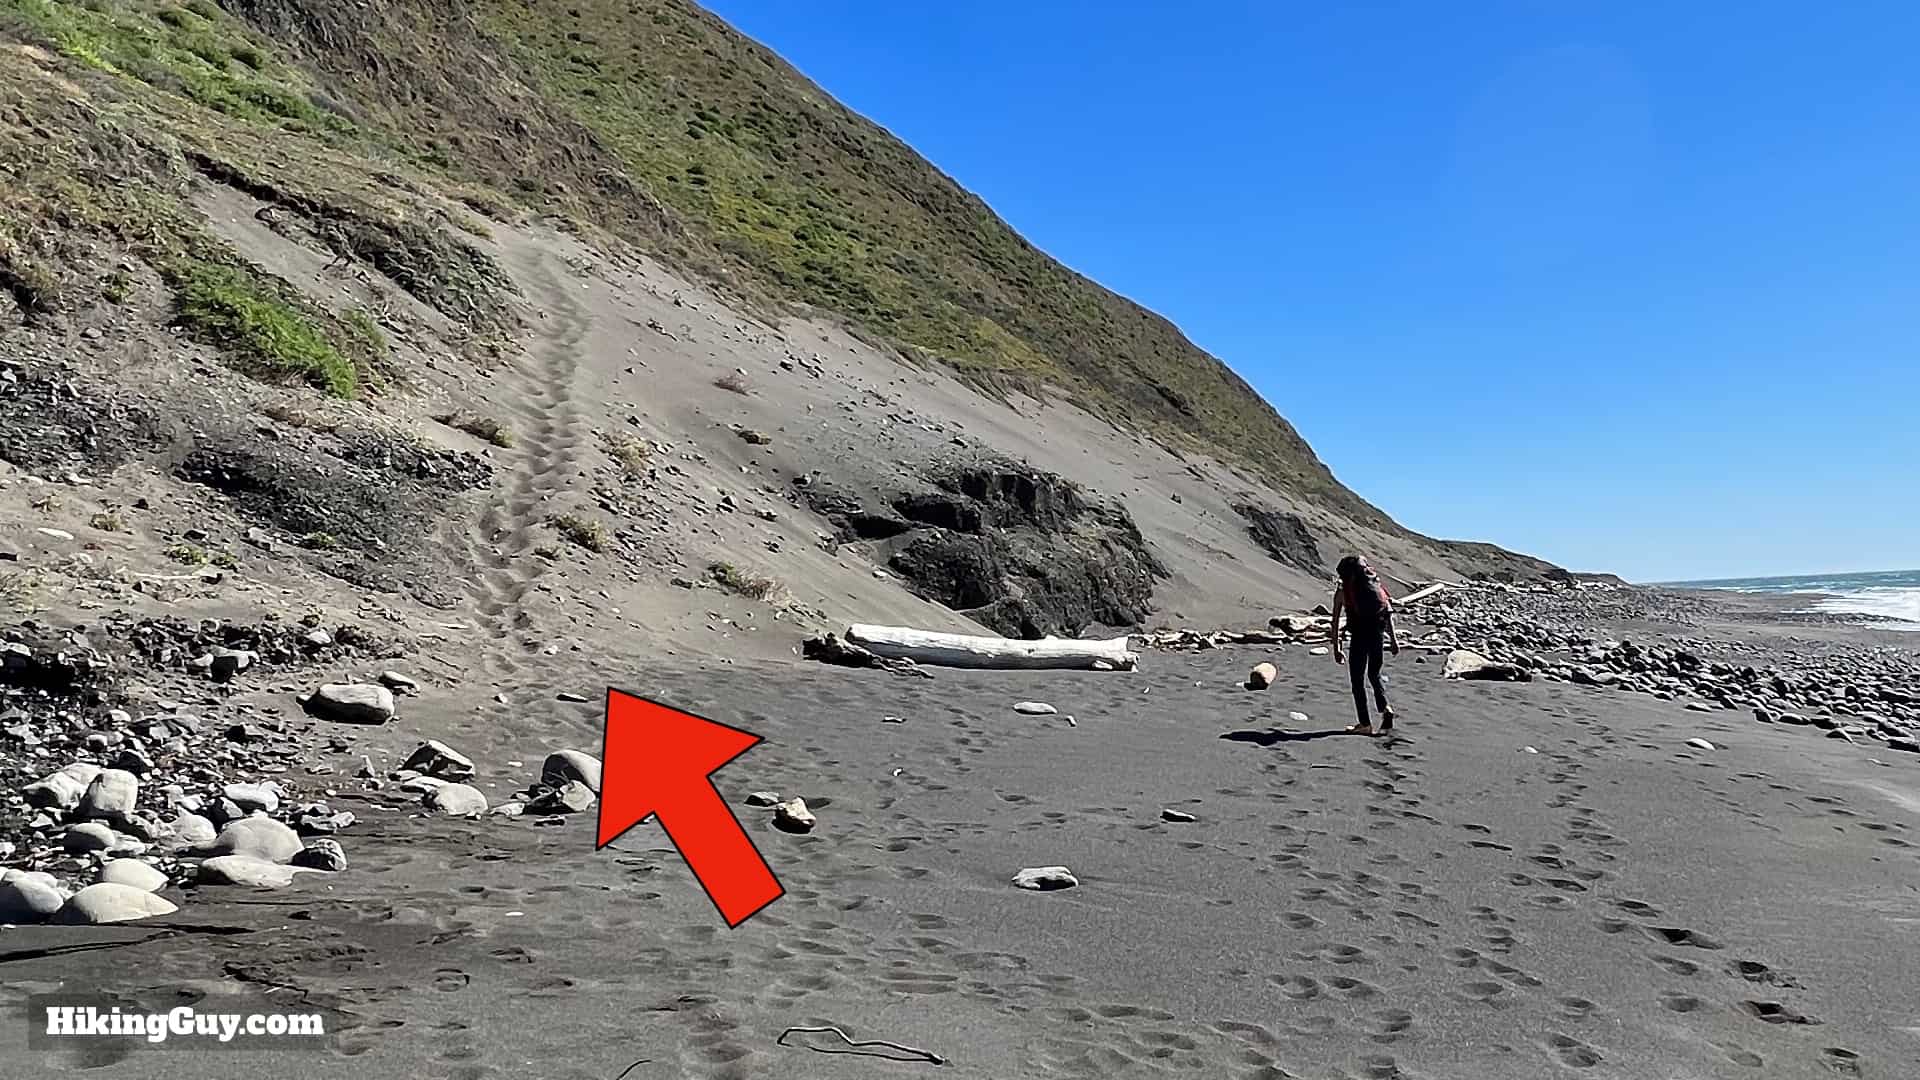
- If it has just rained or is raining, the stream crossings can be swollen and dangerous. Falling after slipping on an algae-covered river rock could sweep you out to sea. If you are not 100% sure you can cross, you should wait until the stream recedes, which usually happens after the rain stops. The general rule of thumb is don't cross if the water is above your knees.
- When the trail goes through the grass and brush, there can be ticks. Treat your clothes with repellant and do a check after any overgrown sections and at camp. Long pants and long sleeves help protect you.
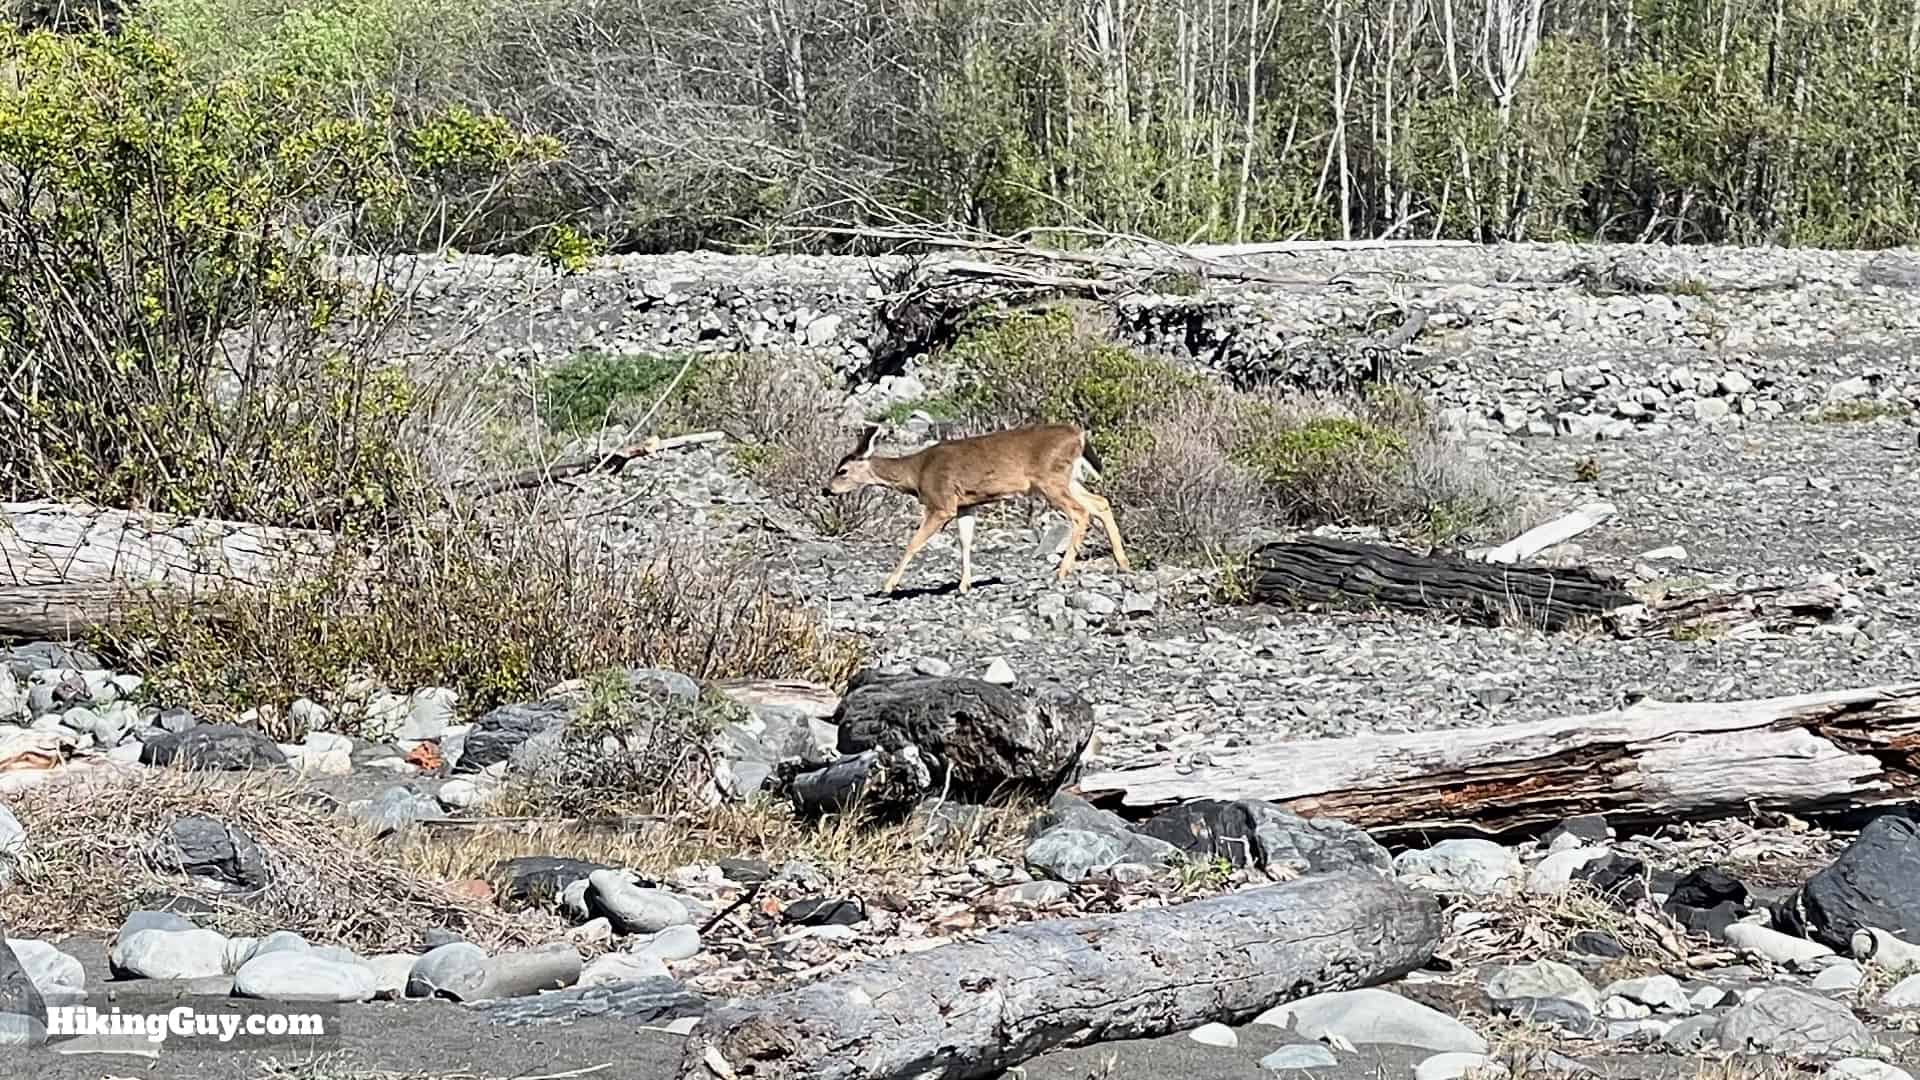
- There are rattlesnakes here and you can sometimes see them in the spring and summer. Just give them a wide berth and you'll be fine. They won't attack unless you get close or step on them accidentally. They often hang out underneath driftwood.
- Black bears sometimes visit the beach looking for food. If you see one, just give it plenty of room, and if it is close, shout it away. You don't need bear spray. Occasionally bears will try to get into a bear canister by banging it, so make sure you keep it far enough away from anyone's tents.
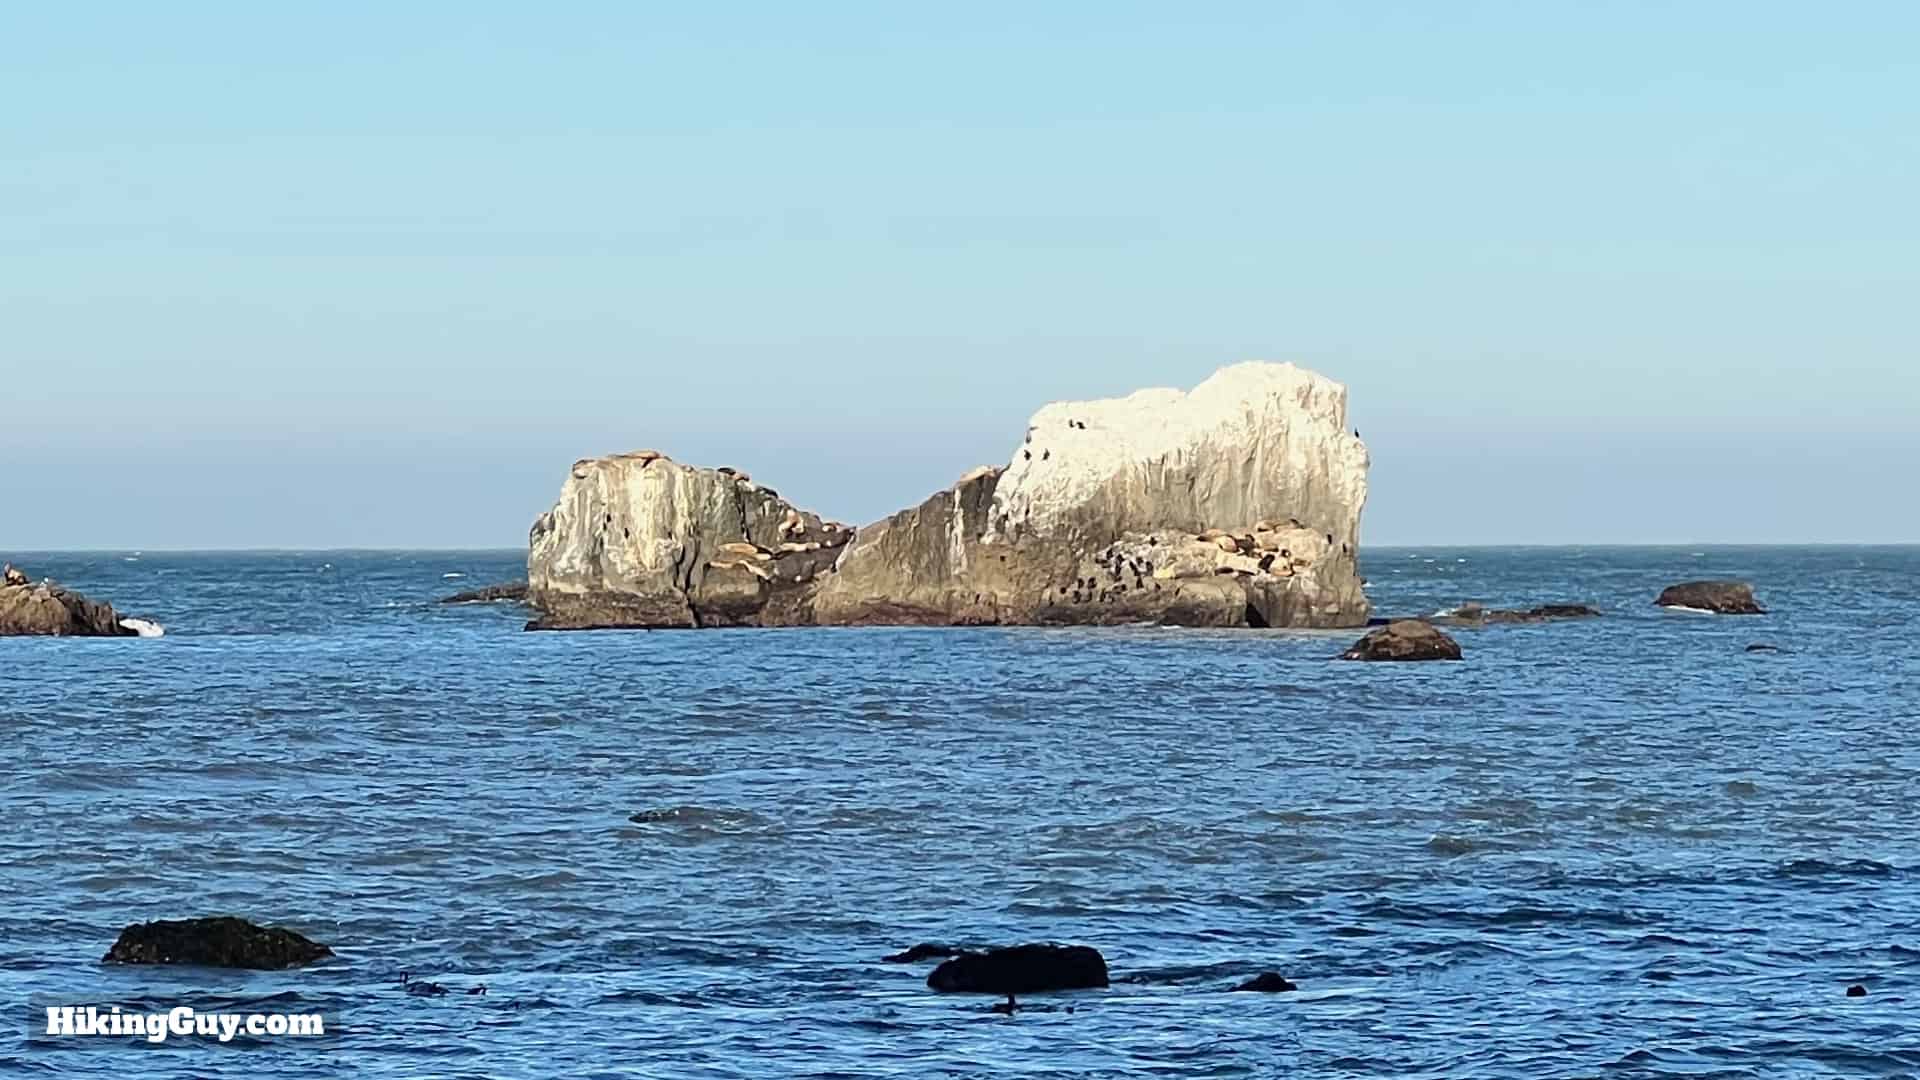
- Give any seals, sea lions, or elephant seals a wide berth on the beach. They can move faster than you think on land. Sometimes they look like logs on the beach, so watch carefully as you go.
- As they say, "never turn your back on the ocean." When hiking on the beach, regularly look to the water for any big sets of waves or rogue "sneaker waves" that come much farther up the beach than normal. This is especially important if you are hiking on the hard-pack sand by the shoreline.
- Never, never, never swim in the ocean. Even for experienced surfers in wetsuits (who you may see), this is a challenging environment.
- Some of the overgrown non-beach sections have poison oak. Wearing long pants helps, as does pushing it aside with trekking poles.
- Use your trekking poles to balance on tricky sections. The weight of a backpack can throw your balance off when rock-hopping or navigating bigger boulders.
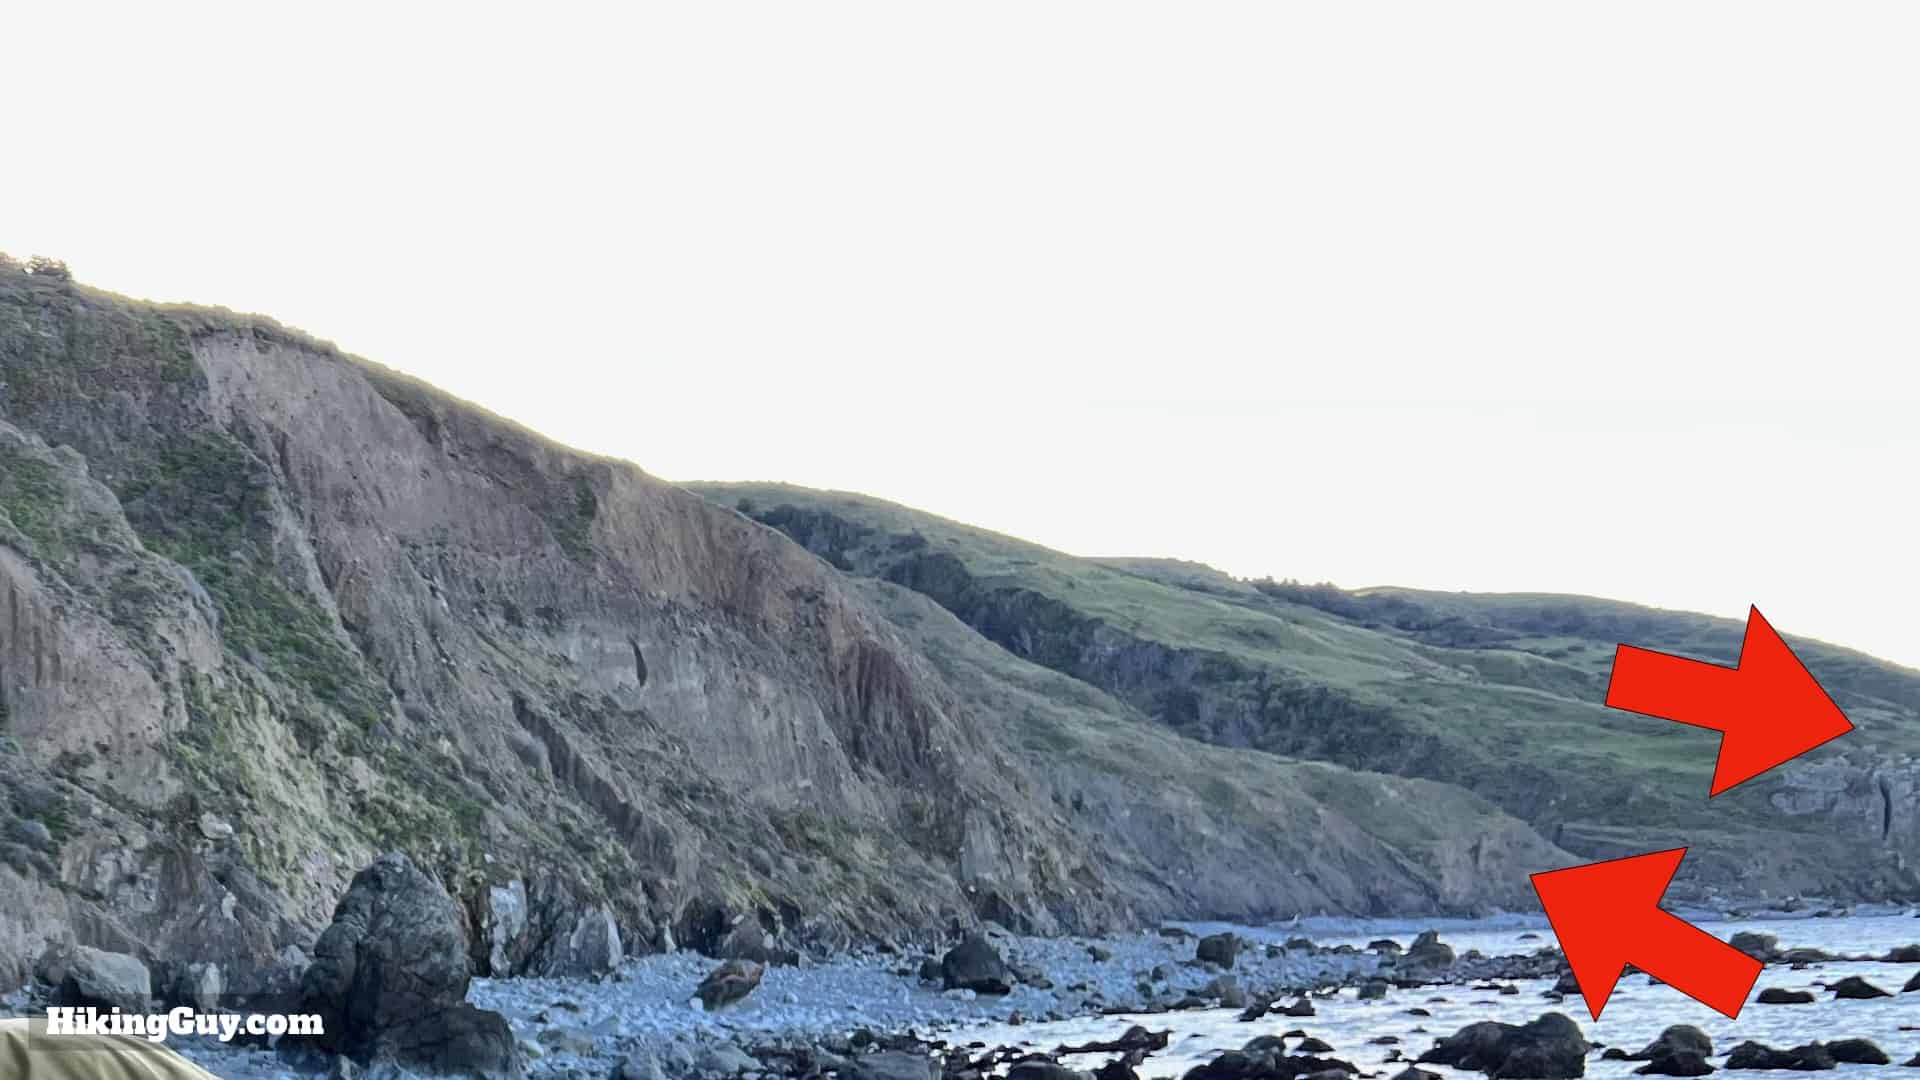
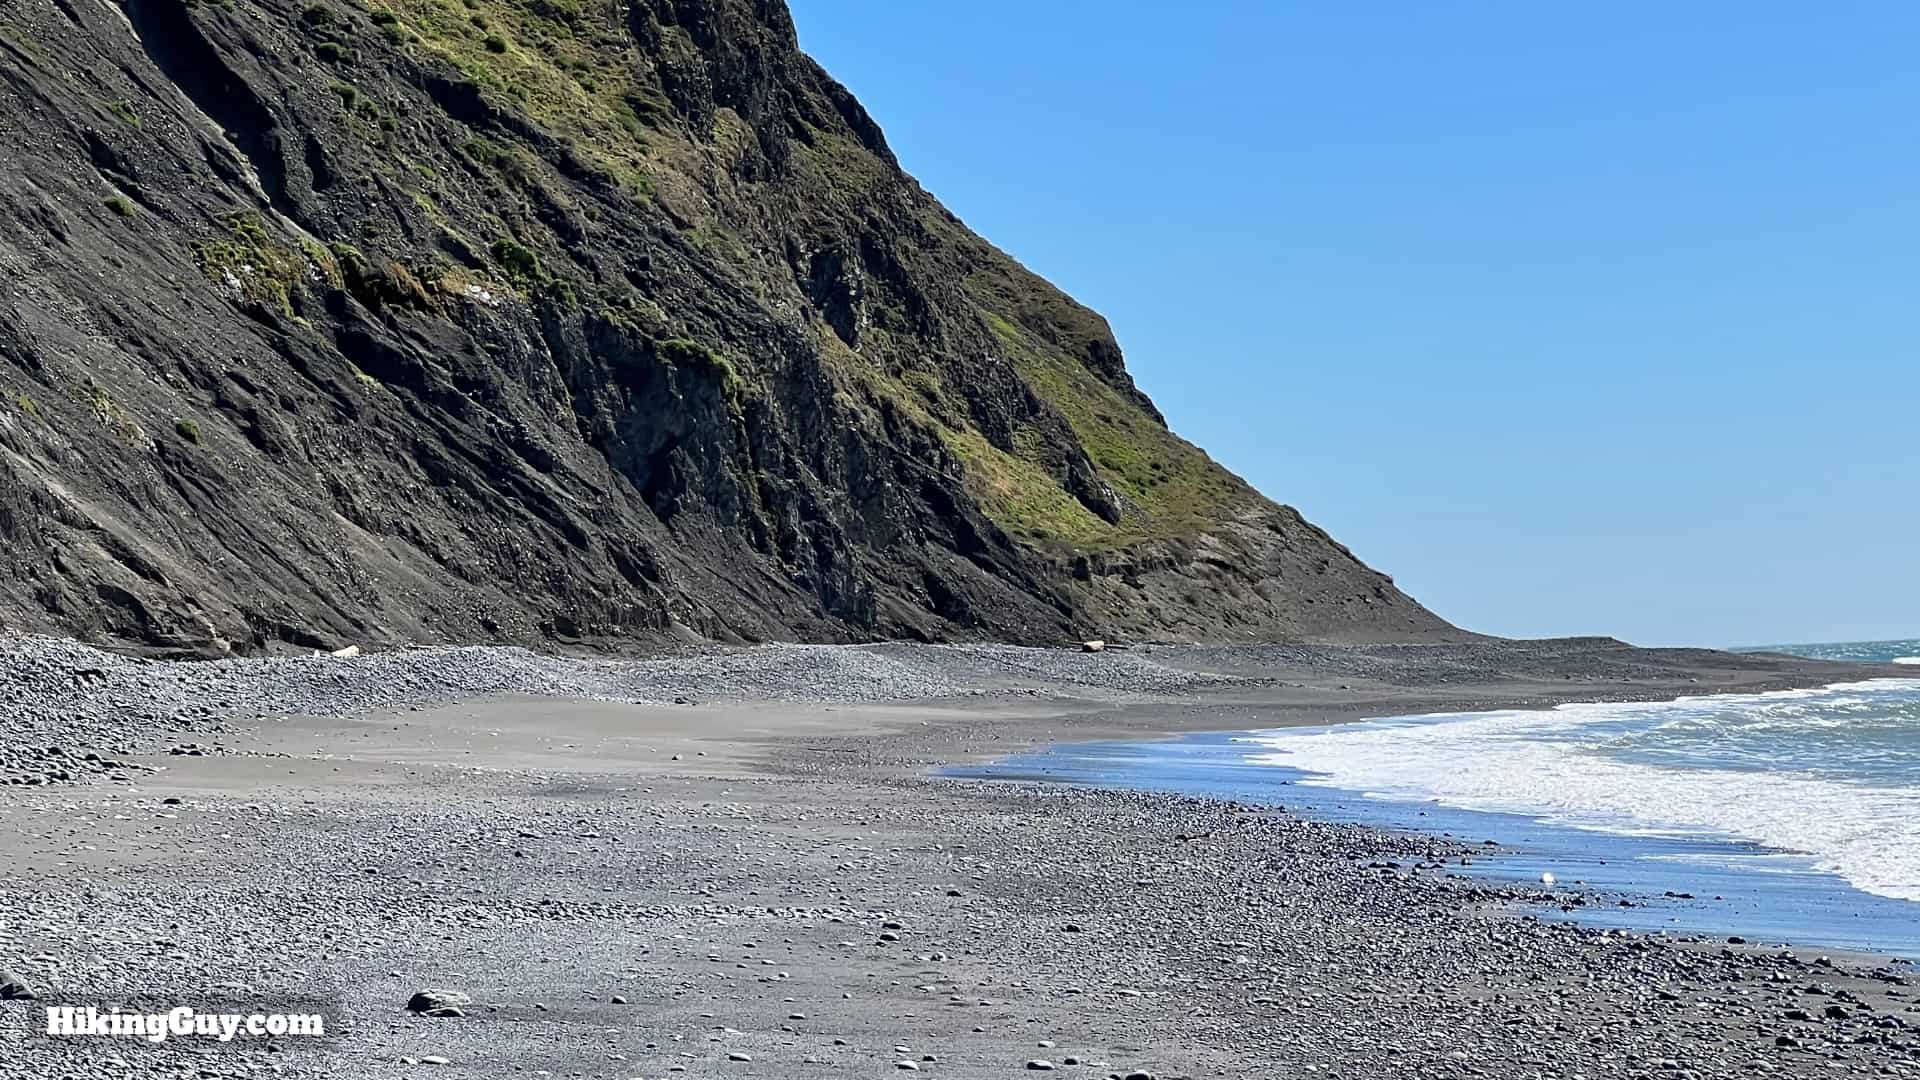
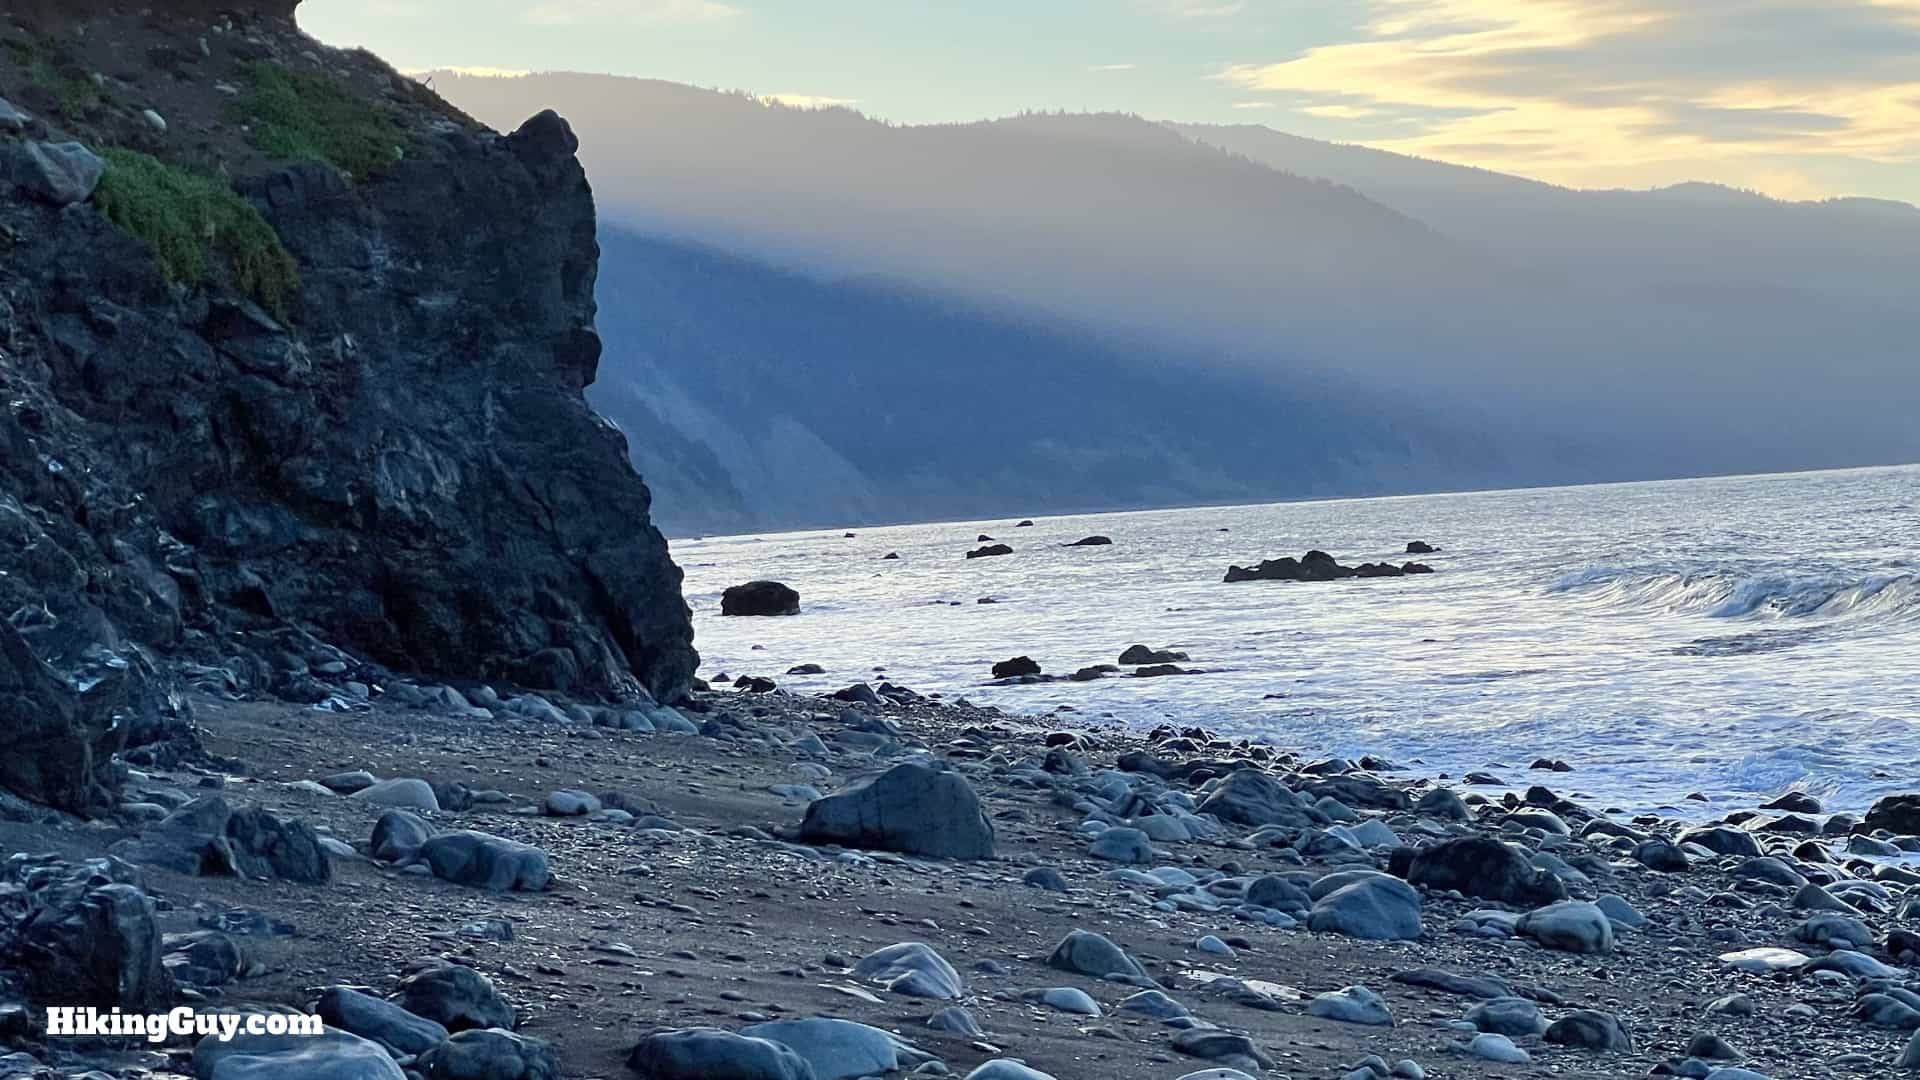
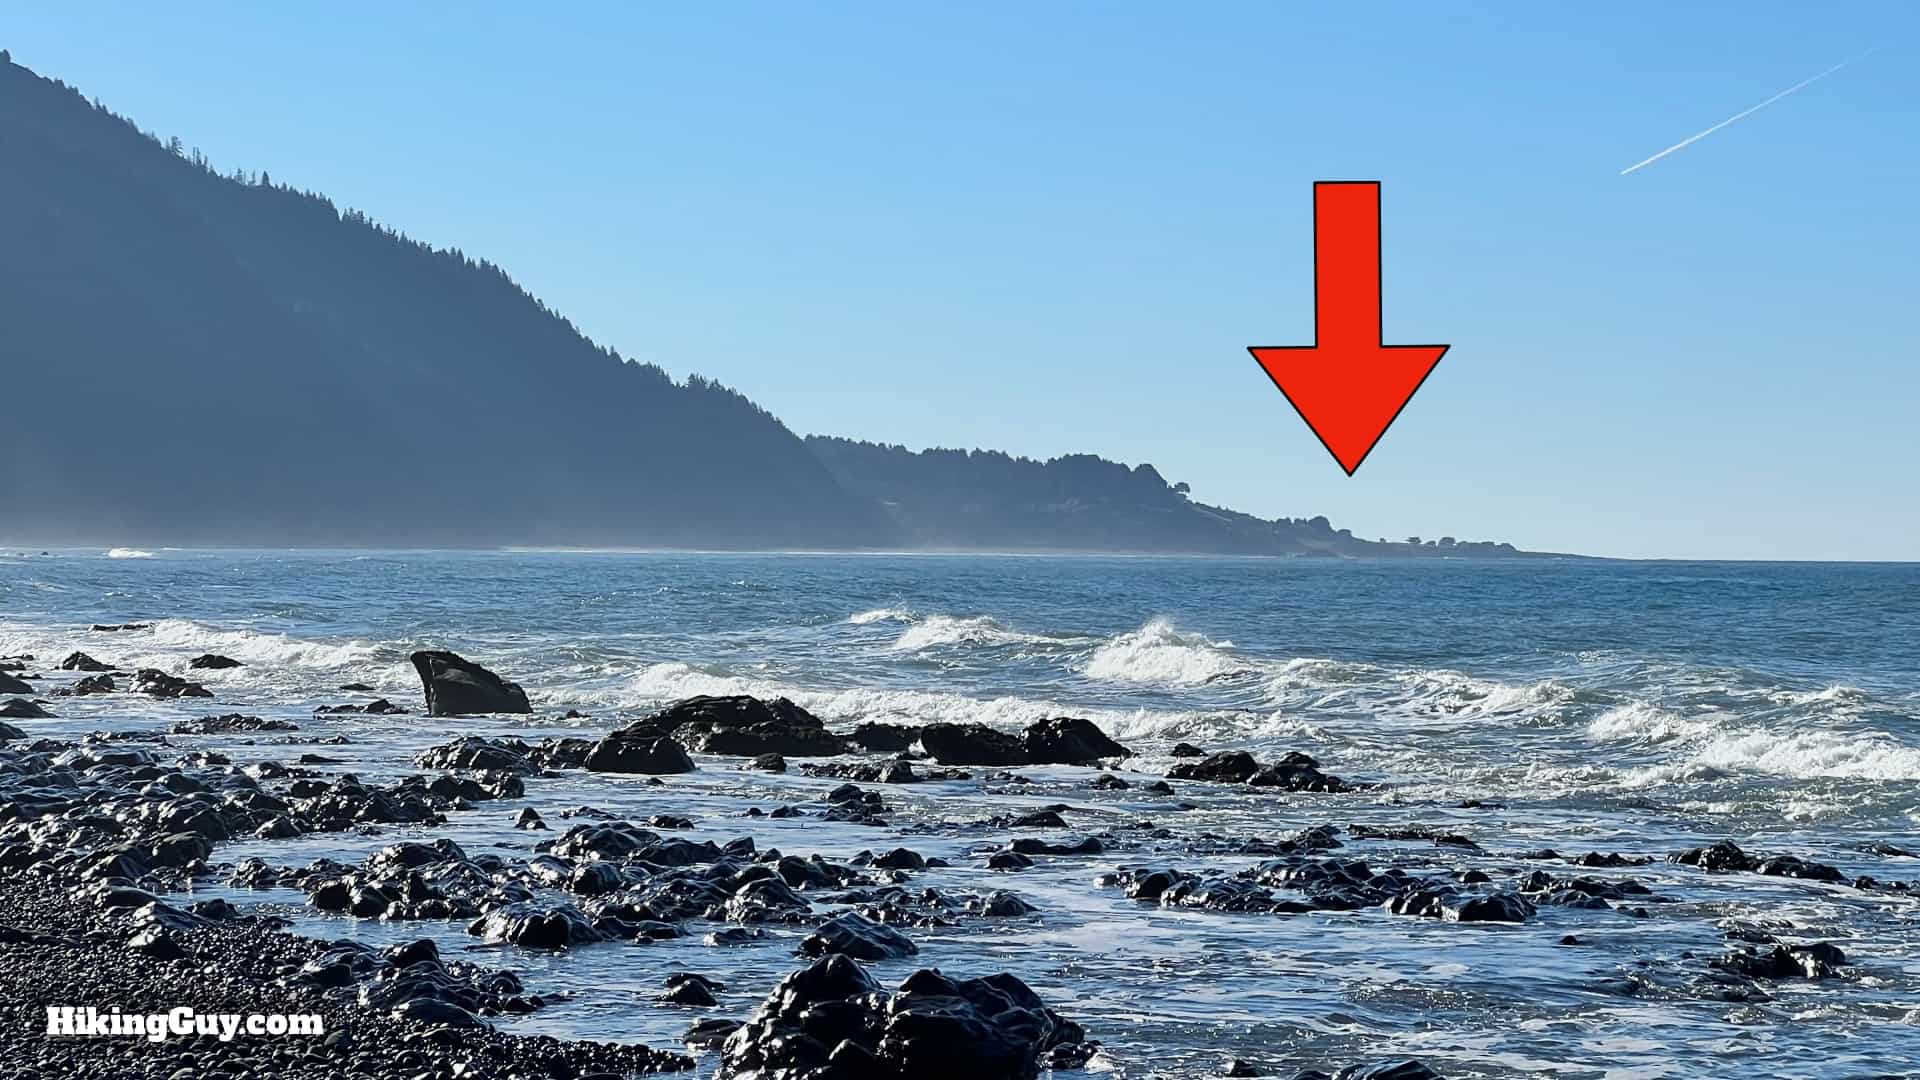
- Tide charts are predictions (albeit fairly reliable ones). Local conditions such as storms, high winds, and surges can change the situation. If this is the case, you just have to turn around or hike to a safe zone, and then wait it out. Even sections not marked as impassable can become impassable. Here's what the normally wide and mellow Black Sand Beach can look like when conditions are bad.
- I've seen people tackle narrow points when the tide is higher than 3 feet. While the water was up to their knees and they made it through okay, I would never take a risk like that. Remember that a risky move endangers your life and your hiking companions and search & rescue teams who will try and save you. Getting farther on the trail is not worth risking your life.
- Rocks can be extremely slippery when wet or covered in algae. Small clams and jagged edges can easily cut your hands.

Lost Coast Trail Hike Directions
We'll start the directions from Shelter Cove, at the southern terminus, assuming you will park here, shuttle up to Mattole Beach, and then end back at Shelter Cove.
The land you see on the drive was once full of old-growth lumber, long since felled. Since then, the area has been a haven for marijuana growers. In 1990 one of the most extensive drug raids occurred here (and in other spots along the coast). It was called "Operation Green Sweep," but the bust was a bust, and growers sued the BLM and federal authorities. There was even a planned photo-op for President Bush to wade onshore at Shelter Cove.
Mattole is named after the native peoples who first lived here. When Europeans arrived in the 1880s, there were about 1200 living here. Twenty years later, they were gone.


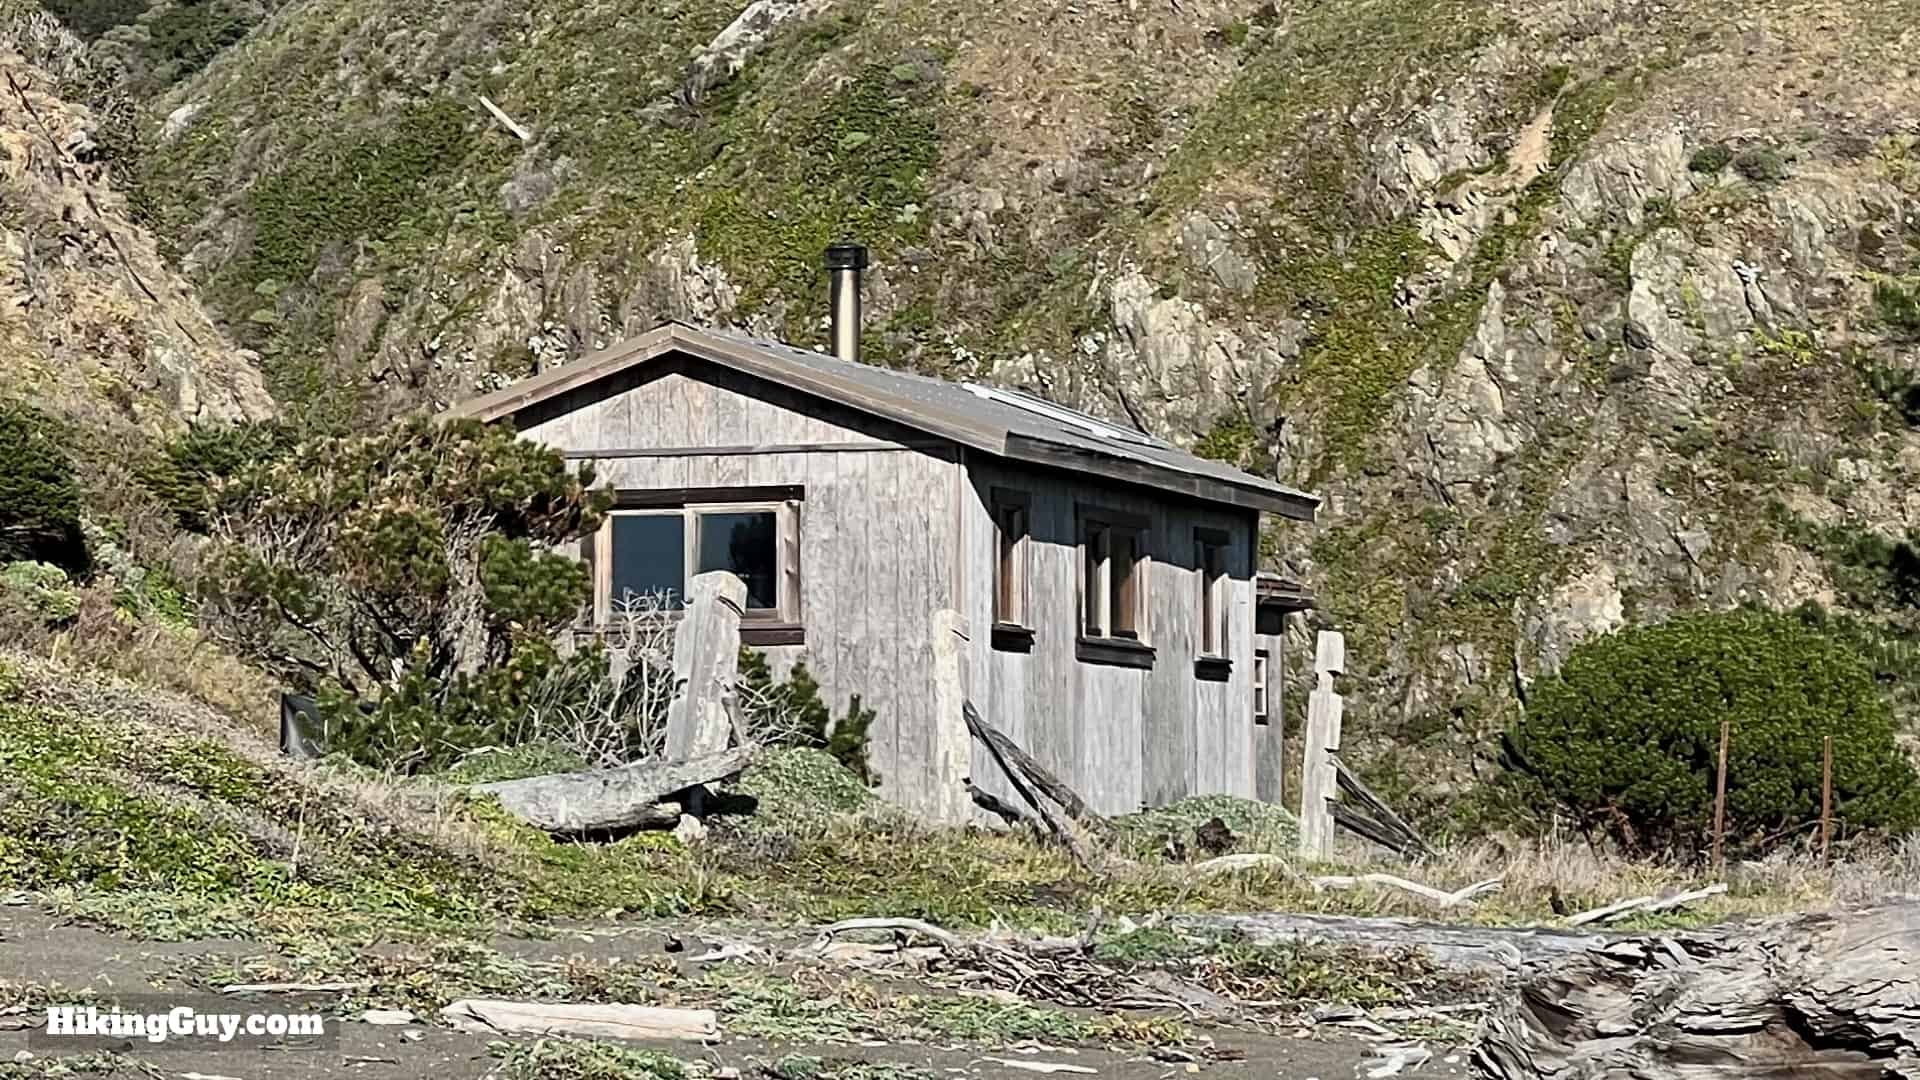

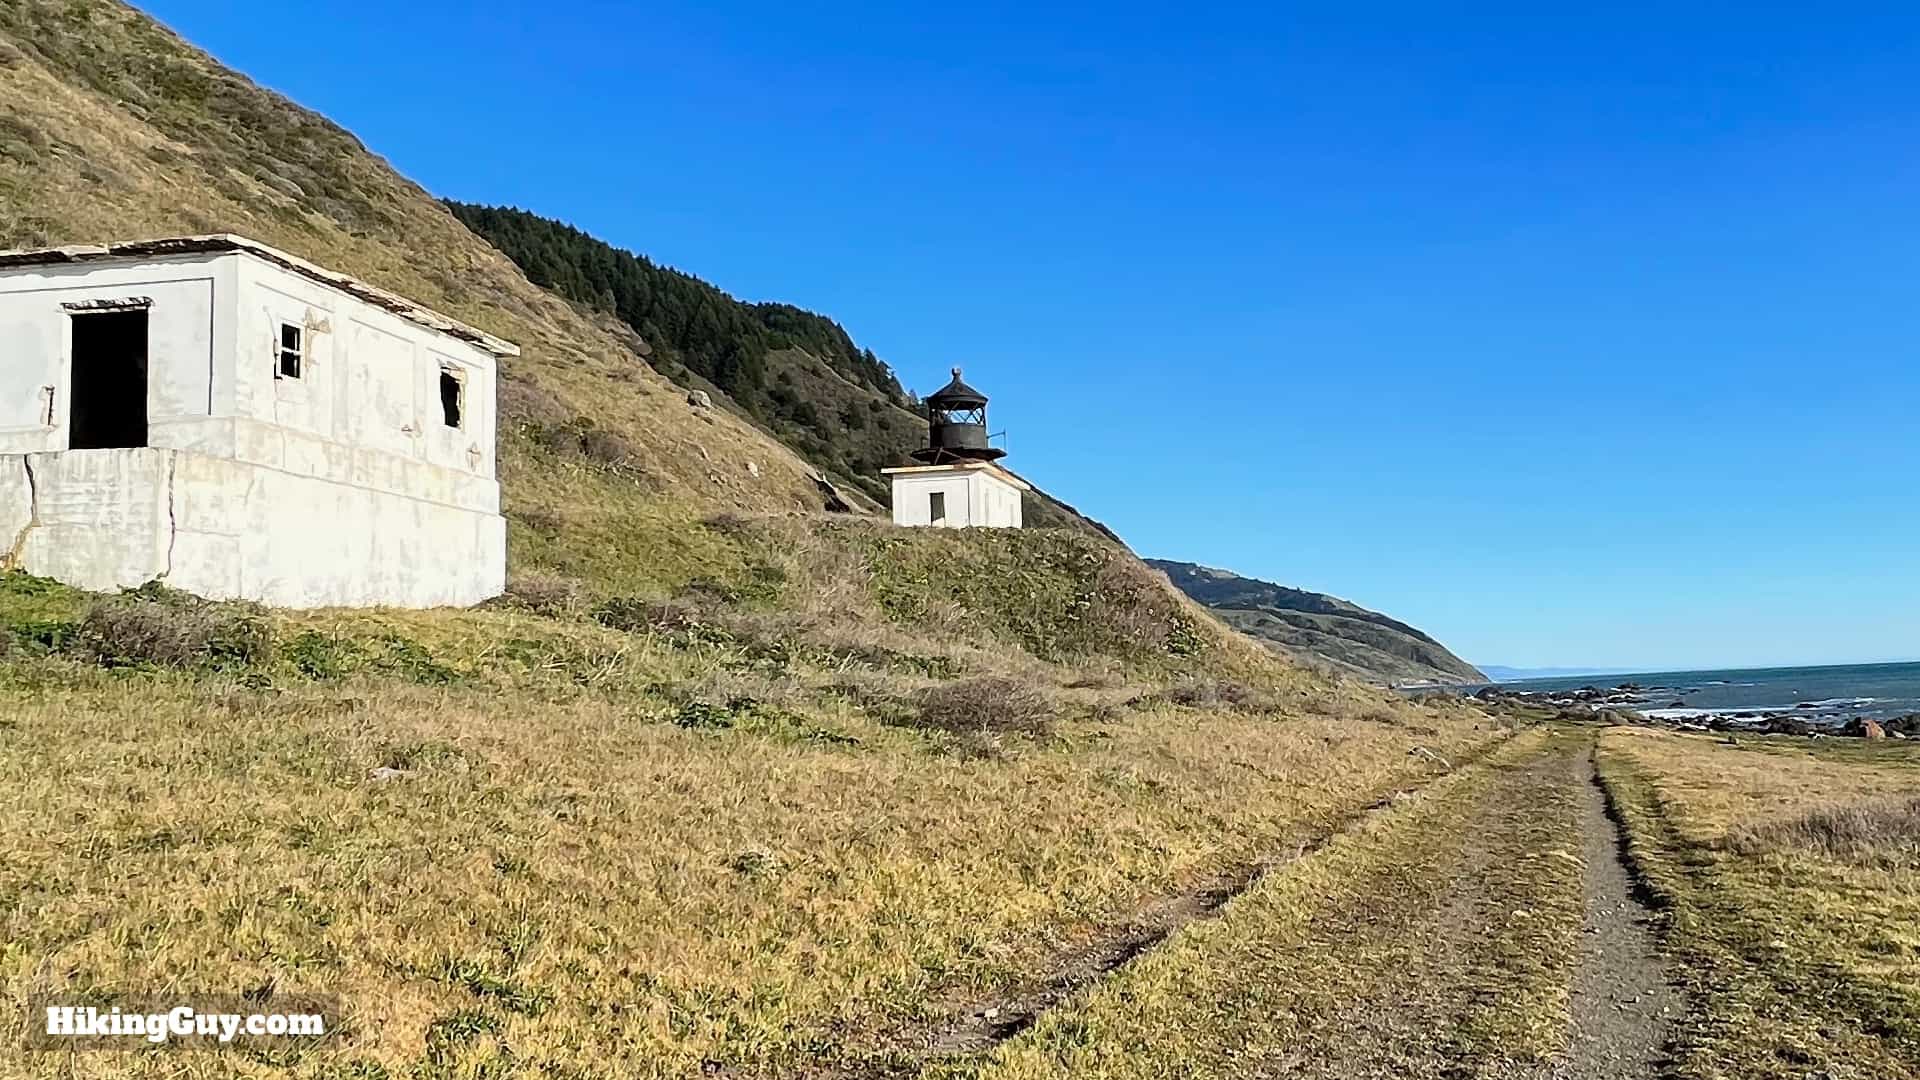
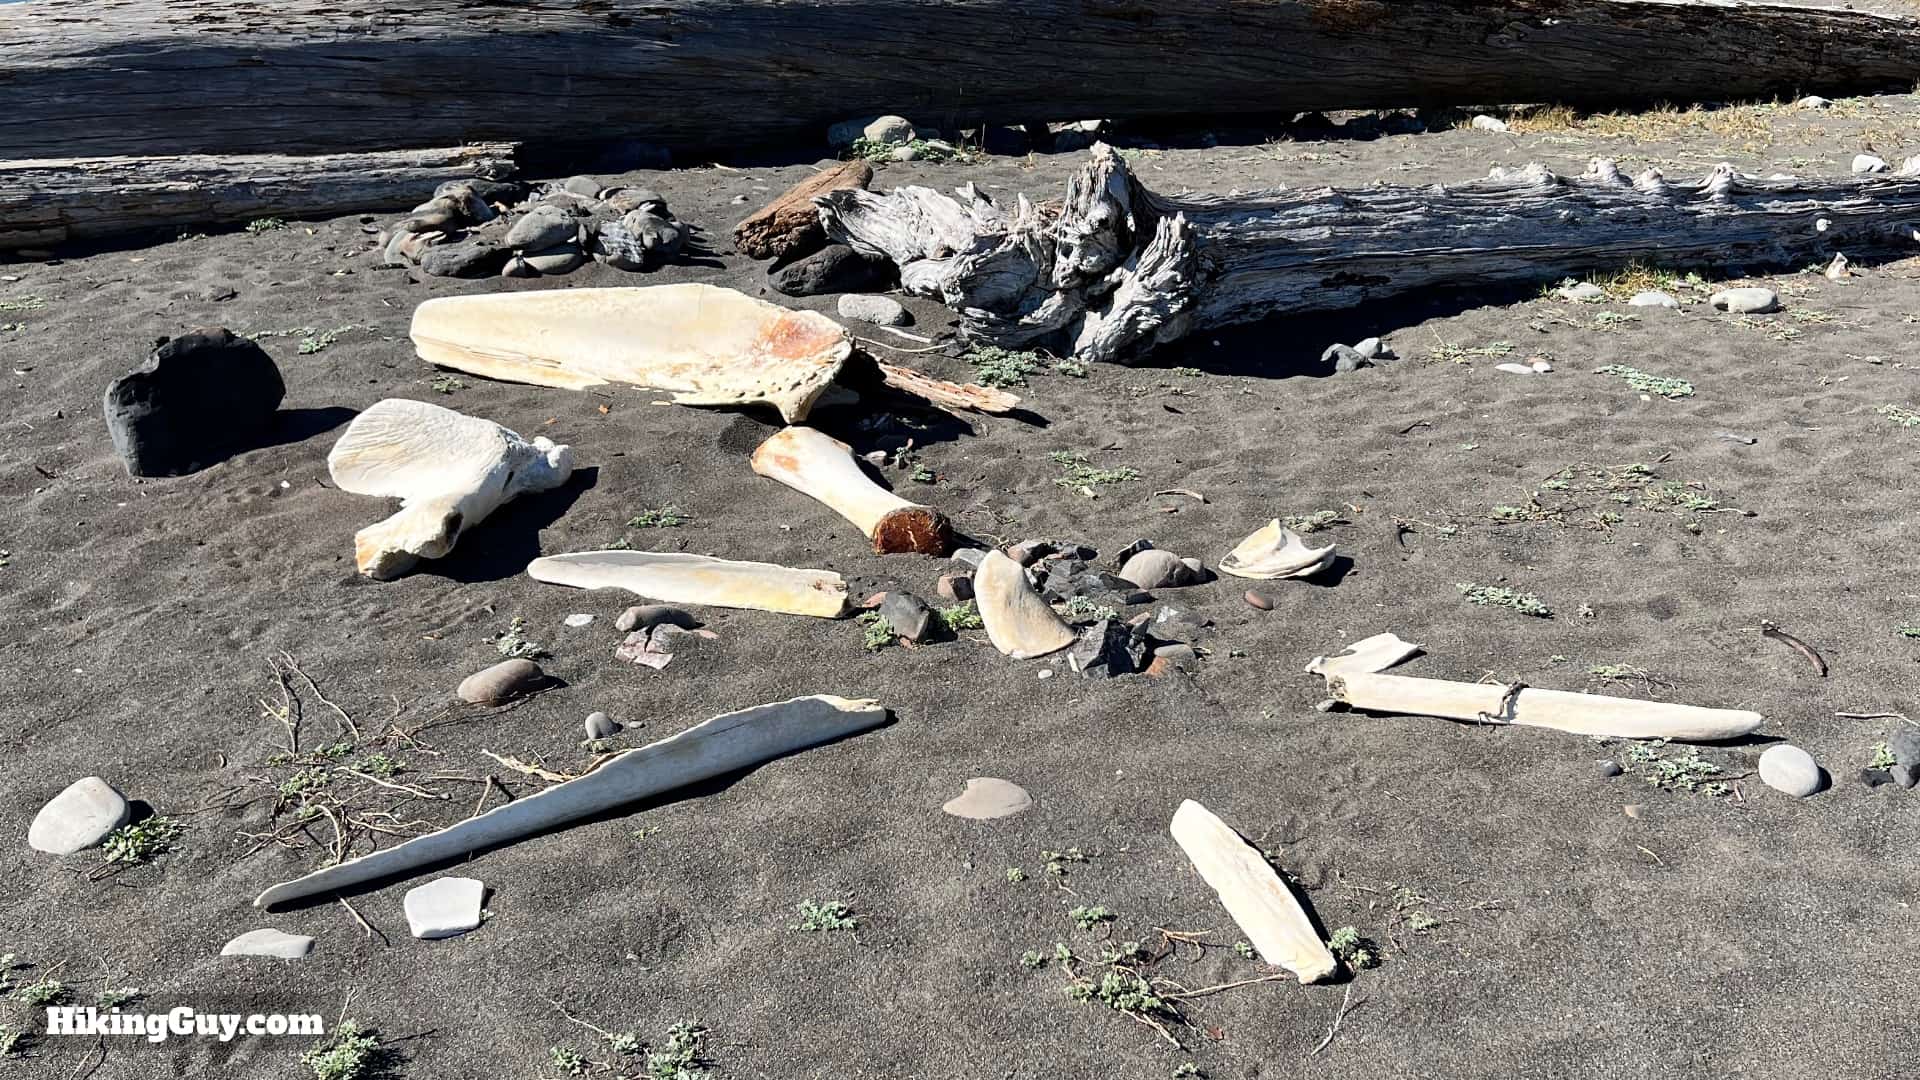
You'll see a few old metal fuel tank pieces along the trail. Those are from shipwrecks that are over 100 years old.


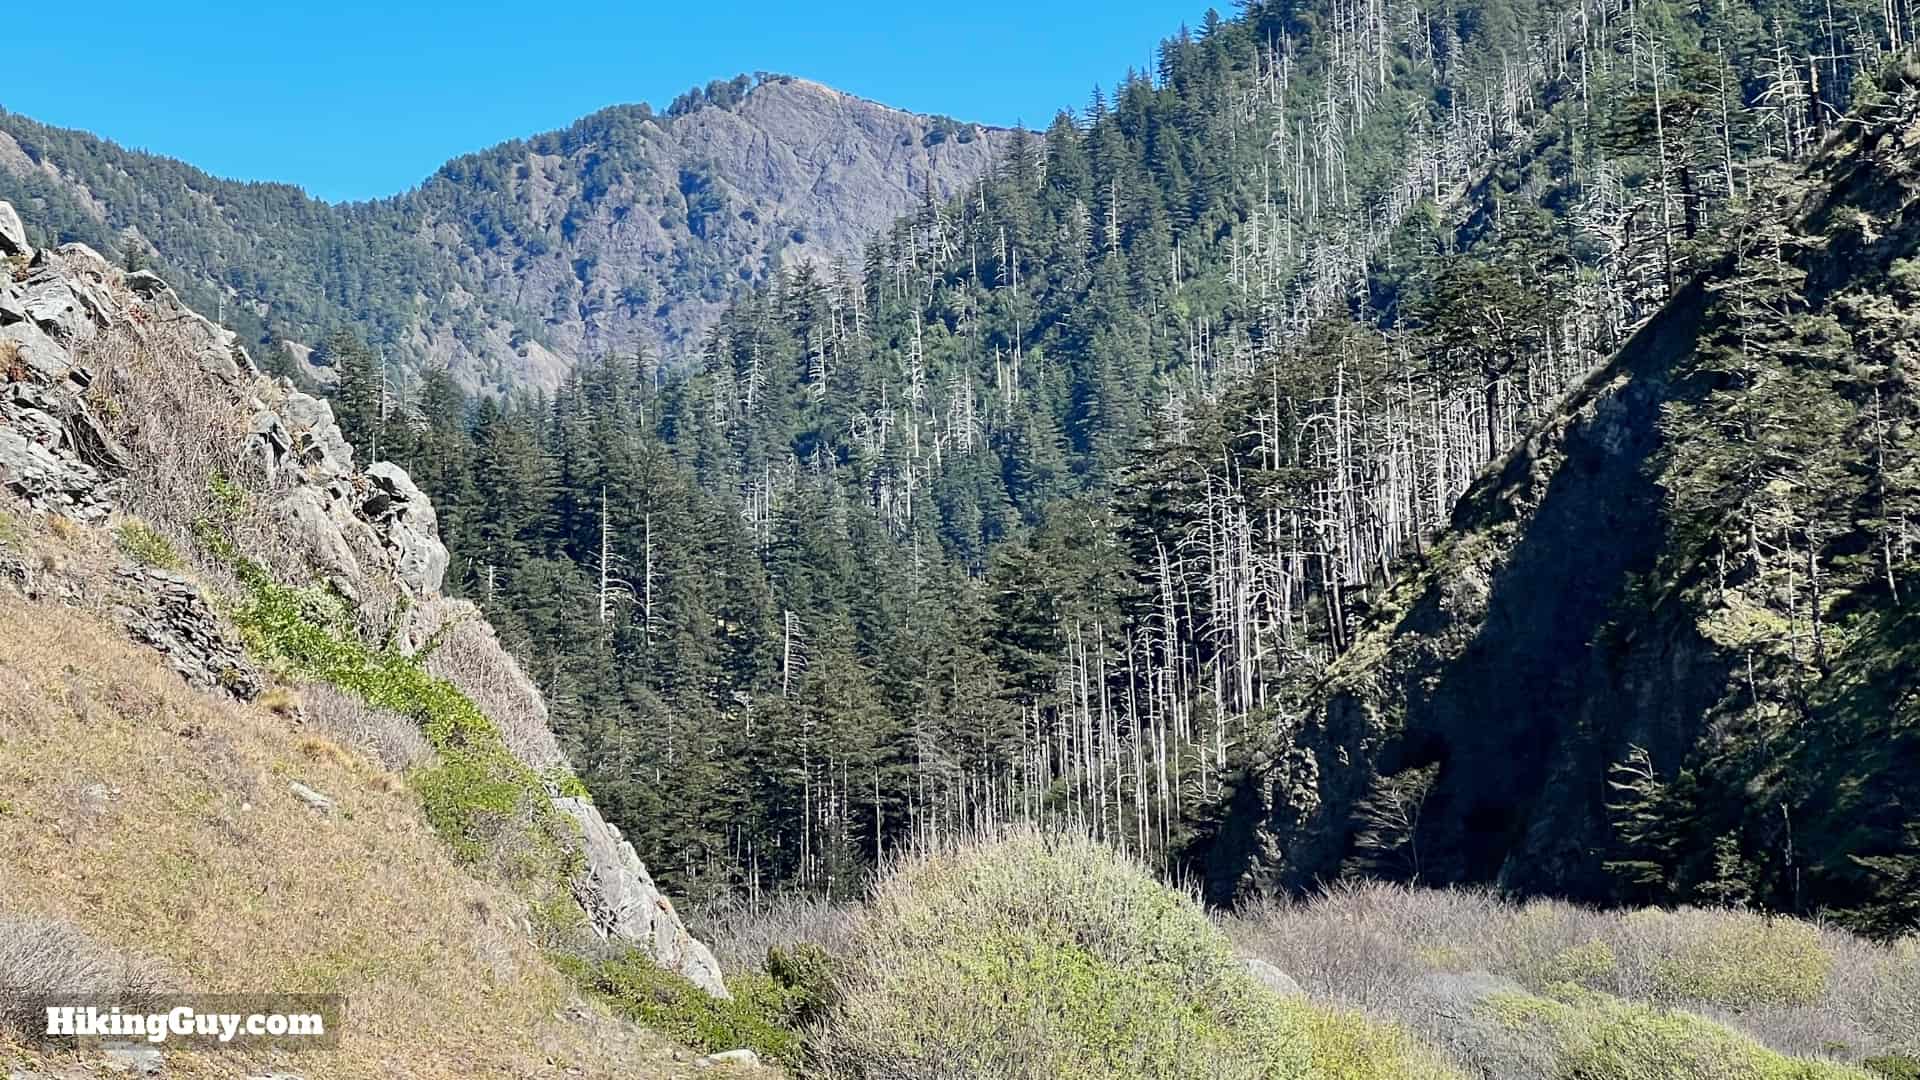

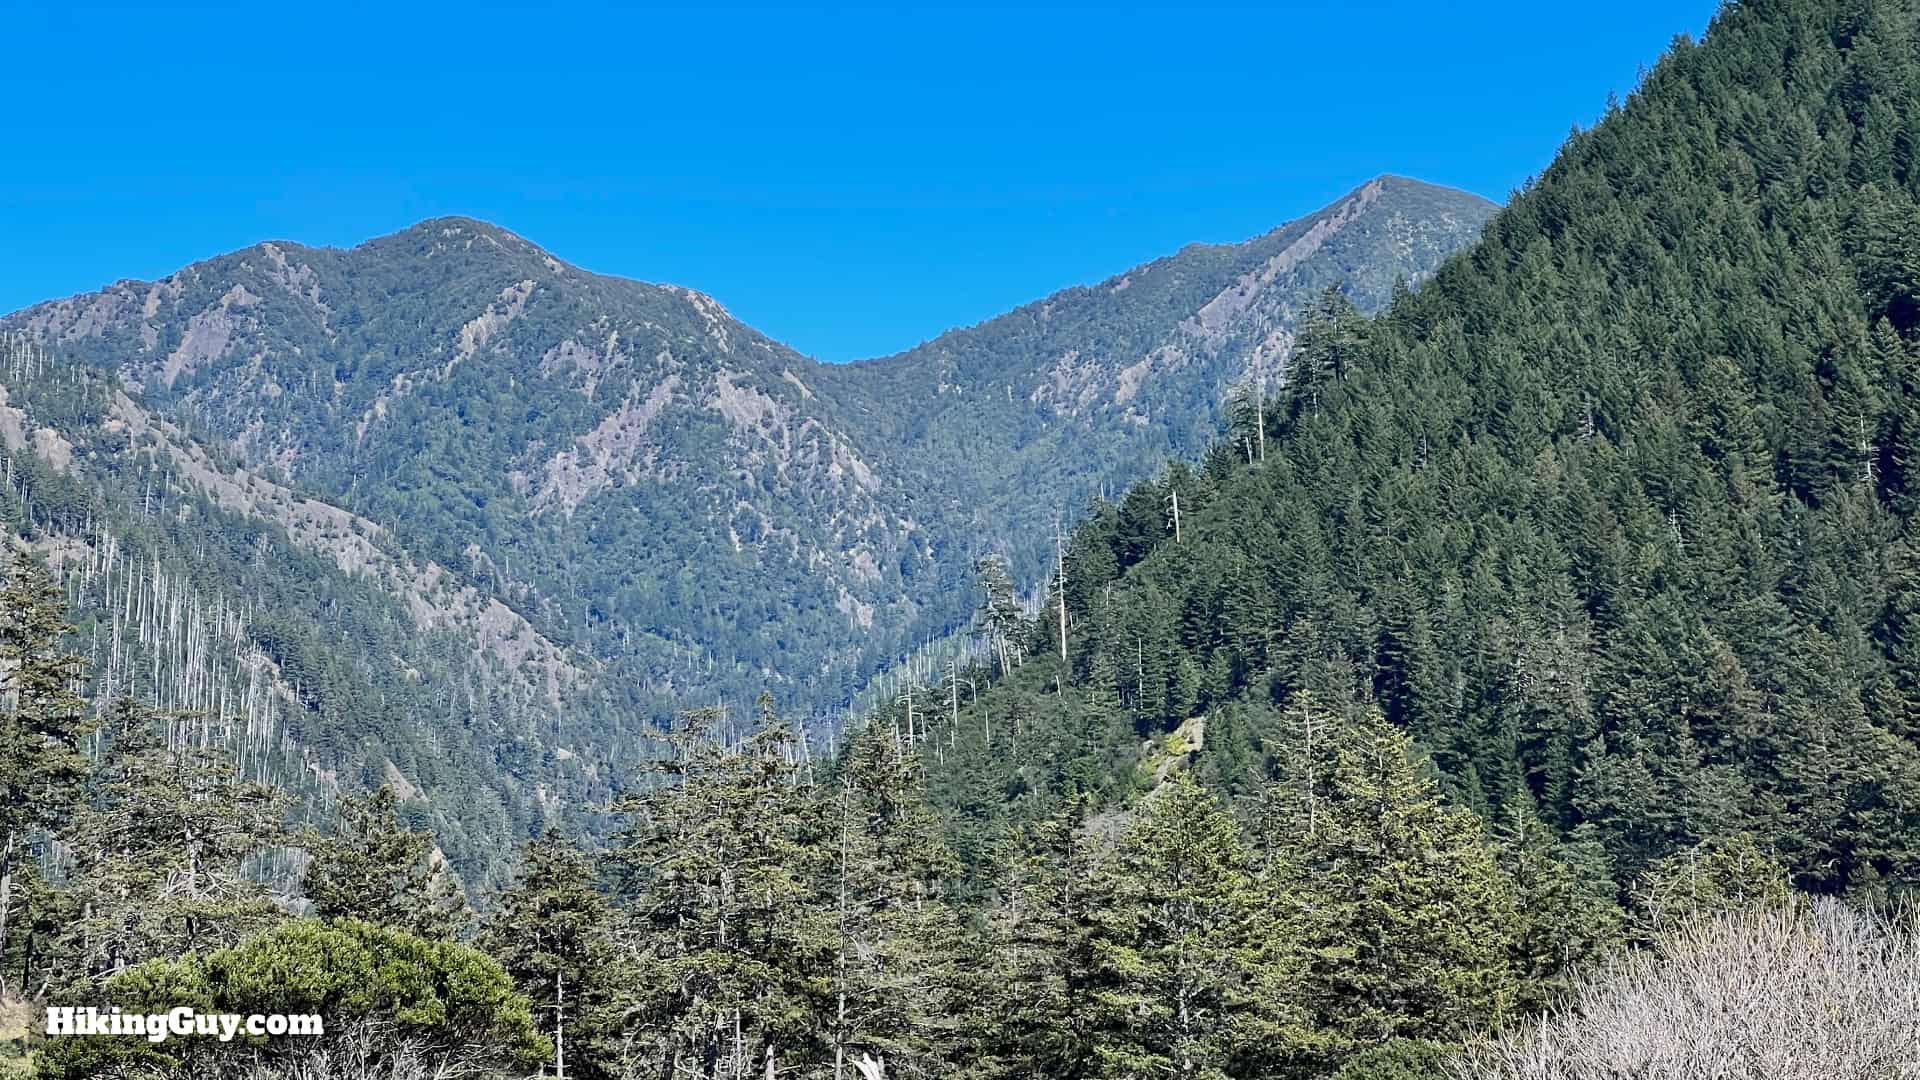
The King Range is young and actively growing, getting about 1 inch taller every 20 years.


Originally published March 18, 2022