
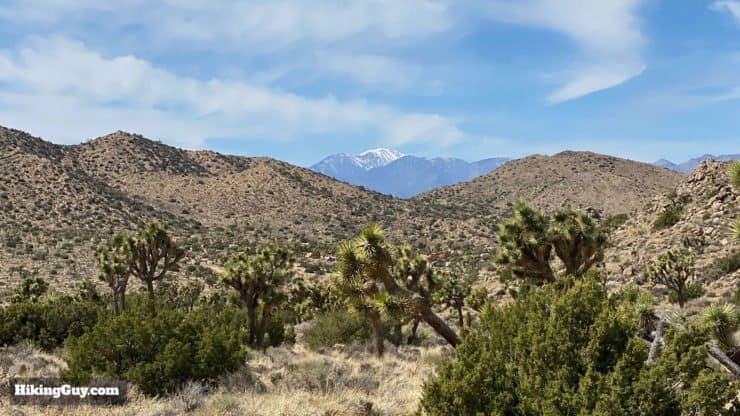
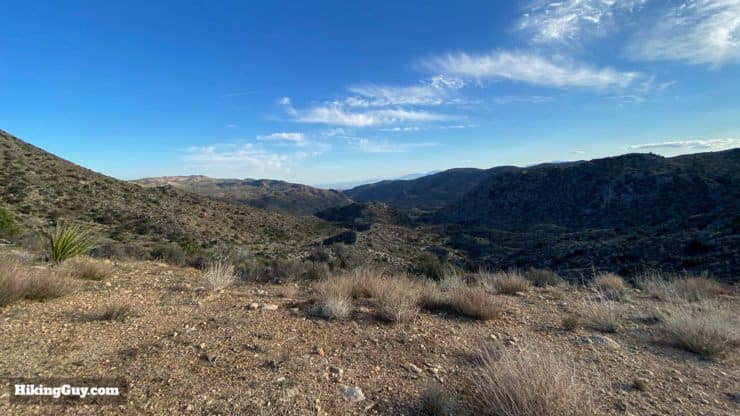
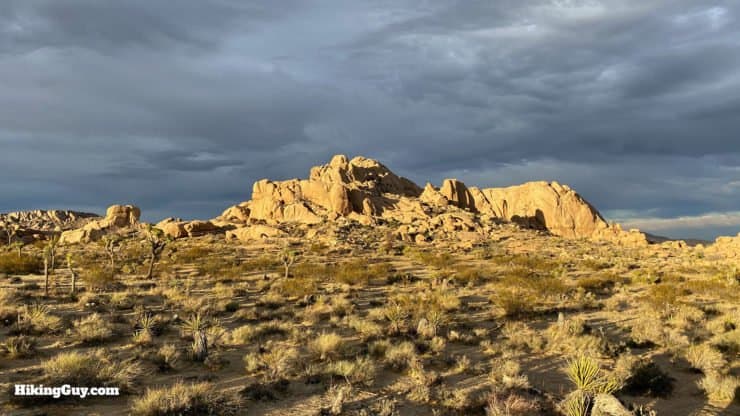
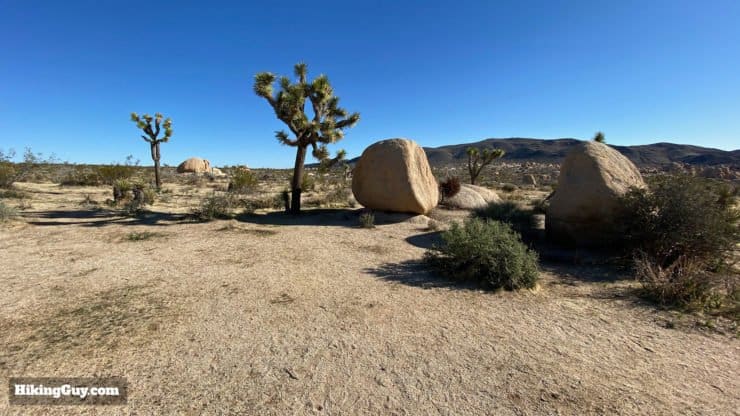
Backpacking the California Riding and Hiking Trail (CRHT) is like a mini thru-hike of Joshua Tree National Park. The CRHT takes you through some of the most remote parts of Joshua Tree, away from the crowds, and does it using gentle trails ideal for backpacking. There are some incredible camping sites with breathtaking views, and the 38 mile distance makes it doable as a 2 or 3 day hike. The only tough part is caching water and arranging a shuttle for the point-to-point route. This guide will tell you everything you need to know for a spectacular time on the California Riding and Hiking Trail.
- Video and Turn by Turn Directions for the California Riding and Hiking Trail
- Planning Your California Riding and Hiking Trail Backpacking Trip
- Gear Recommendations and Tips for the Hike
California Riding and Hiking Trail Overview
There are some key points to be aware of when you are planning your California Riding and Hiking Trail backpacking adventure.
- It's typically done as a point-to-point hike, west to east. This routing gives you a little more downhill than doing it the other way. If you're doing the CRHT for the first time, I recommend doing it eastbound and saving the reverse route for when you have experience. This guide covers the CRHT from west to east.
- There is no water along the trail. You'll have to carry it all or cache it along the way (more on that later).
- Since it's a point to point hike, you'll need to arrange a car shuttle. Most folks leave a car at the end of the hike, at the North Entrance Backcountry Lot, and then get a taxi or rideshare to the beginning of the hike at Black Rock Campground. But the cell reception from the North Entrance lot can be bad, making it hard to call for a ride. I recommend requesting the ride and setting your pickup as you drive into the North Entrance, while you have reception. The ride-share will be behind you, so you'll reach the backcountry lot before they do. You can also pre-arrange a taxi (Google "Twentyninepalms taxis"), but this is generally more expensive.
- The best time to do this hike is October-May. You don't want to be hiking in the middle of the desert during the warmer months when temperatures are over 100F. Check out my Joshua Tree hiking tips for more on the conditions and weather.
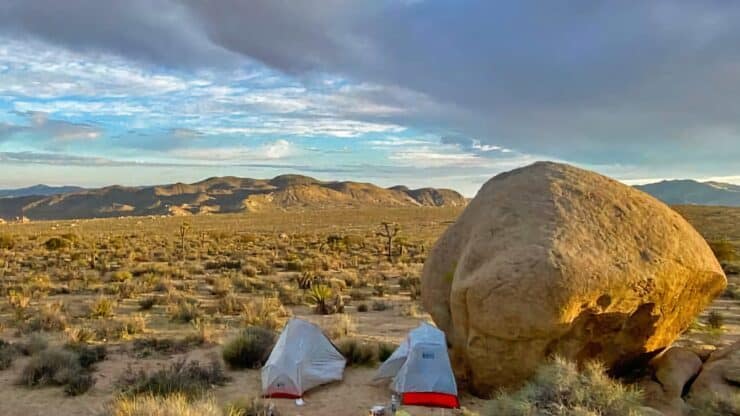
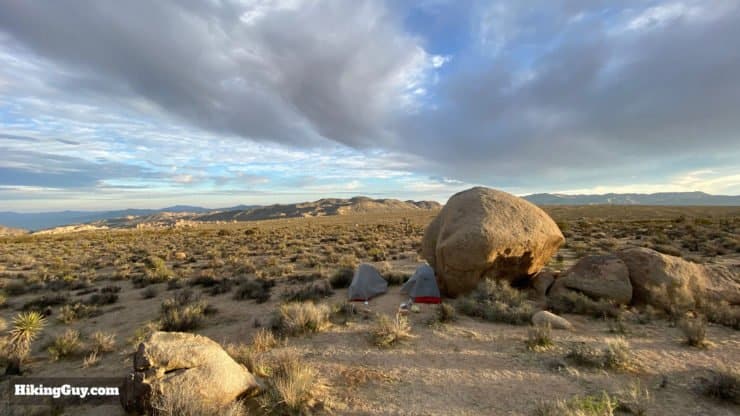
- Although the CRHT passes a few official campgrounds, you're going to want to do dispersed camping along the trail, which is much nicer. More on camping later.
Typical CRHT Itineraries
Most people do the California Riding and Hiking Trail in 2 or 3 days, but you can also take your time and do it in 4 or more.
- 2 Days (good for Sat-Sun)
- Cache water at Keys View Road the night before
- Hike 16-17 miles day one
- Hike 20 miles day two
- 3 Days (good for Fri-Sun)
- Cache water at Covington Flat or Keys View, and then Geology Tour Rd or Pinto Basin Road
- Hike 10 miles day one (half day)
- Hike 17 miles day two
- Hike 11 miles day three (half day)
- 4 Days
- Cache water and take your time, chunking into 8-10 mile blocks. If you're only doing 10 miles a day you'll have a lot of time to fart around and explore.
- 7 Days
- Do the hike as an out-and-back for 75 miles
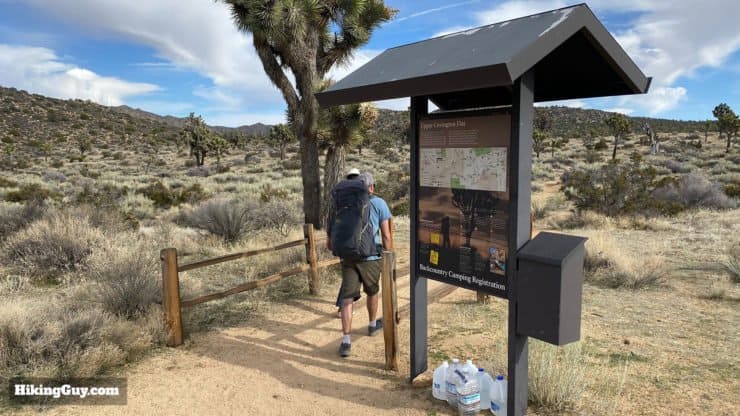
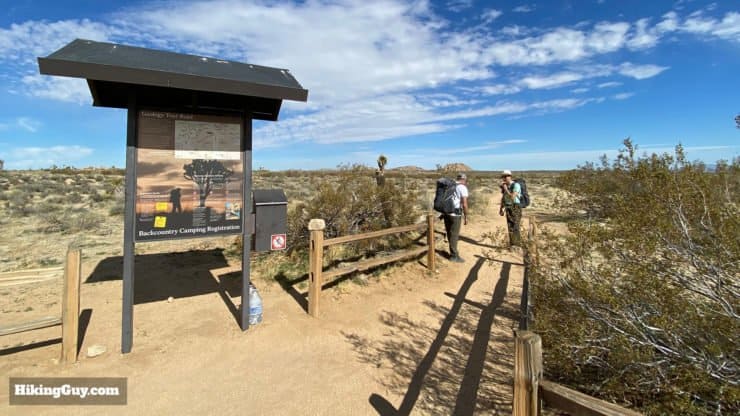
California Riding and Hiking Trail Permits
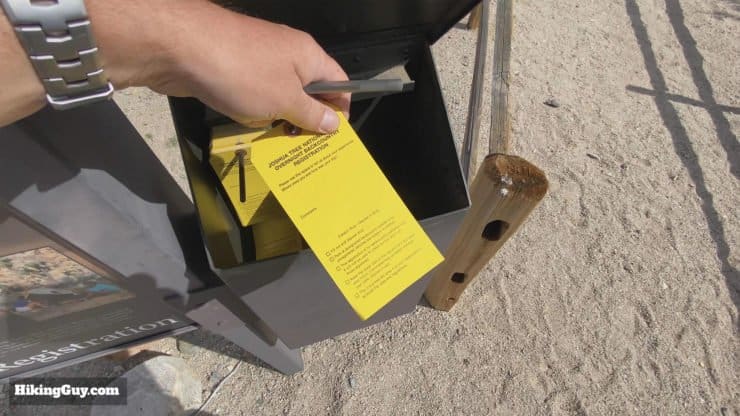
Today you need to book an overnight backpacking reservation online at Recreation.gov. You can book the same day, or up to six months in advance. You can also pick up a permit in the main visitor center if you don't have internet access. The good news is that there is no quota for permits.
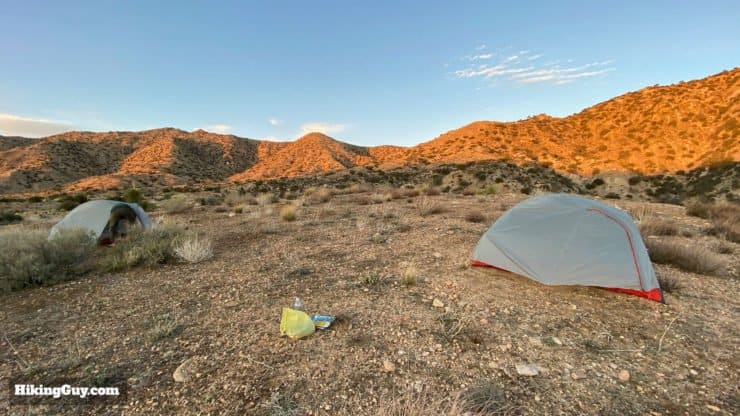
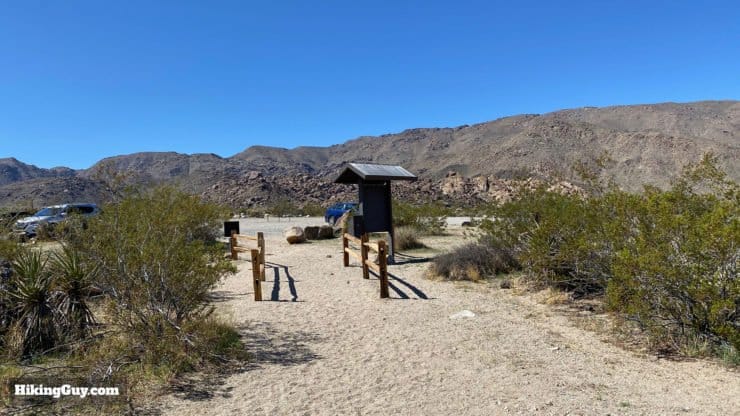
Dispersed Camping On the CRHT
There are no official campground or tent sites when camping on the California Riding and Hiking Trail. Just hike until you a find place where you want to stop.
- Camp at least 1 mile from a backcountry trailhead, and at least 200 feet off the trail. Camp in "low-impact" spots that a offer minimal environmental disruption.
- You have to pack all of your trash out. I just bring a gallon zip lock back and crush everything down into it.
- Bring a trowel and bury your poop in holes, six to eight inches deep, and at least 200 feet away from water sources, campsites, and trails. Pack out your toilet paper.
- You go past some established campgrounds along the route, which all have primitive toilets. If you don't want to squat over a hole in the sand, make the short detour into a campground to do your dirty work.
- Established campgrounds also have trash and recycling receptacles if you want to drop off trash along the way.
- You can't camp with an open fire (like a bonfire), but you can use a camping stove. Get a free camping stove permit online here.
- Keep your gear, boots, and water (everything) in your tent with you at night. Critters can chew through packs to get to food and water. Scorpions can climb into boots.
- This is purely anecdotal, but it seems to be about 10F colder than the lows on the weather report at night and about 10F higher during the day. Give yourself some wiggle room when choosing a sleeping bag, etc.
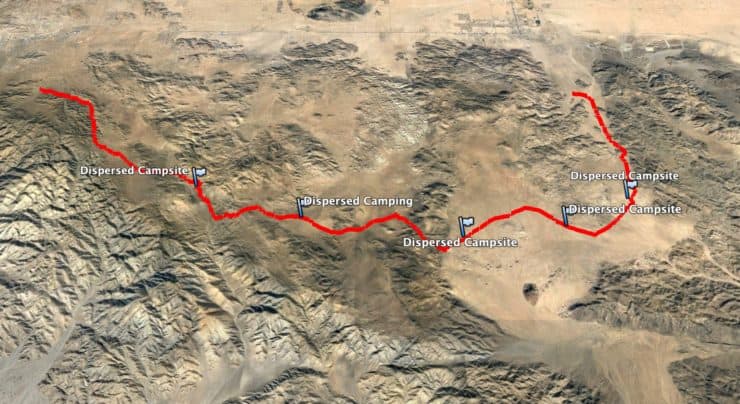
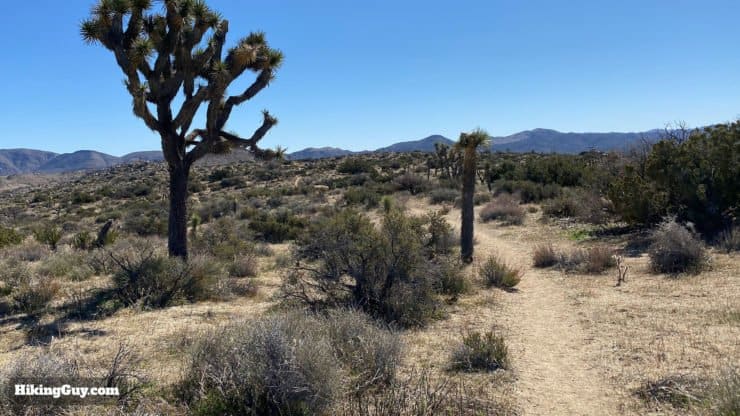
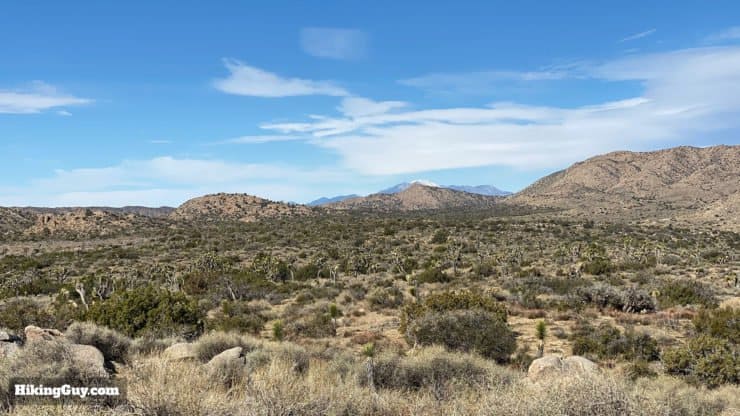
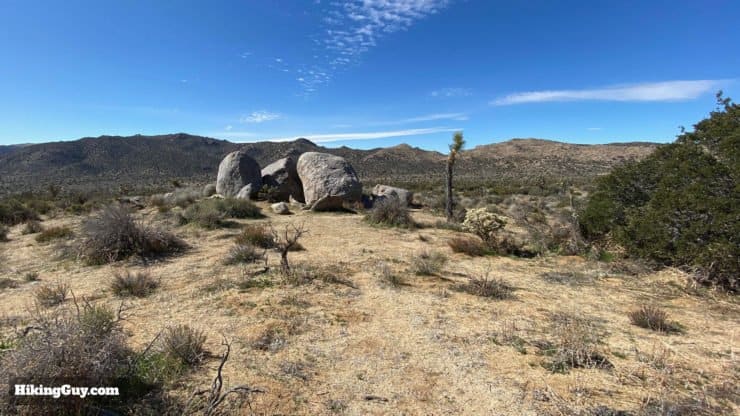
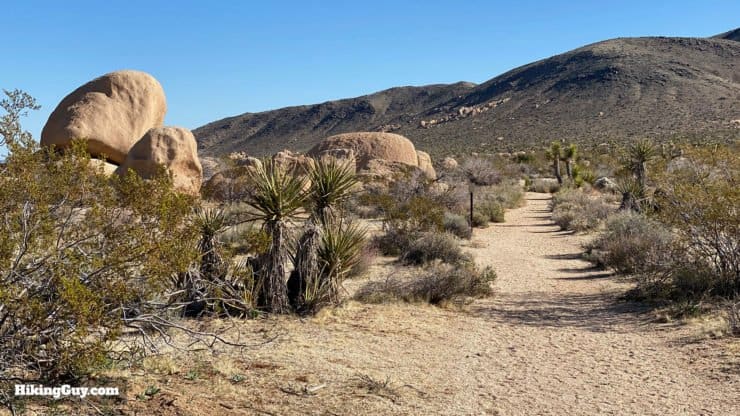
I've marked some of my favorite camping spots on the map later in the guide, and you can find some images of them in the turn-by-turn directions too. But you don't need to camp at those sites; there are many more. Those are just some of my favorites.
Caching Water Along the Route
Water is the biggest pain in the butt on this hike. If you're doing the hike in two days and the temperatures are cool, you can probably get away with carrying all your water. But otherwise plan on a gallon of water a day (the recommendation from Joshua Tree National Park). When it's cooler out, I generally get away with 3L a day including cooking. When it's warmer, I plan on 5L. In general, I err on the side of having more water than I need. Usually this means having a full 3L water bladder and two 1L water bottles, one for dinner cooking and water, and one for breakfast.
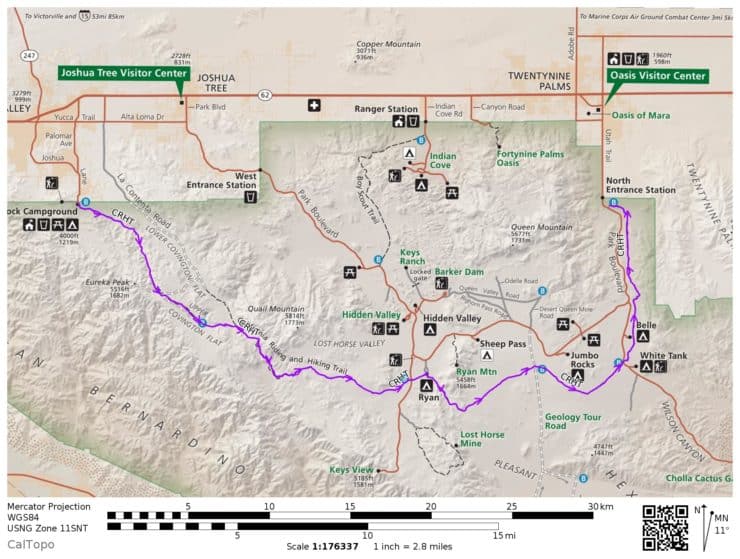
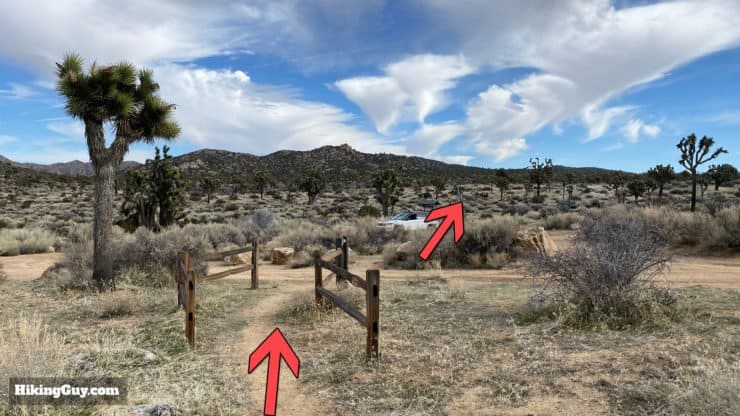
You can cache water any place that a road crosses the trail. I've marked some of the spots on the map with a W (see the maps section later in the guide).
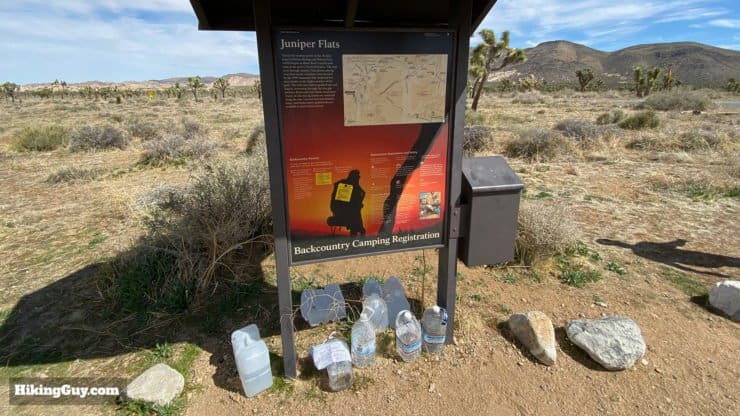
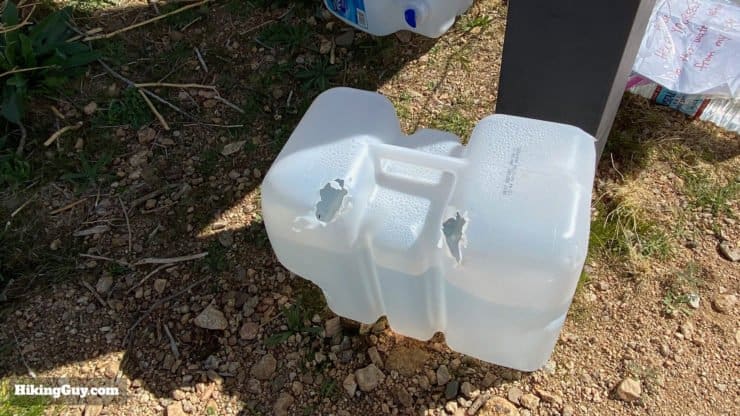
I highly recommend caching your water somewhere away from the backcountry board with minimal environmental impact. I've seen inexperienced day hikers take water caches for themselves, not understanding that people had left them there for later. I've also had containers that have been totally gone. Do yourself a favor and hide the water close by, marked with a GPS waypoint.
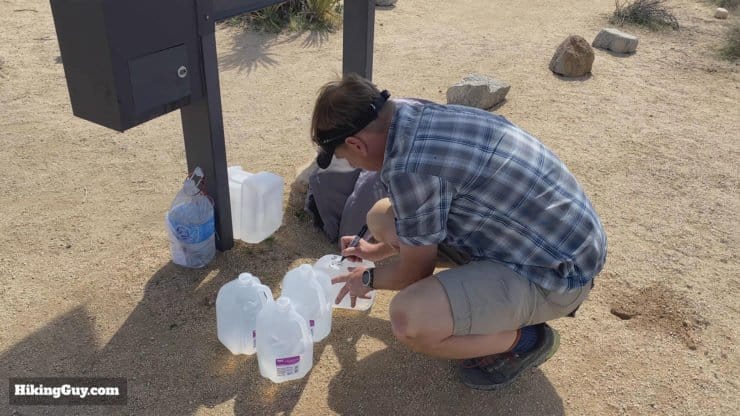
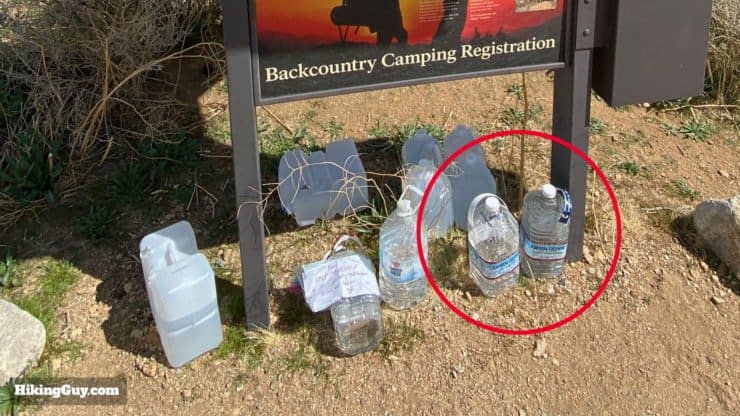
You can either crush the containers and carry them out with you, or pick up the empties after your hike by driving back through the park. You can also drop them in recycling receptacles at established campgrounds, some of which are near water cache areas.
Gear for the Trip
Aside from the water considerations, this is pretty much a regular backpacking trip. You're in the desert, you'll need sun protection, and sunglasses will help prevent photokeratitis (snow-blindness). You might want long pants if you're scared of cholla or other cactus, but I always hike with shorts and am fine.
Gear That I Love Right Now
Nothing is sponsored or promoted, just the actual gear that I use.


California Riding and Hiking Trail Maps
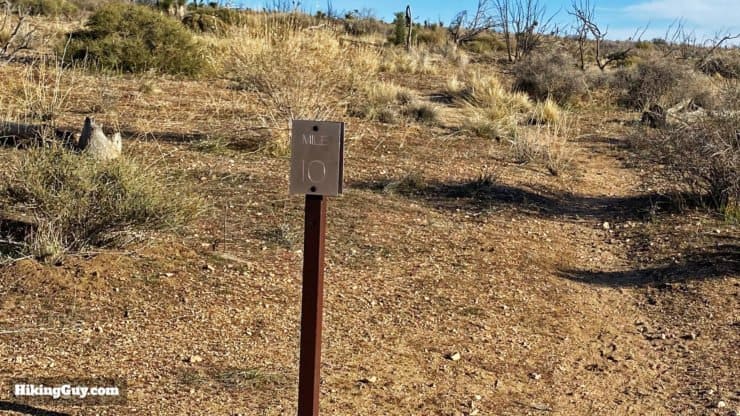
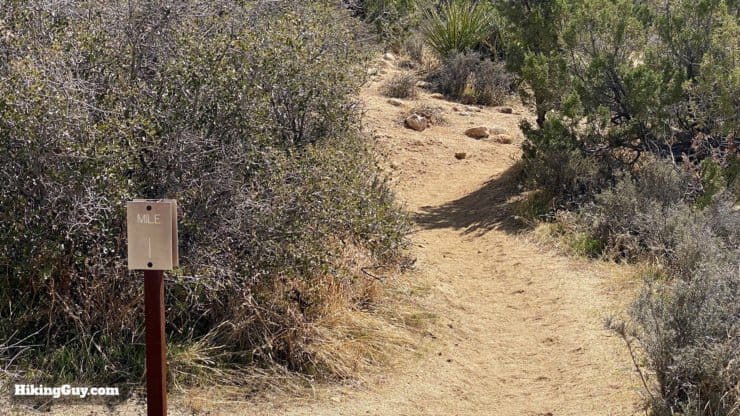
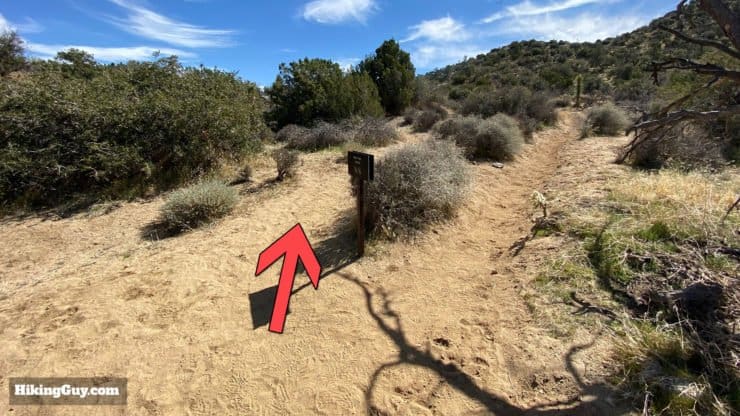
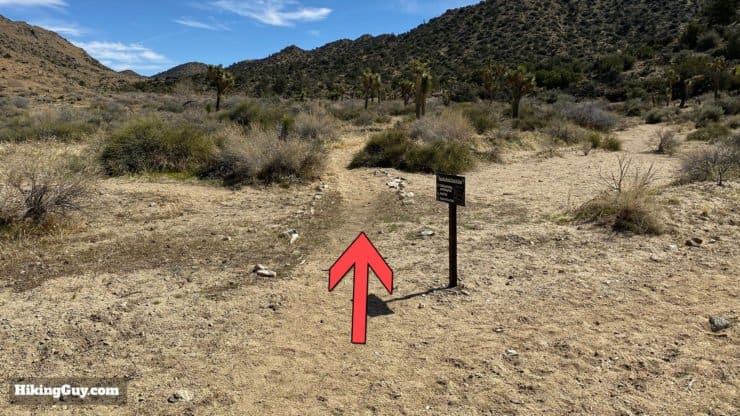
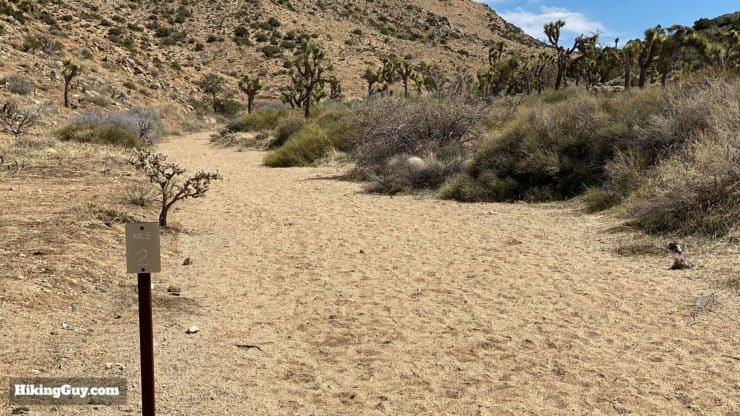
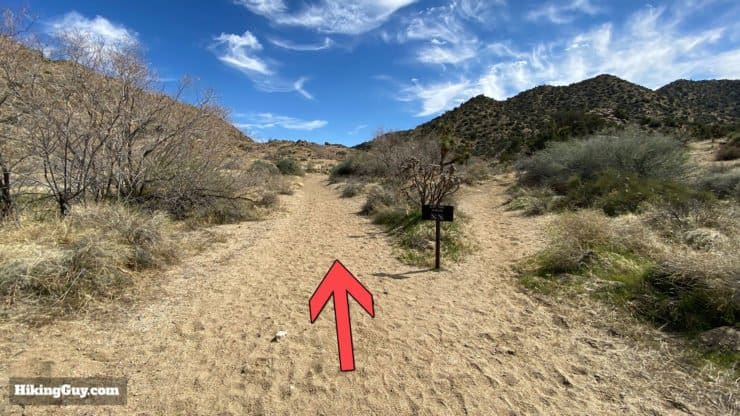
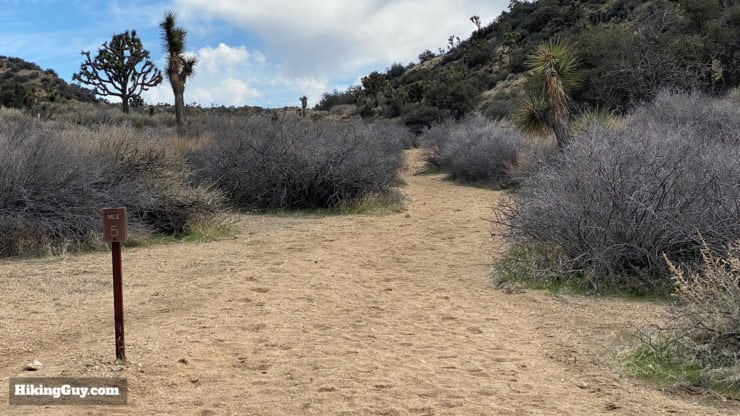
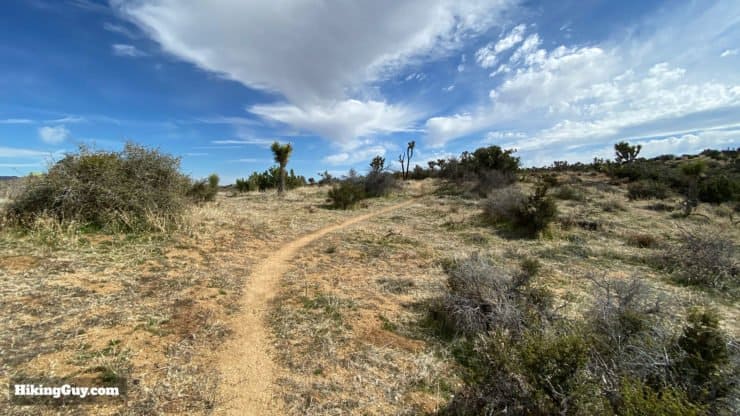
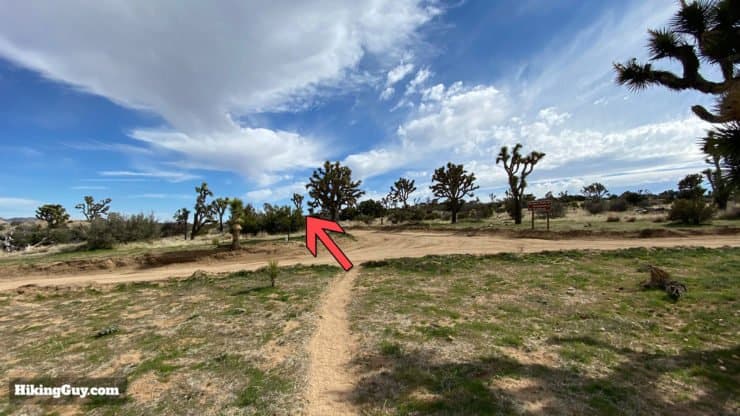
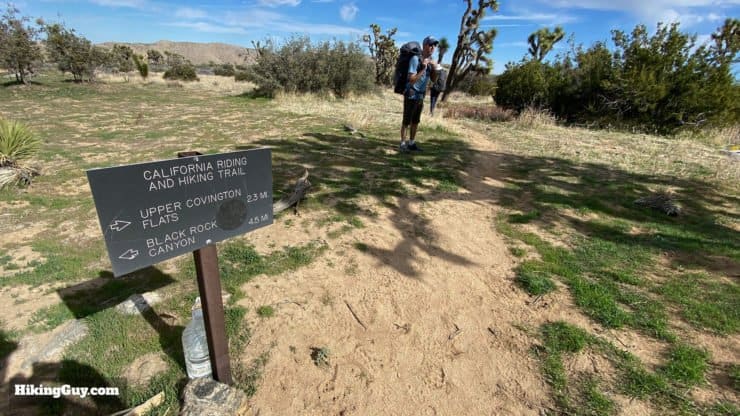
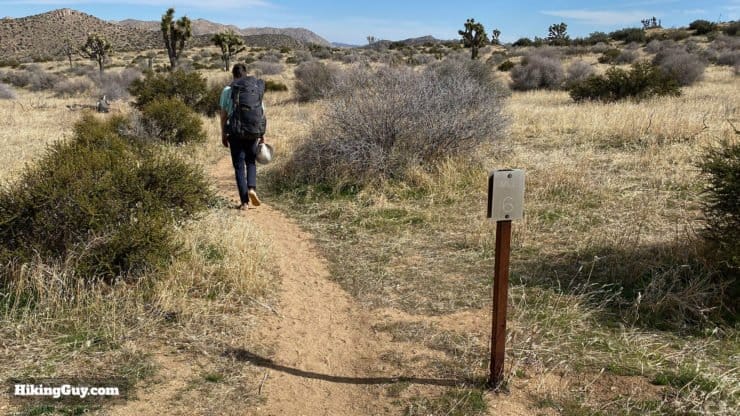
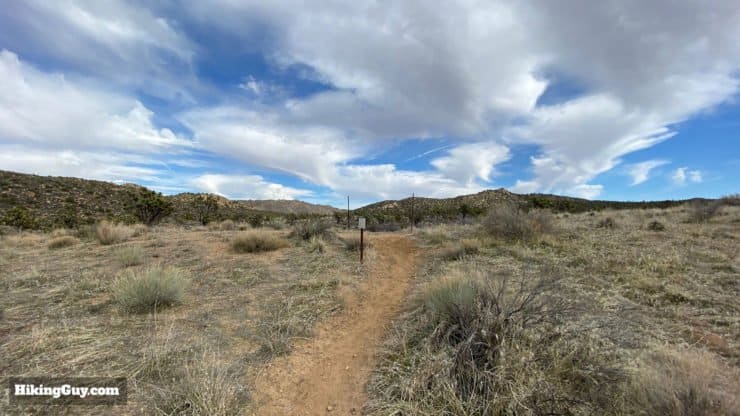
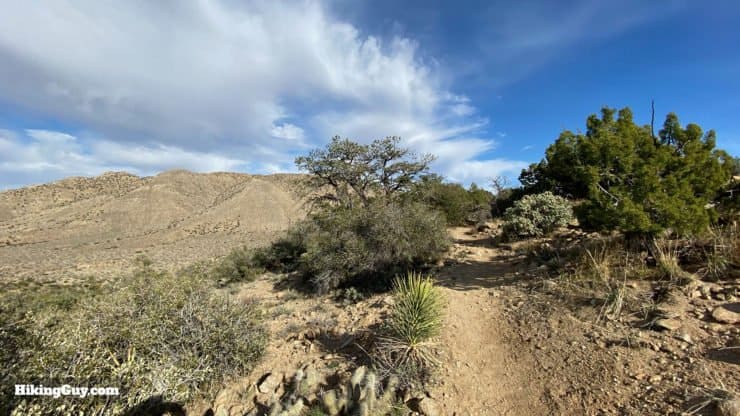
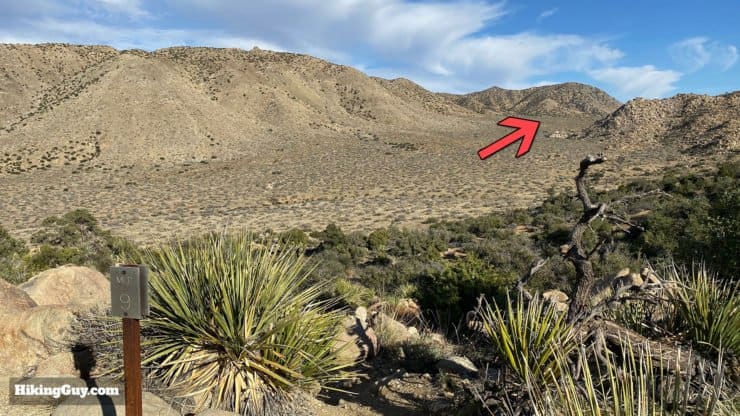
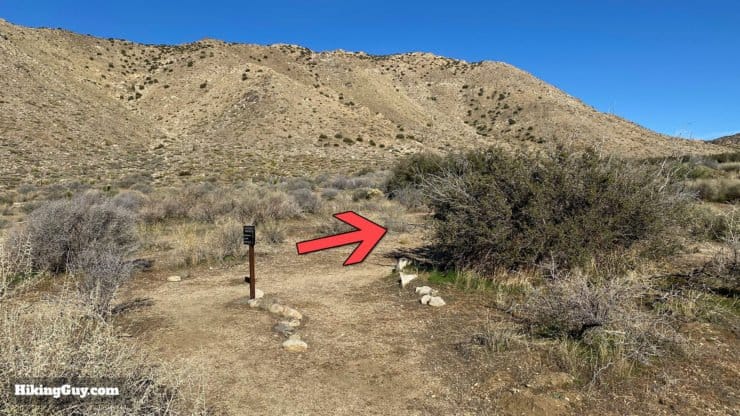
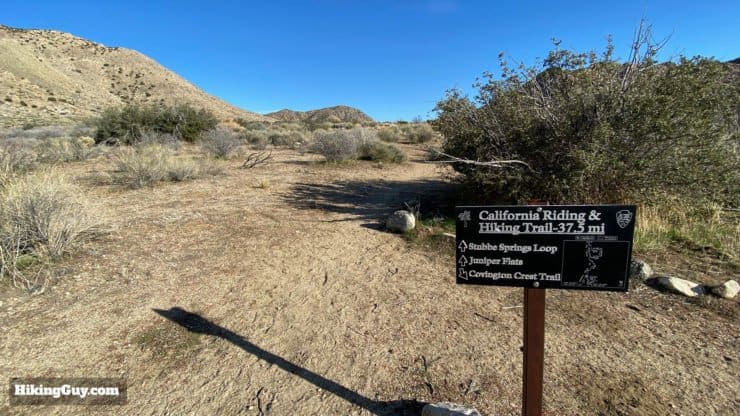
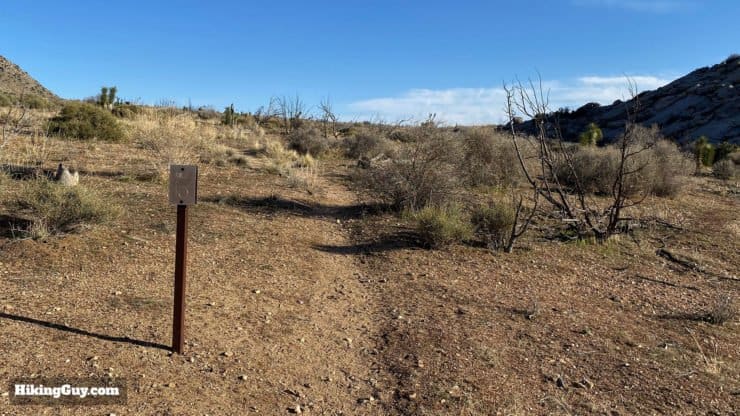
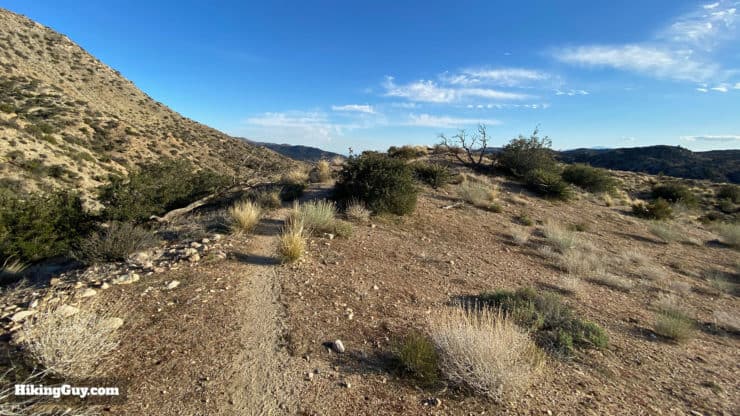
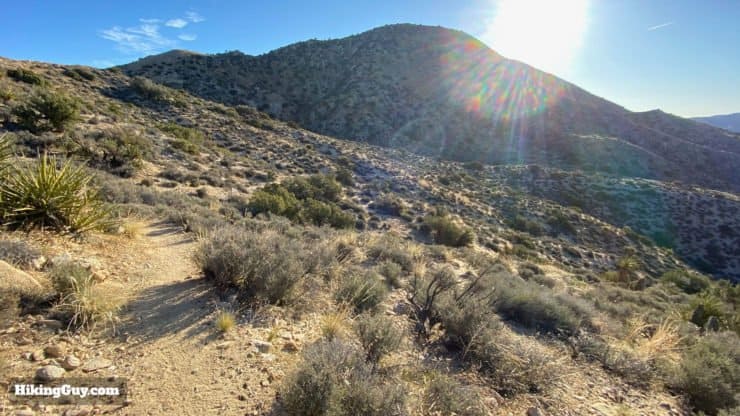
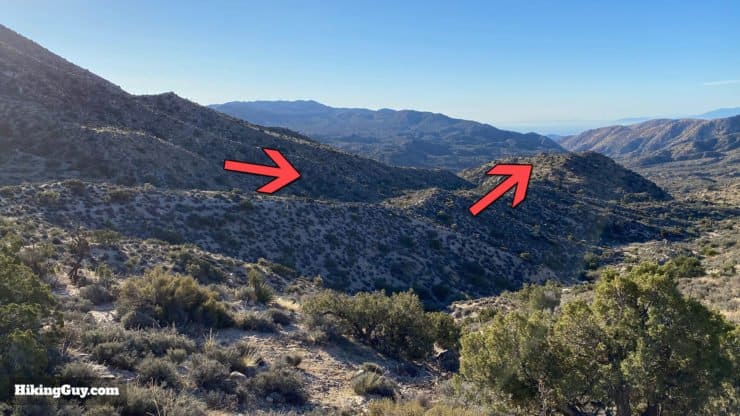
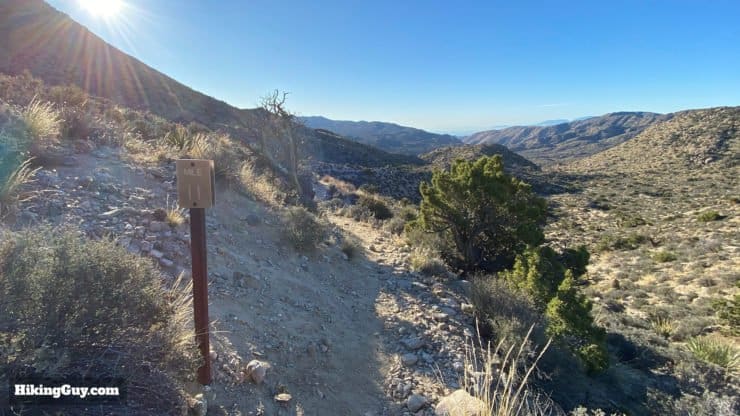
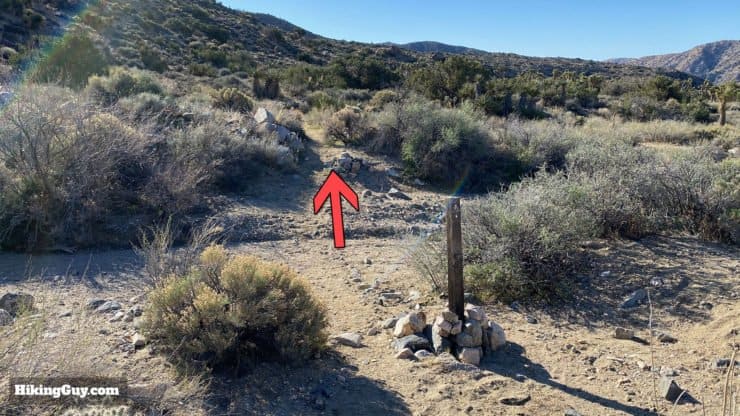
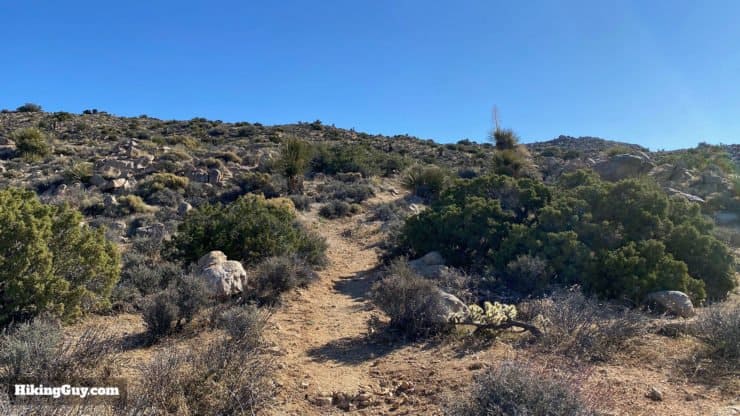
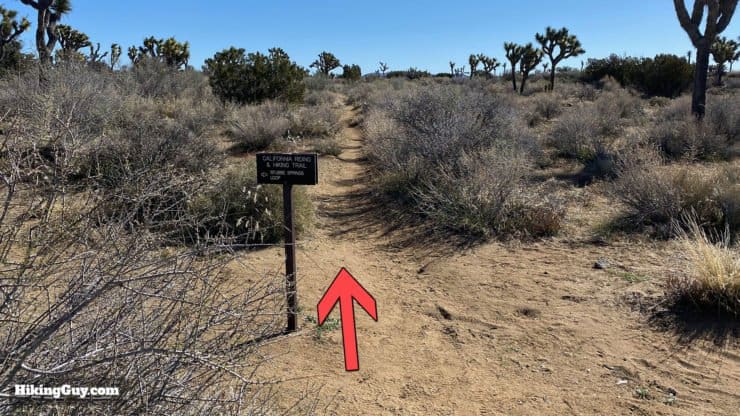
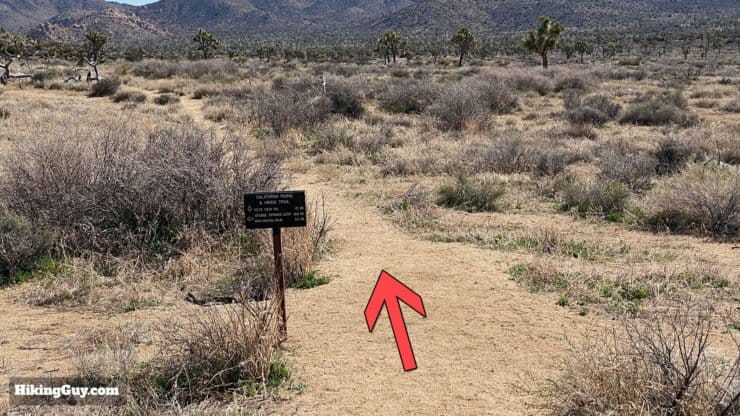
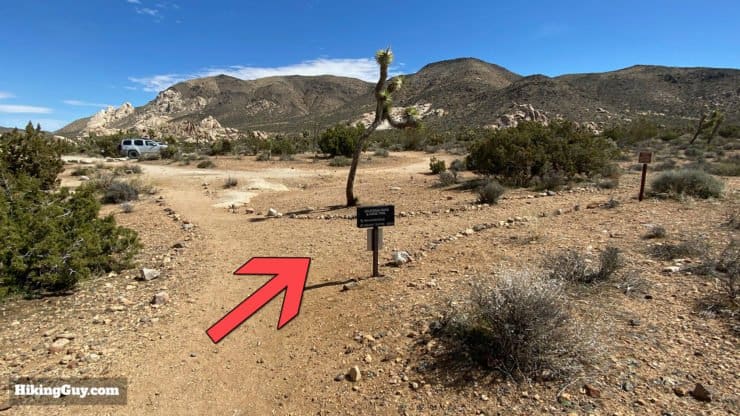
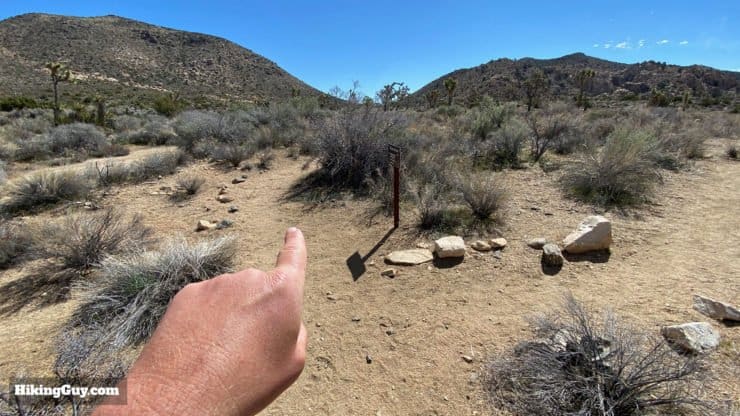
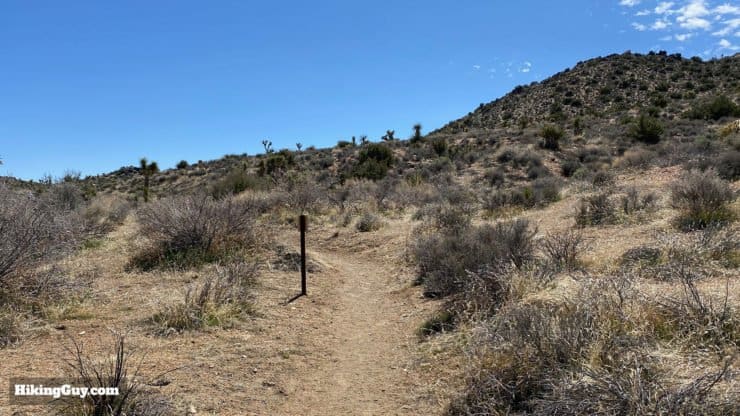
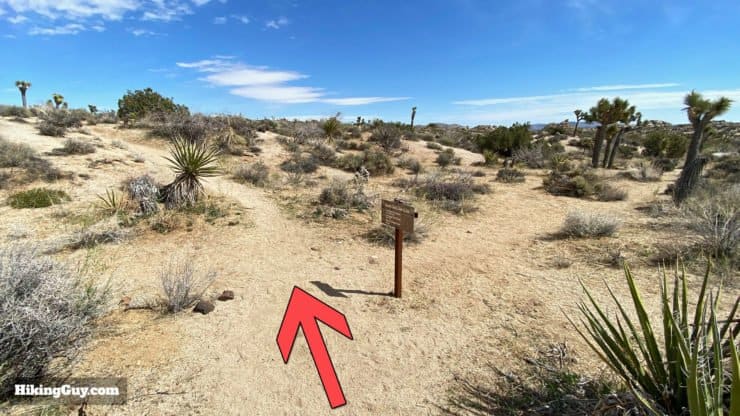
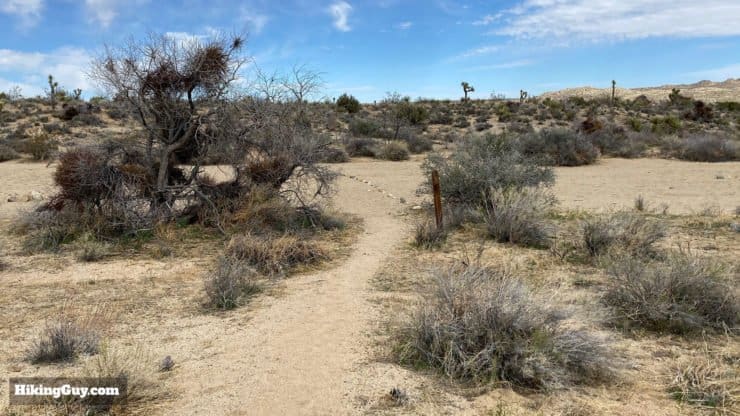
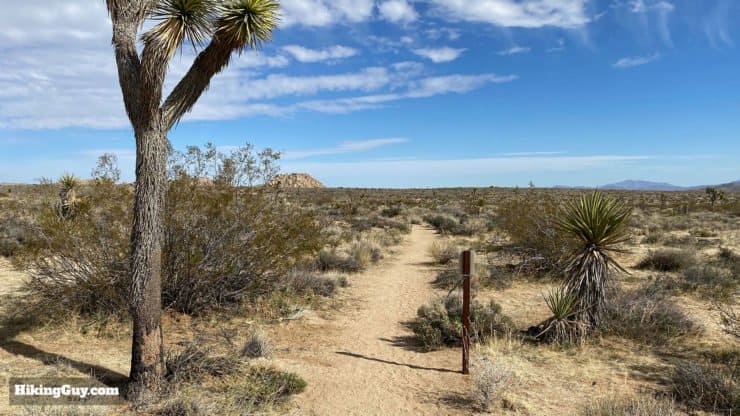
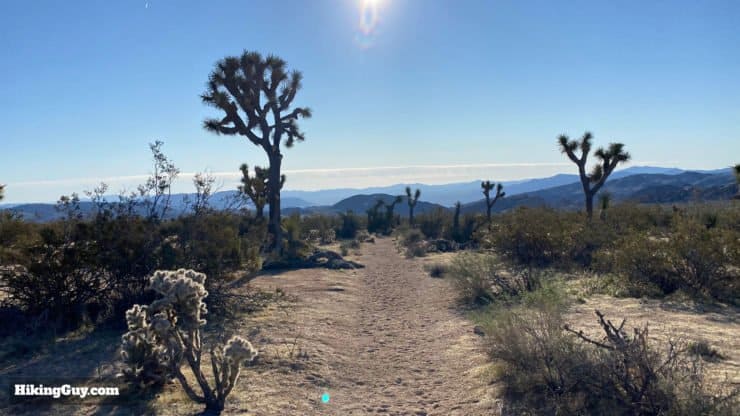
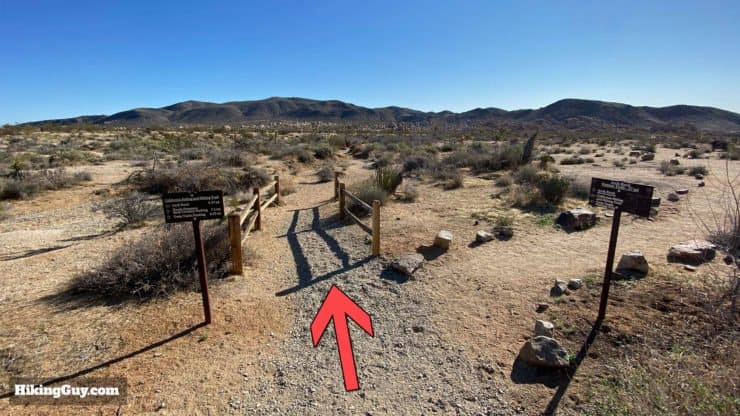
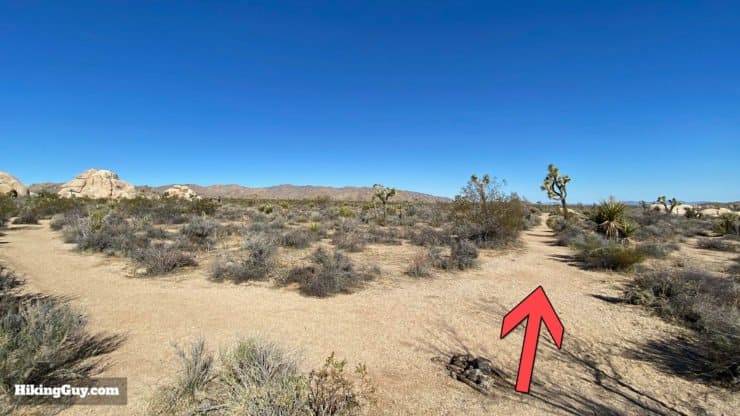
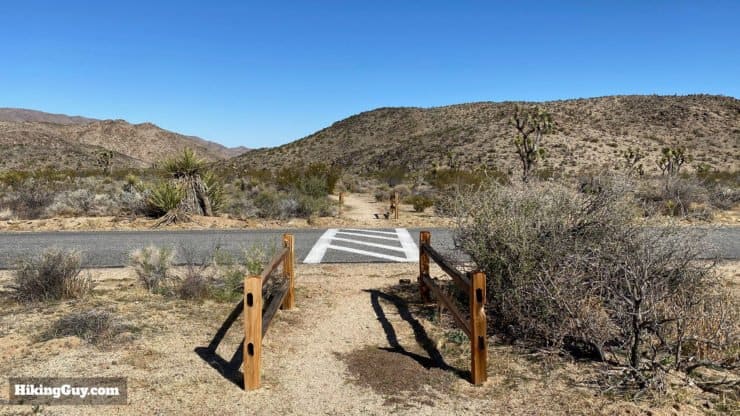
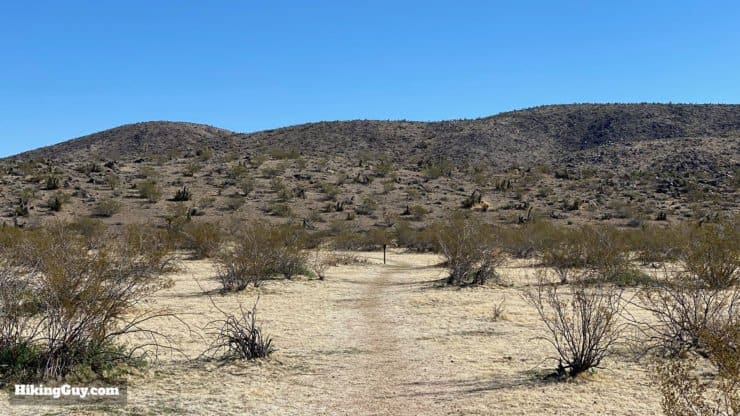
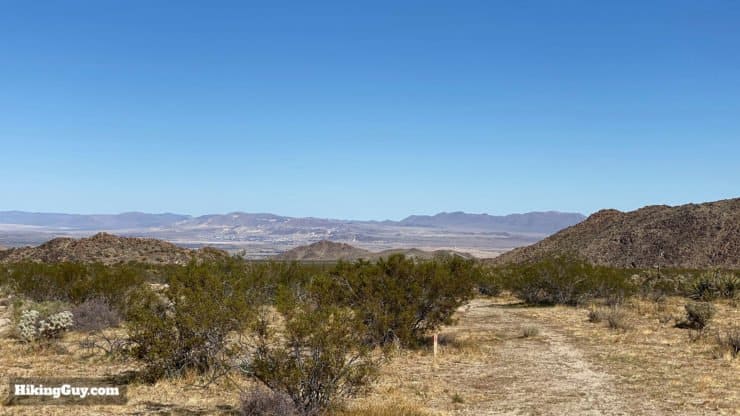
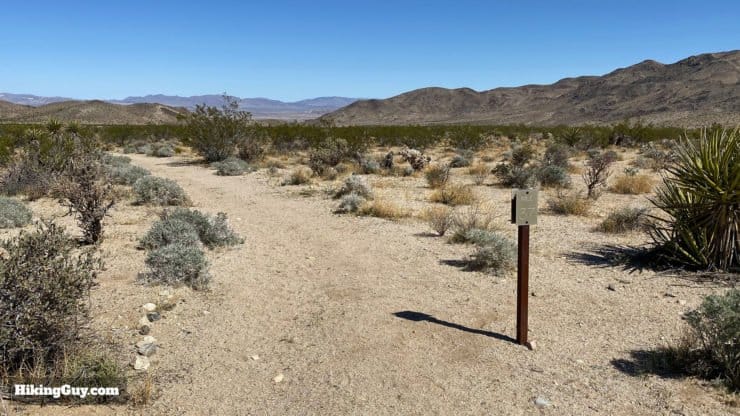
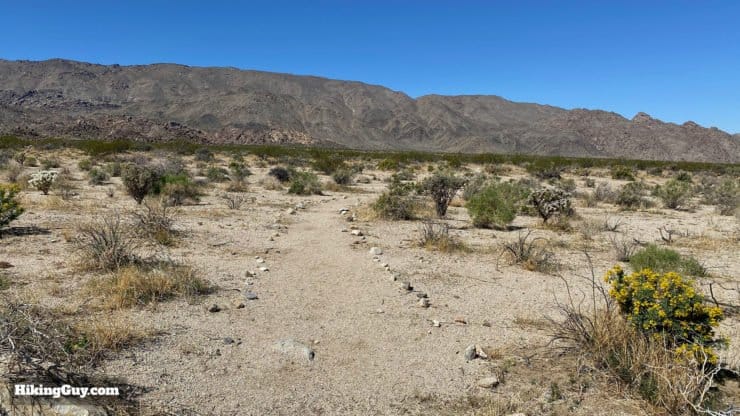
Overall the CRHT is well marked and easy to follow through Joshua Tree. There are trail signs that confirm you are on the CRHF, and there are also mile markers in both directions for most of the trail.
If you look on some maps of Joshua Tree National Park, you'll see areas marked off as "wilderness." Wilderness areas within federal lands are those set aside under the Wilderness Act to be (theoretically) untouched by human development, such as roads and visitor centers.
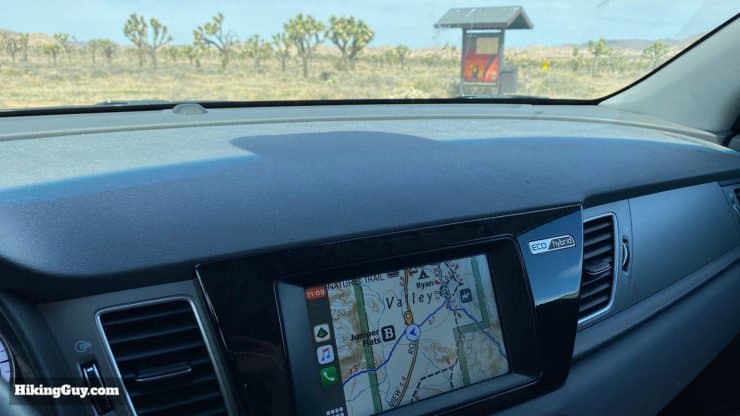
How Will You Navigate?
 Using the Apple Watch for Hiking
 Garmin Fenix 7 & Epix Review For Hikers
 How To Read a Topographic Map
 Garmin GPSMAP 67i Review
Elevation Profile
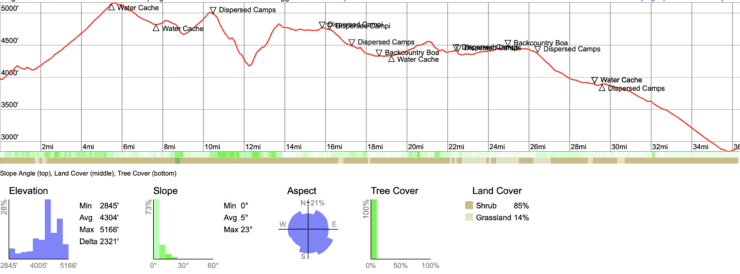
Hike Landmarks
| Landmark | Distance | Elevation |
|---|---|---|
| Black Rock Campground | 0 | 3970 |
| Covington Flat Rd | 5.8 | 5160 |
| Upper Covington Flat | 7.8 | 4820 |
| Juniper Flat/Keys View Rd | 19 | 4440 |
| Ryan Campground | 19.7 | 4340 |
| Geology Tour Rd | 25.2 | 4480 |
| Pinto Basin Rd | 29.6 | 3900 |
| Bell Campground | 31 | 3850 |
| North Entrance Backcountry Lot | 38 | 2980 |
3D Map
What Is the California Riding and Hiking Trail?
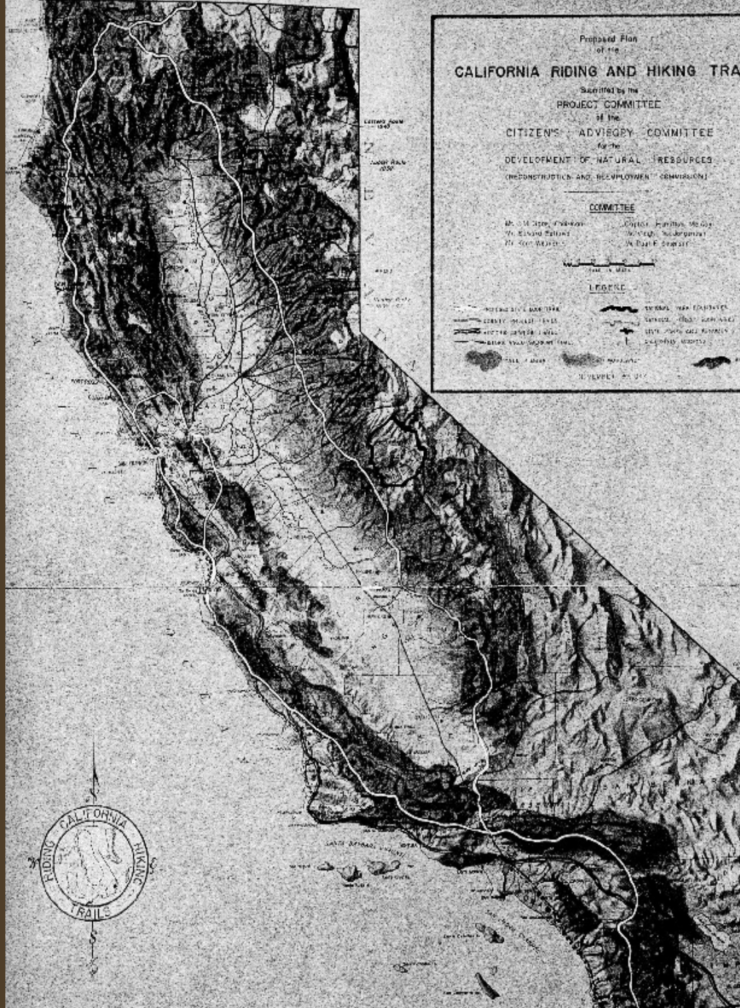
- As World War 2 was coming to an end, state leaders recognized the potential popularity of California as a tourist destination in a post-war world. And they had to put thousands of decommissioned soldiers to work doing something. So the grand plan for a 3,000 mile loop trail around the state was envisioned.
- In 1945 the state legislature approved the plan and put it in the hands of the California State Parks Department. The approach was to build the trail in sections across different parks in 38 counties, stretching from Mexico to Oregon, developing a statewide trail system.
- At the time, horseback riding was as popular as hiking. State parks routinely offered horseback tours on trails for a modest horse rental fee. It was envisioned that the CRHT would serve both groups of outdoor lovers.
- Unlike the PCT, the CRHT wasn't all backcountry wilderness, but instead included suburban trails and forest service roads.
- Work started after the war on various sections and continued into the 1960s.
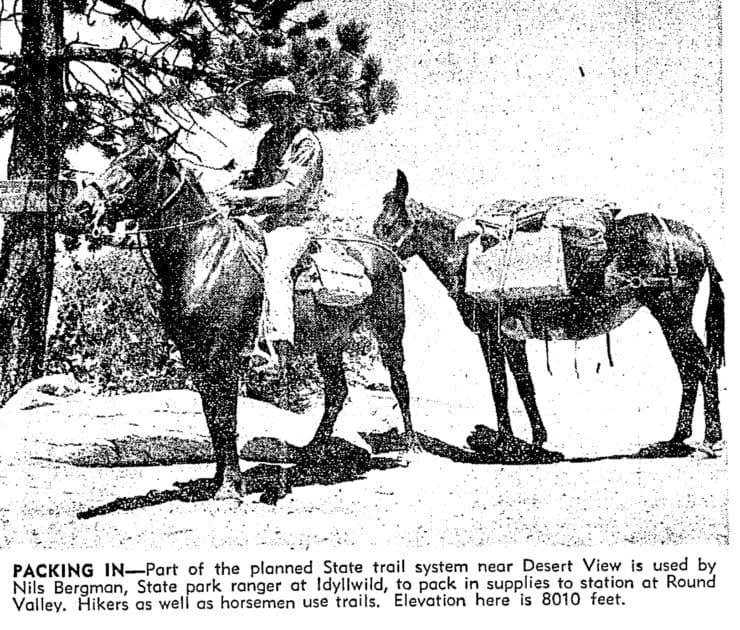
In this clipping from a September 9, 1951 LA Times article entitled "Trail System Traversing State Nears Completion," you can tell there was optimism for the project. They had just completed a section of the CRHT through the San Jacinto area. - By the early 1960s about 1000 miles of trails were completed. But the money was also running out. And the emphasis started shifting away from wilderness trails to shorter loop trails serving urban centers. These shorter trails could serve more people in newly sprawling cities like LA and San Francisco.
- In 1974 the CRHT act was repealed and replaced with the “California Recreational Trails Act" which focused on scenic, historic, and cultural areas. It also focused on making the trails more accessible, open to bikes, and well-marked with signage.
- Today most sections of the CRHT that were built have been absorbed into the parks they were built in and renamed, or have disappeared altogether (mainly where they crossed private land). This 38 mile section of the CRHT survives in Joshua Tree because when it was built, Joshua Tree was a National Monument (made one in 1936, and a National Park in 1994). The trail was there and just stayed there.
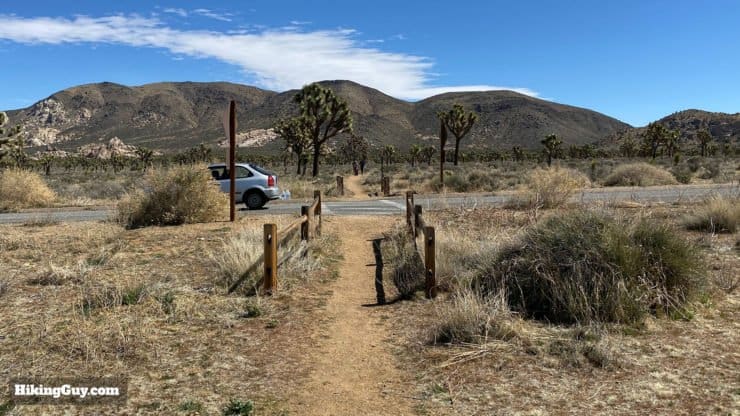
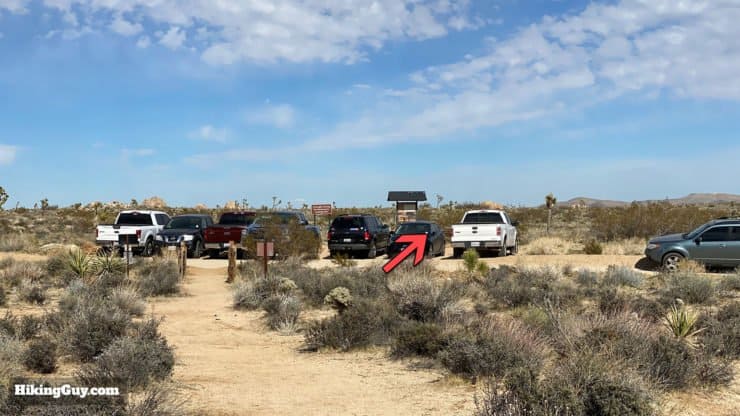
Getting to the Trailhead
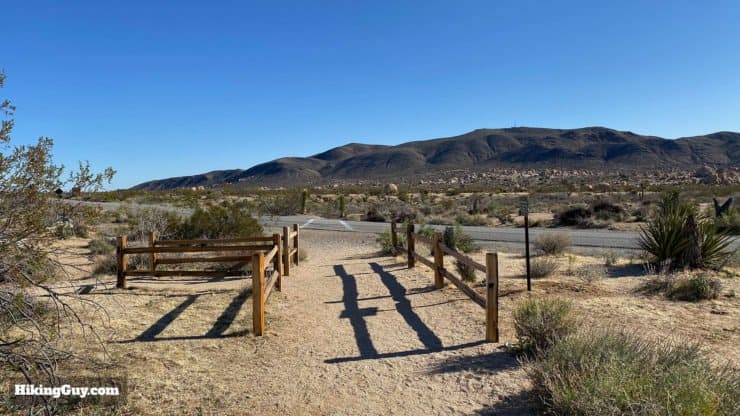
The trailhead for the (west to east) hike is at the Black Rock Canyon Campground, which is outside of the park entrance gates. What I recommend doing (if you have one car) is
- Using a parks pass to enter Joshua Tree NP at the West Entrance
- Caching your water west to east
- When you reach the North Entrance Backcountry Lot, try to get a ride-share or call a taxi.
- If you don't have reception there, drive toward (and/or out of) the North Entrance until you do, and then arrange the ride once you have reception
- Rideshare or taxi back to Black Rock Campground and start your hike.
The trailhead address is:
Black Rock Canyon Campground, 9678 Black Rock Canyon Rd, Yucca Valley, CA 92284
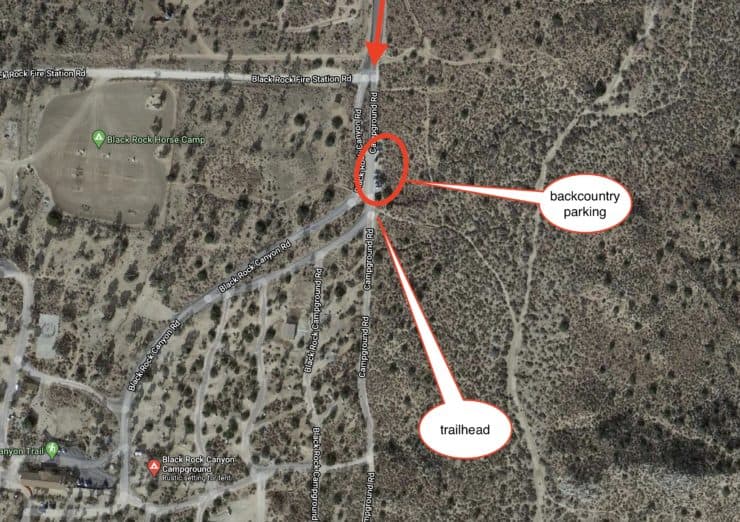
If you leave a car at a backcountry parking lot, don't forget to fill out your permit with your car and license information.
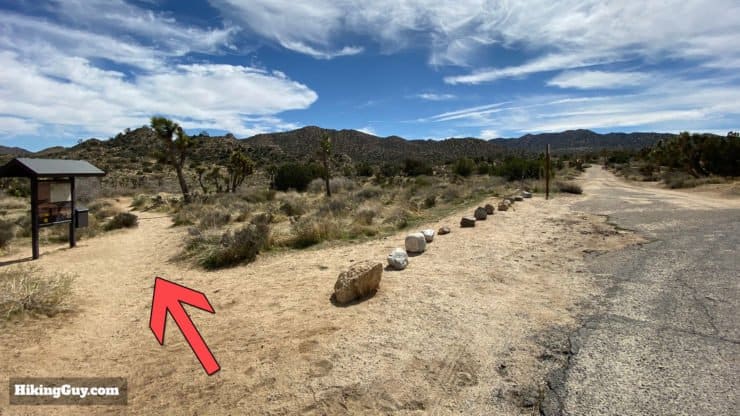
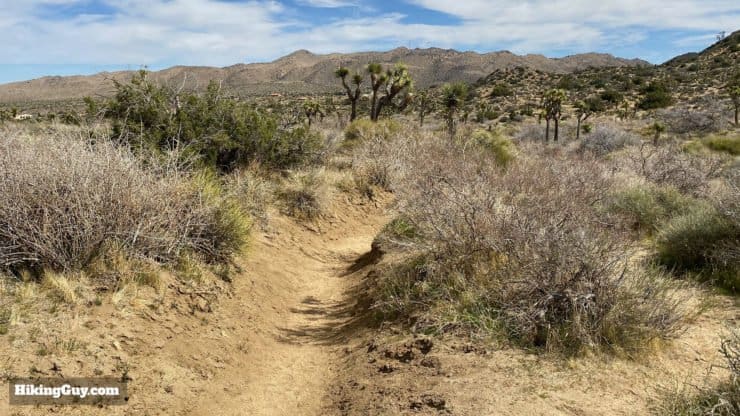
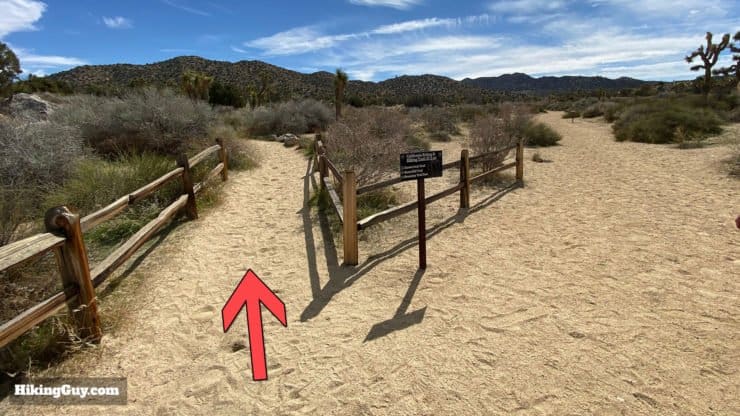
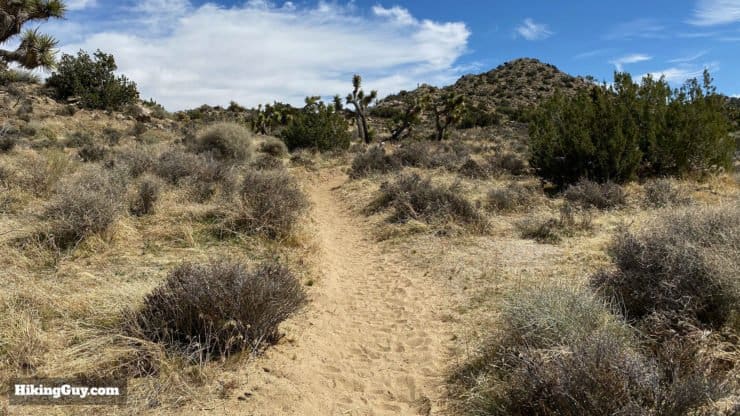
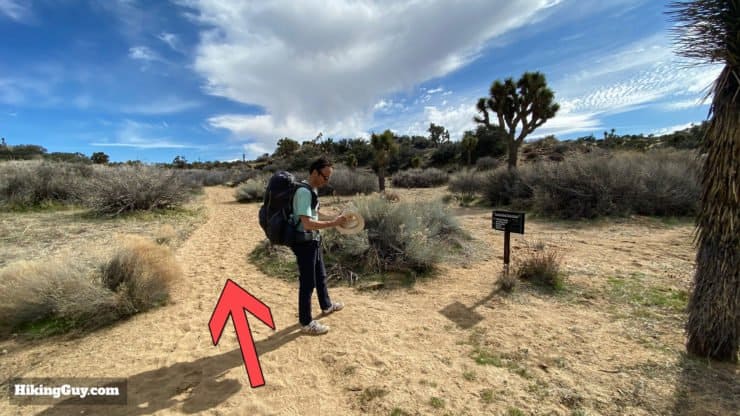
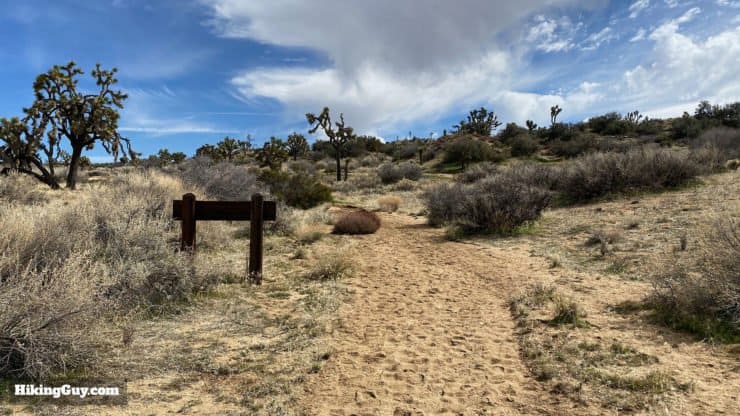
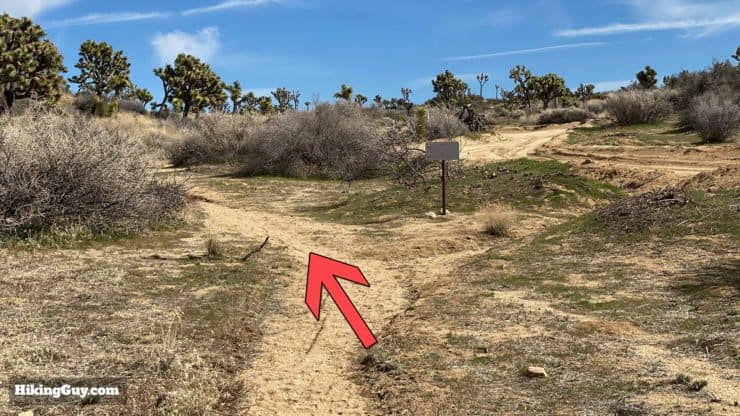
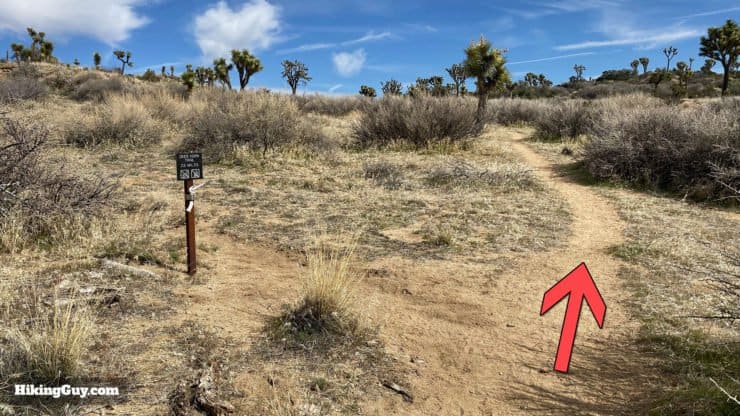
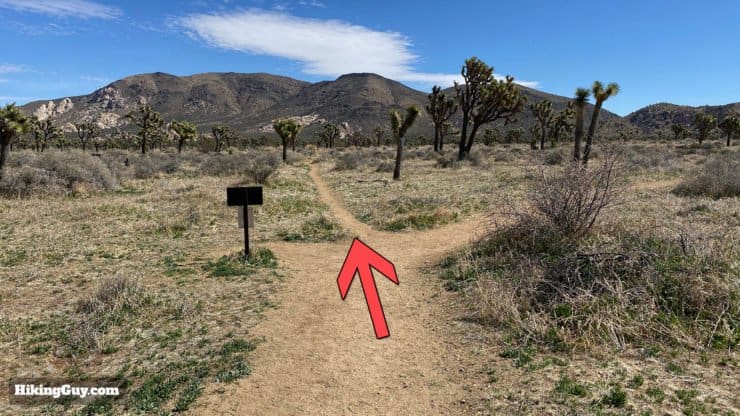
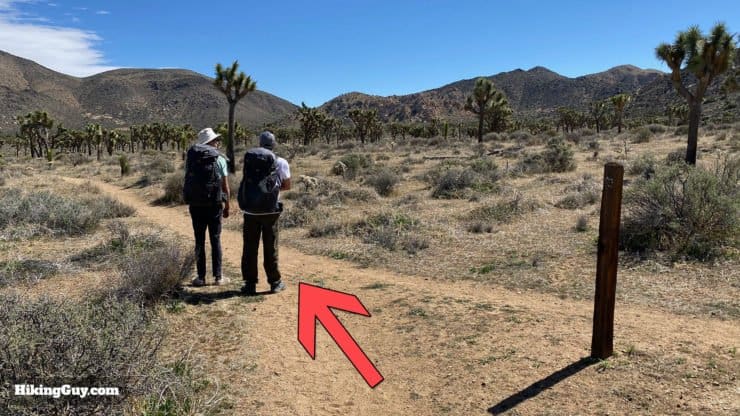
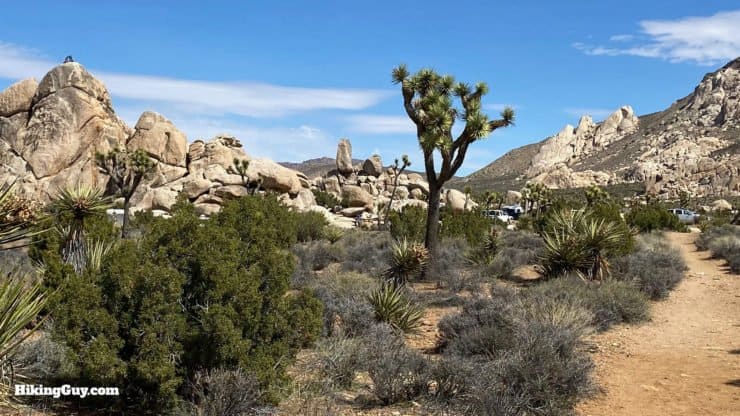
California Riding and Hiking Trail Directions
Just a reminder, these directions are west to east.

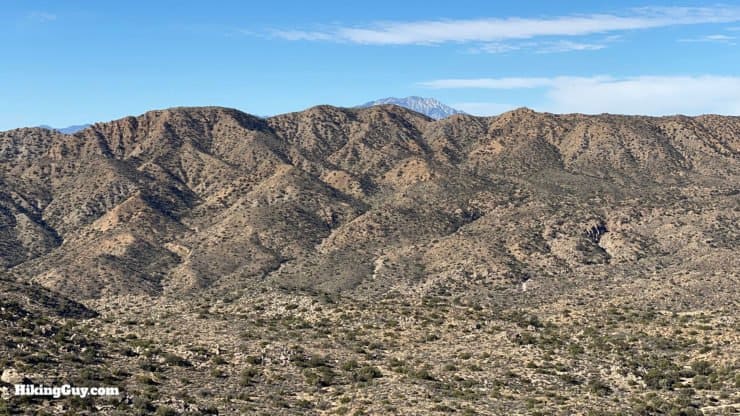
Quail Mountain is the highest point in Joshua Tree National Park at 5,816 feet, and is also the highest point in the Little San Bernardino Mountain range. Some maps show a trail to the summit off of the CRHT, but it's more of a suggested path to use with a GPS; there is no defined trail to the summit. The side of Quail Mountain is barren because of a fire started when two single-engine planes crashed into the west side of the mountain in 1999.
Stubbe Spring is named after Henry Stubbe, an early cattle rancher who "discovered" the spring in 1900.


Need More Info?
- Have a question about the guide or want to see what other people are saying/asking? View the Youtube comments for this video. Leave a comment and I will do my best to respond.
- When planning, always check the park website and social media to make sure the trails are open. Similarly, check the weather and road conditions.
Related Guides
 Boy Scout Trail (Joshua Tree) Hike
 Lost Horse Mine Trail
 Hike Lost Palms Oasis Trail
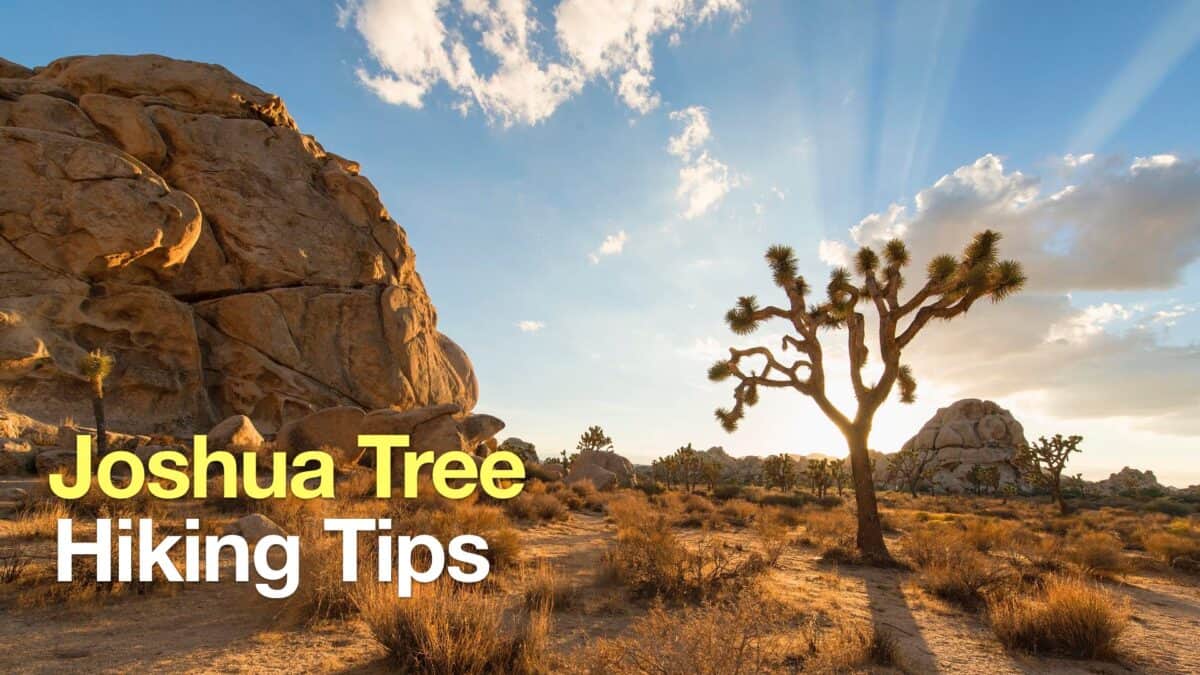 Joshua Tree Hiking Tips
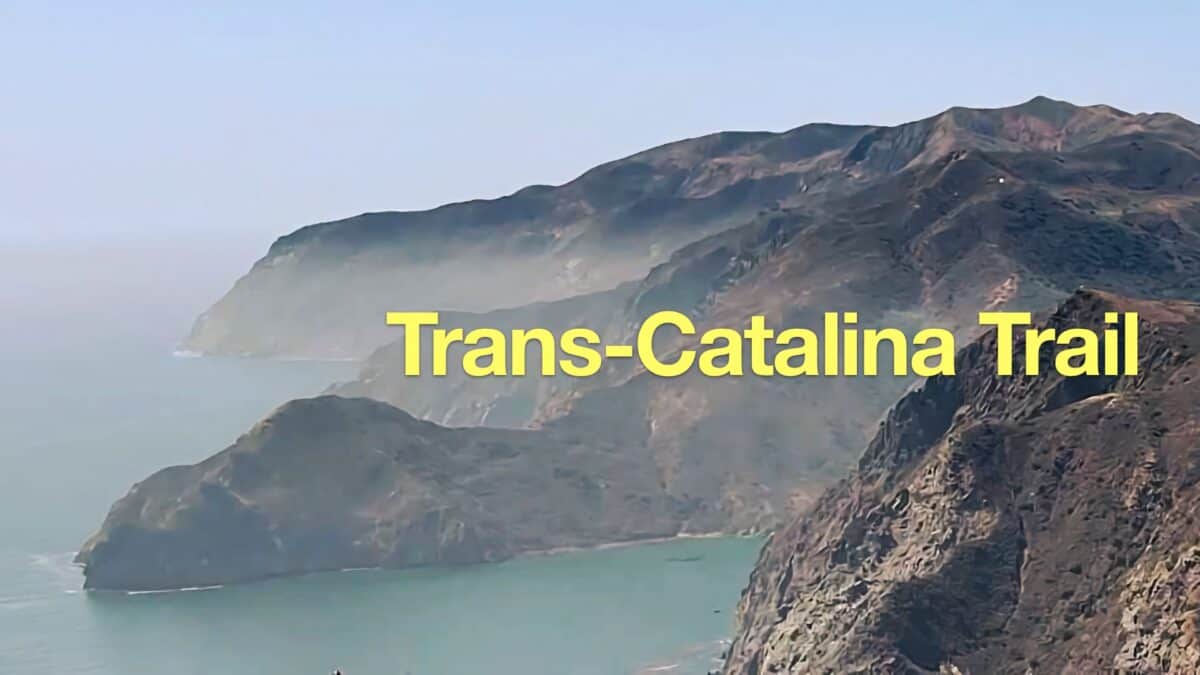 Trans Catalina Trail (TCT) Hike Guide
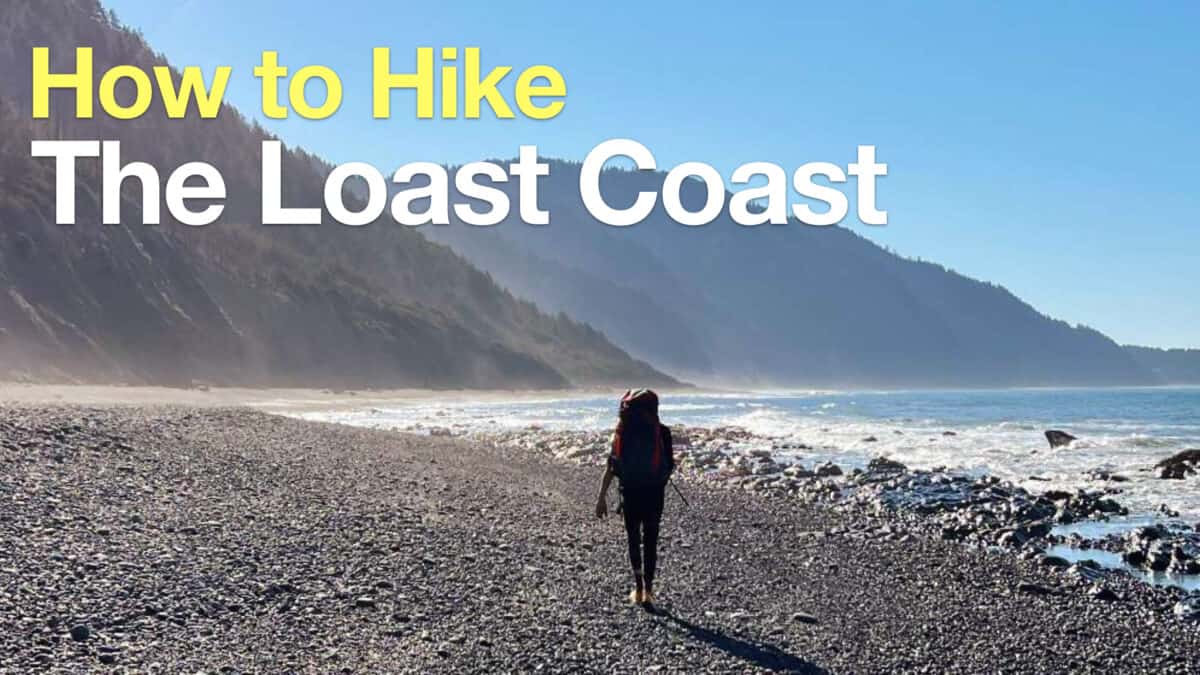 How to Hike the Lost Coast Trail
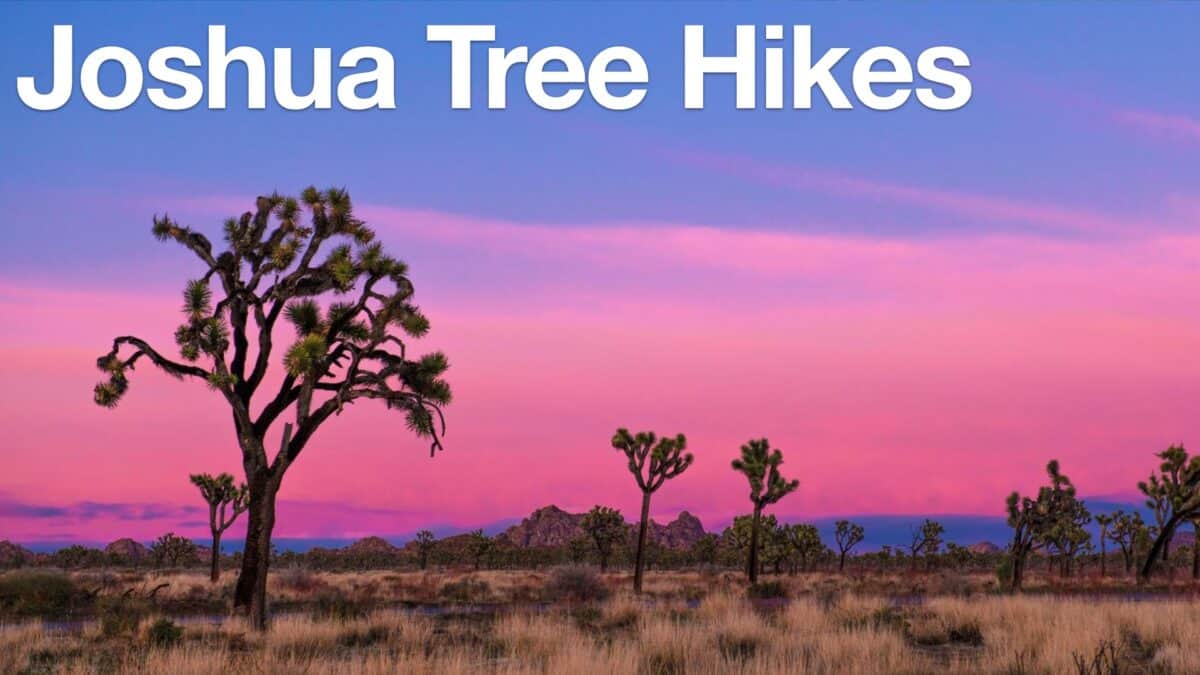 Joshua Tree Hikes
 Palm Springs Hiking Trails
 Backpacking Trips
 Hikes In and Around Riverside County
Popular Guides
 Best Hiking Gear 2024
 Hiking Boots or Shoes: Do I Really Need Hiking Boots?
 When to Hit SOS on inReach
This Guide Was Written by Cris Hazzard

Hi, I'm Cris Hazzard, aka Hiking Guy, a professional outdoors guide, hiking expert, and author based in Southern California. I created this website to share all the great hikes I do with everyone else out there. This site is different because it gives detailed directions that even the beginning hiker can follow. I also share what hiking gear works and doesn't so you don't waste money. I don't do sponsored or promoted content; I share only the gear recommendations, hikes, and tips that I would with my family and friends. If you like the website and YouTube channel, please support these free guides (I couldn't do it without folks like you!). You can stay up to date with my new guides by following me on YouTube, Instagram, or by subscribing to my monthly newsletter.