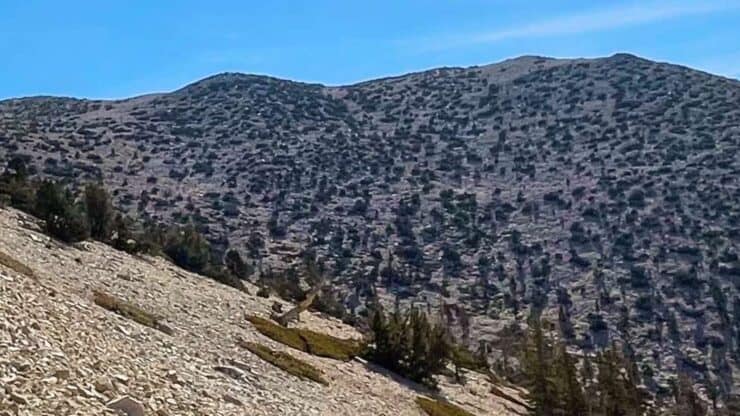

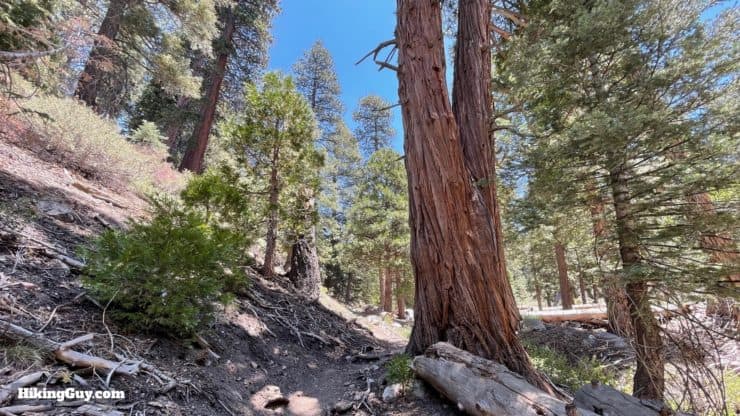
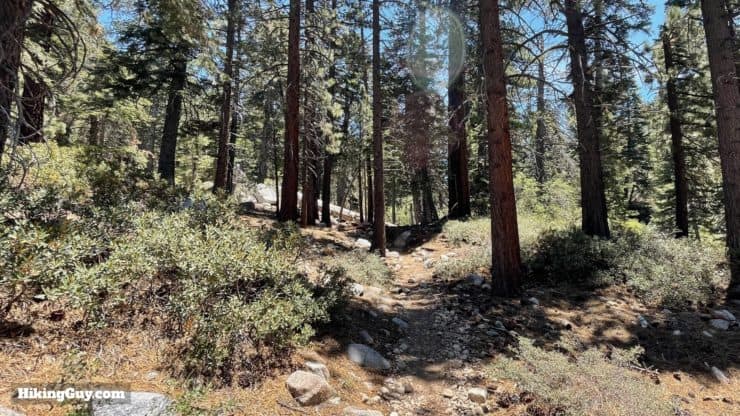
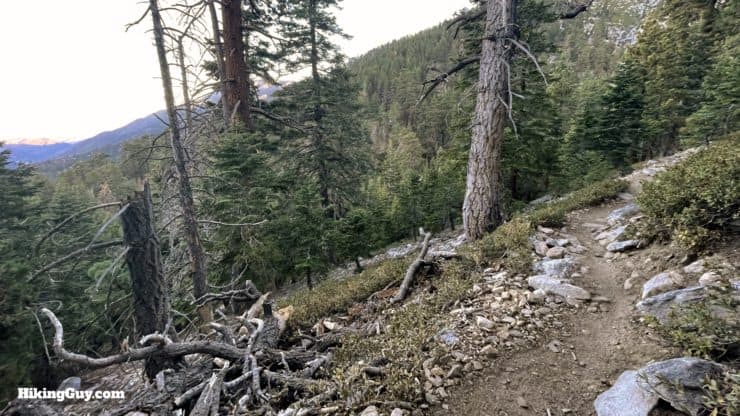
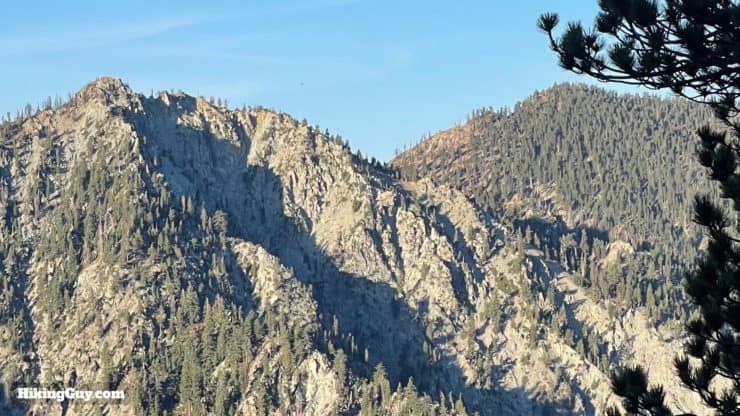
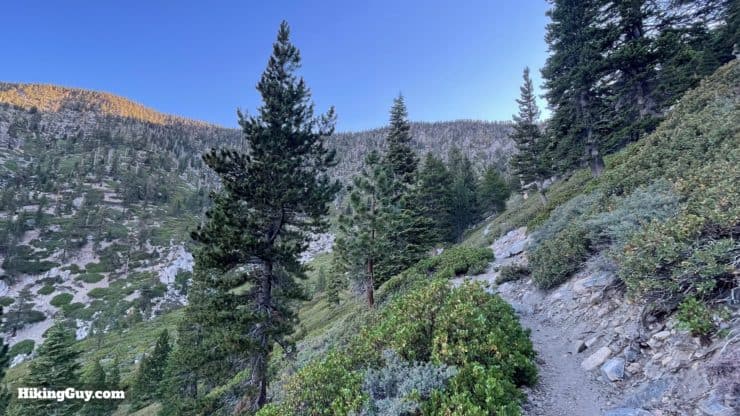
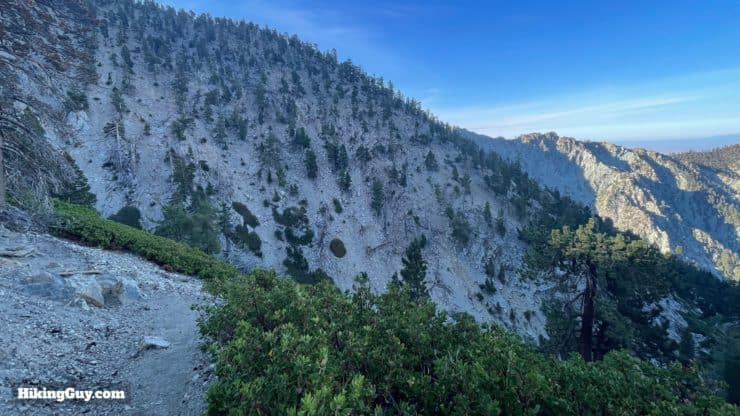
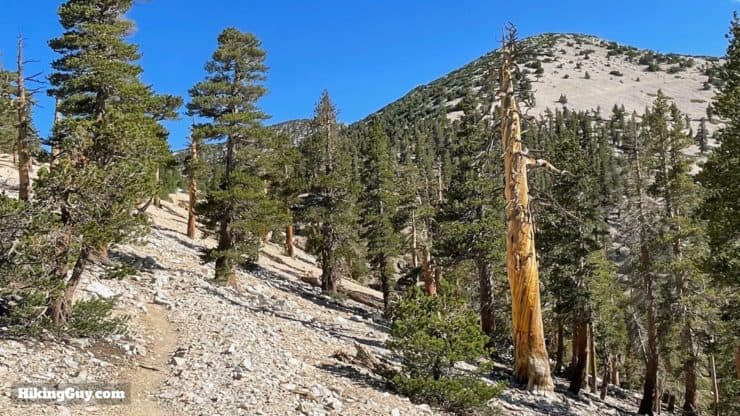
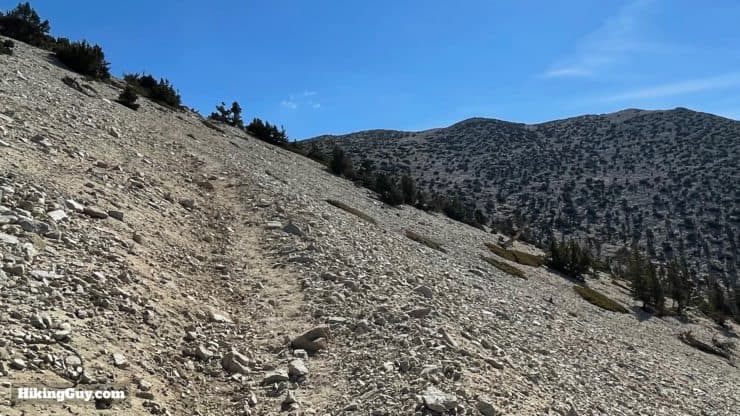
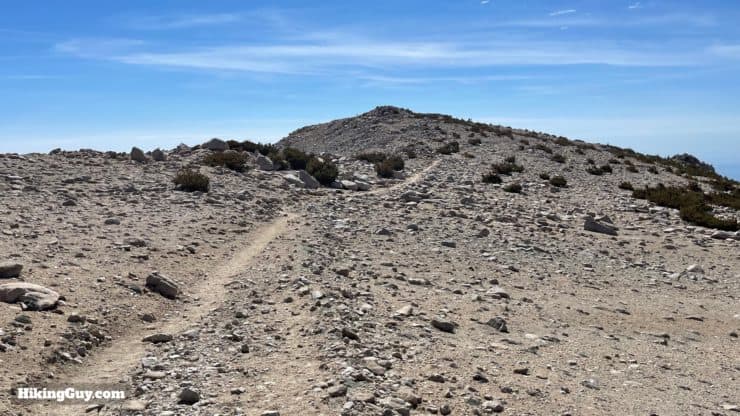
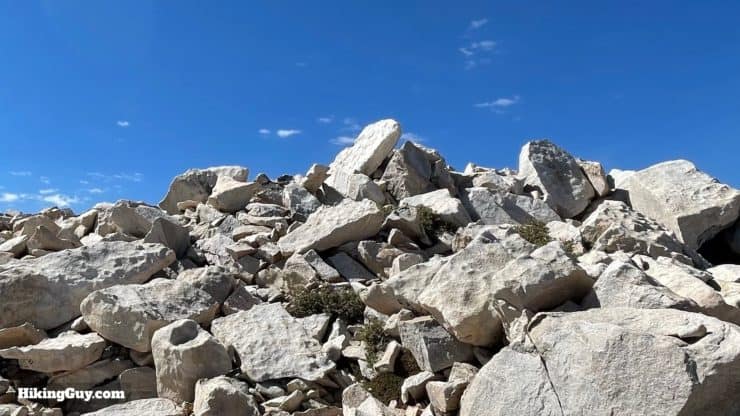
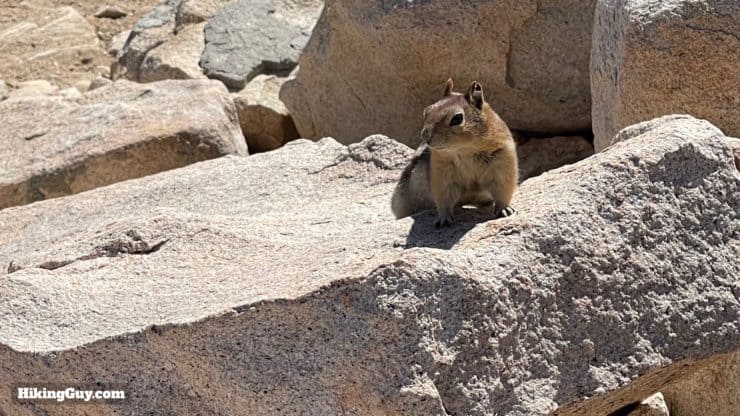
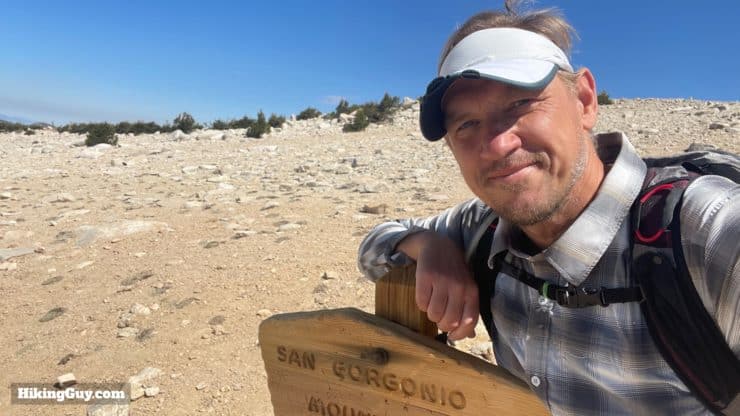
Easily the most popular San Gorgonio hike route, the Vivian Creek Trail is an iconic adventure up to the highest point in SoCal, at 11,503 feet. Vivian Creek is popular because it's the shortest and most accessible route, but it's also the steepest, so expect a good workout on your way to the summit. It's a beautiful hike through pines, cedars, and streams and then up to the barren moon-like landscape above the tree line. From the summit, you'll enjoy sweeping views from Nevada to the Channel Islands. Many people hike it in a day, but you can also make it an overnight backpacking trip. In this guide, I'll give you everything you need to know for either option.
- Video and Turn-by-Turn Directions for the San Gorgonio Hike
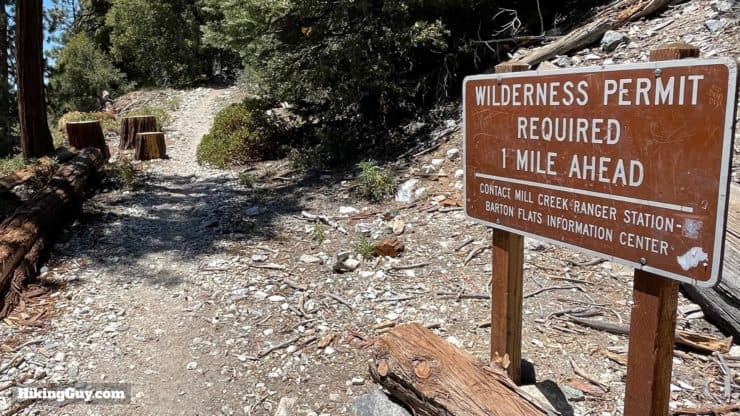
- Parking and Permit Information for the Vivian Creek Trail
- Maps, Elevation Profile, and Things to Know Before Going
- Insider Tips and Recommendations
Permits & Planning Your San Gorgonio Hike
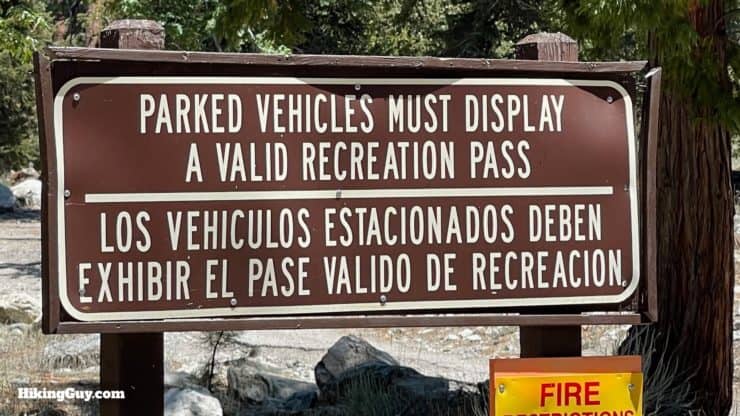
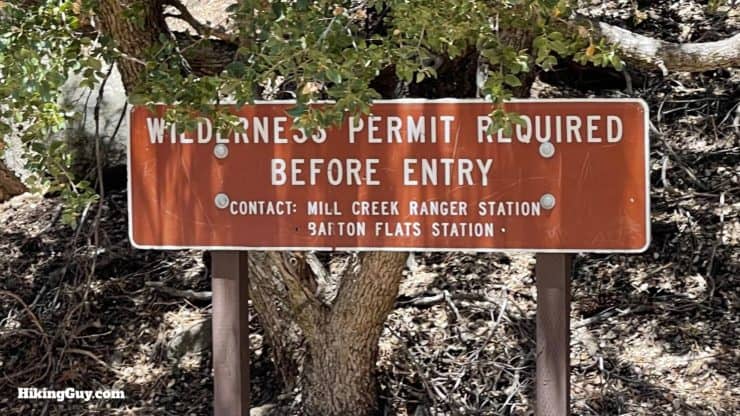
Assuming the weather is on your side, you will need a permit to day hike or overnight to San Gorgonio. The good news is that it's easier than ever to get. Go to the San Gorgonio Wilderness Association's permit page and fill out the online form. There is a quota system in place to limit human impact on the wilderness. Once you get your permit, save it (offline) to your phone or print it and take it with you.
Permit Availablity
Can't get a permit for your date? Try OutdoorStatus.com and get a text message as soon as a cancelled permit opens up!.
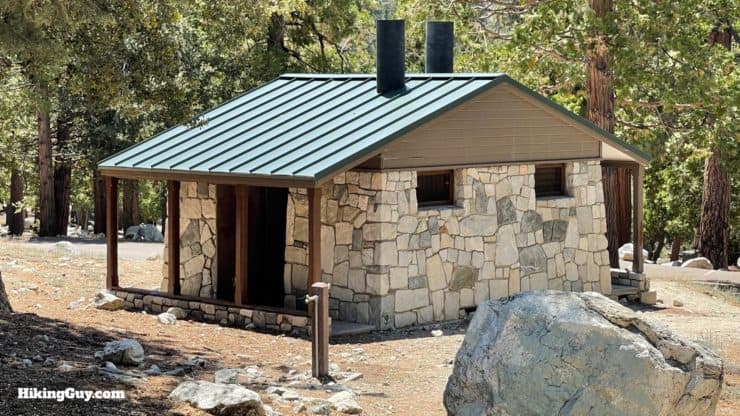
Backpacking San Gorgonio
Even though the hike clocks in at 18 miles or so, many people hike San Gorgonio in a day. But you can also do it as an overnight backpacking trip. You just need to pick a date and your campsite(s).
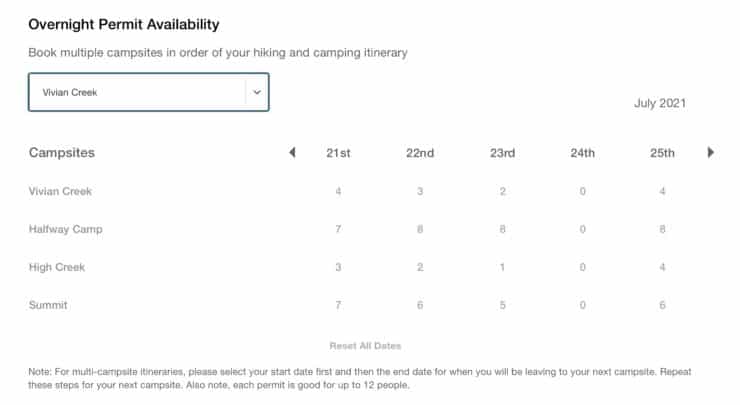
All the campsites, aside from the summit, are close to water sources, most of which stop flowing at some point in the summer. If you want to check on the status of water, I'd look at the San Gorgonio Wilderness Association's (SGWA) forum pages.
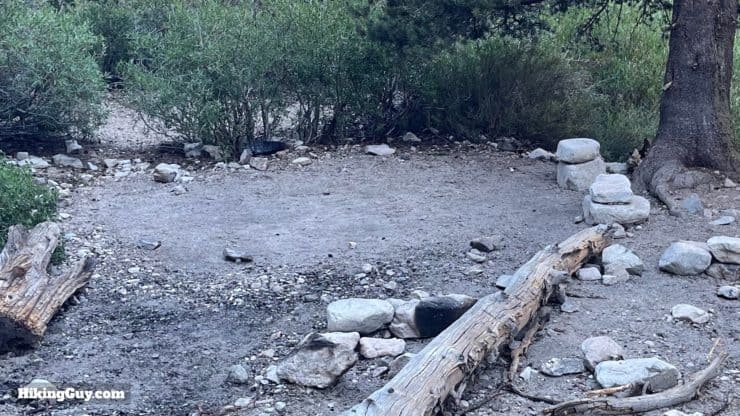
Your permit only allows you to camp in the designated campsites within the San Gorgonio Wilderness, although you will see some dispersed tent sites along the route. I've marked them on the map and GPX file for reference, but don't consider them an option unless there's an emergency. Before the Lake Fire, an Explorer pass allowed you to camp at these sites, but not anymore. If this changes, please let me know.
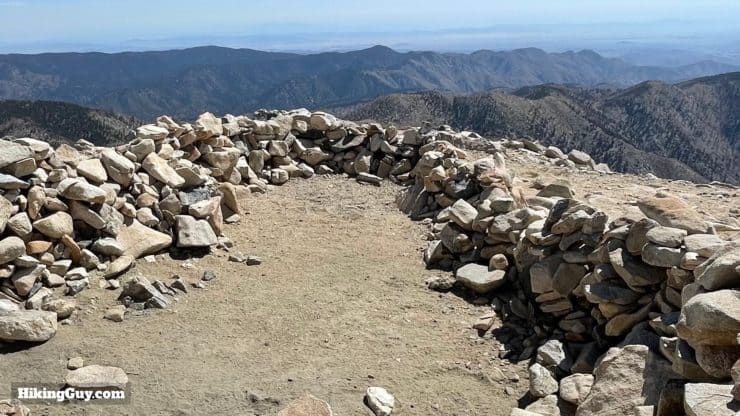
Also note that camping on the summit can be very windy. Most of the summit tent sites have stone walls around them to help block the wind. There's also an official "summit campsite" to the southwest of the summit that's flat, sandy, and reasonably protected from the wind. I've marked both areas on the map and in the GPX file.

Training for San Gorgonio
If you're not used to doing this type of distance and climbing, I recommend building up your hiking fitness before you tackle this hike. A good progression is:
- Sugarloaf Mountain (12 miles, 3300 feet of climbing)
- Ontario Peak and Bighorn Peak (14.7 miles, 4200 feet of climbing)
- San Gorgonio (18 miles, 5400 feet of climbing)
And if you bag San Gorgonio, it's probably time for you to bag Mt Whitney next.
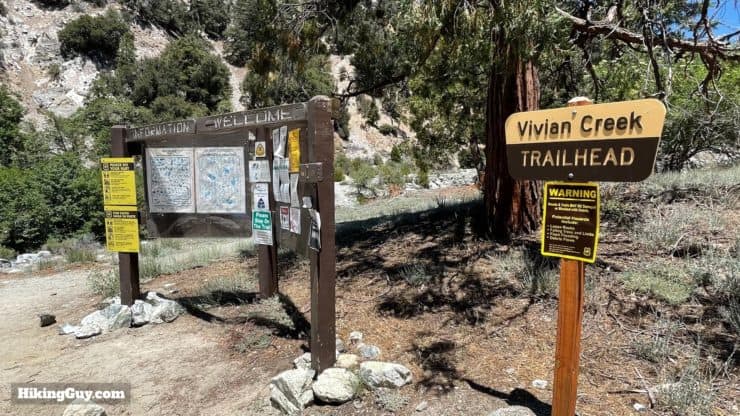
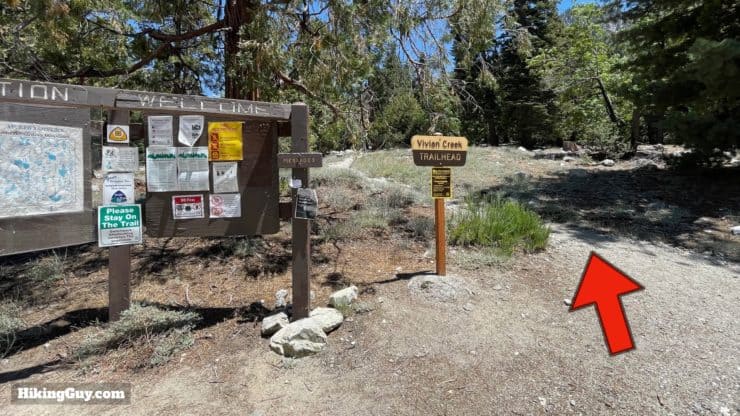
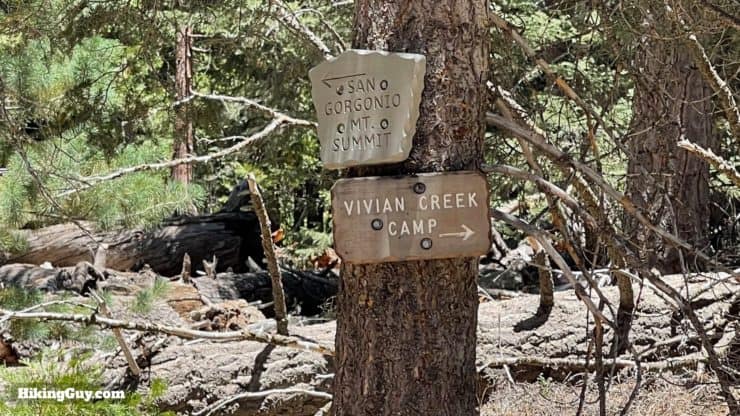
Where is the Start of the Hike?
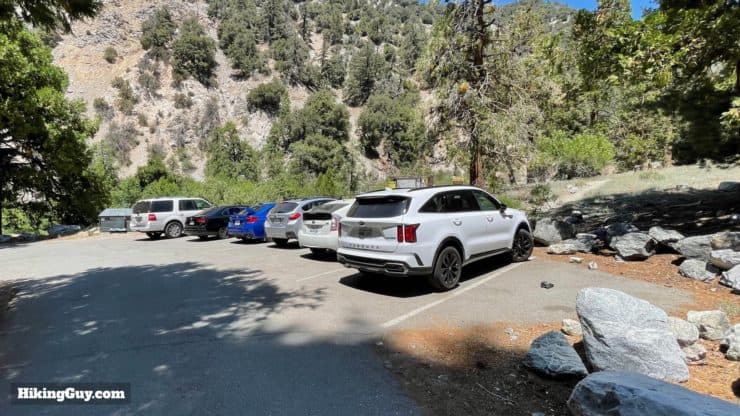
This route up to San Gorgonio Mountain starts at the Vivian Creek Trailhead, just past the Falls Picnic area in Forest Falls, CA. Use this trailhead address: 41900 Falls Rd Forest Falls, CA 92339.
Gear For the Hike
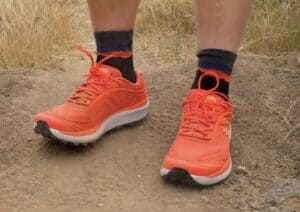
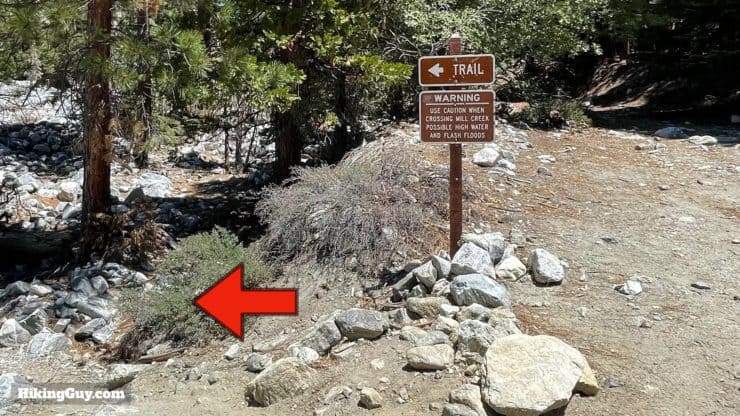
This is a serious hike and you need to be well prepared with layers, water (3L), and food. The summit is in an alpine zone and is exposed. Check the summit weather and be prepared for changing conditions, including potentially spending the night if something goes wrong. Trekking poles help on the way down, especially on the section just before Mill Creek.
Gear That I Love Right Now
Nothing is sponsored or promoted, just the actual gear that I use.


Check out the complete list here. ( Updated July 2024)
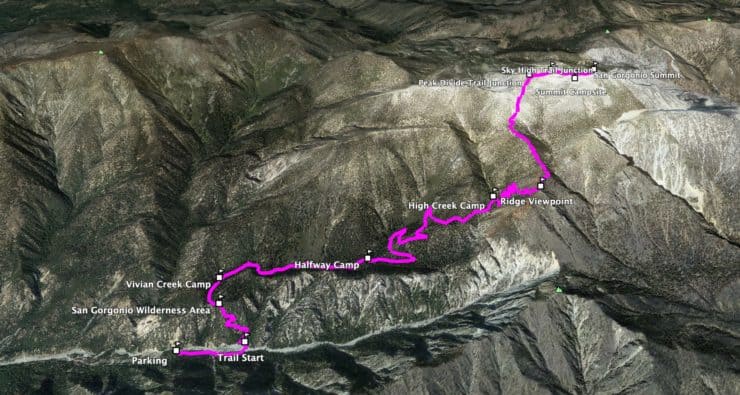
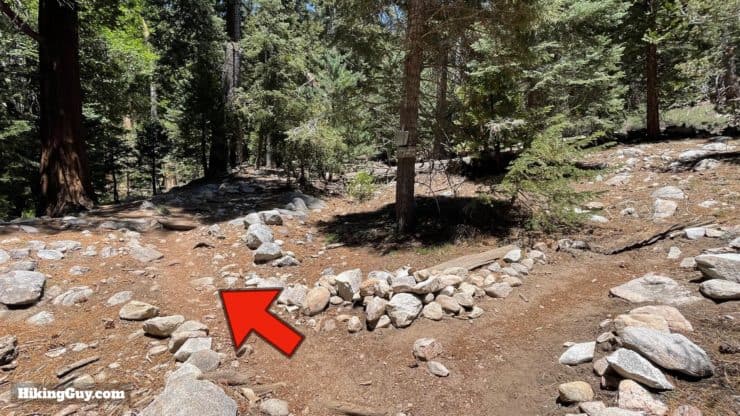
Vivian Creek Trail Maps
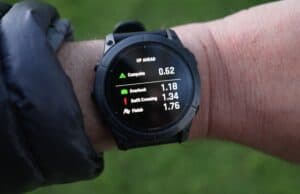
How Will You Navigate?
 Using the Apple Watch for Hiking
 Garmin Fenix 7 & Epix Review For Hikers
 How To Read a Topographic Map
 Garmin GPSMAP 67i Review
Elevation Profile
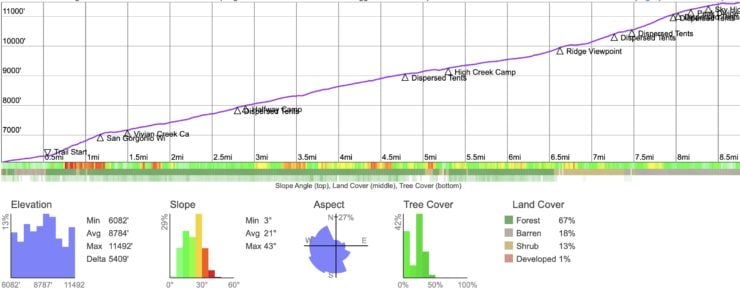
Landmarks on the Hike
| Landmark | Distance | Elevation |
|---|---|---|
| Trailhead | 0 | 6080 |
| Mill Creek Crossing | 0.5 | 6200 |
| San Gorgonio Wilderness Boundary | 1.5 | 7050 |
| Vivian Creek Camp | 1.7 | 7100 |
| Halfway Camp | 3 | 8100 |
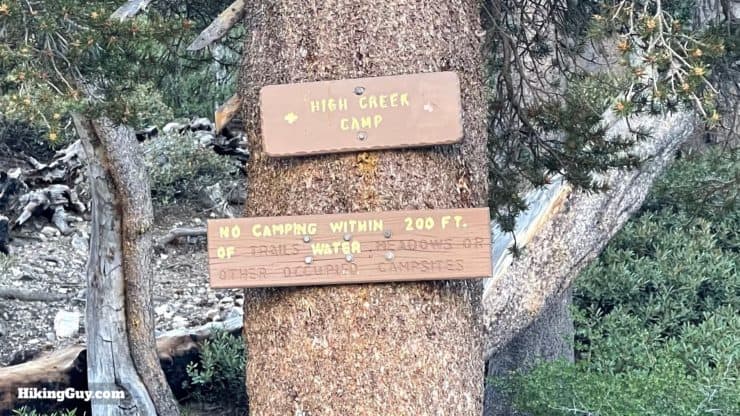
| High Creek Camp | 5.3 | 9200 |
| Ridge Viewpoint | 6.8 | 10000 |
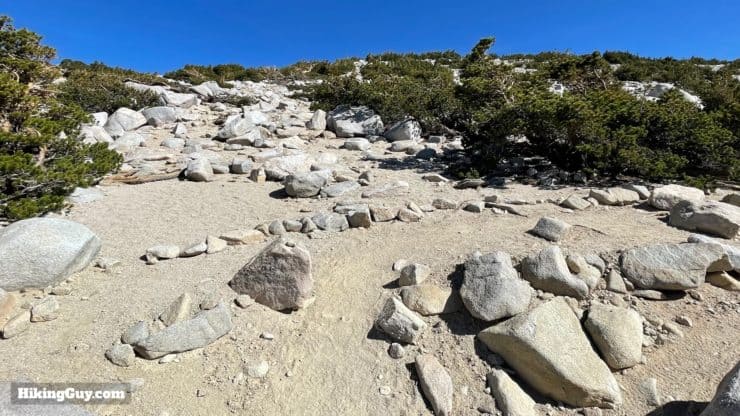
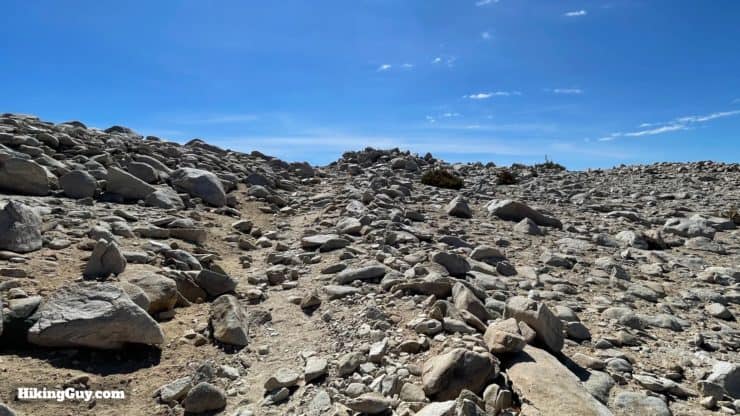
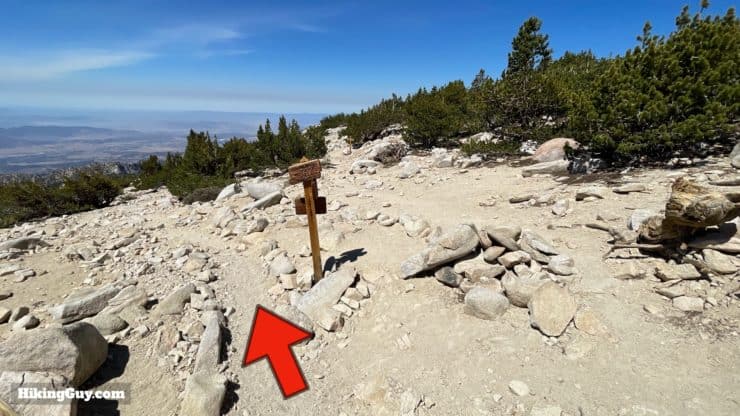
| Tree Line | 8 | 10700 |
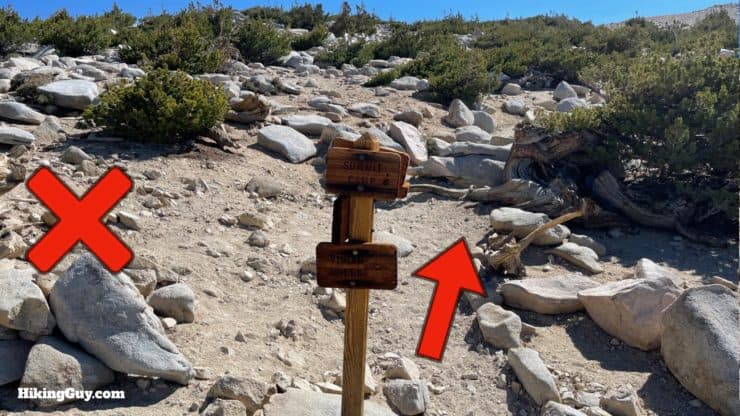
| Peak Divide Trail | 8.5 | 11250 |
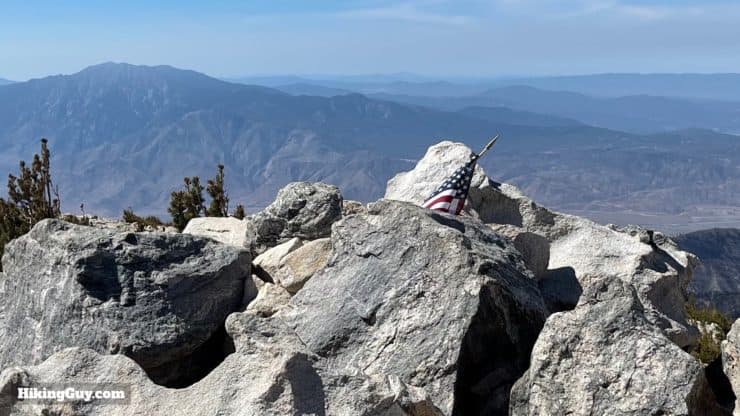
| Summit | 9 | 11503 |
3D Map
Hike Brief
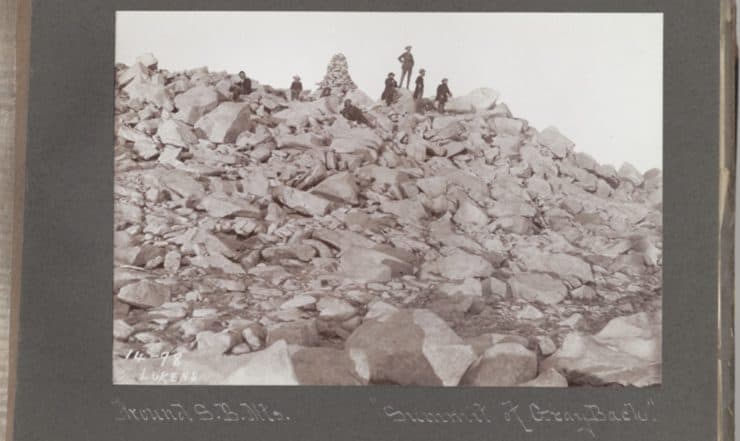
- San Gorgonio has a mixed reputation among native peoples. The Serrano and Luiseño include it as part of their origin story, the Morongo believe it was the original home of the demon Tahquitz, and the Cahuilla just refer to it as a big pile of rocks.
- Early settlers called it "gray back," as was common for treeless mountains like this, and today it's sometimes referred to as "old gray back."
- But the name San Gorgonio dates to the 1850s when this area was part of a Mexican Land Grant. There's some dispute as to the origin, with some thinking it's tied to Saint Gorgonius of Nicomedia (celebrated in St. Gorgonio's Feast Day), and other sources citing Saint Gregory the Great (who converted Anglo-Saxon pagans to Christianity). Either way, it shows up on USGS maps in 1899 as San Gorgonio Mountain.
- The longest recorded line of sight in the lower-48 United States is from Mt Whitney to the summit of San Gorgonio Mountain, 190 miles away. Today, on a clear day, you can see from San Clemente Island out in the Pacific Ocean to Mt Charleston, 163 miles away in Nevada (by Las Vegas).
- The mountain's height and position above the San Gorgonio Pass (connecting LA to Palm Springs) have made the summit the scene of several tragic plane crashes, claiming the lives of Frank Sinatra's mother and Dean Martin's son (in a separate crash).
- You can sometimes feel the (negative) effects of altitude sickness on this hike. Read my section on dealing with in on my guide to Mt Whitney.
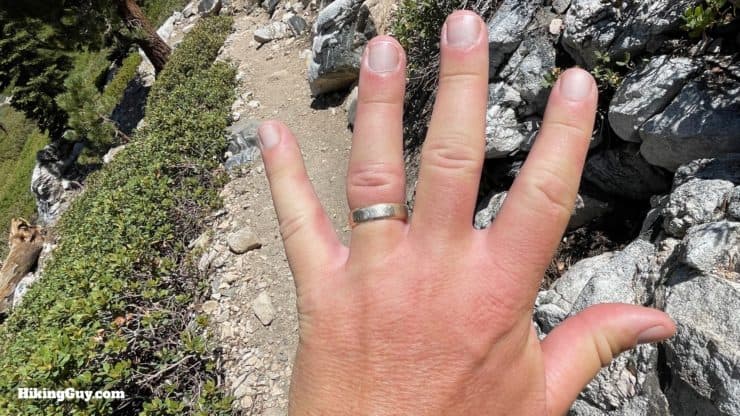
Swollen fingers are a (benign) sign of acute mountain sickness (AMS), but if you are experiencing more severe effects like nausea and headache, it's best to stop, descend, and rest. - The 2020 Apple Fire skirts this route to the summit. The fire, which burned over 33,000 acres, was started by a malfunctioning diesel vehicle's exhaust system. The plume of smoke it sent up was so massive that it generated its own wind systems.
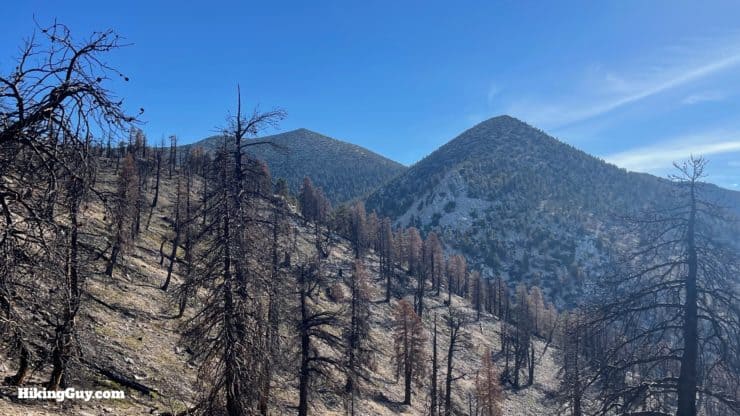
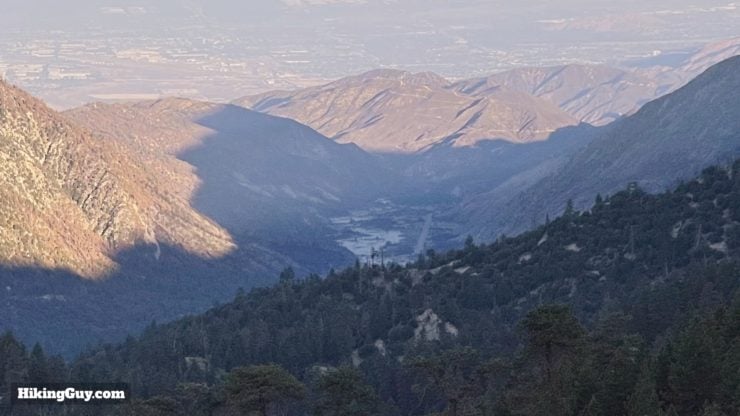
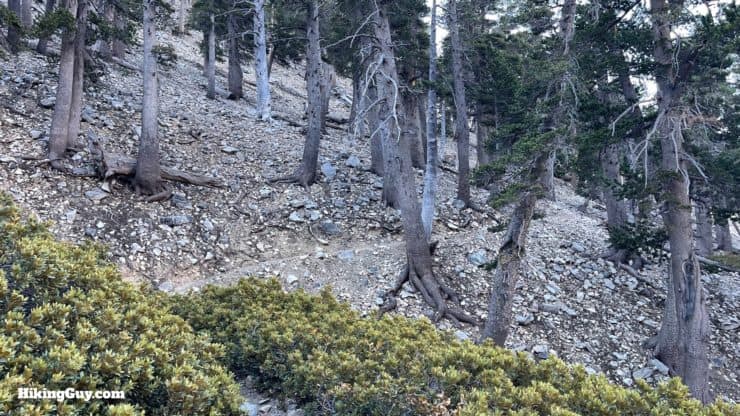
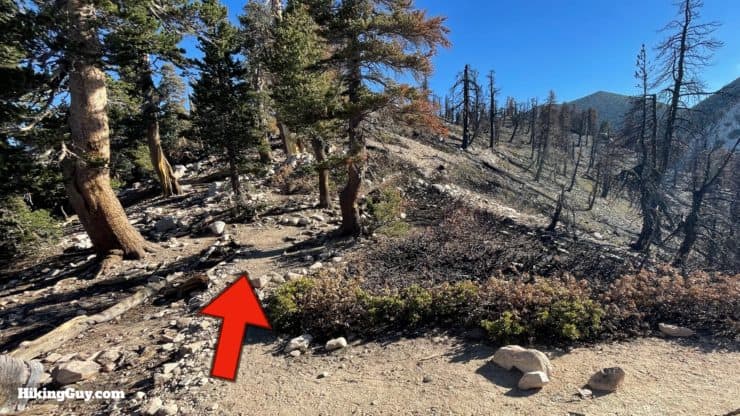
Once you reach the ridge above High Creek Camp, you'll be able to see the aftermath of the Apple Fire.
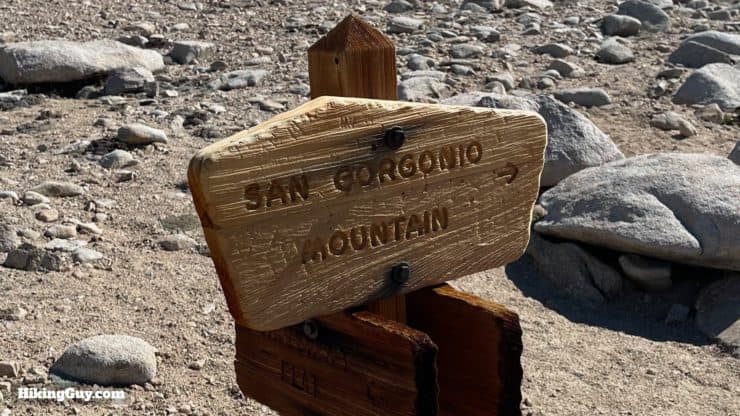
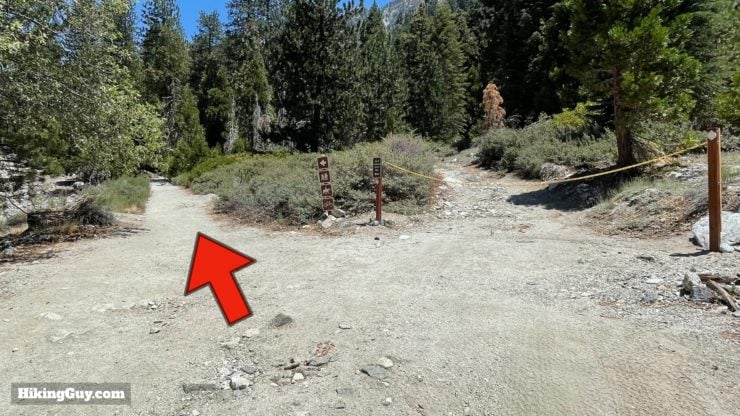
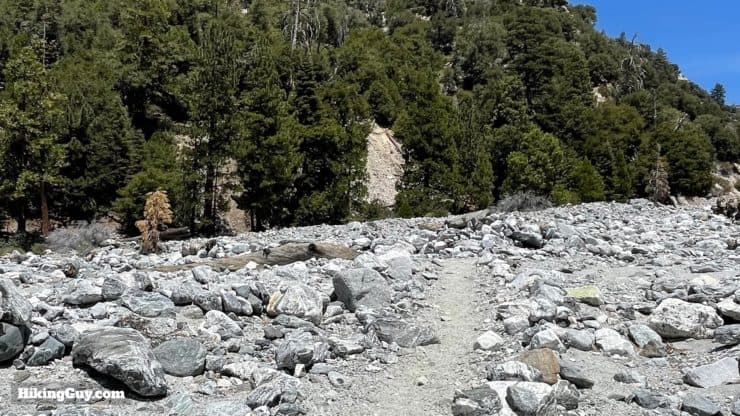
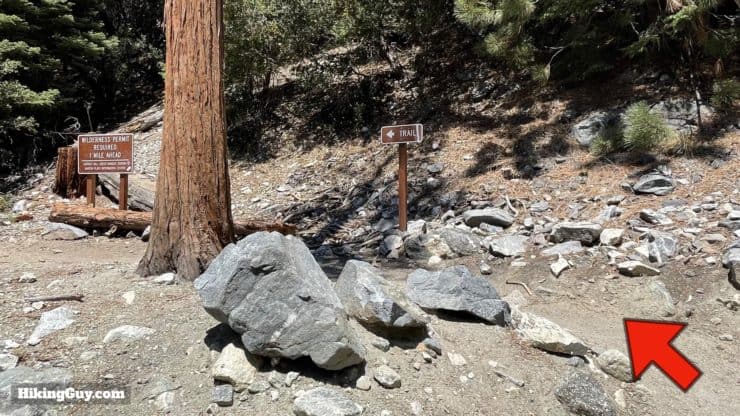
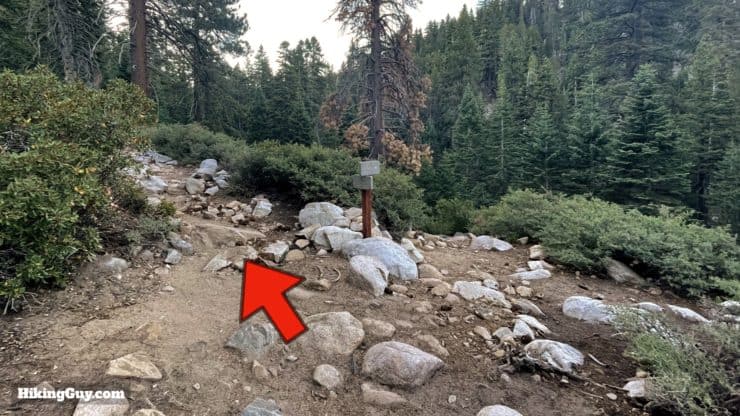
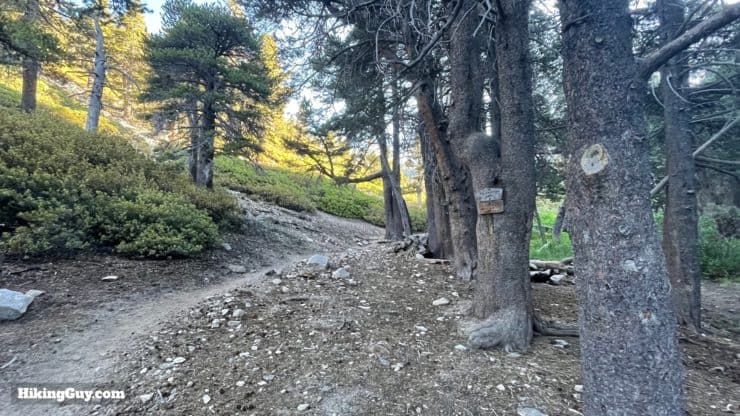
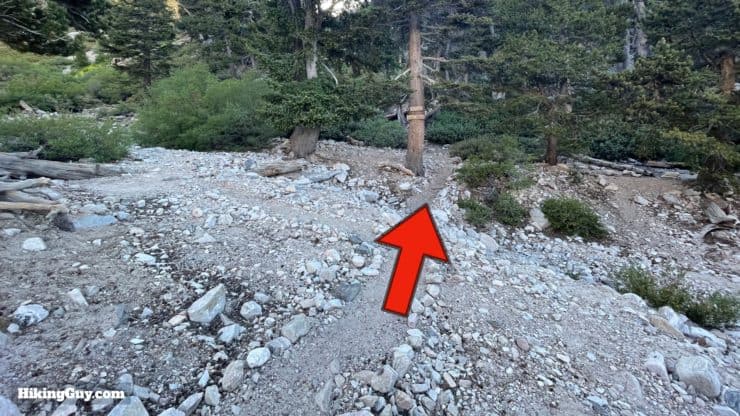
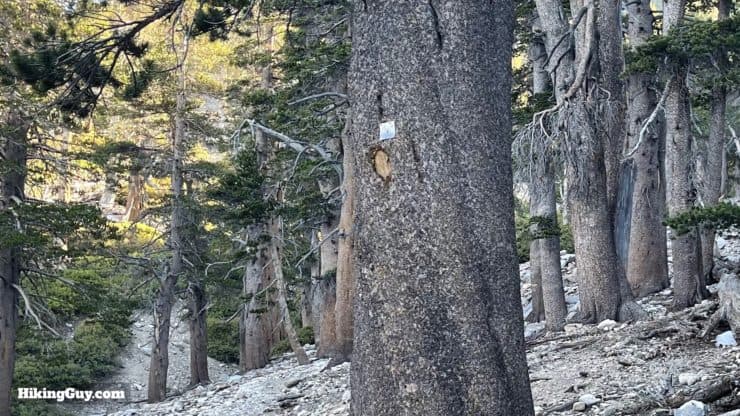
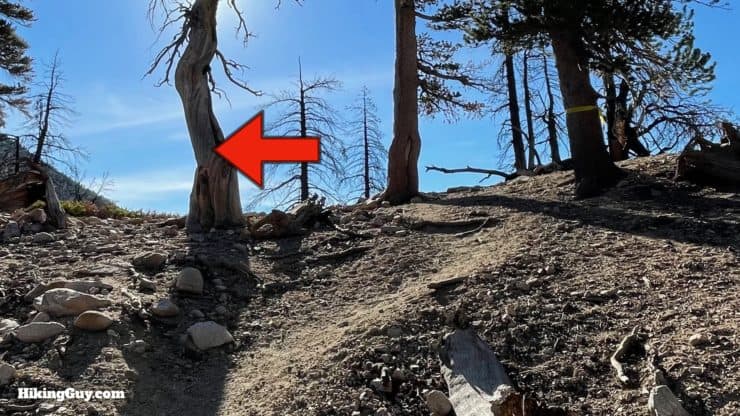
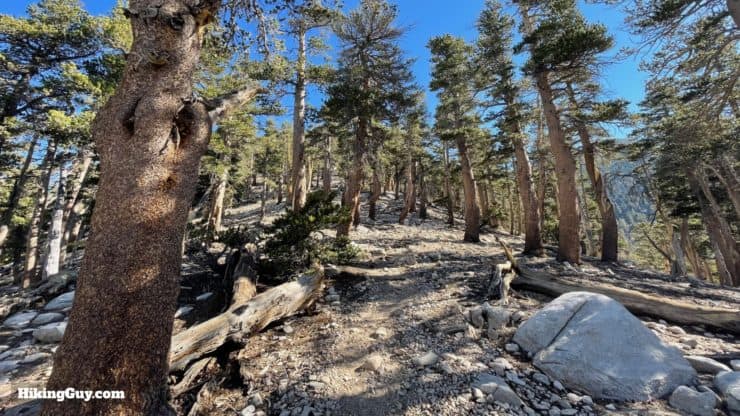
San Gorgonio on Vivian Creek Hike Directions
What exactly is a Wilderness Area?

Want to choose the name of an unnamed peak? You can if you have the right circumstances.


Need More Info?
- Have a question about the guide? Join my Patreon and ask me a question.
- When planning, always check the park website and social media to make sure the trails are open. Similarly, check the weather and road conditions.
- Do you have an update to this guide? View the Youtube comments for this video. Leave a comment and I will do my best to update the guide.
Related Guides
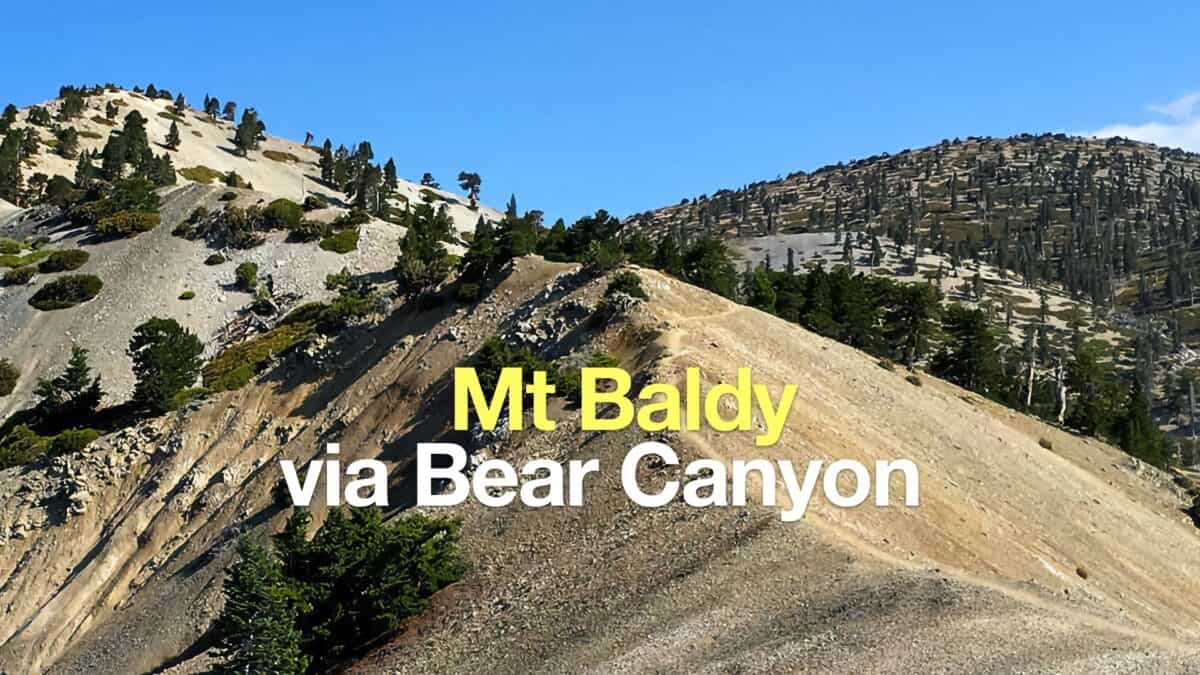 Hike Mt Baldy on the Bear Canyon Trail
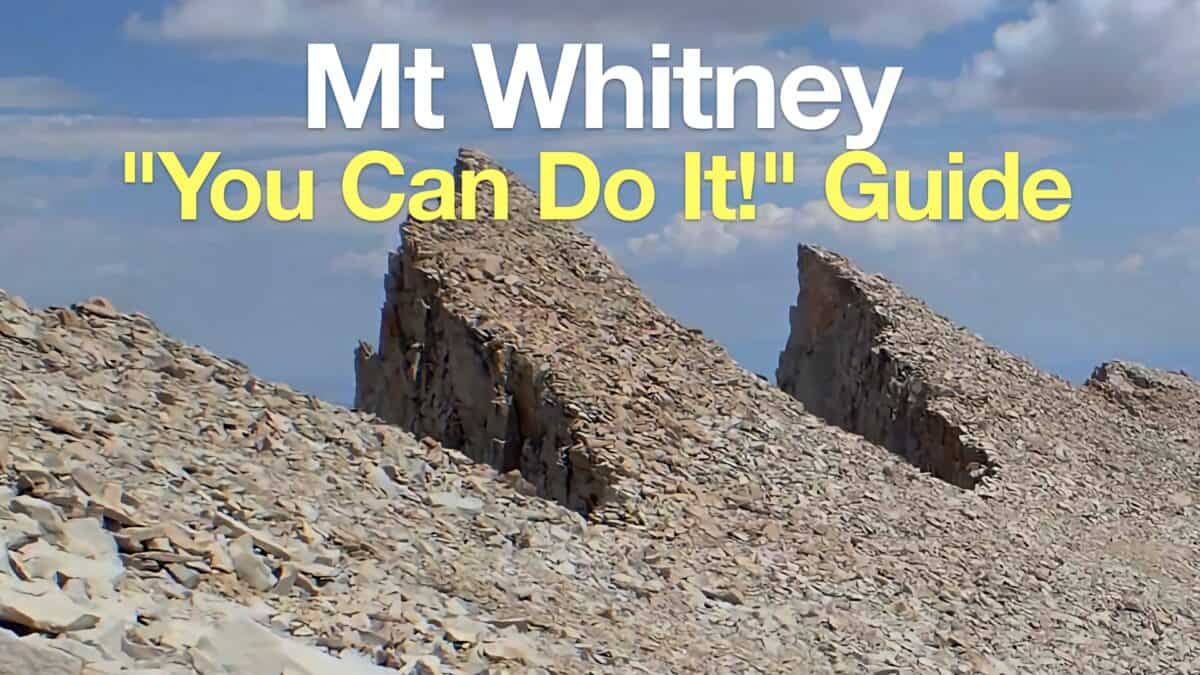 Mt Whitney Hike
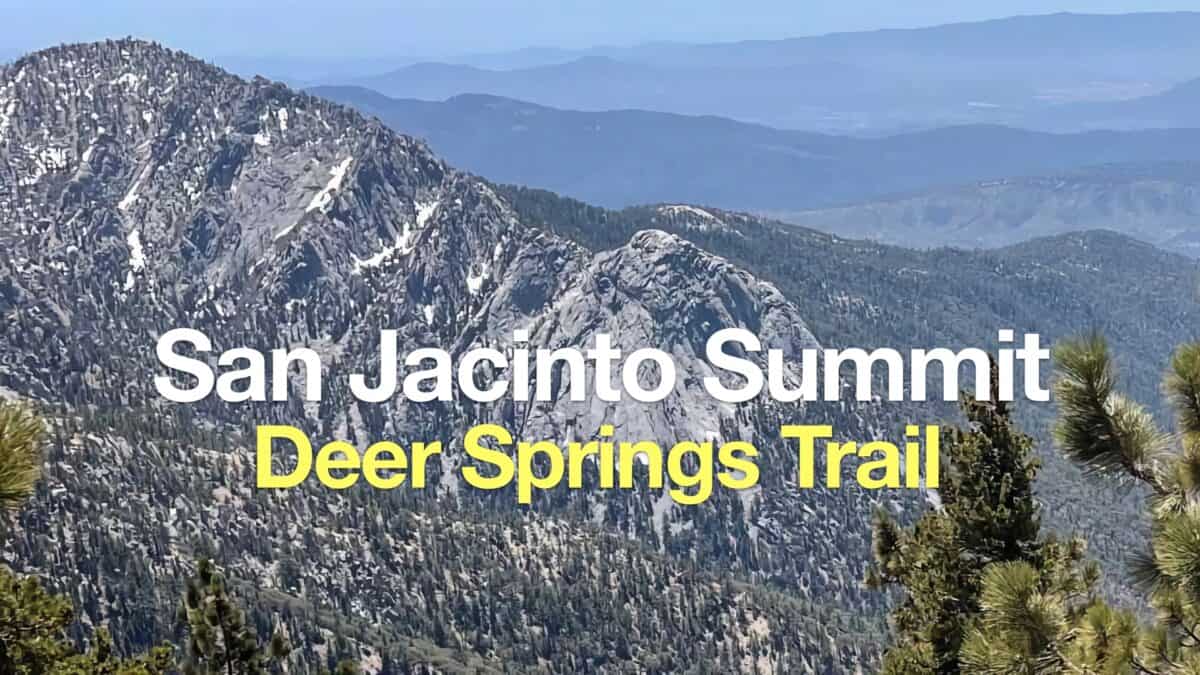 Hike Mt San Jacinto Peak on the Deer Springs Trail
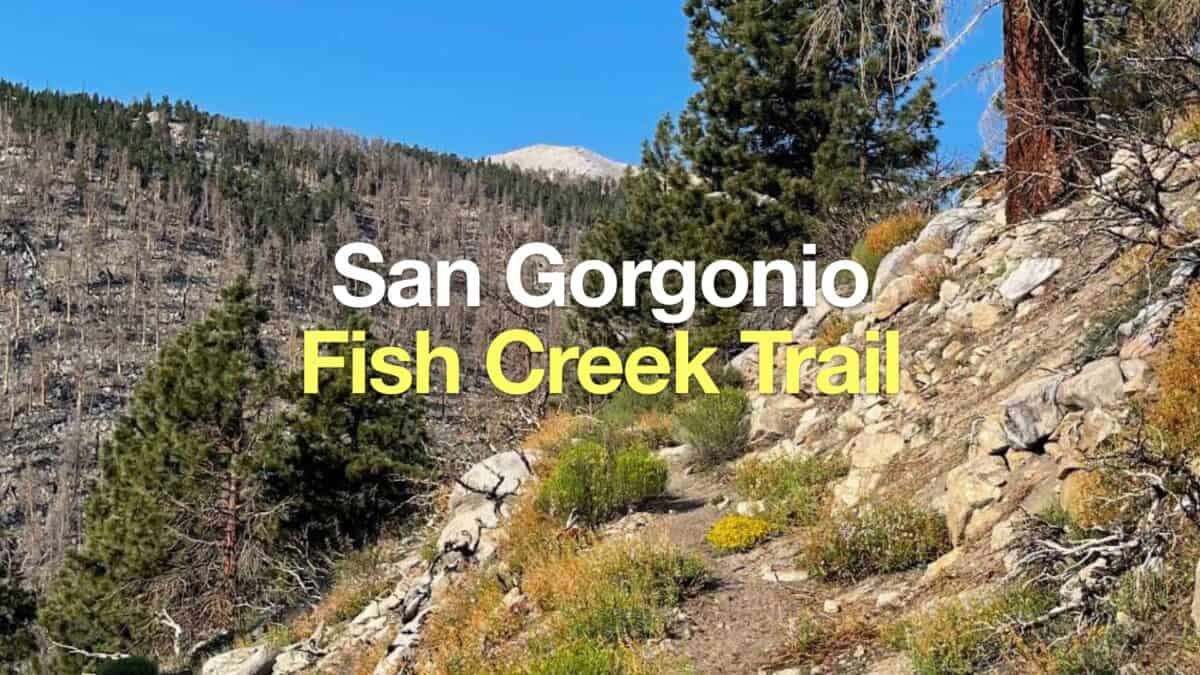 Fish Creek Trail to San Gorgonio Mountain
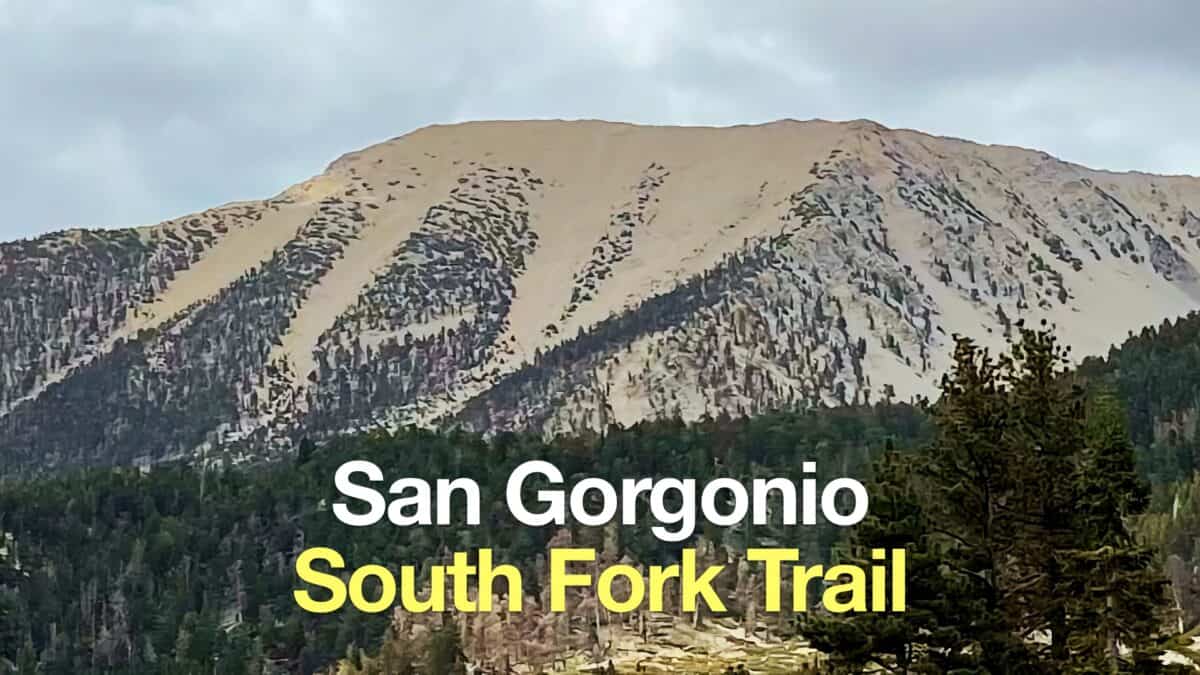 South Fork Trail to San Gorgonio Mountain
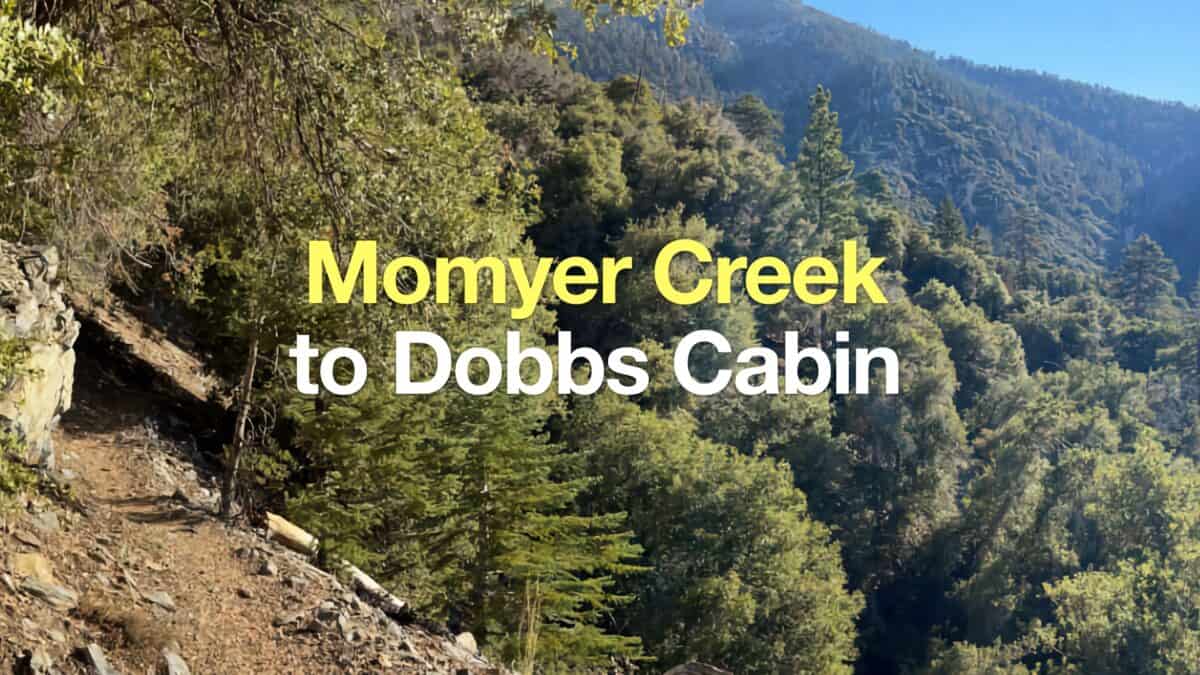 Momyer Creek Trail to Dobbs Cabin
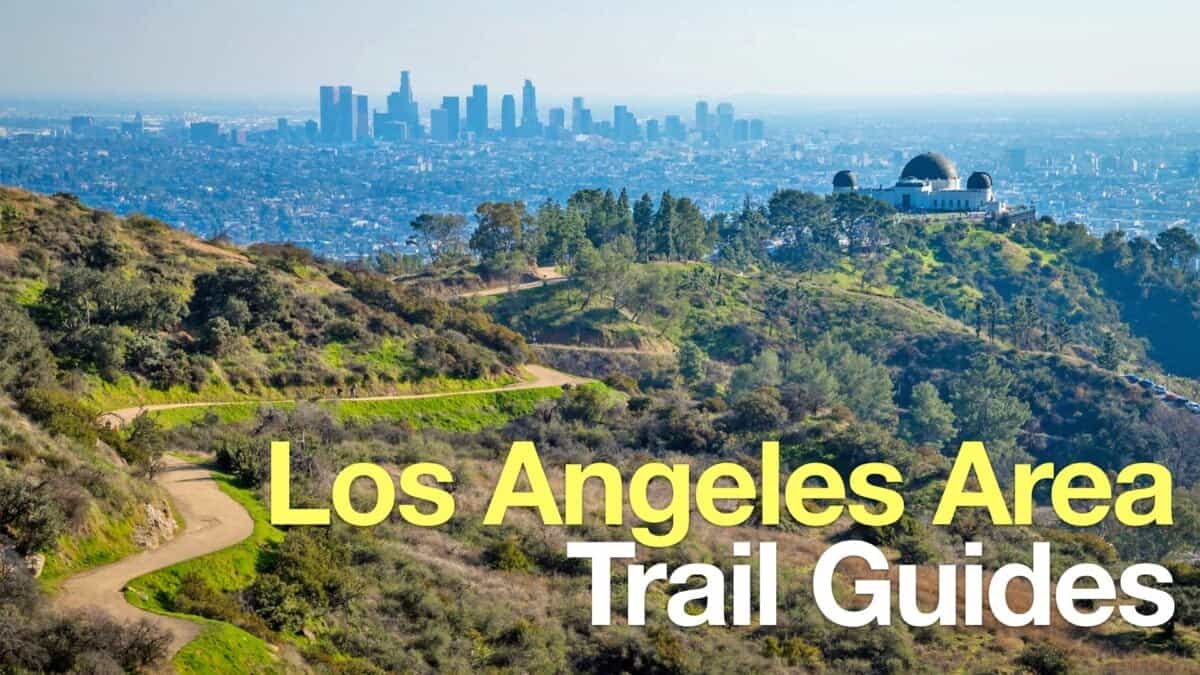 Los Angeles Hikes
 Backpacking Trips
 Big Bear Hikes
 LA Mountain Hikes
 San Bernardino National Forest Hiking Trails
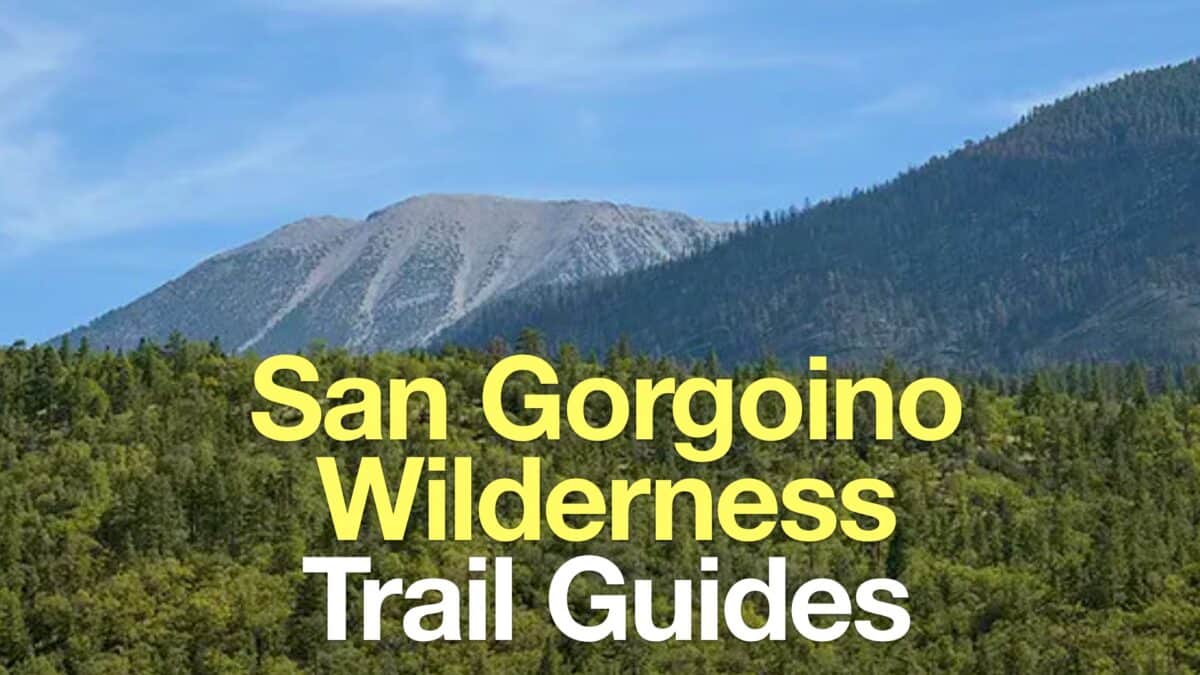 San Gorgonio Wilderness Hikes
 Sand to Snow National Monument Hikes
 Sierra Club 100 Peaks
Popular Guides
 Best Hiking Gear 2024
 Hiking Boots or Shoes: Do I Really Need Hiking Boots?
 When to Hit SOS on inReach
This Guide Was Written by Cris Hazzard

Hi, I'm Cris Hazzard, aka Hiking Guy, a professional outdoors guide, hiking expert, and author based in Southern California. I created this website to share all the great hikes I do with everyone else out there. This site is different because it gives detailed directions that even the beginning hiker can follow. I also share what hiking gear works and doesn't so you don't waste money. I don't do sponsored or promoted content; I share only the gear recommendations, hikes, and tips that I would with my family and friends. If you like the website and YouTube channel, please support these free guides (I couldn't do it without folks like you!). You can stay up to date with my new guides by following me on YouTube, Instagram, or by subscribing to my monthly newsletter.