The South Fork Trail is one of the more popular routes to the San Gorgonio Mountain summit, and for a good reason. You have to put some work in on the climb, but overall the gradients are steady and reasonable. As you wind up toward the summit, you'll get postcard views of the San Bernardino high line of peaks, views down to Mill Creek, and then, of course, the epic views from the summit, the highest point in southern California. Overall this is a classic hike.
In this Guide:
Video and Turn-by-Turn Directions for the South Fork Trail (1E04)
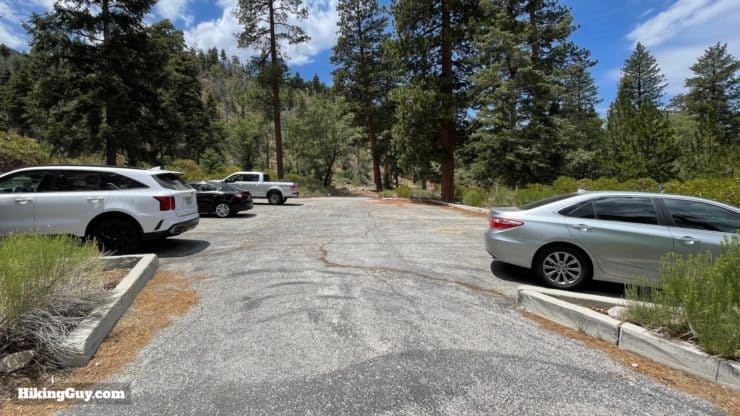
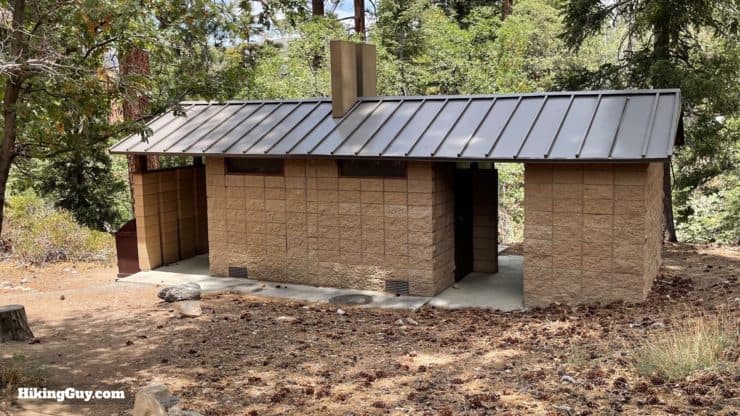
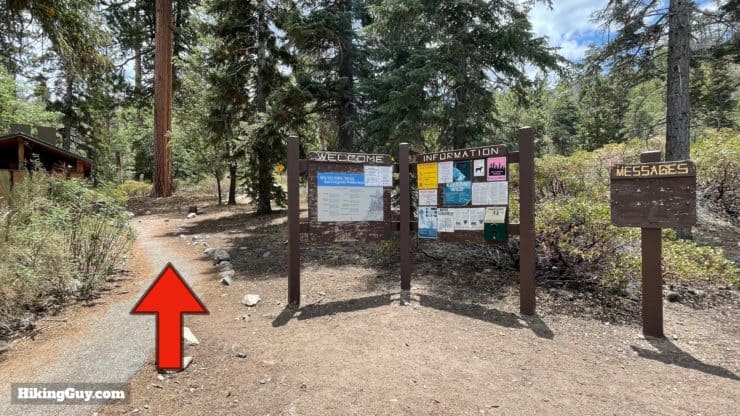
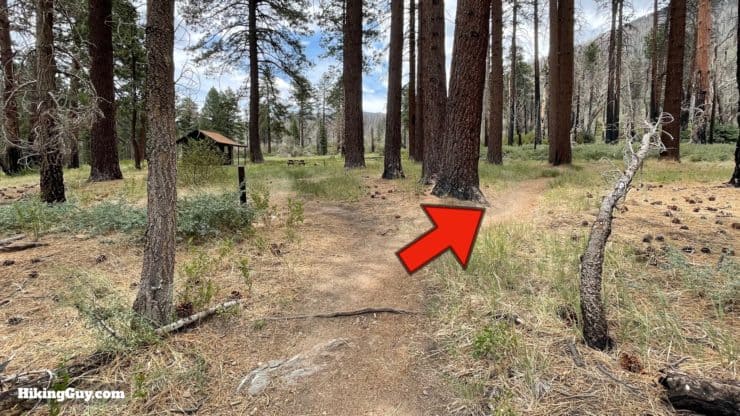
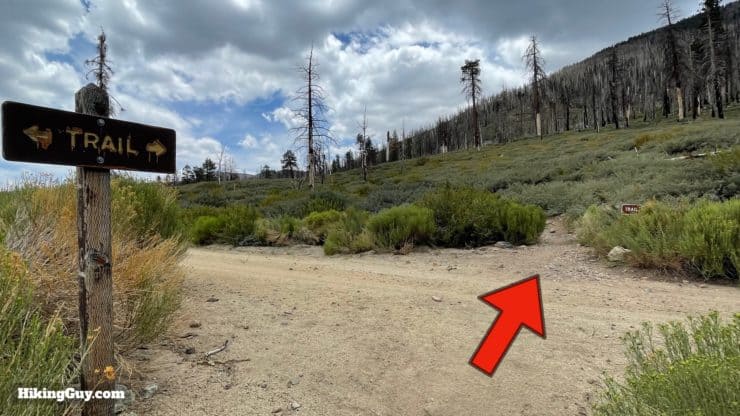
There's a bathroom at the trailhead.Look for the trail board at the far end of the parking area.
Permits
The San Gorgonio Wilderness Association handles South Fork Trail permits, and they are easy to apply for using their online portal. There's a quota system, and this trail can get busy on the weekends, so try to book ahead. You can print your permit out or save it to your phone (as long as your phone works). You can also get an overnight permit and make the trip a backpacking adventure. You must camp in the designated campsites, and the only ones directly on this route are Dollar Lake and Dry Lake View (my pick).
Permit Availablity
Can't get a permit for your date? Try OutdoorStatus.com and get a text message as soon as a cancelled permit opens up!.
Gear For the Hike
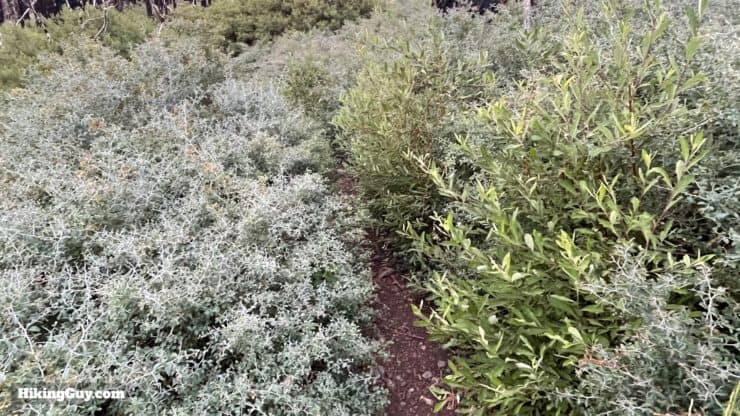
Some of the trail can be overgrown. Having long pants will save your legs from scrapes and scratches.
I bring 3L of water and a filter for when I need more. There is seasonal water along the route; I've indicated some of them in the map and GPX file.
You're hiking up above the tree line, bring layers and prepare for rapidly changing weather conditions.
There aren't any super-steep sections on the hike, so trekking poles aren't a must, but bring them if you like using them.
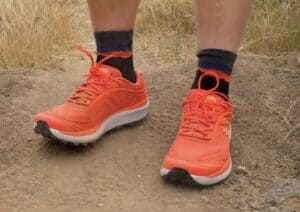
Some of the trail is rocky; wear the proper footwear.
As you may have guessed, this route can be covered in snow in the winter and spring and is only appropriate for those with mountaineering skills.
Osprey Hikelite 26Lightweight, carries all your gear, and your back doesn't get sweaty. Oh yea, it's also one of the most inexpensive packs you can get.
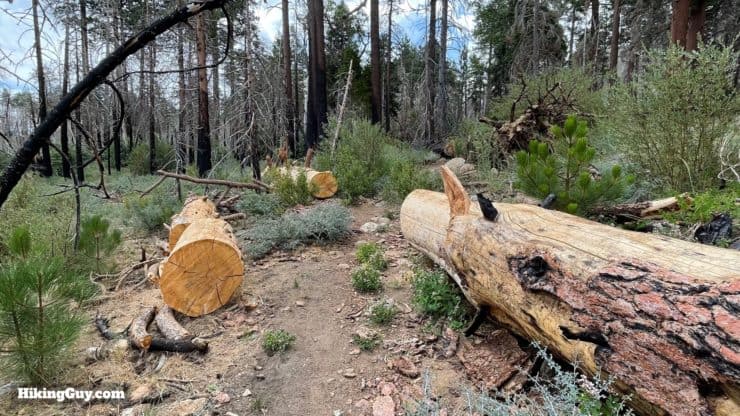
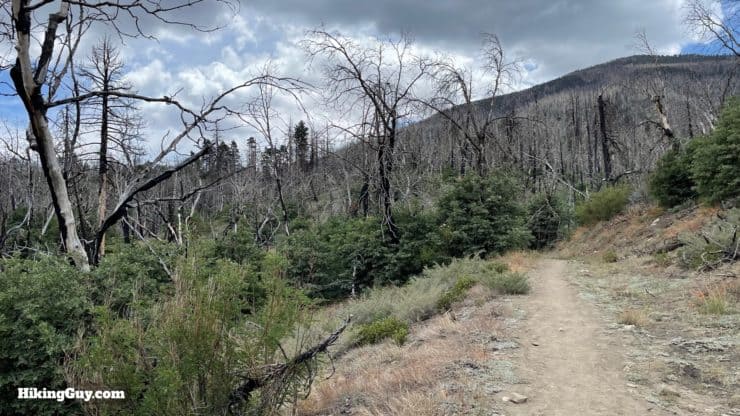
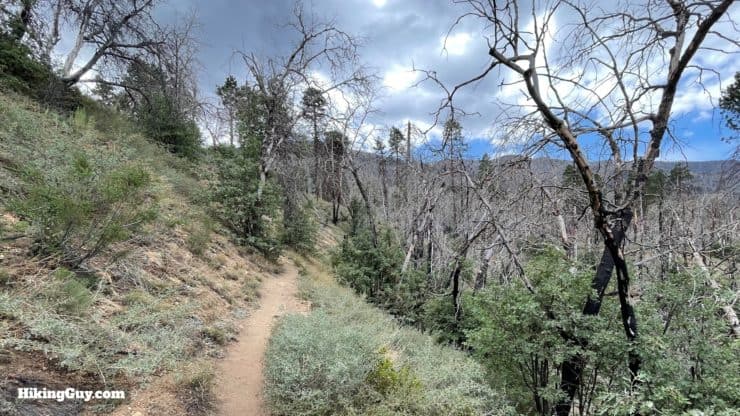
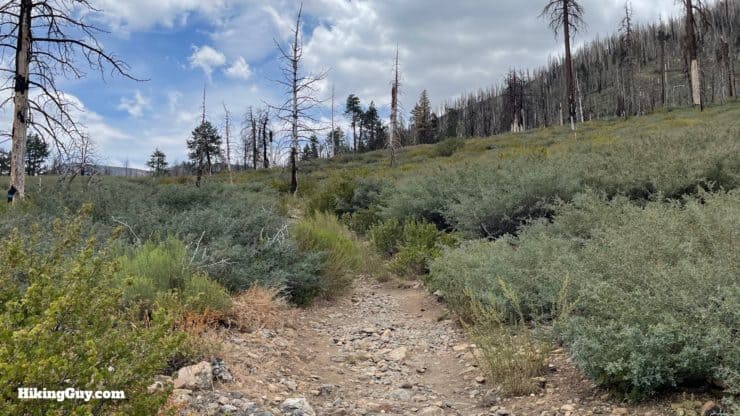
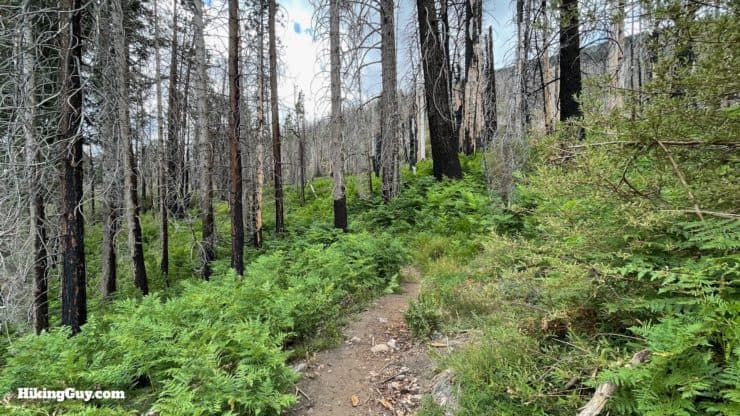
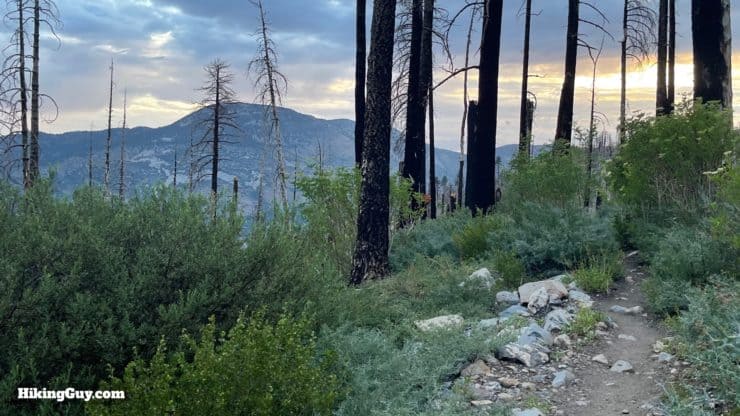
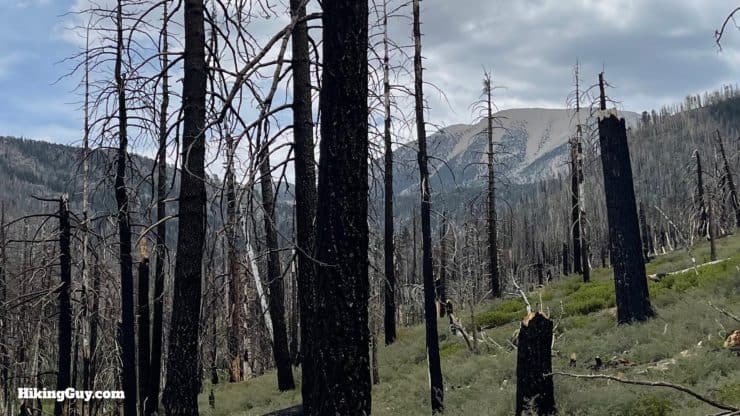
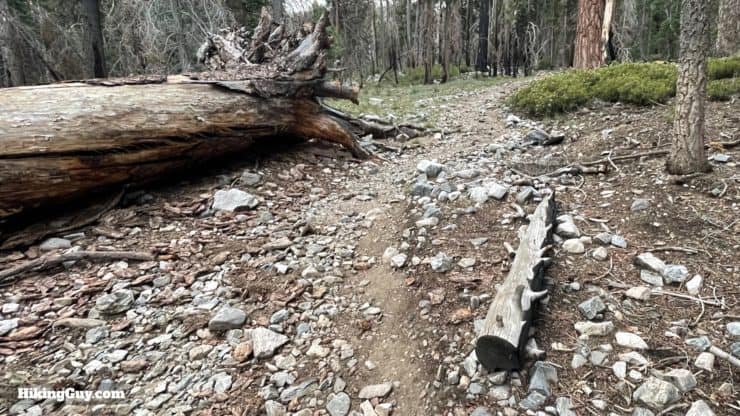
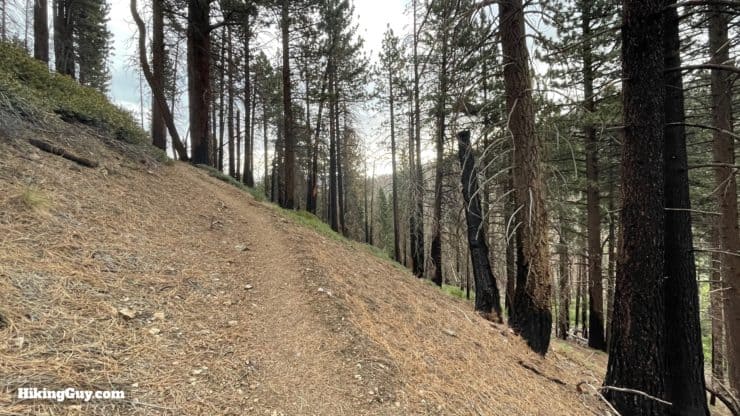
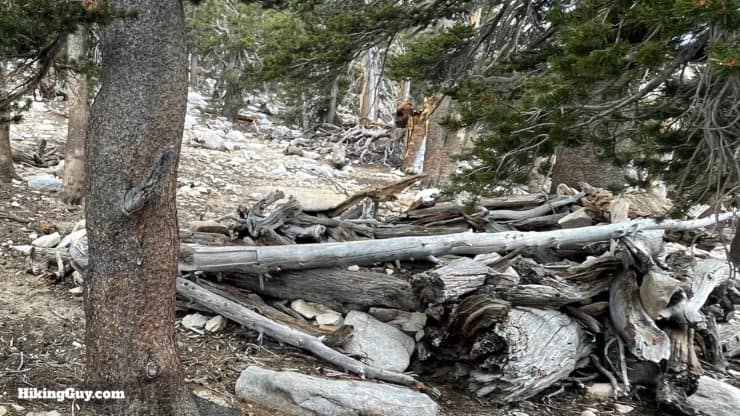
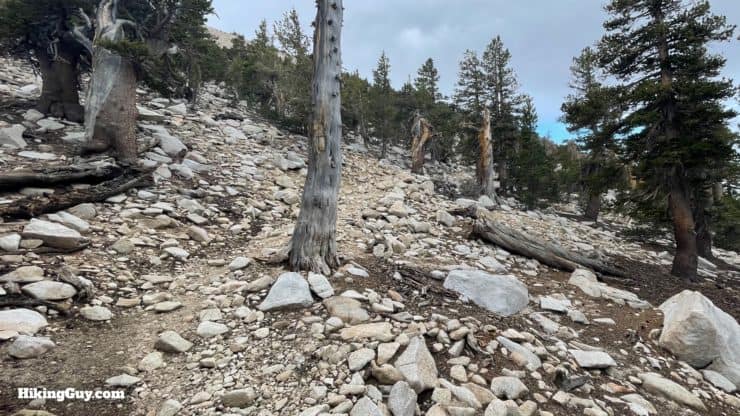
Most of this trail was heavily impacted by the 2015 Lake Fire. All the dead trees that you see will eventually fall down, and some have already. There can be big trees across the trail, and usually when there are, other hikers create detours around. The Forest Service and their volunteers actively maintain the trail and keep it clear (with non-powered tools). Thank them if you see them.
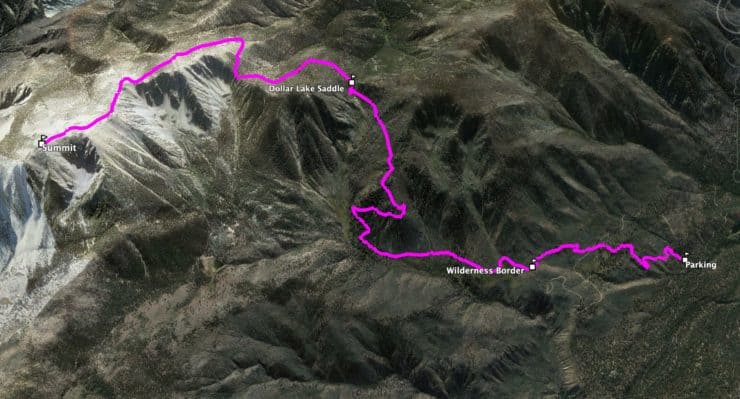
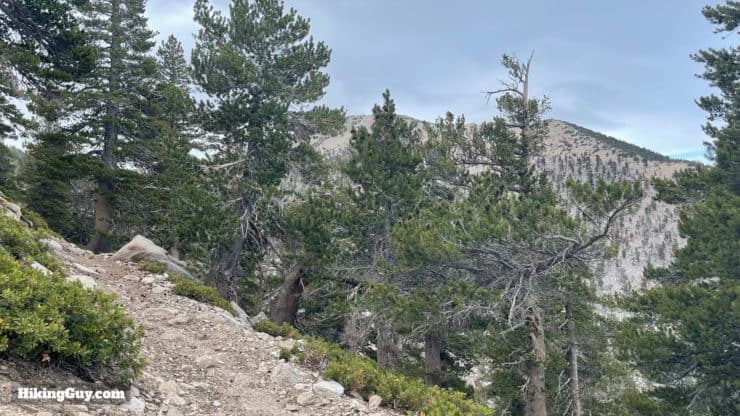
After arriving at the San Gorgonio Wilderness boundary, you have a flat section before you start climbing again toward Dollar Lake. After Dollar Lake saddle the gradient eases up to the summit.
Landmarks on the Hike
Landmark
Distance
Elevation
Trailhead
0
6900
Horse Meadow
1
7400
Wilderness Sign
2
7800
Dry Lake Junction
3.7
8200
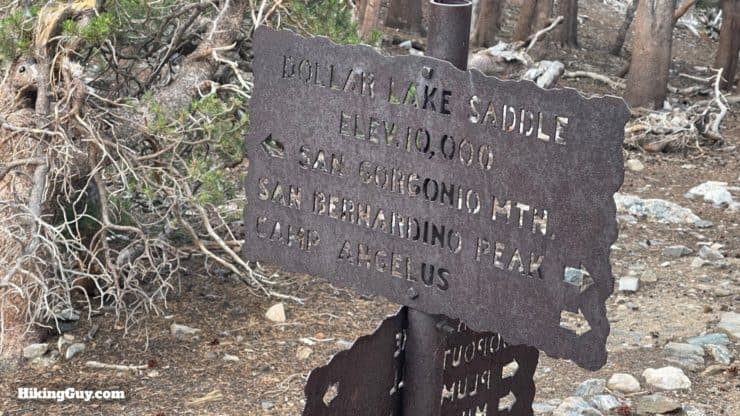
Dollar Lake Saddle
6
9980
Summit
9.8
11503
3D Map
The first third follows the South Fork of the Santa Ana River, then you bear right and hike up to Dollar Lake Saddle. From there the trail winds along the high ridge to the San Gorgonio summit.
Lollipop Route
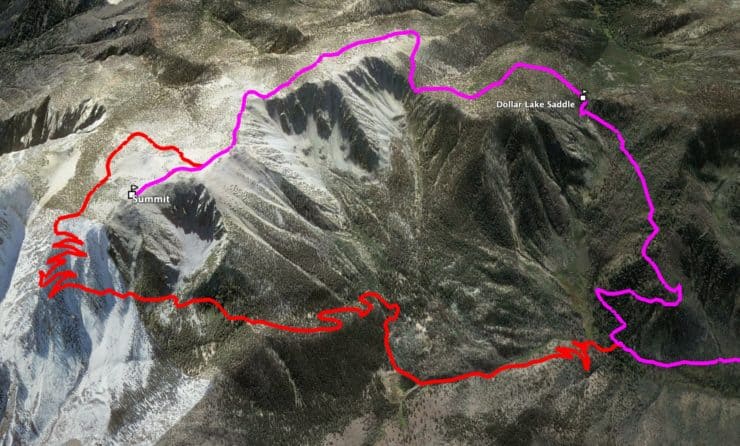
If you want to add 2 miles onto the route, you can try the alternate "lollipop" route, shown here in red.
Another popular route is combining the South Fork Trail with the Sky High Trail and hiking them in a loop. It's typically done as a clockwise route. If you're cool with the mileage, or have done the South Fork Trail up and down, I recommend giving it a try. Here's how to put the pieces together:
Descend on the South Fork Trail (on the route described in this guide, but in reverse).
If you take this route, there are a good amount of overnighting options. The most popular being Dry Lake and Mine Shaft Saddle. If you overnight, remember to get your permit.
South Fork Trail to San Gorgonio Hike Directions
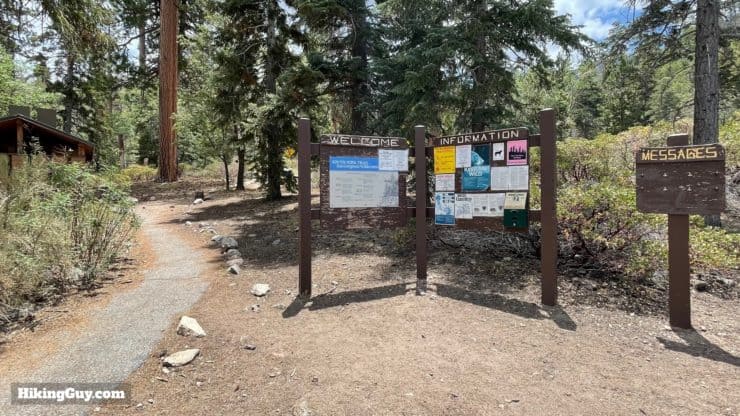
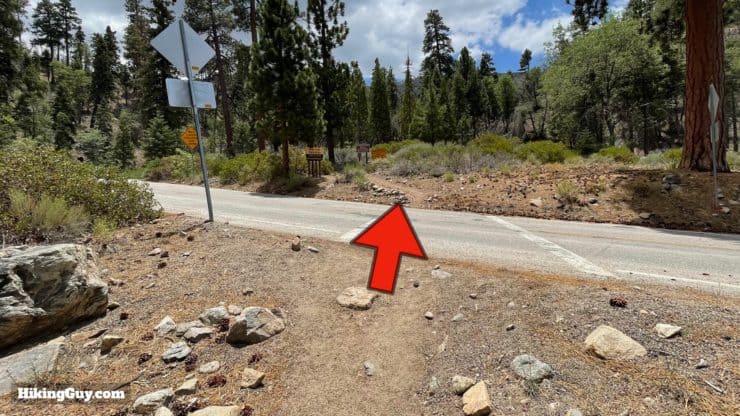
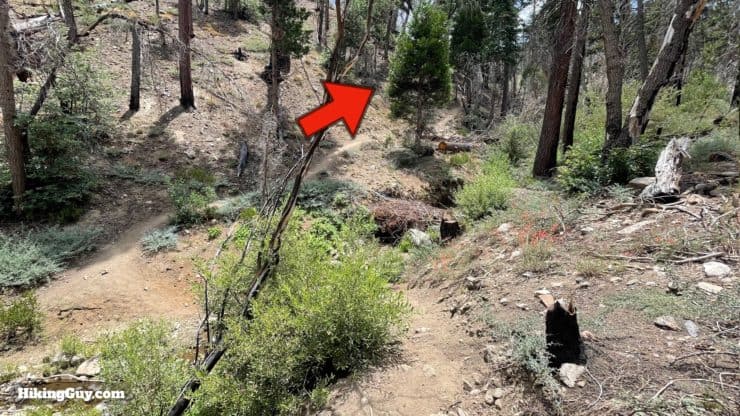
Hike past the trail board and bathroom.Cross Jenks Lake Road.And you'll see the official start of the South Fork Trail.Go down and then up the other side of the creek (which isn't the South Fork).In the beginning the trail is very steep.But then levels out and climbs gradually. You'll see lots of evidence of the 2015 Lake Fire, which was devastating to the area. The fire, a suspected case of arson, could have been contained sooner, but air operations had to be stopped when a drone was spotted flying around the fire.
To see what this area could potentially look like after 50 years of recovery, check out the nearby Exploration Trail, which has recovered from the 1970 Bear Fire.
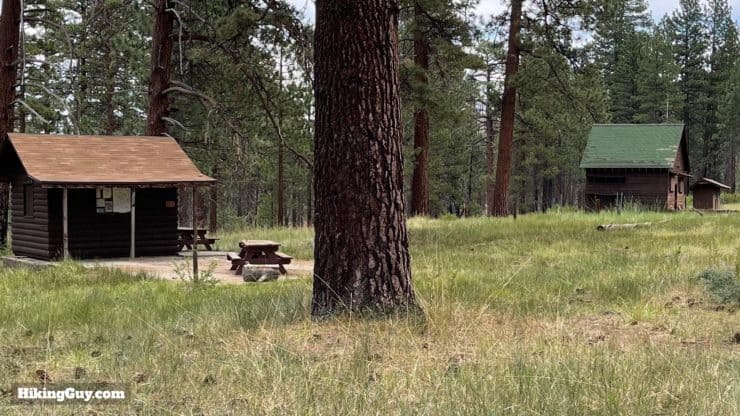
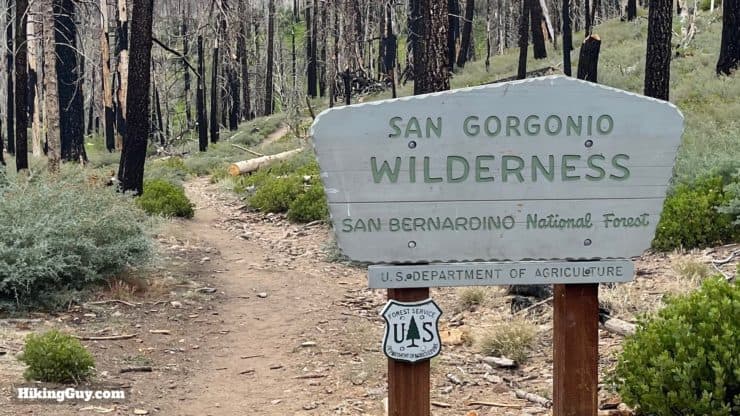
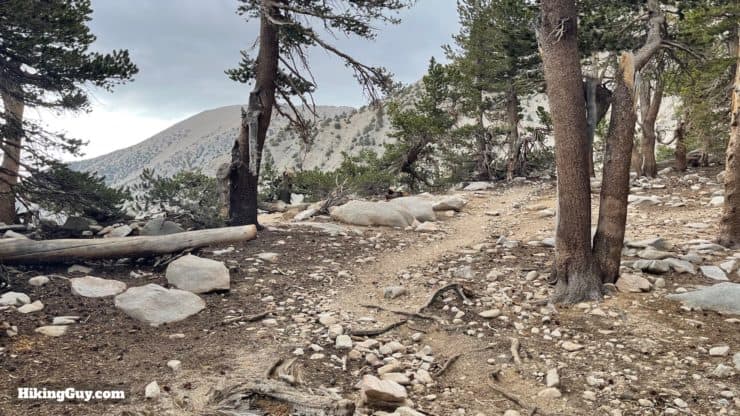
Keep hiking uphill on the trail.And when you get to Horse Meadows at the top of the hill, bear to the right.You'll see some historic cabins on the left. If you want to learn more about them and see inside the cabin, check out my guide to Dry Lake.Keep hiking straight through the old road. Before the area ahead had an official wilderness designation, you could drive up here.The trail starts angling uphill.Hike over the old road, which is only open to Forest Service vehicles.The trail crosses dozens of small streams that feed the Santa Ana River watershed. It can get overgrown.As you climb you'll get glimpses of Sugarloaf Mountain, the highest point on the other side of the valley.At the top of the hill you'll see a junction. On the left is the side trail to the infamous Poopout Hill. Officially renamed in 1966 to honor those who came this far, saw San Gorgonio in the distance, and bailed out. The road used to come up to the hill, and Poopout Hill used to be called Trail Head Hill. Go straight to continue the hike.You'll pass the San Gorgonio Wilderness sign. You need a permit past this point. The trail then goes downhill and then levels out, giving your legs a break.
Did you know that in the great hiking era of the 1920s, President Calvin Coolidge was lobbied to protect this area by creating the "Junípero Serra National Monument"? It never happened, but today it's protected as an official wilderness area.
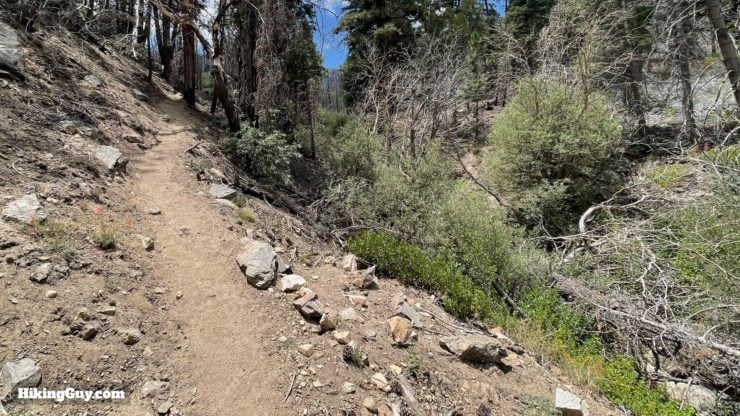
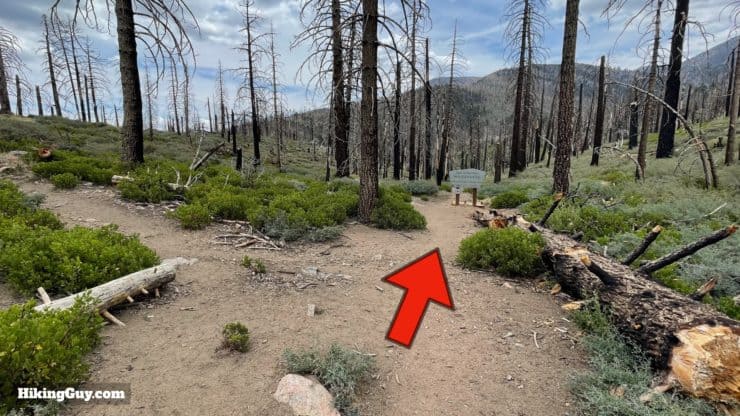
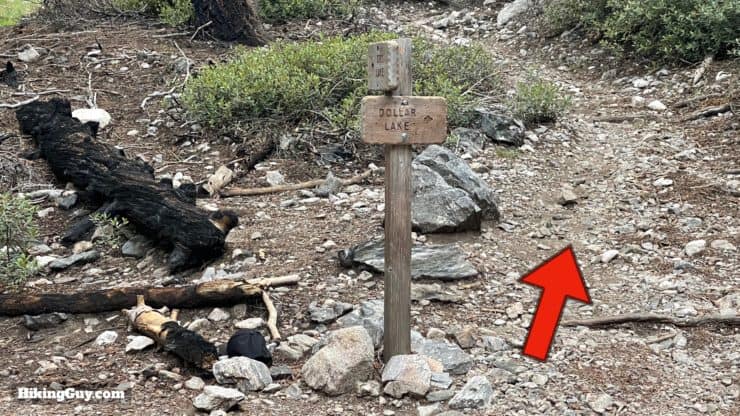
As you cruise on the flat section, you'll see your final destination, San Gorgonio Mountain summit, in front of you. On the left you'll probably hear the roaring of the South Fork of the Santa Ana River. The area to the left is also called Slushy Meadow because of all the streams and springs supplying the river, which eventually flows out to the ocean at Huntingdon Beach.At about 3.4 miles in you'll see the faint trace of the Lost Creek Trail on the left, which is mostly overgrown and impassable since the Lake Fire.After the Lost Creek Trail, the South Fork Trail starts to angle upward. Here we go.At the junction with the trail to Dry Lake, make the right towards Dollar Lake.The climb angles up some more, and the trail surface is rocky. You've got about 2.4 miles and 1800 feet of climbing to Dollar Lake Saddle.The gradient eases up in spots and the trail gets a little easier on the feet.As you come around the switchbacks you'll see San Gorgonio in front of you. as well as Grinnell Mountain on the left. The area up to the left is directly above Dry Lake, and you hike up there on the approach from Fish Creek.The trail turns around and you'll see the notch that is Dollar Lake Saddle head to the left.At the turnoff to Dollar Lake, stay right to continue to the saddle.
Dollar Lake, named after its grey bottom makes it look like a silver dollar, is fed by a spring and has water early in the season (generally). And Dollar Lake is a tarn, a lake formed in a cirque (bowl) by a glacier. The San Bernardinos are the only mountains in Southern California that show evidence of glaciers. The lake is 0.5 miles down the spur trail if you want to visit.
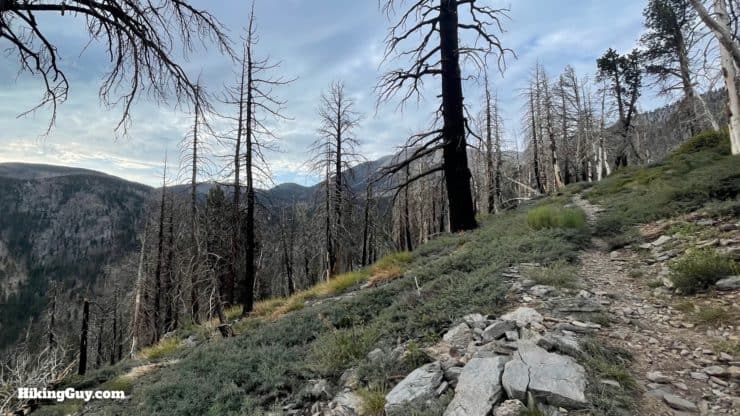
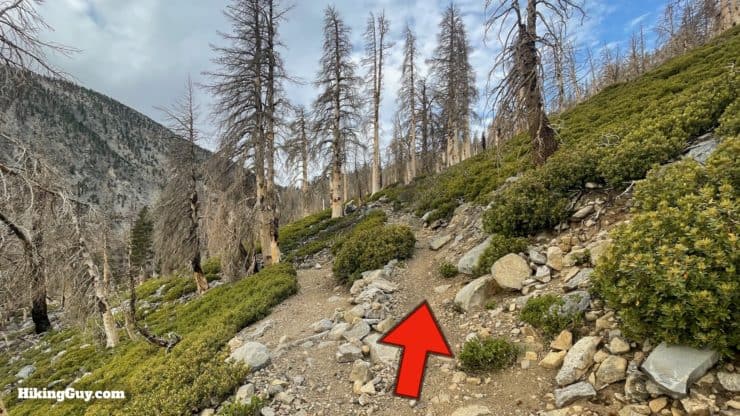
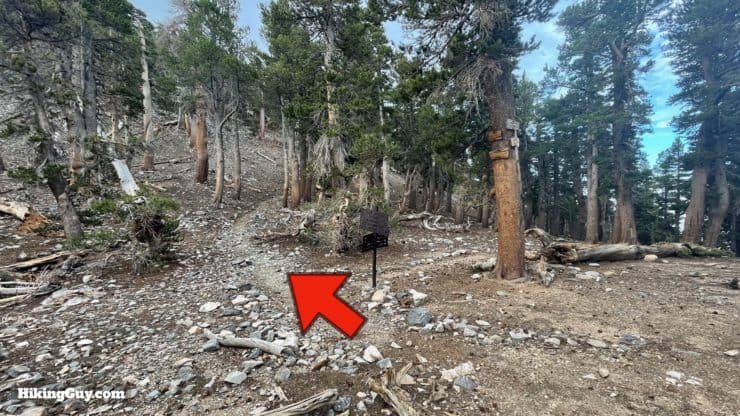
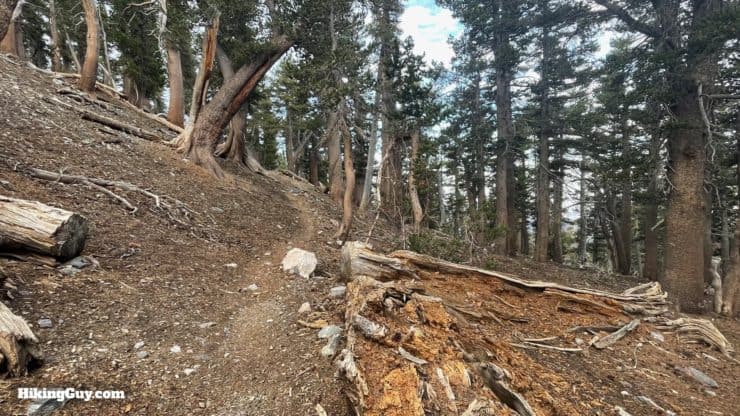
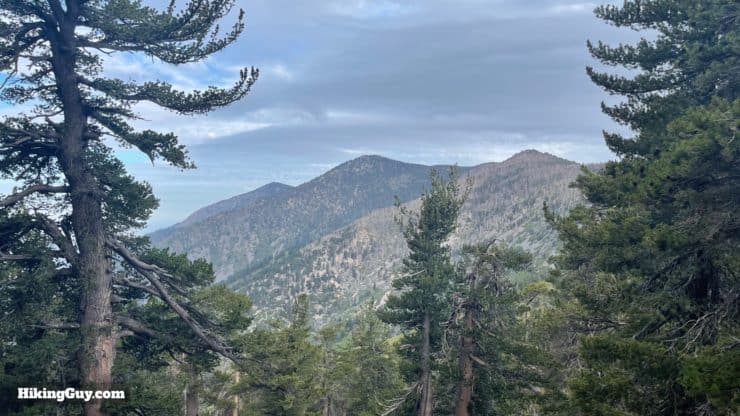
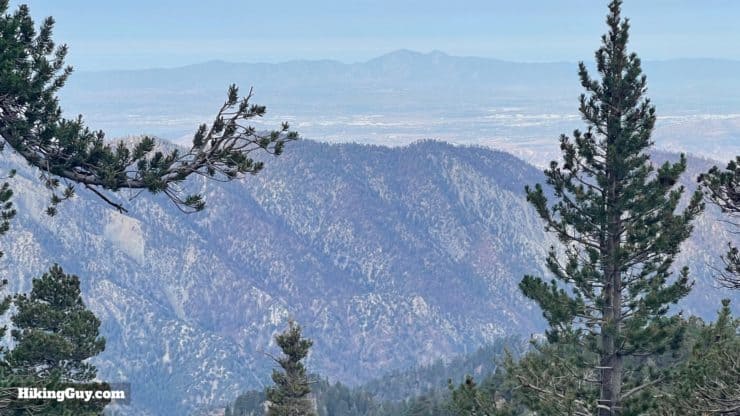
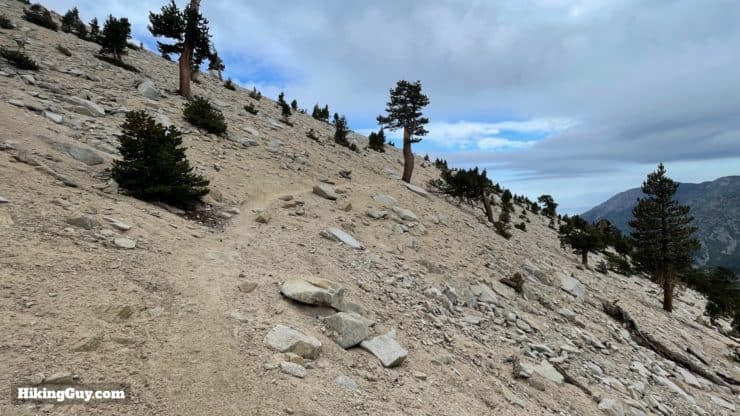
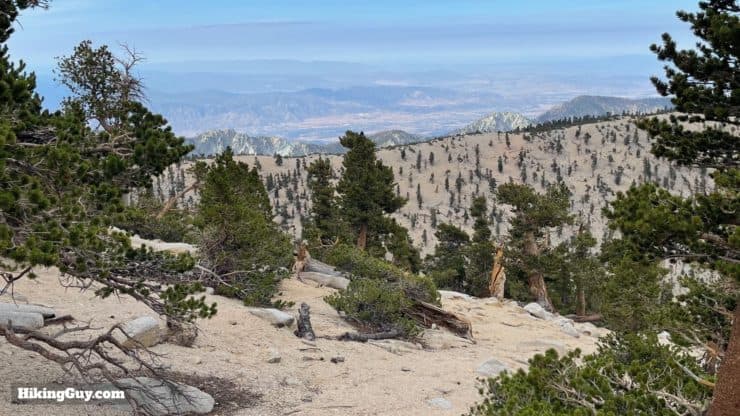
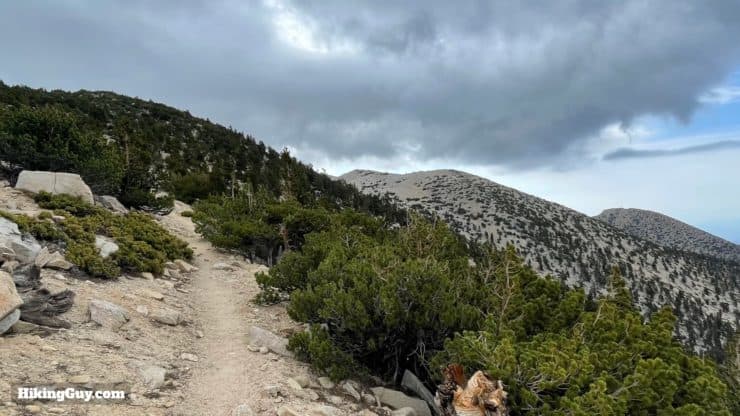
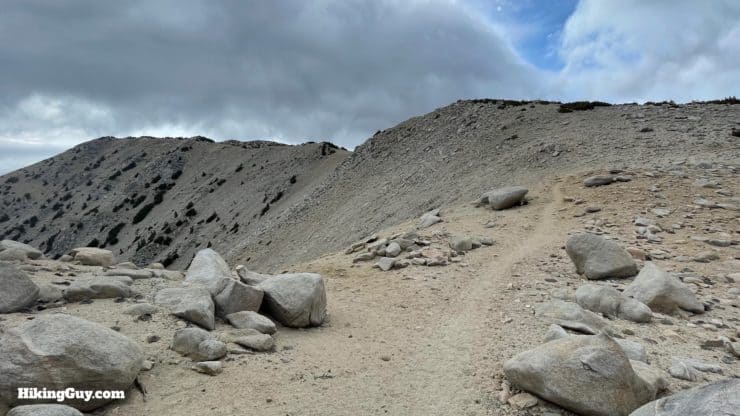
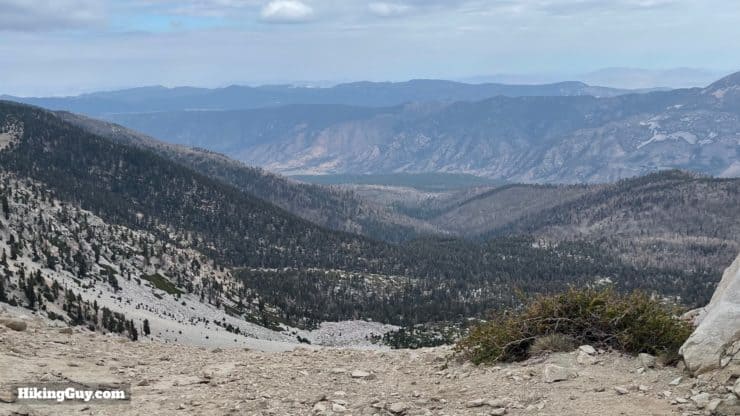
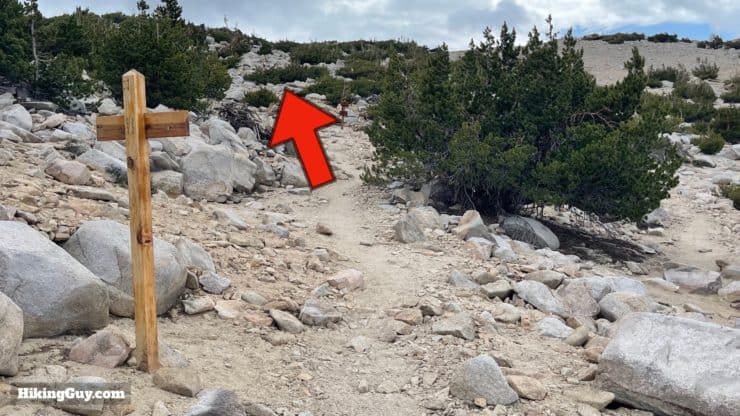
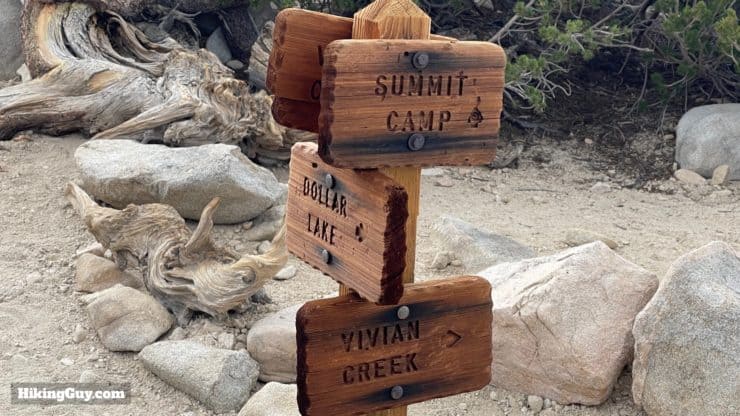
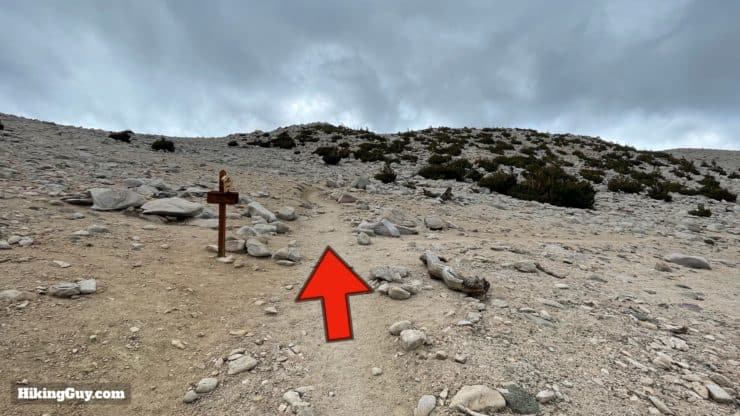
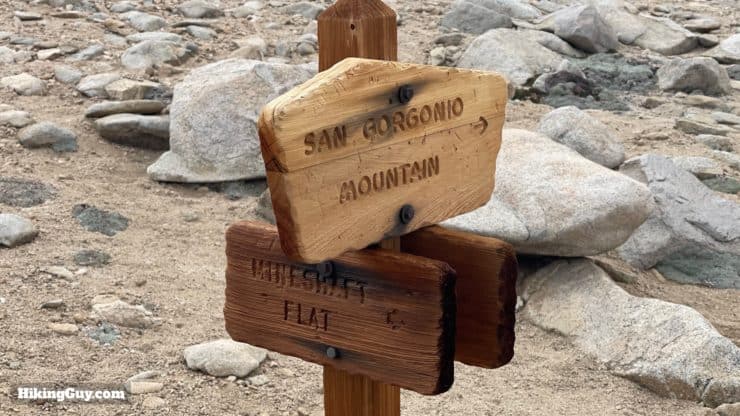
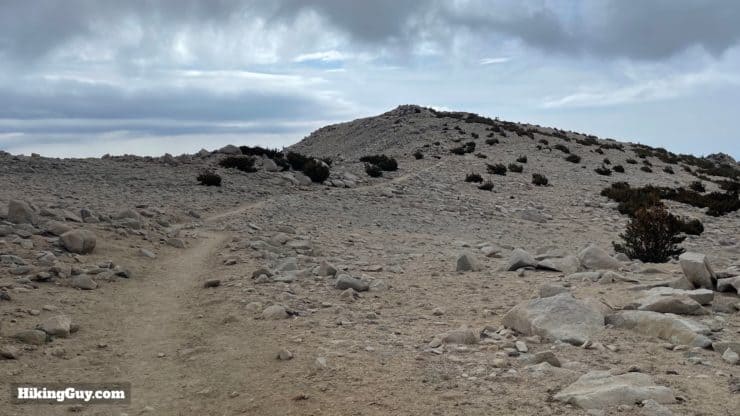
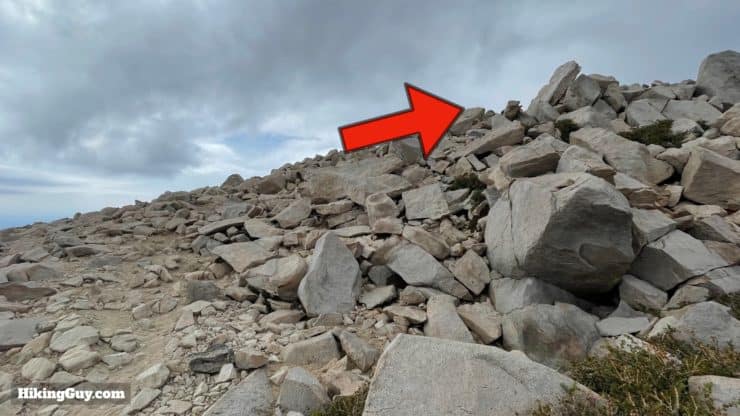
When you get to Dollar Lake Saddle, above the lake, hike on the trail to the left.There's a Yosemite-style trail sign at the saddle. This is also the official end of the South Fork Trail; we're now on the San Bernardino Peak Divide Trail.The trail starts going up through the pines.And soon you'll get incredible views of the San Bernardino high line. From left to right: San Bernardino Peak, Andersen Peak, and Shields Peak.And then the trail winds around to the south, and you can see the peaks above Mill Creek, including Little San Gorgonio Peak. If you've ever hiked to the summit on the Vivian Creek Trail, you started down there.The trail is rocky and steadily uphill as you climb up above 10000 feet and around Charlton Peak, which is on your left. The peak is named after R.H. Charlton, the Angeles National Forest supervisor from 1905-1925. In front of you is Jespon Peak, named after Willis Jepson, one of the founding members of the Sierra Club, along with John Muir.At about 7 miles and 10500 feet you pass through Dry Lake View Camp at a picturesque saddle.There are some protected tent sites here.If you look down to the left from the saddle, you can see Dry Lake (it's dry here).Continue up from the saddle area.The landscape becomes more barren as you leave the tree line behind and round Jepson Peak.As you swing around to the south you'll see the ridge where the Vivian Creek Trail climbs toward the summit.And as you round Jepson Peak, you'll start to see San Gorgonio Mountain in front of you.The trees are gone as you hike along the ridge. Several "window" areas allow you to view down to the left.To the left, through the "windows," you'll be able to see Dry Lake, South Fork Meadows, and the approach you took on the way up.When you get to the junction with the Vivian Creek Trail, go straight.Here's the sign at that junction. We're going to Summit Camp.And soon after that is the junction with the Sky High Trail. Go straight toward the summit.Here's a closeup of the sign at that junction. We're going toward San Gorgonio Mountain.And then you'll see the summit in front of you.At the top, make the left to climb the last pile of granite.And that's it, you made it to the summit!


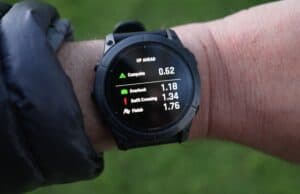

 Using the Apple Watch for Hiking
 Garmin Fenix 7 & Epix Review For Hikers
 How To Read a Topographic Map
 Garmin GPSMAP 67i Review
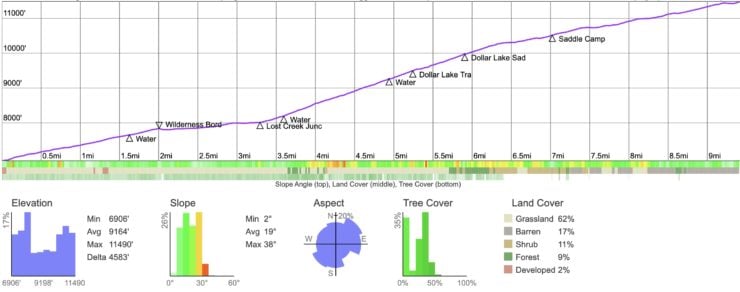


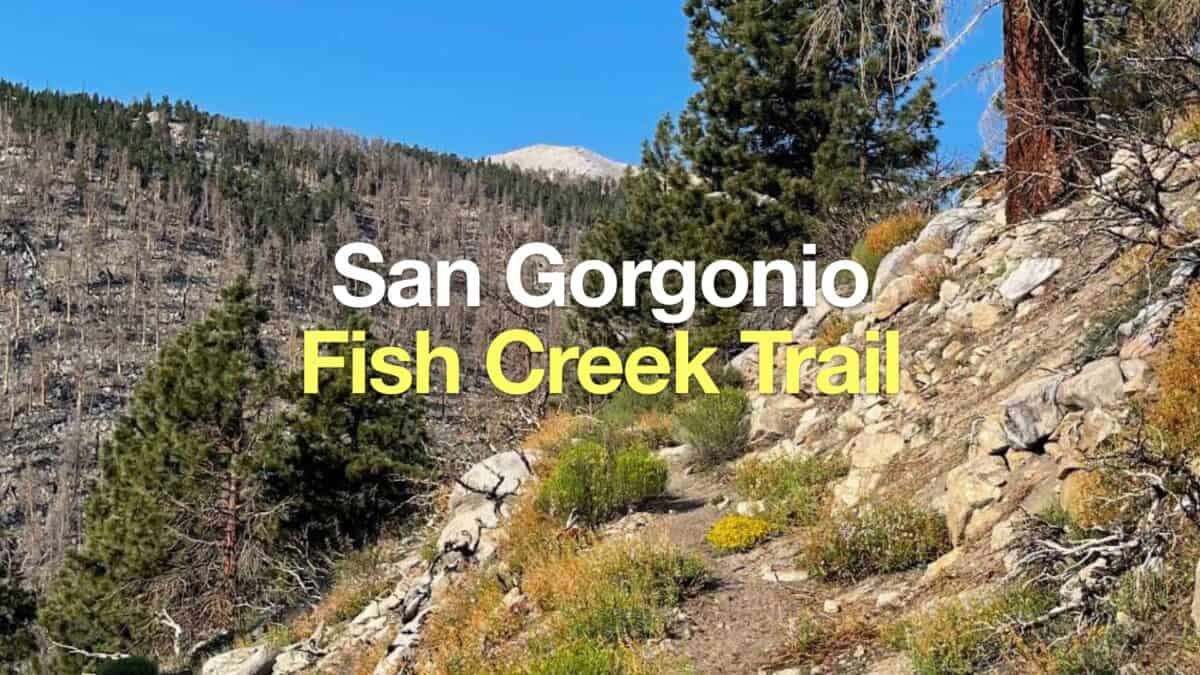 Fish Creek Trail to San Gorgonio Mountain
 Dry Lake (San Gorgonio) From The South Fork Trail
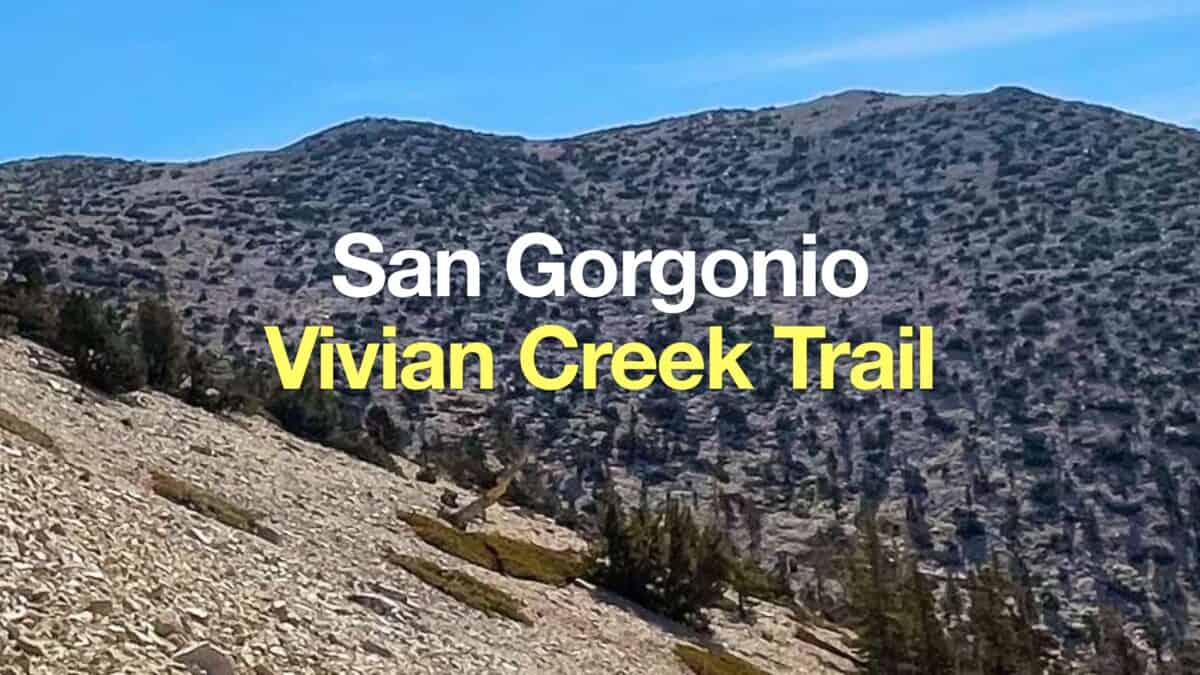 San Gorgonio Hike on the Vivian Creek Trail
 Los Angeles Hikes
 Backpacking Trips
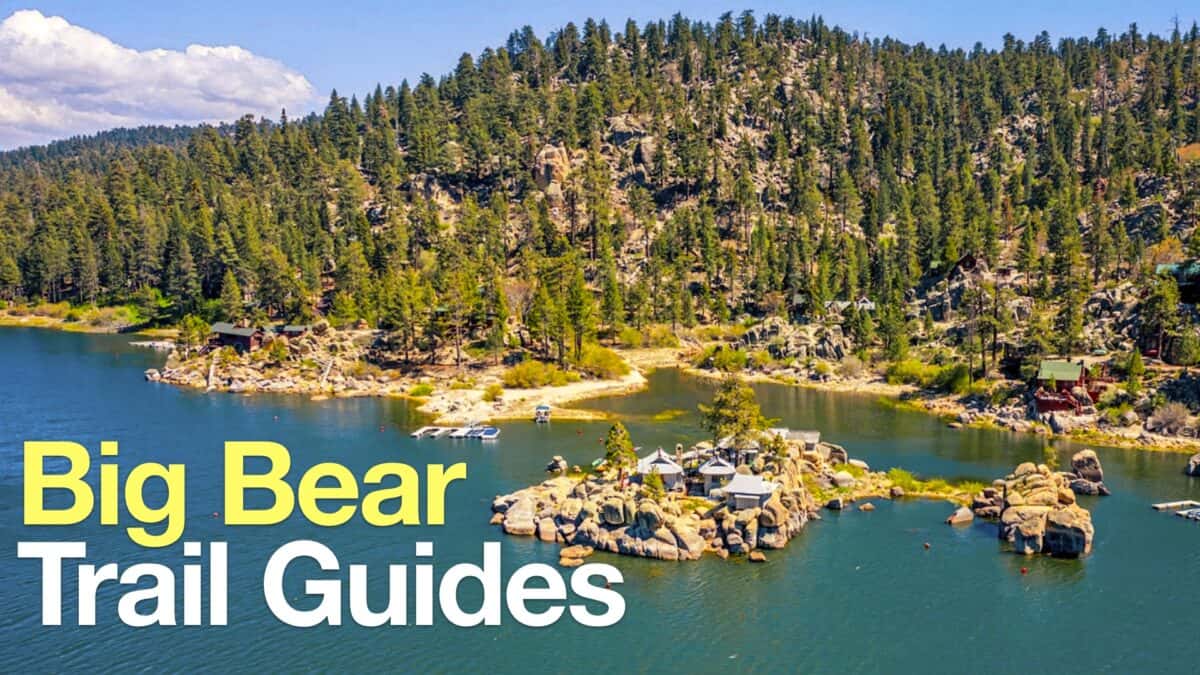 Big Bear Hikes
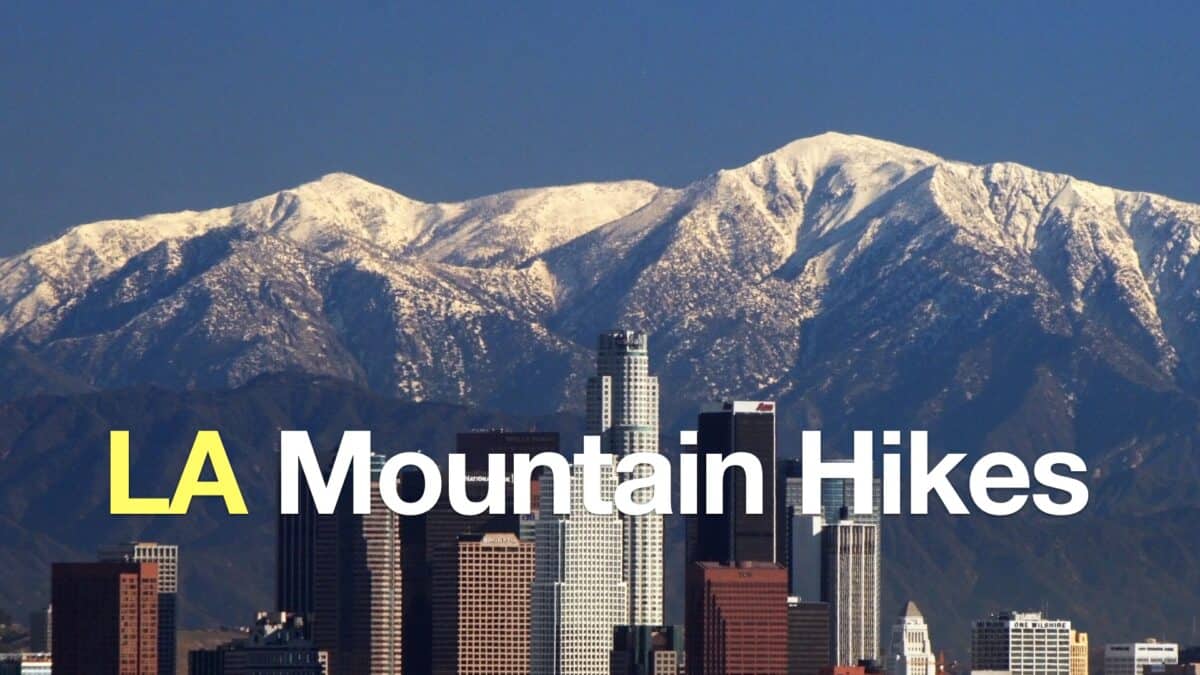 LA Mountain Hikes
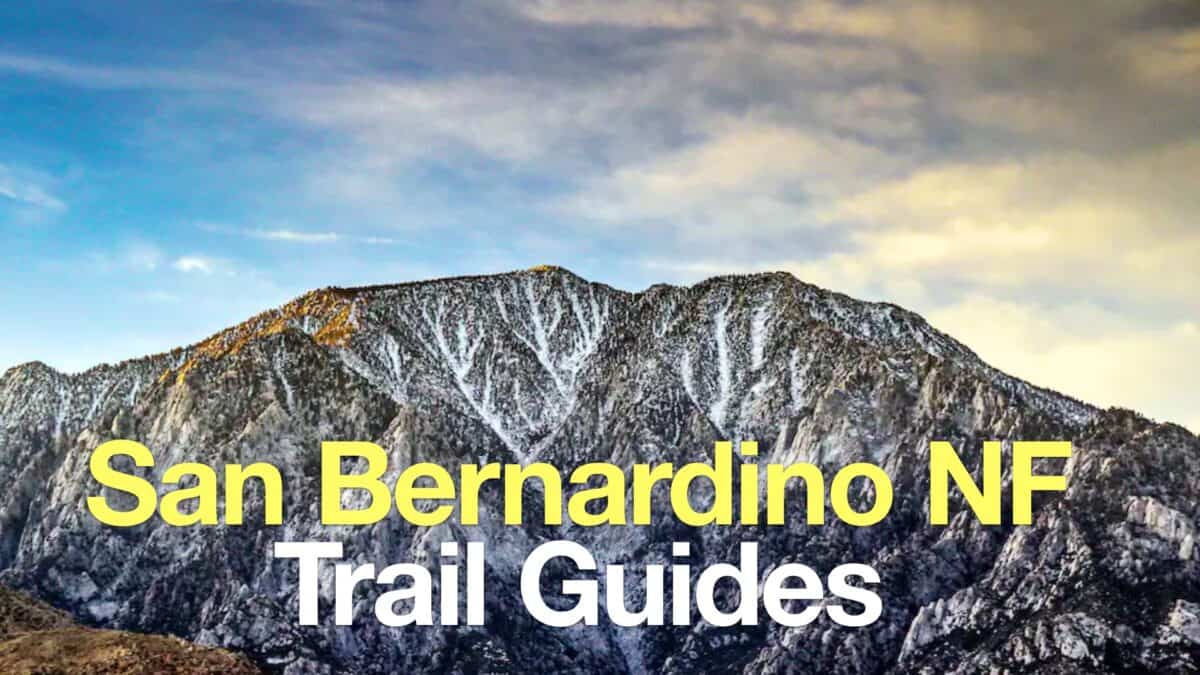 San Bernardino National Forest Hiking Trails
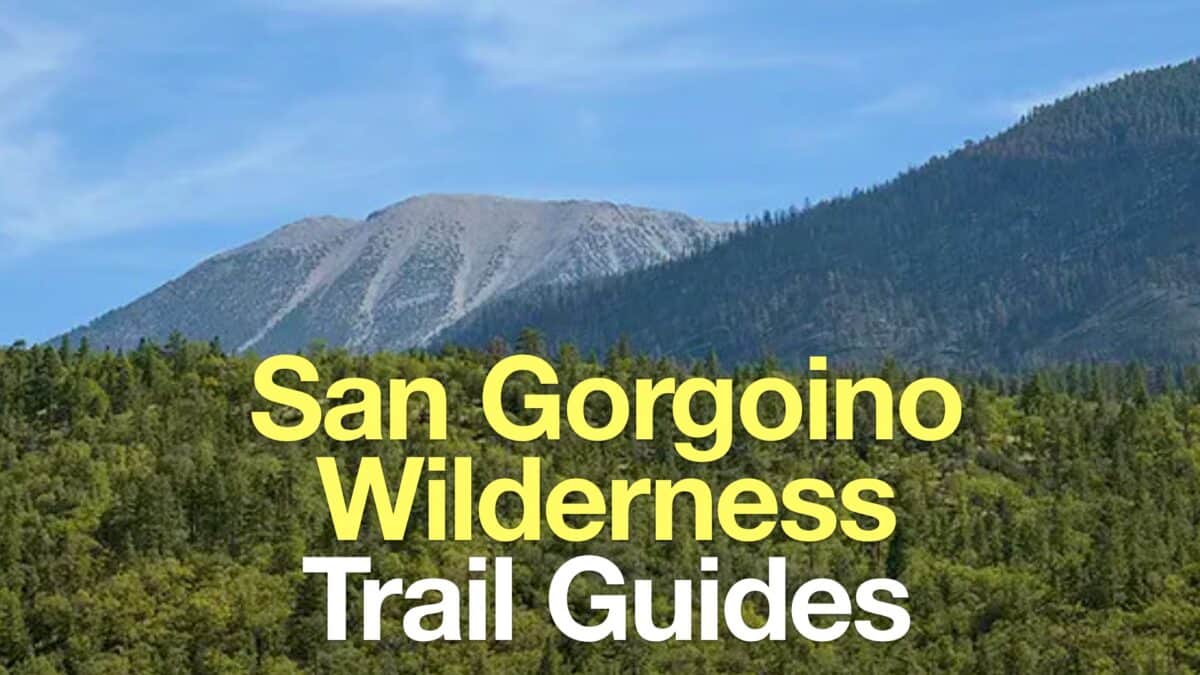 San Gorgonio Wilderness Hikes
 Sand to Snow National Monument Hikes
 Sierra Club 100 Peaks
 Best Hiking Gear 2024
 Hiking Boots or Shoes: Do I Really Need Hiking Boots?
 When to Hit SOS on inReach