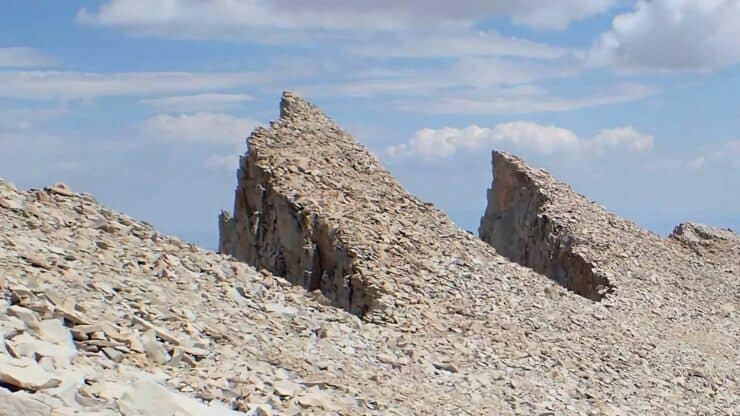

The Mt Whitney hike is on every hiker's bucket list. At 14,505 feet, it's the highest point in the lower 48 and is one of those rare high peaks that you can hike to without any mountaineering skills. There is some prep work you need to do, like getting your Mt Whitney permit and dealing with the altitude. This hiking guide has everything you need to know to successfully climb Mt Whitney. Keep reading for all the info.
- Choosing the Correct Route Up Mt Whitney
- Getting Your Mt Whitney Hike Permit
- Planning Your Stay
- Training for Mt Whitney
- Gear For Your Hike
- Dealing With Altitude and Weather
- Mt Whitney Trail Maps
- Turn by Turn Mt Whitney Hike Directions & Video
Choosing the Right Route Up Mt Whitney
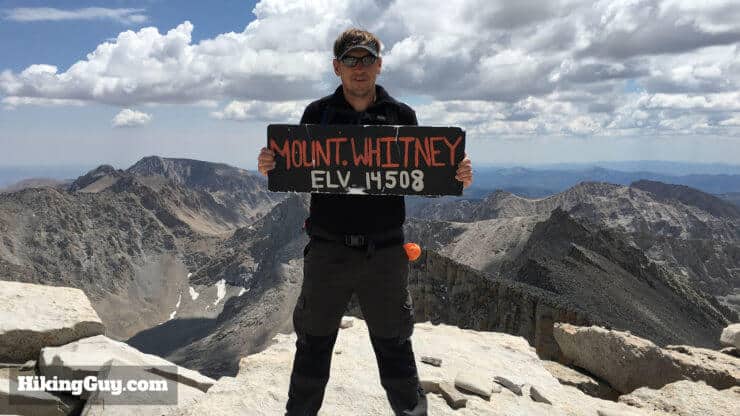
Before you apply for your Mt Whitney permit, you need to decide on your route to the summit. This hiking guide focuses on the popular Mount Whitney Trail from Whitney Portal (by Lone Pine), which allows you to do the hike in a day or overnight camping trip. I highly recommend taking this route as it's the best option for first-timers. But there are other options too, all of which require specific permits.
Mt Whitney Trail Day Hike
Most people tackle Mt Whitney as a 21.5 mile round-trip day hike. It sounds long but is very doable with the proper training. Your chances for getting a permit on the day hike are also generally the best. There's also a great sense of accomplishment in hiking Mt Whitney in a day. It'll take you somewhere between 12-16 hours, and you'll probably leave before dawn. It's a great adventure, and I highly recommend going for the summit this way, at least on your first try.
Mt Whitney Trail Overnight (2-Days)
You don’t have to tackle all 21.5 miles of the Mount Whitney Trail in one day; you can also do the hike over two (or more) days and camp on the trail. There are pros and cons to camping. Big on the pro side is that you can split the hike up into smaller chunks, you can acclimatize, and get a beautiful night under the stars. On the con side, permits are tougher to get, and you have to haul a much heavier pack up the mountain. In fact for me, doing a longer day hike with a lighter pack is easier than carrying camping gear to Trail Camp, which might seem a little counterintuitive.
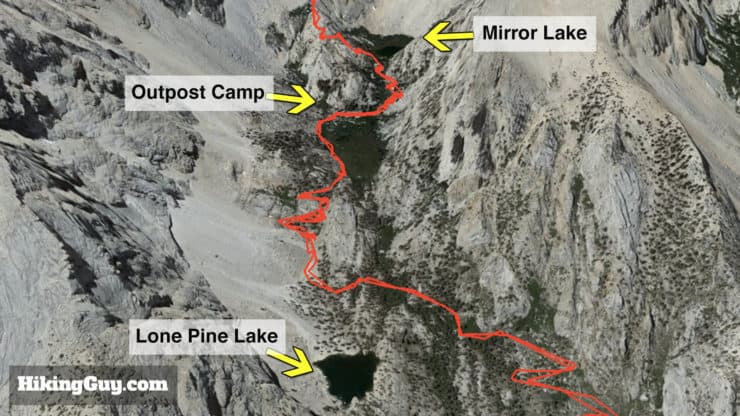
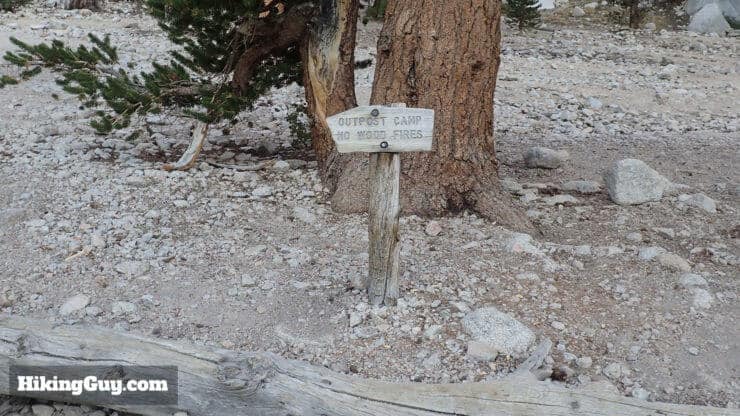
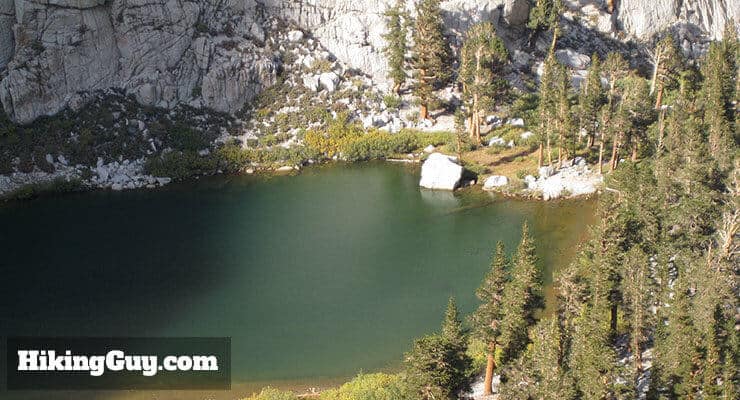
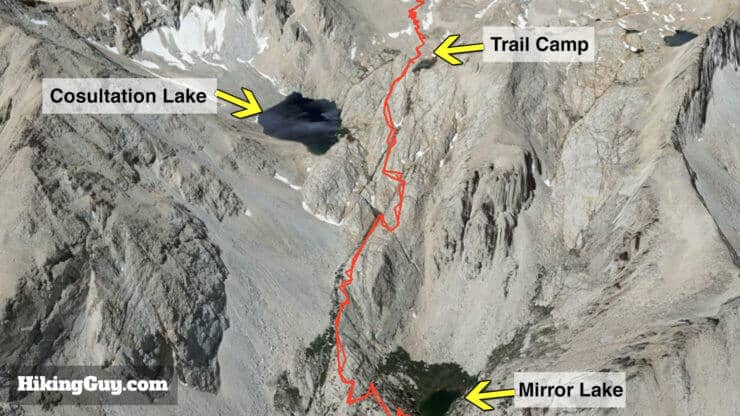
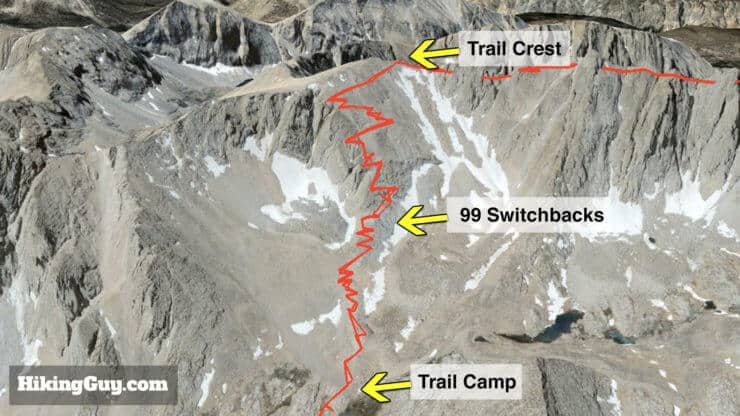
The most popular place to camp is Trail Camp (12000 feet), 6 miles up the trail. It’s pretty rocky and barren, and doesn’t offer much shelter from the elements. You can also camp at Consultation Lake (near Trail Camp), Outpost Camp (3.8 miles on the trail, 10400 feet), or Lone Pine Lake* (2.8 miles, 9900 feet). If you do camp at these spots, pick an established campsite, don’t damage the landscape by creating a new one. All of these sites offer water and are first-come, first-serve.
* Technically Lone Pine Lake is outside of the Mt Whitney permit zone, but you still need a Mt Whitney overnight permit to camp here.
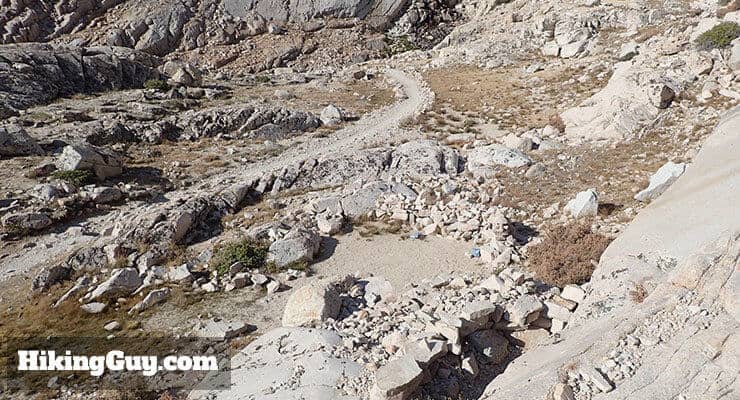
Some tips if you're camping:
- It typically gets very cold at night, so prepare accordingly.
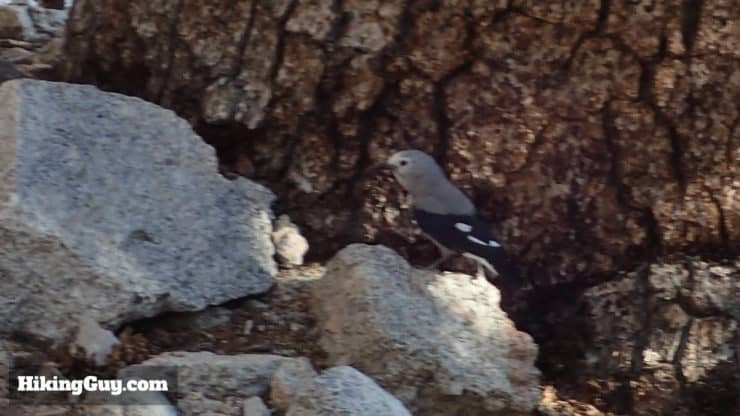
- You need to keep your food in a bear canister. There aren’t bears at the higher camps, but there are rodents and birds who will chew through your pack and tent (really). You can rent bear canisters at the ranger station and shops in Lone Pine, but call ahead to double-check. I highly recommend reading my guide to bear safety if you haven't spent a lot of time in bear country.
- Keeping lightly active when you arrive at camp will help alleviate altitude sickness.
- No wood fires are allowed.
- You need to pack out all your waste (yes, that means poop) in a WAG bag. There are no porta-potties. You can pee 100 feet away from water on the rocks (avoid the plants). When you pick up your permit, a WAG bag is included with your permit fee, or you can pick one up at REI for a few bucks (recommended). The WAG bag is essentially a big plastic trash bag. To use it, open it up wide, do your business, close it with a bunch of twists, and carry it out.
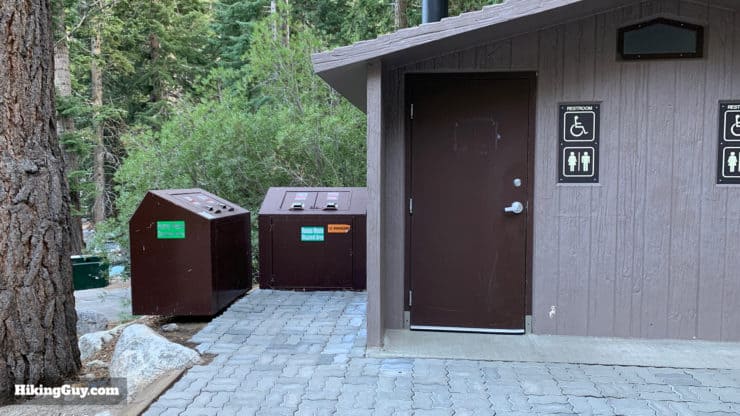
Instead of lugging all your gear to the summit, you can leave your main pack at the campsite and do the summit with a smaller daypack. Make sure all your food and scented items (like toothpaste) are in the bear canister. Leave your backpack loosely packed and tent flaps open so that critters can easily look around. Otherwise they’ll chew through your pack or tent. I've also had reports of marmots pooping in a persons tent, so pick your poison. Also, secure your gear against rain and high winds. If a storm blows through, you don’t want your gear scattered all over the place, wet. It happens.
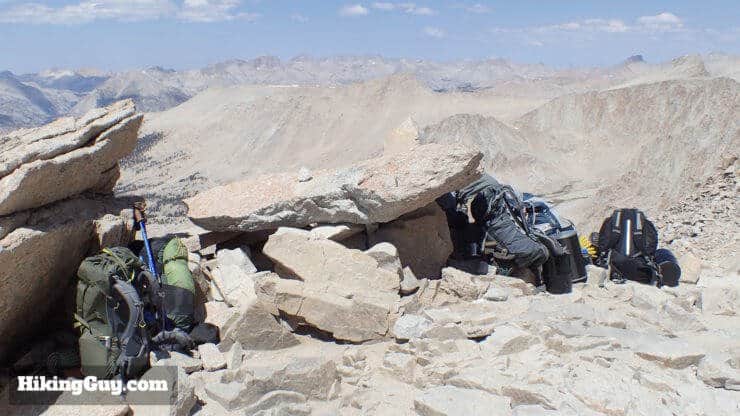
Technical Approaches To Whitney Summit
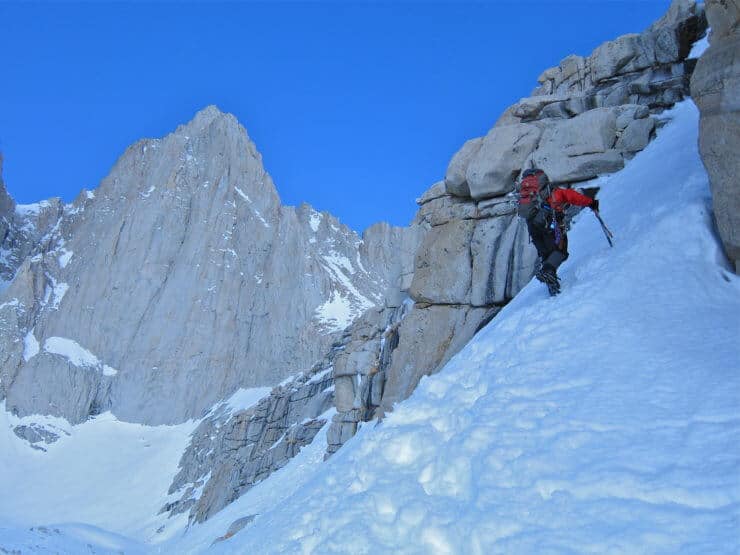
There are over a dozen routes to the summit that involve mountaineering, the most popular of which is the (Class 3) Mountaineers Route which John Muir took to the summit. Leave these routes to those with climbing and mountaineering experience. Routes in the Sierra are graded according to the Yosemite Decimal System, with Class 1 being a hike, Class 5+ being a very technical climb. You want to stick to the Class 1 hikes (like the Mt Whitney Trail), which can be done with hiking boots. Class 2 and above can require climbing experience and climbing gear. You also still need a permit for the Mountaineers Route.
After the snow melts the Mountaineer's Route is basically a long hike followed by 1,500 feet of groveling up a steep, loose gully, and then another 500 feet of class three scrambling. Easy. So why do so many people get into trouble on this route? Poor planning, inadequate gear and clothing, weather, inexperience, altitude, bad judgment–the usual suspects. - Steve Larson on SummitPost
High Sierra Trail (HST)
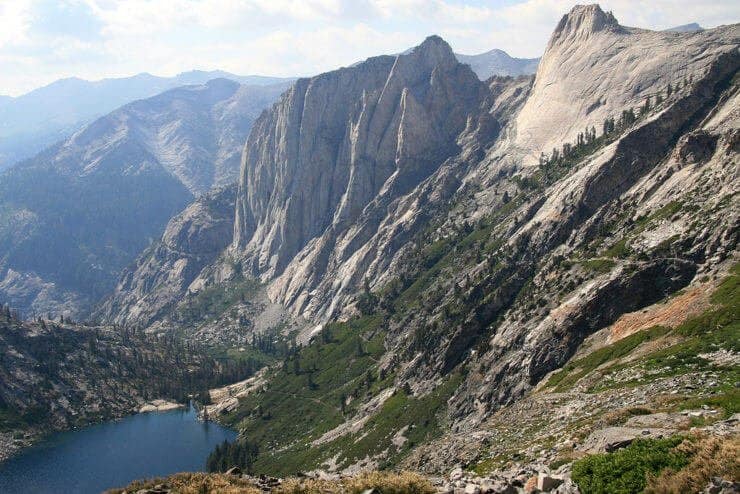
If you want to do a week-long backpacking trip, you can start in Sequoia National Park and do the High Sierra Trail. The hike is 72 miles, and requires a shuttle back to the start from Whitney Portal if going one way. This high Sierras website gives a good overview of the hike, HikingGeek has a very detailed guide that is great for logistics, and there’s a good book / trail guide if you want to dig deeper.
John Muir Trail (JMT)
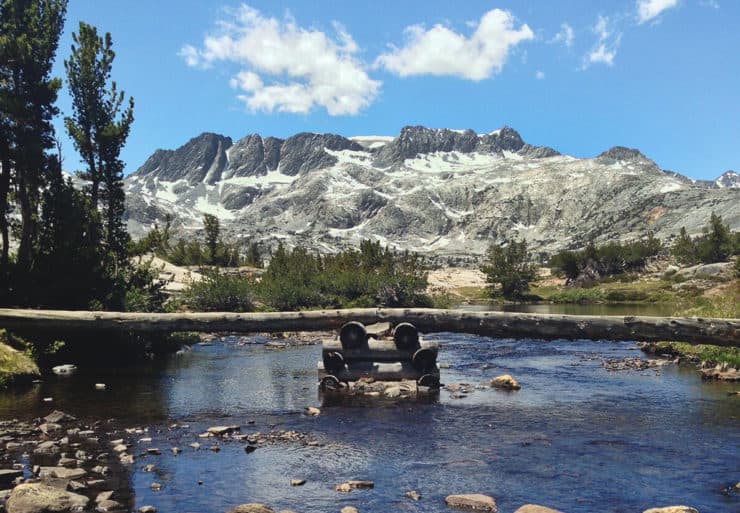
For a truly epic experience, consider hiking the John Muir Trail from Yosemite National Park to Mt Whitney. It’s 211 miles and will take you about a month. SoCal hiker has great guides on the John Muir Trail.
Non-Traditional Longer Hikes
You aren't required to follow a trail like the JMT or HST to get to the Mt Whitney summit. You can also look at a map and plan your own backpacking trip the includes Mt Whitney. Maybe it will be on a section of the Pacific Crest Trail with a side trip to the summit, or maybe a point-to-point from Cottonwood Campground, the options are many. If it's your first time hiking in the region, I'd recommend a traditional option before you go the "choose-your-own-adventure" route. You still need a backcountry overnight permit, and there are quotas based on where you're starting, but you don't a special Mt Whitney zone permit.
How To Get a Mt Whitney Permit
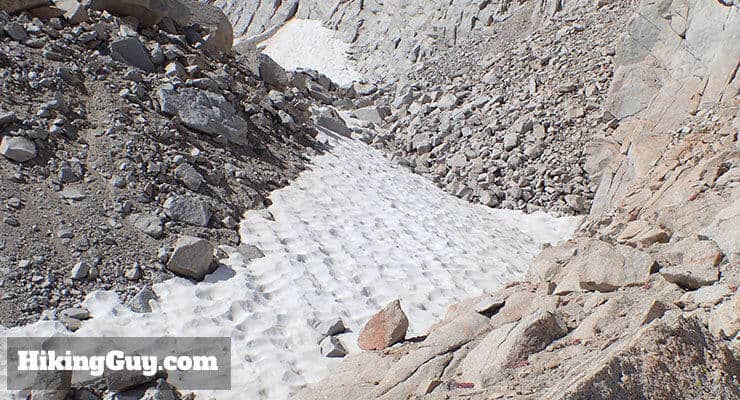
The hike to Mt Whitney is popular. I mean really popular. Generally 70,000 to 100,000 hikers apply to hike or backpack to the summit from Whitney Portal between May and November. So the parks service enforces a quota system. Only 100 day-hikers and 60 backpackers are allowed on the Mt Whitney Trail from Whitney Portal per day, from May 1st to November 1st. These quota-controlled slots are awarded in a lottery. Getting one of these slots will be your first challenge, and it starts months before the hike.
Hiking Mt Whitney Without Winning the Permit Lottery
If you were unsuccessful getting your permit, there are some other ways you might be able to do the hike.
First off, just check recreation.gov website. I've had reports of people finding availability after the lottery period. Why? People cancelled, or maybe there were slots that just didn't get claimed. Either way, it's worth a try. You can check the website up to the day before your hike to try and score a permit.
If you are not going to use your permit, please cancel it so that others may have a crack at the slot.
Often group permits have someone who bails out at the last minute. Join a hiking group on Facebook or Reddit and let everyone know that you're looking for a group to hike with. I've seen this work numerous times.
There are no more walk-up permits during quota season. It's all done through the website now.
Permit Availablity
Can't get a permit for your date? Try OutdoorStatus.com and get a text message as soon as a cancelled permit opens up!.
Other Permit Options
If you have the time, you can also try a longer backpacking trip from Cottonwood Lakes or another close trailhead which doesn't require a special Mt Whitney quota permit. Again, option is best left for those with experience.
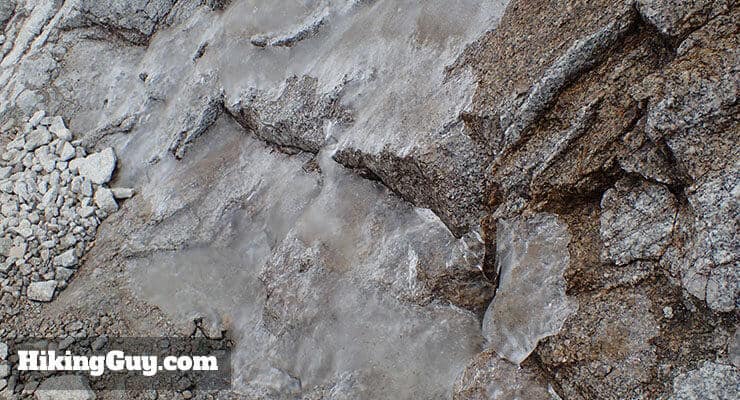
Lastly, you can hike Mt Whitney in the winter (between November 2nd and April 30th). There is no quota, and you can simply walk up to the park office and get a permit. If you are not experienced in winter hiking and/or mountaineering, don't hike Whitney in the winter. In fact, don't hike Whitney until the snow is gone, which usually happens by July or August. Spring conditions when the snow and ice are melting can be most treacherous. People die when there is snow and ice.
Here are some tips on checking for snow on the trail.
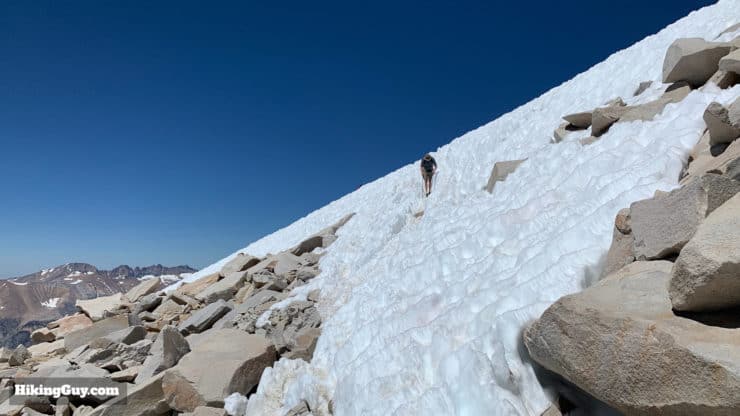
Even people who are prepared die on Whitney, people who are inexperienced and unprepared die more often. The summit is 100% doable without risking your life when you've prepared and the weather and altitude sickness cooperate.
If in doubt, turn around. I've turned around many times on many trails. And I'm still alive.
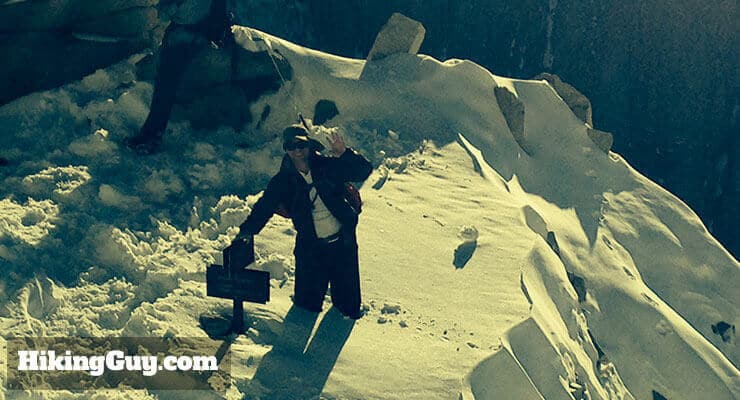
Oh, and if you are considering doing the hike without the permit, beware. There are rangers on the trail who check for permits, and I have heard stories of hikers without permits being walked off the mountain and fined.
Bringing Your Permit On the Hike
Before COVID you had to visit the the Eastern Sierra Interagency Visitor Center, just south of Lone Pine on 395, and pick up your actual permit. But now you can just print it out and bring it with you. You can also save a soft-copy on your phone, but if the phone dies and you get stopped for a check, it's a problem. And rangers do patrol the trail and check permits. It could happen going up or coming back down.
Planning Your Stay
Unless you live close to Mt Whitney, you'll probably end up staying in Lone Pine, CA. If you stay in Lone Pine, it's a 13 mile drive (with 4000 feet of uphill roads) to the trailhead at Whitney Portal.
There are a few options: off-brand hotels, chain hotels, AirBnB, campgrounds, and the Whitney Portal campground. My goto hotel has been the Best Western, which tends to fill up far in advance. The rooms are big and clean, the staff friendly, it has free (early) breakfast, and you can park right in front of your room to unload your gear. Otherwise I'd turn to TripAdvisor for other options. If you can't find anything in Lone Pine, check out nearby Independence, CA, only 15 minutes up Rt 395.
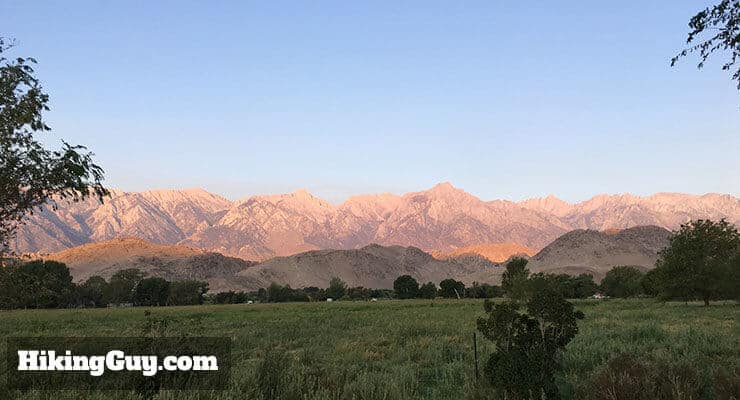
I've also stayed at the Whitney Portal campground and it's an attractive option, since it's right at the trailhead. There's a general store that has food, drinks, beers, gifts, and limited gear. On the downside, it can get busy and loud with kids running around. The Whitney Portal campground doesn't just have hikers. It's full of folks just enjoying the scenery. Lots of hikers also sleep in their cars at Whitney Portal before an early departure.
If you want to camp at altitude, try the Cottonwood Lakes Walk-In Campsite at 10,000 feet. You can drive in and spend the night, and there are toilets and running water. You can also hit a number of good warmup hikes from the Cottonwood Lakes campsite.
If you are camping and need to grab a shower, you can pay a few bucks for one at the Mount Whitney Portal Hostel.
Wherever you stay, I recommend booking as far in advance as possible. It's not uncommon for Whitney Portal to be booked full 6 months out. Lone Pine is a popular spot for tourists doing the 395/Sequoia/Yosemite/Death Valley route, and gets a lot of through traffic.
Lone Pine is a small town. If you're coming from a major metropolitan area, set your expectations accordingly. I recommend checking out TripAdvisor and Yelp beforehand to get an idea of the eating options. There's a small supermarket, and a couple of gas station convenience stores. If you need hiking gear, your choices are limited to a few small shops and the Eastern Sierra Visitor Center gift shop, so make sure you have what you need before you leave home. There are some interesting attractions in the area and it's worth a day of exploring and relaxing.
I have some hikes you can do around Lone Pine and on the way to Lone Pine on my hikes around Mt Whitney page.
Training for the Mt Whitney Hike
To start, the Mt Whitney hike is very doable. It can also kick your butt. Many of the hikers who try the hike do not make the summit. Training and preparing properly can mean the difference between misery and fun. You have a few challenges to prepare for.
First, you need to be used to the distance and effort. If you're lucky enough to live in an area with lots of mountainous climbs, you should have lots of options. If not, you'll have to improvise. Sometimes this means doing loops of the same hikes to get the numbers in. I've even heard of people getting on a treadmill, setting the grade to 15%, and hiking until they had the elevation and distance (which sounds soul crushing to me). Likewise, you could use a stair climber.
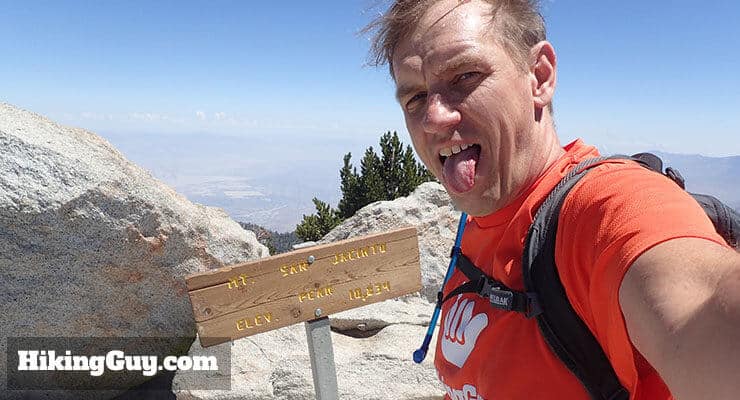
A good weekend progression for a hiker who can do 10 miles comfortably would be something like this:
- Hike 10 miles, 3000 feet of elevation gain
- Hike 12 miles, 4000 feet of elevation gain
- Hike 14 miles, 5000 feet of elevation gain
- Hike 16 miles, 5500 feet of elevation gain
- Hike 18 miles, 6000 feet of elevation gain
- Rest weekend
- Hike Whitney, 21.5 miles, 6200 feet of elevation gain
Ideally, these hikes would be done at altitude. But not everyone has that luxury, so do them the best you can. We will deal with altitude later.
In Southern California, a good training progression for Mt Whitney is:
- Mt Baden Powel Hike (8.5 miles, 2600 feet of elevation gain)
- Mt Baldy via the Devil's Backbone (11 miles, 3800 feet of elevation gain)
- Mt Wilson from Chantry Flat (14 miles, 4100 feet of elevation gain)
- San Bernardino Peak Hike (16 miles, 4600 feet of elevation gain)
- San Gorgonio Hike (18.5 miles, 5400 feet of elevation gain) - you can also try San Jacinto from Idyllwild (19 miles, 5000 feet of elevation gain)
(This is just a recommendation, there are literally 100's of hikes you can do in SoCal that would work. Adapt your plan based on your needs.)
There are a fair number of stairs on the trail, and they can be tough for some folks. A reader told me that she counted about 2500. So instead of climbing up a steep slope, you use your quads to step up. Add the altitude and distance, and it can add another dimension of toughness to the hike. If you think you'll have problems here, make sure you train on some stairs with your pack.
In addition to your hikes, I'd strongly recommend doing some other exercise regularly during the week. Just 30 minutes a day of vigorous biking, running, circuit weight training, or exercise classes will work. HIIT training is effective and doesn't take long. The fitter you are in general, the more pleasant the hike will be. Exercise will also increase your body's ability to use oxygen, something that will be crucial when you're above 10,000 feet.
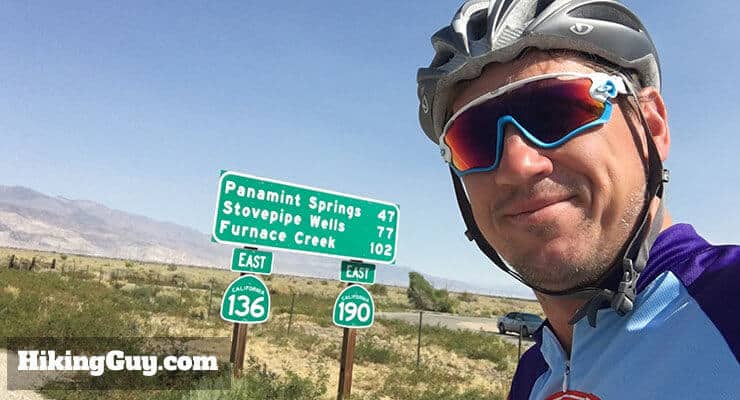
If you're biking, running, and exercising, check out Strava, which is kind of like Facebook for fitness. You can also use it with hikes.
Gear For the Hike
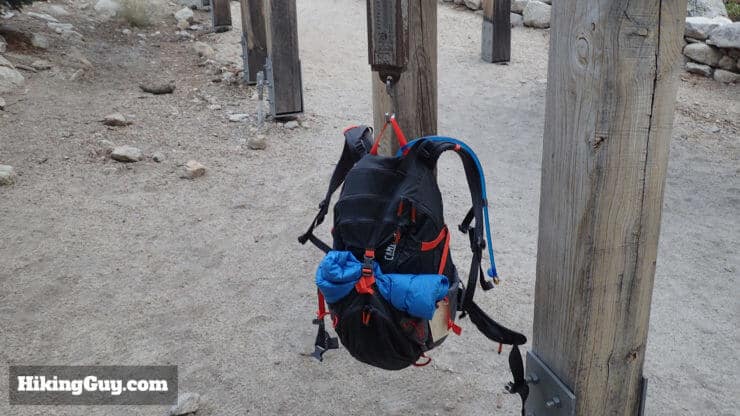
This is a long hike and you need to think carefully about your gear, and also practice with it. Here are my gear tips.
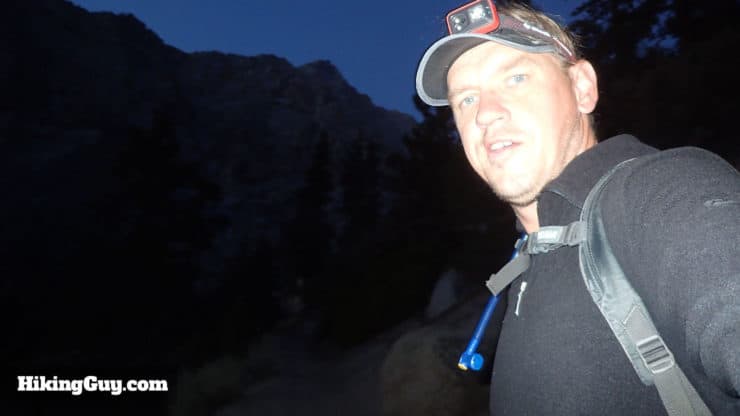
- You need a good headlamp. If you are going to leave before dawn (see the weather section below), you should do a few hikes with your headlamp before the Mt Whitney hike. Hiking with a headlamp is very different than hiking in daylight, and the day you hike Mt Whitney is not the time to test it out for the first time. Have extra batteries ready in a convenient place in your pack. You don't want to fumble for them if your headlamp dies.
- Plan for bad conditions at the summit, even if the forecast looks okay. Alpine weather is volatile and changeable. At the very least, it should be much cooler and windy up there. Long pants, gloves, a winter hat, a good shell, and light down jacket are usually enough for the summer. If it's chilly, you will need the extra layers when you hit Trail Crest.
- Likewise, have enough gear in a good daypack to stay the night. That doesn't mean summit with a tent, but a lightweight tarp, plenty of water, food, a space blanket, and a winter hat will be much welcomed if caught overnight. If you want to know what that could be like, here's an interesting account of a lost hiker who spent two days on Mt Whitney before being rescued.
- Bring an emergency beacon and/or satellite communication device in case you need to signal for an emergency.You may have to help another hiker in distress, and a communicator comes in handy.
- Bring plenty of food. I try to down a ProBar every 1.5-2 hours, even though the altitude usually saps my appetite. I also bring some energy gels that go down easier at higher altitudes. If you don't eat, hunger can cause some AMS-like symptoms, such as dizziness and fatigue. So just force yourself to eat regularly and take hunger out of the AMS equation.
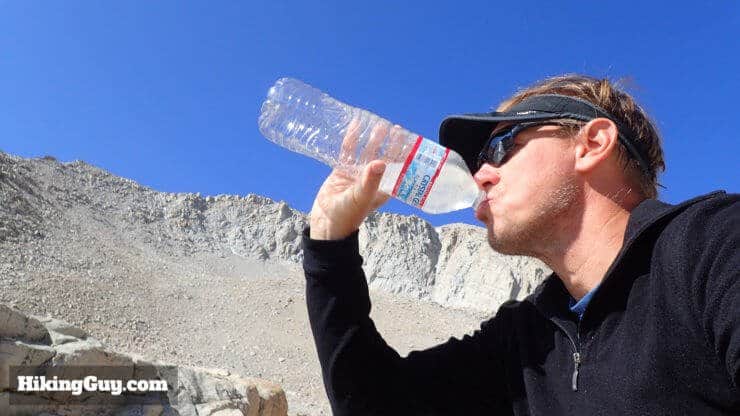
- I go through about 6 liters of water on a day hike to the summit. I make sure I'm well hydrated before I start too, again, to prevent the onset of AMS. Drinking frequently is an easy way to put the odds in your favor. There are plenty of places to refill on water. Some people don't filter the water, some people do. Filter it to be safe. I bring a 3 liter bladder in my daypack and refill it a couple of times on my hike.
- If you're hiking Whitney, there can be snow on the trail. Ask the rangers what the conditions are and if you need micro-spikes. Trekking poles come in handy when there's snow too.
- Get a good paper map of Mt Whitney and study it in the weeks before the hike.
- I know I just told you to bring a bunch of gear, but try to lighten your pack as much as you can without sacrificing safety and health. The lighter your pack, the easier the effort, the more you will enjoy the hike. I ditched my binoculars and some other non-essential gear for the hike.
Gear That I Love Right Now
Nothing is sponsored or promoted, just the actual gear that I use.
Check out the complete list here. ( Updated October 2024)
Dealing With Altitude
I'd say altitude is what stops most people who attempt to hike Mt Whitney and fail. There are two main challenges with altitude, getting enough oxygen to continue and avoiding altitude sickness (also known as acute mountain sickness, or AMS), which can occur in hikers when they go above 8000 feet. If you already live or train at altitude, AMS should be much less of a problem for you than most.
To start, air always contains 20.9% oxygen, at all altitudes, no matter what. But lower air pressure at high altitude makes it feel like there is a lower percentage of oxygen. On the summit of Mt Whitney, your effective oxygen percentage is not 20.9%, but about 12%, because of the low air pressure. If you do the math, that means your getting about 57% of normal oxygen levels with each breath. Think of it as exercising with one nostril plugged.
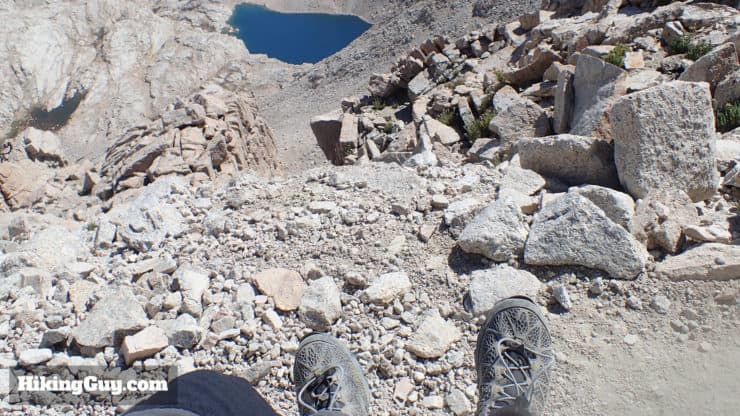
As mentioned earlier, being fit will be a big help when hiking Whitney. In very rough terms, exercising increases your body's ability to use oxygen effectively. So you can do more with each breath you take. Your body will also do much better if you're hydrated, so take extra water during the hike, and drink tons of water the day before. We're often dehydrated when we wake, so hydrating before will help offset that. And lay off the alcohol until after the hike.
To increase your chances of dealing with altitude effectively, you should plan to acclimatize. Acclimatization is simply the process of getting your body used to extracting the oxygen from the lower air pressure. In an ideal world, you would spend 1 week acclimatizing for every 2000 feet of difference in altitude. But you don't need to go to those extremes to hike Mt Whitney. Here's an acclimatization plan that has worked well for me, based on the old climber's adage of "climb high, sleep low."
- (optional) 5 days before - take the tram to San Jacinto in Palm Springs (8,500 feet), do a light hike, hang out, eat, come back down
- 4 days before Whitney hike - travel to and overnight in Lone Pine, CA (3700 feet)
- 3 days before - hike White Mountain Peak (14250 feet), turning around if AMS symptoms set in, stay the night at Lone Pine, CA
- 2 days before - rest, nap, hydrate, do lunch and hang out a bit at Whitney Portal (7850 feet), overnight in Lone Pine
- hike (or camp) Mt Whitney (14505 feet)
I've also been successful with this more accelerated progression:
- 2 days before - pick up permit, camp at Cottonwood
- 1 days before - easy 10-15 mile hike at Cottonwood, sleep in Lone Pine
- hike Mt Whitney
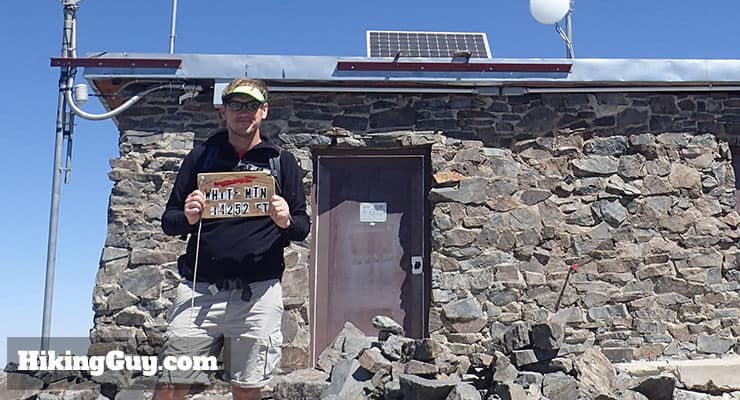
AMS can strike anytime, regardless of your perpetration. It's different for everyone, and you need to stay flexible and alert for the symptoms. Which brings us to our next point...
To put it bluntly, altitude sickness (AMS) can kill you. But you'd be surprised at the number of hikers you'll see trying to push through it, treating AMS like it was a sore foot or blister. When hikers do that, they not only put their own lives in danger, but also endanger any other hiker or ranger who would potentially have to be involved in a rescue. Whenever I hike Mt Whitney, I always see at least a few hikers 'grinding it out' through severe AMS symptoms. Not smart; not worth it.
Here's a story from a HikingGuy reader, Rossa S:
The first time that I climbed Mt Whitney, we were approached by a guy whose girlfriend was having major issues in their tent. We checked it out, and she was suffering from late-stage AMS, with bloody diarrhea and other severe symptoms. A helicopter had landed nearby to evacuate someone else suffering a heart attack. We decided that if we didn’t get this girl on that helicopter, she was dead. We carried her the quarter-mile, and as we got to the chopper, the boyfriend keeled over with no pulse. The rescue crew squeezed both of them onto the helicopter, and off they went. I have no idea what happened to them.
If you have about 24 minutes, watch this video on a failed attempt to summit Kilimanjaro because of altitude. It will give you an idea of what can happen, even if you are an experienced hiker.
How do you know if you have AMS? The symptoms are usually subtle to start, and progress in intensity as you climb. They include headache, nausea, lack of appetite, swelling, diarrhea, and lightheadedness. For example, a light, dull headache is fairly common, a sharp, intense headache means you're in the danger zone. AMS can progress to swelling of the brain or fluid in the lungs, both acute, life threatening conditions.
If you start getting symptoms of AMS, stop climbing, take a break, and see if they subside. Mild symptoms can be manageable, but if they intensify, you must descend immediately. It's the only way to get better quickly. Don't expect a helicopter rescue, plan on walking off the mountain yourself. If you've climbed to the point where you're vomiting or lost your balance, you've gone way too far. Believe it or not, I've seen people with these symptoms trying to summit.
Some folks also have luck with a medication called Diamox. If you want to go that route, see you doctor and have them prescribe it for you. Another option is simple Ibuprofen. A Stamford study (that took place in the Eastern Sierra) found that popping 600mg of Ibuprofen can help with AMS too. I've personally had success with Ibuprofen to alleviate AMS symptoms.
Weather and Timing
Hopefully, the weather will cooperate with you on your hike to the summit. If the weather is bad, you need to play it safe and do the hike another day. Winter storms can still hit on the fringes of the summer season. If the weather is okay, you still run the risk of a pop-up thunderstorm and lightning on the summit. These storms generally bubble up after noon. You're in an alpine climate and the weather can change quickly.
To avoid thunderstorms, most hikers leave in the early hours of the morning. 3am is a popular start time from Whitney Portal. That should get you on and off the summit before noon, unless your pace is very slow. The only downside is that there will be a lot of folks hiking at the same time. You can try and leave a little earlier to avoid the big rush. Alternatively, if the chance of rain is low to none, and you have the daylight, you can leave at dawn and maximize your daylight hiking time. Of course, you run the risk of having the weather turn, which would stop your summit attempt.
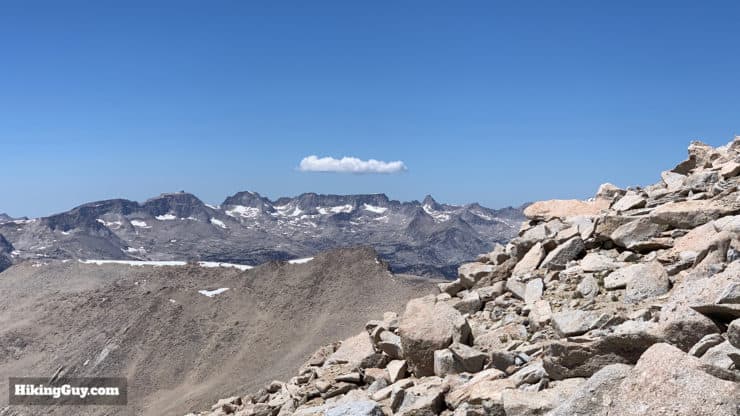
As you climb towards the summit, always keep your eye to the sky. Building clouds are not a good sign. When you reach Trail Crest (see directions), scan the horizon toward Sequoia National Park. If it looks bad there, that weather will probably be bad at Mt Whitney shortly.
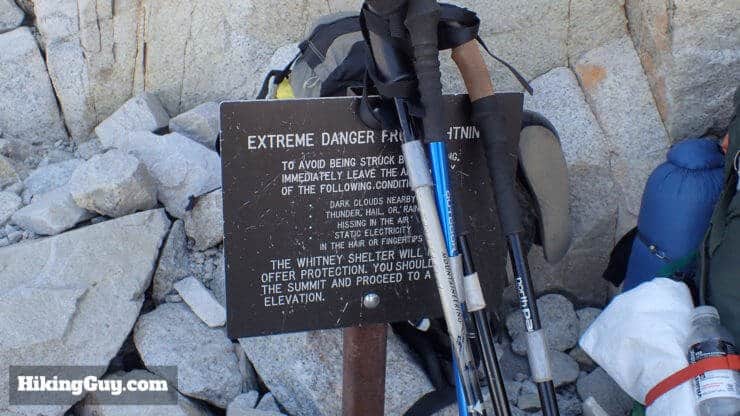
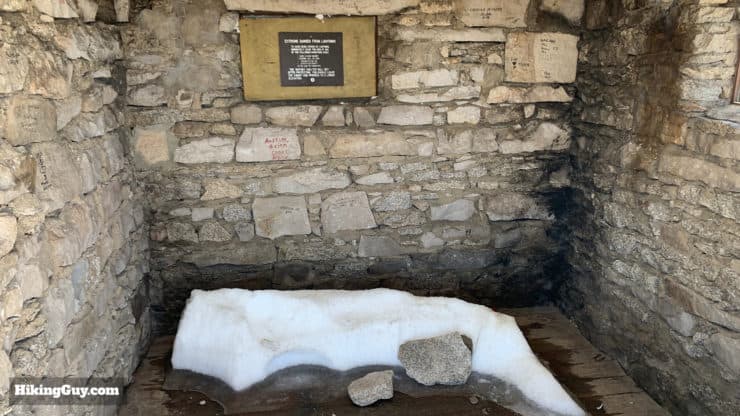
When you do the final stretch of the Mount Whitney Trail (past the JMT junction to the summit), you'll see a lightning warning sign. There have been some much publicized deaths on the summit from lightning, including the death of a hiker in the stone hut at the summit. The best way to avoid getting struck is to turn around the second you hear thunder. It's a bummer, but hey, you're still alive.
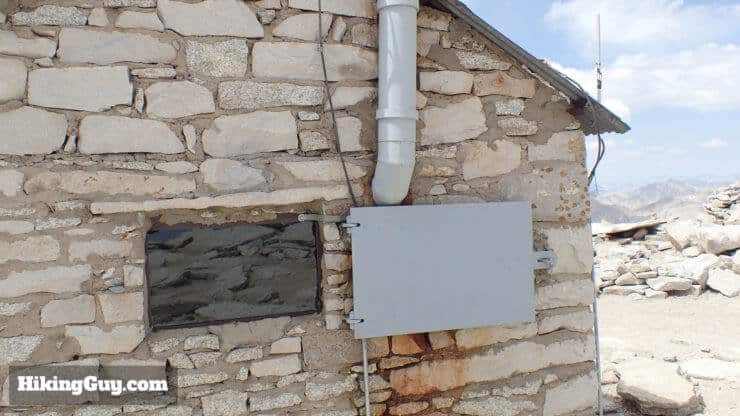
If you're caught on the summit in lightning, your best bet is to take refuge in the stone hut. There's some controversy around this, and the official park signage indicates that it isn't safe in the hut, but this discussion was good enough for me to feel good about that option.
To throw a wrench into this whole lightening issue, military jets often fly by the summit. They're loud and sometimes break the sound barrier, and that sound can easily be confused with lightening.
Other Notes Before You Hike
- Check out recent trip reports for the latest conditions and possible changes.
- Ask the ranger about the trail condition when you get your permit.
- Even if you're in great shape and you've done all your prep correctly, this is still a hard hike. It's important that you pace yourself and give yourself some rest breaks. Rest breaks will help you acclimatize, and are great times to fuel and hydrate.
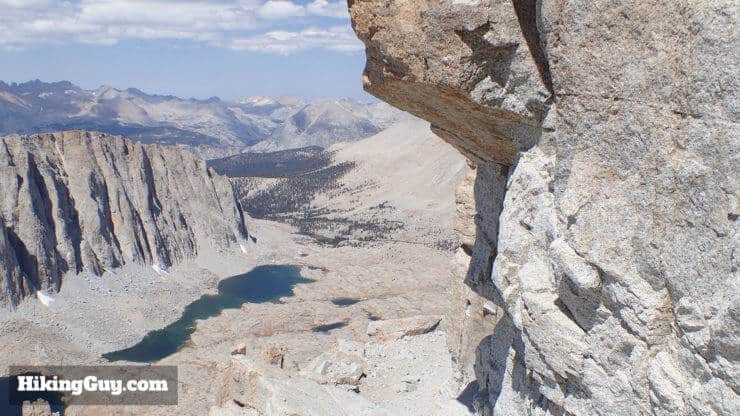
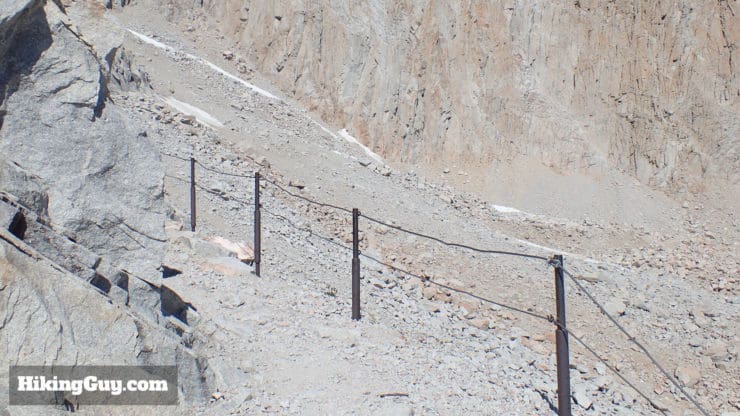
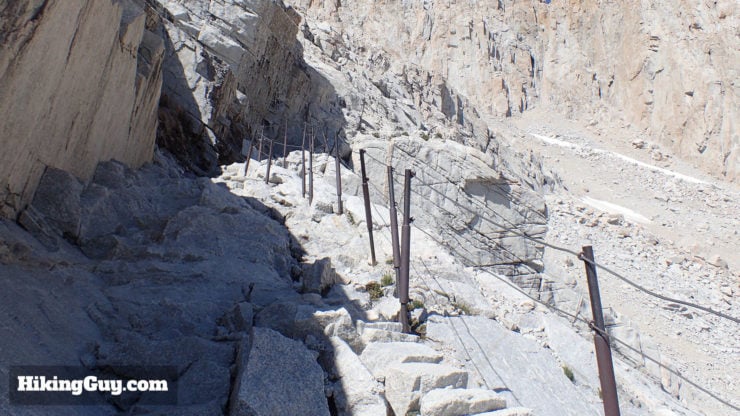
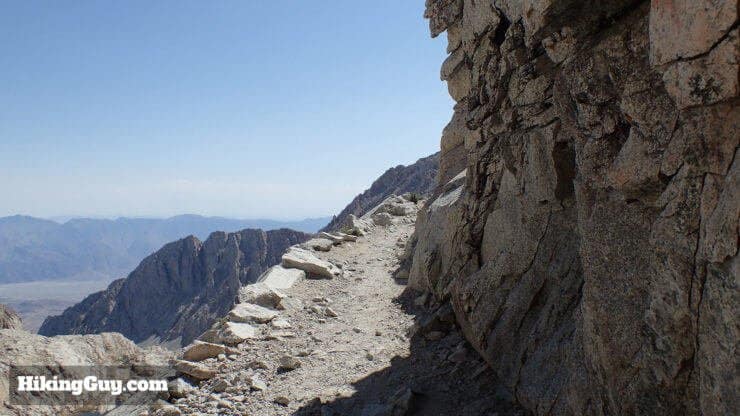
- This may sound obvious, but if you have an acute fear of heights, this hike will be challenging. There are some sections past Trail Crest with sheer drops on either side. The trail is at least 4 feet wide in these places, and very doable. If you have issues with heights, just keep your eyes on the trail. If it's windy and you're scared, crawl. I've crawled plenty of times, there's no shame when it comes to being safe.
- Getting to the top is only half the battle. You still have about an 11 mile hike back down to Whitney Portal. I've seen many folks struggle on the way down after blowing through all their energy on the way up, finishing at Whitney Portal long after sunset. Remember to pace yourself, stay fueled and hydrated, and don't go beyond your limits. People have died on the descent after taking a wrong turn.
- Let someone at home know your plan, and have them expect a call on the evening after your hike. Give them the number of the Inyo County Sheriff’s Office (760-878-0383) and tell them to report you missing if you are 24 hours overdue on your check-in. And assume your hike will take longer than you think, and that you might not have cell service at Whitney Portal.
- Don't leave food in your car at Whitney Portal, there are bears active. Put any food in the bear boxes around the campsite. Bears here know how to open unlocked car doors. For real. Lock your car and use the bear boxes at the trailhead for any scented items.
- Why is it named Whitney? It was named after Josiah Whitney, the state geologist of California who sponsored the first survey in 1864. It was first climbed by gringos in 1873. John Muir was one of the first to summit as well, doing it in 1873.
Reader Q&A
- Can I use an altitude mask to train for Whitney if I can't train at altitude? The general consensus is that altitude masks don't work, but I can't prove or disprove that myself. If you need to travel to Whitney, you're investing a lot in the hike already. I would strongly recommend investing another day or two so you can stay at altitude and hike White Mountain Peak.
- Will a StairMaster help me train for the hike? It can't hurt. If you can do 11 miles on a stair master, I'd say it's going to be decent training, but probably pretty boring.
- If I climbed a 10,000 foot mountain without problems, should I be fine on Mt Whitney? 10,000 feet and 14,500 can be very different. I wouldn't assume that you should be fine. Go through the steps in this article to best acclimatize.
- Is it safe to hike in the dark with a headlamp? Yes, and many people do.
- Do cell phones work on the hike? Generally, no. There are isolated spots on the summit that have reception, but don't count on it. Carry something like a Garmin InReach if you need to communicate with the outside world.
- Can I hire a guide to take me up Mt Whitney? No, guides are not allowed. I'd recommend joining a Facebook or Reddit hiking group and looking for partners. You can also do an overnight camp at Trail Camp and hitch along with some other hikers.
- Do I need a bear canister for a day hike? Nope.
- What does "Inyo" mean? It's a Native American word meaning "dwelling place of the great spirit" used by local Native Americans to describe the mountains here.
- What about the shortcuts that I've heard about? Save them for the time that you've done this hike many times. They're not easy, not well marked, and often dangerous, especially if you don't know the mountain. The main trail is beautiful and fun, and after many hikes it is still my goto route.
- I can't get a permit, can I do the Mountaineers Route instead? Nope, you need a permit.
- I'm a hiker, can I do the Mountaineers Route? Leave it for folks who have mountaineering experience. If you want to try it, I recommend finding a group to do it with first and training appropriately.
How to Get to the Mt Whitney Trailhead
Here's the trailhead GPS address: Mt. Whitney Trailhead, Whitney Portal, CA, 93545, USA.
If you're arriving at Whitney Portal for the first time, early in the morning, finding the right place to park and trailhead can be your first challenge.
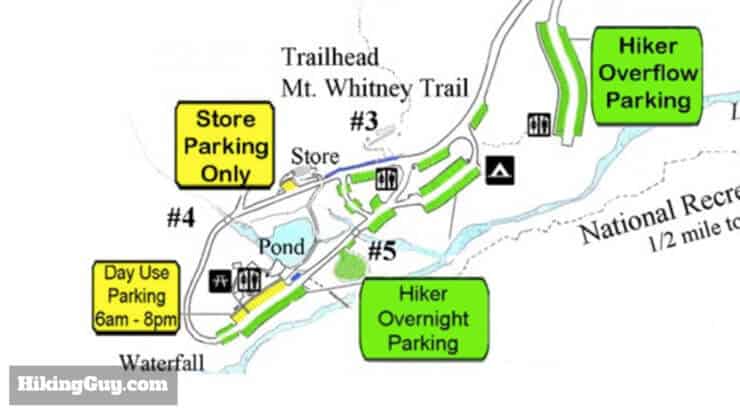
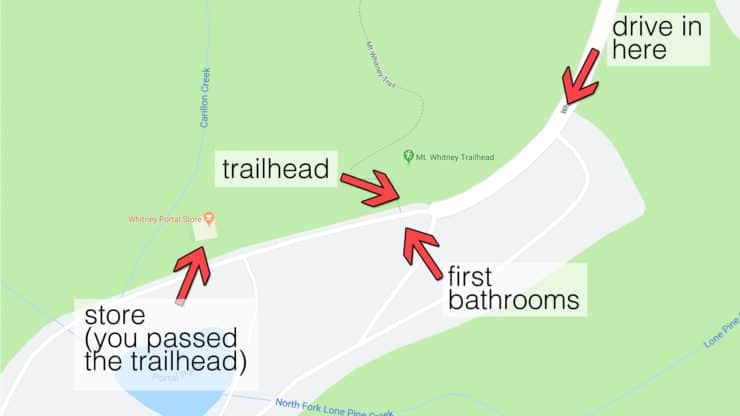
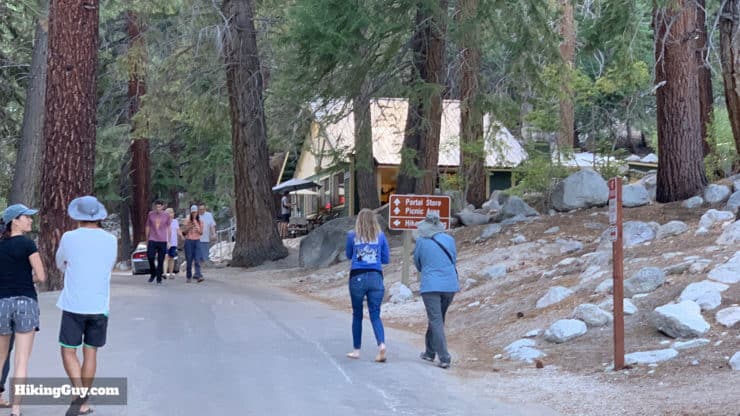
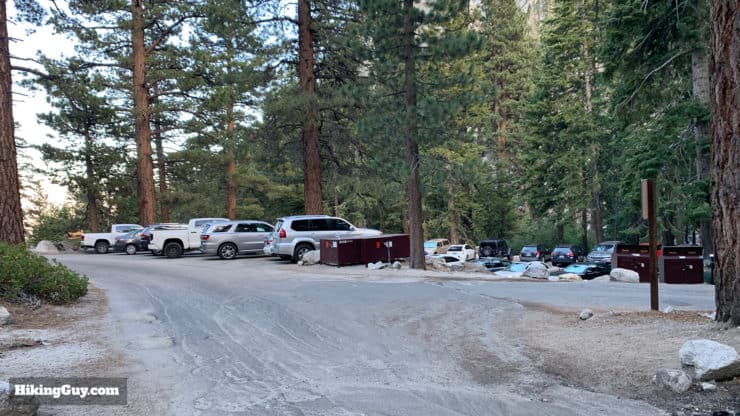
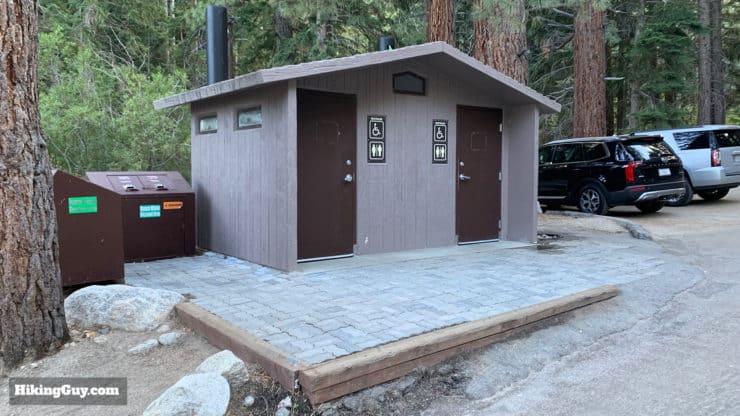
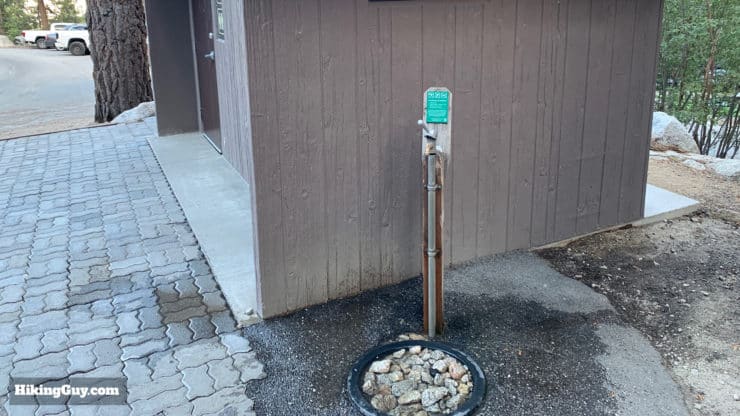
Don't forget to leave your parking permit in the window. Rangers DO give tickets if your permit doesn't match your stay.
Mt Whitney Trail Maps
How Will You Navigate?
Elevation Profile
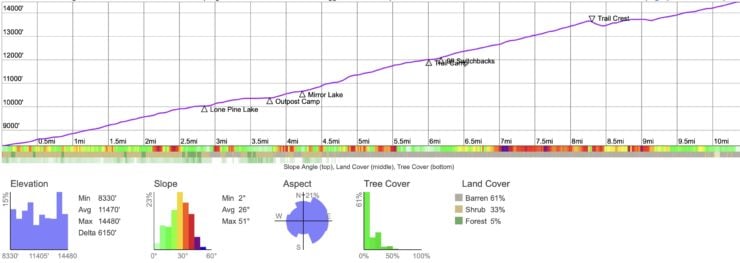
Landmarks on the Hike
| Landmark | Distance | Elevation |
|---|---|---|
| Trailhead | 0 | 8374 |
| Lone Pine Lake Trail | 2.8 | 10300 |
| Outpost Camp | 3.6 | 10380 |
| Trail Camp | 5.9 | 12020 |
| Trail Crest | 7.9 | 13645 |
| Summit | 10.75 | 14505 |
3D Map
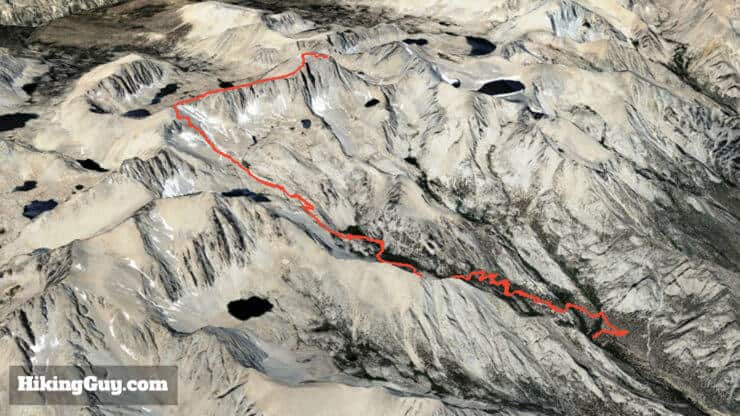
Mt Whitney Hike Directions
Video Directions
360 Video
Turn By Turn Directions
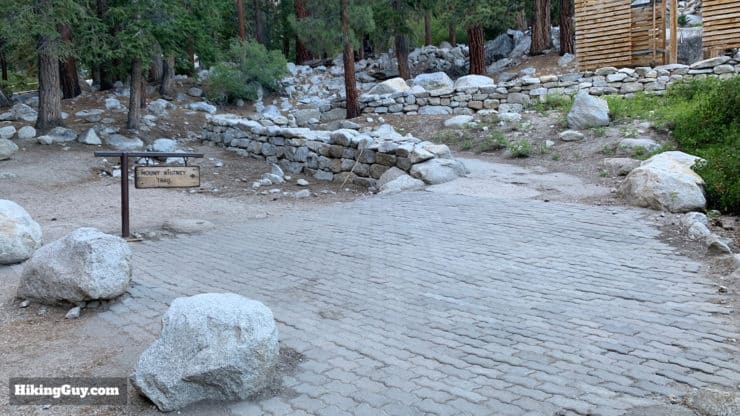
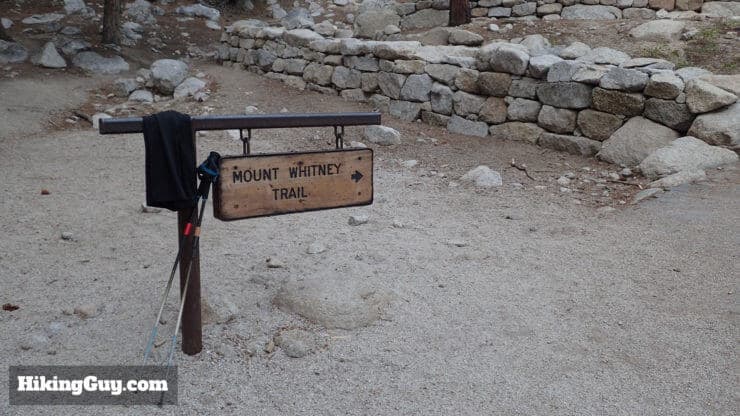
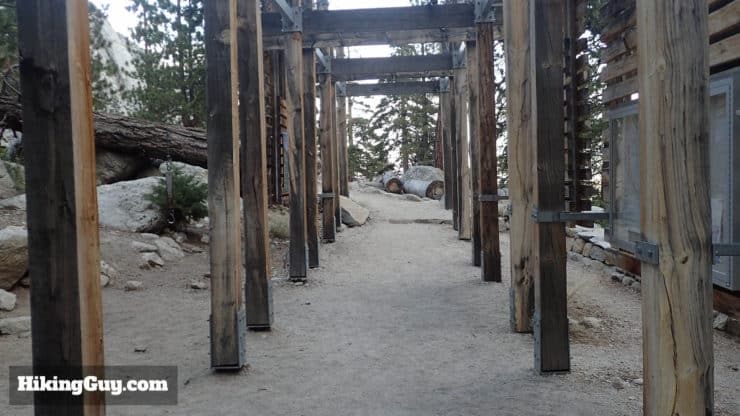
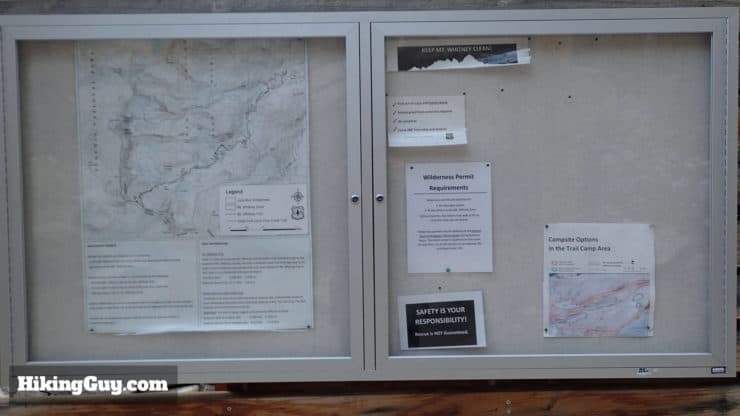
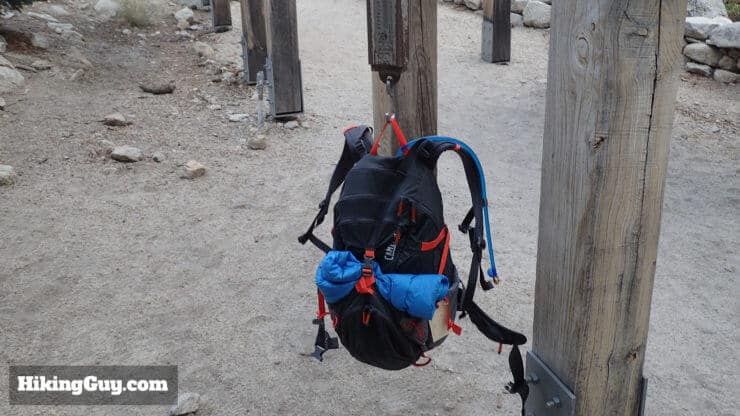
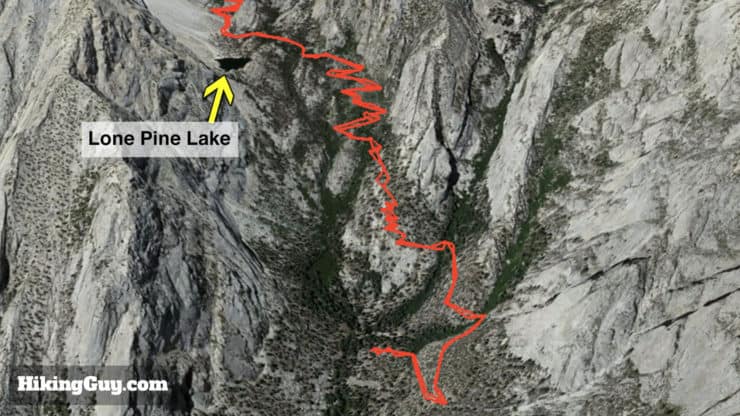
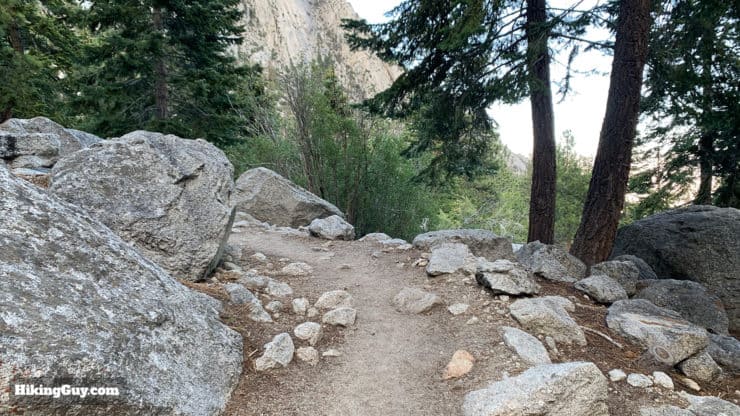
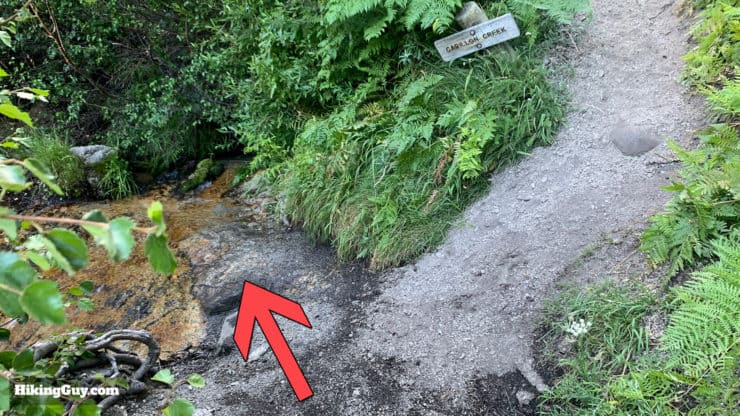
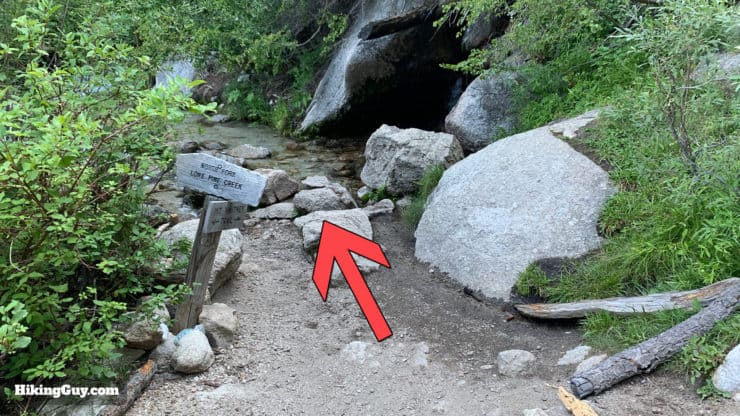
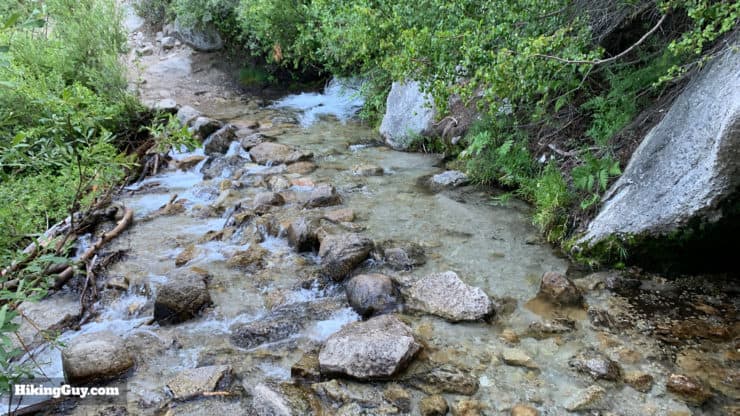
It helps to break the hike into sections, both for navigation and mental consumption. Don't look up to the Whitney summit and think about how long it will take to get there. Just focus on the current section and the next landmark, it will help mentally break the hike up into digestible chunks.
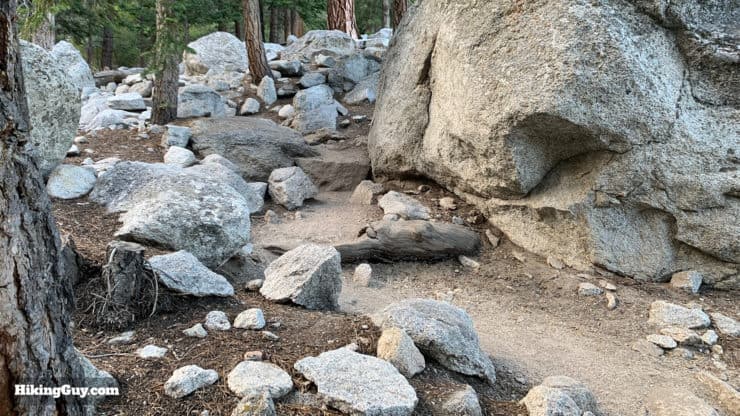
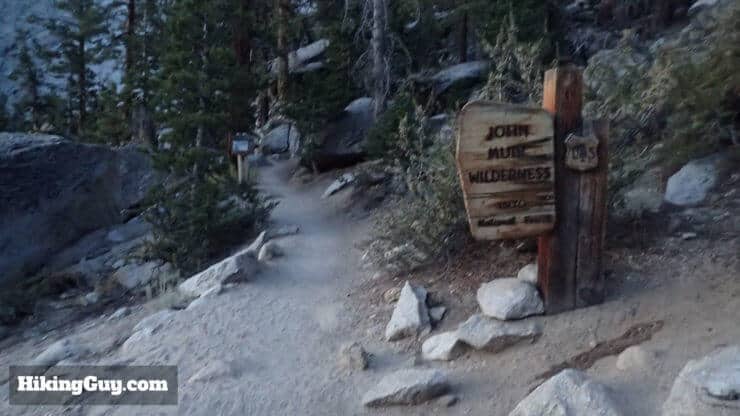
What exactly is a Wilderness Area?
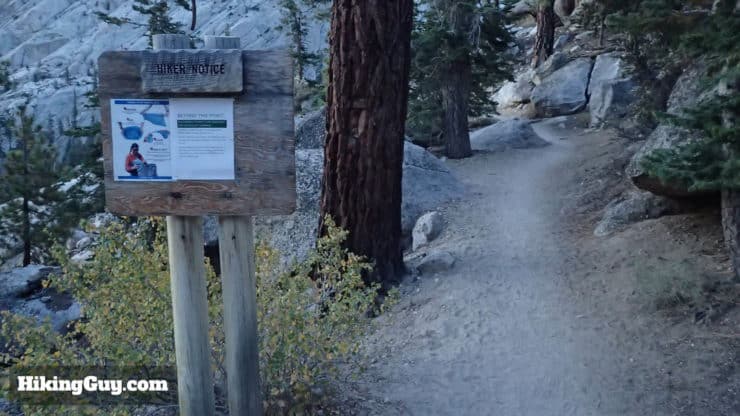
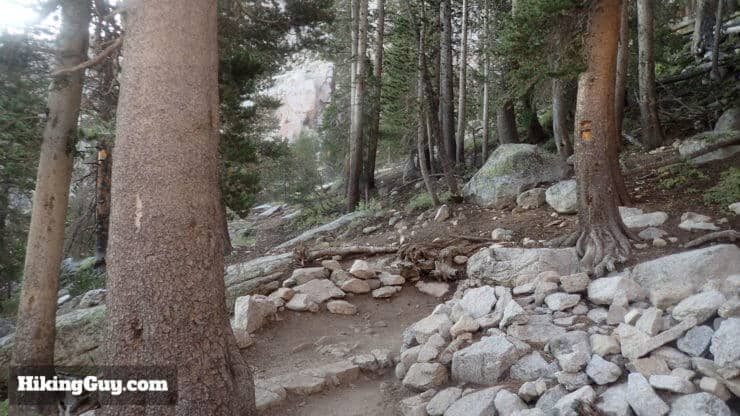
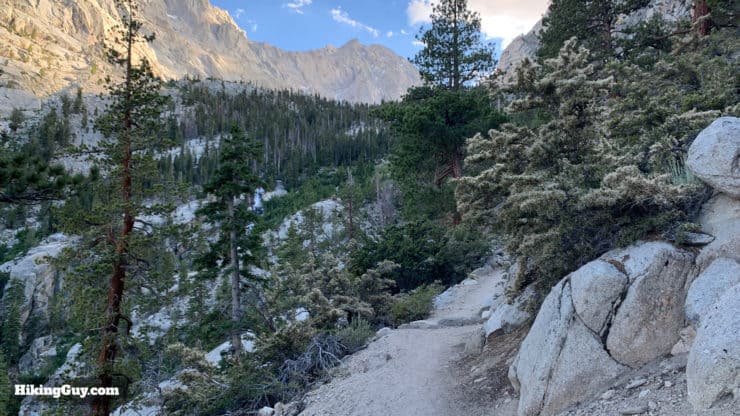
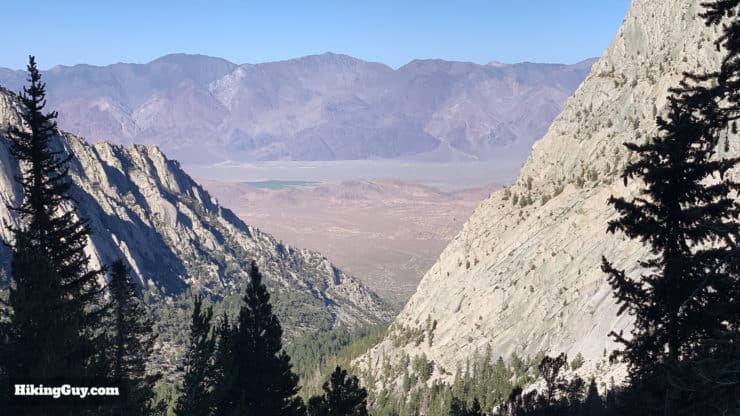
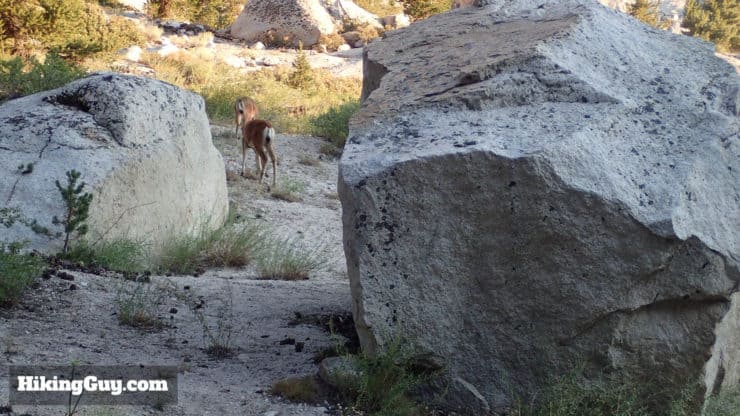
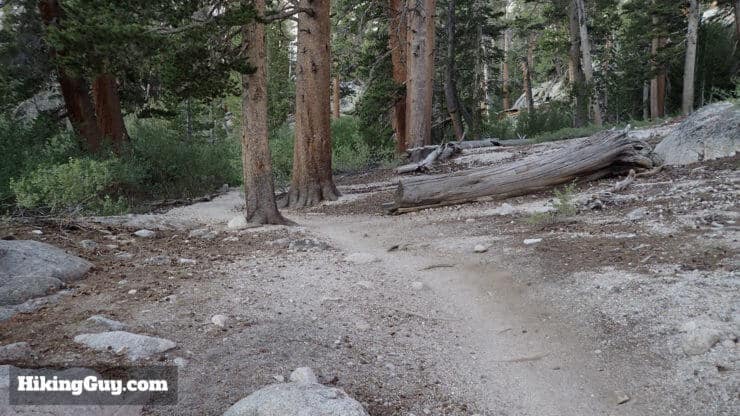
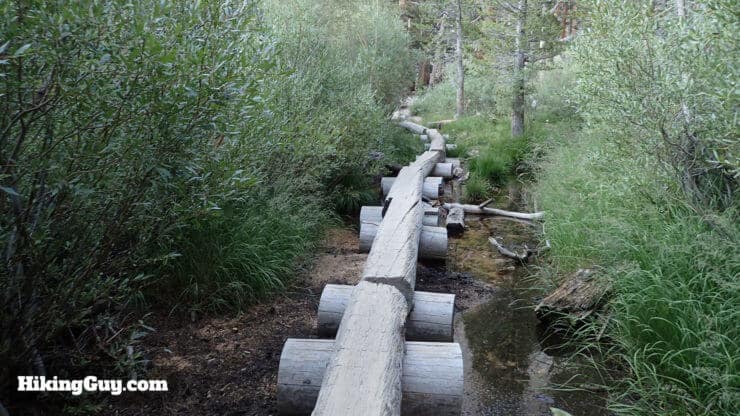
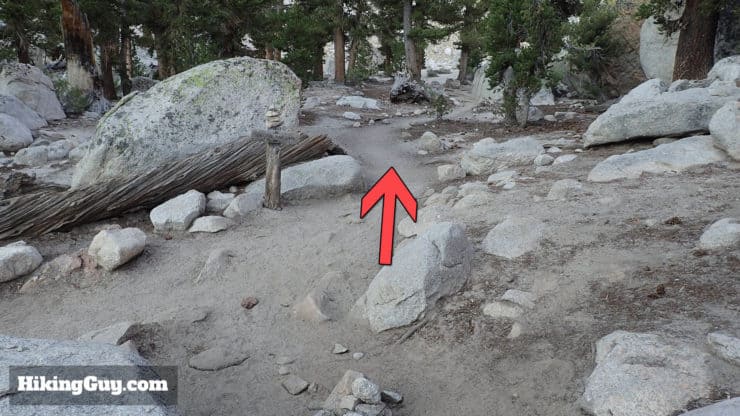
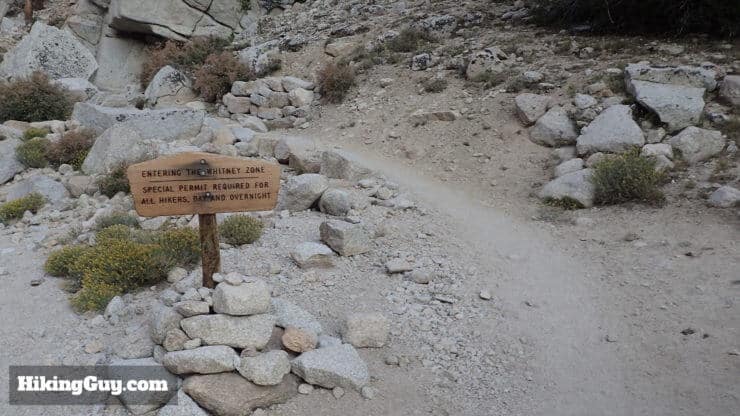
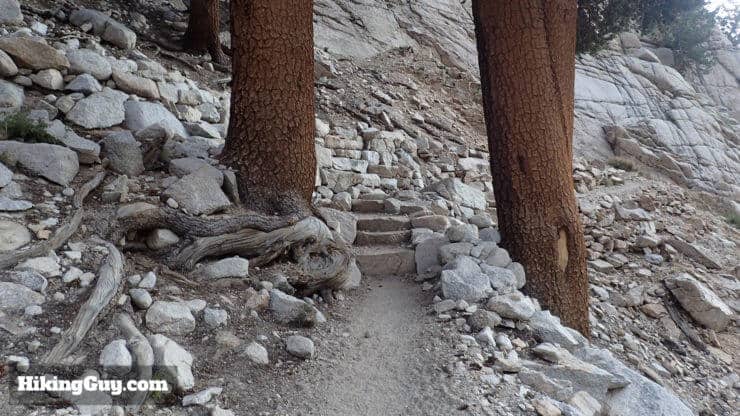
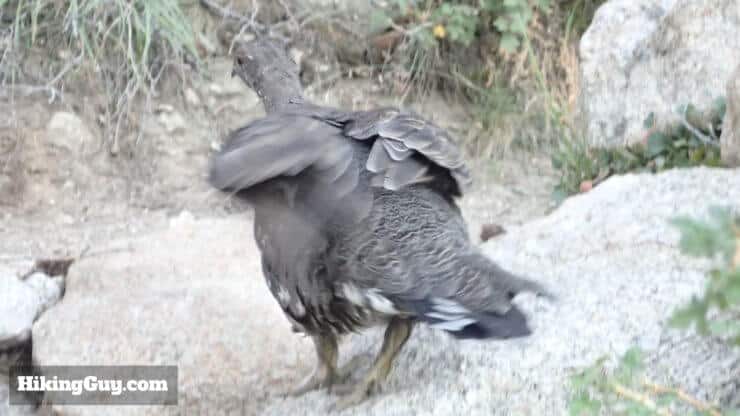
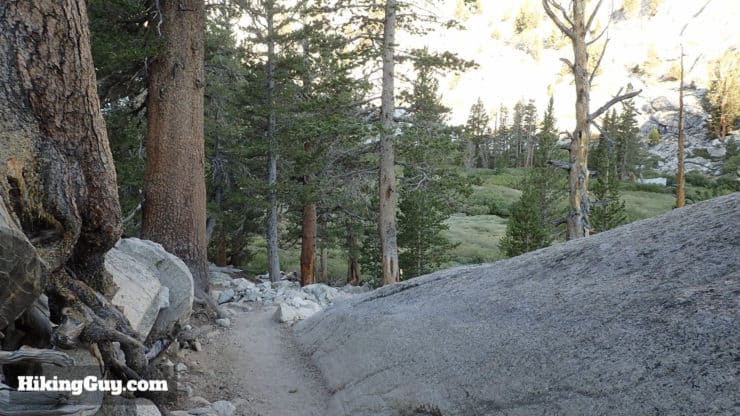
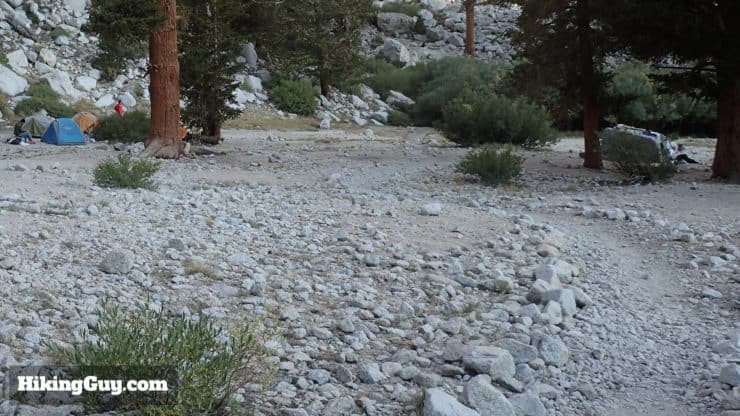
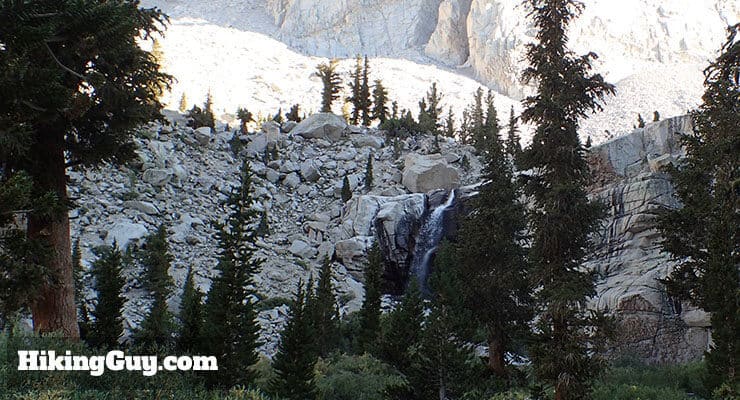
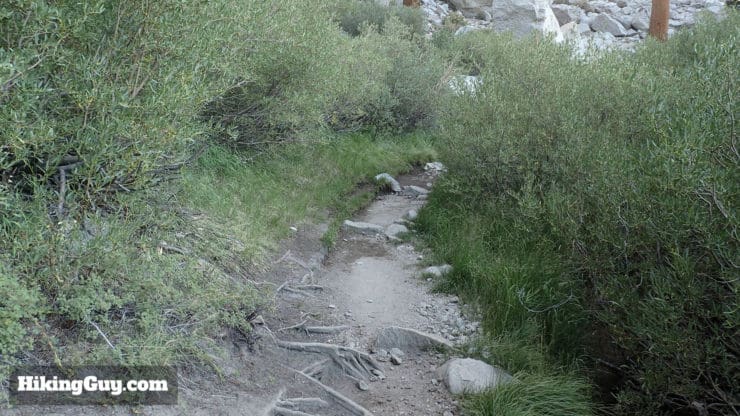
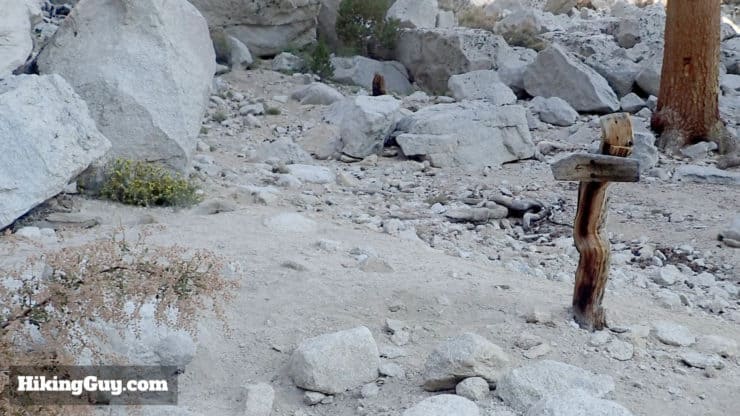
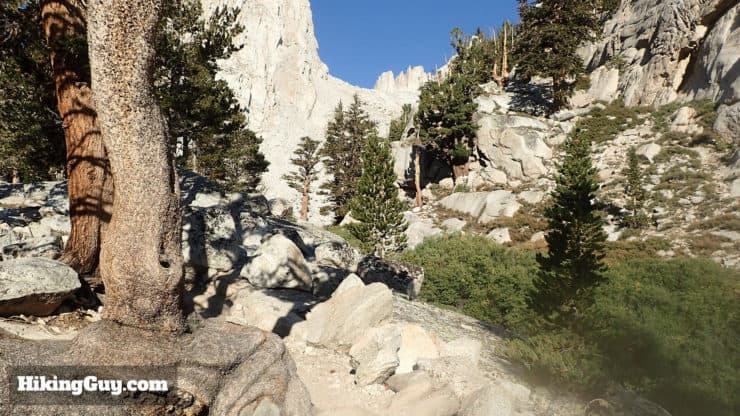
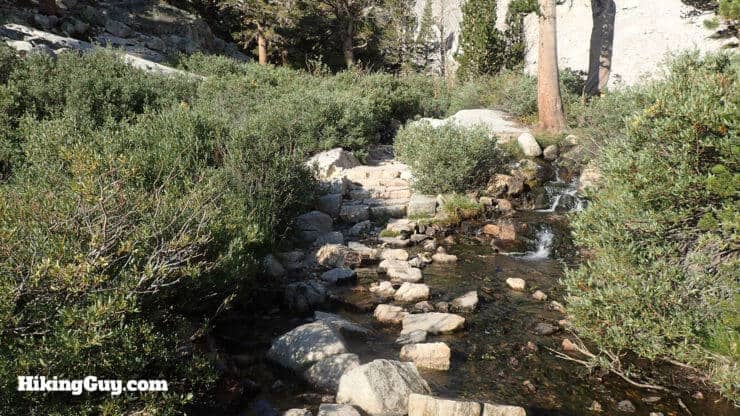
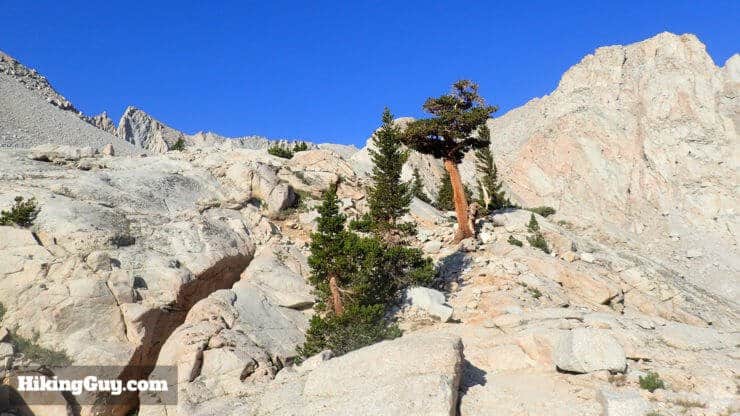
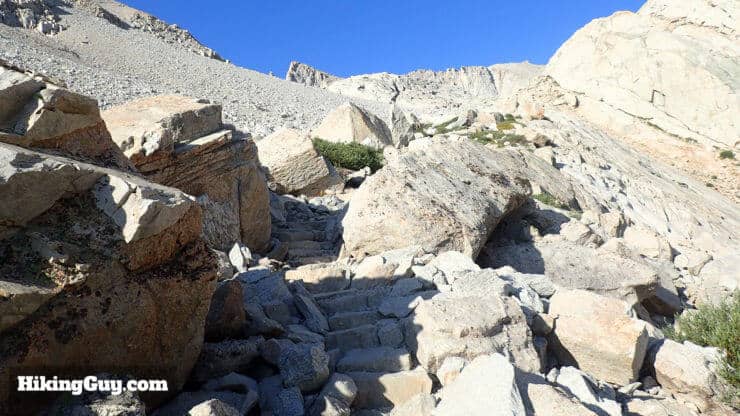
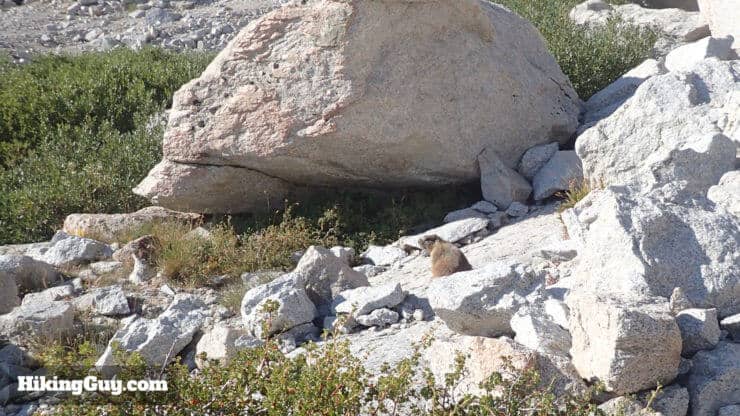
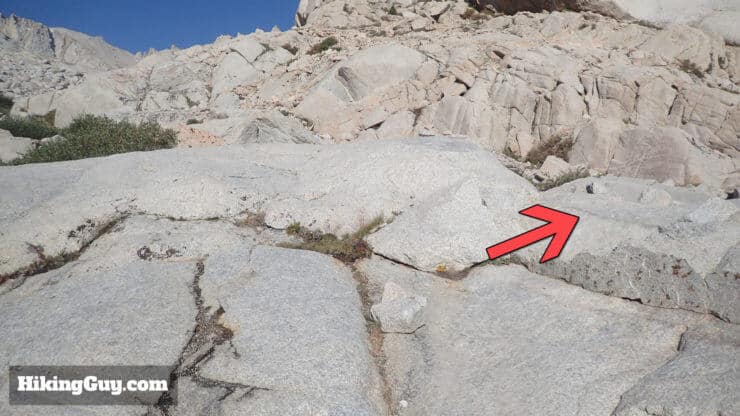
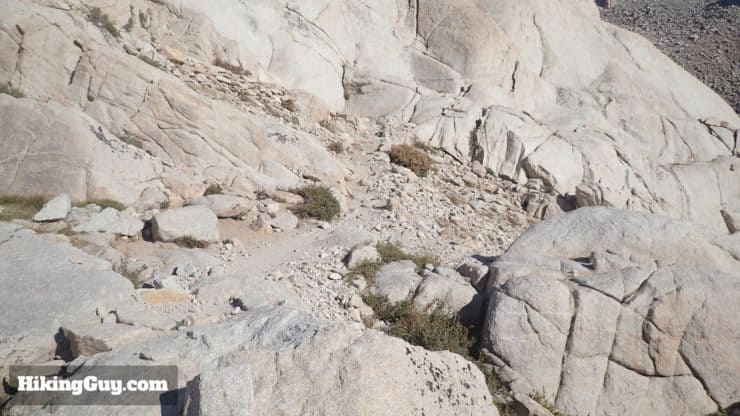
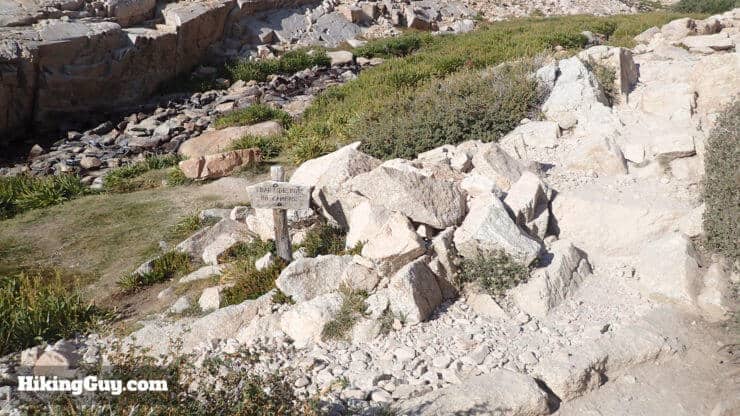
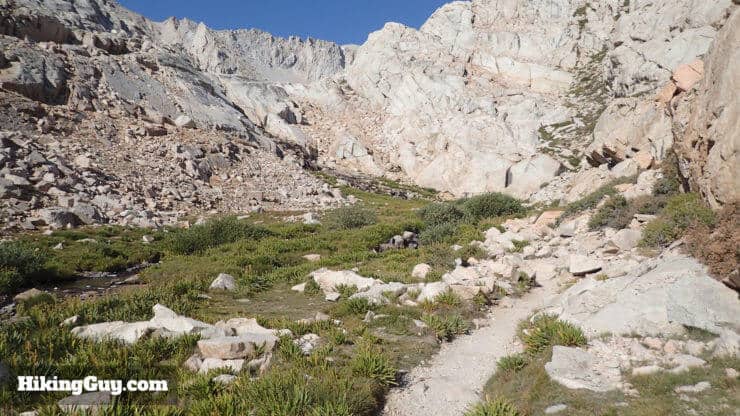
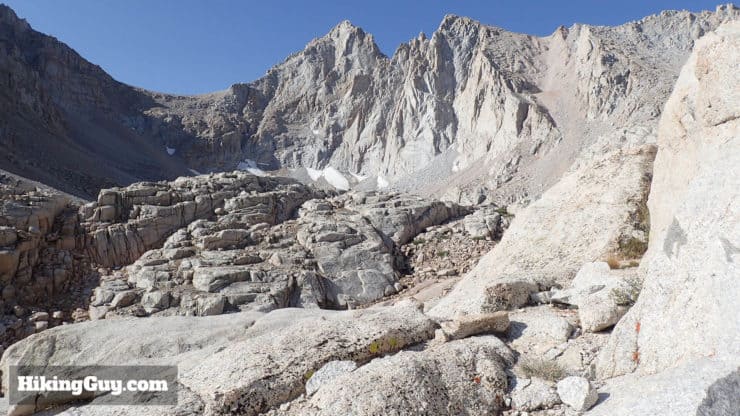
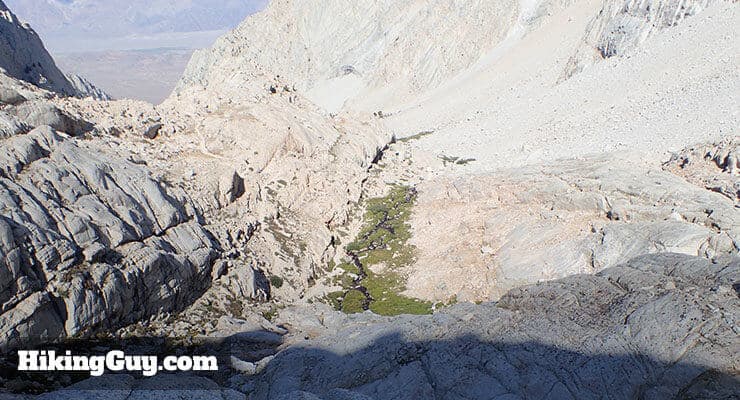
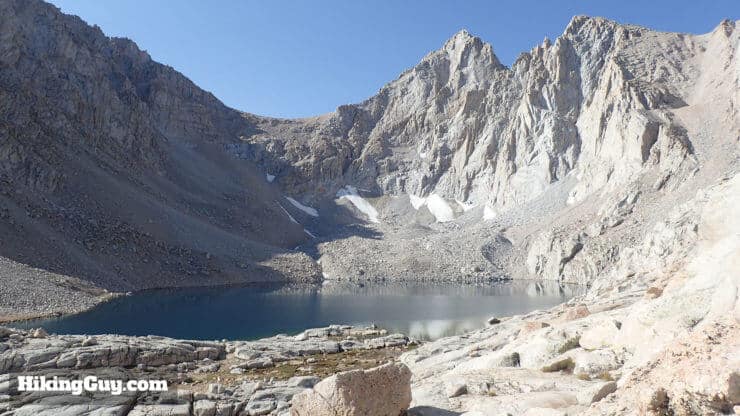
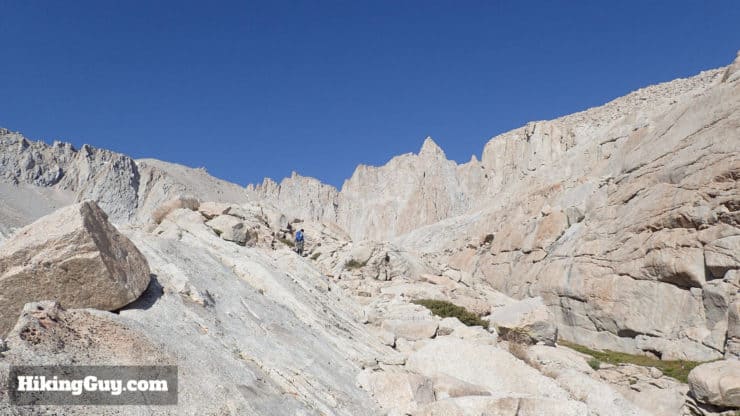
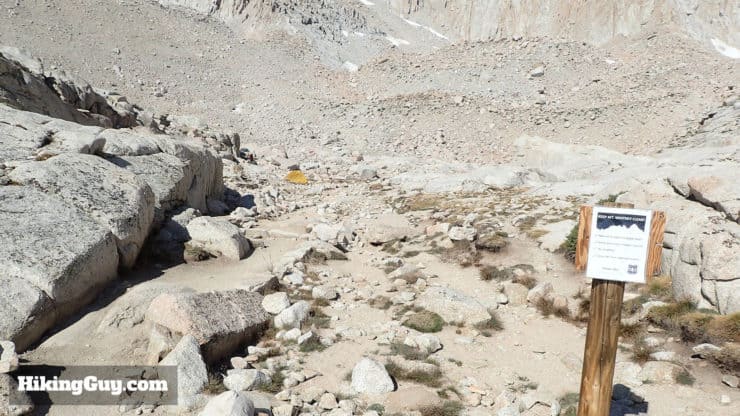
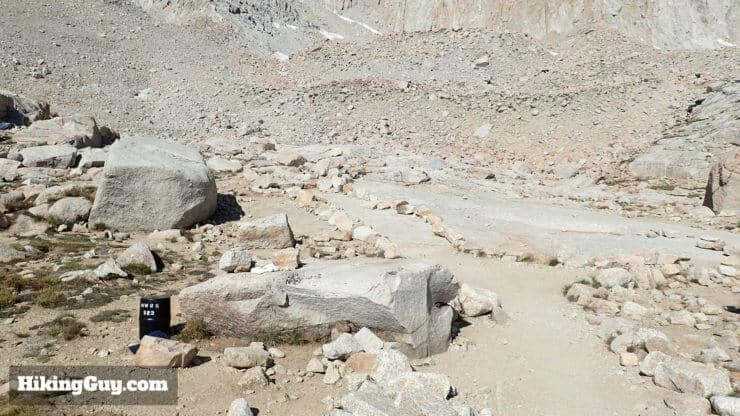
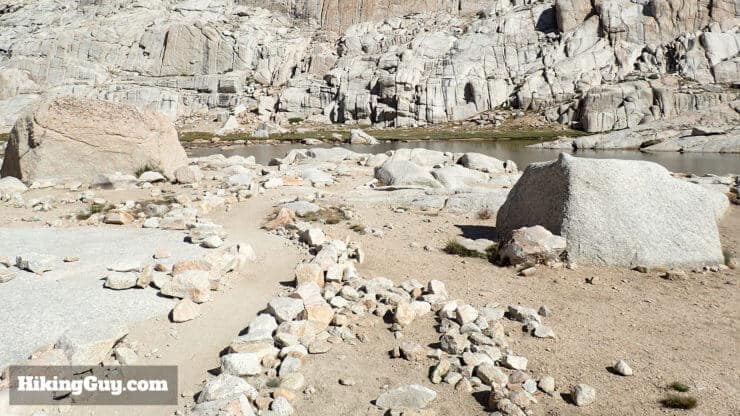
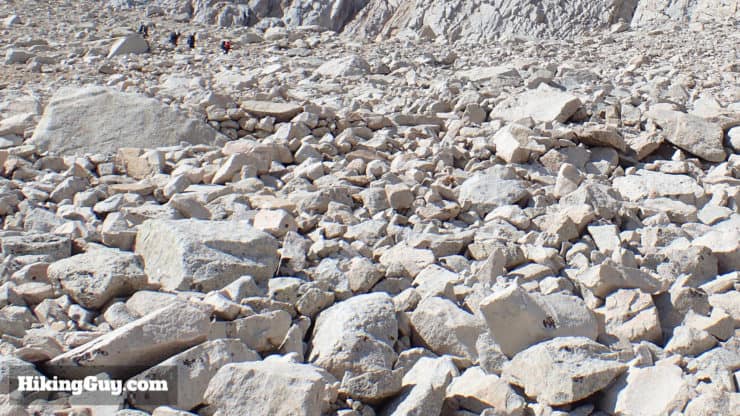
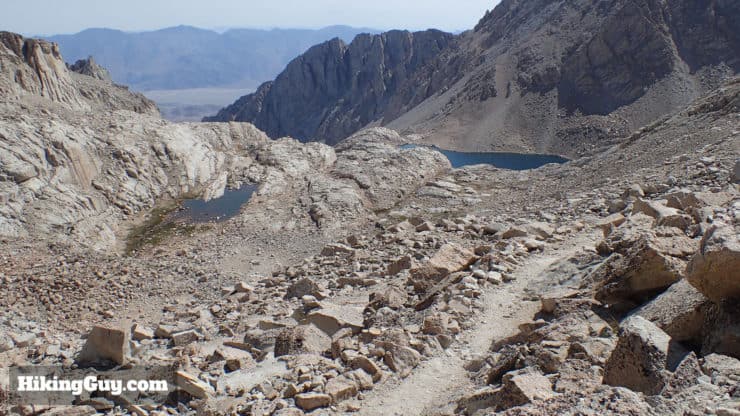
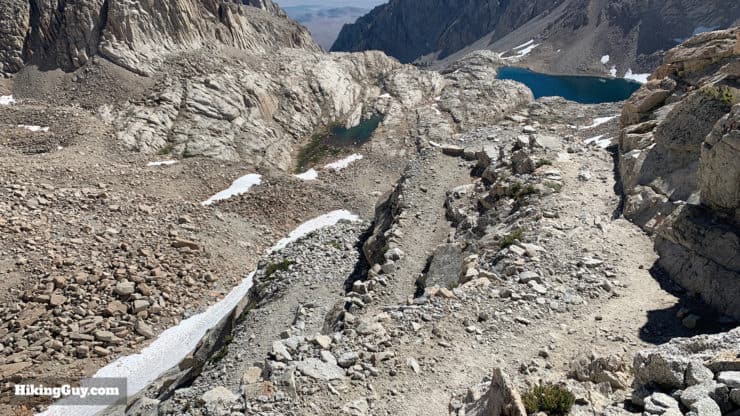
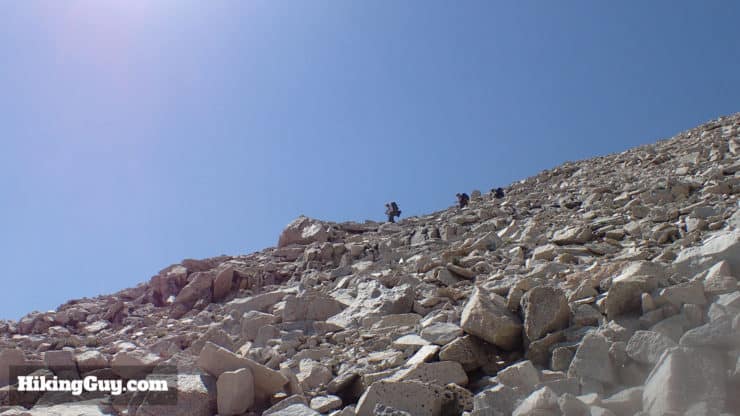
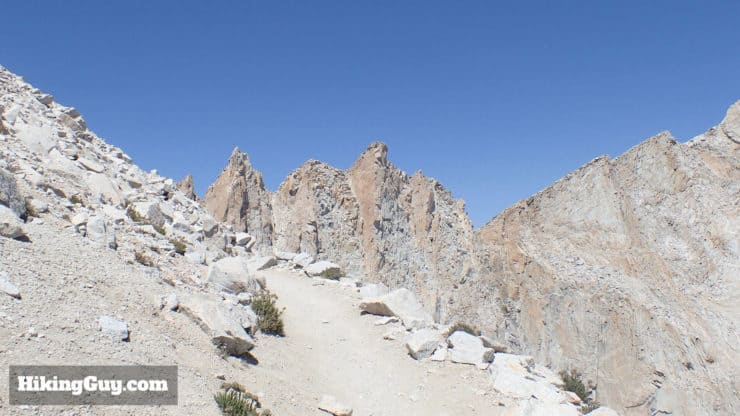
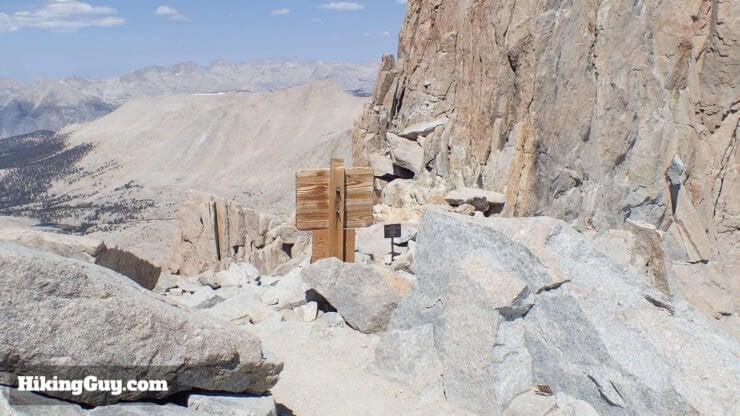
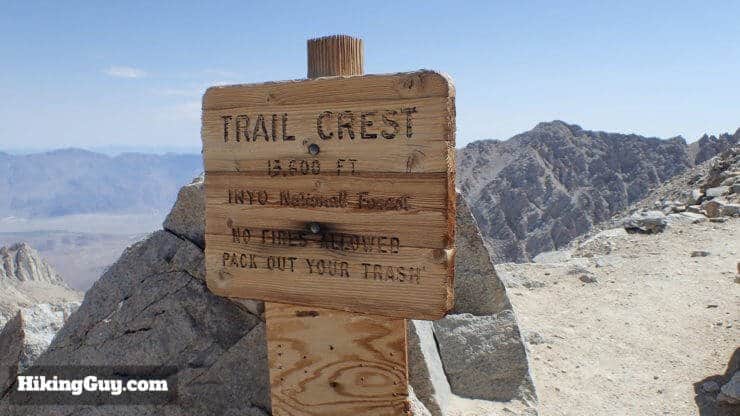
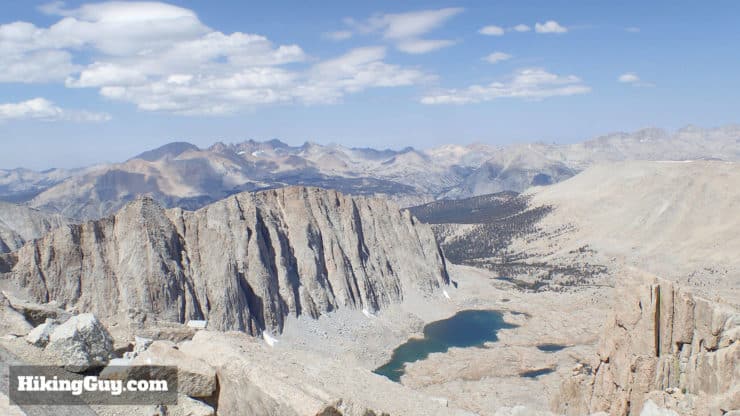
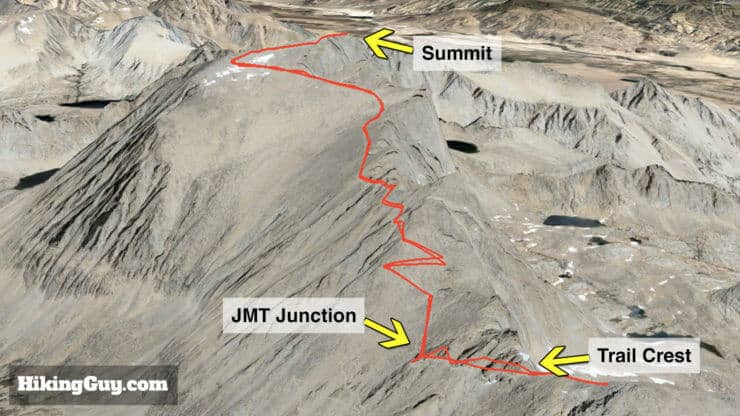
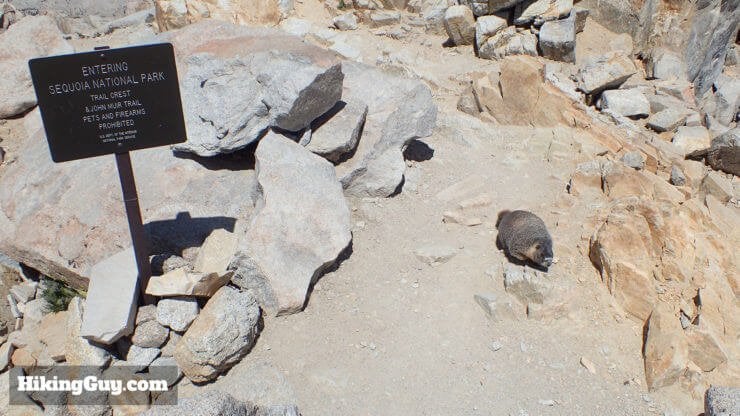
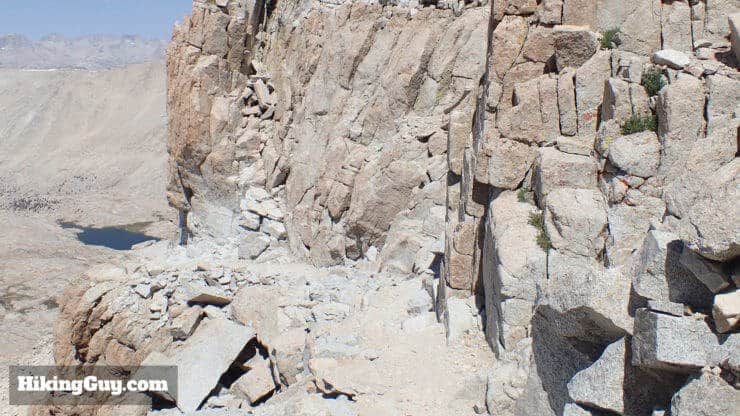
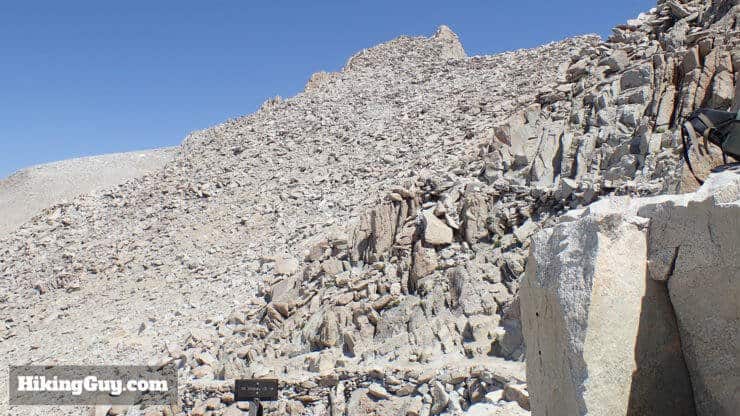
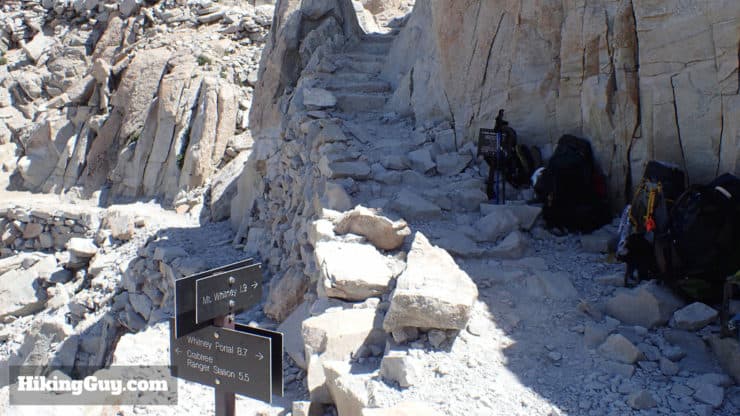
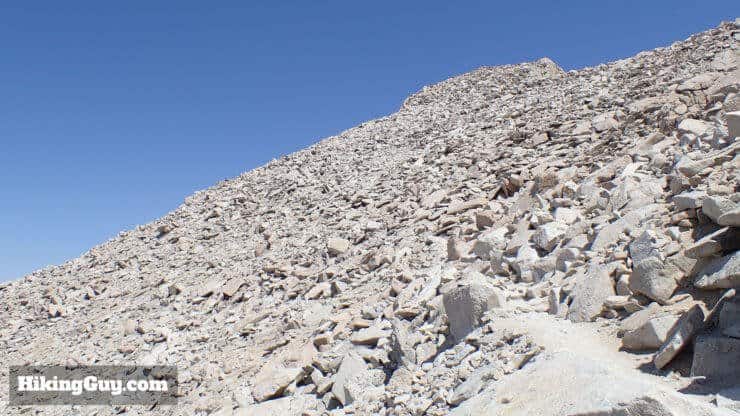
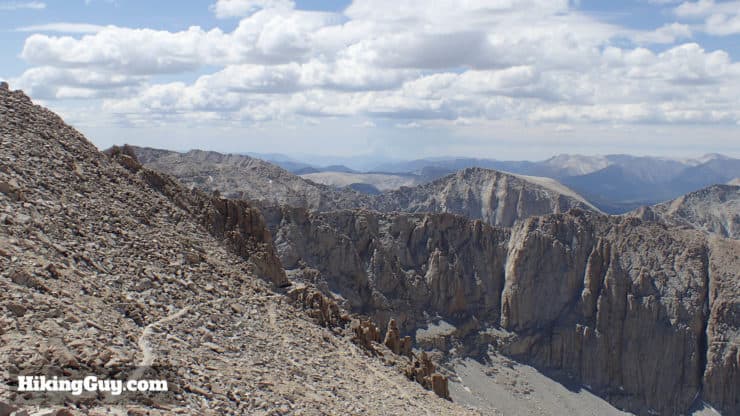
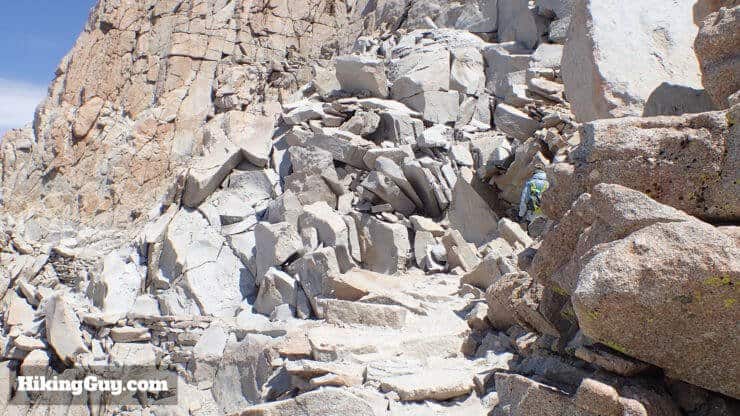
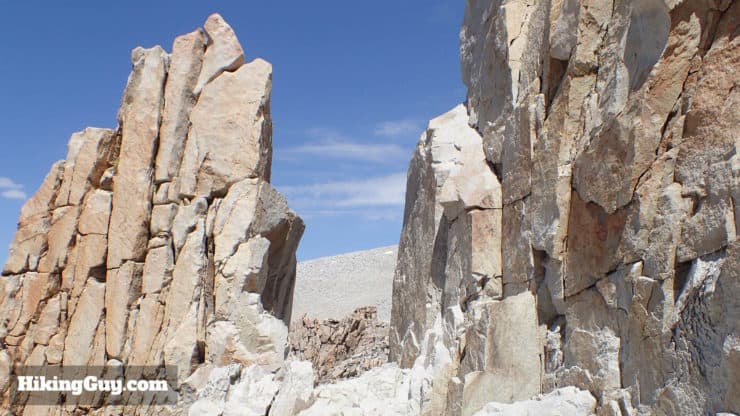
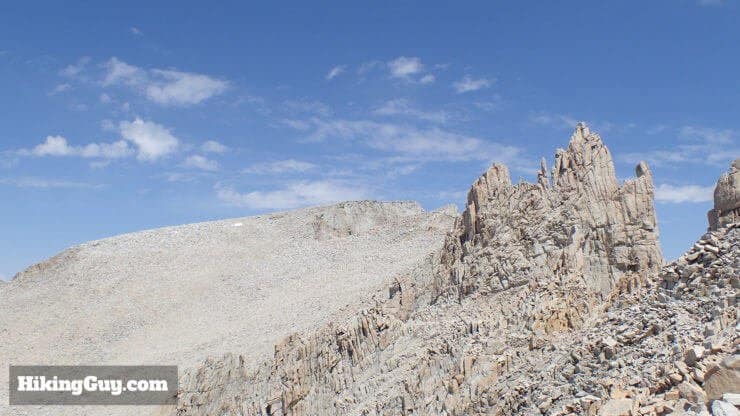
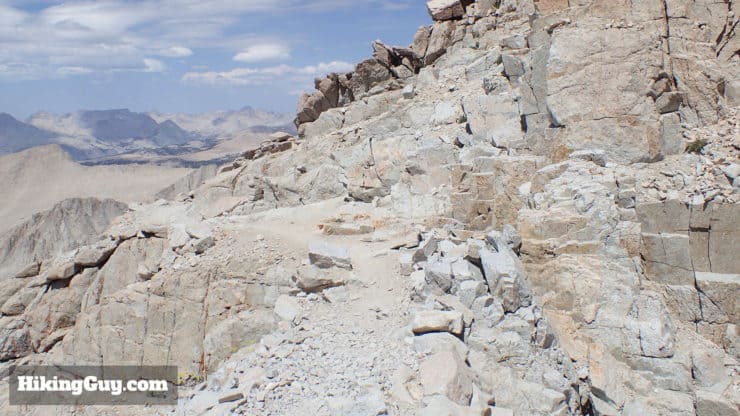
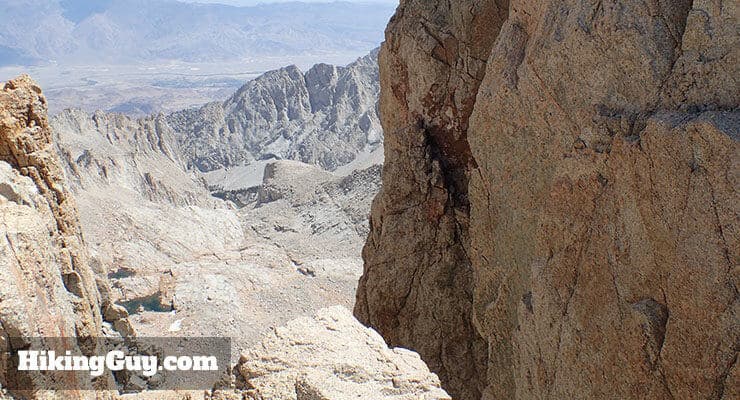
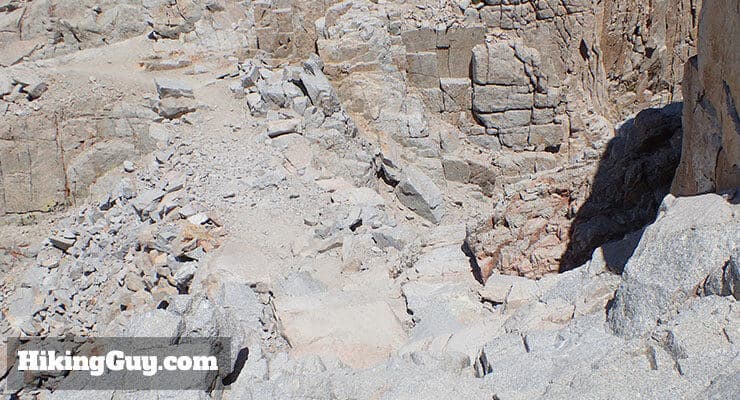
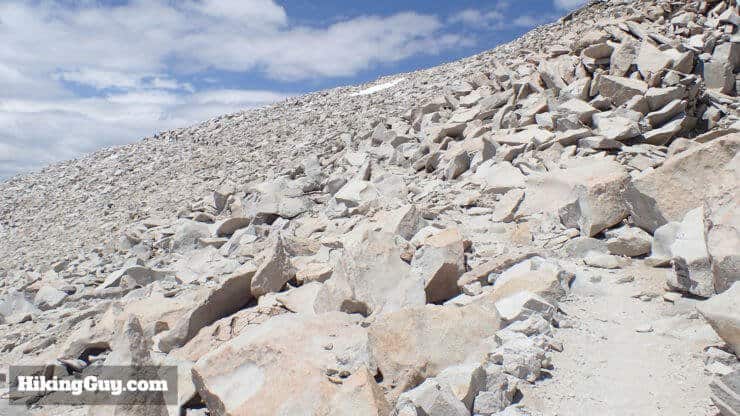
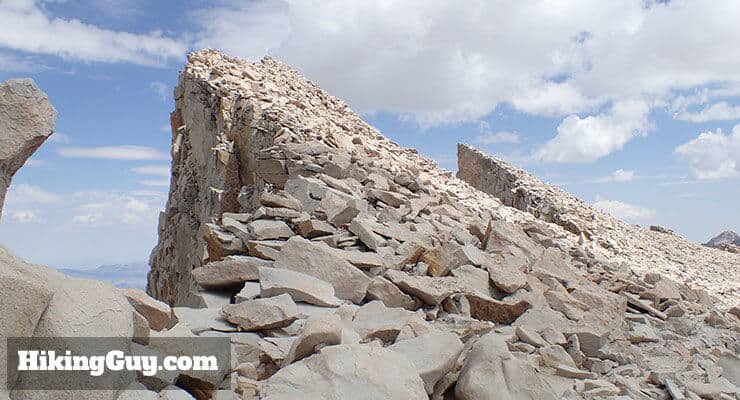
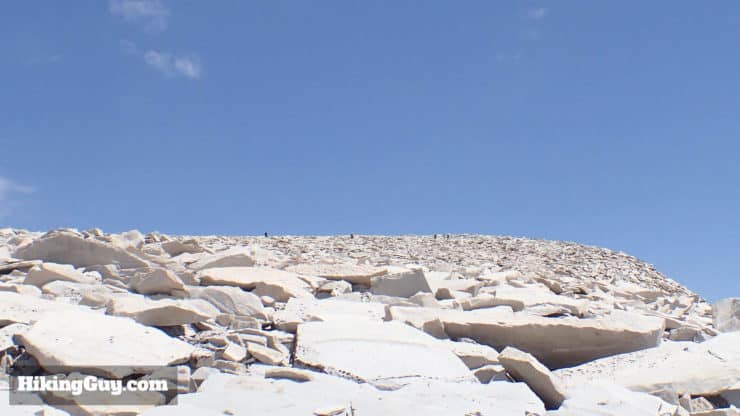
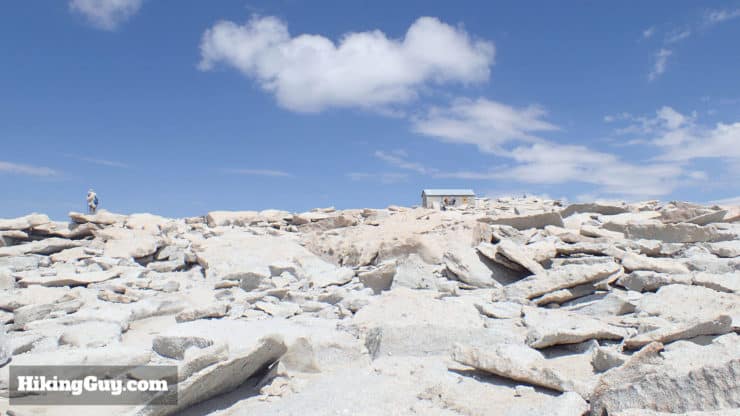
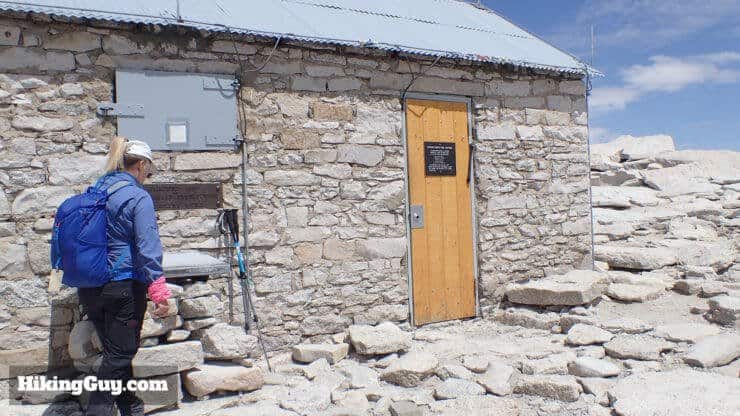
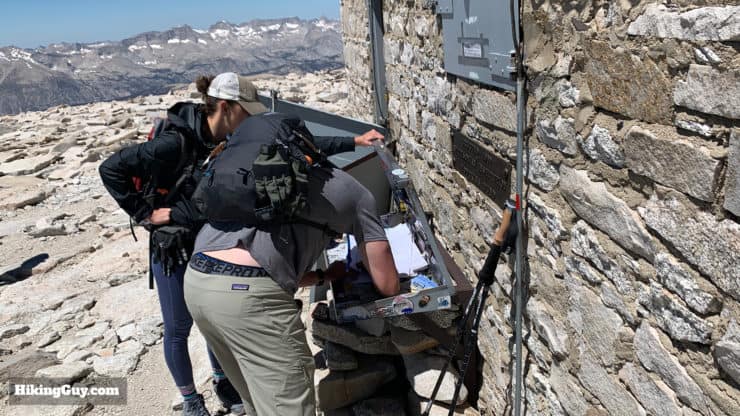
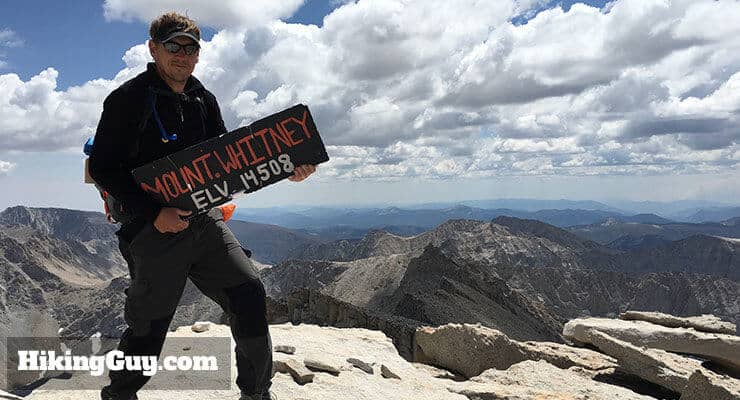
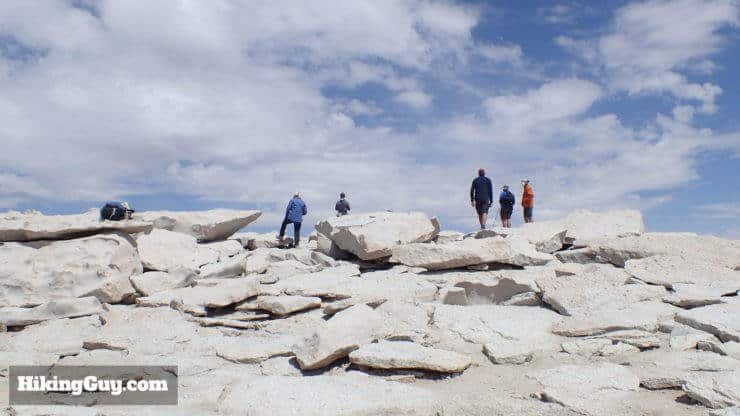
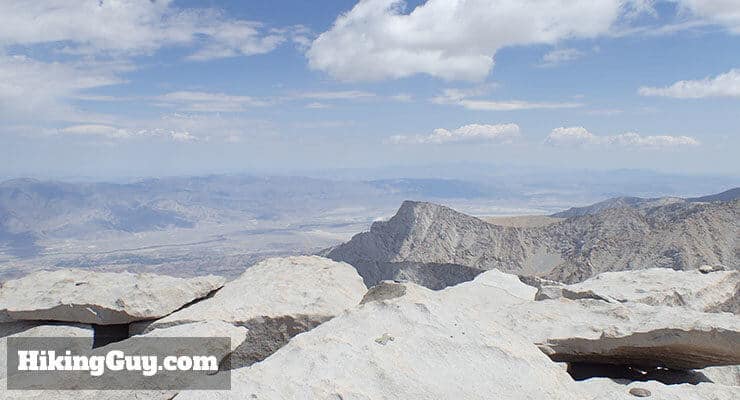
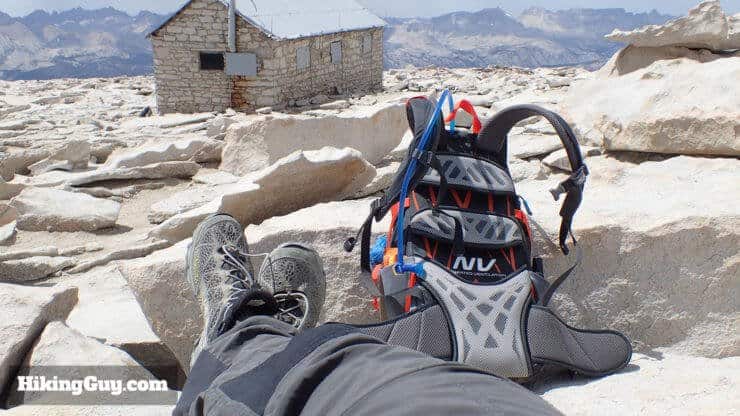
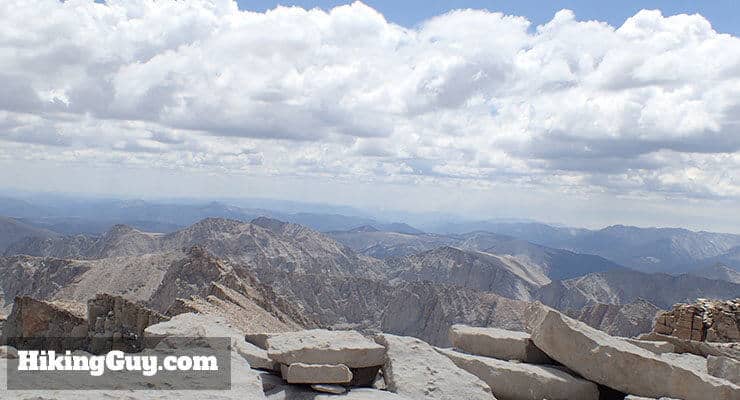
After the summit, head back the way you came. You still have 11 miles of hiking, and you should still be trying to eat and hydrate. If you're feeling the effects of AMS, I'd recommend taking it slowly and making sure your footing is solid as you descend. Most of the times that I've rolled an ankle or slipped, it's because I was cruising back down a descent from a big climb, tired, and not paying full attention to my footing. If it's dark, take extra care. People have died descending in the dark.
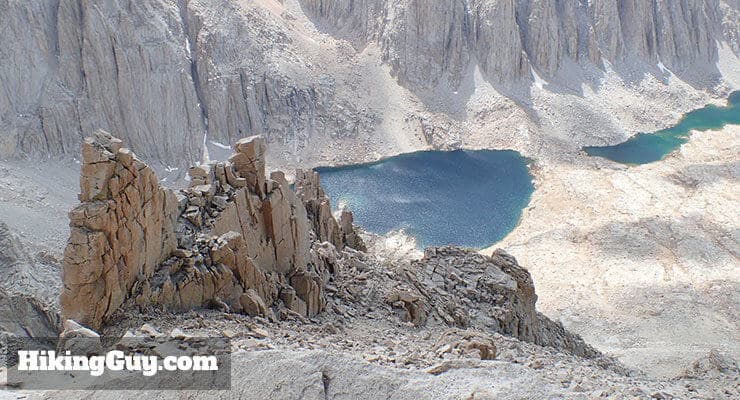
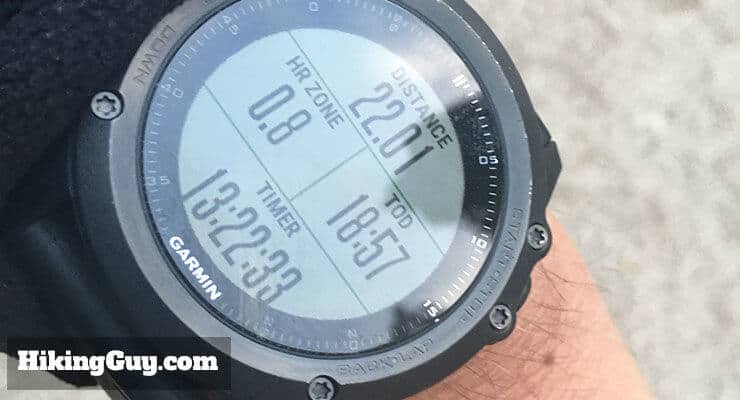
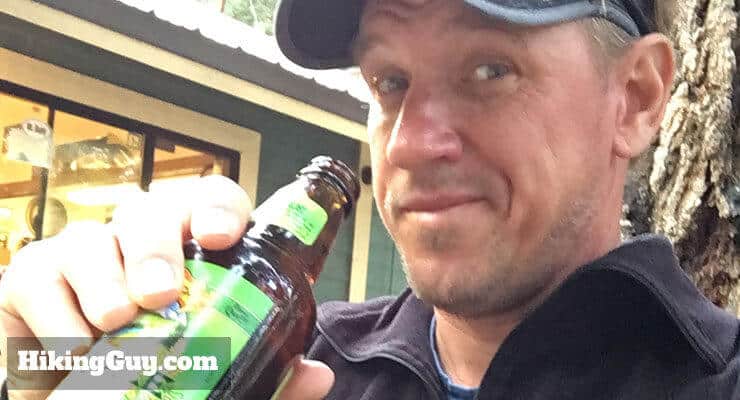
What's next on your hiking hit list? How about Cactus to Clouds? Or Half Dome?
Need More Info?
- Have a question about the guide? Join my Patreon and ask me a question.
- When planning, always check the park website and social media to make sure the trails are open. Similarly, check the weather and road conditions.
- Do you have an update to this guide? View the Youtube comments for this video. Leave a comment and I will do my best to update the guide.
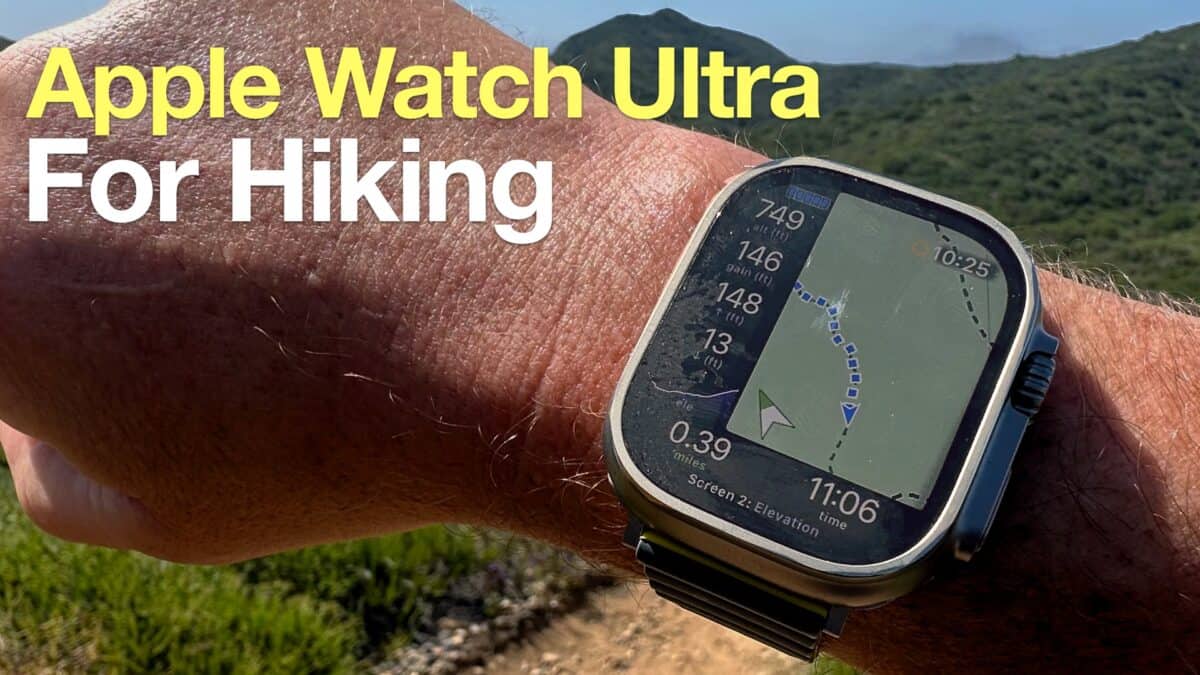 Using the Apple Watch for Hiking
 Garmin Fenix 7 & Epix Review For Hikers
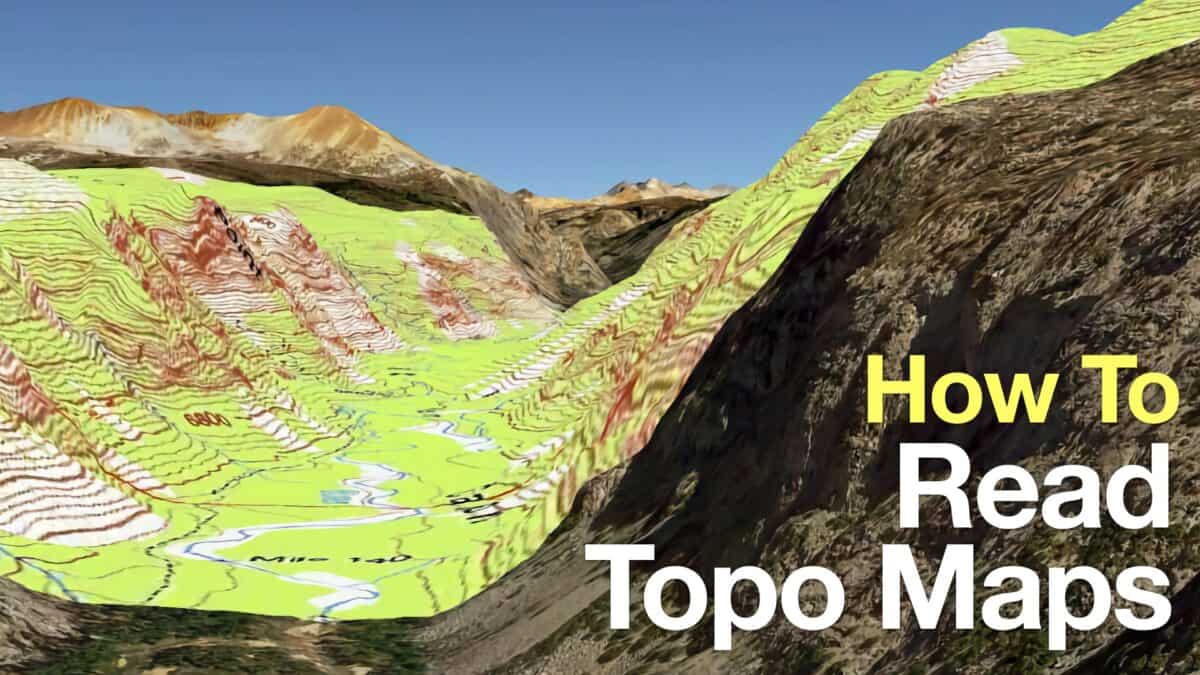 How To Read a Topographic Map
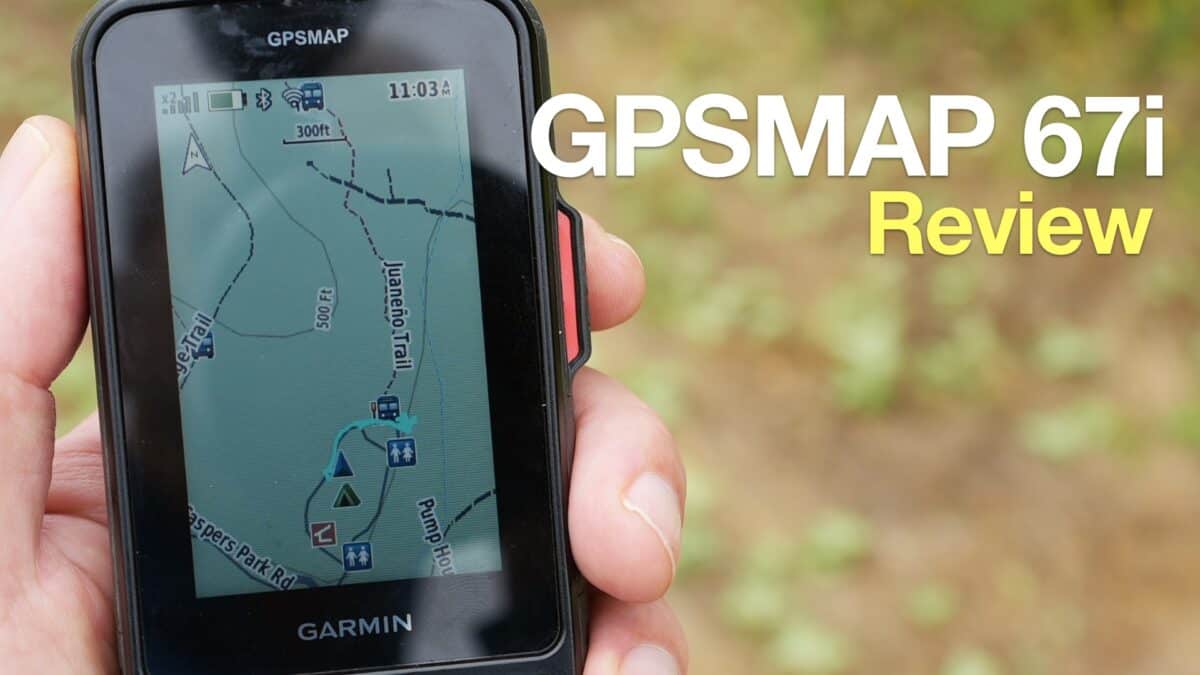 Garmin GPSMAP 67i Review
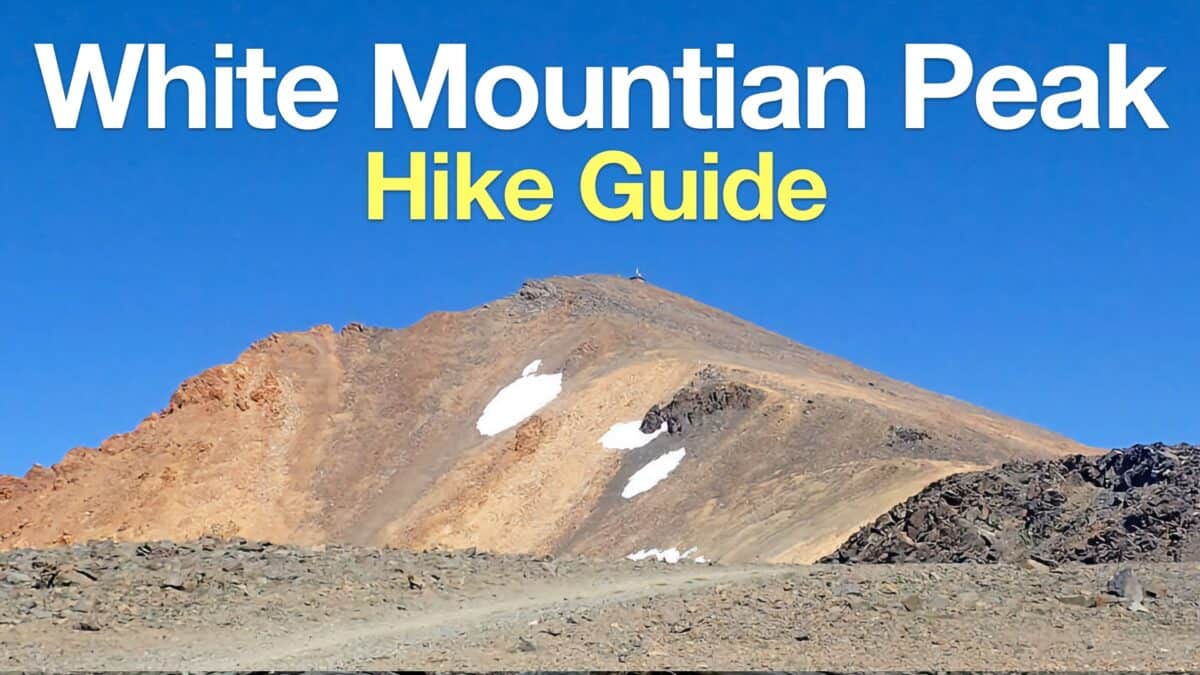 White Mountain Peak Hike (California)
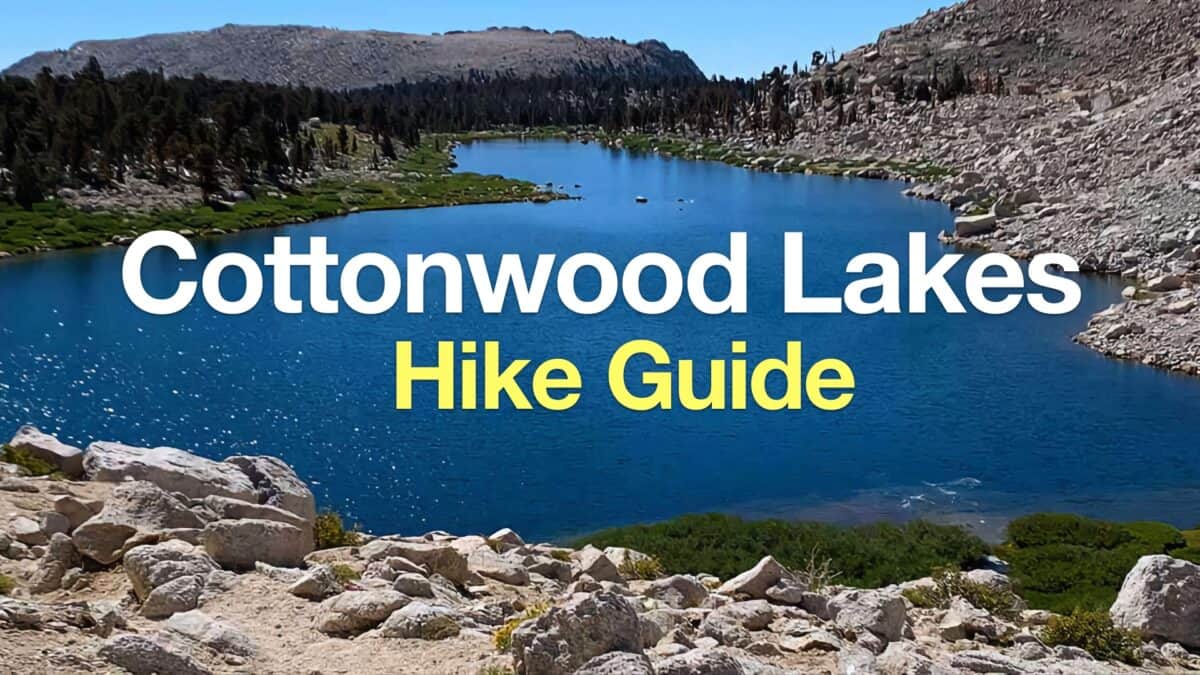 Cottonwood Lakes Hike
 Best Hikes in the US
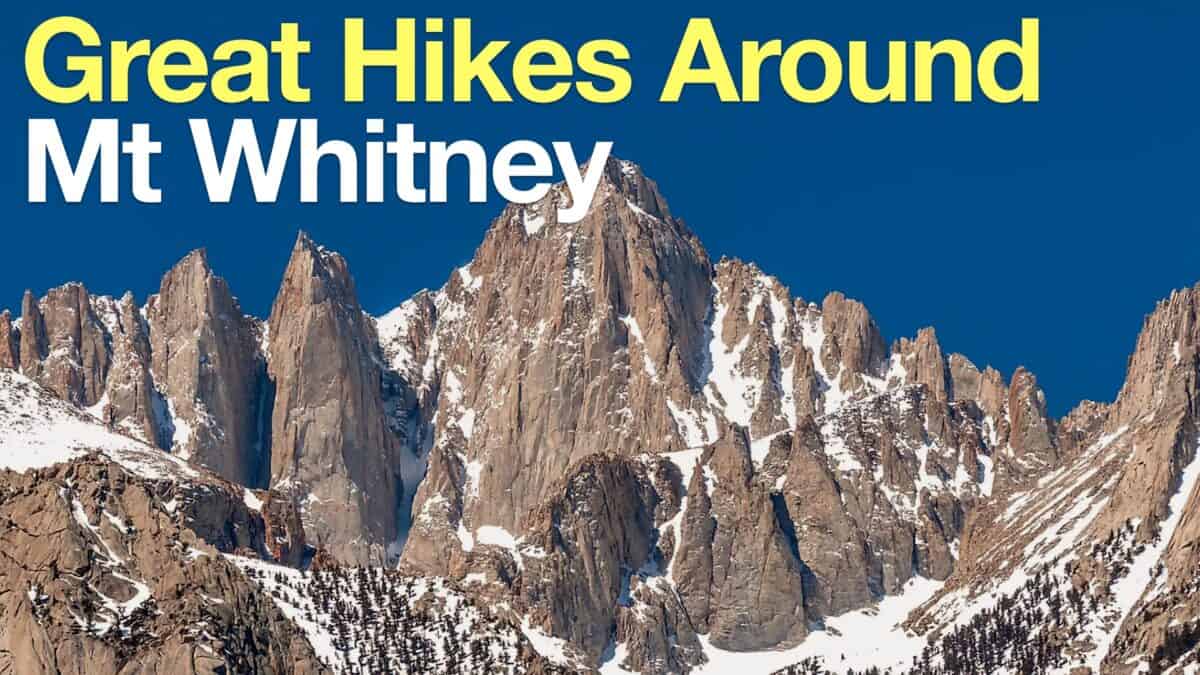 Hikes Around Mt Whitney
 Backpacking Trips
 Best Hikes in the World
 Eastern Sierra Hikes
 Inyo National Forest Hiking Trails
 Best Hiking Gear 2024
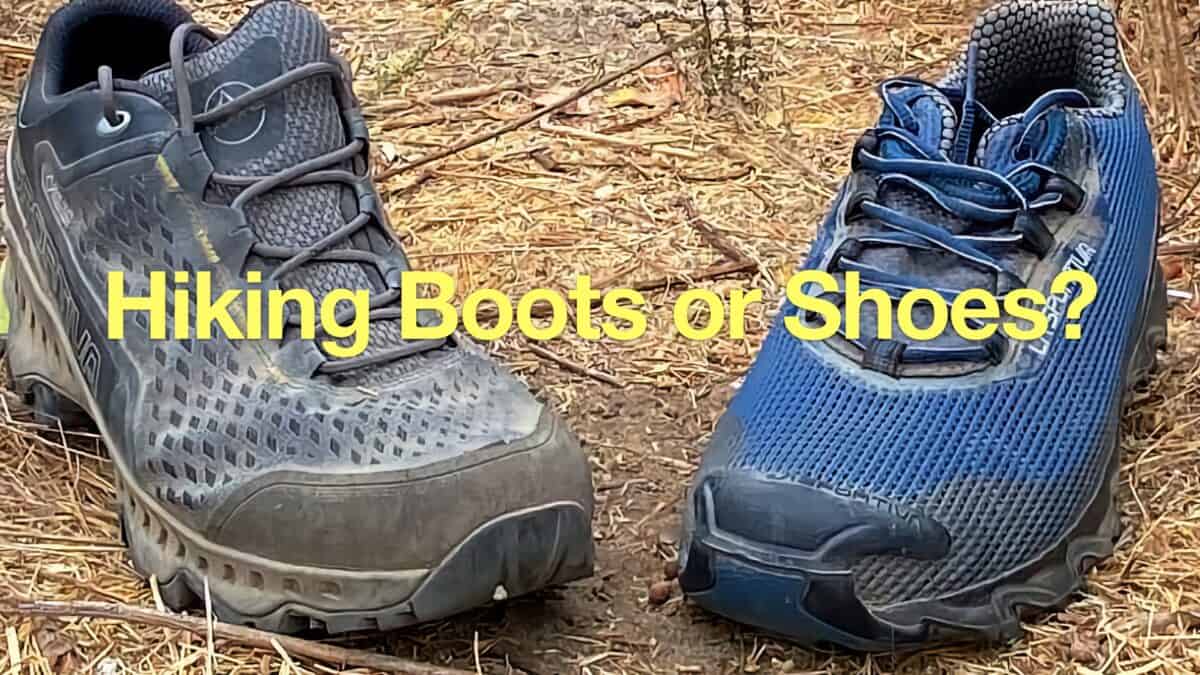 Hiking Boots or Shoes: Do I Really Need Hiking Boots?
 When to Hit SOS on inReach