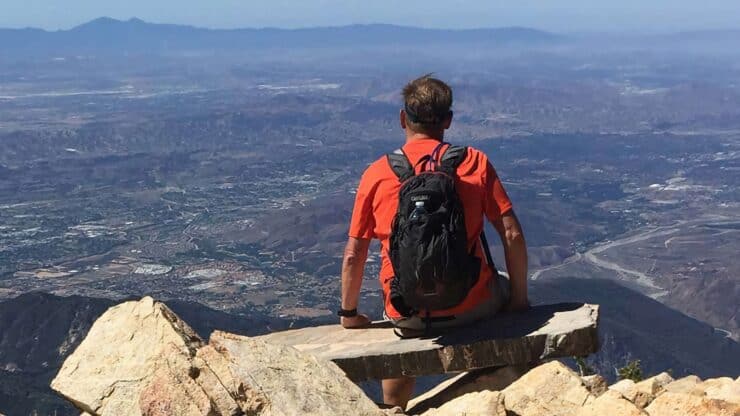

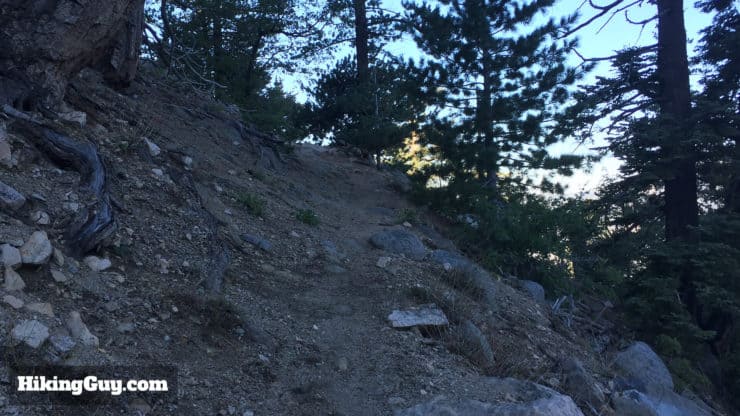
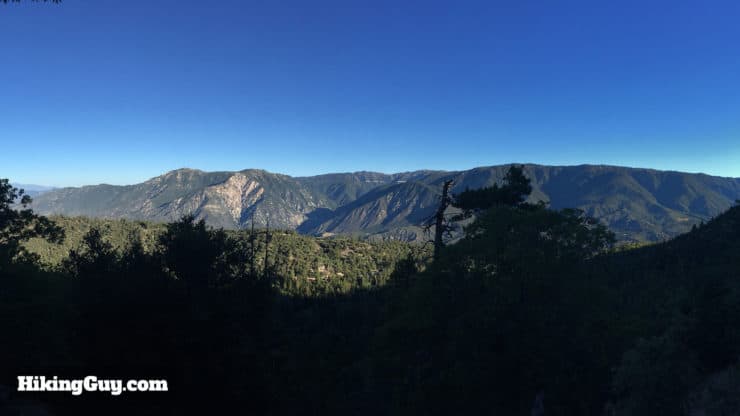
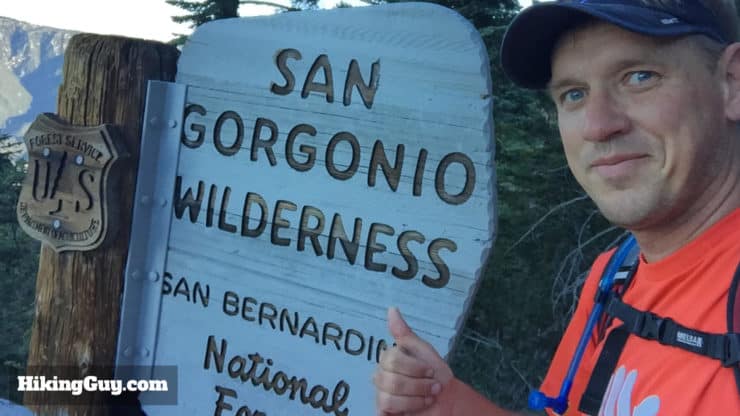
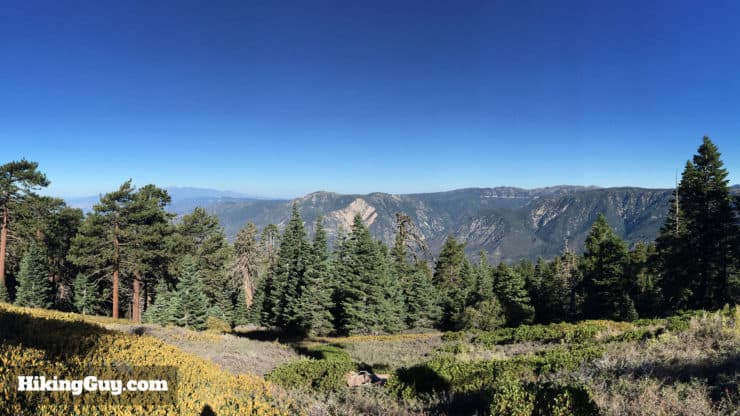
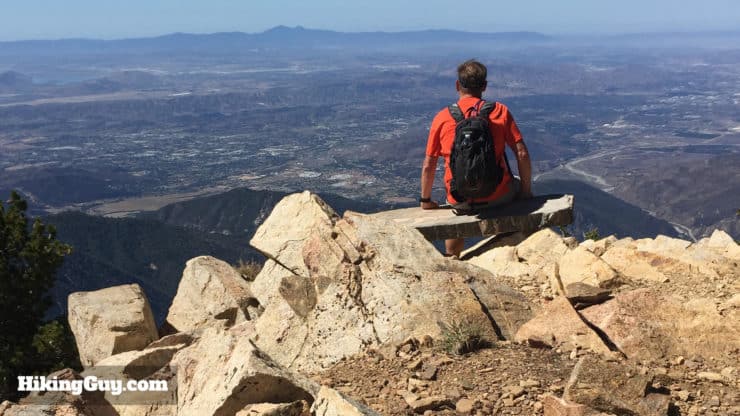
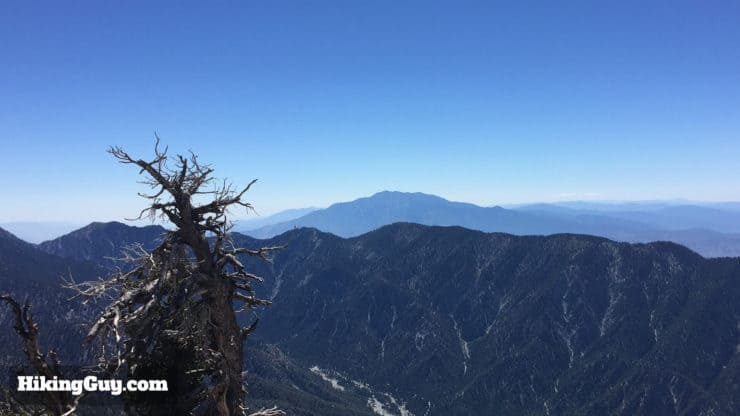
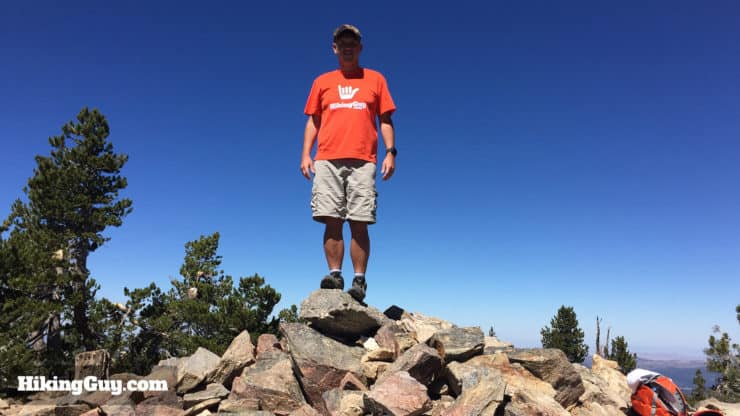
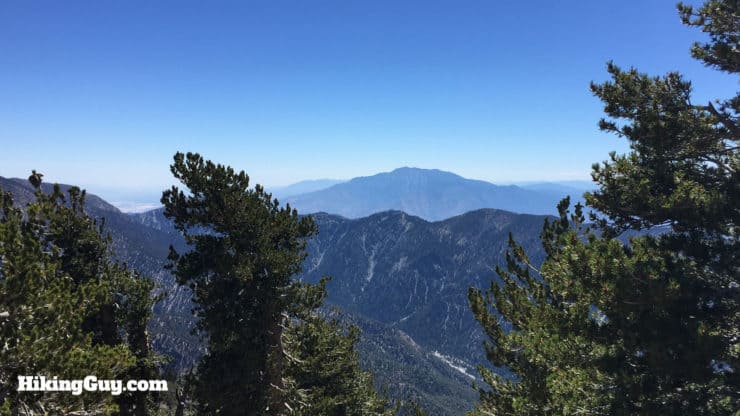
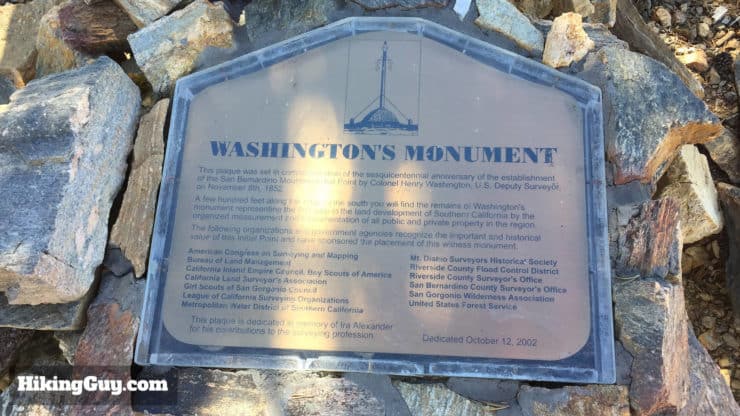
The San Bernardino Peak (10,649 feet) hike is tough but rewarding. The San Bernardino Mountains were named after San Bernardino Peak, which was named by one of the pioneer friars in California, Francisco Dumetz in 1835. I like this hike a lot. The crowds are light, the fauna is beautiful, and it offers sweeping views of Mt Baldy, Mt San Jacinto, San Gorgonio, Big Bear Lake, and the Inland Empire.Planning for the San Bernardino Peak Hike
- Turn by Turn Hike Directions & Video
- Do You Need a Permit?
- San Bernardino Peak Trail Maps
- How to Get to the Trailhead
Where Is The San Bernardino Peak Hike?
Use this trailhead GPS address: 5766 Frontage Rd, Angelus Oaks, CA 92305, which will get you to the fire station. Detailed directions to the trailhead parking are below.


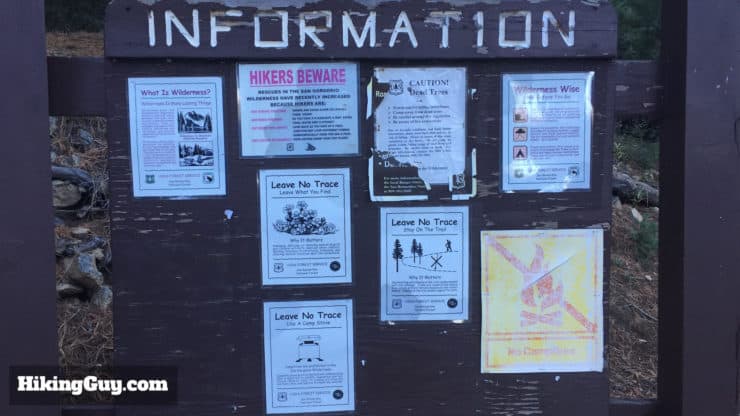
There are no bathrooms at the trailhead.
You need a parking pass. I use the affordable National Parks Pass, which gets me in every park, monument, and national forest. You can also use an (Southern California only) Adventure Pass, or buy a $5 day permit from the ranger’s office.
Preparing for the San Bernardino Peak Hike
After a stretch where no permits were needed, they have been reinstated.
- San Bernardino day hike permits are required and controlled by a quota. I recommend filling out the permit online here, and then emailing it in to the rangers. Print a copy out for yourself and bring it with you.
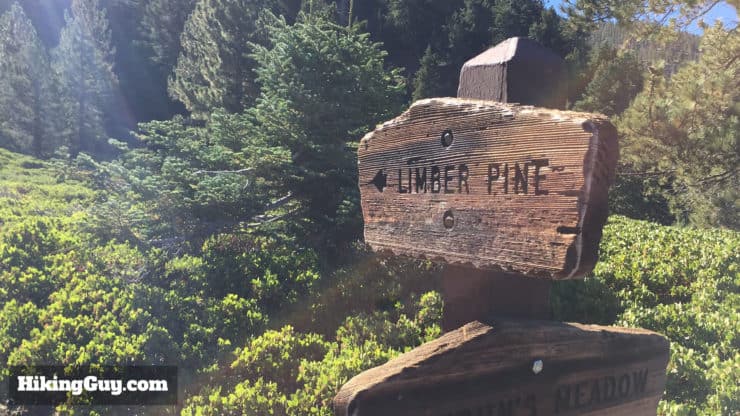
- You have the option of splitting this day hike into an overnight backpacking trip to the Limber Pine Bench Camp. Limber Pine Bench Camp is one of my favorite campgrounds of all time. It has flat areas to camp and incredible sunset views. You do need a permit for an overnight hike. Here's how to get it.
- Call the Mill Creek Visitor Center at 909-382-2882 and see if there is a space open for the day you want.
- If there are spaces available on your date, go to the San Gorgonio Wilderness Association website and follow instructions on getting a permit.
- You can send the permit by mail, or for a quicker turnaround, fax the PDF form in. After faxing, I got my permit back within the hour.
- You can also walk into the Mill Creek Visitor Center and get a walk-up permit. If there are spaces left, you just fill out the form and start hiking. If not, you don’t.
- There might be a ranger at the campground checking permits. Just show them your piece of paper and he’ll mark it. It’s as easy at that.
- The San Bernardino Peak hike is a tough hike, but not technical. You need a good level of fitness to attempt it. I recommend hiking Cucamonga Peak and Ontario Peak to build up to San Bernardino Peak.
- You might feel the effects of altitude on this hike, including headache, fatigue, and nausea. If you do, stop, and rest. Make sure you're well hydrated. If, after resting, you still feel the symptoms, be prudent and turn around. Some people pop a Diamox. Read the section on altitude sickness on my Mt Whitney guide for more info.
Permit Availablity
Can't get a permit for your date? Try OutdoorStatus.com and get a text message as soon as a cancelled permit opens up!.
Gear for the Hike
This is a tough backcountry hike, and you need to be well prepared with layers, water, and food. Check the summit weather and call the ranger office to check conditions before you leave. Be prepared for changing conditions.
Limber Pine Bench Camp also has a spring to fill up water bottles. The spring doesn't always have water, so don't count on it.
If you want to check if there's snow on your hike, read this guide.
Gear That I Love Right Now
Nothing is sponsored or promoted, just the actual gear that I use.


Check out the complete list here. ( Updated July 2024)
San Bernardino Peak Trail Maps
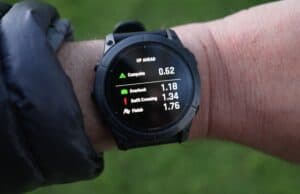
How Will You Navigate?
 Using the Apple Watch for Hiking
 Garmin Fenix 7 & Epix Review For Hikers
 How To Read a Topographic Map
 Garmin GPSMAP 67i Review
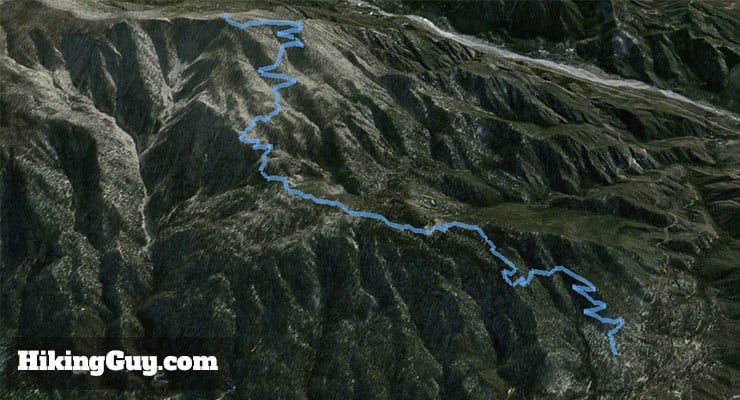
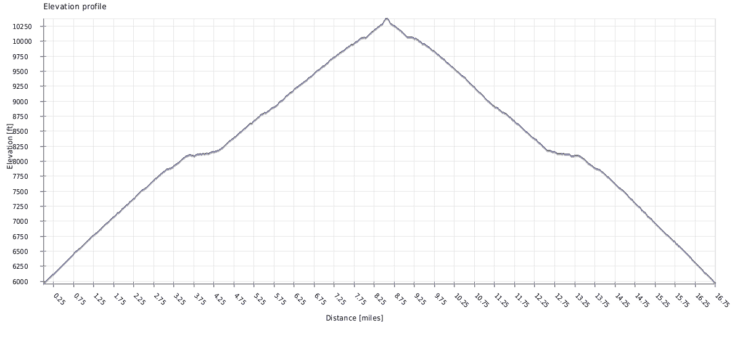
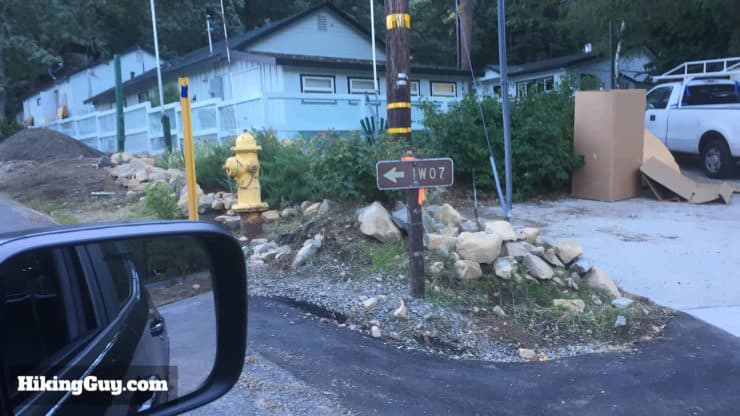
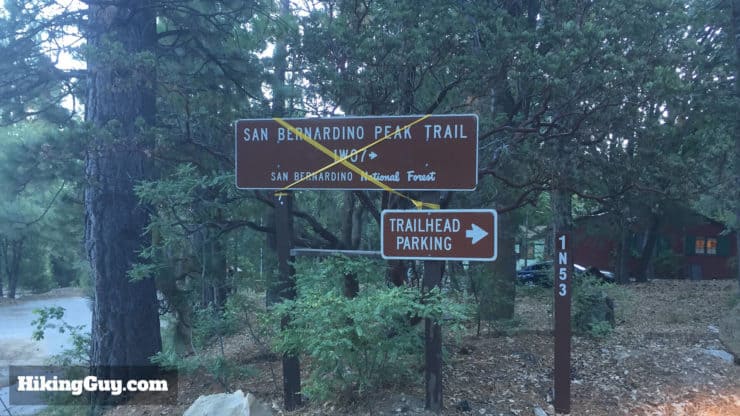
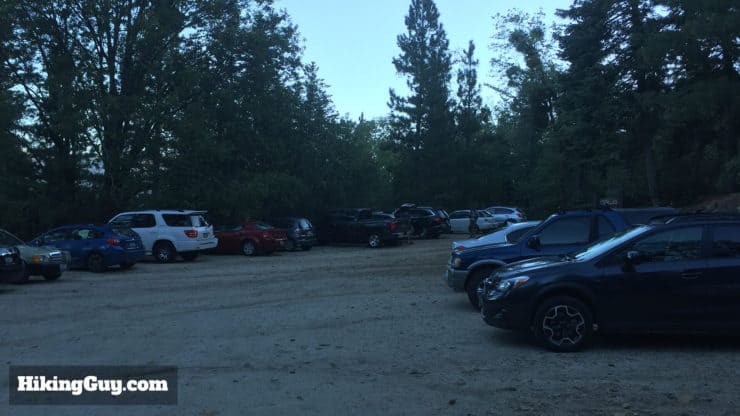
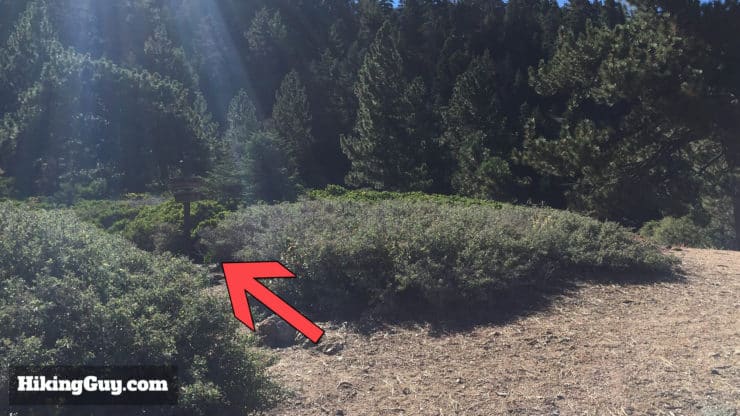
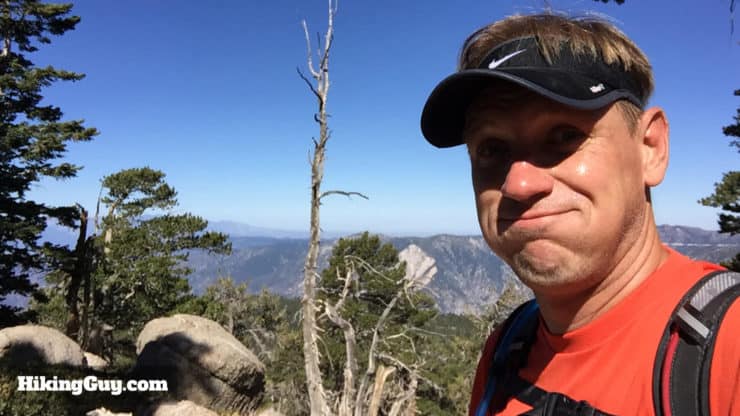
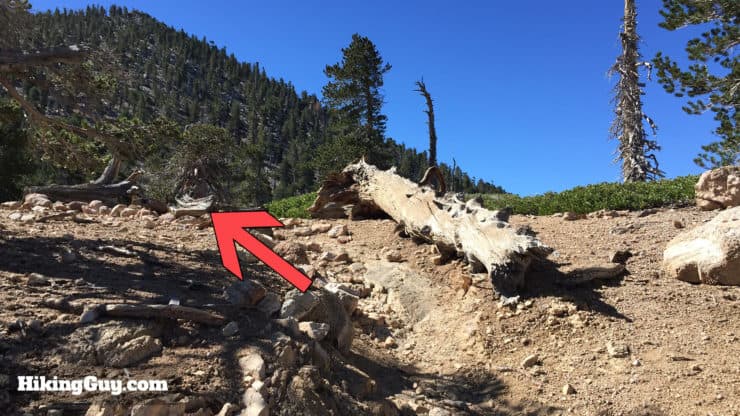
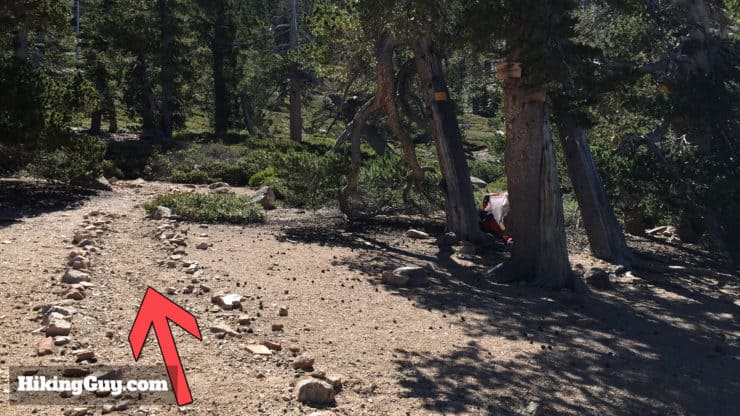
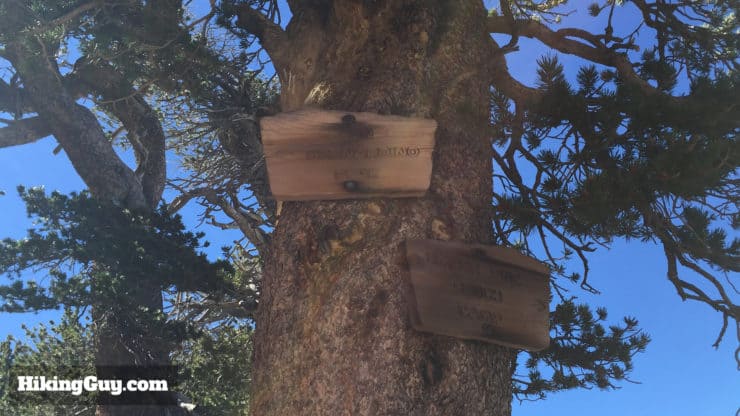
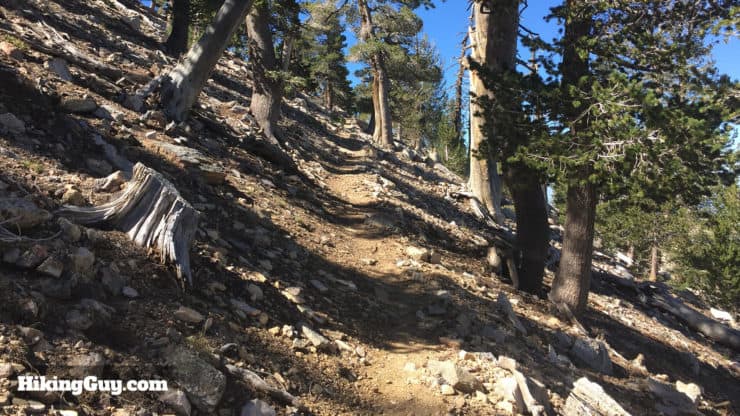
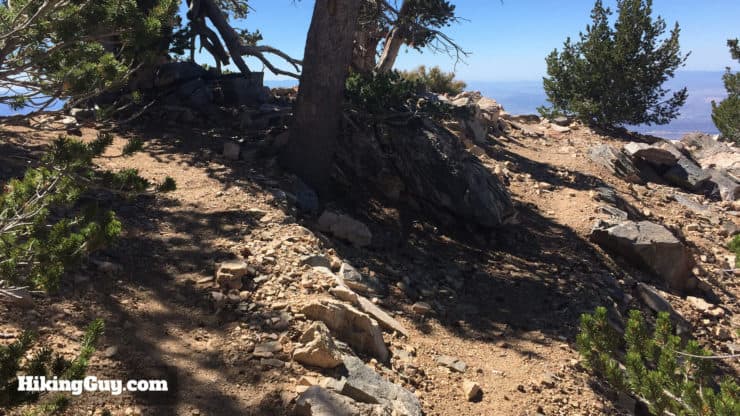
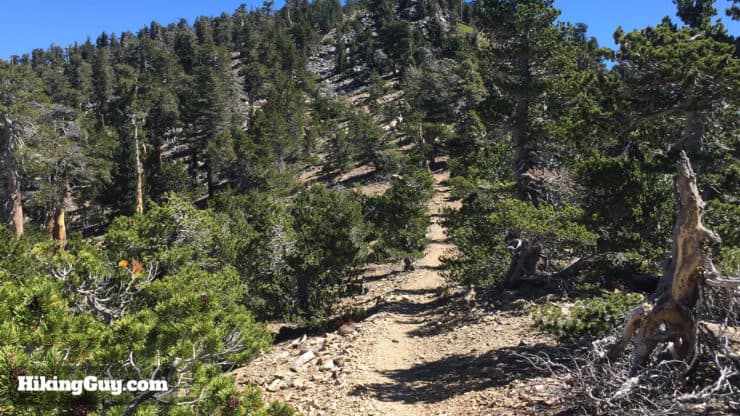
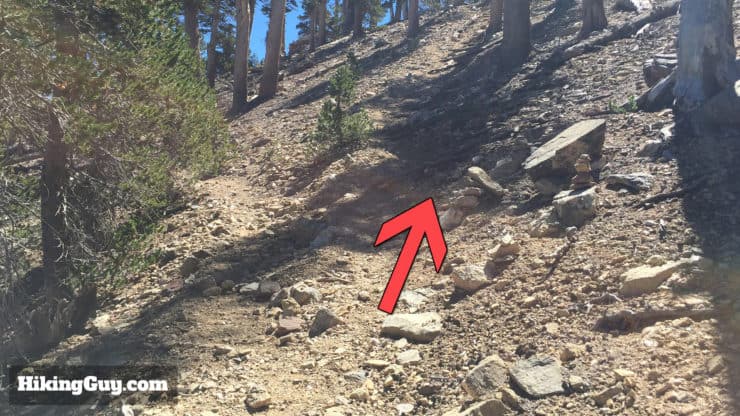
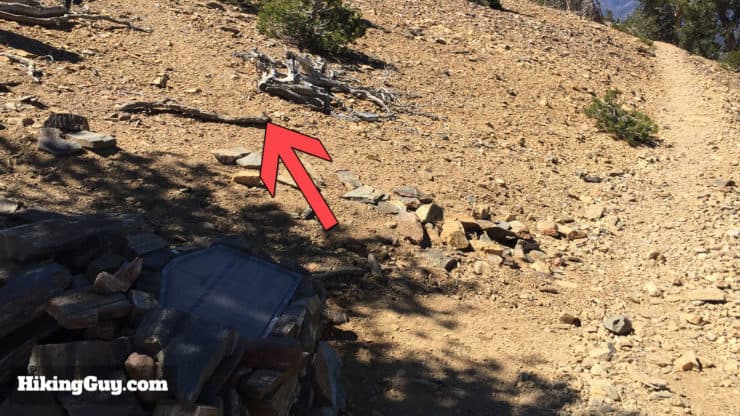
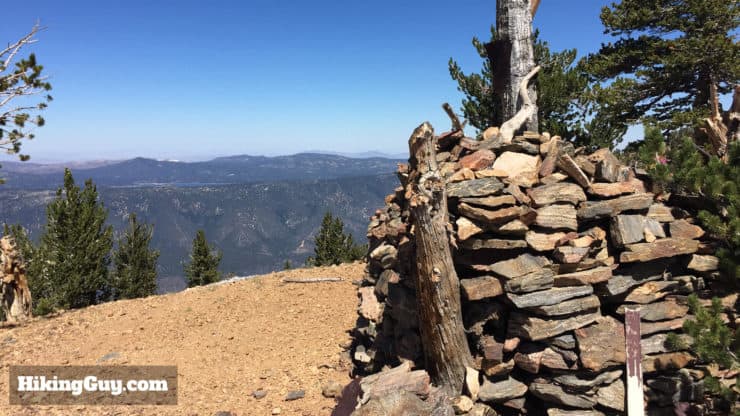
San Bernardino Peak Hike Directions
Don't do this hike in the winter unless you have snow and ice hiking experience.


Need More Info?
- Have a question about the guide? Join my Patreon and ask me a question.
- When planning, always check the park website and social media to make sure the trails are open. Similarly, check the weather and road conditions.
- Do you have an update to this guide? View the Youtube comments for this video. Leave a comment and I will do my best to update the guide.
Related Guides
 Hike San Bernardino East Peak From Forsee Creek Trail
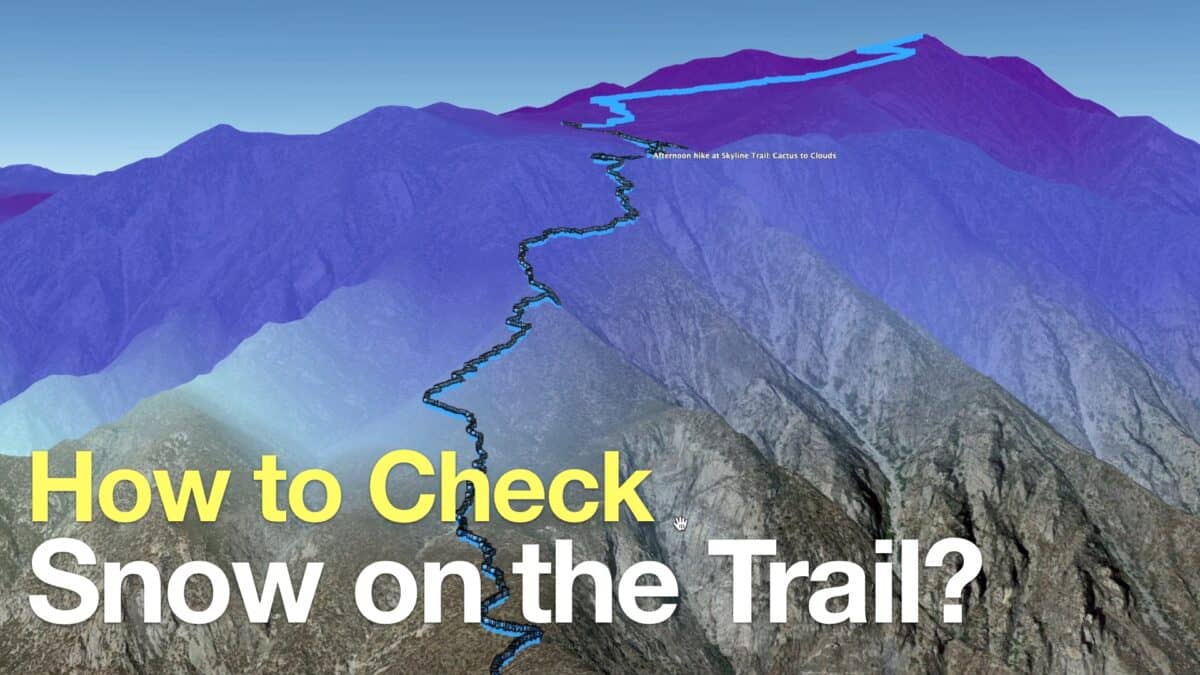 How to Check If There Is Snow On the Trail
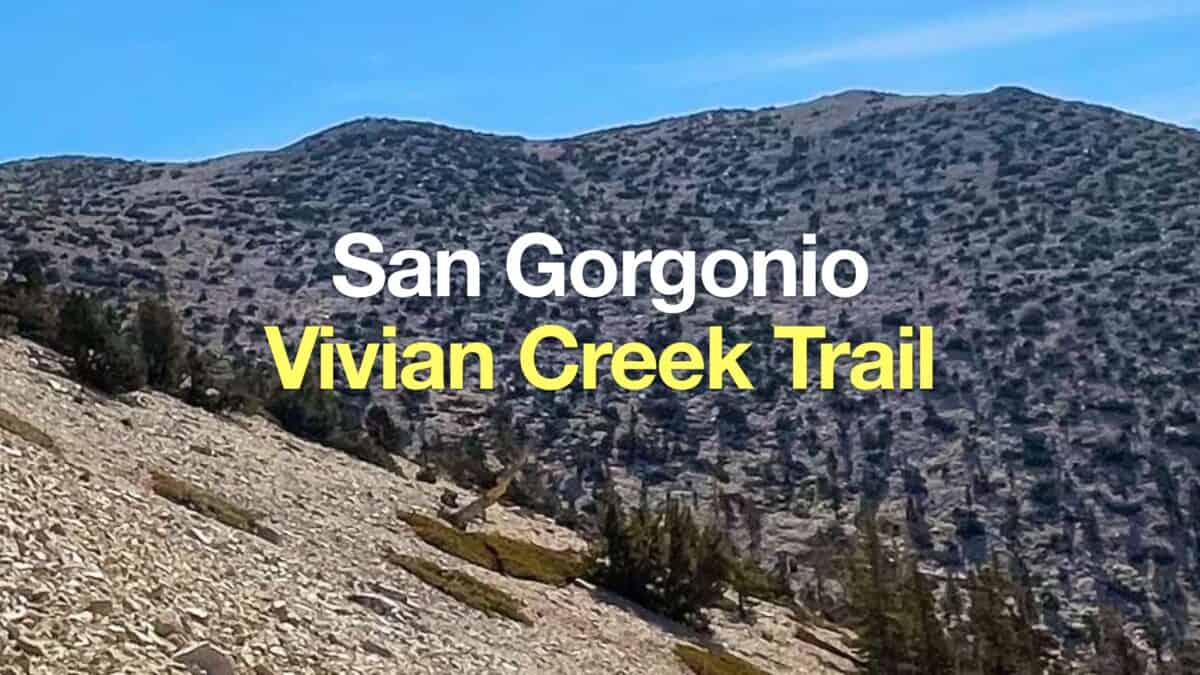 San Gorgonio Hike on the Vivian Creek Trail
 Los Angeles Hikes
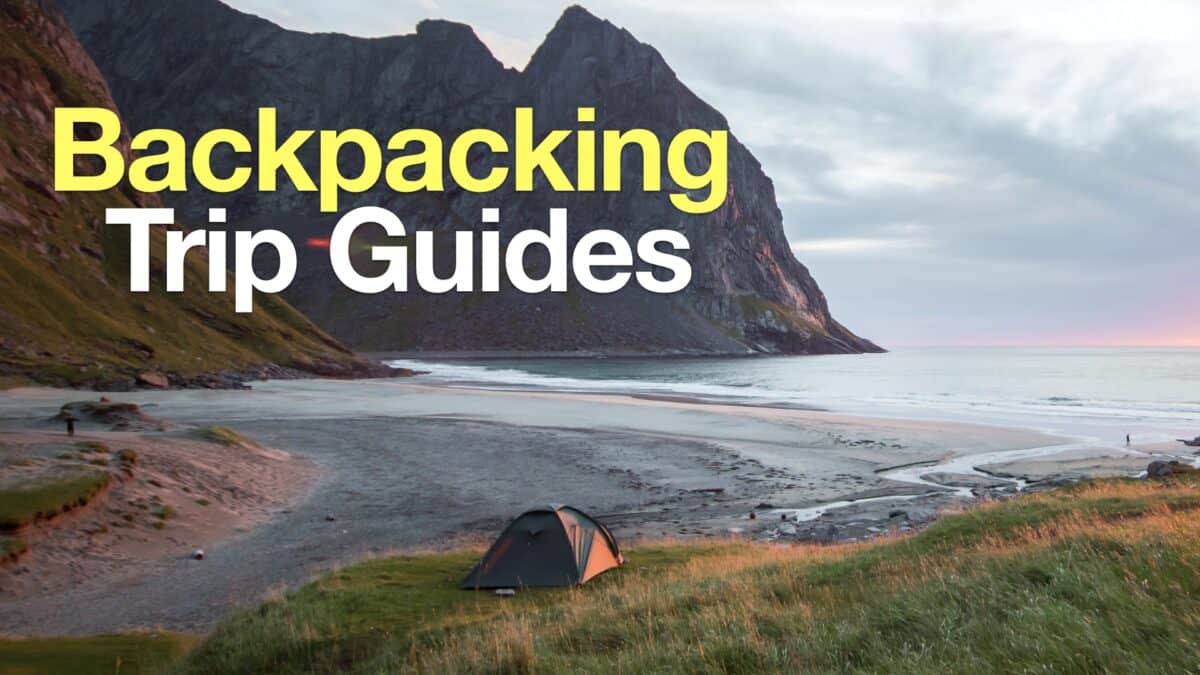 Backpacking Trips
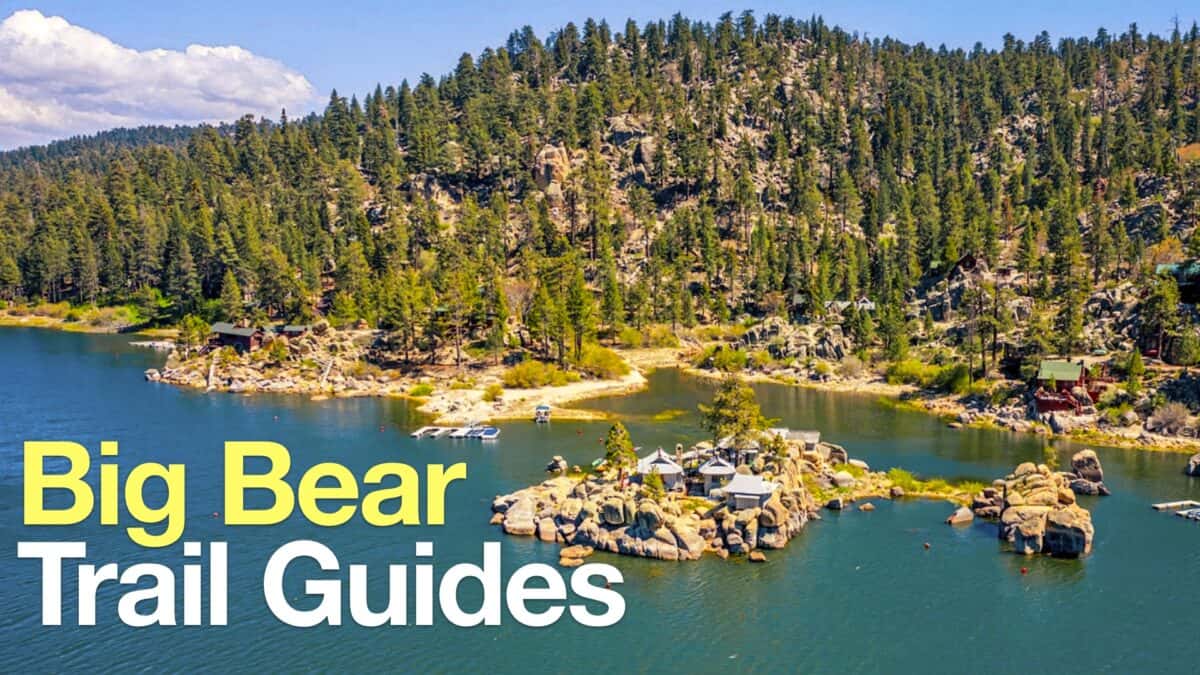 Big Bear Hikes
 LA Mountain Hikes
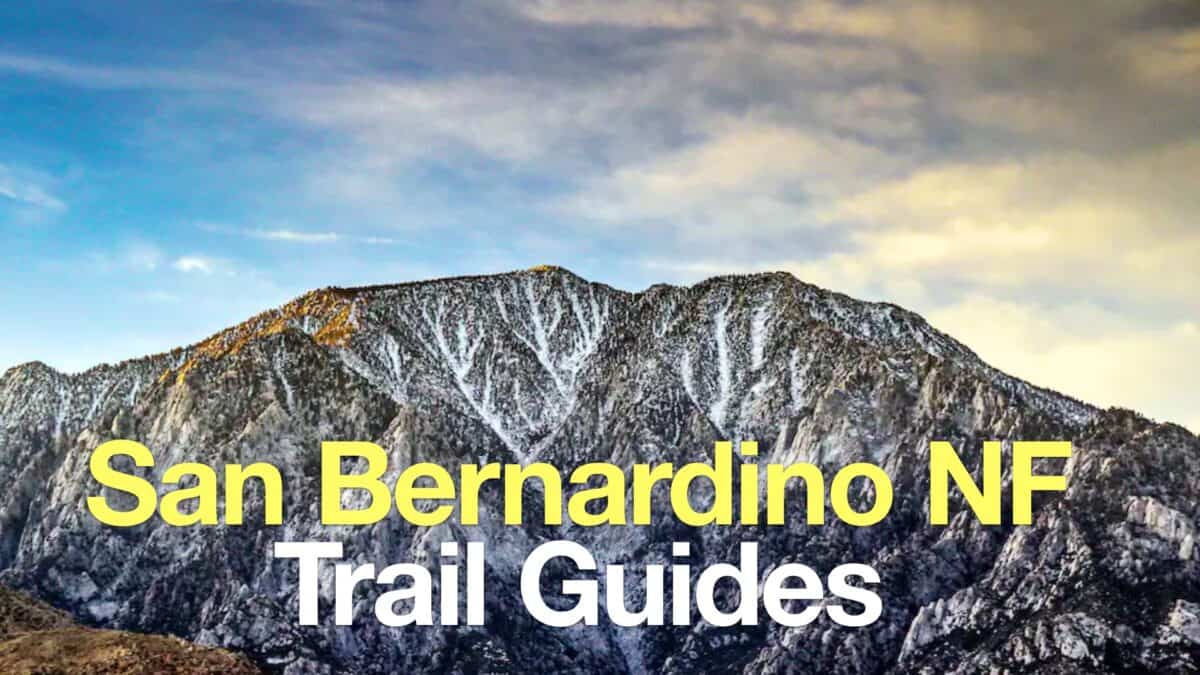 San Bernardino National Forest Hiking Trails
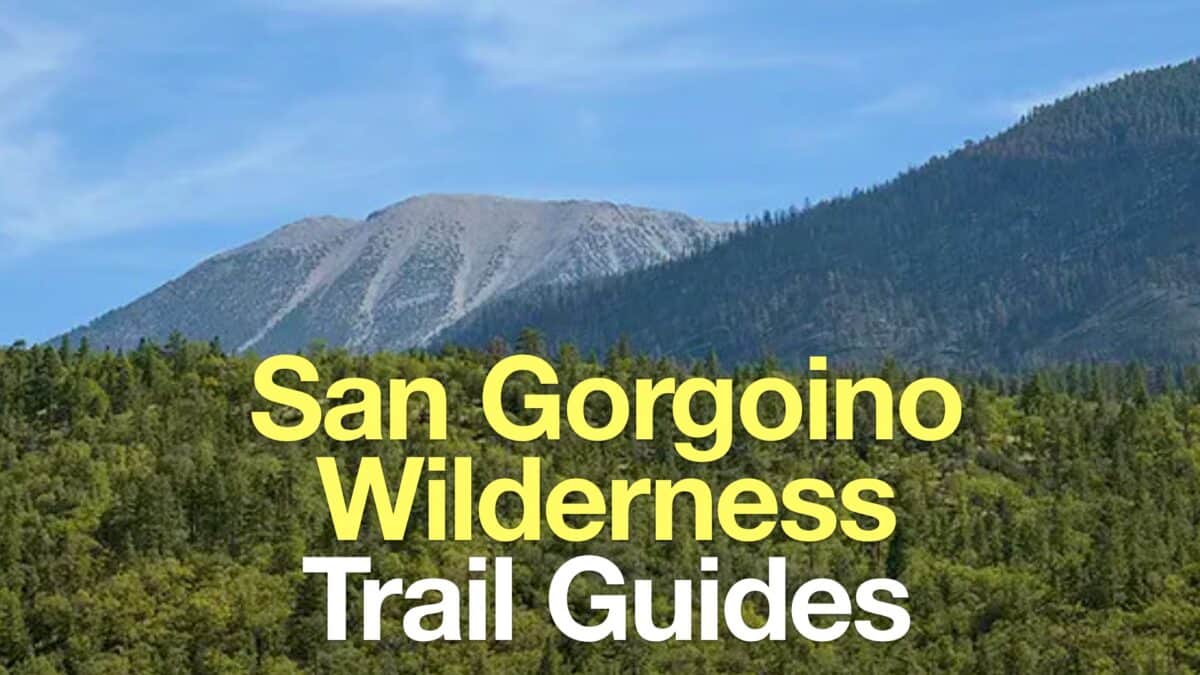 San Gorgonio Wilderness Hikes
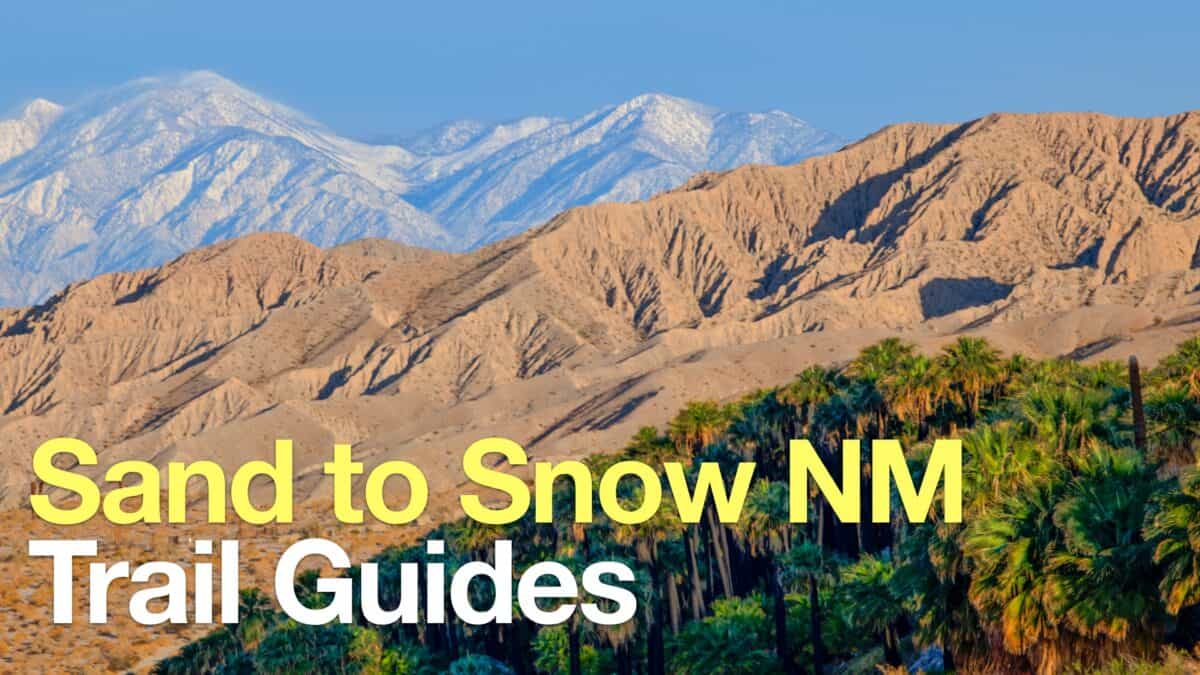 Sand to Snow National Monument Hikes
 Sierra Club 100 Peaks
Popular Guides
 Best Hiking Gear 2024
 Hiking Boots or Shoes: Do I Really Need Hiking Boots?
 When to Hit SOS on inReach
This Guide Was Written by Cris Hazzard

Hi, I'm Cris Hazzard, aka Hiking Guy, a professional outdoors guide, hiking expert, and author based in Southern California. I created this website to share all the great hikes I do with everyone else out there. This site is different because it gives detailed directions that even the beginning hiker can follow. I also share what hiking gear works and doesn't so you don't waste money. I don't do sponsored or promoted content; I share only the gear recommendations, hikes, and tips that I would with my family and friends. If you like the website and YouTube channel, please support these free guides (I couldn't do it without folks like you!). You can stay up to date with my new guides by following me on YouTube, Instagram, or by subscribing to my monthly newsletter.