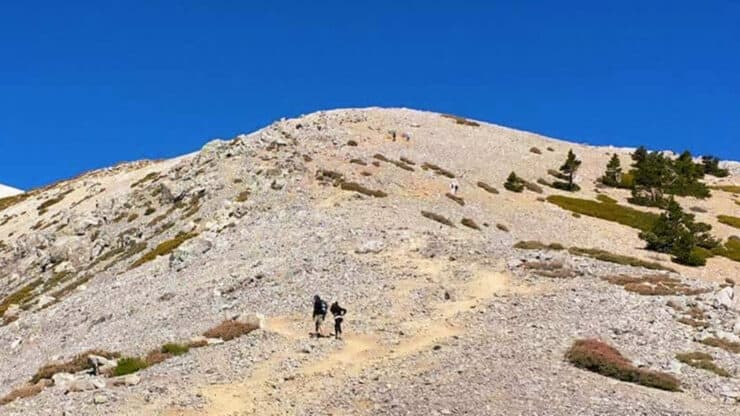

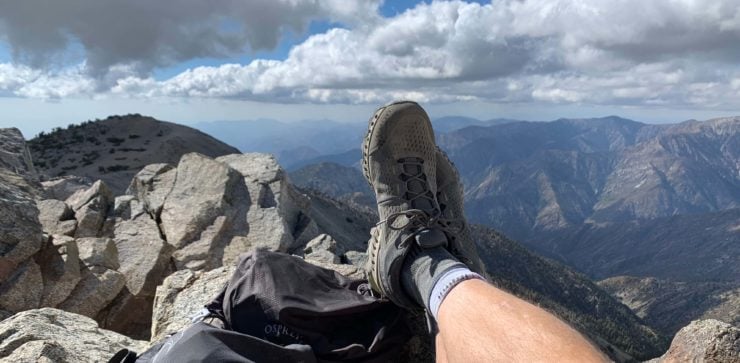
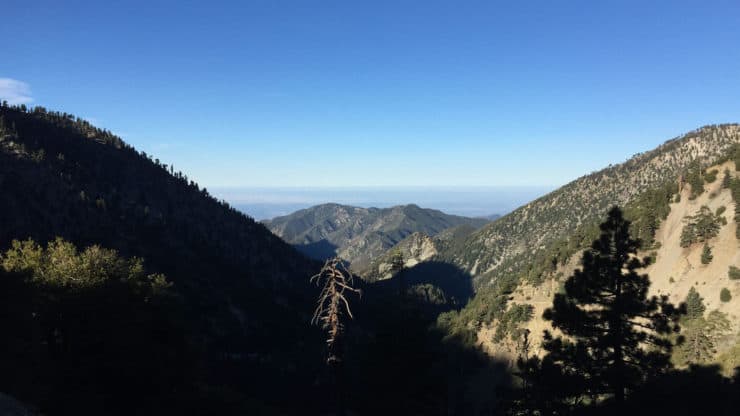
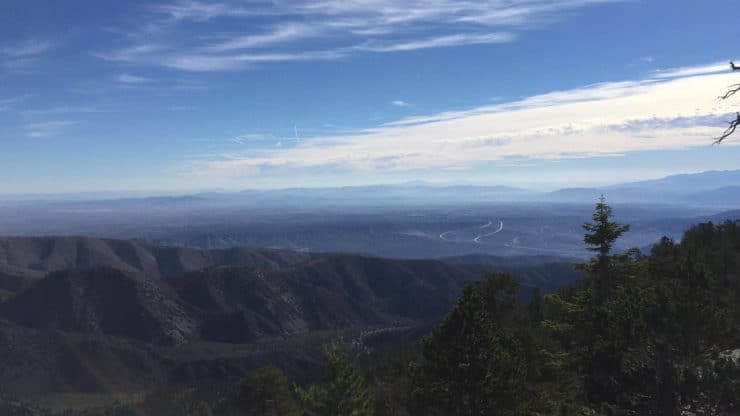
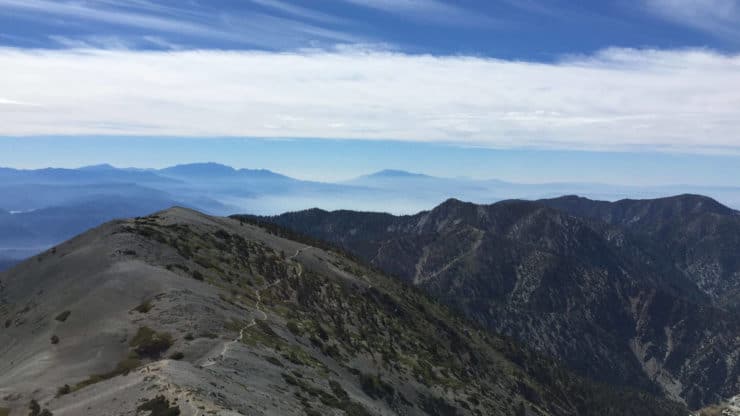
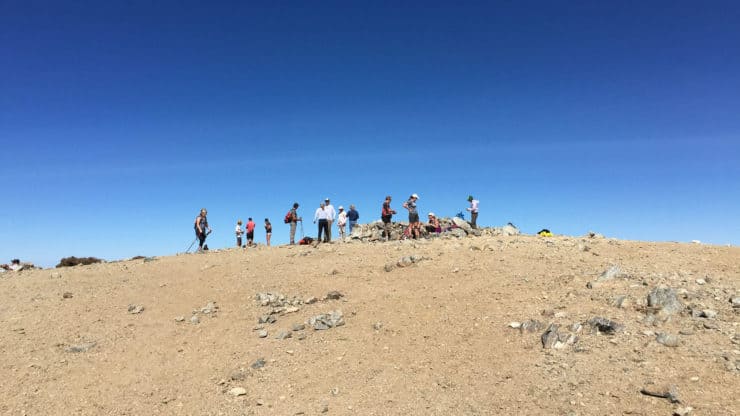
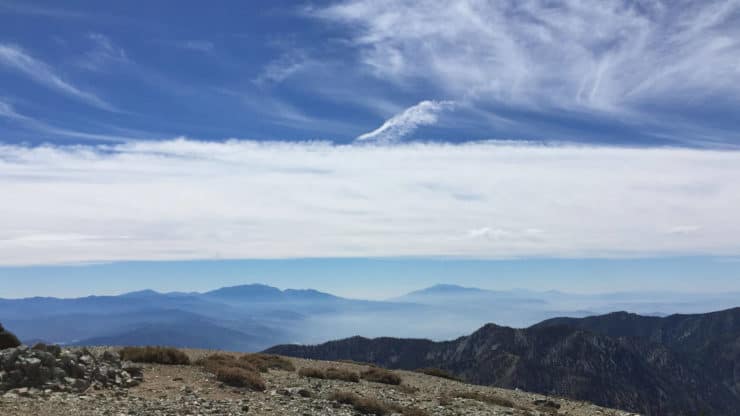
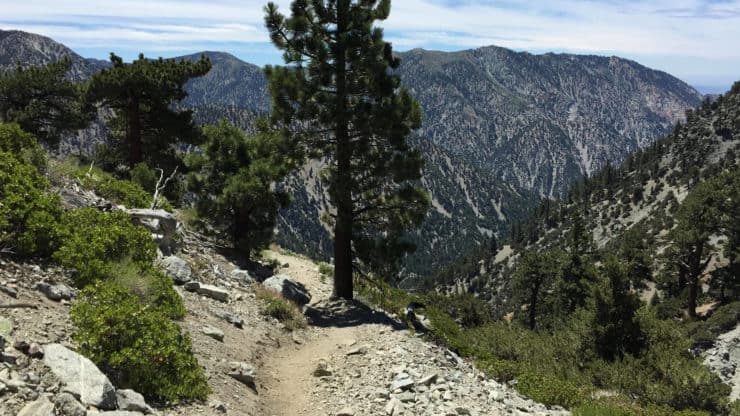
This 11 mile Mt Baldy hike brings you to the highest point in LA at 10,064 feet. With almost 4000 feet of climbing, it's a tough yet popular hike, and well worth the effort. You can see from the Pacific to the Mojave on a clear day. There are a few ways to hike Mt Baldy, and this guide takes you on the most popular route.
- When to Hike Mt Baldy
- Where to Park
- Insider Tips for the Hike
- Trail Maps & Printable Directions
People who are not prepared die on Mt Baldy every year. Please read this guide carefully before deciding to hike Mt Baldy.
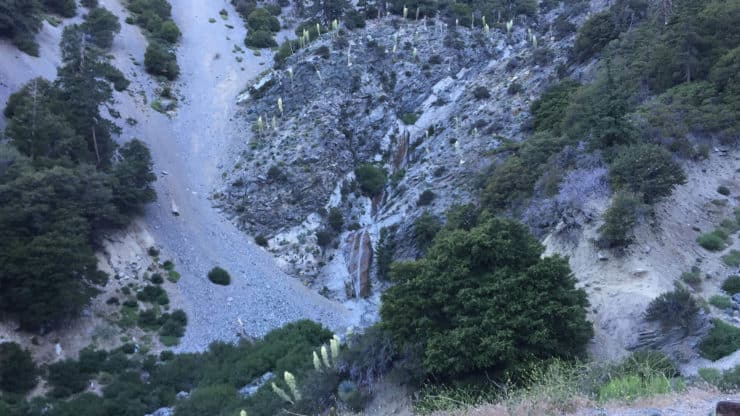
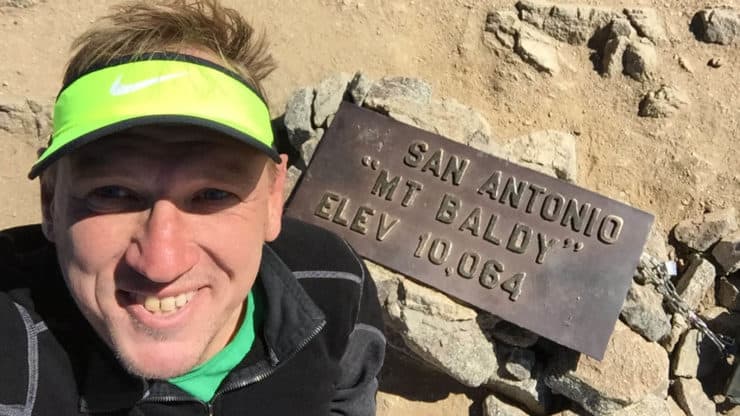
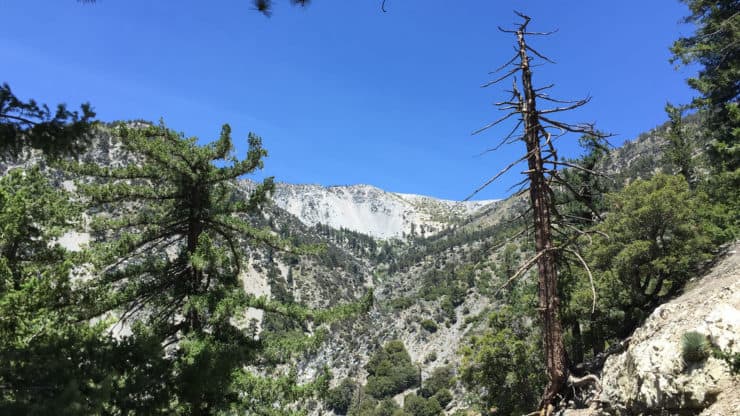
Mt Baldy is also known by it's official name of Mt San Antonio, but everyone just calls it Mt Baldy. It was named for the bald (treeless) face of the Baldy Bowl which is visible when you see the mountain from LA. Mt Baldy is located in the new San Gabriel Mountains National Monument, as well as Angeles National Forest.
When to Hike Mt Baldy

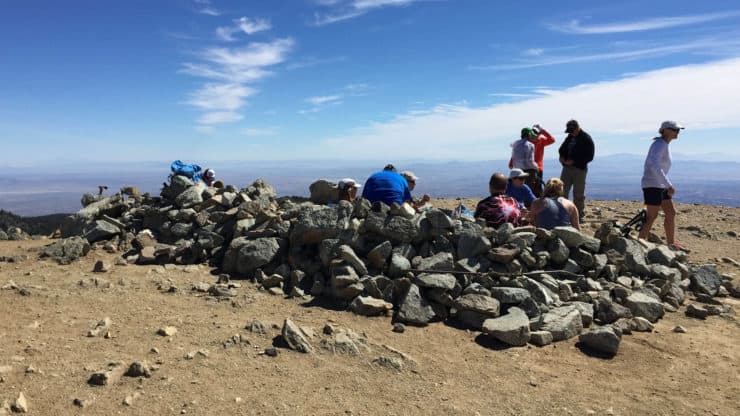
Do the Mt Baldy hike as early as possible to avoid the crowds. It's one of the most popular hikes in LA. I usually leave at sunrise. The later that you leave, the tougher it will be to park at Manker Flats. If you can do the hike on a weekday, you'll encounter even less crowds. If you're starting later in the day, don't forget to look at the sunset time. Getting caught on the trail after dark is a recipe for bad times.
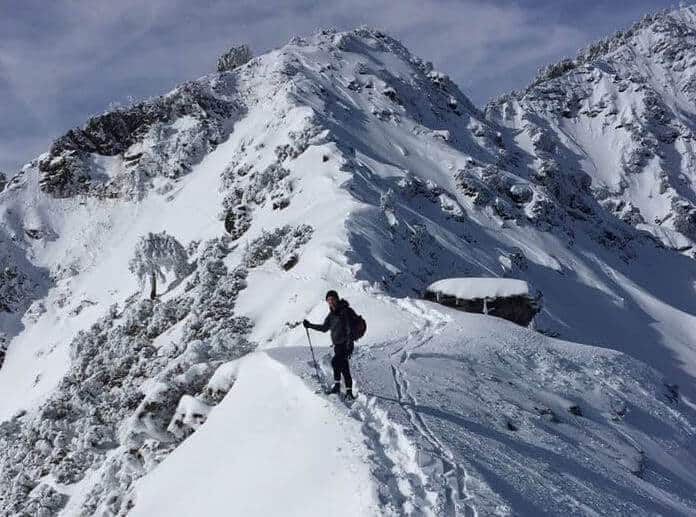
Is There Snow On the Mt Baldy Trail?
So there's no official way to know if there's snow at the summit of Mt Baldy, but there are some roundabout ways to figure it out. If you're in the summer months, say late May to October, the chances are that it's clear.
When I want to check for snow and bad conditions, I do a couple of things.
- First, I check the ski report for Mt Baldy Notch. If there's snow here, there's snow higher up.
- I also check out some webcams that show Mt Baldy in the distance.
- Then I check the Mt Baldy summit weather. These forecasts are a favorite because I can see not only the high and low temperatures, but also the winds. If there are high winds or very low temperatures at the summit, I know conditions are not great.
- I use online tools to check for snow cover.
If there's snow or bad weather, hike Mt Baldy on another day. Every winter hikers die on Mt Baldy, even those with mountaineering experience. It's real and you need to take it seriously.
If the conditions aren't good for hiking on Mt Baldy, try something challenging without snow at a lower elevation like Mt Wilson, Echo Mountain, Mt Lukens, or Saddleback Mountain.
Training For Mt Baldy
Lots of people do Mt Baldy without any fitness or preparation, but that doesn't mean that you should. The fitter and more prepared you are, the more enjoyable the experience will be. If you've only done shorter or casual hikes, here's how I would recommend building up.
- Echo Mountain Hike on the Sam Merrill Trail - 5.6 miles - 1460 feet
- Mount Baden-Powell Hike - 8.3 miles - 2800 feet
- Mt Baldy Hike - 11 miles - 3990 feet
How To Get to the Mt Baldy Hike
The Mt Baldy trailhead is just past the Manker Campground, about 1:15 hours east of downtown LA. You'll drive through Mt Baldy Village on your way to the hike. It's a good place to grab lunch after hiking.
Here's the address you can put into your GPS to get to the trailhead.
Manker Campground, Mt Baldy, CA, 91759, USA
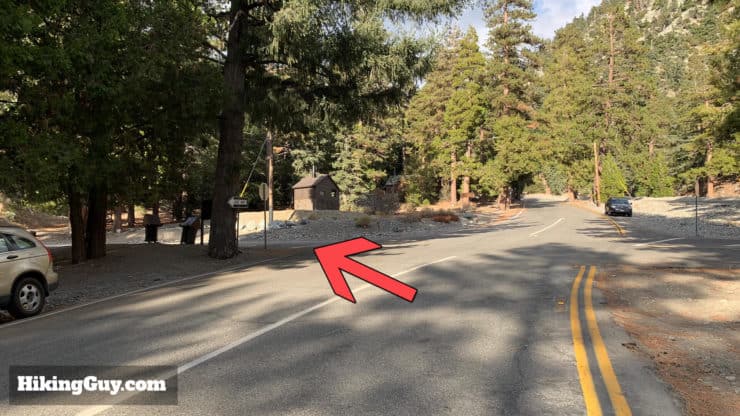
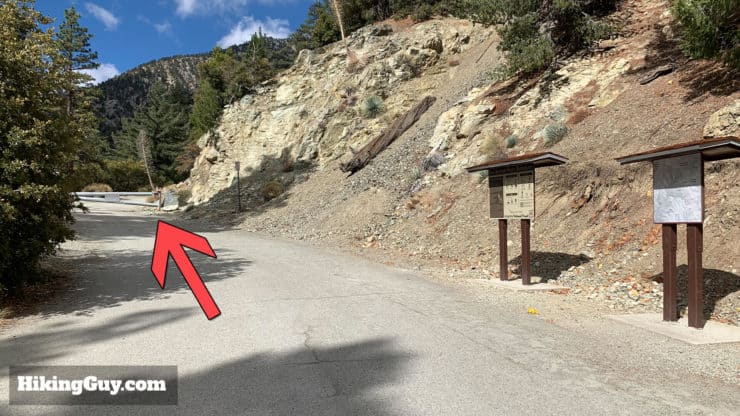
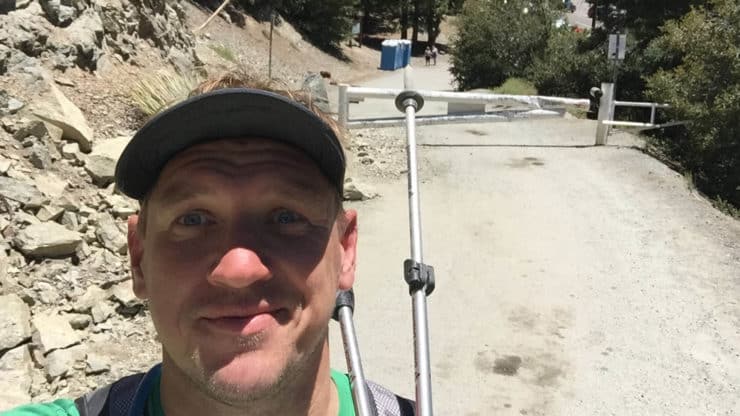
Drive past the campground to the next parking area between the road.
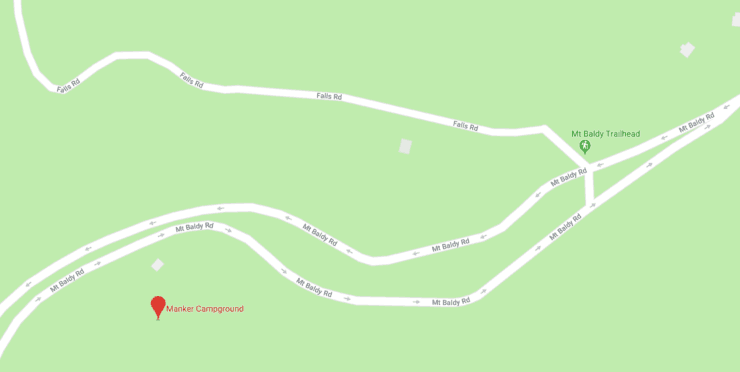
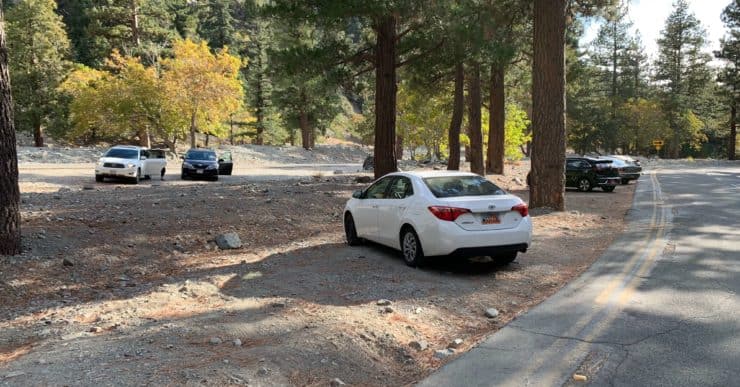
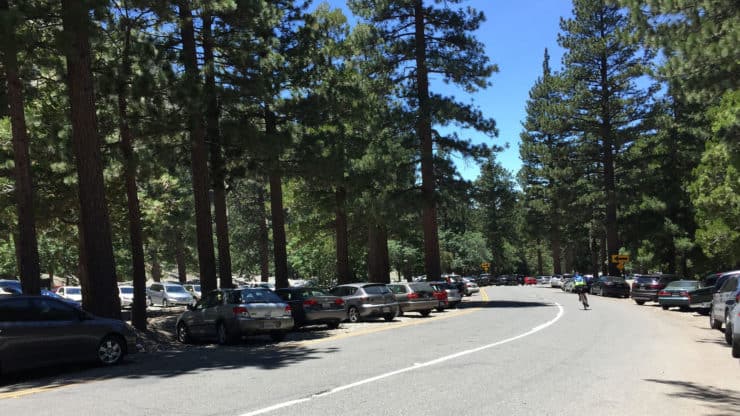
Note that you no longer need a parking pass in this lot according to this USDA site, so that's great. You used to need a parks pass or Adventure pass. If you have a parks pass anyway I'd just hang it to be sure. If you park below in the Manker Campground, you do need to have a pass.
There have been reports of thefts at the trailhead parking lot. Be smart and don't leave valuables visible in your car.
What to Bring on the Mt Baldy Hike
Even though this is a popular hike that lots of folks do, it's still a serious mountain hike. The conditions at the top of Mt Baldy are famous for being extreme, mainly windy and cold. You should be prepared accordingly with extra layers, plenty of snacks, and 3L of water.
It's also worth mentioning that some folks have problems with the altitude, especially those coming up from sea level. If you want to learn about the effects of altitude, check out my guide to Mt Whitney. Mt Baldy isn't going to produce life threatening conditions (in general) but you could end up struggling and wheezing a bit.
Gear That I Love Right Now
Nothing is sponsored or promoted, just the actual gear that I use.


Check out the complete list here. ( Updated October 2024)
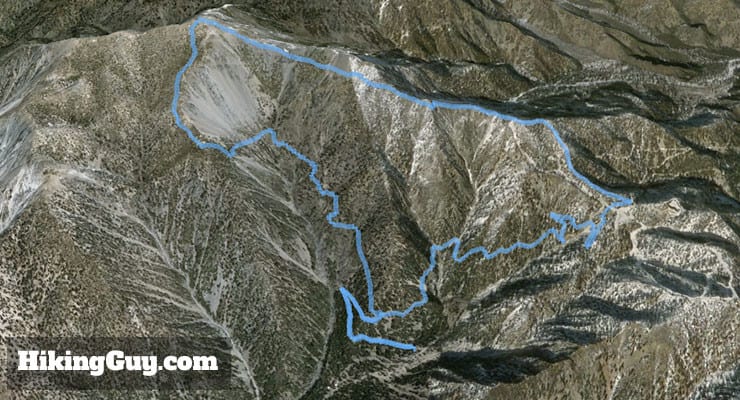
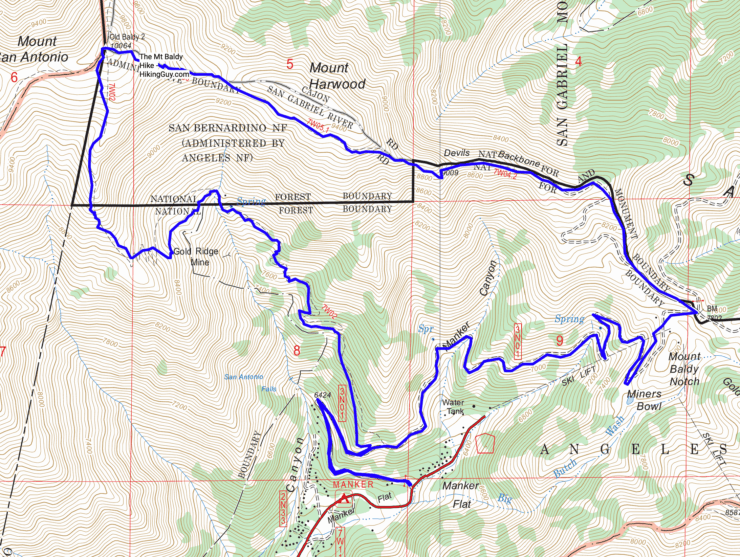
Mt Baldy Trail Maps
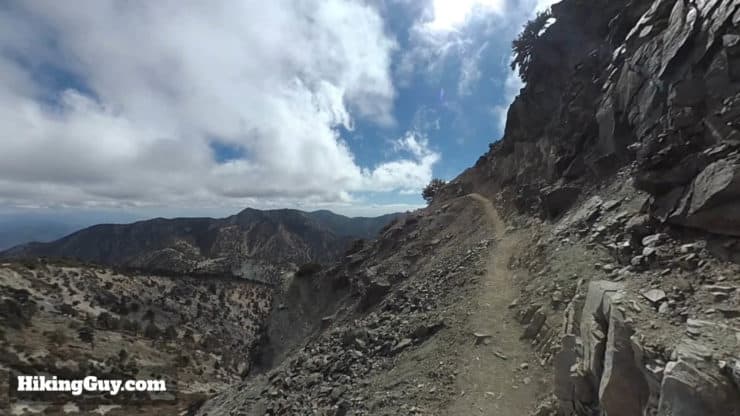
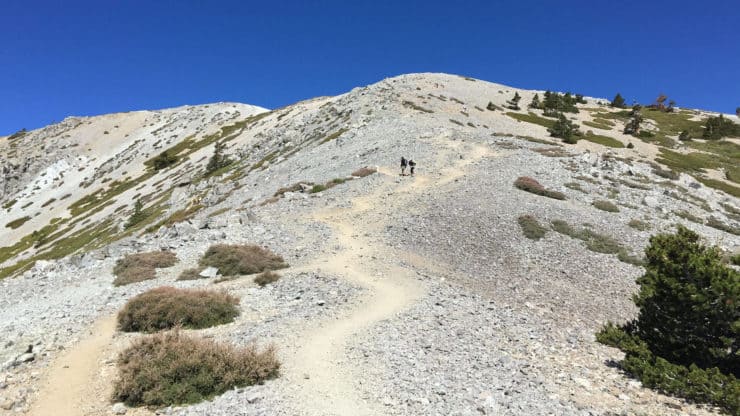
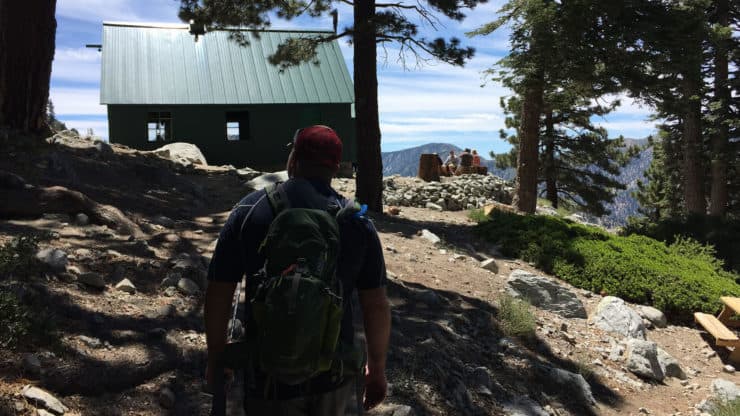
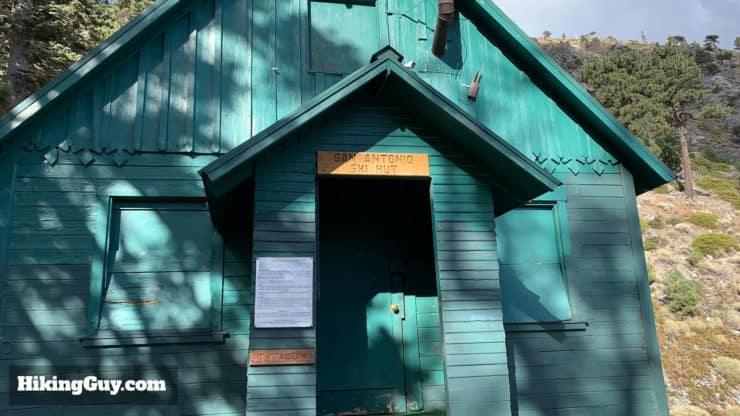
There are two popular trail for the Mt Baldy hike, the Baldy Bowl / Ski Hut Trail and the Devil's Backbone Trail. This hiking guide starts on the picturesque Devil's Backbone Trail and then descends the Baldy Bowl Trail to the Sierra Club Ski Hut and back to Manker Flats. I find this routing to be the most enjoyable for beginners. If you want to avoid the crowds and do a much tougher hike, try the route on Bear Canyon trail.
Because trail markers on this hike sometimes get stolen, I highly recommend having a paper and electronic map.
How Will You Navigate?
 Using the Apple Watch for Hiking
 Garmin Fenix 7 & Epix Review For Hikers
 How To Read a Topographic Map
 Garmin GPSMAP 67i Review
Hike Landmarks
| Landmark | Miles | Elevation |
|---|---|---|
| Baldy Bowl Trail Junction | 0.9 | 6600ft |
| Ski Area | 3.4 | 7800ft |
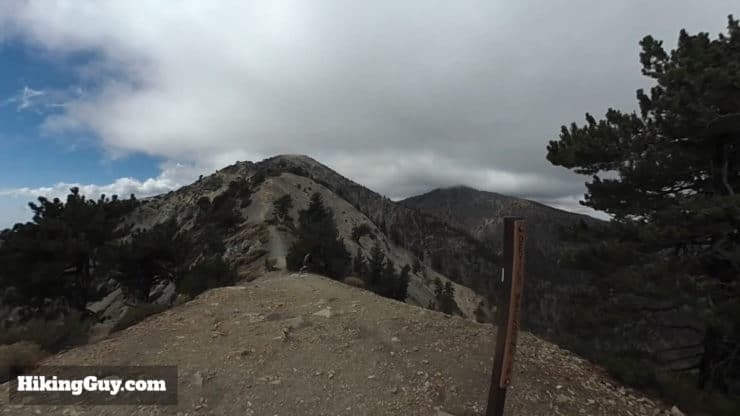
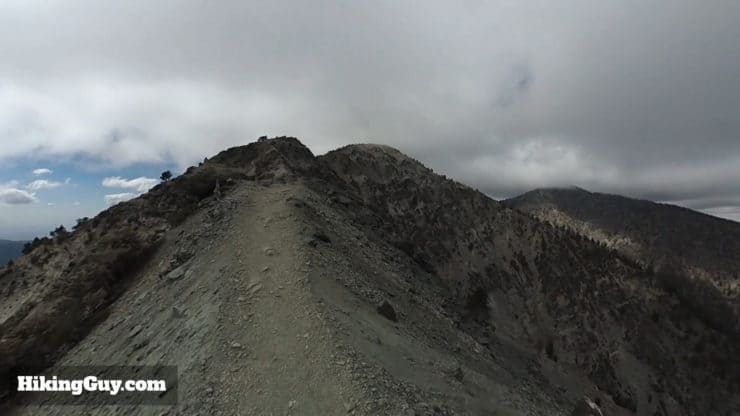
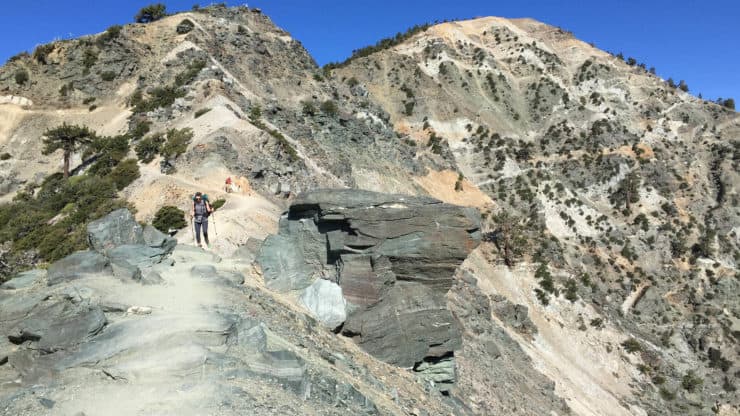
| Start Devil's Backbone | 4.5 | 8600ft |
| Optional Mt.Harwood Turnoff | 5.3 | 9300ft |
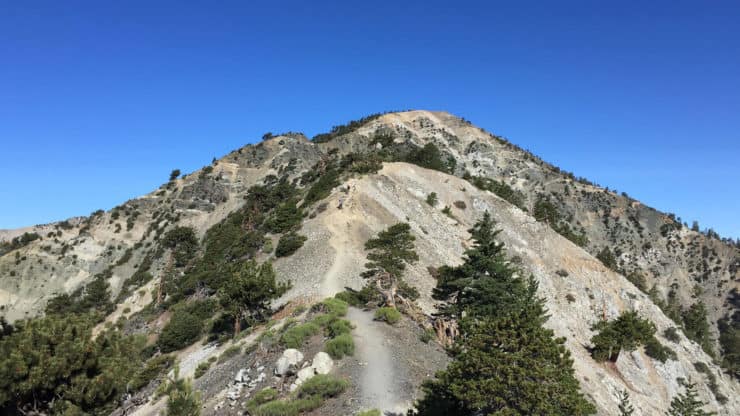
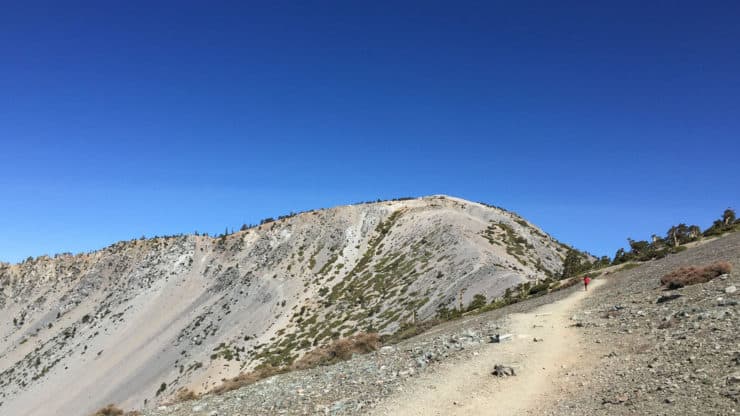
| Start Last Steep Climb | 5.8 | 9500ft |
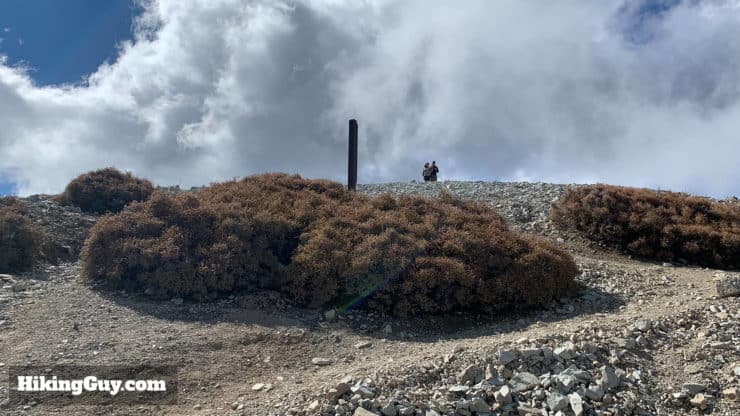
| Mt Baldy Summit | 6.3 | 10064ft |
| Ski Hut Turnoff | 7.8 | 8200ft |
Mt Baldy Hike Elevation Profile

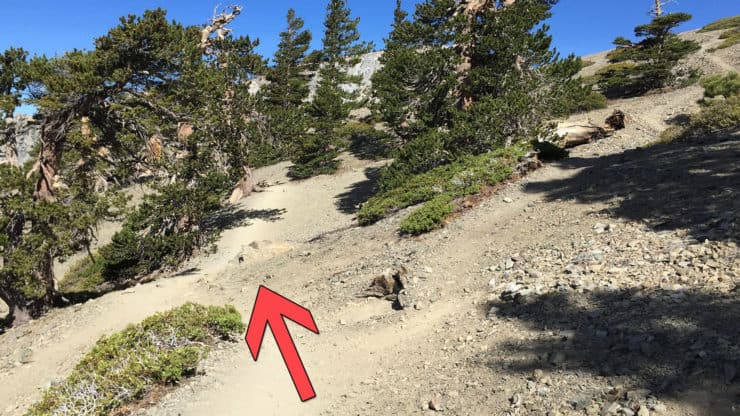
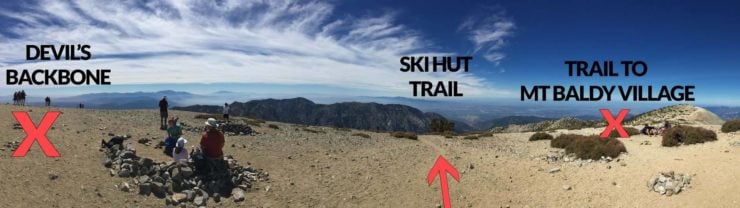
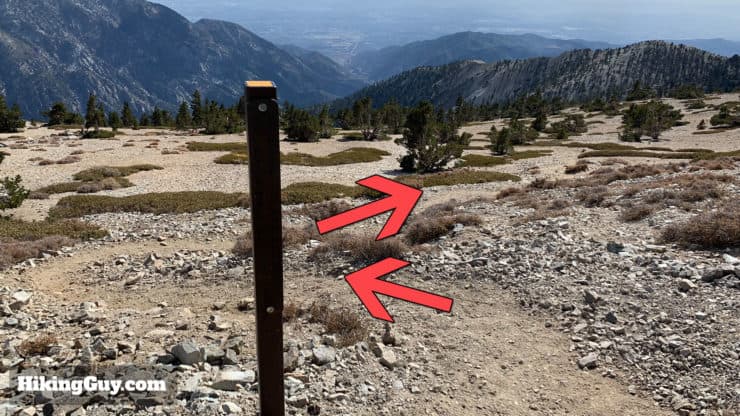
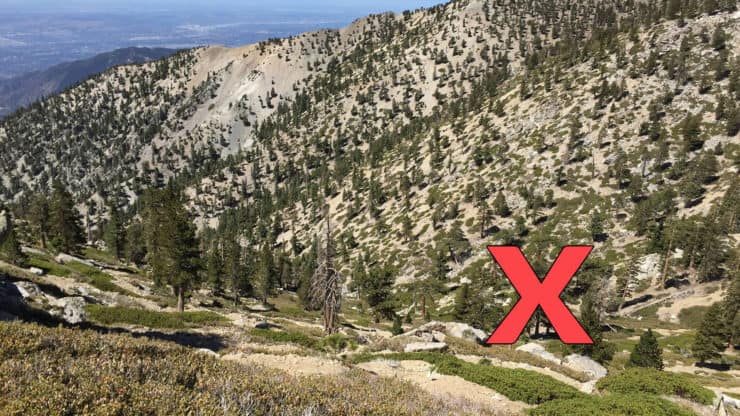
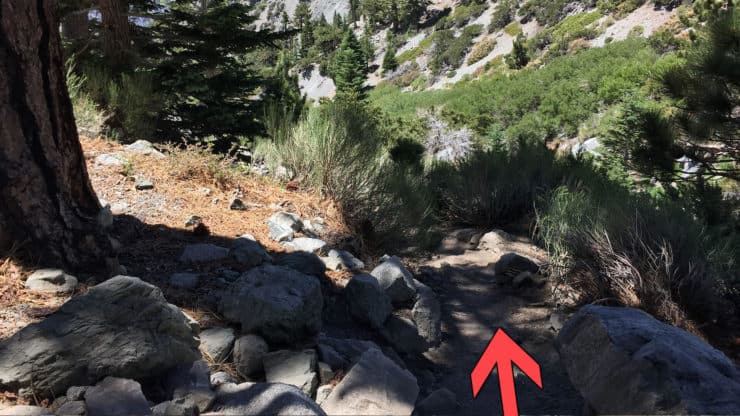
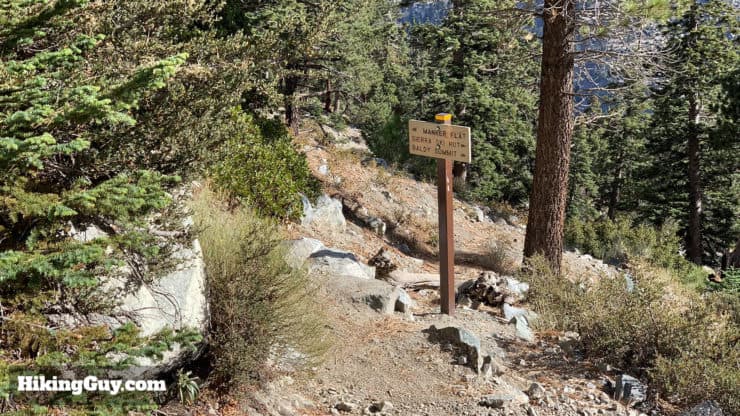
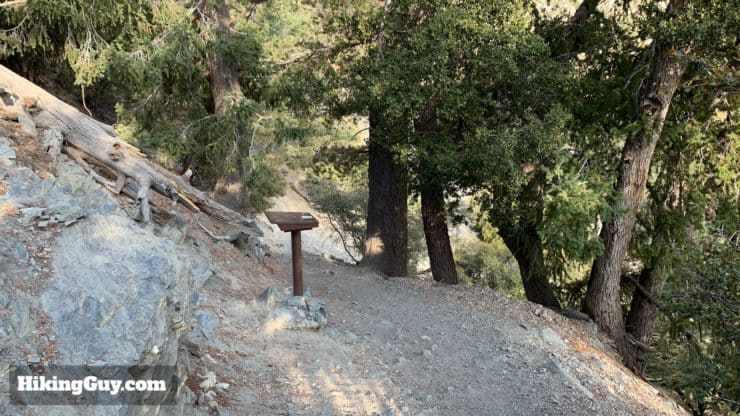
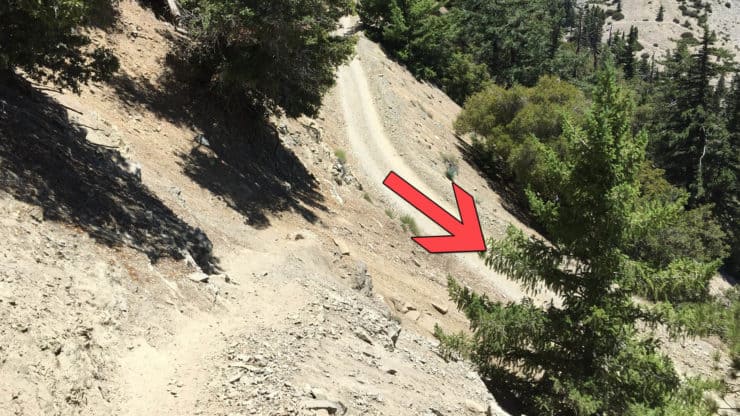
Tips on Not Getting Lost
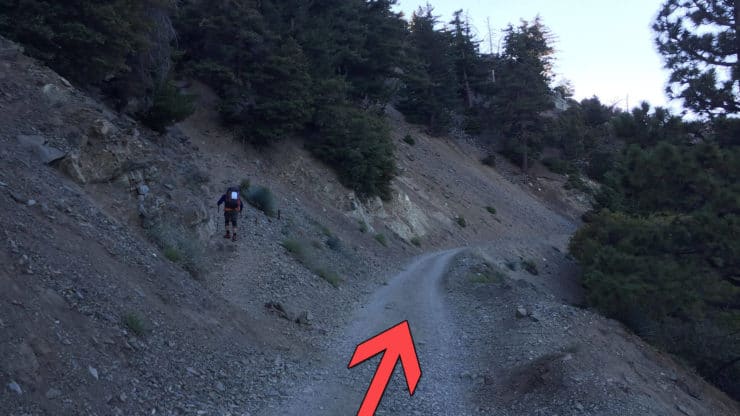
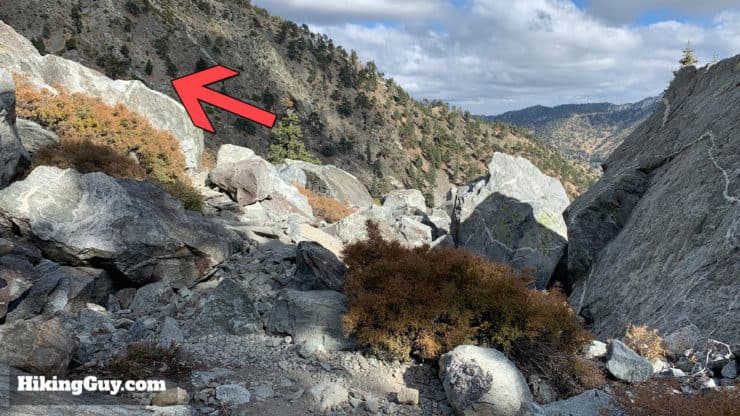
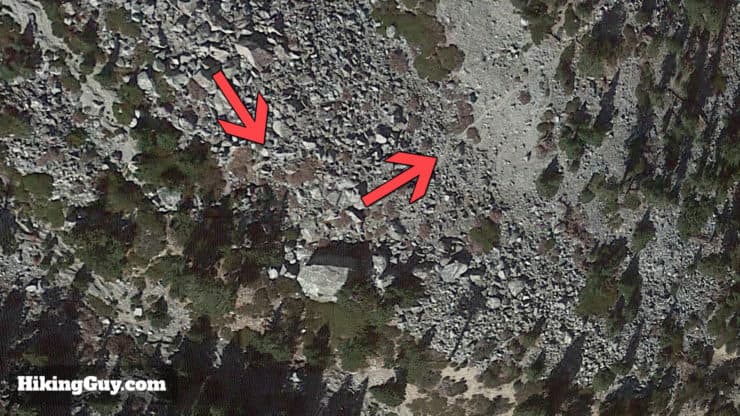
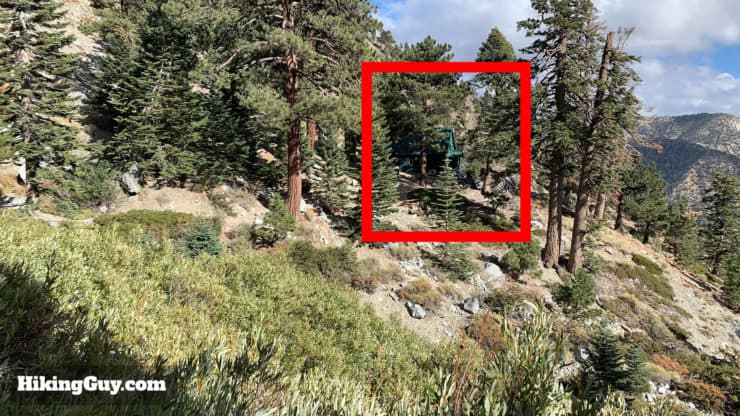
Some hikers get lost when descending the Baldy Bowl / Ski Hut trail. The trail splits apart, comes back together, and can be confusing (more below). If you are descending and you see airplane wreckage, you've gone off the trail, immediately turn around and head directly uphill to rejoin the trail. If it doesn't look like you're on a trail, you're not, turn around before you get stuck on a ledge.
If you do get lost, stop, collect yourself, consult your maps, and regroup. If you don't find the trail after a little while, stop, stay put, and fire up your rescue beacon. Don't move when you set off your beacon, stay where you set it off.
Mt Baldy Hike Directions
Turn by Turn Directions
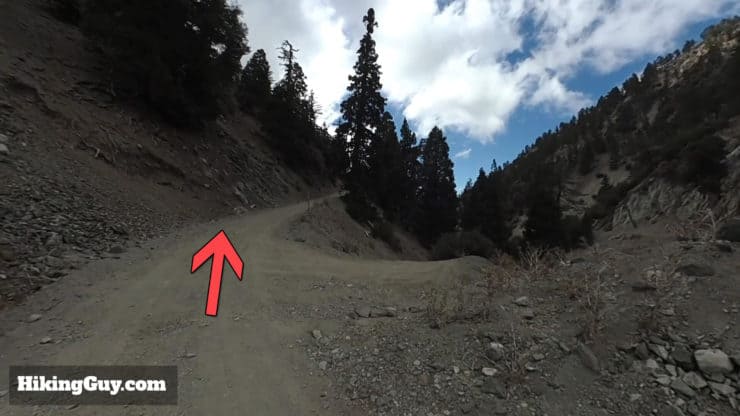
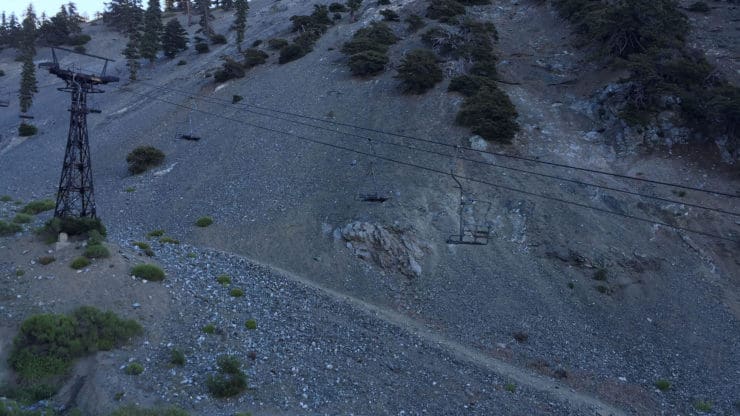
These directions have you hiking the entire way, but you can also cheat and take the chair lift to Mt Baldy Notch. It doesn't cut that much off the hike, so I recommend just doing the hike.
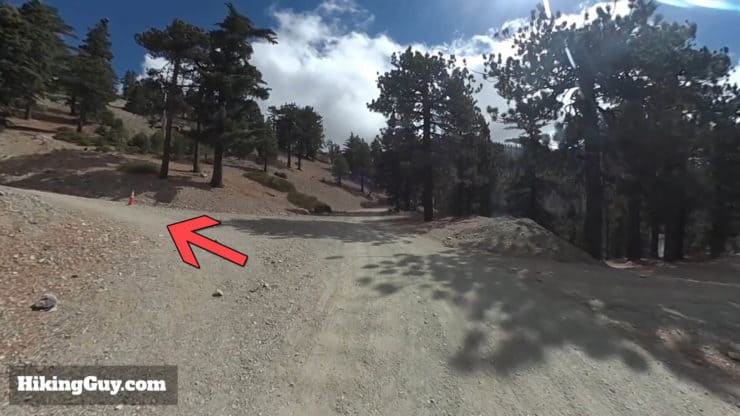
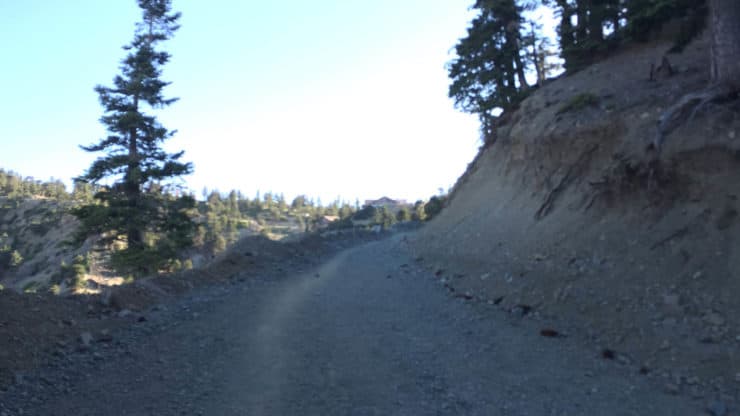
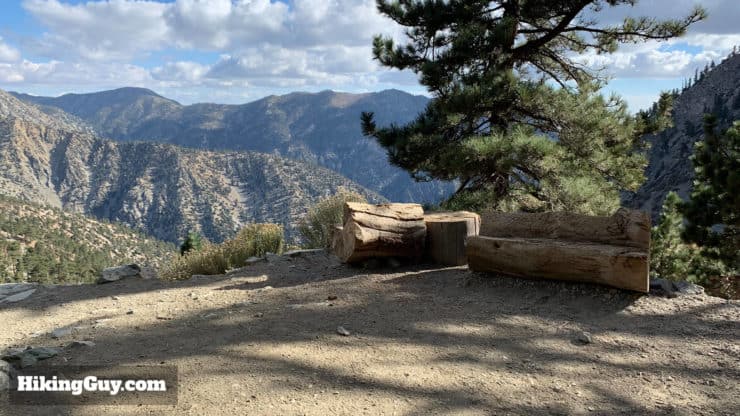
If you want to take a break, Mt Baldy Notch is a good place. There is a restaurant called Top of the Notch that is a nice place to grab a bite, or you can just do it picnic style.

If you are going to bag Mt Baldy, why not set Mt Whitney as your next goal? You won't be disappointed, it's awesome.
Need More Info?
- Have a question about the guide? Join my Patreon and ask me a question.
- When planning, always check the park website and social media to make sure the trails are open. Similarly, check the weather and road conditions.
- Do you have an update to this guide? View the Youtube comments for this video. Leave a comment and I will do my best to update the guide.
Related Guides
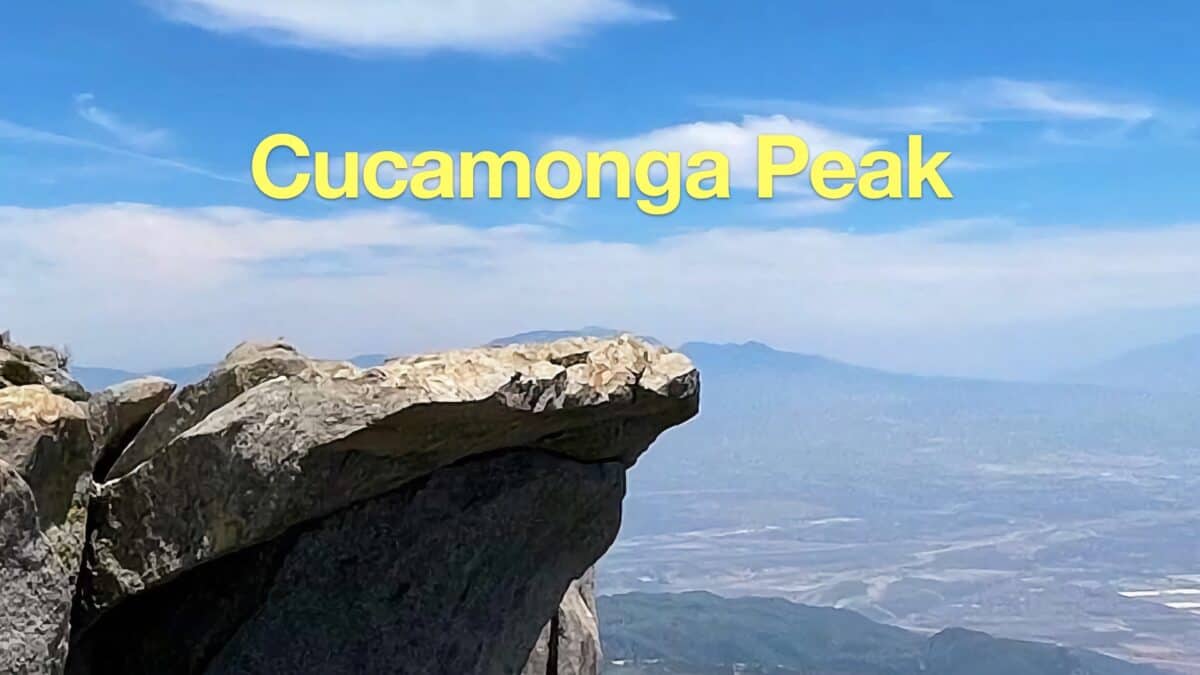 Cucamonga Peak Hike
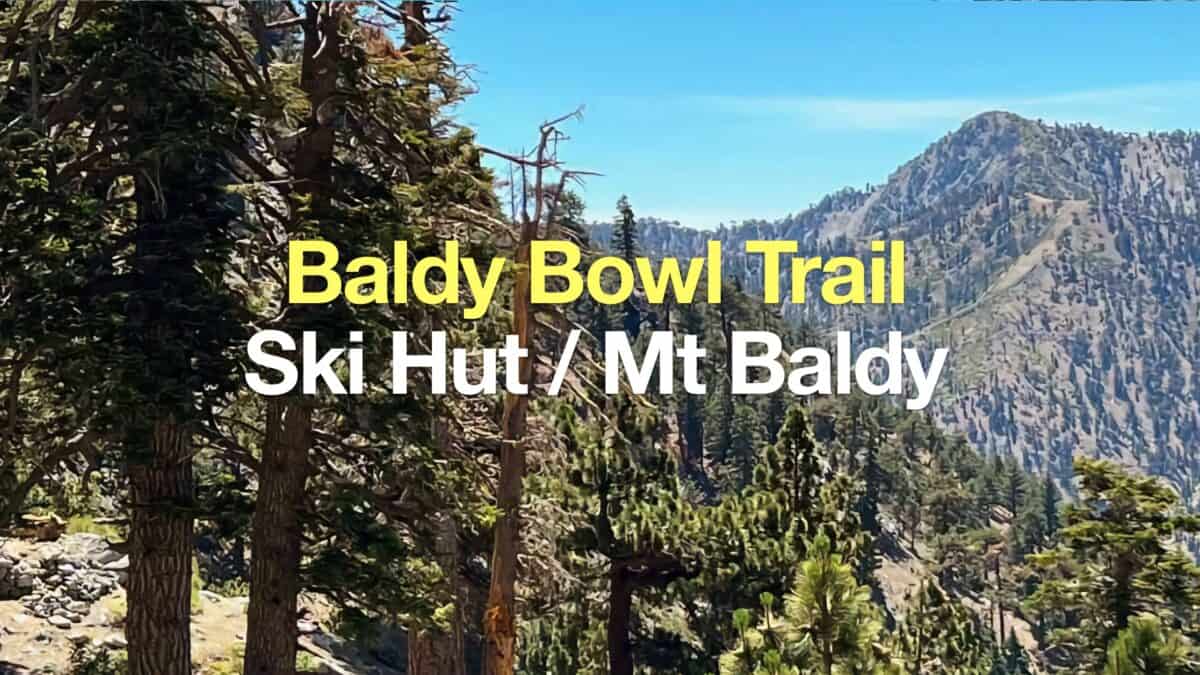 Baldy Bowl Trail (Ski Hut Trail) to Mt Baldy
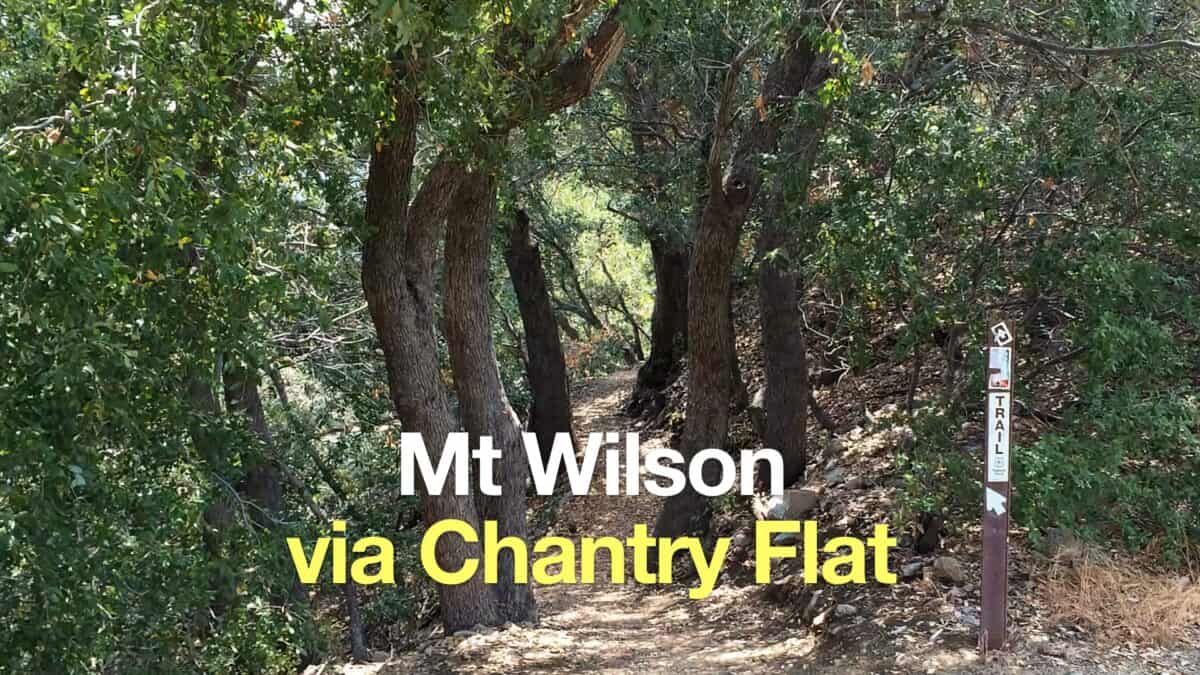 Mt Wilson Hike From Chantry Flat
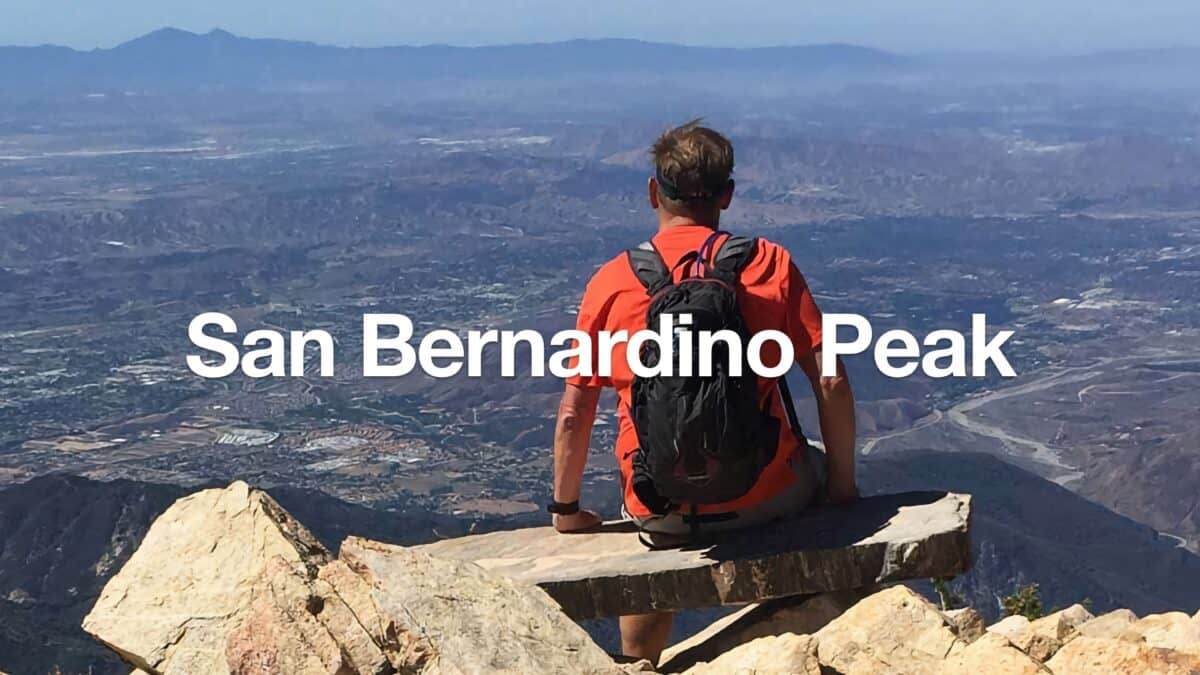 San Bernardino Peak Hike
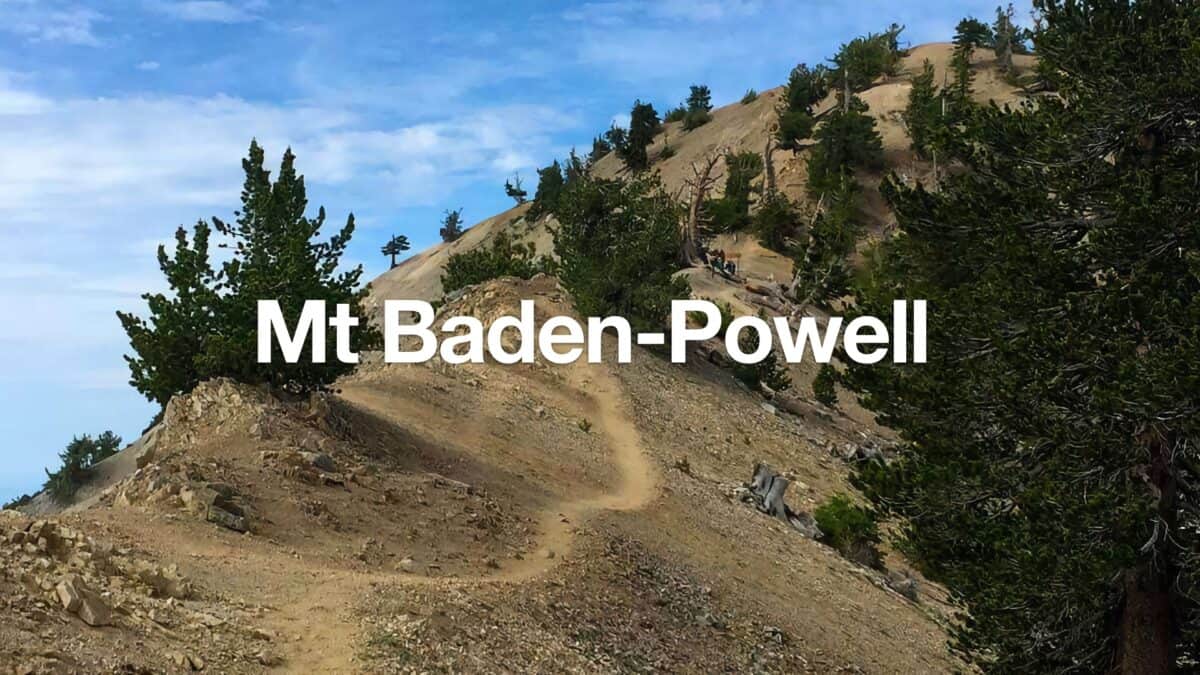 Mt Baden-Powell Hike
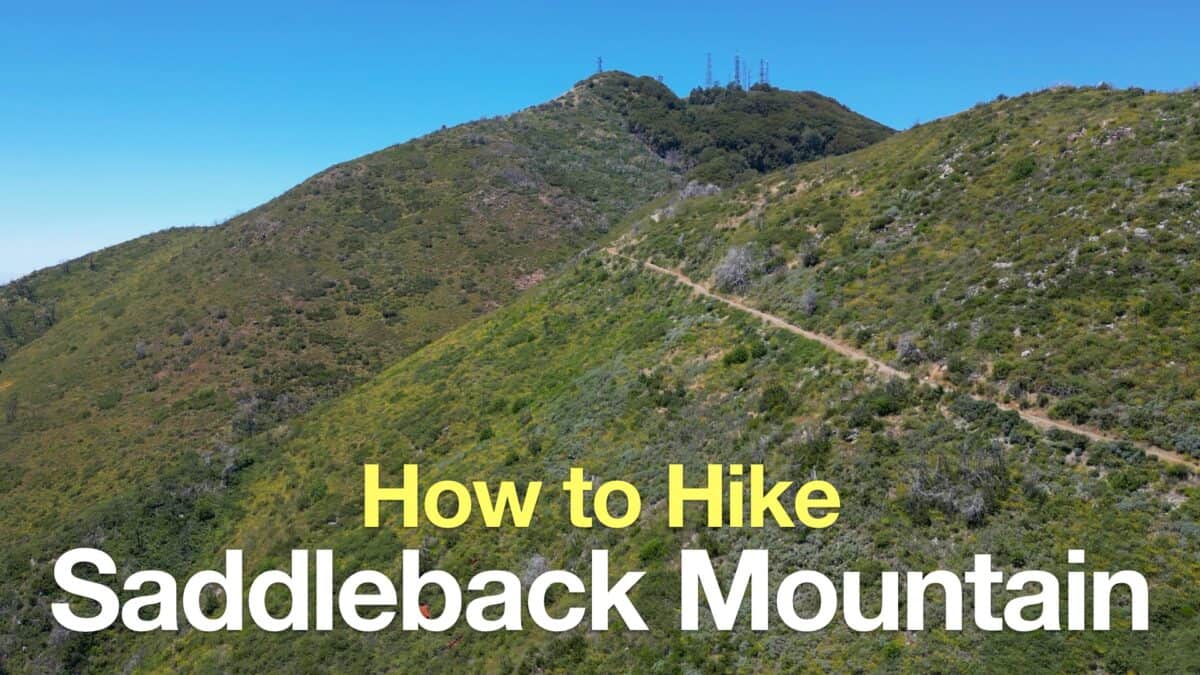 Saddleback Mountain Hike (Santiago Peak)
 Mount Pinos Trail and Sawmill Mountain Hike Guide
 When to Hit SOS on inReach
 Hiking For Beginners: 11 Essential Tips
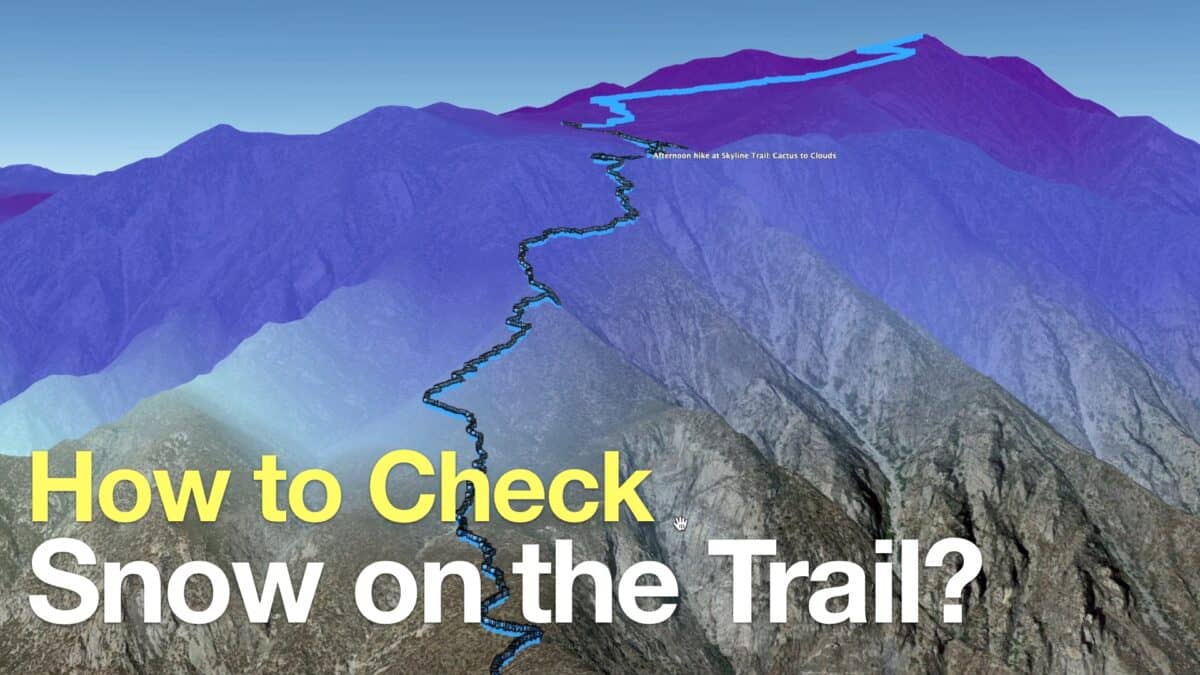 How to Check If There Is Snow On the Trail
 San Gorgonio Hike on the Vivian Creek Trail
 Sunset Peak Trail Hike (Angeles National Forest)
 Best Hikes in the US
 Los Angeles Hikes
 Angeles National Forest Hikes
 LA Mountain Hikes
 San Gabriel Mountains National Monument Hiking
 Sierra Club 100 Peaks
Popular Guides
 Best Hiking Gear 2024
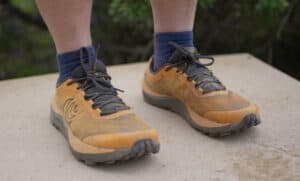
 Hiking Boots or Shoes: Do I Really Need Hiking Boots?
This Guide Was Written by Cris Hazzard

Hi, I'm Cris Hazzard, aka Hiking Guy, a professional outdoors guide, hiking expert, and author based in Southern California. I created this website to share all the great hikes I do with everyone else out there. This site is different because it gives detailed directions that even the beginning hiker can follow. I also share what hiking gear works and doesn't so you don't waste money. I don't do sponsored or promoted content; I share only the gear recommendations, hikes, and tips that I would with my family and friends. If you like the website and YouTube channel, please support these free guides (I couldn't do it without folks like you!). You can stay up to date with my new guides by following me on YouTube, Instagram, or by subscribing to my monthly newsletter.