Backpacking For Beginners: Hiker → Backpacker
Backpacking for beginners doesn't have to be as intimidating as it is. Unfortunately, the massive amount of information online, coupled with pundits' strong opinions, can be overwhelming for many day hikers looking to make the switch. The good news is that backpacking is much simpler than you probably think, and in this guide, I'll give you some simple steps to make your first backpacking trip easy.
- Adopt the Right Mindset
- Only Bring What You Need
- Easy Ways to Practice and Prepare
Backpacking is Similar to Hiking
If you've already gone hiking and feel comfortable on the trail, you're more than halfway there. If not, I'd recommend starting hiking first and learning the basics. Backpacking is simply hiking with some overnight stops. Don't make it any more complicated than that.
Here's what we're going to do to make the transition from a hiker to a backpacker.
- Understand the minimum backpacking gear we need to stay overnight comfortably and learn how to use it.
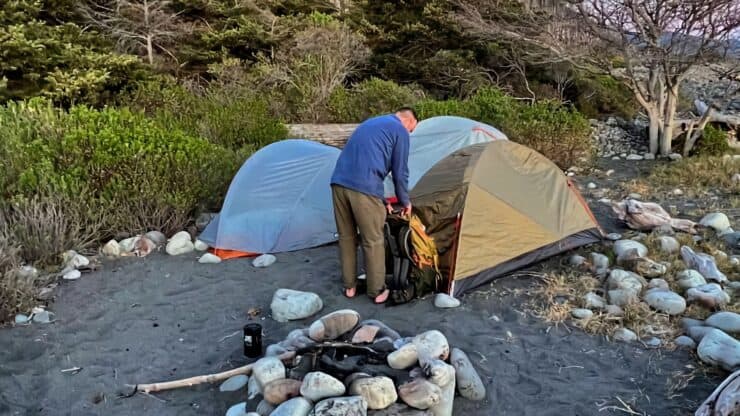
- Learn how to find a good place to set up camp.
- Know what to expect overnight.
- Make an easy practice trip before your big backpacking trip.
Minimum Gear For a Comfortable Overnight
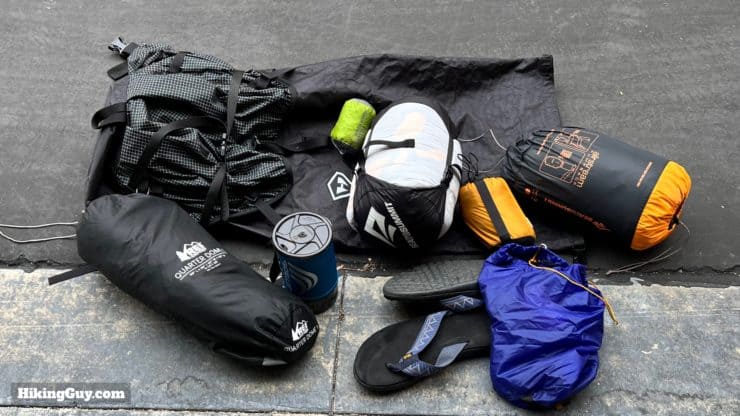
If you do some research on backpacking for beginners, you'll invariably find many YouTube videos with clickbait titles like "the ONE piece of gear you MUST have" and similar. But it's not like that; it's all pretty common sense. Here's what you need.
- Shelter (a tent is a good place to start)
- Sleep System (sleeping bag, pad, pillow)
- Food (small stove and freeze-dried packages)
- Headlamp
- Your normal hiking essentials
Compared to your normal hiking gear, you're just adding a shelter, sleep system, and stove. So it's not too complicated. Now, you can bring other things to make life comfortable. Some people carry a chair (way to heavy for me) or a sit pad, camp wear, cooking gear, the list goes on and on. But the important point to remember is the lighter your pack is, the more pleasant the backpacking trip will be. And with that in mind, there are lots of ultralight backpackers who will tell you to ditch the tent, pillow, etc. What I have here is what I think the minimum gear is to start comfortably. Do a trip with this set of gear, find out what you like, don't like, or are missing, and then adjust your kit from there.
And if you don't have backpacking gear and are on the fence about whether backpacking is for you or not, you can rent gear at REI or other outfitters. Otherwise, I have gear recommendations on my (always updated) gear page. I've chosen gear that is a good balance between light weight, durability, affordability, and ease of use.
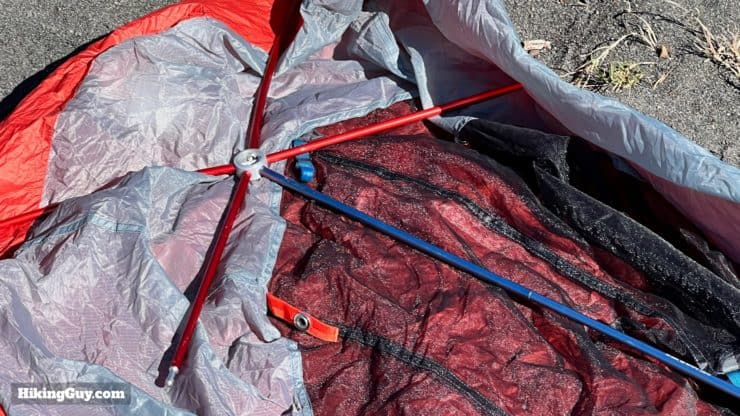
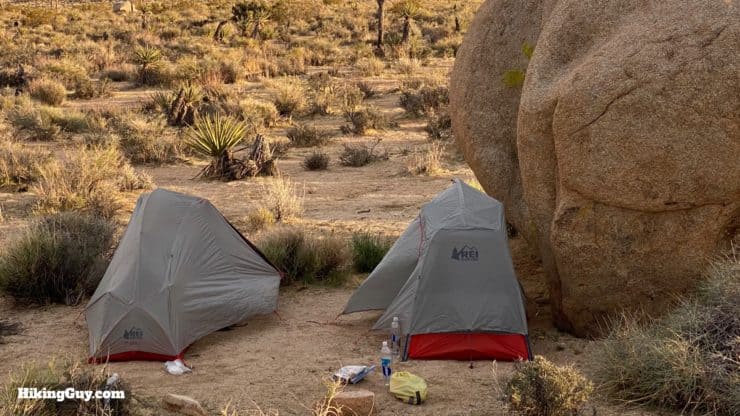
Shelter

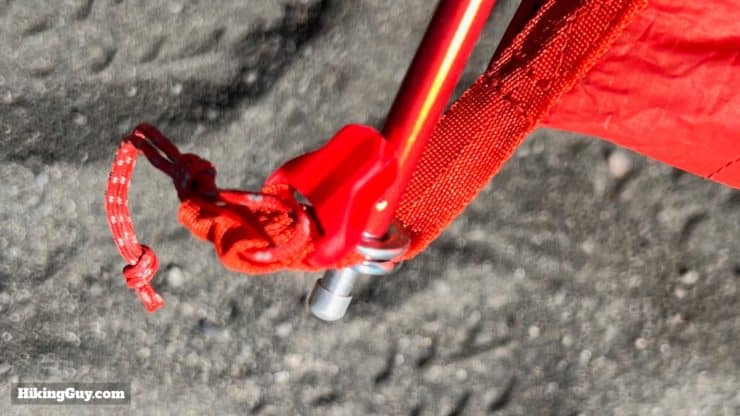
As you would imagine, there are a lot of tent options. I'd recommend a free-standing tent. Free-standing means that the tent will stand using poles that come with it. You don't need to tie any special lines, learn any knots, or do anything complicated. There are three components to a free-standing tent.


Do I need a tent footprint? Tent footprints provide a layer of protection between the ground and your tent. If you know that you are going to be camping on rough ground, they can help prolong the life of your tent. But if this is your first time, you can usually give it a skip.
Lastly, I'd also recommend getting a 2 person tent for yourself (as 1 person). It will give you more room to relax, only takes up a small amount of space, and generally only weighs a few ounces more than a 1 person tent.
Sleep System
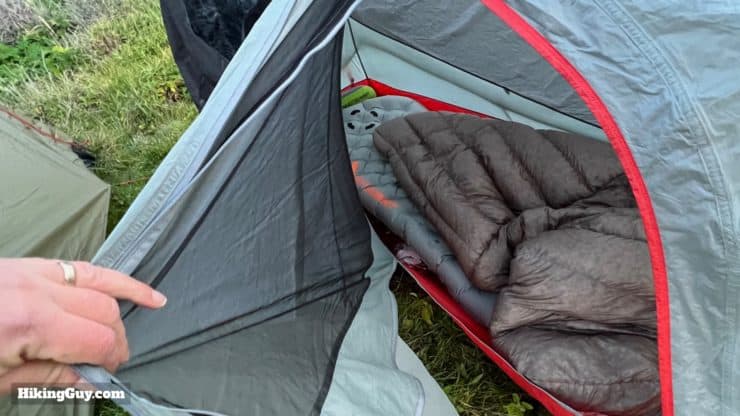
If you get a good night of sleep, you will feel better on the trail. It's an area that I don't recommend skimping on when you start out. Hike, eat, sleep well, repeat. A good night of sleep can not only improve your mood, but it can also mean the difference between good and bad decisions in the backcountry.
In my younger days I'd tough it out without a sleeping pad, but today, I wouldn't camp without it. First, it will protect you from bumps, rocks, and sticks on the ground. It will also keep you warm. Look for a high r-value, which is the amount of heat it will reflect back to your body. And then the obvious thing, which is that it gives you a soft place to lay.
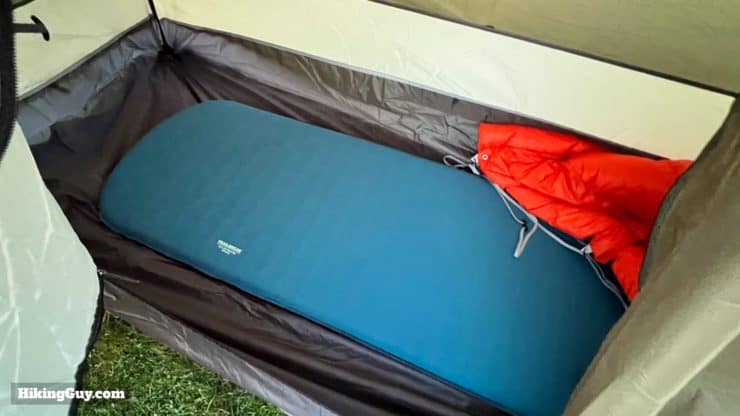
I recommend starting with an inflatable sleeping pad that you can roll up and stick into your backpack. If you are a beginner it's easier to pack and manage than a hard sleeping pad, which folds and gets lashed to the outside of your pack.
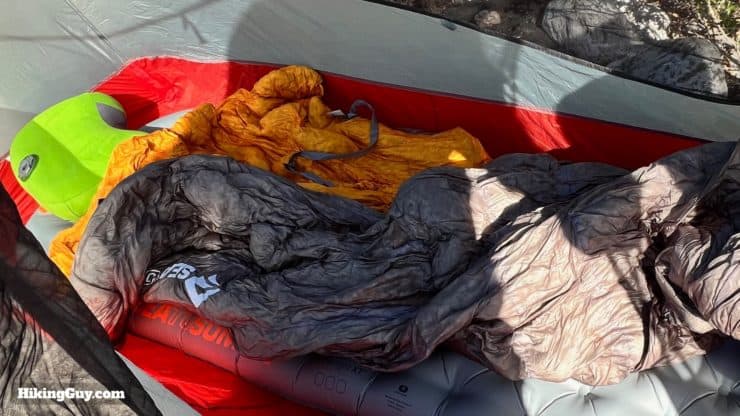
A sleeping bag will give you good overall coverage, but if you roll around when you sleep, a quilt, which works like a blanket, is easier to sleep naturally with. If you use a quilt, make sure you have a good sleeping pad with a high r-value.
You'll notice that sleeping bags and quilts have a temperature rating. Take these as a general guideline. I prefer to always use a sleeping pad with a high r-value (warmer) and then choose a quilt or bag for the lowest temperature that I'm going to be in. I'd rather be warm and simply adjust the bag or quilt if I get too hot. Otherwise you'll be too cold, and that's a tougher problem to have (said from experience).
Here's how I decide on the bag temperature to use.
- Nighttime low over freezing - 20F bag or higher
- Nighttime low below freezing - 20F bag or lower
The 15-30F bag seems to be a nice sweet spot for me that can handle most situations.
I like to carry a small inflatable pillow. It's very comfy and only weighs a few ounces. You can also fill a stuff-sack with clothes and use it as a pillow.
If you want to keep your bag clean, or give yourself a few extra degrees of warmth, try a sleeping bag liner. They also work great for camping in very hot conditions. Just use the liner without a bag.
Food
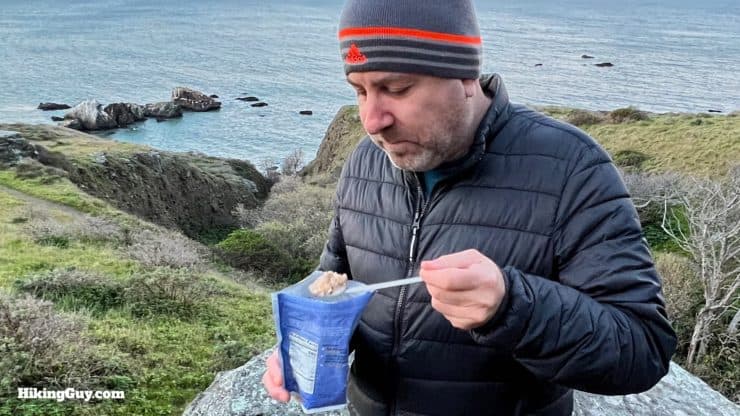
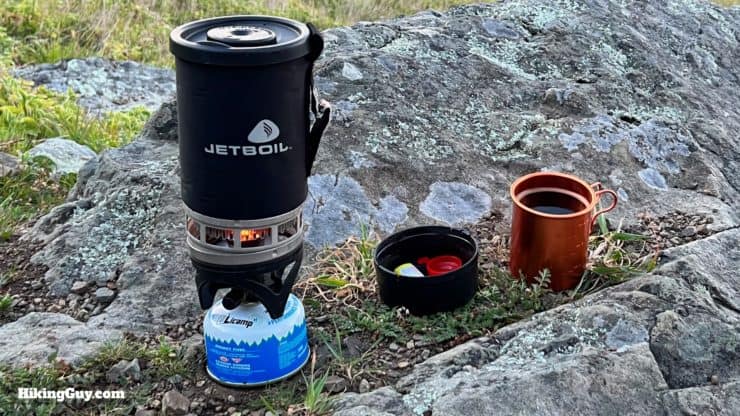
Okay, let's talk about cooking food. What we're going to do is boil water, pour it in a bag of freeze-dried food, let it sit, and then eat out of the bag with a long spork. Obviously you can get a lot fancier, but this is an easy way to start (and what I still do).
Picking out food is generally hit or miss. You can read reviews and see what people think of different dishes, but a lot is personal taste. Expect it to be salty and loaded with carbs. If you're backpacking all day, that combo is usually satisfying, even if it's not your normal choice. I get one "2 serving" pack for each meal.
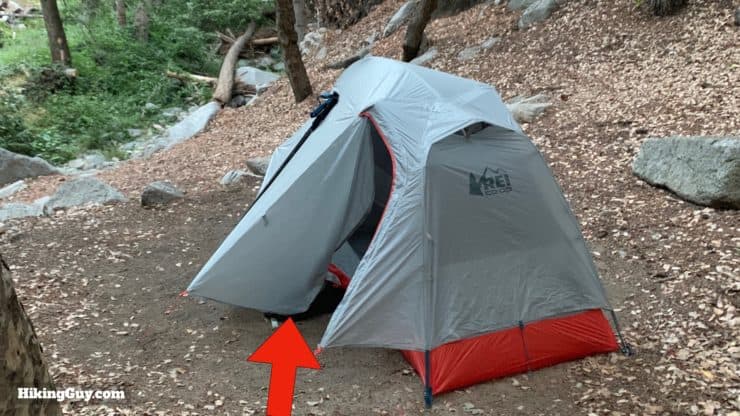
If it's raining, use your stove in the vestibule, not inside the tent. You want to be able to vent any fumes and avoid catching the tent on fire.
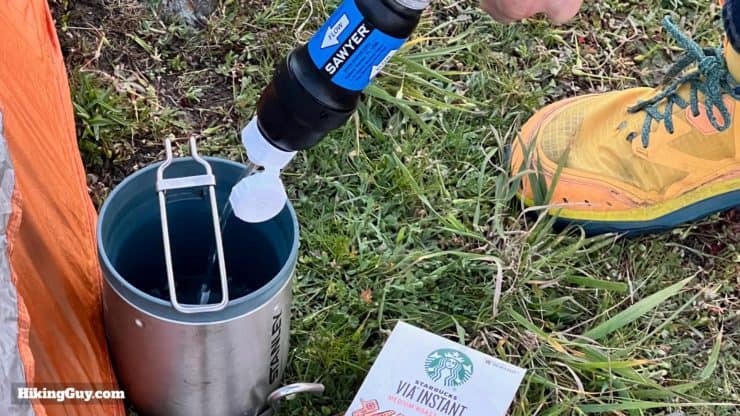
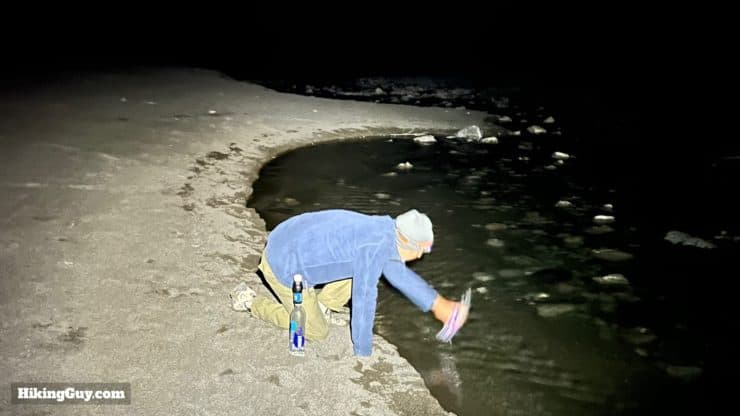
I'm not going to get into it too deeply, but water is an important aspect of backpacking. Ideally you can carry minimal water, refilling with a filter as you hike and when you make camp. The best campsites are ones by running water where you can refill and clean your spork. Don't forget to rinse your empty food package out when done too.
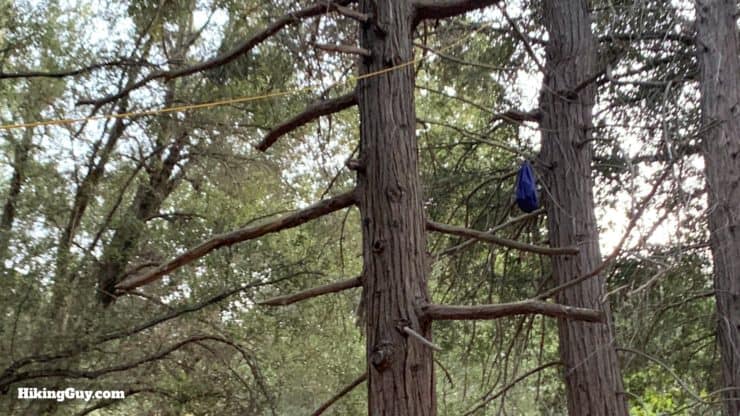
Food storage is a big consideration when camping. Essentially you want to keep anything with a scent (including toiletries, sunscreen, etc.) out of reach of critters, big and small. Before you camp you need to check with the park and see if there are any food storage requirements. Some parks mandate things like bear canisters, and some even have food storage lockers or hanging posts.
There are a lot of strong feelings in the community about food storage, and I think your best bet is generally to use a bear hang, which also protects food from rodents (way more common) and other opportunistic animals looking for an easy meal. I keep my scented items contained in a scent-free bag, and then hang them, and I've never had any problem. Check out my guide to bear safety to learn more about storing your food.
Odds & Ends
These are things that you should have with you as essentials in your day hiking kit anyway, but I'll mention them again now because they're so important for backpacking.
- Headlamp - You'll be outside overnight and it'll get dark. Make sure you have your headlamp and extra batteries. You don't have to get too tricky and buy a lamp that hangs in the tent; just hang your headlamp if you need to.
- Trowel & Toilet Paper - There's lots of guides on how to poop in the woods. Figure it out and be prepared.
- Camp Shoes - I have a pair of lightweight flip-flops for once I've set up camp. Giving my feet a chance to breathe outside of my hiking shoes is important. It's also key if you get up in the middle of the night to go to the bathroom.
If you watch YouTube or go to REI, you'll see dozens of other things you can bring with you backpacking. Maybe you want a sit pad, or a coffee cup, or a camp frisbee. The possibilities are endless. For this first trip though, let's leave that stuff at home, keep it light, and focus on the essentials.
Do you need ankle support or beefier boots for backpacking? For me, on anything from a 1-5 day trip, I've found that my regular hiking footwear works fine. I'd start there and adjust if needed.
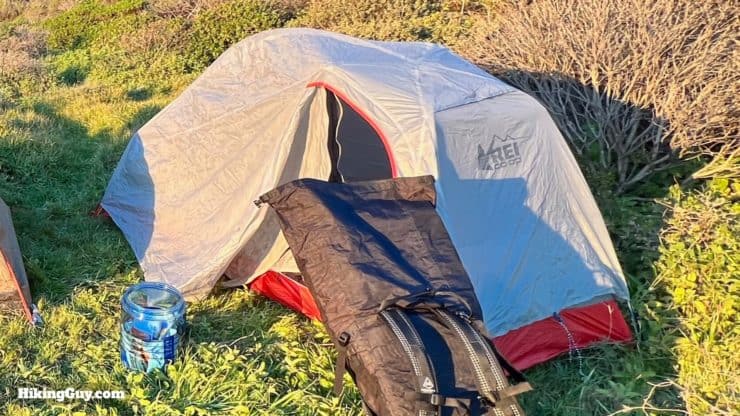
Your Overnight Backpack
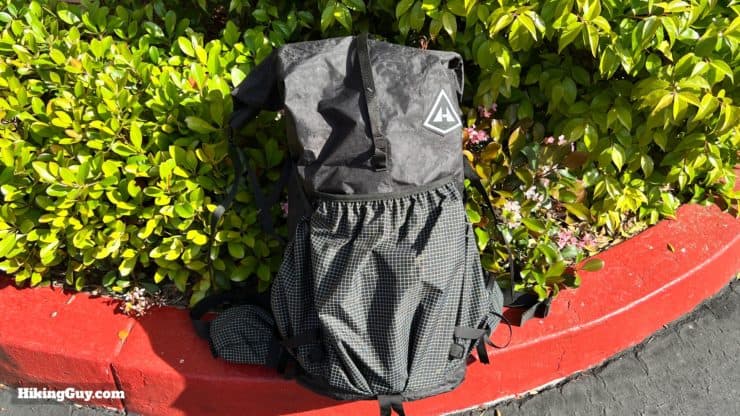
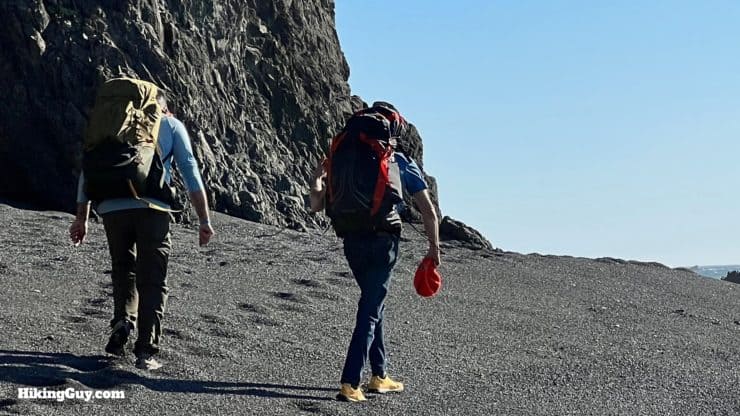
If you already having a hiking pack, you'll probably need a bigger backpack to carry the extra overnight gear. Some folks like to strap things to the outside of their pack, but I've found it much easier to just throw everything inside. That way there's nothing outside that can fall off or snag on brush. I've found that a pack in the 50-60L range gives me enough room to carry food and gear for up to a week.

When you pack your gear, start with a pack liner to protect everything from the rain. You can buy a pack liner or use a heavy-duty trash bag, which is a bit clunkier but still effective. I've found a liner to be much more effective than a rain cover, which goes on the outside. Use Zip-Loc bags or stuff sacks to organize your gear. Don't forget to bring Zip-Loc bags for dirty laundry and trash.

Gear Shakedown
This step is important. The thing you don't want to do is buy something, rip the packaging off, throw it in your backpack, and then figure it out when you are in the wilderness. Instead, you should at least have used your gear once, know that it works, and feel confident that you could operate it when you set up camp, miles away from Google and YouTube explainer videos.
- Gather all of your new backpacking gear in your living room, backyard or garage.
- Set up the tent. Watch a video or read the manual online to help you through the process.
- Same thing with the sleeping system.
- Use your stove and cook a meal (best done outside).
- Take a nap or do an overnight in the tent. I've done this on my living room floor and it's fun.
- Then pack it all up, and put it into your backpack.
There are several strategic packing methods, but try this method to start. Put your sleeping gear into your backpack first. Then add clothing and your stove. Put your tent in last, or if it's too long, put the poles down one side and the rest on top. When you reach camp, you can grab and set up your tent without having to pull everything out of the pack. If it's raining, set up your tent, bring the backpack inside, and then unpack. Keep any smaller items that you need to get to easily (like a headlamp, trowel, & toilet paper) in the side or hip belt pockets.
Shakedown Trip
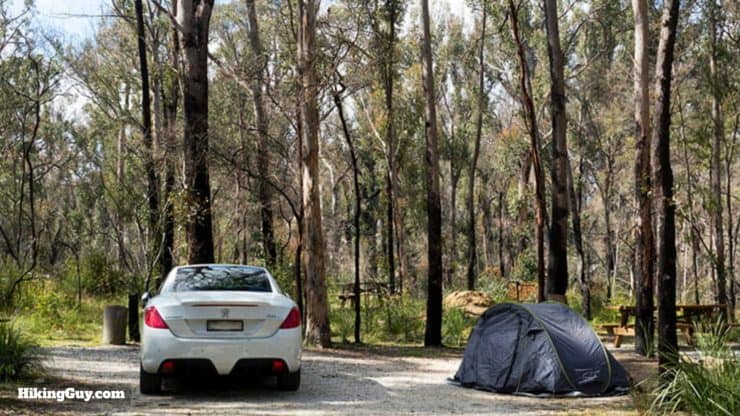
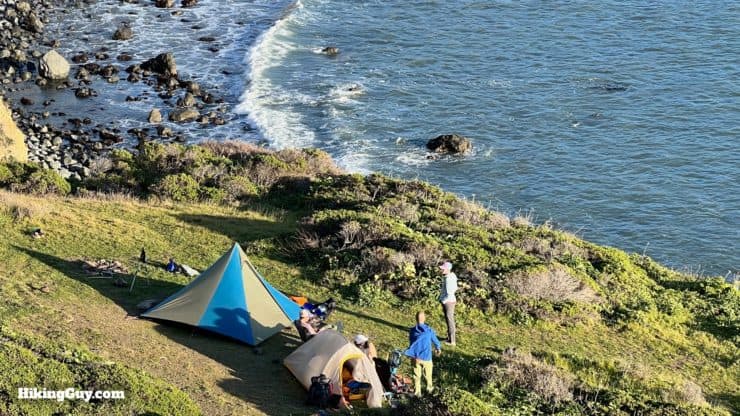
Once you feel good about using your gear, I recommend doing a short hike with it all and using it in the field. This isn't a special trip, but rather something you can fit into your normal weekday schedule. If you have a backcountry area nearby, simply do a short hike, set up camp, and stay overnight. Another good option is official campsites that you can drive into. Go to your spot, do a short hike with your gear, then come back and set up camp. If you need to bail, your car is right there.
It's important to note that if you do stay at a "regular" campground where people can drive in, they are almost always much louder and dirtier than a backcountry camp. Camping in the backcountry is almost always nicer and more peaceful. This trip's focus is on carrying the gear, setting it up, and sleeping well.
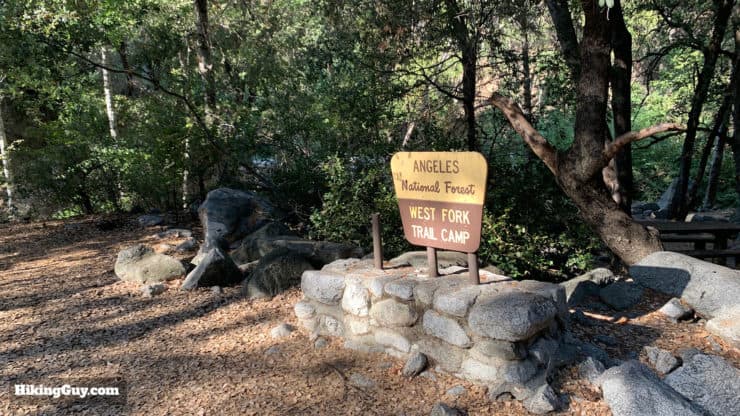
Your Backpacking Trip
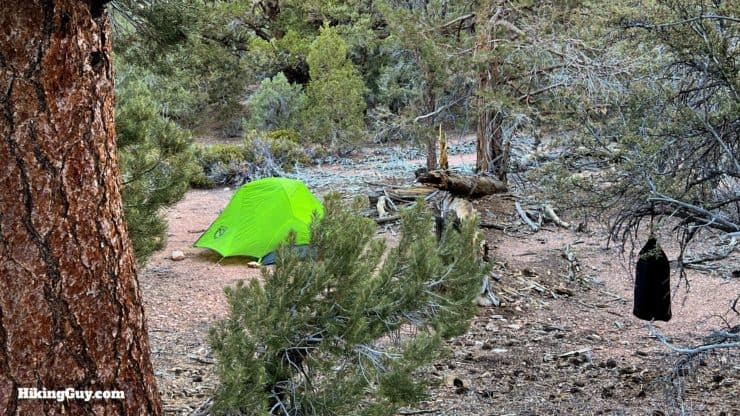
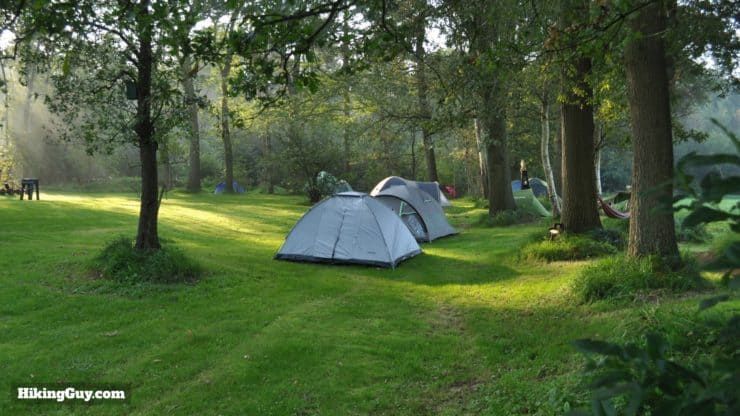
Since this is a beginning backpacking guide, I'm not going to get into the nitty-gritty of planning a backpacking adventure. All I'd say is try to start small (2 days / 1 night) and camp at a place that has water. Depending on where you are, you may have to stay at a designated campsite, or you may be able to do what is called "dispersed camping," where you can set up anywhere. Whichever way you go, do your research and have a plan in mind.

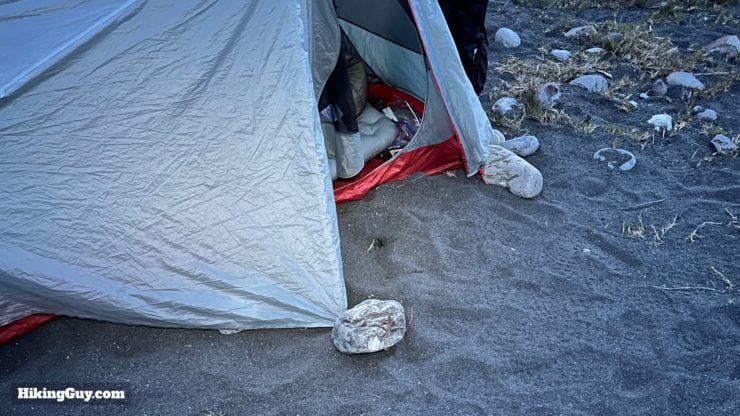
A couple of other things to note when choosing a dispersed campsite. It's generally bad practice to camp near or under trees, especially dead ones. Sometimes you won't have a choice, but ideally you are not in a place where a branch or tree can fall on top of you. Next, make sure you aren't in a place that might flood if it rains. For example, a sandy beach next to a mountain stream may flood if it rains.
Enjoy Yourself
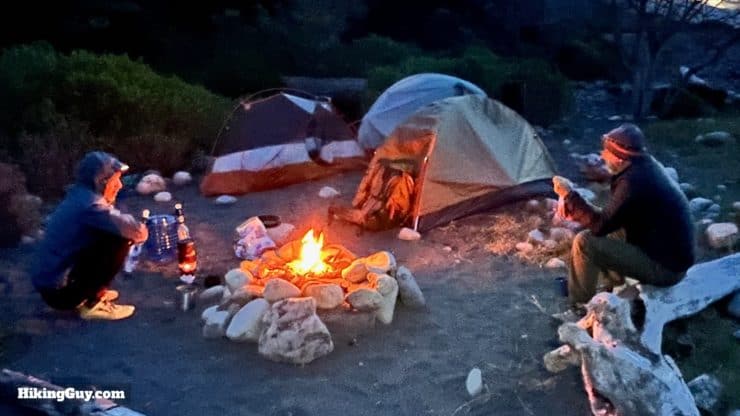
- Share a meal with your friends and plan on turning in earlier than normal. Make time to get comfortable in your tent. It's pretty common to turn in just after sunset and get out of the tent around sunrise, unless you have other specific plans.
- Be wary of starting a campfire and make sure you've researched the local fire regulations for the area you are staying. Consider not doing a campfire at all.
- Know that there will be animals outside of your tent. This is usually the hardest part for new campers. 99% of the time is a squirrel rustling through leaves. Just hang tight in your tent unless you are 100% sure there is some imminent threat. The number of recorded bear attacks of people in tents in the last 120 years is under 20. The number of mountain lion attacks is 0. You have better odds at winning the lotto jackpot three times in row. So just try to relax, and pack earplugs if you need some extra help.
- It helps to have a book, podcast, or music downloaded offline onto your phone to pass the time in the tent.
- Keep your camp shoes close in case you have to go to the bathroom in the middle of the night. Try to go 30 minutes before bed, and then do another quick bathroom break right before going into your tent.
- Likewise, hang your headlamp close in case you need it. Some tents have pockets inside to put gear that you need to keep handy.
- Sleep with your next day's clothes in your sleeping bag. They'll be nice and warm when you change into them the next morning.
- If you want to freshen up, bring some wet wipes in a Ziplock bag.
- Pack out everything you bring in, and leave the area the way it was when you left.
Next Steps
- The best way to get good at backpacking is to backpack more. Find local trails where you can overnight. Taking a short overnight backpacking trip can be a good time and a fun adventure.
- Take a course at your local REI, Sierra Club, or other outdoors organization to learn more or if you don't quite feel confident yet.
- Rent gear until you know that backpacking is something you want to do regularly. If you only make one backpacking trip a year, renting might make more sense. Otherwise check out my latest backpacking gear picks.
- Explore bucket list trips like those. Plan longer trips and see how you like it. Spending (and organizing) a 5 day trip feels a lot different to me than an overnighter.
- Know that backpacking is not for everybody. If you didn't have a good time, it's okay. Maybe hiking is the best option for you. Check out "slack-packing" which offers the best of both worlds.
 Easy Bear Safety For Hikers and Campers
 How to Hike
 How To Get Started Hiking
Popular Guides
 Best Hiking Gear 2024
 Hiking Boots or Shoes: Do I Really Need Hiking Boots?
 When to Hit SOS on inReach
This Guide Was Written by Cris Hazzard

Hi, I'm Cris Hazzard, aka Hiking Guy, a professional outdoors guide, hiking expert, and author based in Southern California. I created this website to share all the great hikes I do with everyone else out there. This site is different because it gives detailed directions that even the beginning hiker can follow. I also share what hiking gear works and doesn't so you don't waste money. I don't do sponsored or promoted content; I share only the gear recommendations, hikes, and tips that I would with my family and friends. If you like the website and YouTube channel, please support these free guides (I couldn't do it without folks like you!). You can stay up to date with my new guides by following me on YouTube, Instagram, or by subscribing to my monthly newsletter.