
Bridge to Nowhere Hike
Hike Stats
- Total Distance
- 10 miles
- Time
- 5-6 Hours
- Total Climbing
- 1250 feet
- Difficulty
- Moderate
- Crowds
- Crowded
- Dogs
- Leashed
- Gear
- What I Use
- Weather
- Latest Report
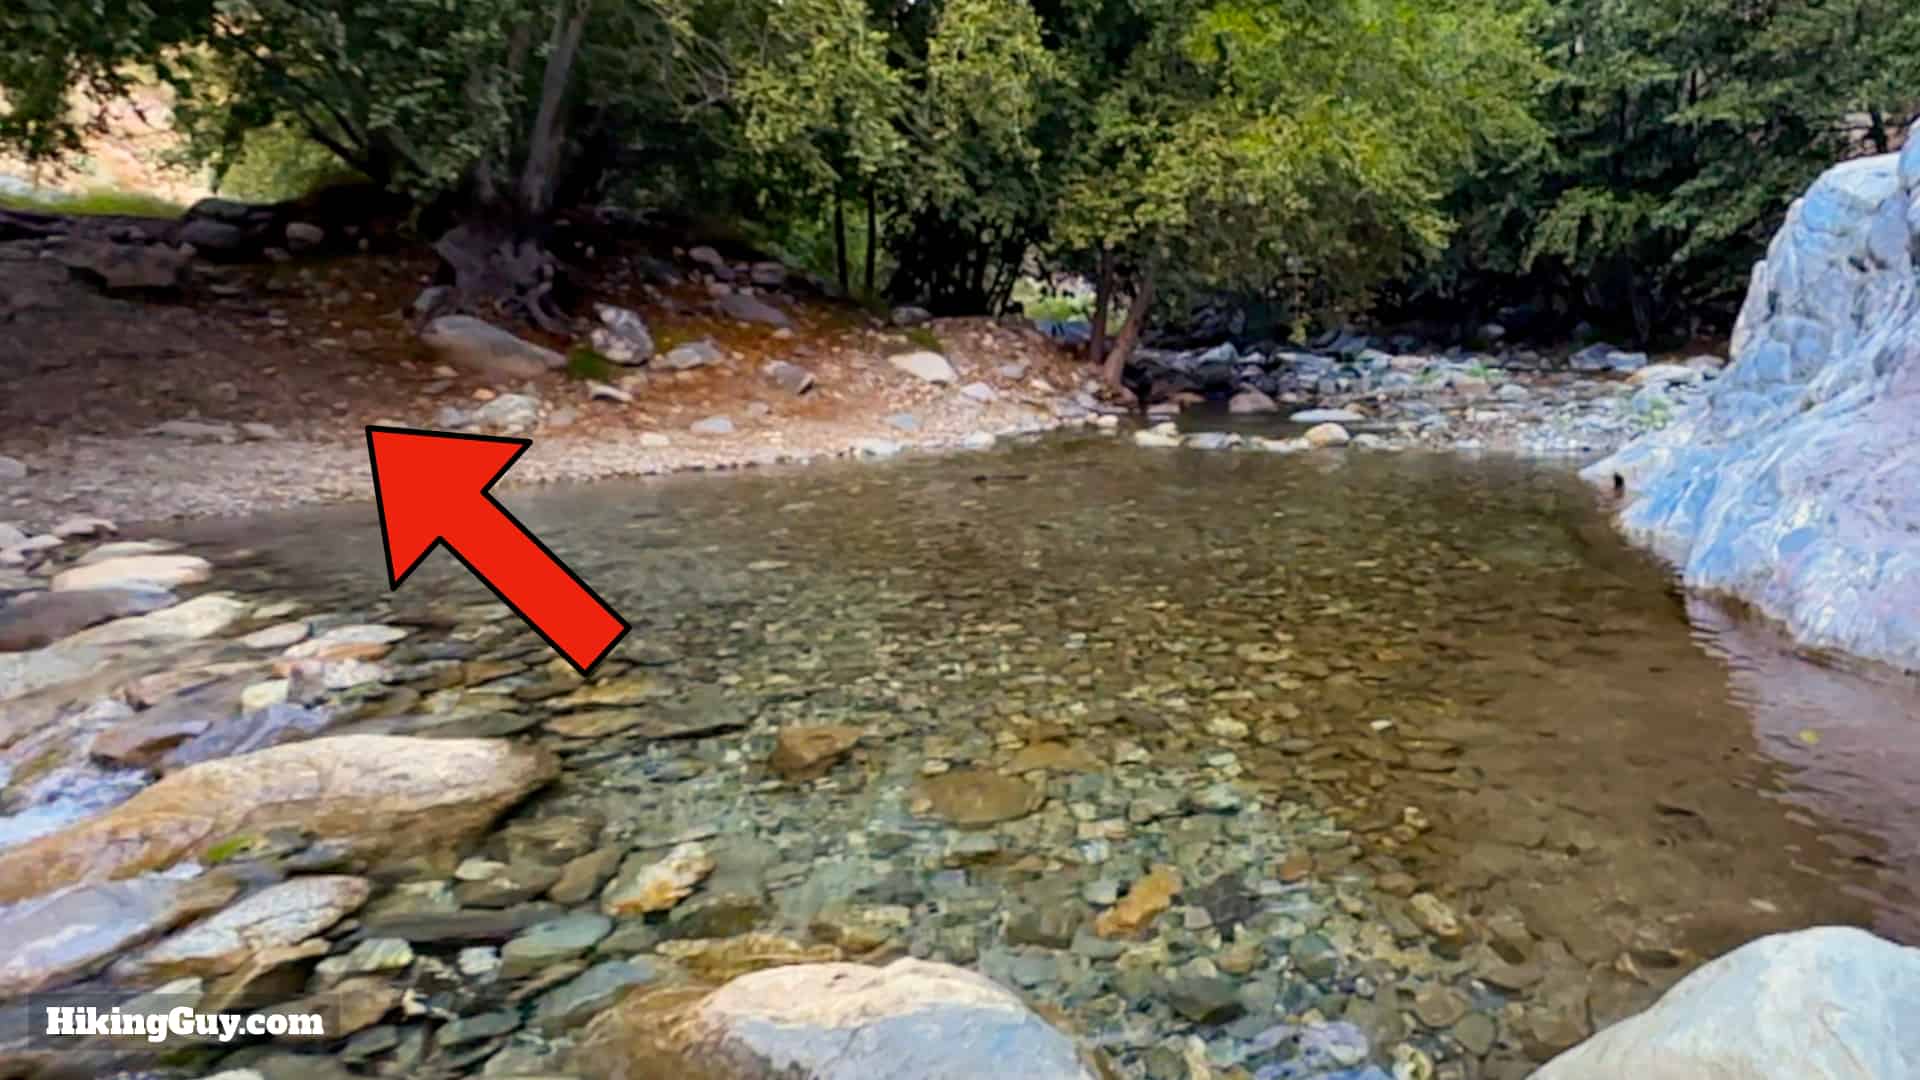
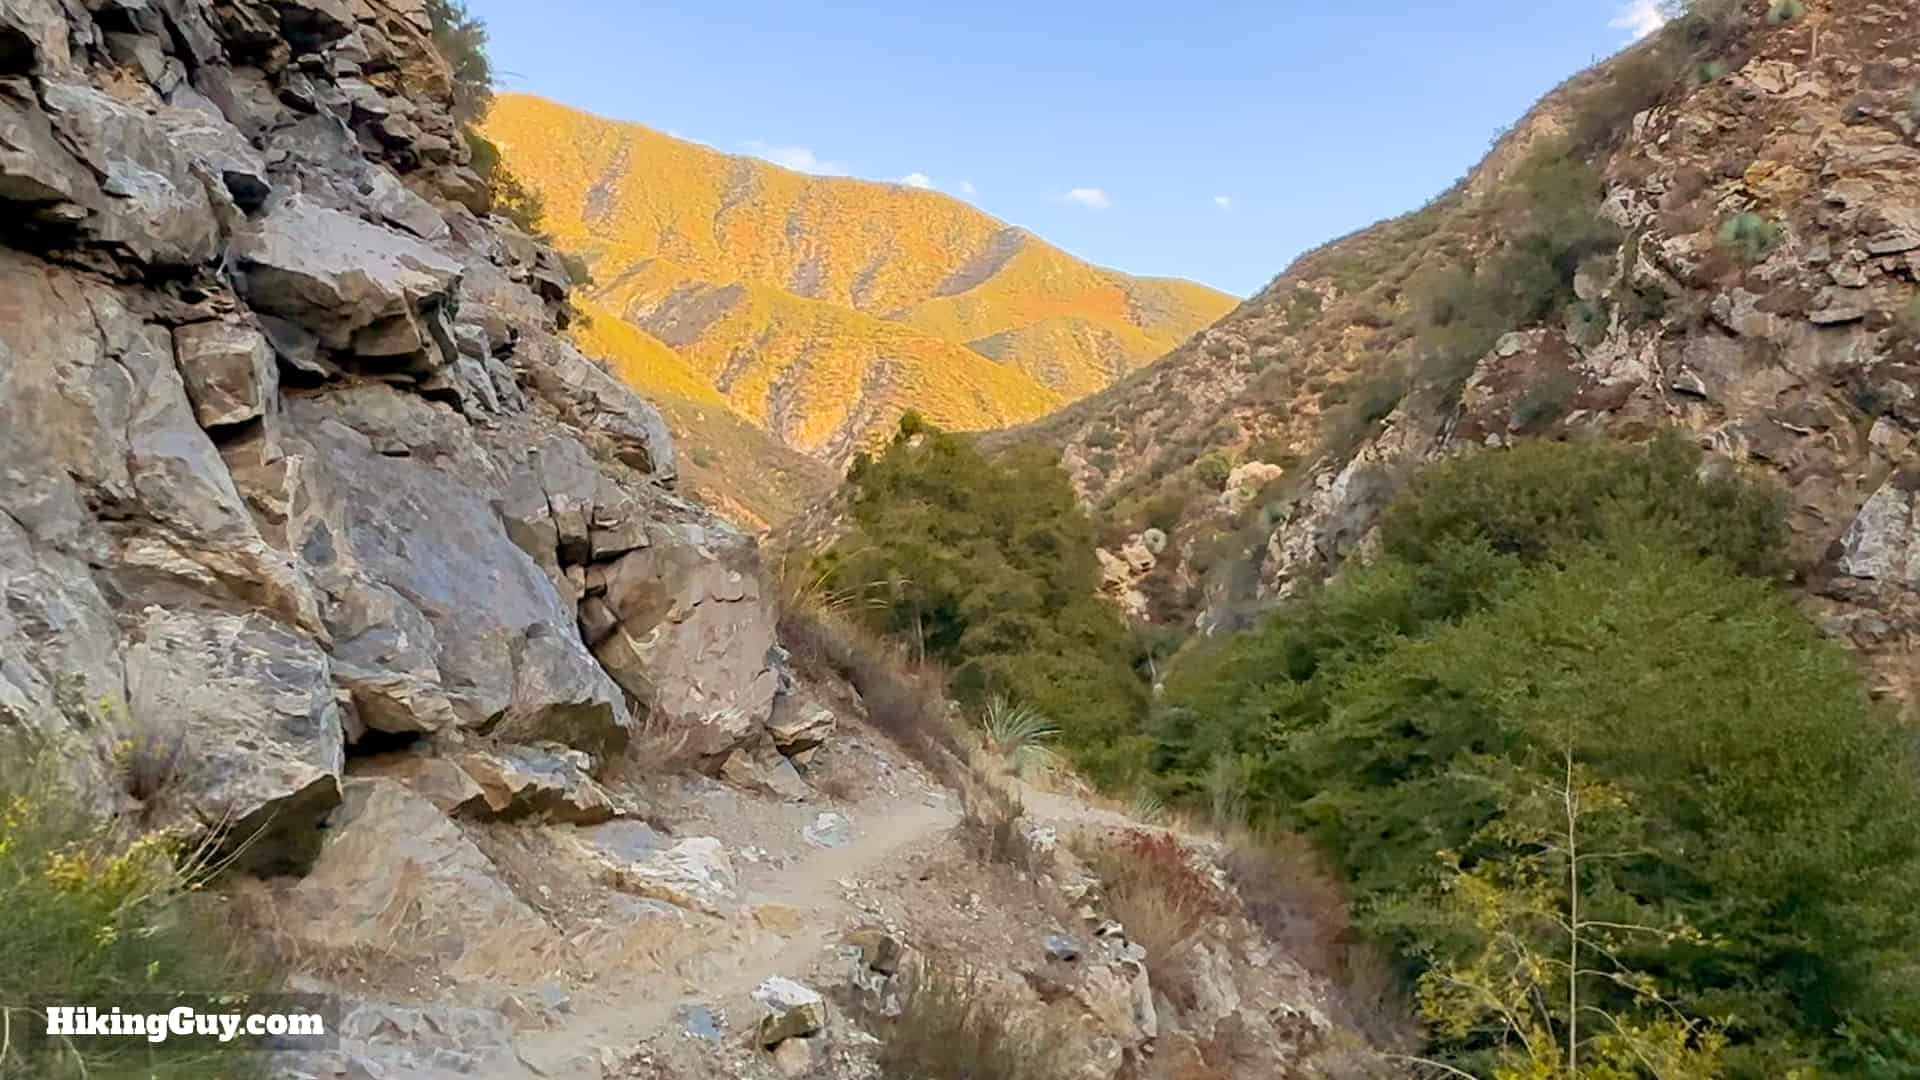
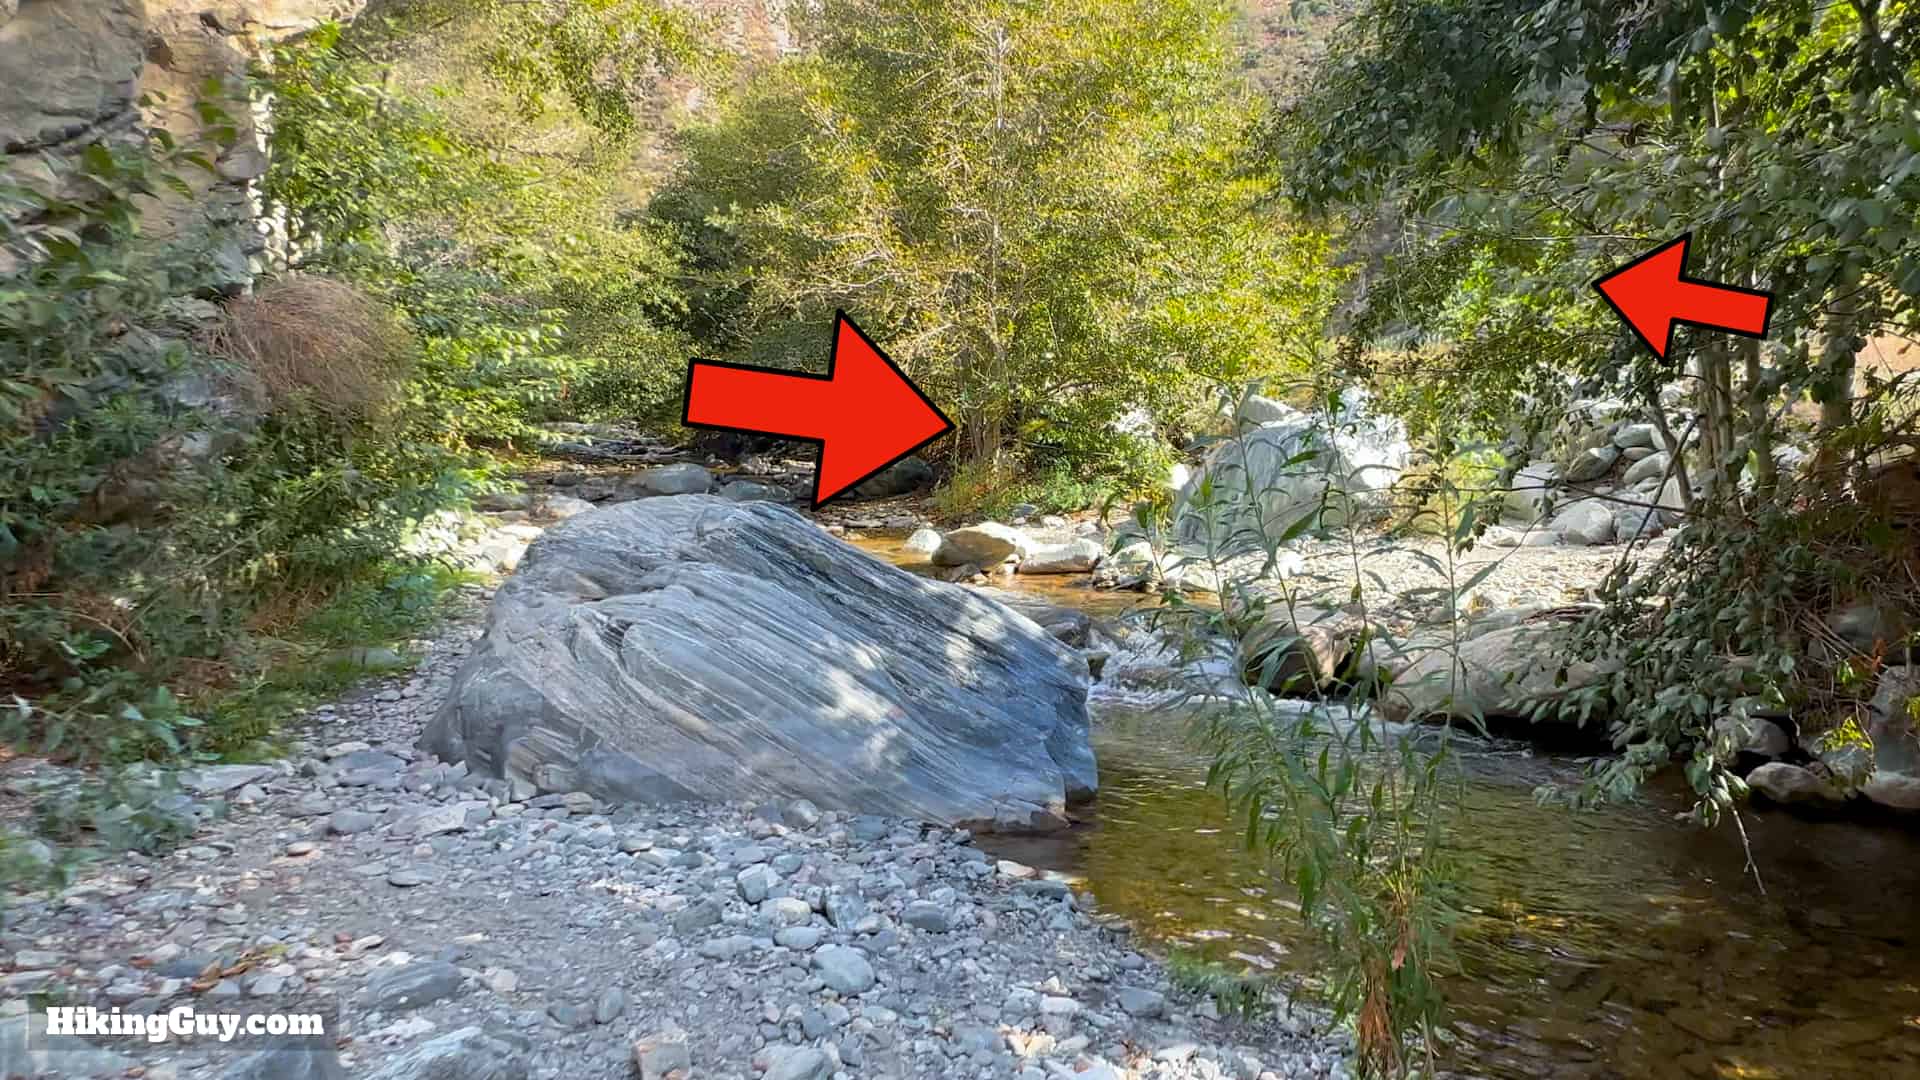
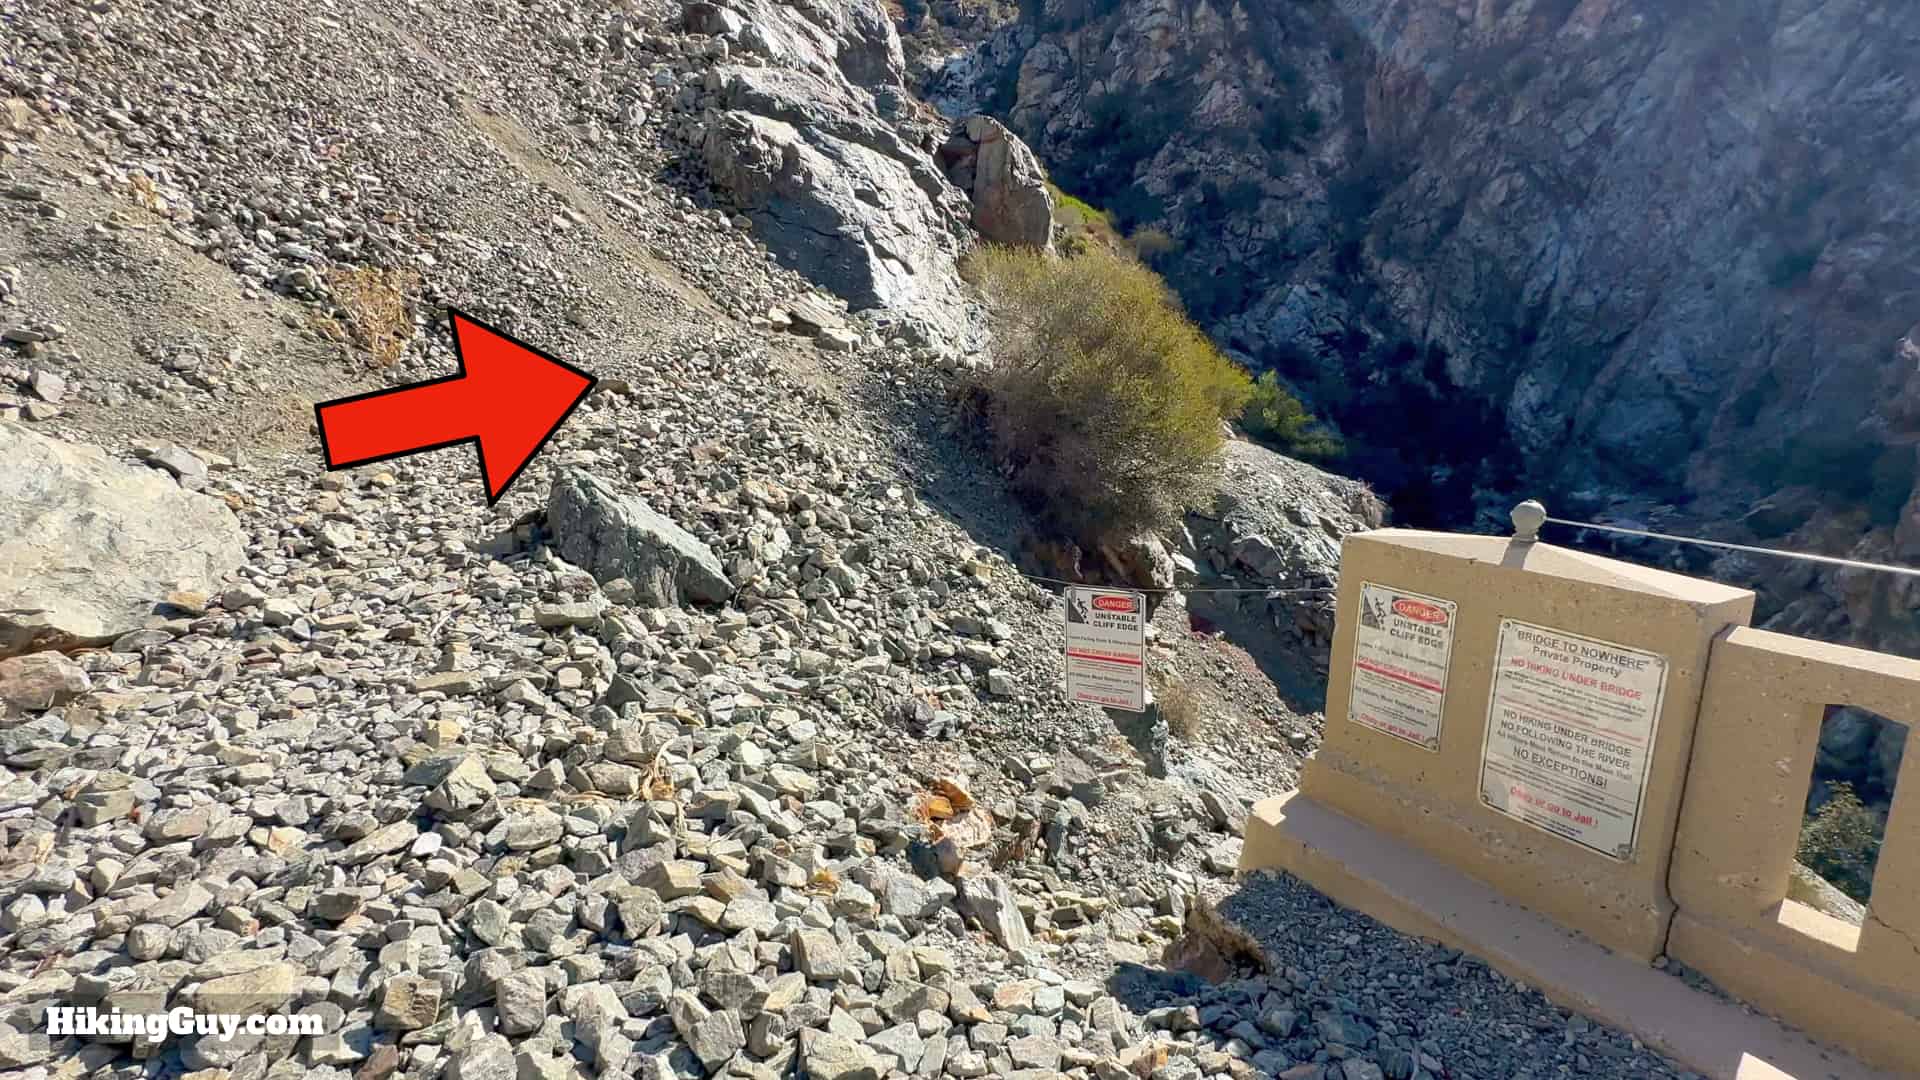
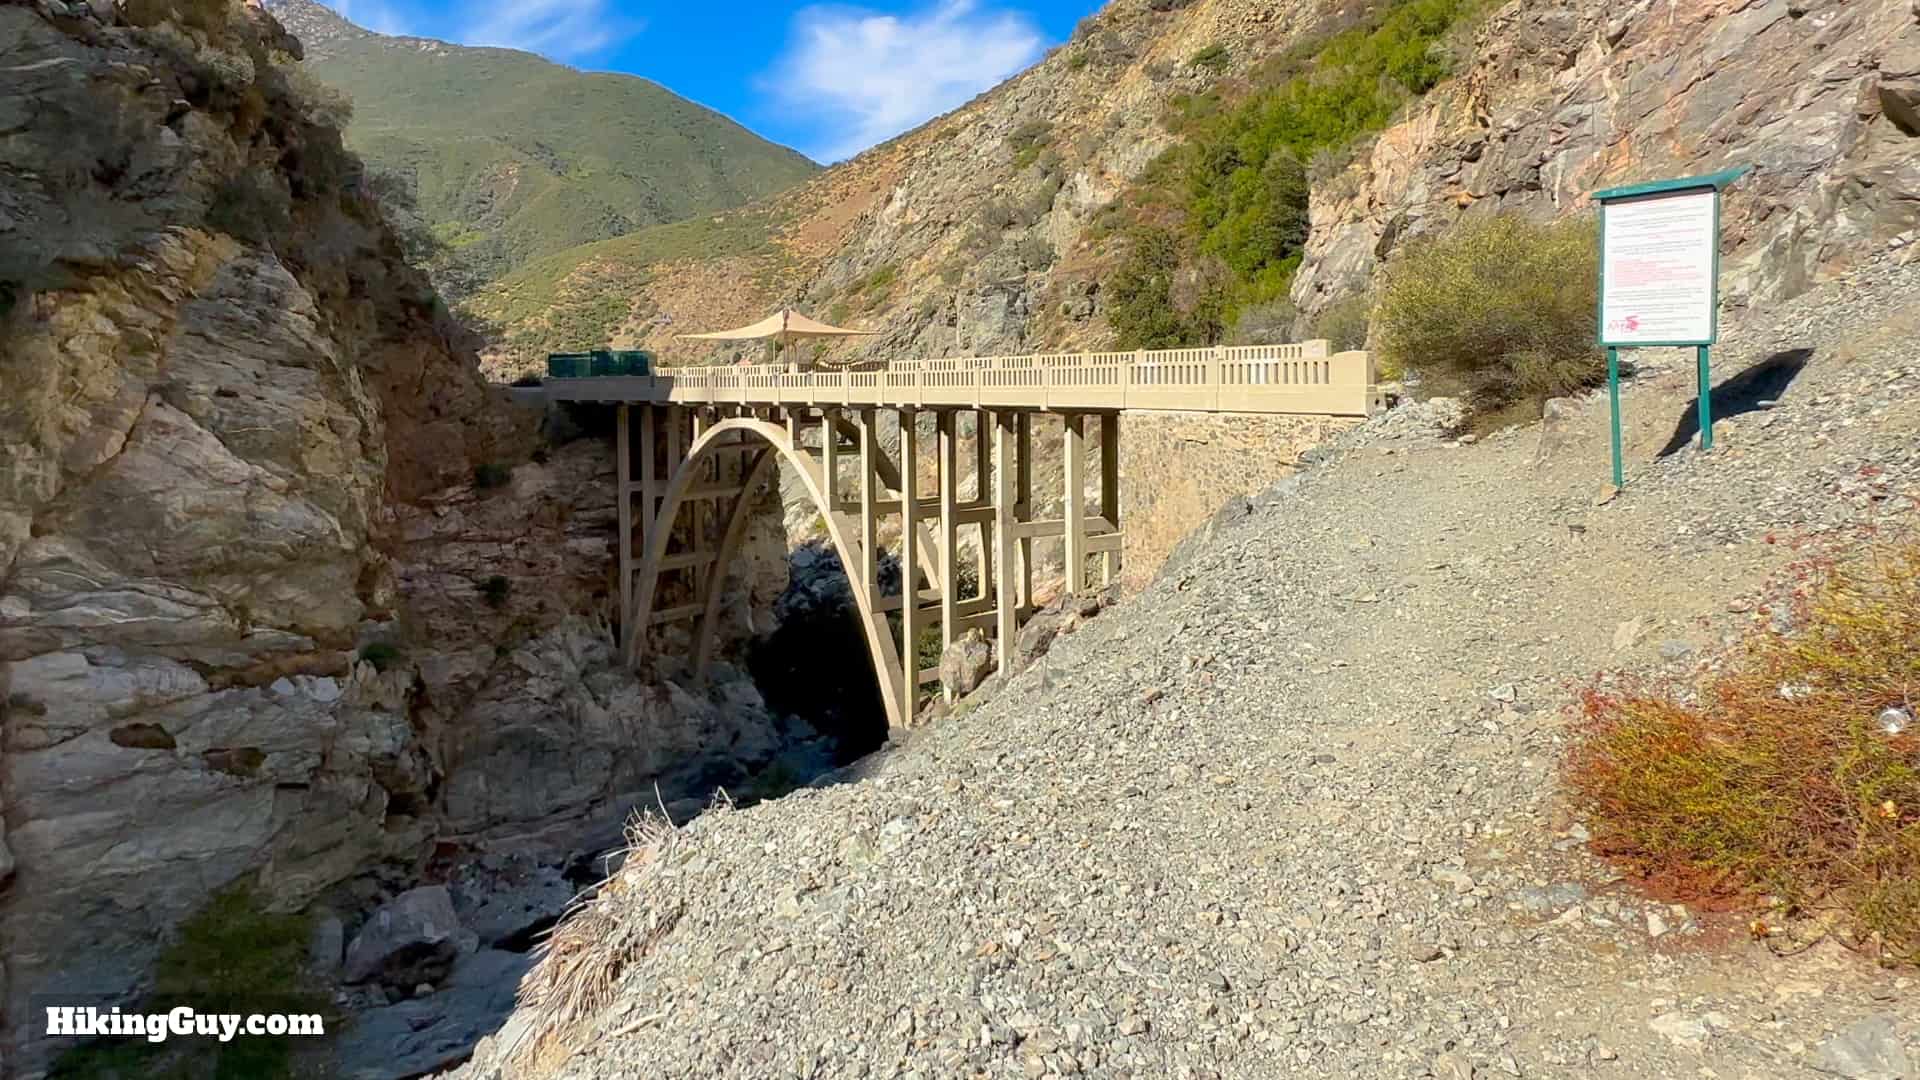
The Bridge to Nowhere is a classic hike for good reason. The route is rugged but doable by most beginners. You'll follow the East Fork of the San Gabriel River upstream, crossing it six times as you dive deeper into the Sheep Mountain Wilderness. Once you're about five miles in, you'll round a bend, and bam! There's a beautiful 120-foot bridge spanning the East Fork Narrows! It's a popular hike, but I'll share a tip that can dramatically change your experience.
If a stream crossing is high, swift, or doesn't seem safe, do not cross. People have died when crossing swift and high waters.
Bridge to Nowhere Hiking Tips
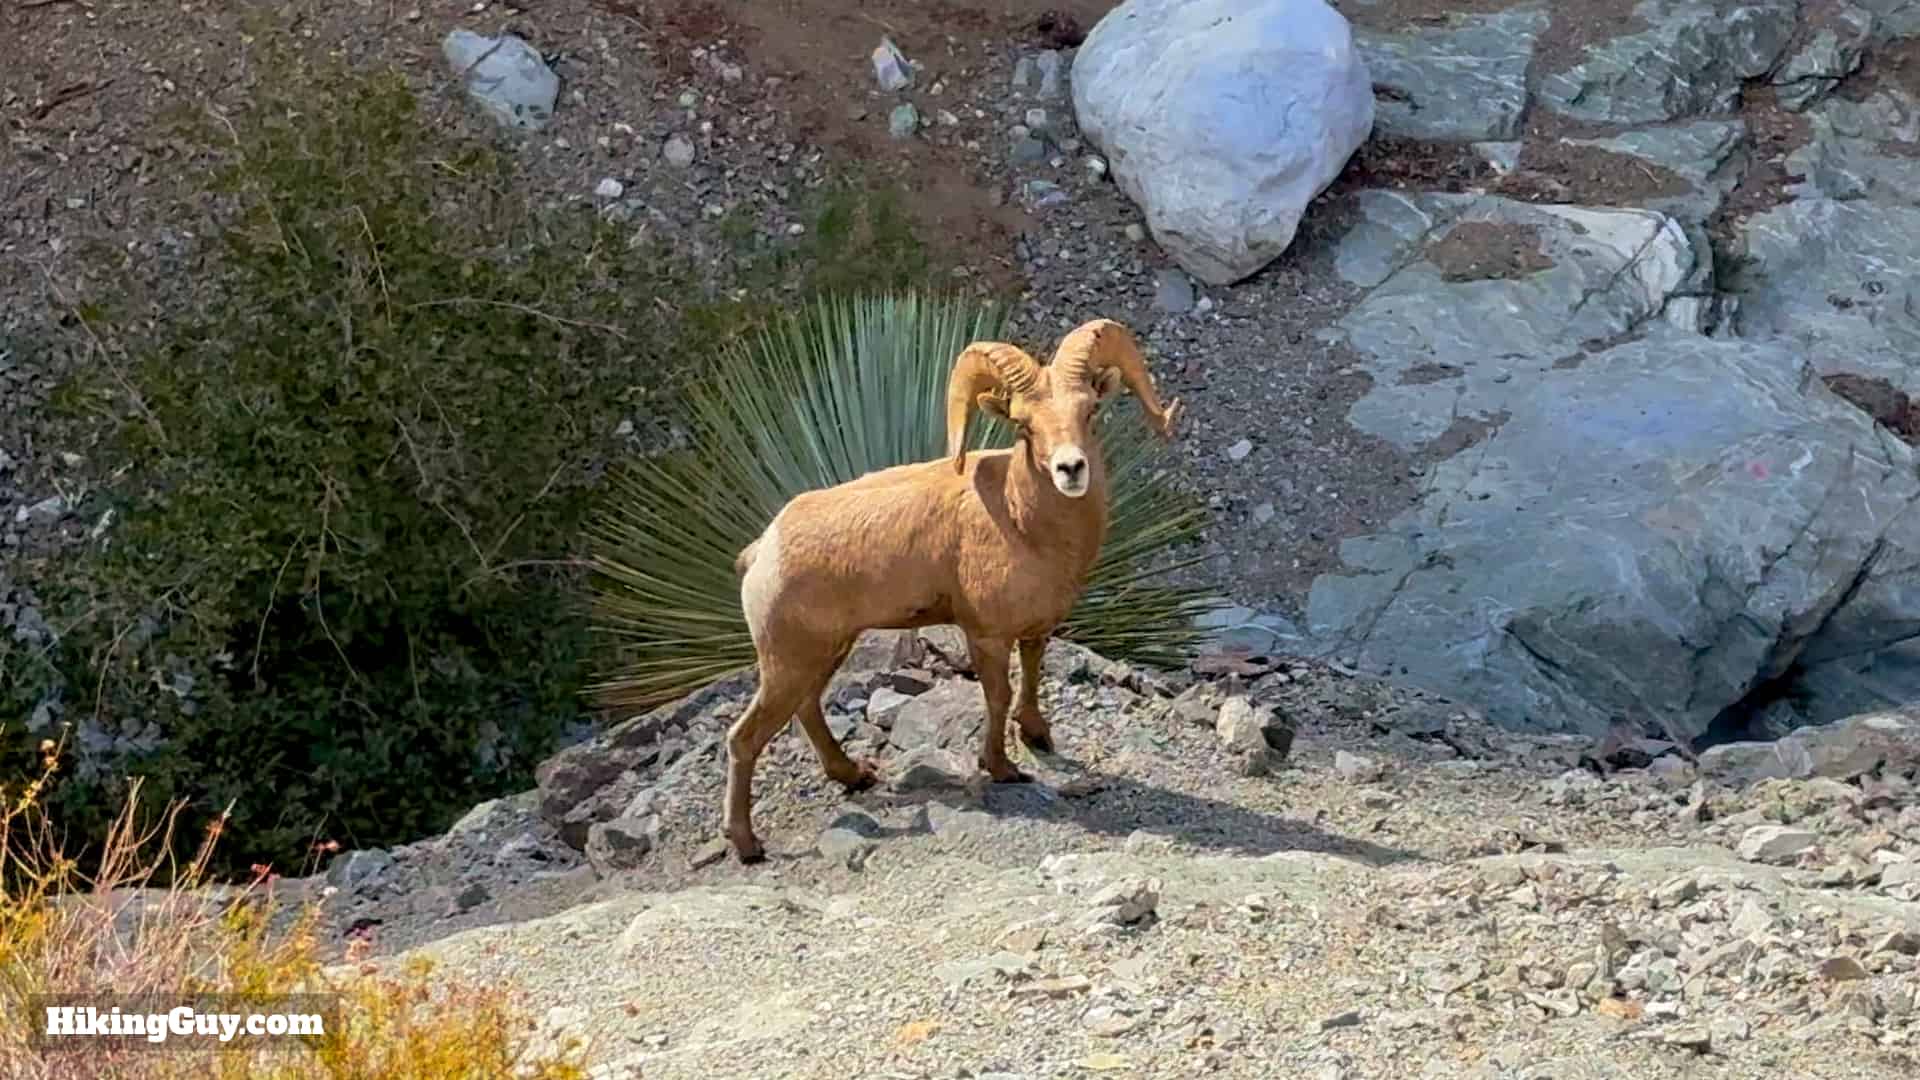
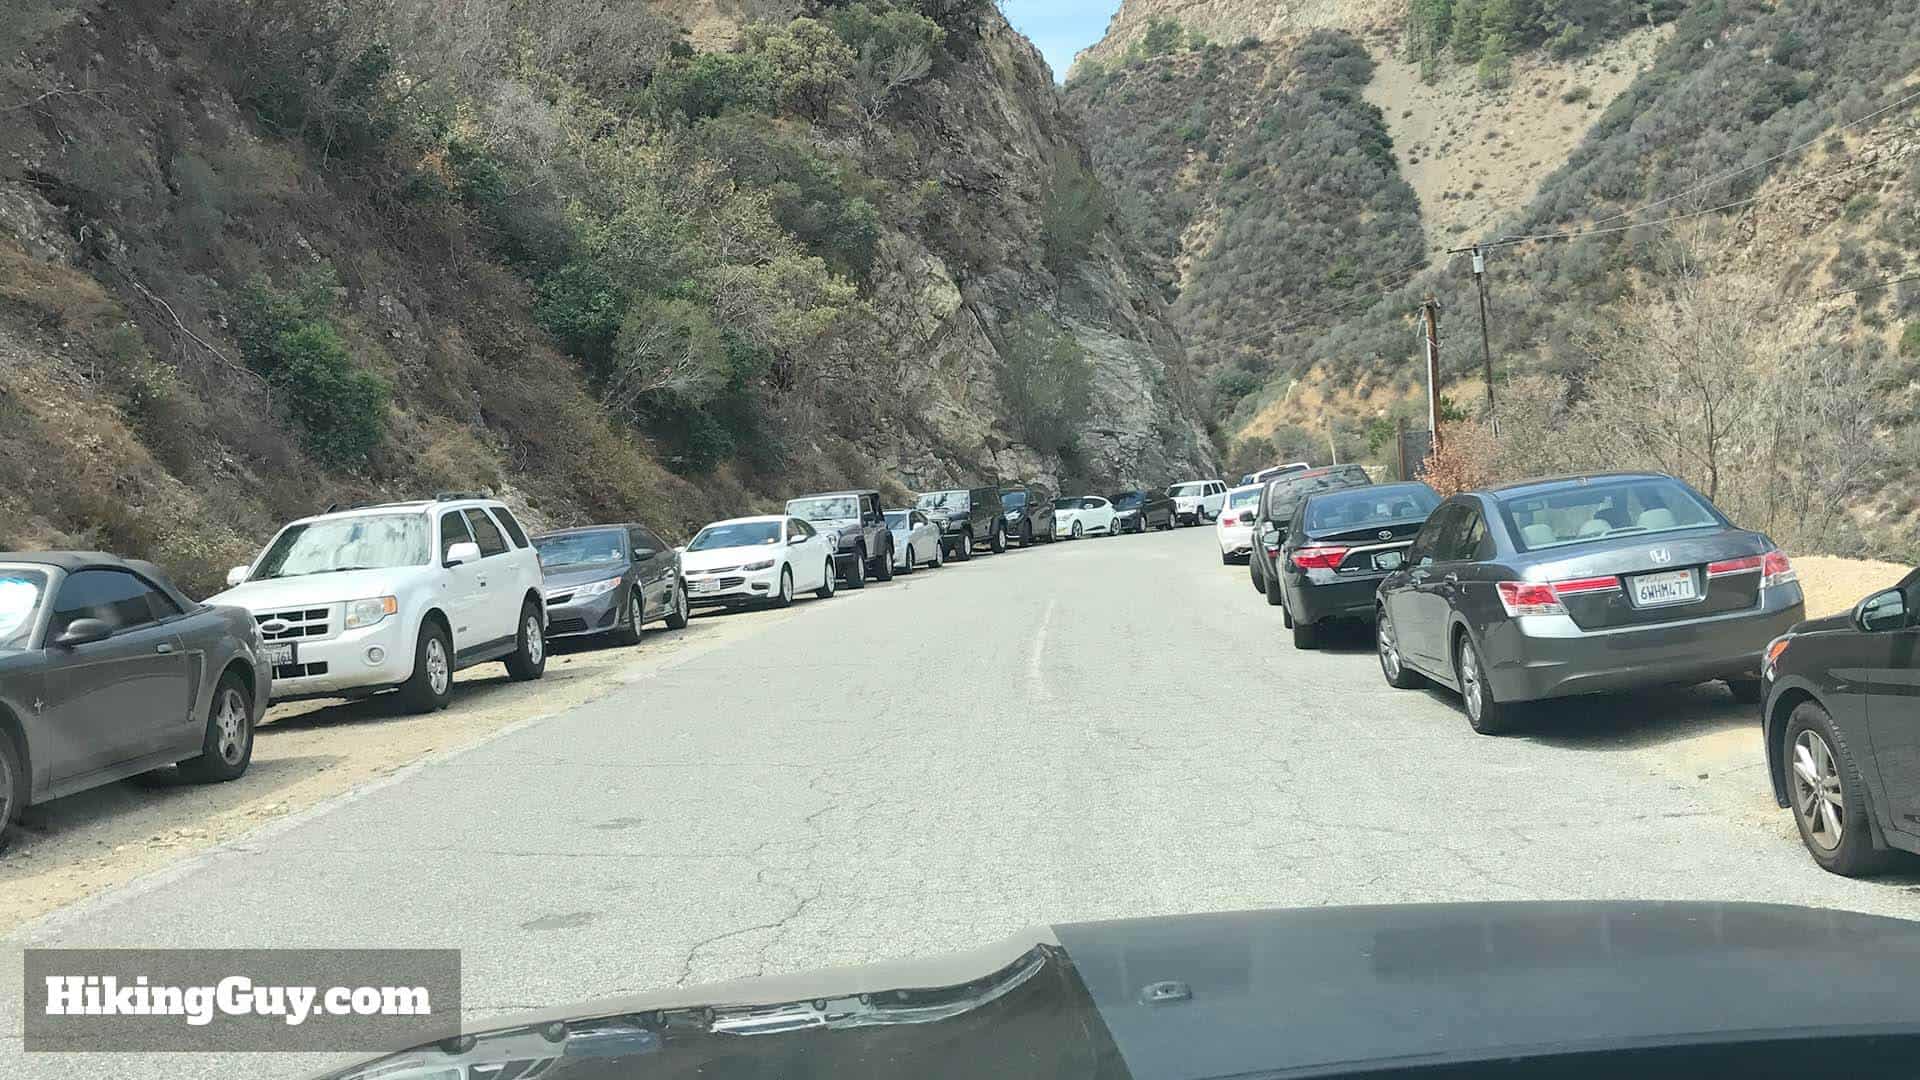
- Weekends are a mess. There are crowds, and many hikers don’t know proper hiking etiquette. You’ll hear Bluetooth speakers, people talking about their lives, etc., and it’s not a peaceful experience. Come at sunrise on a weekday for the best experience. You’ll often have most of the trail to yourself. When I do this, I’m usually the only person at the bridge, aside from some bighorn sheep.
- Bungee America offers bungee jumping off of the Bridge to Nowhere on weekends. The groups leave as a guided hike at 6 am or 7 am, or both. If you want to skip the crowds, don't hike then. FYI the bungee company leases the land around the bridge from Angeles National Forest.
- Most of the time, the hike is easy, and crossing the river is straightforward. But if there are thunderstorms in the forecast, the river can become a raging torrent. People have died here when the river floods, so take it seriously.
- Similarly, in the spring, the river can be higher and cold if there’s snow melting from the mountains. The sweet spot to do the hike is in the fall.
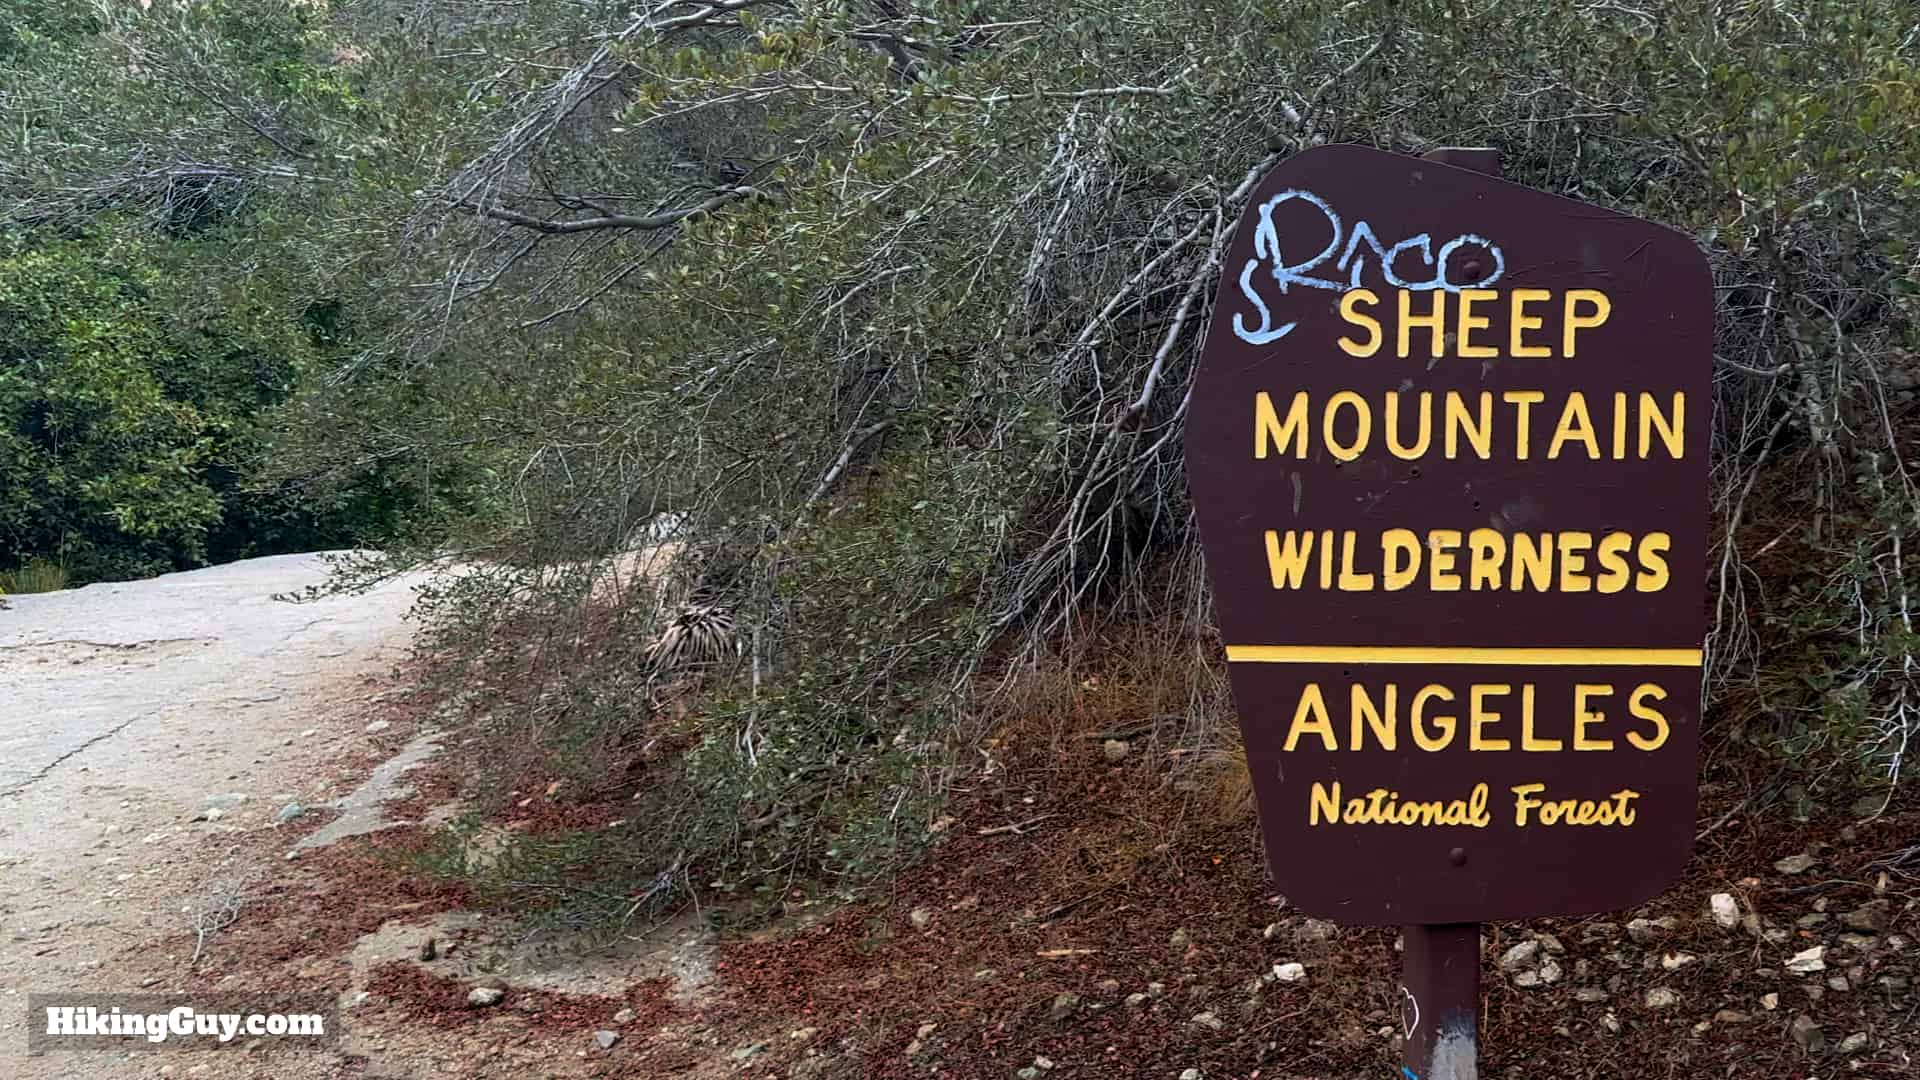
- Technically, a free, self-issued permit is required to enter the Sheep Mountain Wilderness, where the bridge is. There used to be boxes full of permits at the trailhead and along the way, but not anymore. It’s obvious that the permit system is not enforced, but if you really want to get one, visit one of the ranger stations for Angeles NF. Again, you don’t need to, and no one is checking.
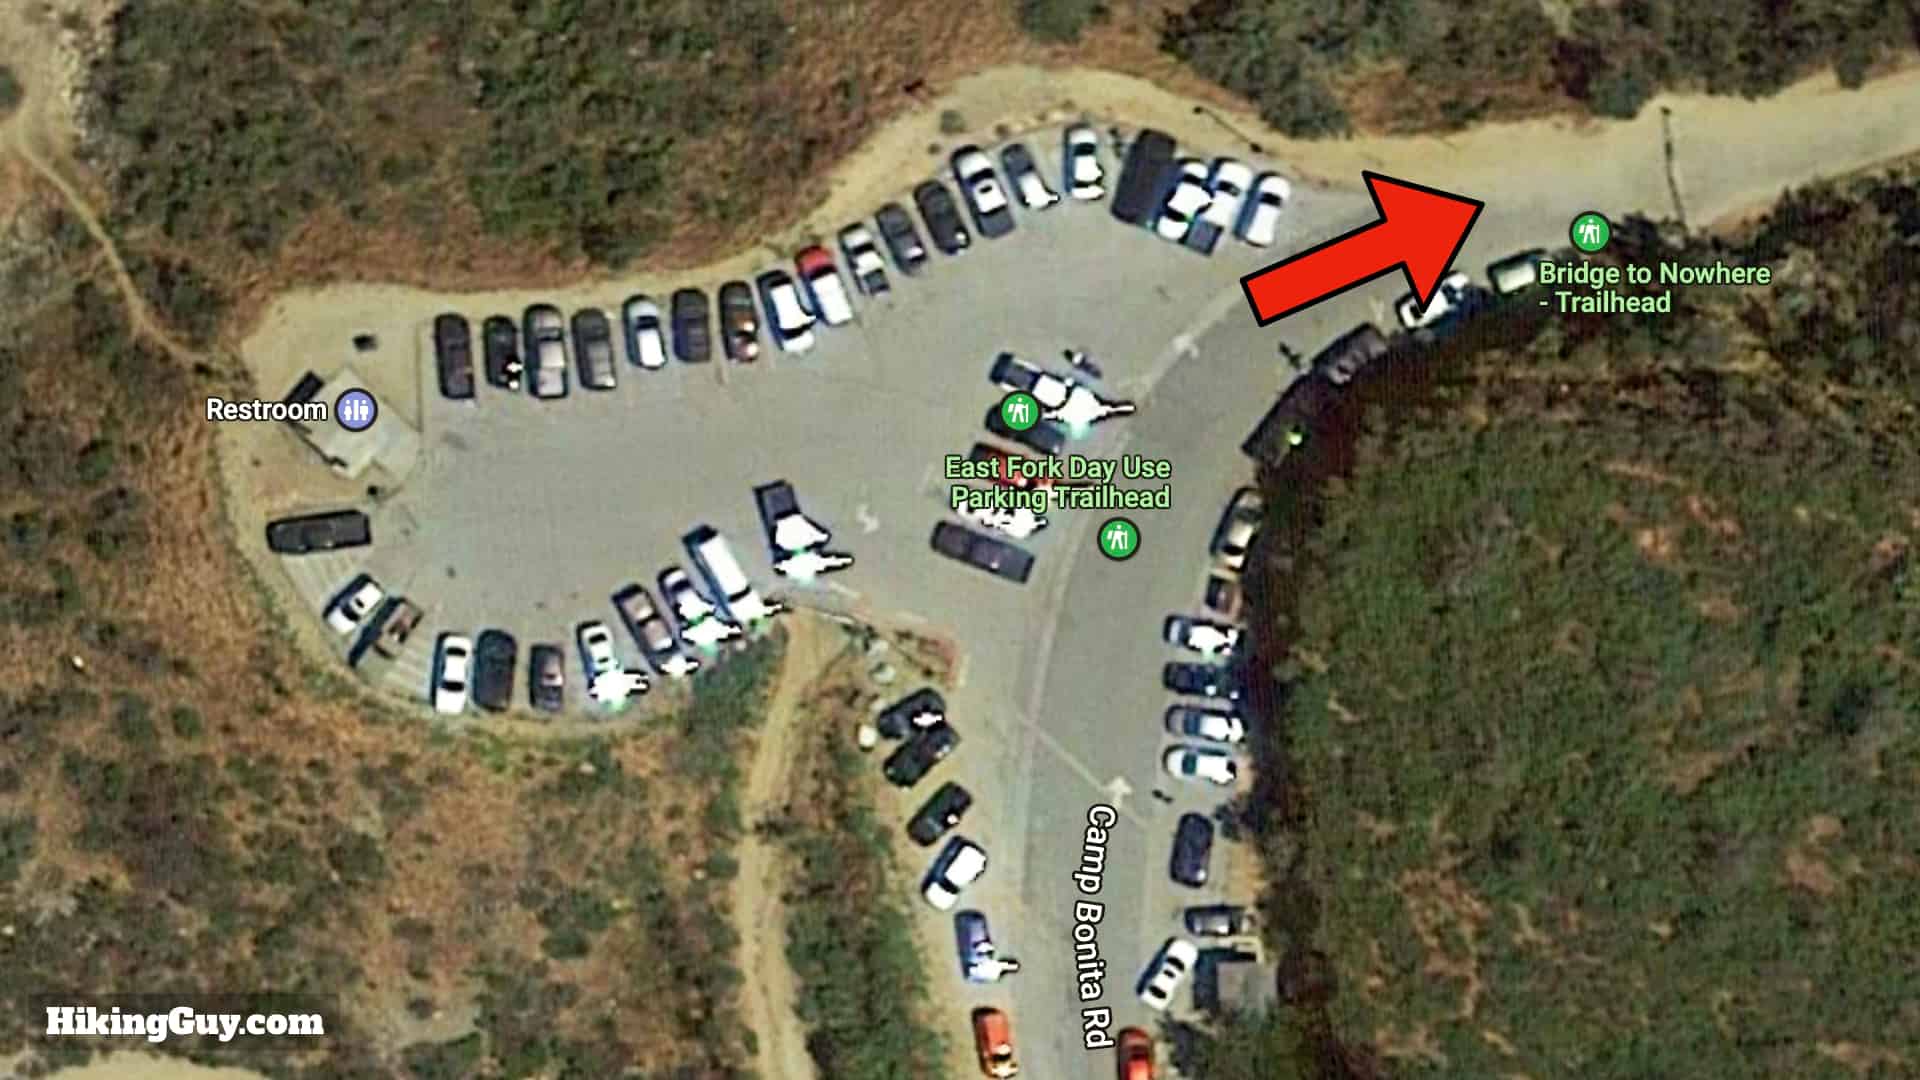
- You need a parking pass for the lot. I use an America the Beautiful (National Parks Pass) pass which gets me in all federal land and National Parks. You can also pick up an Adventure Pass which only works in Southern California.
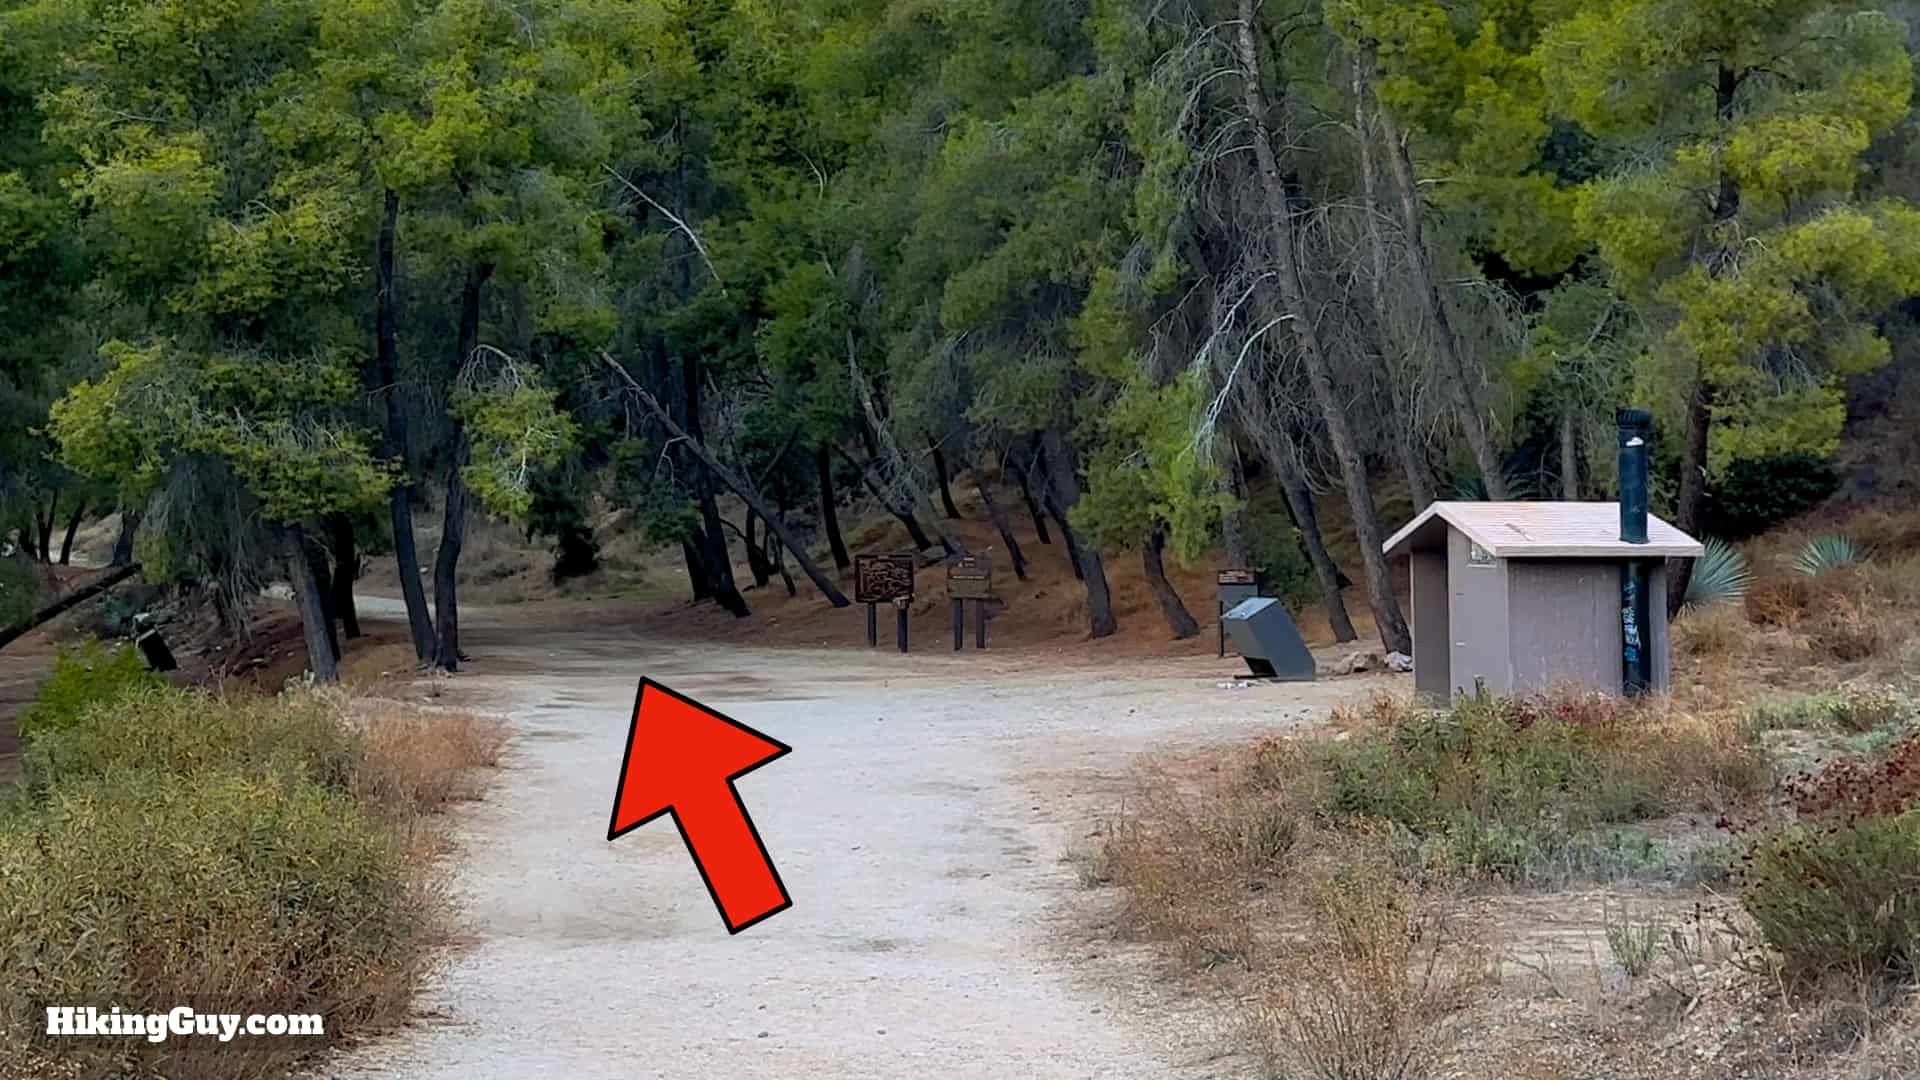
- Use the bathroom before getting to the trailhead. There's a nasty toilet at the trailhead and another one about 15 minutes down the trail at Heaton Flat. There are no other bathrooms along the hike and none at the bridge.
Where is the Bridge to Nowhere?

Gear for the Hike
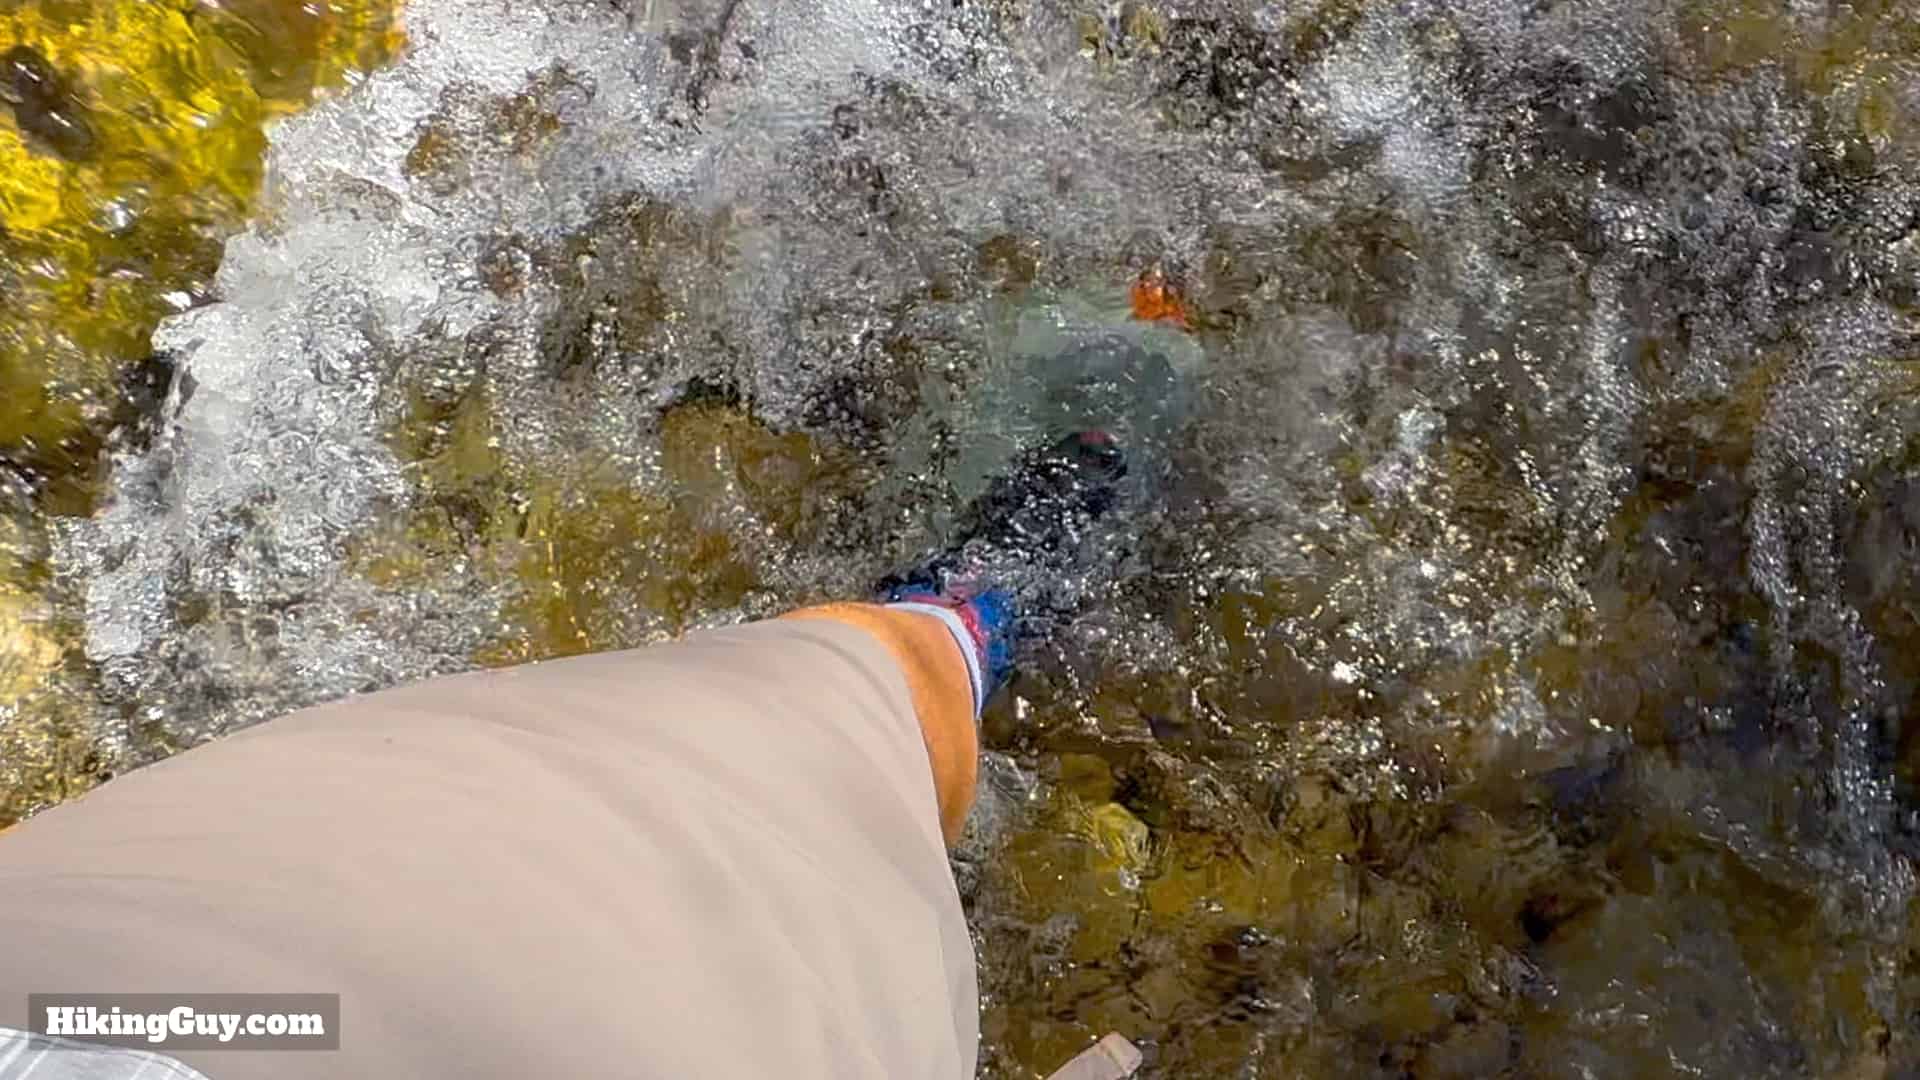
- After doing this hike many times, I've found that wearing vented trail runners and just walking through the water is your best bet. Your feet will dry as you hike, and the cool water feels good on your feet. Some people bring sandals and dry shoes and switch back, but it's a waste of time.
- If you are skillful, you can also rock-hop across most crossings. A lot depends on how high the river is. Having trekking poles will help you balance across the rocks.
- In the summer it can get brutally hot. Bring at least 1L of water if not more. Winters can be in the 40-60F range, and you should dress accordingly.
- Some sections of the trail are a little overgrown; you may get brushed with vegetation. Even though this is the case, shorts are the best choice given the river crossings.
- Bring a small quick-dry towel to dry off if you want to swim in the pools by the bridge.
- Pack some snacks. 10 miles is a long hike, and you'll need the energy.
Essentials I’m Using Now
- Garmin inReach Mini 2: Reliable SOS Everywhere on Earth
- Sawyer + CNOC Water Filter: Easy & Reliable Safe Water
- Nitecore NU25 Headlamp: Running late? Get home safe
- Altra Olympus 275: Favorite trail shoes right now, no blisters and very comfy.
- AllTrails Plus (30% off): Offline maps on your phone with the Plus level
- Full December 2025 Gear List →
Bridge to Nowhere Trail Maps
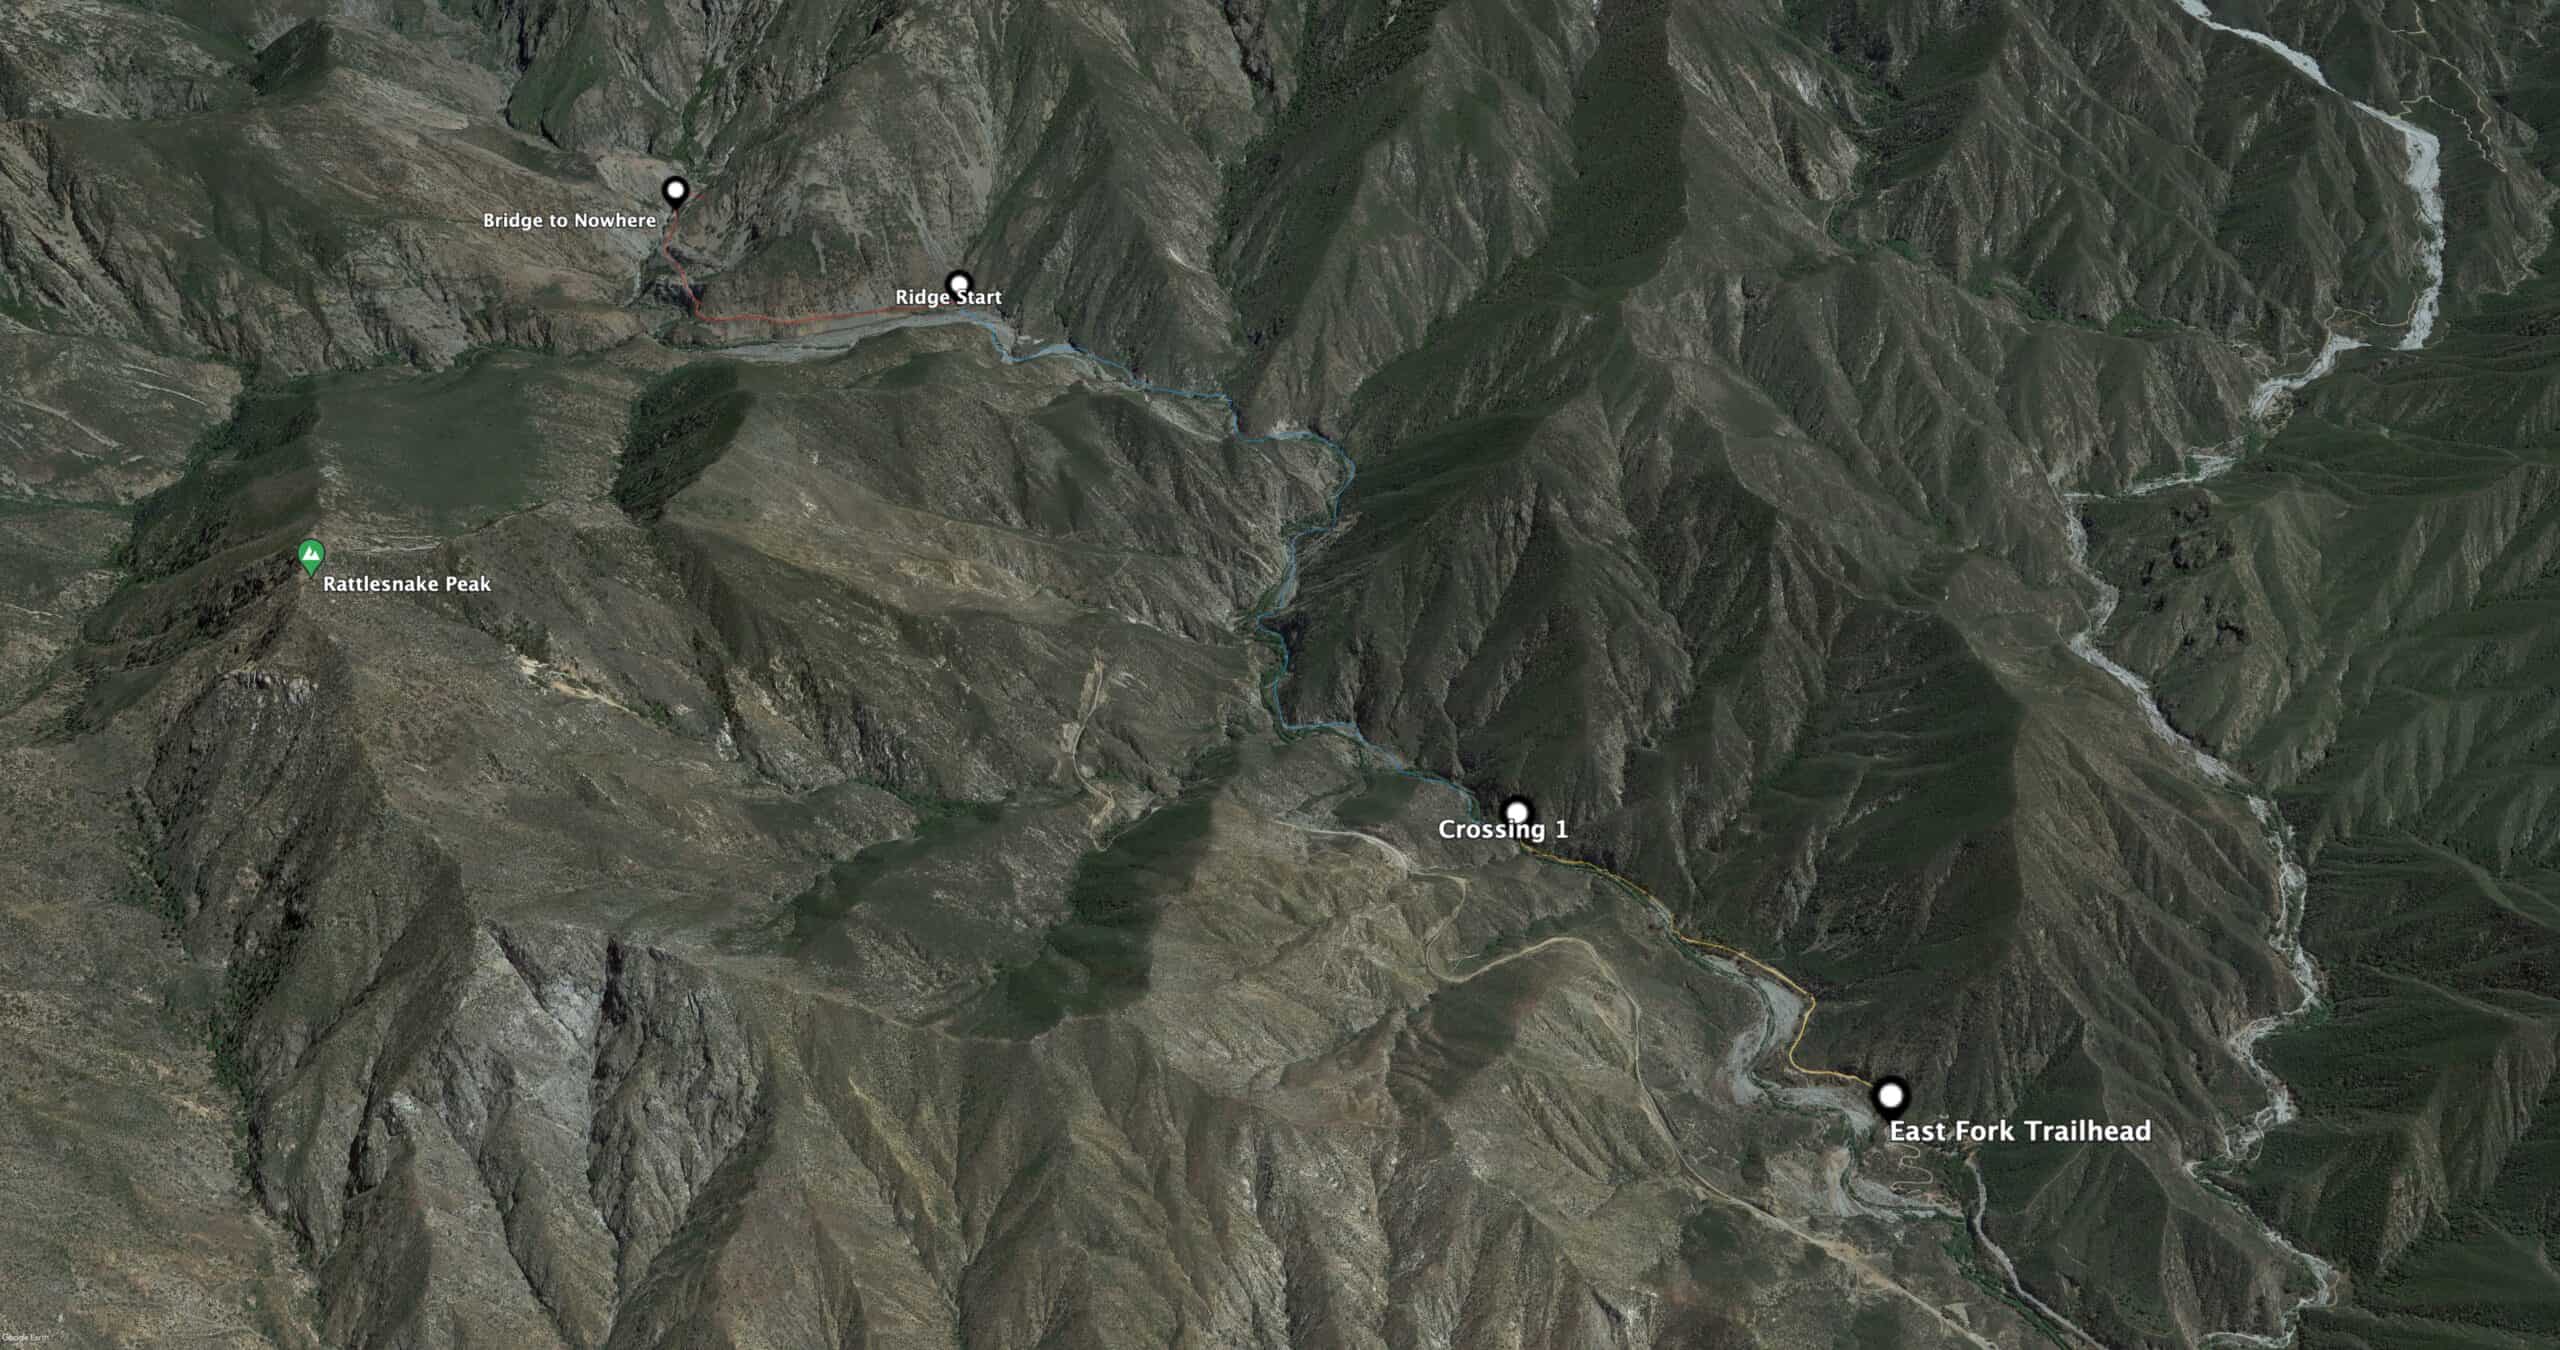
I like to break the hike up into 3 sections:
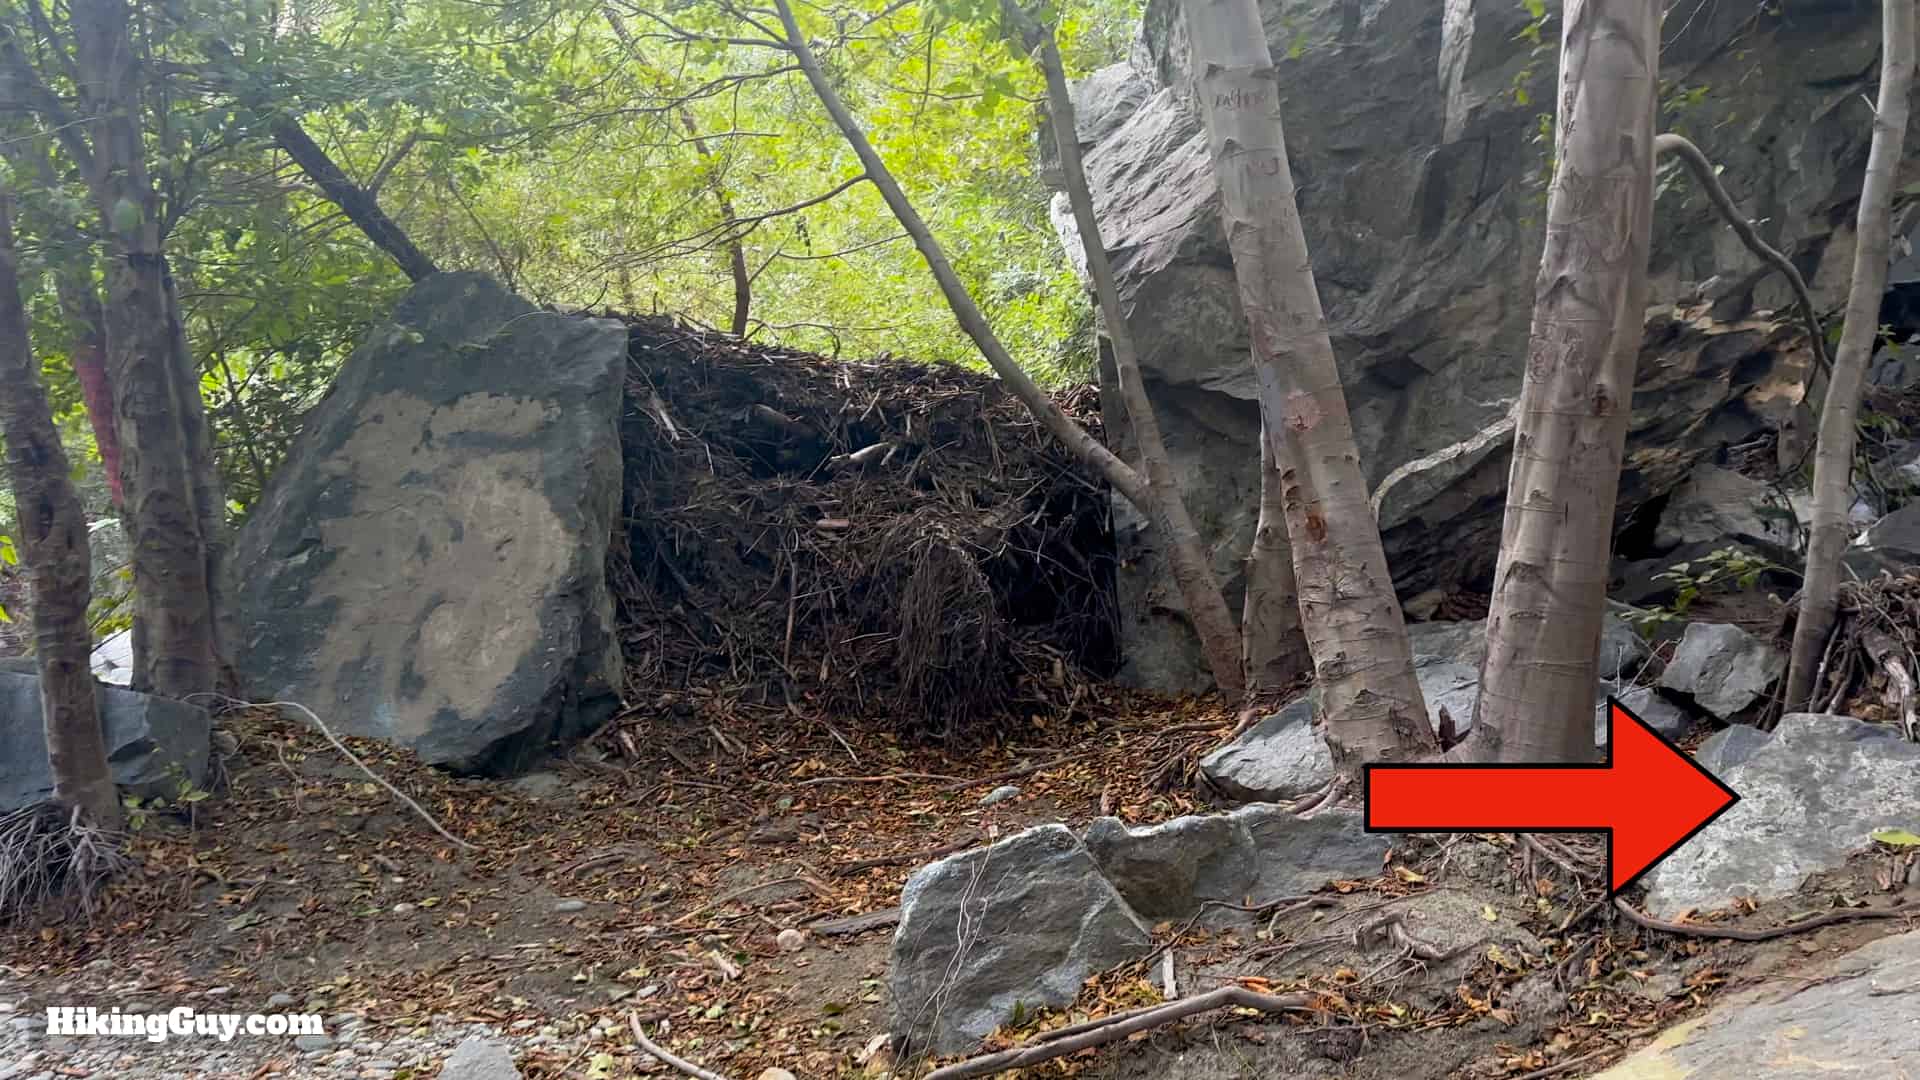
- Trailhead to the first river crossing: 1 mile
- Walk along the river: 3 miles
- Ridge to the bridge: 1 mile
This helps me mentally tackle the hike and know how far I've gone. Once you're at the bridge, you simply return the same way that you came.
There are no big climbs on the hike. All of the elevation change comes from small ups and downs along the way.
Bridge to Nowhere Hike Directions

Who was Heaton? He was a miner that lived and worked here from 1891 until the 1920s. Today you can still see people hunting for gold along the river. There's a good documentary on Vimeo called "LA Miner" that's free and worth a watch.


In 1929 work started on the East Fork Road, which was going to connect San Gabriel Valley with Wrightwood to the north. The bridge was a vital link on that road and was built in 1936. But only two years later, in 1938, catastrophic flooding in the San Gabriel River washed the road away, leaving only, well, you guessed it, a Bridge to Nowhere.


That's it! When you're done at the bridge, just hike back the way you came.