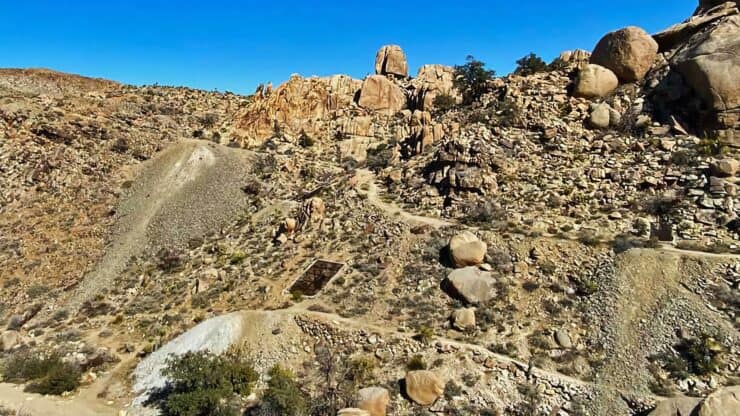

The Desert Queen Mine hike is a cool one; you can actually touch and explore the ruins of a mine that dates back to the 1890s and has a rich story involving cattle rustlers and gunfights of the Old West. And of course, you can enjoy all the natural beauty of Joshua Tree at the same time. If you're feeling adventurous, I highly recommend the optional extended hike to Eagle Cliff Mine, a remote mine and rock cabin perched above a beautiful overlook.
- Video and Turn by Turn Directions to Desert Queen Mine
- Parking for the Desert Queen Mine Hike
- Everything You Need to Know to Prepare for the Hike
- Optional Hike Extension to Eagle Cliff Mine
How to Get to the Desert Queen Mine Hike
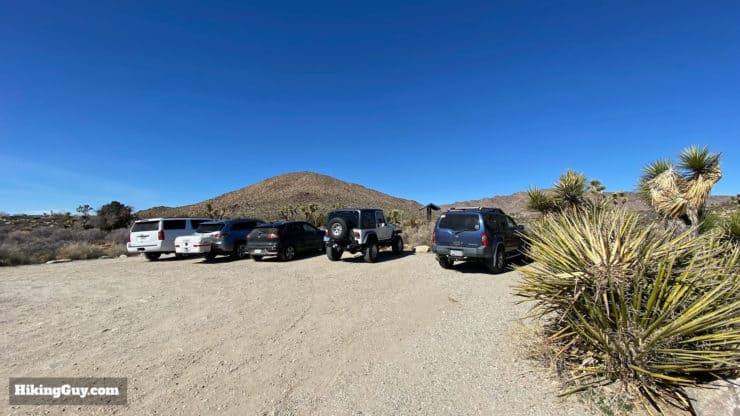
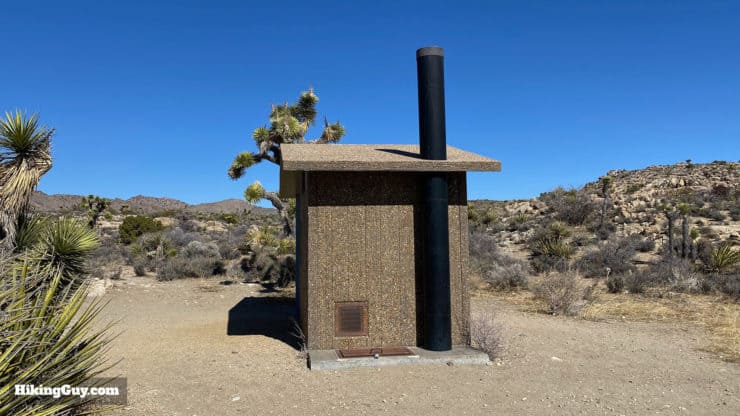
The trailhead is in a smallish parking lot at the end of Desert Queen Mine Rd, a dirt road off of the main Park Blvd. The trailhead road is dirt but you can do it in a regular low-clearance car. There are also signs on Park Blvd for the Desert Queen Mine turnoff. Use this trailhead address:
Desert Queen Mine Rd, Twentynine Palms, CA, 92277, USA
Gear for the Hike
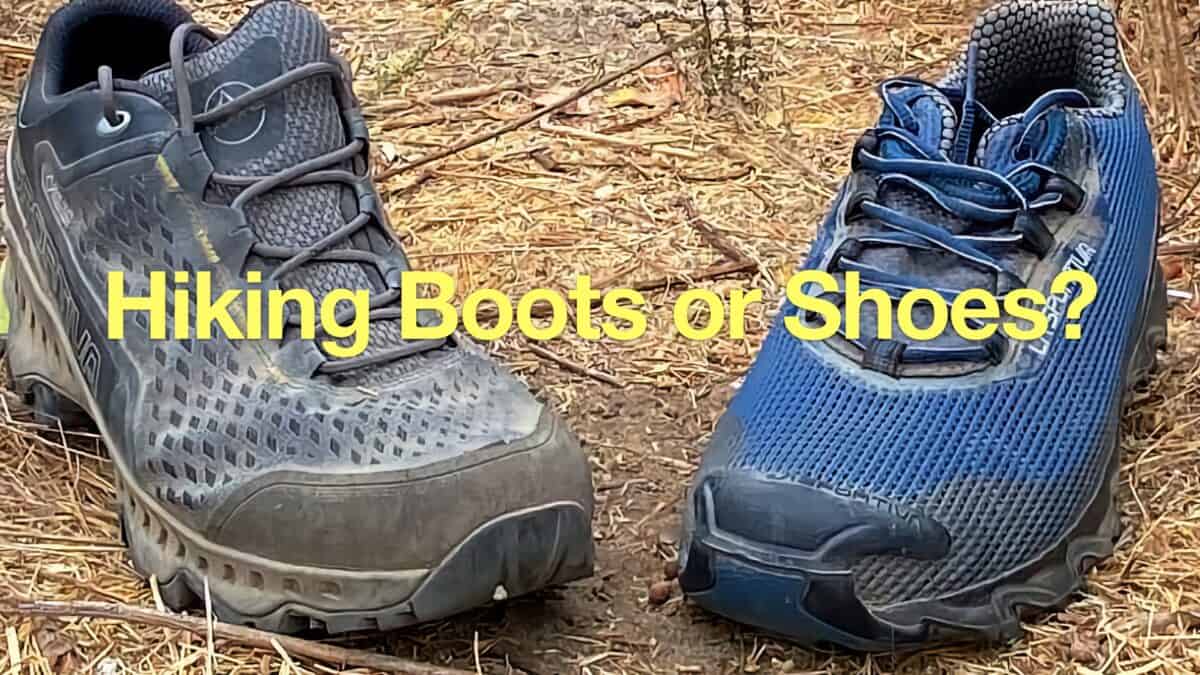
If you have light hiking gear, that will serve you best at Desert Queen. Hiking boots with cuffs will help keep the debris out of your feet. That said, this is a short hike and you can get away with fitness or casual clothes in a pinch. Bring at least 1L of water and sun protection; you are hiking in the desert.
Gear That I Love Right Now
Nothing is sponsored or promoted, just the actual gear that I use.
Check out the complete list here. ( Updated July 2024)
Desert Queen Mine Trail Maps
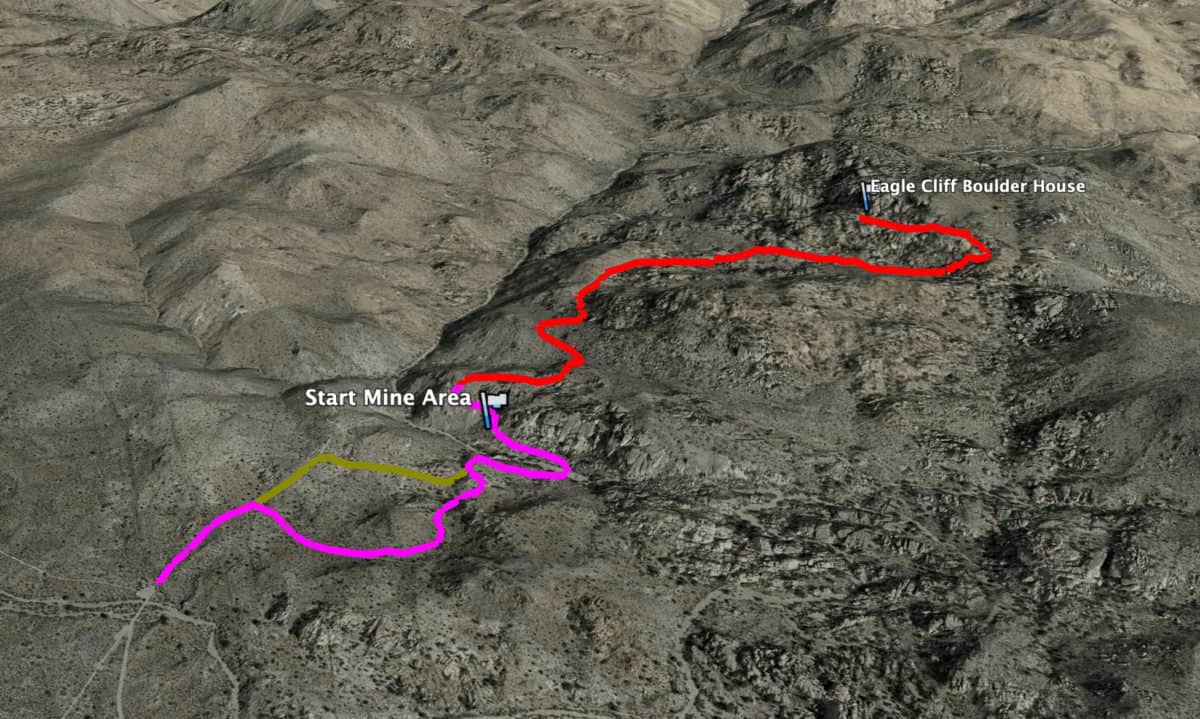
I have three trails marked on this map:
- The out and back hike to Desert Queen Mine
- An optional extension on a more primitive trail to Eagle Cliff Mine
- An alternate route back from Desert Queen Mine that takes you past more ruins
How Will You Navigate?
Quick Hike History
- Gold was discovered at Desert Queen by a prospector named Frank James in 1894.
- Local cattle-rustler Jim McHaney, who had scrapes with other local prospectors, sent his men over to muscle the claim from Frank James. In the process they ended up murdering him.
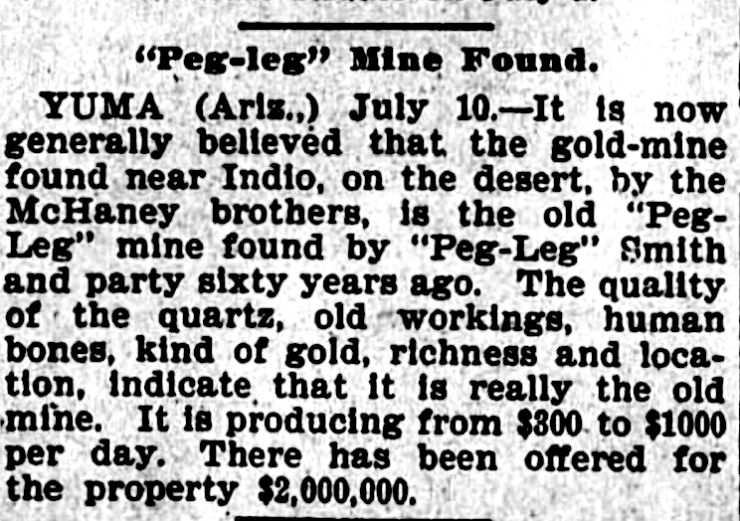
- Rewind a few years to another Joshua Tree celebrity, Pegleg Smith, considered " the champion liar of the Rocky Mountains,” He claimed to have found an incredible gold mine in the area and sold "maps" to gullible prospective miners. The "lost mine" was a great cover story for the murder of Frank James and his claim, and Jim McHaney (re)claimed the land.
- Jim McHaney owned the mine for two years, but he squandered the $30,000 he made from the gold, missed his bank payments, and had the mine foreclosed on by the bank.
- In 1915 the mine was acquired by local rancher and homesteader, Bill Keys, who was also a member of Teddy Roosevelt's Rough Riders. At the time he was the caretaker of the mine. When the owner died owing him back-pay, he made a claim and gained the mine. You can visit his ranch today at the park.
- The mine ran until 1961, producing almost 4,000 ounces of gold. Today you can explore the shafts and old gear littered around the site.
Desert Queen Mine Hike Directions
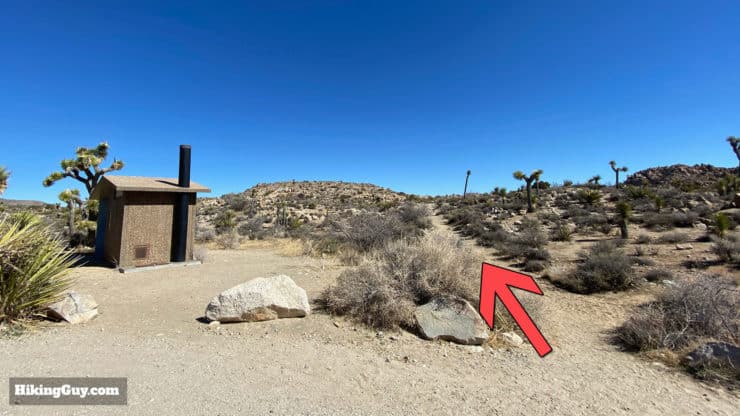
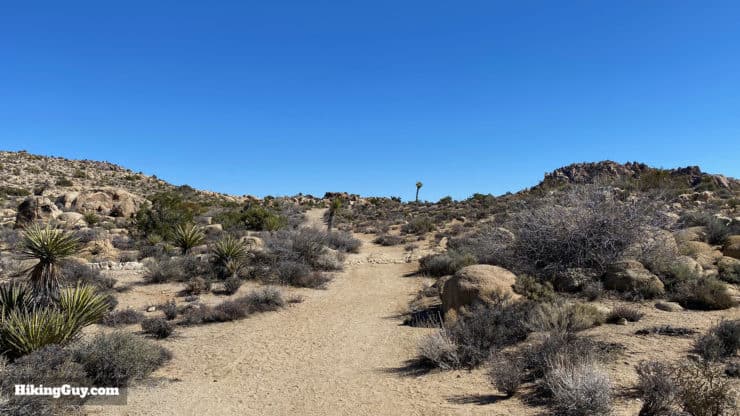
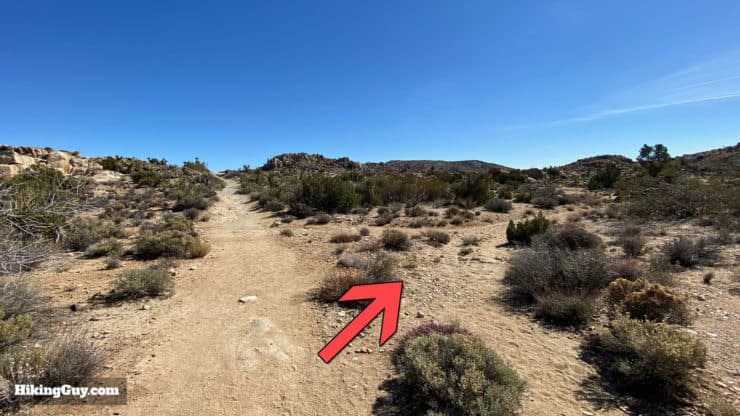
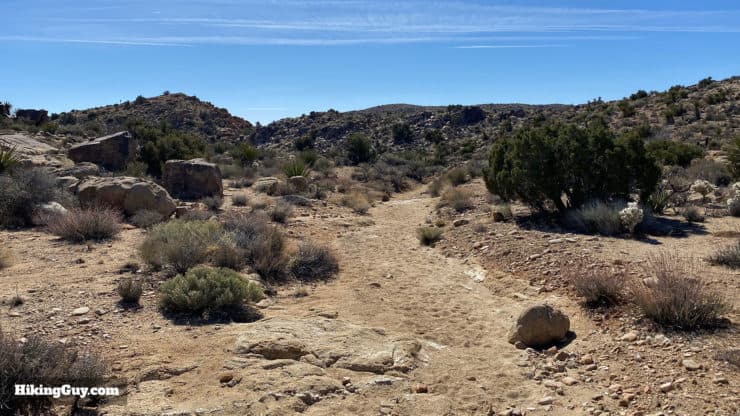
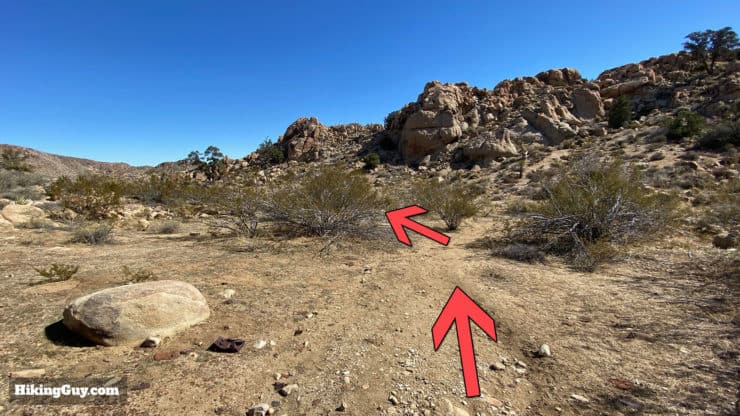
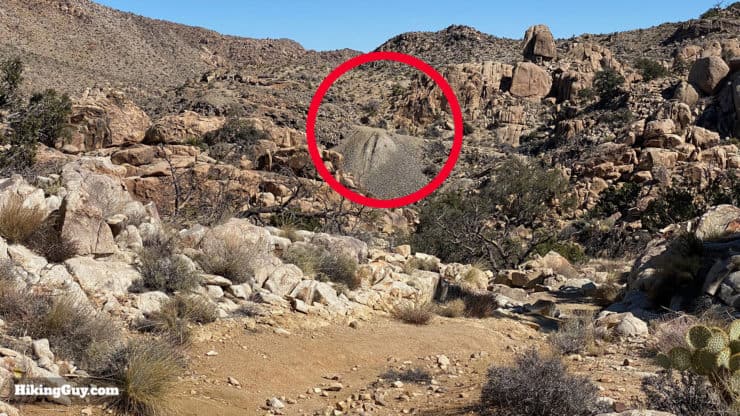
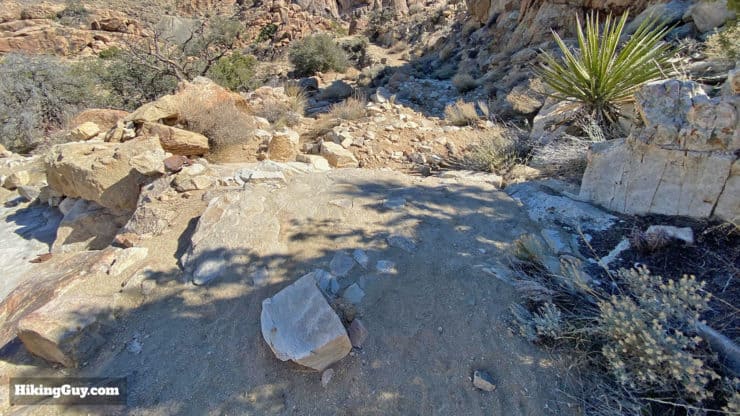
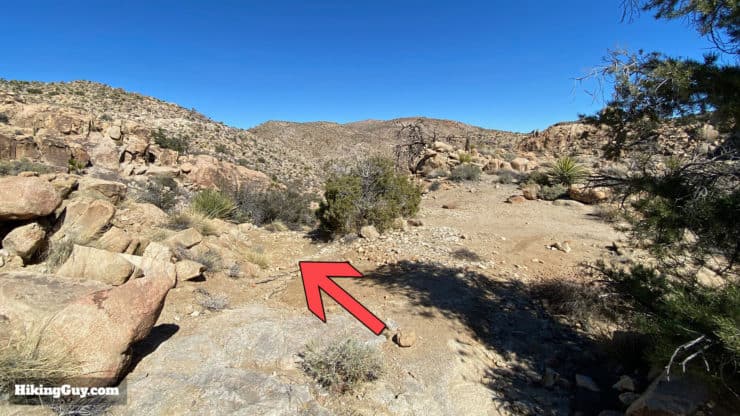
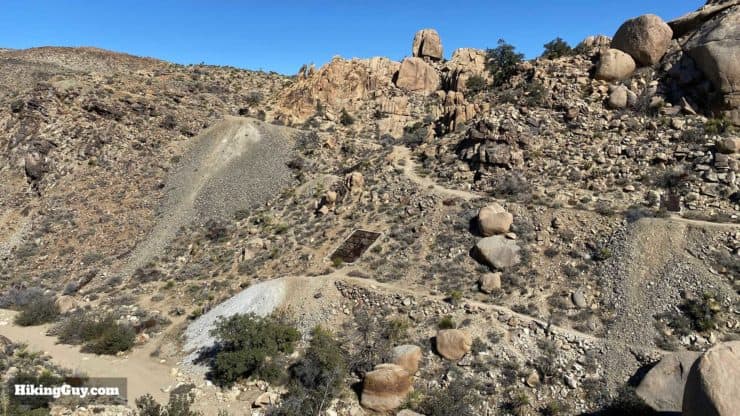
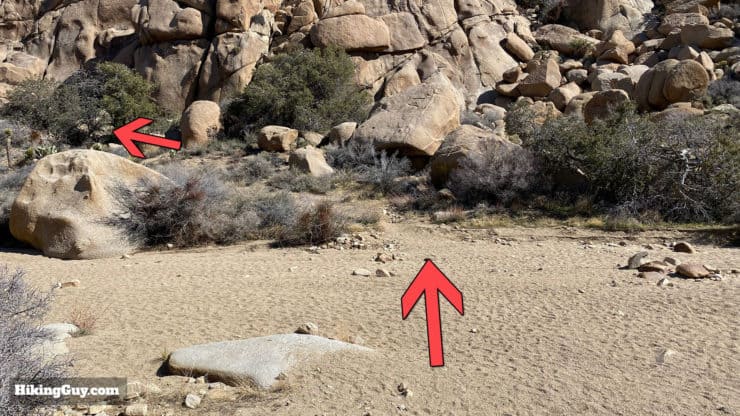
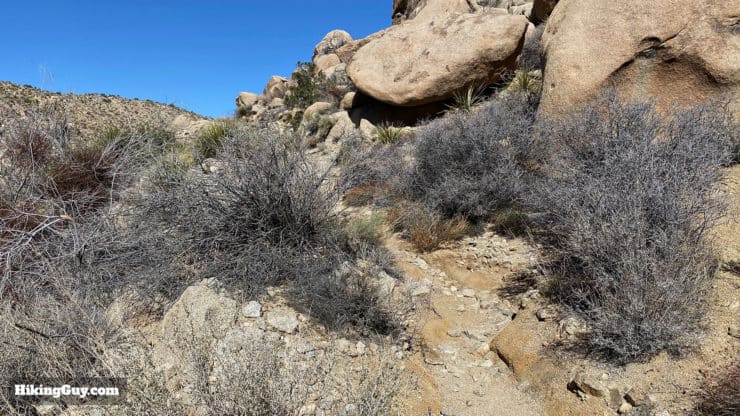
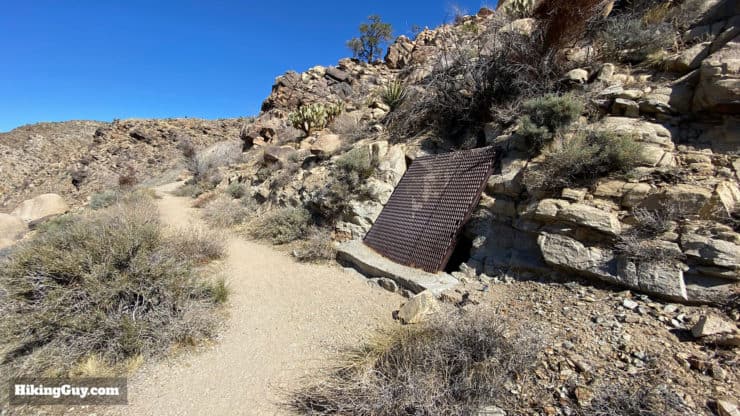
There are several mine shafts at Desert Queen Mine. They are sealed up and (obviously) dangerous to enter. There is also an active bat community in the mine shafts. Just a heads up if you poke your head in by the grate to have a look.
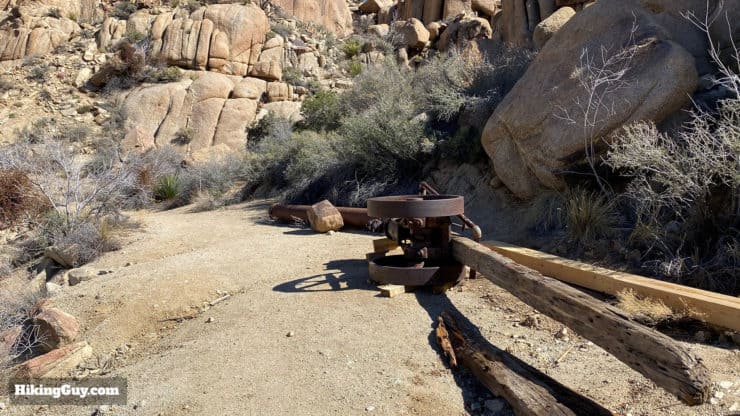
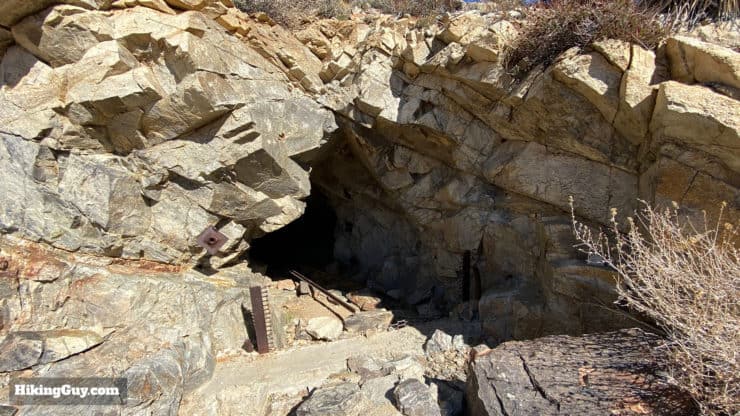
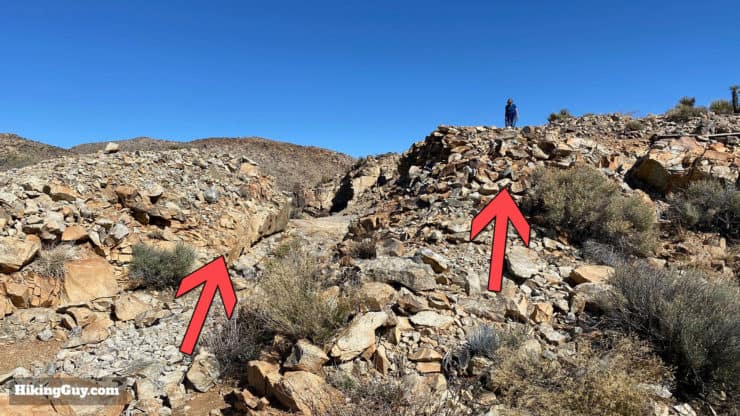
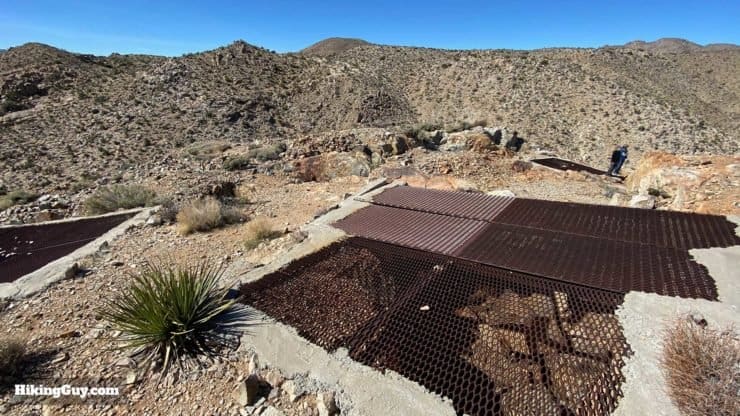
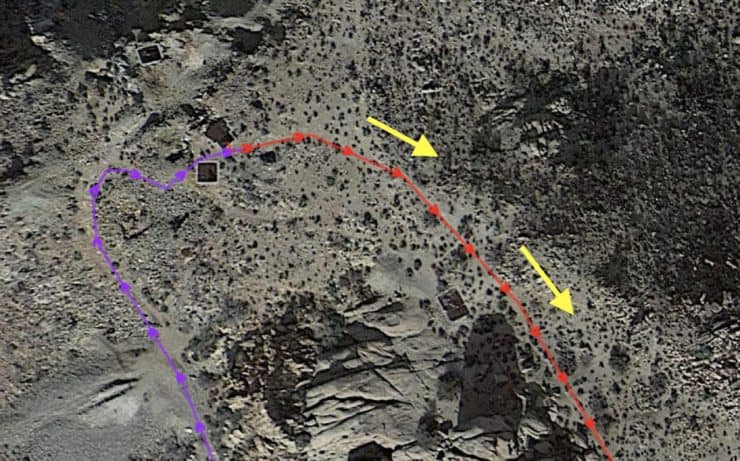
From here you can either continue on to Eagle Cliff Mine (more below) or return the way you came. If you want to return and explore more ruins, follow the yellow path on the map above for the alternate way back.
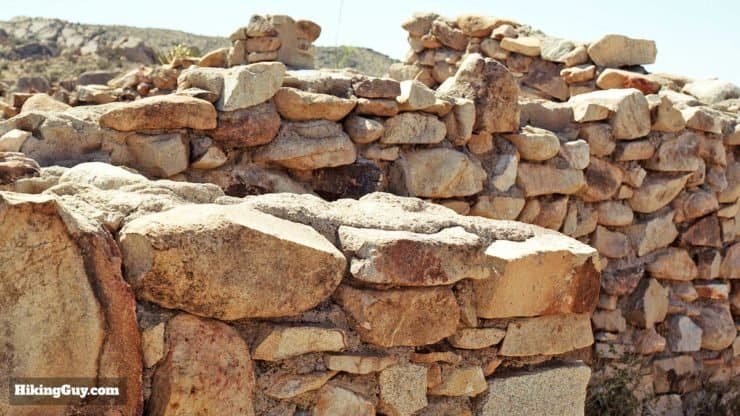
Extension to Eagle Cliff Mine
If you want to continue on to the remote Eagle Cliff Mine and boulder house, follow the directions below. The trail isn't as defined as the first part of the hike, so having a GPS with the GPX track loaded is helpful.
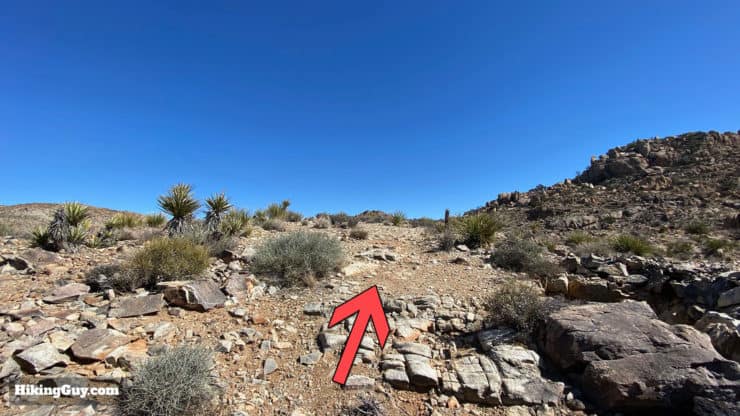
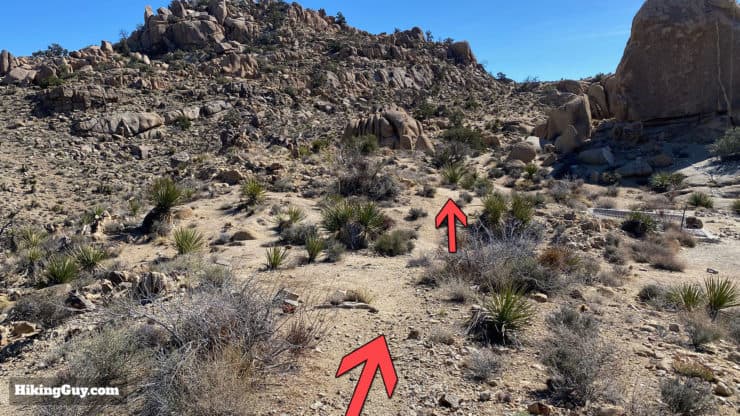
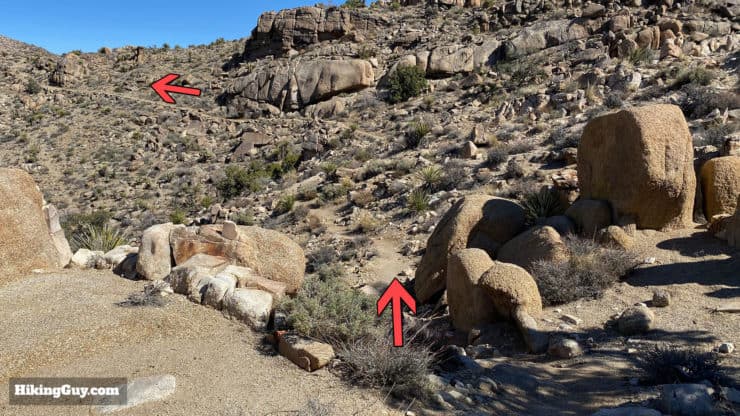
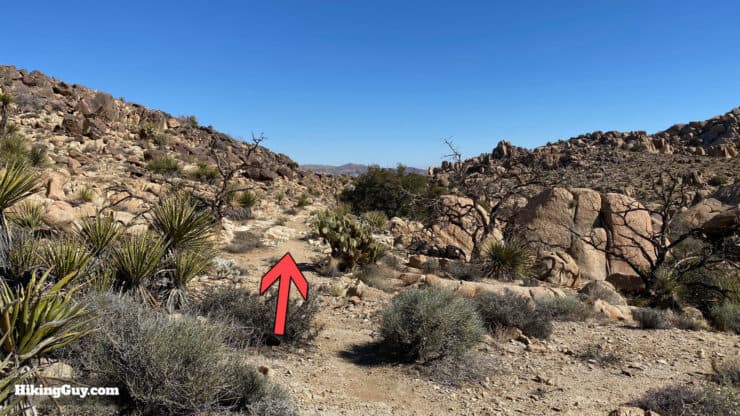
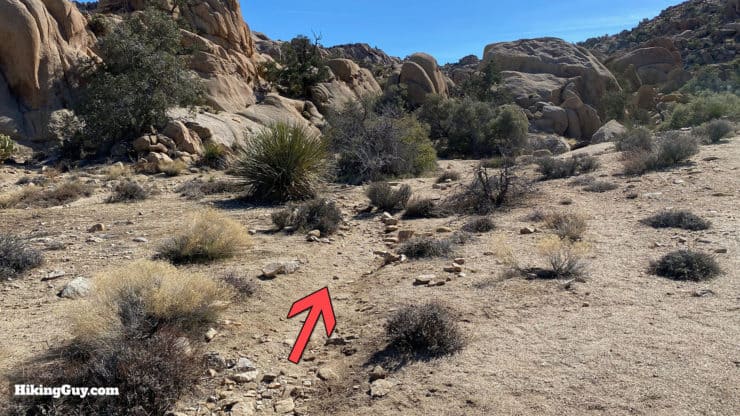
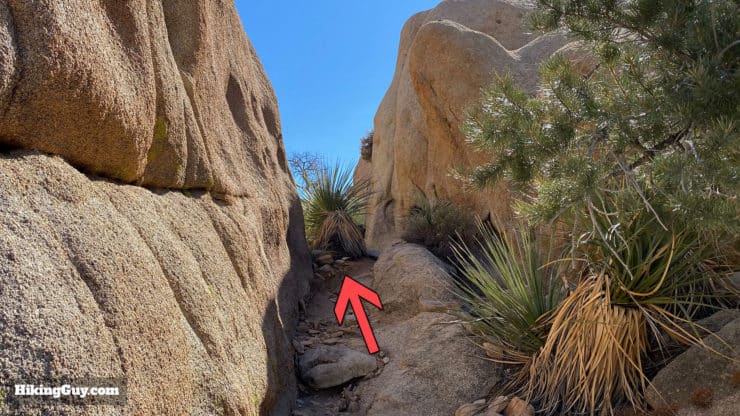
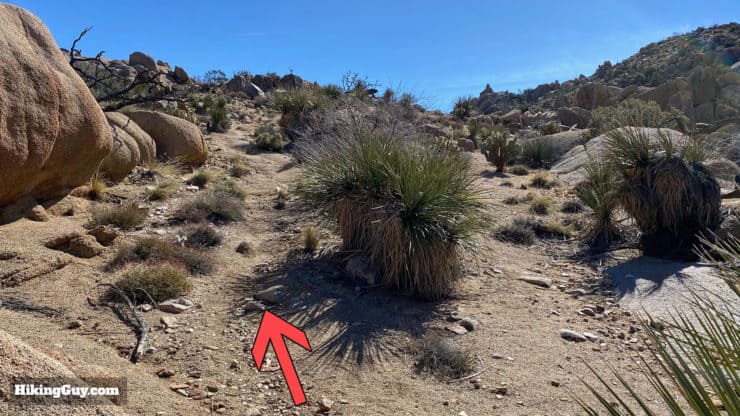
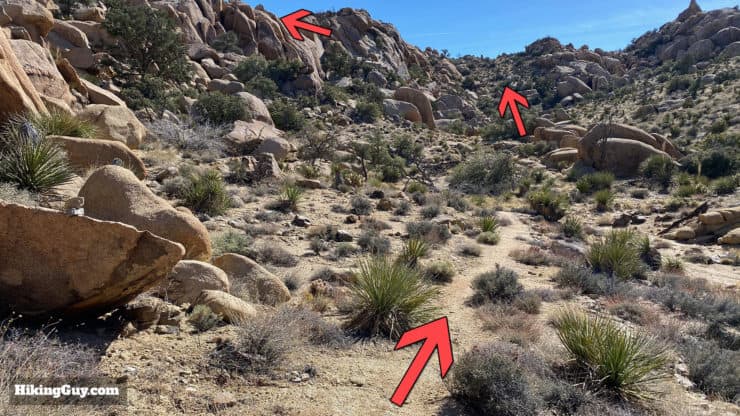
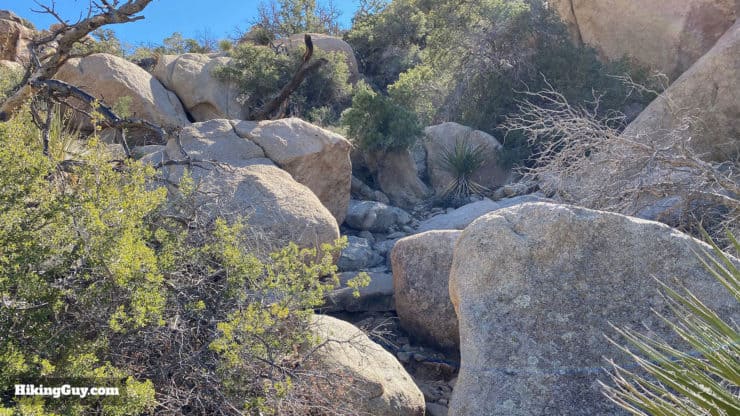
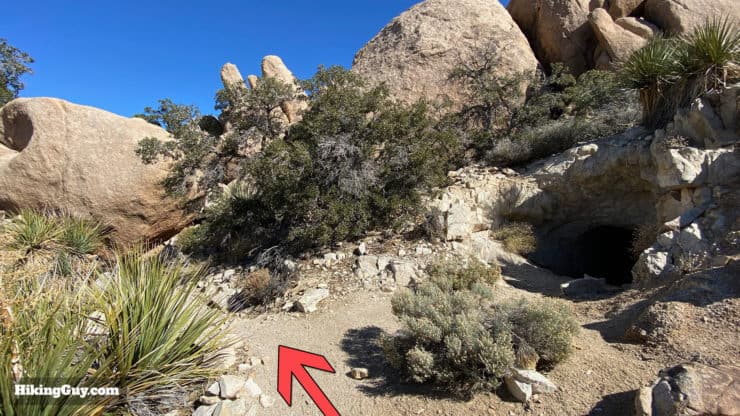
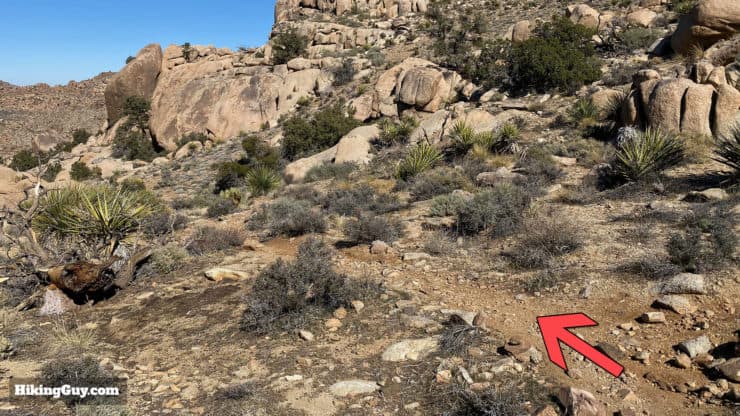
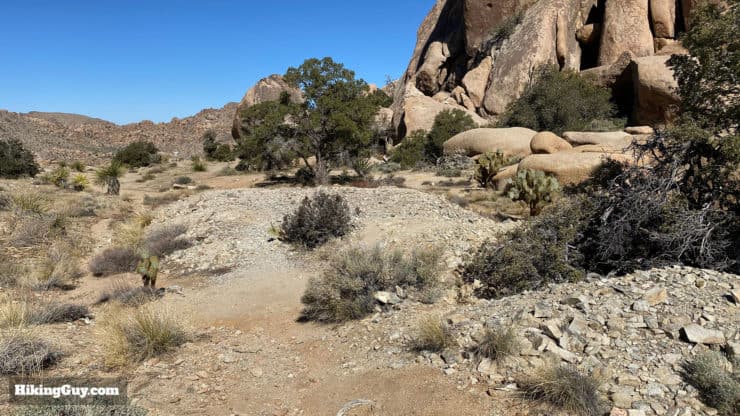
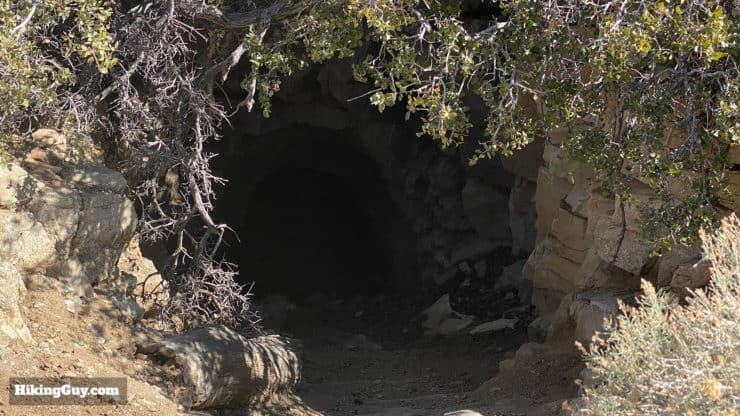
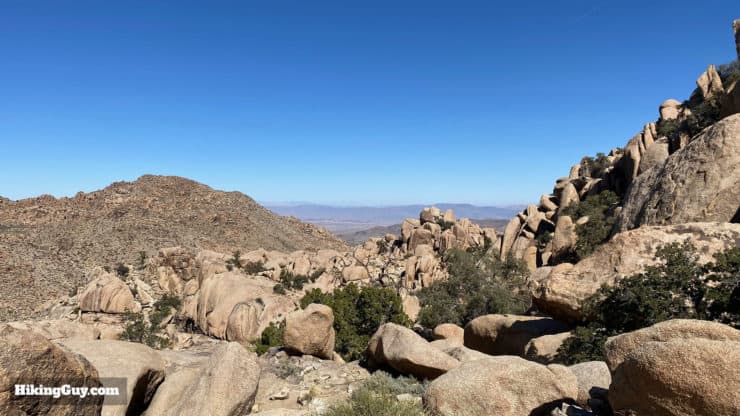
There is a very special place here at Eagle Cliff Mine, an old miner's cabin built into the boulders called the Boulder House. I hesitated to include this hike on the website because I've seen items stolen from the cabin over the years, and it's sad. But if you don't find the directions here, you'll find them somewhere else, so I have the directions with a small request. As a HikingGuy reader, I'm guessing you probably know this already, but if you're new to the site (and/or hiking), please don't touch, move, or take anything from the cabin. You'll have to poke around to find the Boulder House, and this is what it looks like.
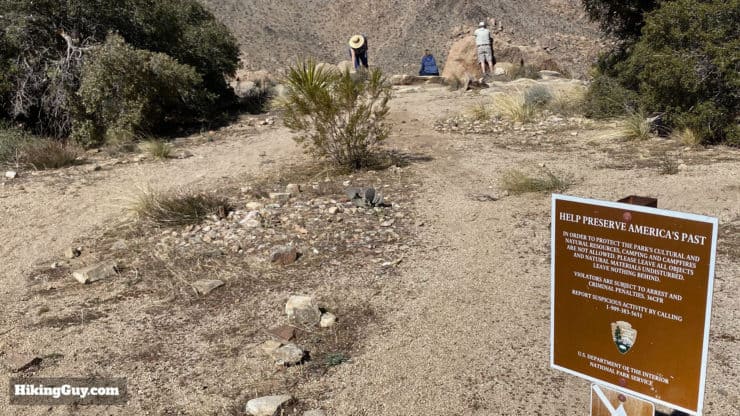
Once you're done here, you just hike out the way you hiked in.
Need More Info?
- Have a question about the guide? Join my Patreon and ask me a question.
- When planning, always check the park website and social media to make sure the trails are open. Similarly, check the weather and road conditions.
- Do you have an update to this guide? View the Youtube comments for this video. Leave a comment and I will do my best to update the guide.
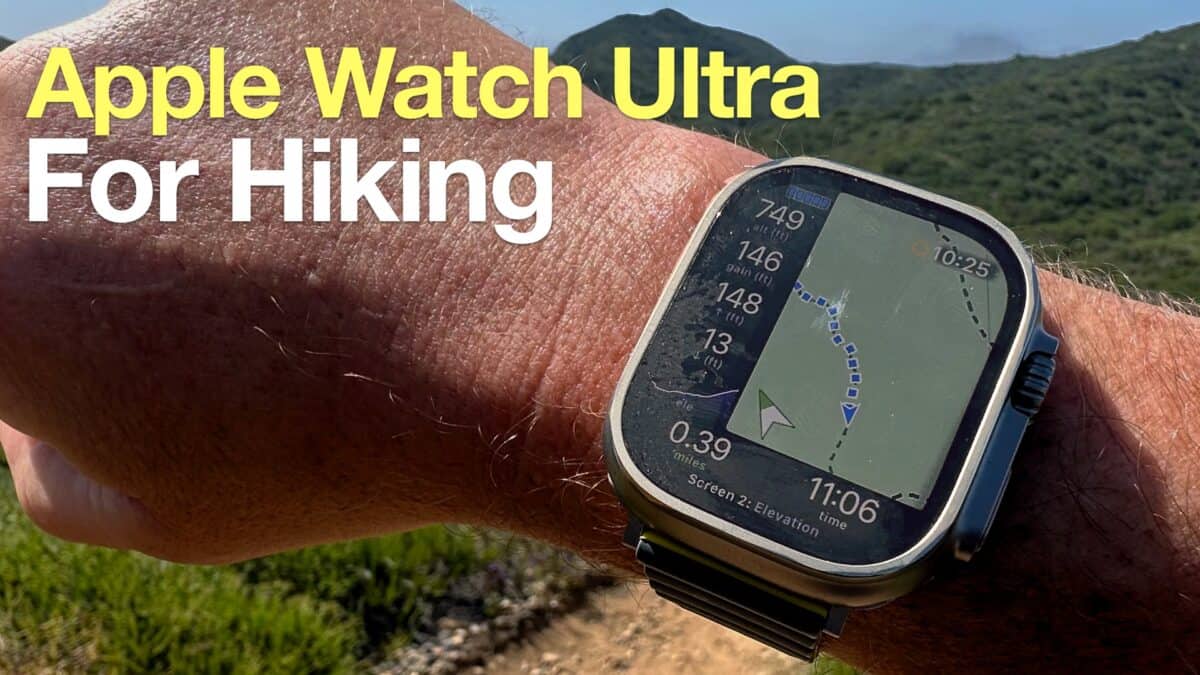 Using the Apple Watch for Hiking
 Garmin Fenix 7 & Epix Review For Hikers
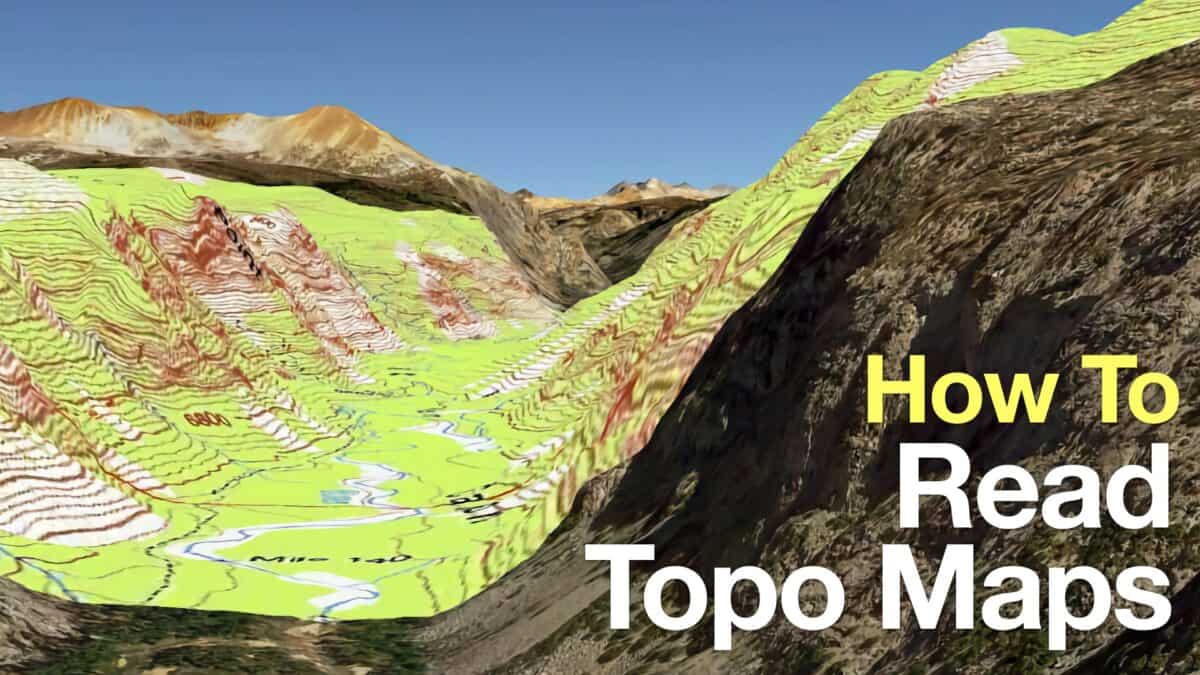 How To Read a Topographic Map
 Garmin GPSMAP 67i Review
 Lost Horse Mine Trail
 Hike the Pine City Trail (Joshua Tree)
 Hike Split Rock (Joshua Tree) Loop Trail
 Joshua Tree Hiking Tips
 Joshua Tree Hikes
 Palm Springs Hiking Trails
 Hikes In and Around Riverside County
 Best Hiking Gear 2024
 Hiking Boots or Shoes: Do I Really Need Hiking Boots?
 When to Hit SOS on inReach