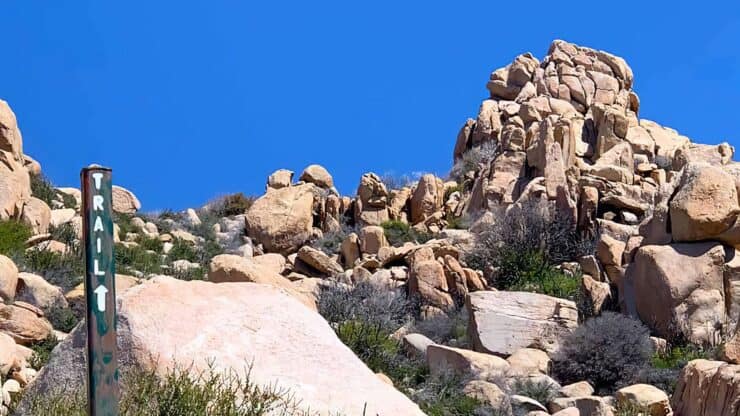

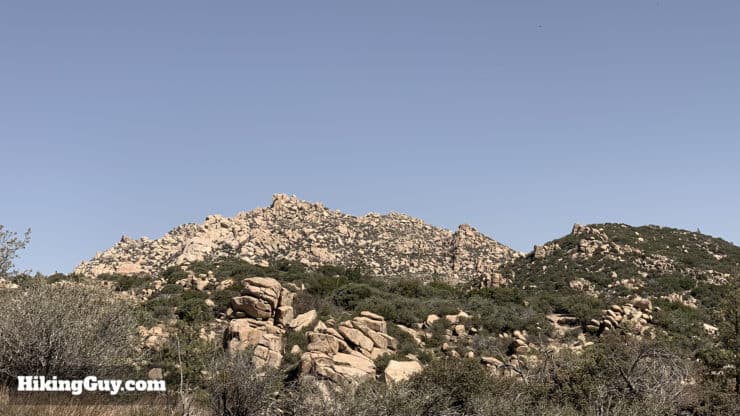
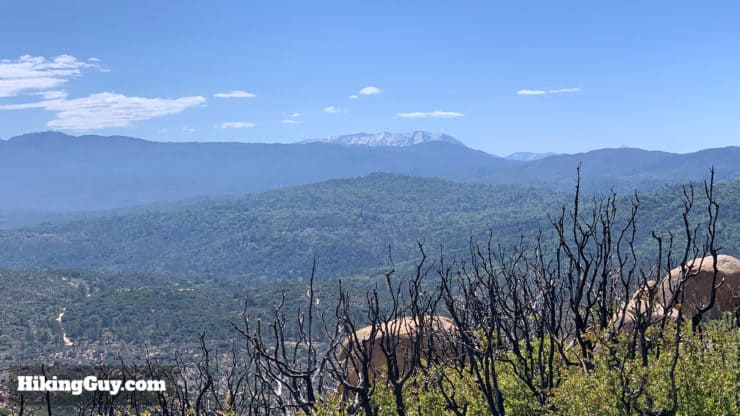
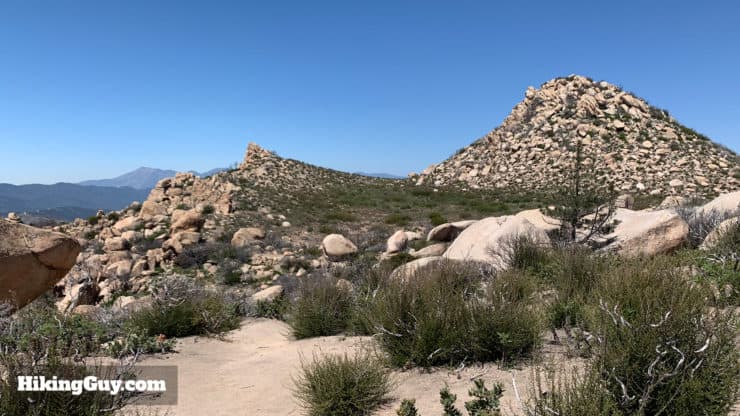
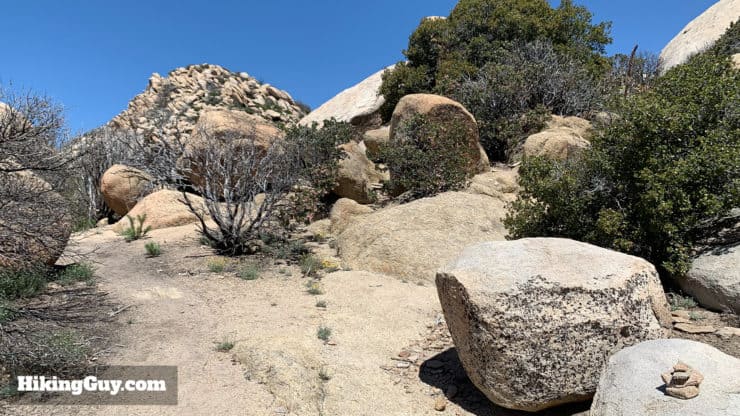
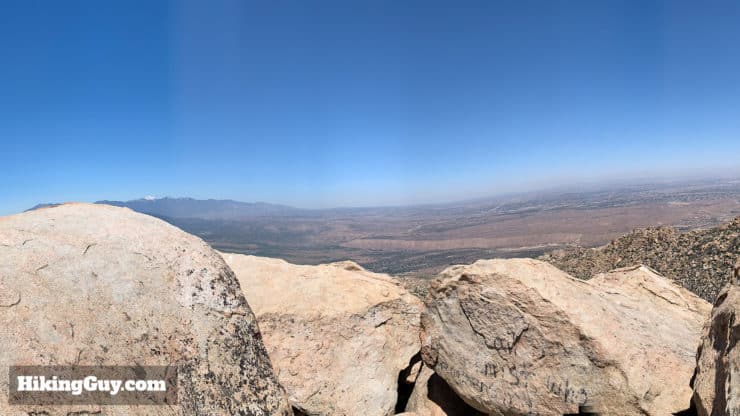
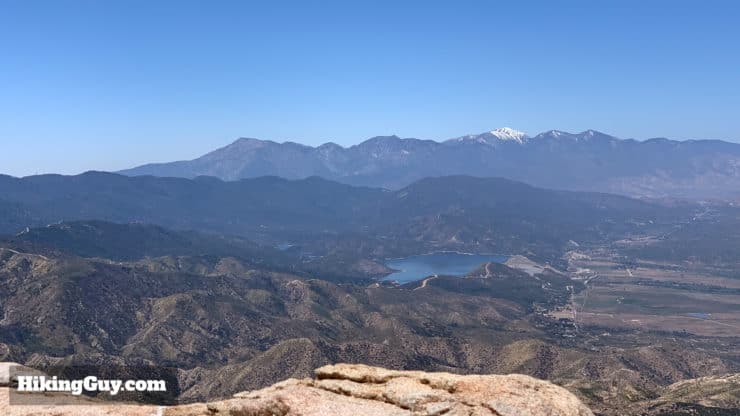
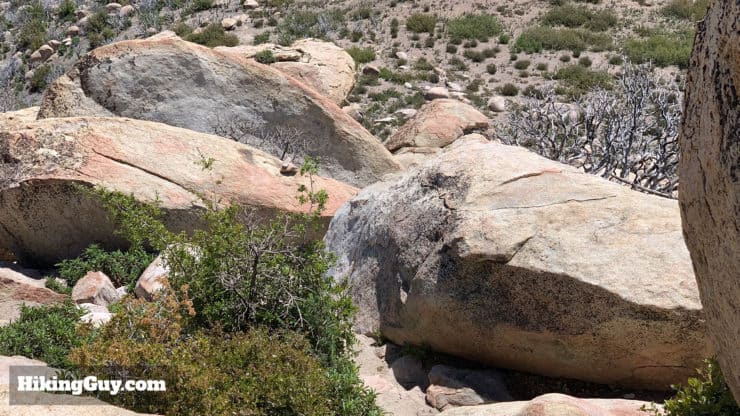
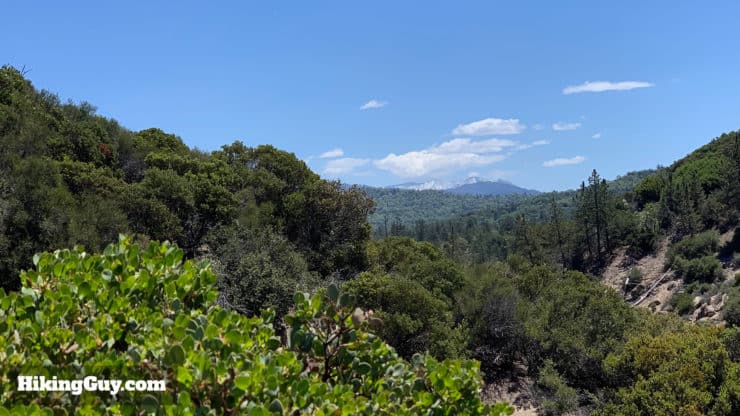
Feeling more like Joshua Tree than Lake Arrowhead, this short but tough hike to the summit of The Pinnacles rewards you with a stone perch where you can soak in 360-degree views from the mountains to the Mojave. The hike ascends through a granite boulder field to a small plateau, then after a last mild scramble to the boulder-pile summit, you reach The Pinnacles peak. It's a fun hike that's a bit off the beaten path; don't be surprised if you have the whole place to yourself.
- Turn by Turn Hike Directions & Hike Video
- Arrowhead Pinnacles Trail Maps
- How to Get to the Arrowhead Pinnacles Trail
As a bonus, the Pinnacles peak is part of the Sierra Club 100 Peaks (SoCal) list.
How To Get to the Lake Arrowhead Pinnacles Trail
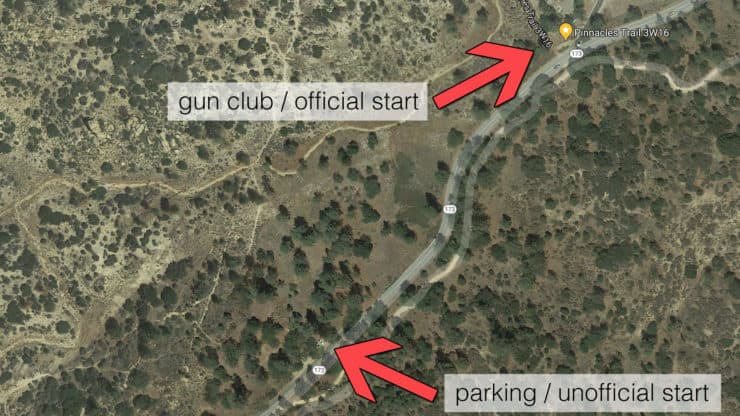
The trailhead is in the Lake Arrowhead area, on the east side where the mountains transition to the desert. Getting to the trailhead is kind of tricky on paper but easy when you get there. The official trailhead is right by the Arrowhead Fish & Game Conservation Club (a gun club and shooting range). But the parking area is a minute or two before you reach the official trailhead on your left. When you're about 3-4 minutes out from the destination on your GPS, keep an eye open on the left for the trail sign and parking area.
Use this address in Google Maps to get to the official start:
Pinnacles Trail 3W16, CA-173, Hesperia, CA 92345
The address for the parking area isn't on Google Maps, but you can use the geo coordinates:
34°17'39.3"N 117°12'47.6"W
34.294244, -117.213207
There are no bathrooms at the trailhead.
Since you're in San Bernardino National Forest, you need a parks pass or Adventure Pass in your window when you park.
CA-173 can close when there's a lot of snow and ice, check the conditions here if in doubt.
Deciding Where To Start the Hike
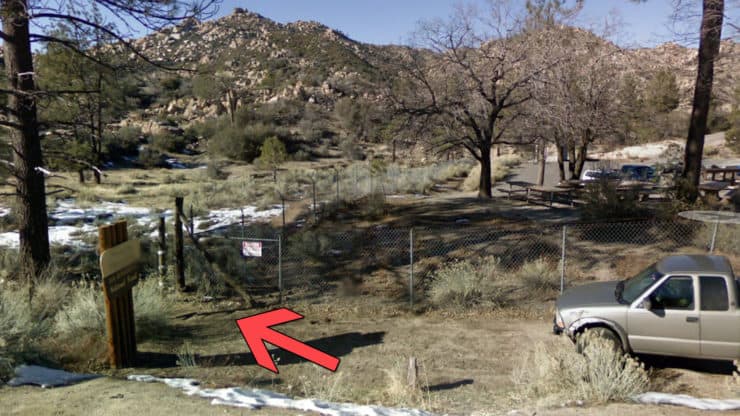
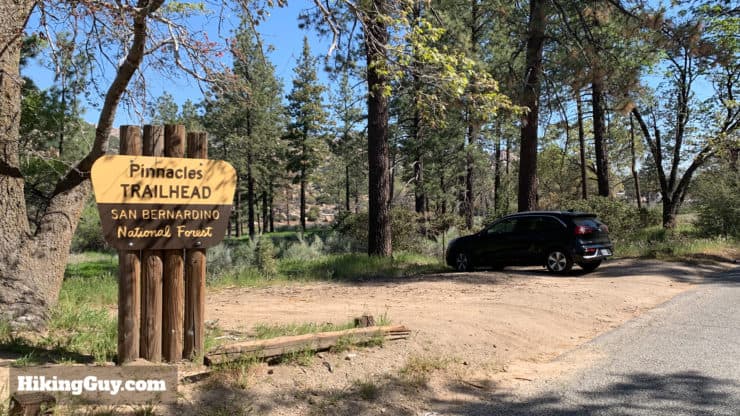
Why do I have two trailheads? Well, if you use the official trailhead, you need to walk down the road from the parking area. It's a short walk and not a big deal. Here's what the official trailhead looks, which is next to the fence of the gun club.
I choose to start the hike in the parking area, which is the way I've listed in the directions that follow. I like it better because I avoid the walk along the road and avoid getting closer to any shooting that could be happening on the gun club range. The gun range can get loud and is not my cup of tea when hiking.
You can certainly walk to the official trailhead and do the hike. I'll show you where you join the hike in the directions below.
Gear For the Hike
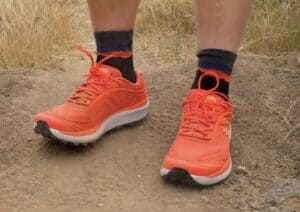
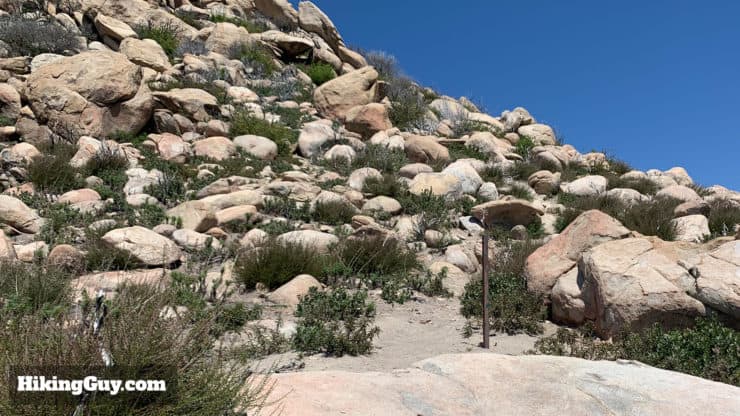
There is almost no shade on this hike, so plenty of water is a must. Otherwise you can probably get away with fitness gear, but I opt for my regular hiking kit here. There is a bit of boulder scrambling, so if you hike with trekking poles, make sure you can attach them to your pack when you need both hands to climb.
Gear That I Love Right Now
Nothing is sponsored or promoted, just the actual gear that I use.


Check out the complete list here. ( Updated July 2024)
Lake Arrowhead Pinnacles Trail Maps
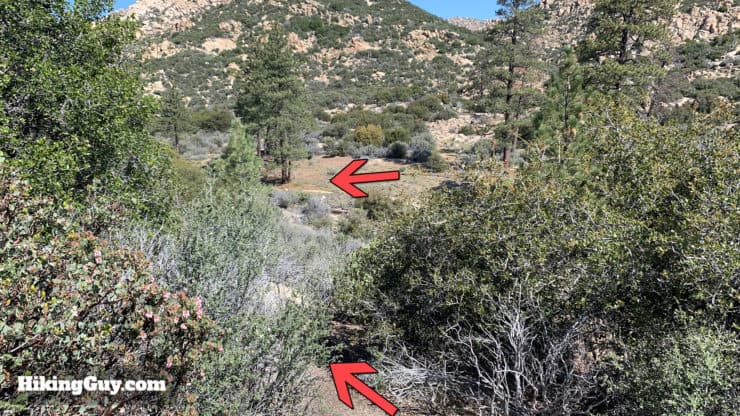
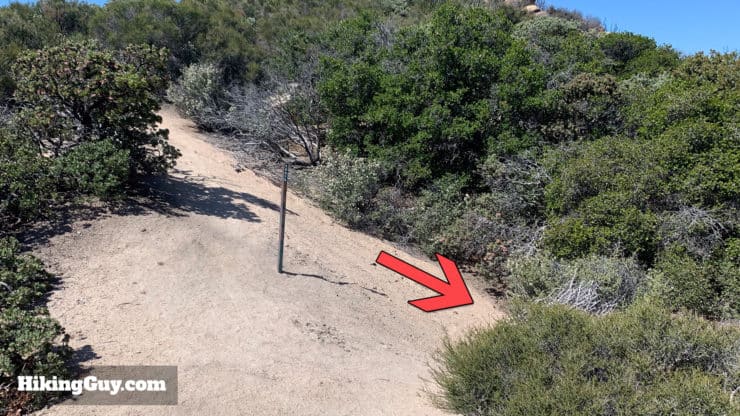
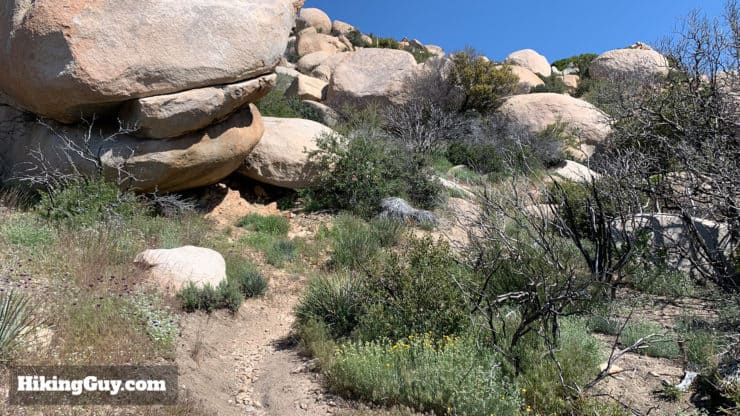
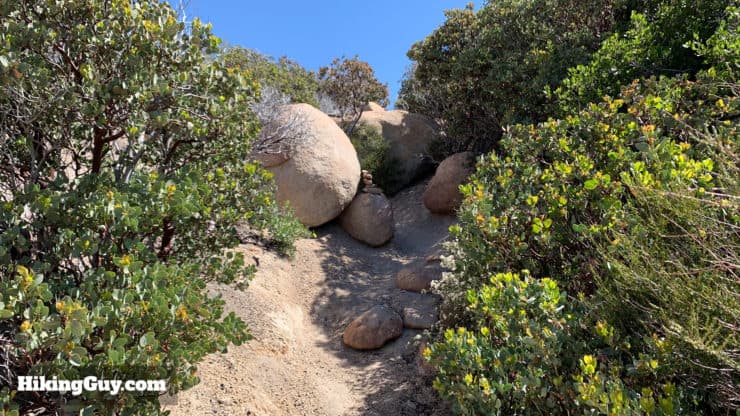
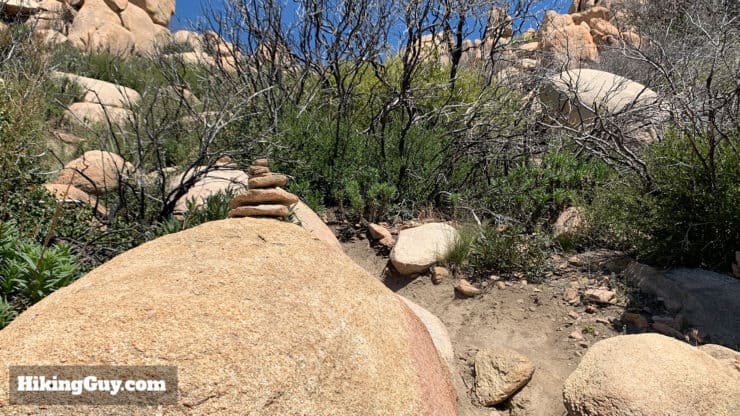
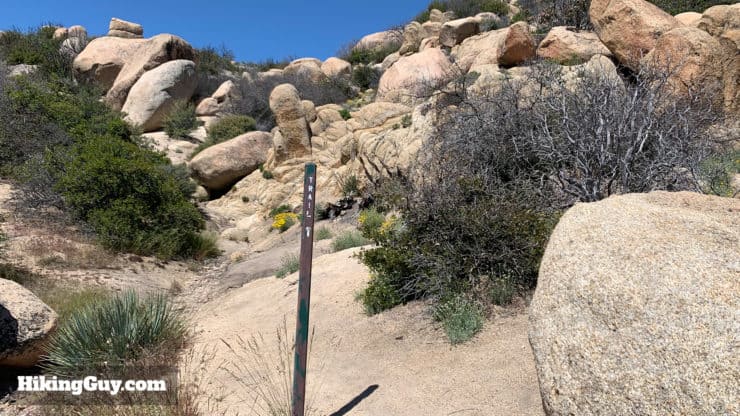
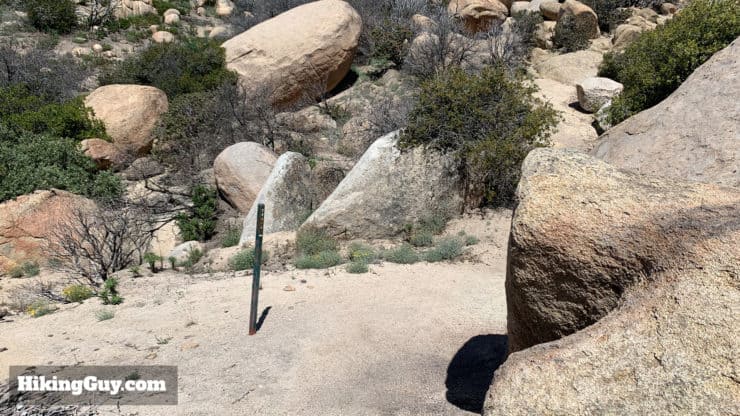
As I mention in my directions below, there are a lot of side trails and splits. The area is popular with rock climbers and there are trails to various climbing spots. In fact, it's supposed to be one of the best climbing spots in the LA area, similar to Joshua Tree. So if that's your bag, you can climb too. But for the hike, I'd recommend referring to the GPX file if you come to a split and you're in doubt.
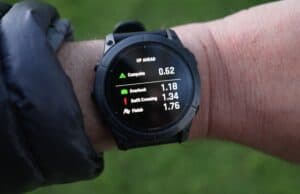
How Will You Navigate?
 Using the Apple Watch for Hiking
 Garmin Fenix 7 & Epix Review For Hikers
 How To Read a Topographic Map
 Garmin GPSMAP 67i Review
Arrowhead Pinnacles Elevation Profile
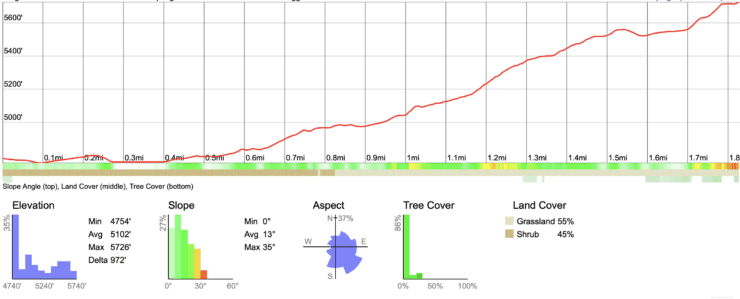
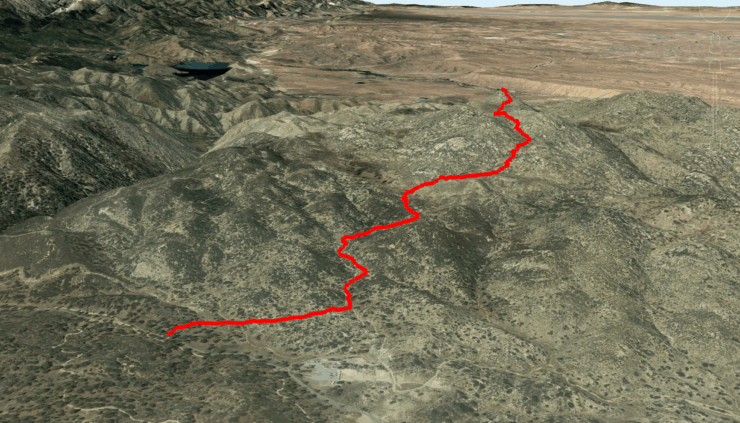
Arrowhead Pinnacles 3D Map
Lake Arrowhead Pinnacles Hike Directions


Need More Info?
- Have a question about the guide? Join my Patreon and ask me a question.
- When planning, always check the park website and social media to make sure the trails are open. Similarly, check the weather and road conditions.
- Do you have an update to this guide? View the Youtube comments for this video. Leave a comment and I will do my best to update the guide.
Related Guides
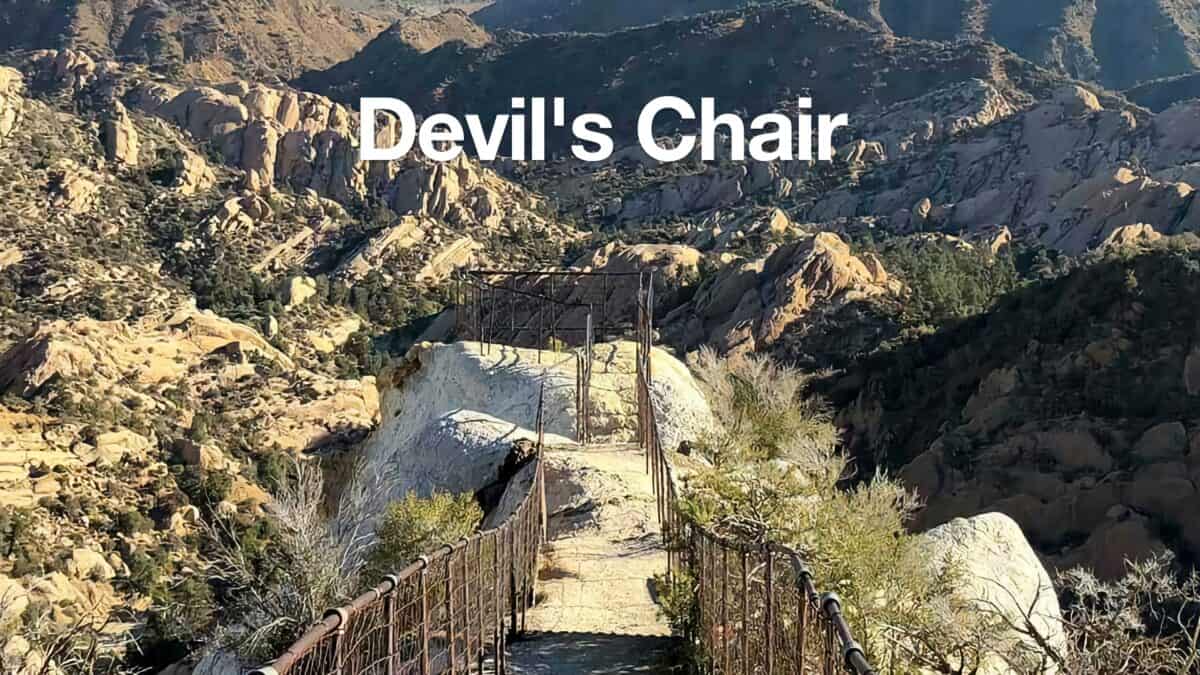 Devil's Chair Hike (Devil's Punchbowl Natural Area)
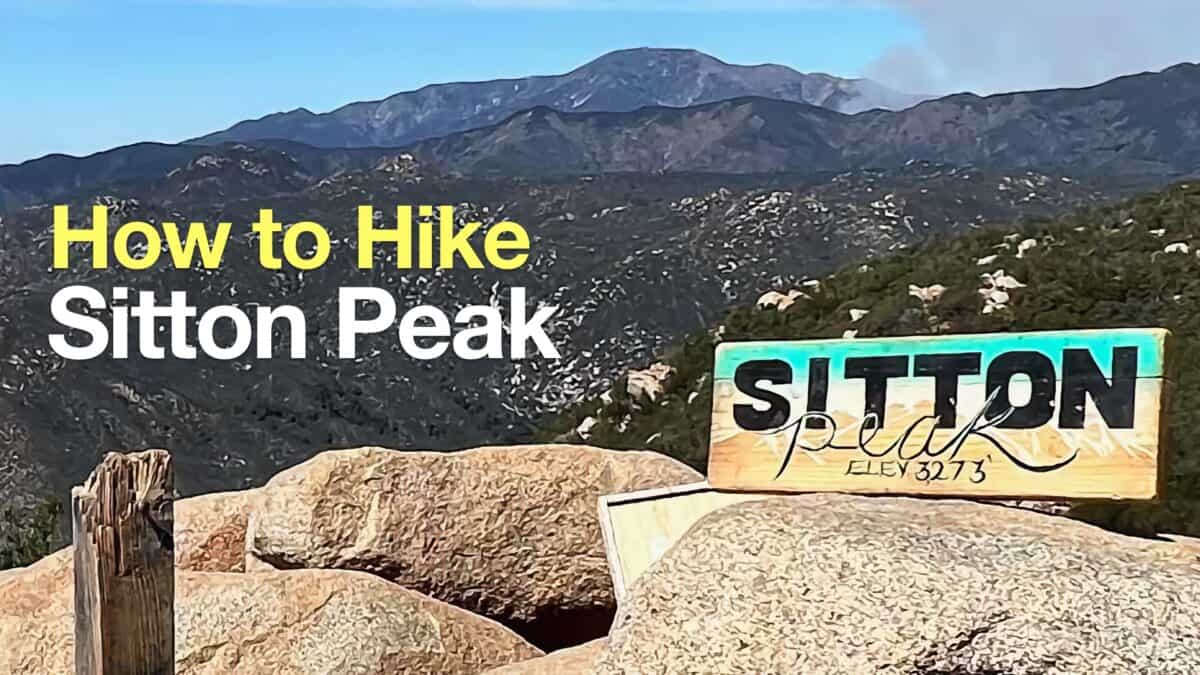 Sitton Peak Hike
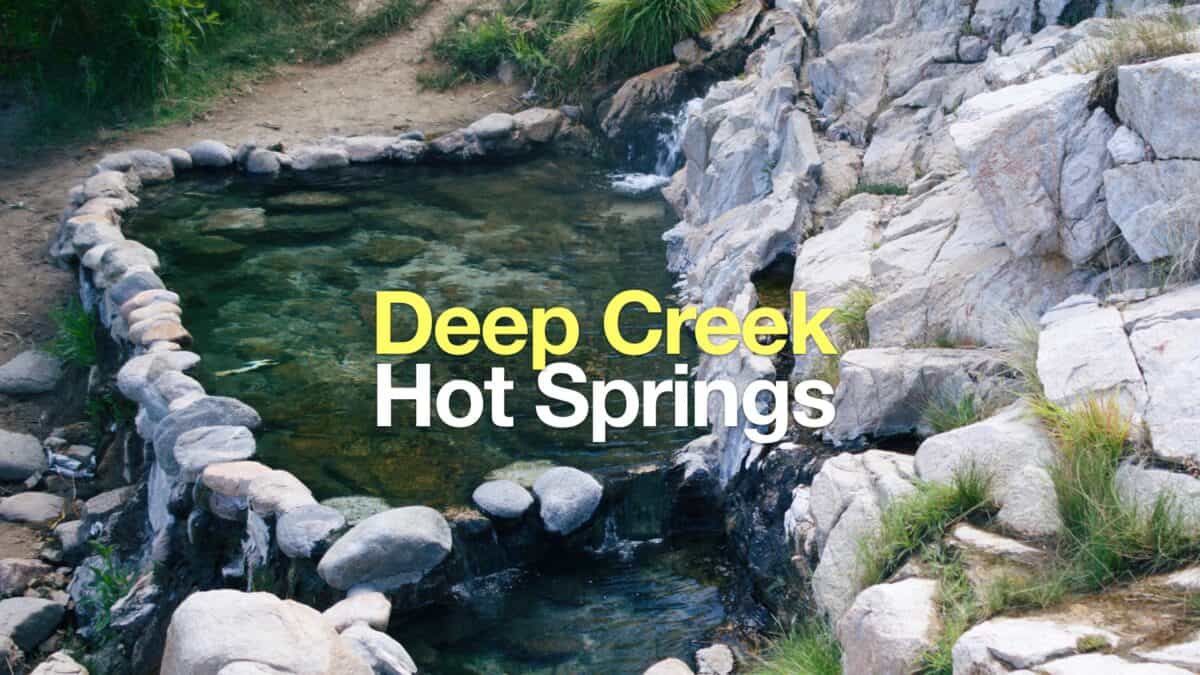 Deep Creek Hot Springs Hike
 Los Angeles Hikes
 Big Bear Hikes
 San Bernardino National Forest Hiking Trails
Popular Guides
 Best Hiking Gear 2024
 Hiking Boots or Shoes: Do I Really Need Hiking Boots?
 When to Hit SOS on inReach
This Guide Was Written by Cris Hazzard

Hi, I'm Cris Hazzard, aka Hiking Guy, a professional outdoors guide, hiking expert, and author based in Southern California. I created this website to share all the great hikes I do with everyone else out there. This site is different because it gives detailed directions that even the beginning hiker can follow. I also share what hiking gear works and doesn't so you don't waste money. I don't do sponsored or promoted content; I share only the gear recommendations, hikes, and tips that I would with my family and friends. If you like the website and YouTube channel, please support these free guides (I couldn't do it without folks like you!). You can stay up to date with my new guides by following me on YouTube, Instagram, or by subscribing to my monthly newsletter.