

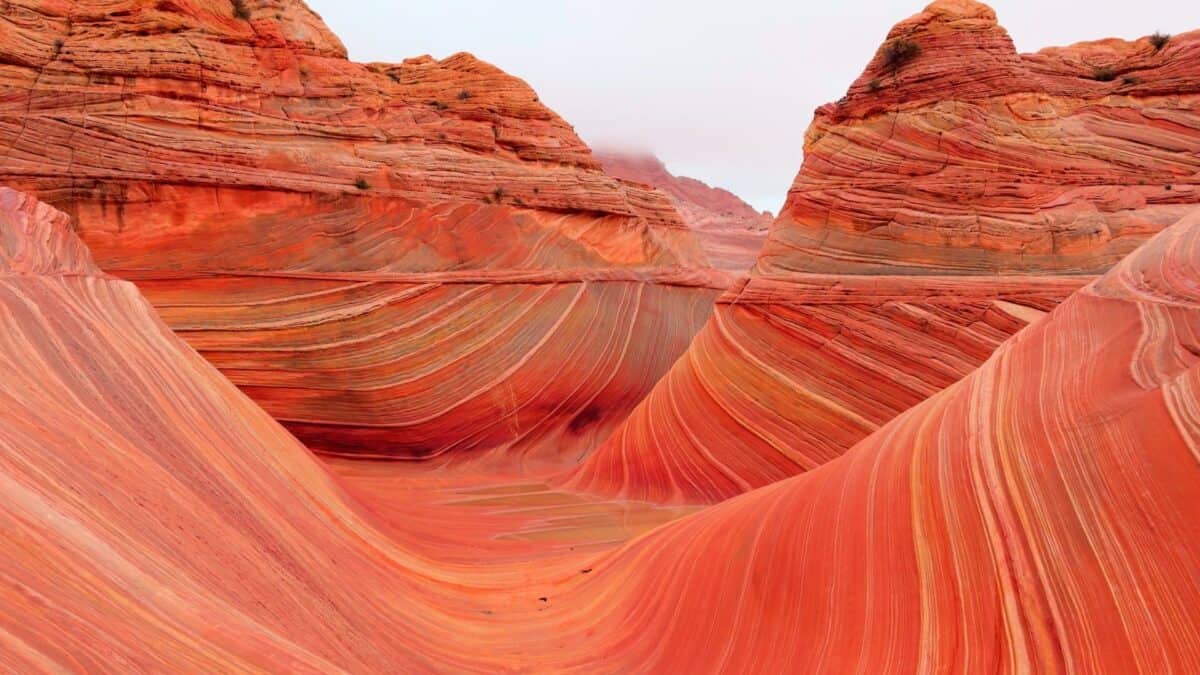
Hiking to The Wave in Arizona can be overwhelming. There are permits, a remote location, and off-trail hiking. I'll show you how to hike it safely and easily in this guide. Despite all the hassle, the Wave is spectacular and worth it.
- The Wave Permit
- Planning Tips
- Hike Directions
- Hidden Attractions
Where is The Wave?
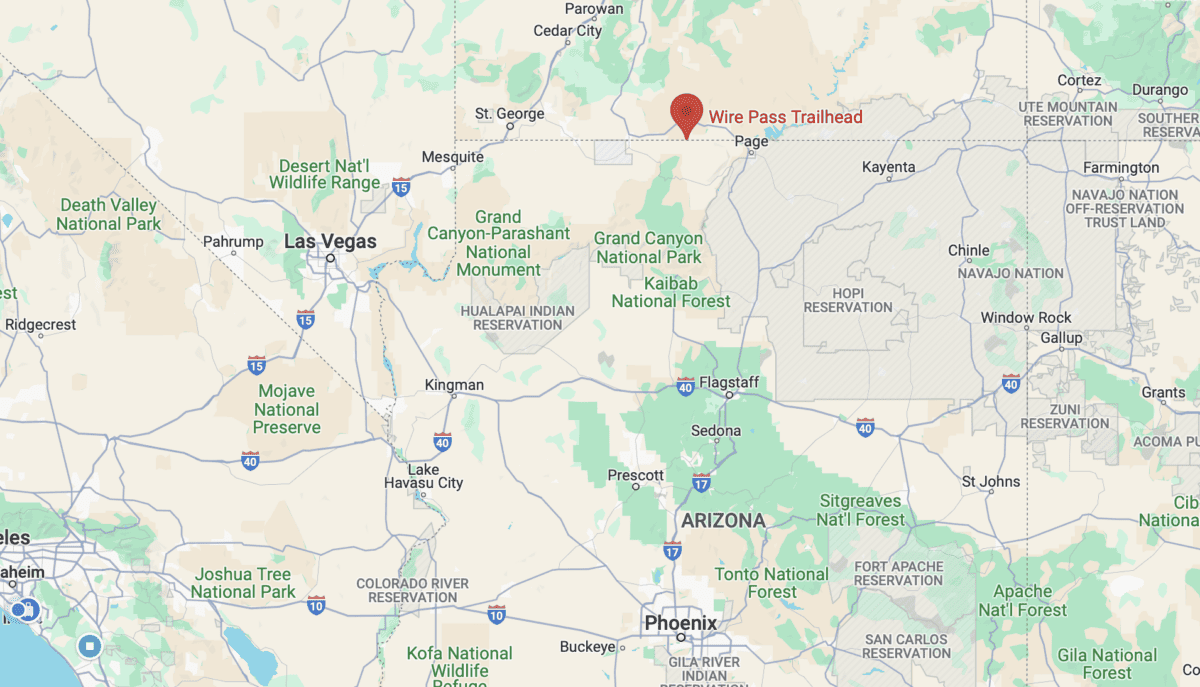
- The Wave doesn't fit nicely into any type of National Park or Forest. It's located in Coyote Buttes North, which is part of the Paria Canyon-Vermilion Cliffs Wilderness, which is also part of the Vermilion Cliffs National Monument, which is not managed by the Parks Service, but rather the Bureau of Land Management (BLM). Confusing? Yup...
- Here are the larger destinations that The Wave is close to:
- Zion National Park - 2 hours
- Grand Canyon South Rim - 3 hours
- Las Vegas - 4 hours
- Phoenix - 5 hours
- When planning your trip to The Wave, staying in Page, AZ or Kanab, UT makes the most sense. Both towns have plenty of lodging and food options, with Page having more and a Walmart.
- There are also two primitive campgrounds, Stateline Campground and White House Campground, which require driving down dirt and sand roads to reach. They are remote and don't have any supplies or facilities nearby.
The Wave Planning & Permits
- There are two ways to get a permit from Recreation.gov
- 4-Month Advance Lottery. It's a rolling 4-month lottery, so you apply 4 months in advance of when you want to go. There are only 48 people allowed per day on the advanced lottery. The BLM will mail you your permit and information packet. There is no briefing or in-person pickup needed.
- 2-day Lottery. You do this through the Recreation.gov app and you must be geofenced within the Page and Kanab area. If you're in the Grand Canyon and try to apply, it won't work. 16 people per day can get this permit. If you win, you pick up your permit the next day in either Page or Kanab, and also attend a safety briefing there.
- Choosing the right time to do the hike is important.
- Spring and Fall are the peak seasons, which cooler temperatures and decent weather. The advance lottery has about a 2% success rate during these times.
- Winter is a great time and the lottery success rate jumps up to the 10% area. Winter can bring snow and rain, which can make the drive to the trailhead impassable (more later).
- Summer is when temperatures can be deadly. People have died hiking The Wave from heat-related issues. If you chose the summer, I recommend leaving very early, even before dawn, to beat the heat. If it's too hot, don't risk your life. Summer is also monsoon season, when flash floods can occur.
- You can also do a guided tour with an outfitter to The Wave, but know that you still need to obtain a permit on your own. Read the directions in this guide before you book. I do a lot of guides and this hike isn't very doable without a guide service.
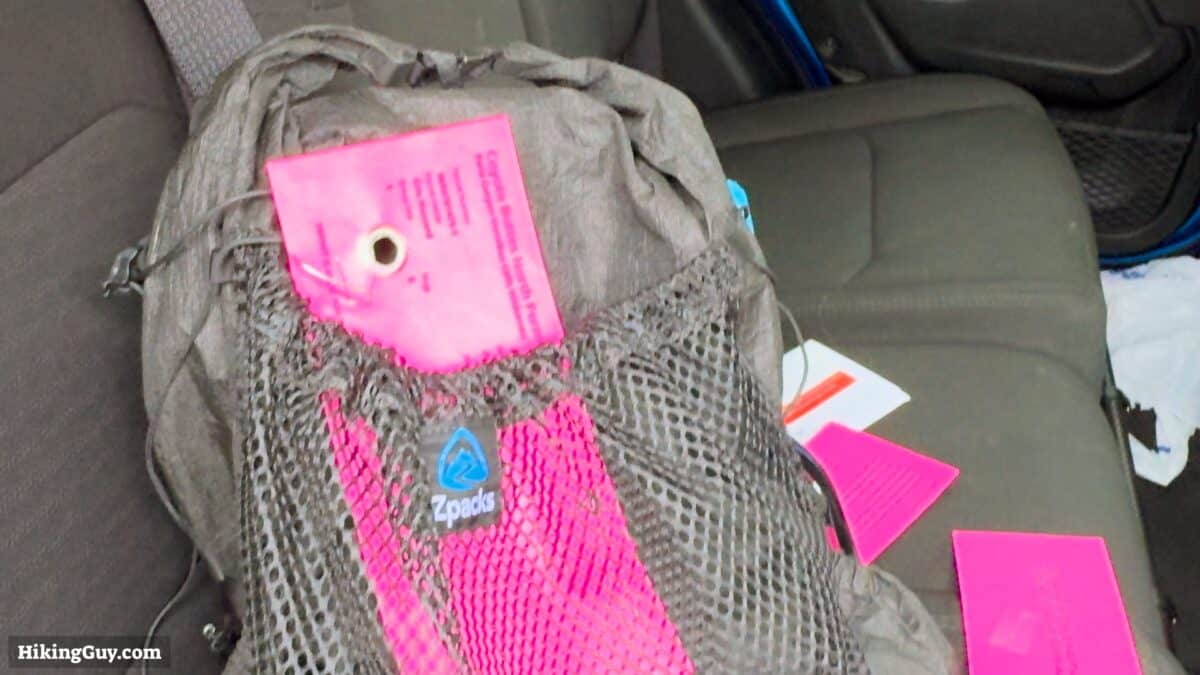
Gear Recommendations
- This is a backcountry hike - bring the essentials and be prepared for the backcountry.
- The Wave is in a high-altitude desert, and temperatures can be extreme. In the winter nighttime lows can dip to 20°F (-6°C), and in the summer daytime highs can exceed 110°F (43°C). Check the weather and dress appropriately.
- There is sketchy cellular service at points along the hike, but don't depend on it. Bring a satellite communicator or device if you can.
- The BLM recommends bringing a gallon of water. Unless it's extremely hot, you can probably get away with 3 liters (approx. 0.75 gallons).
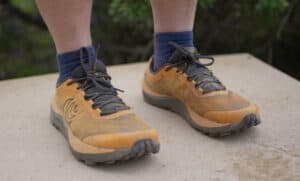
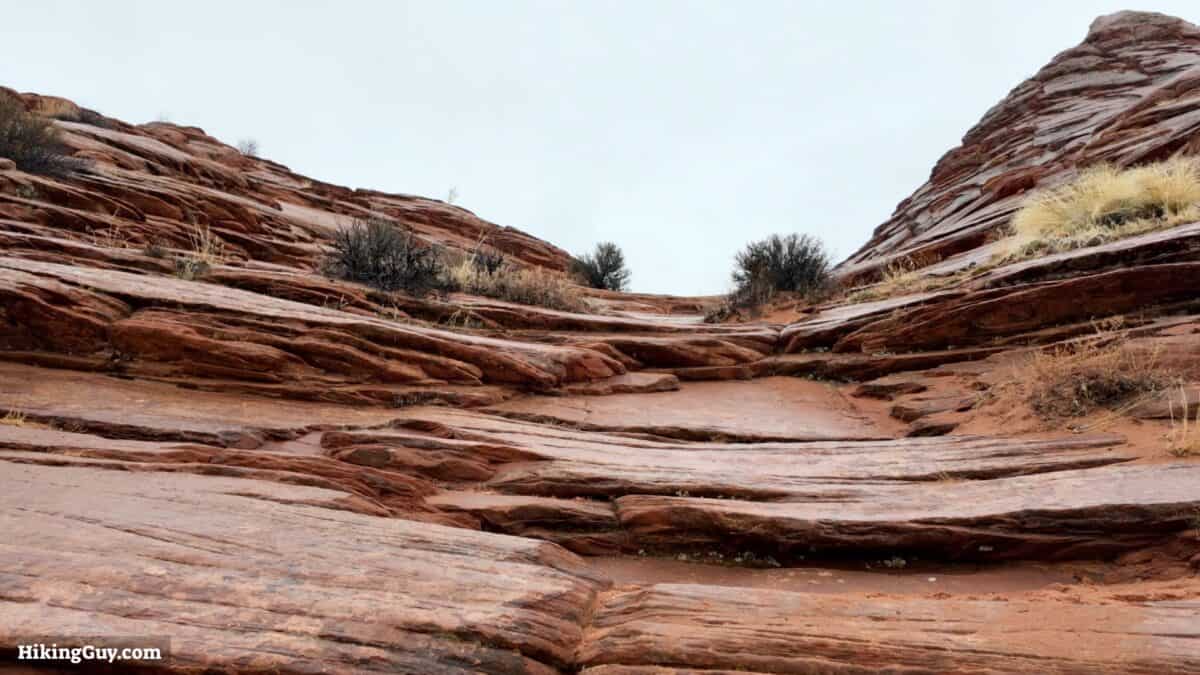
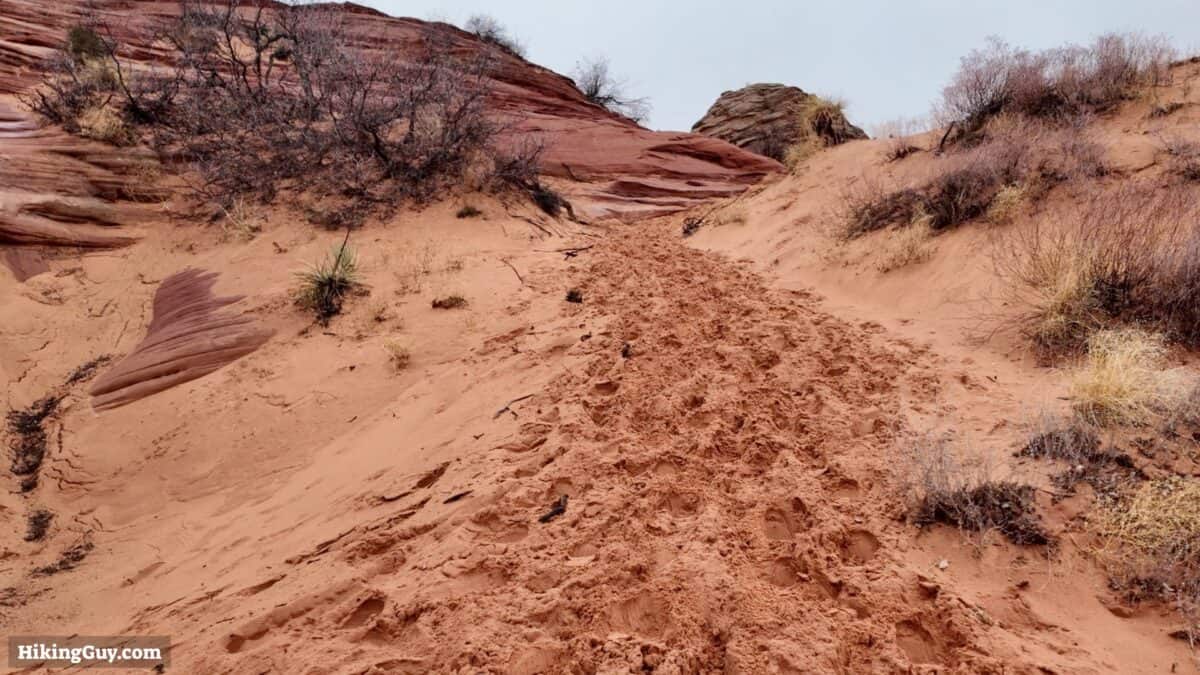
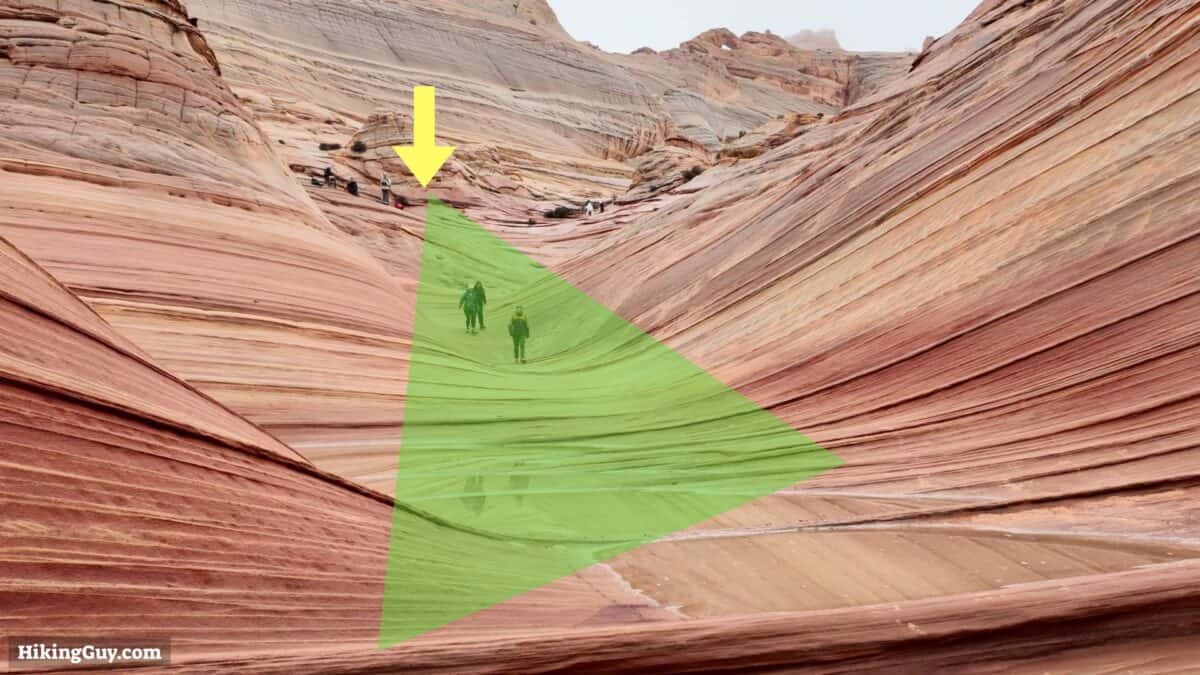
- There are some steep and sandy sections. Be prepared to use your hands or butt slide down some. If you use trekking poles (I don't here), bring rubber caps so you don't chip or scratch the sandstone.
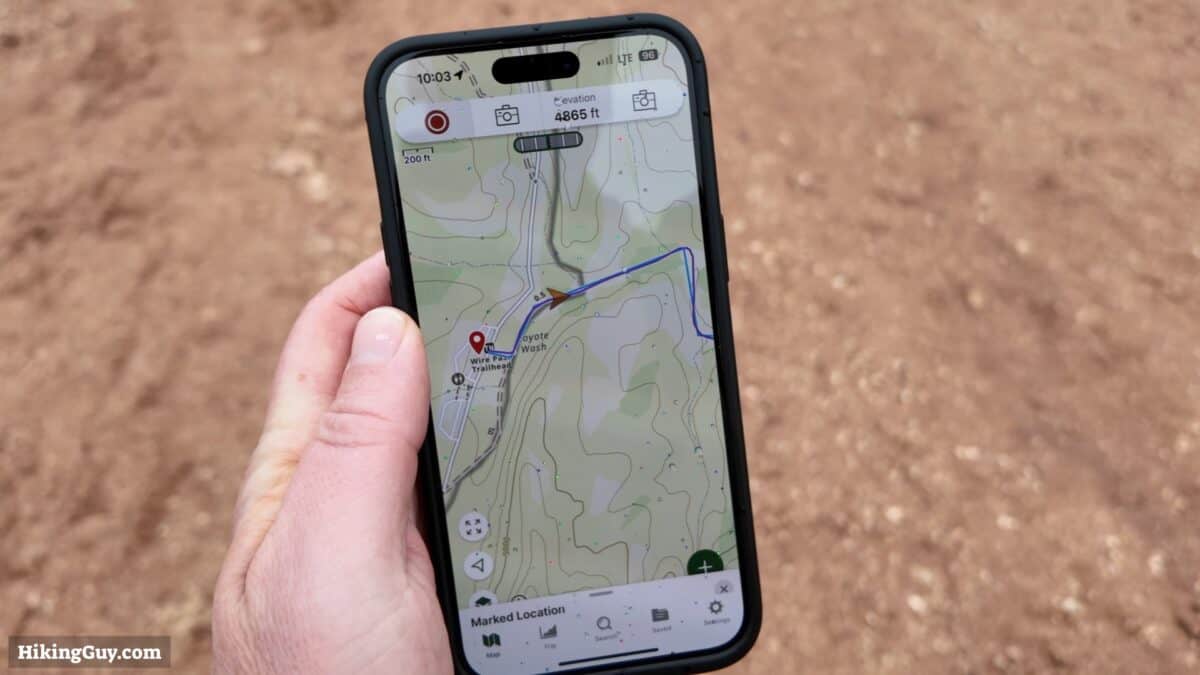
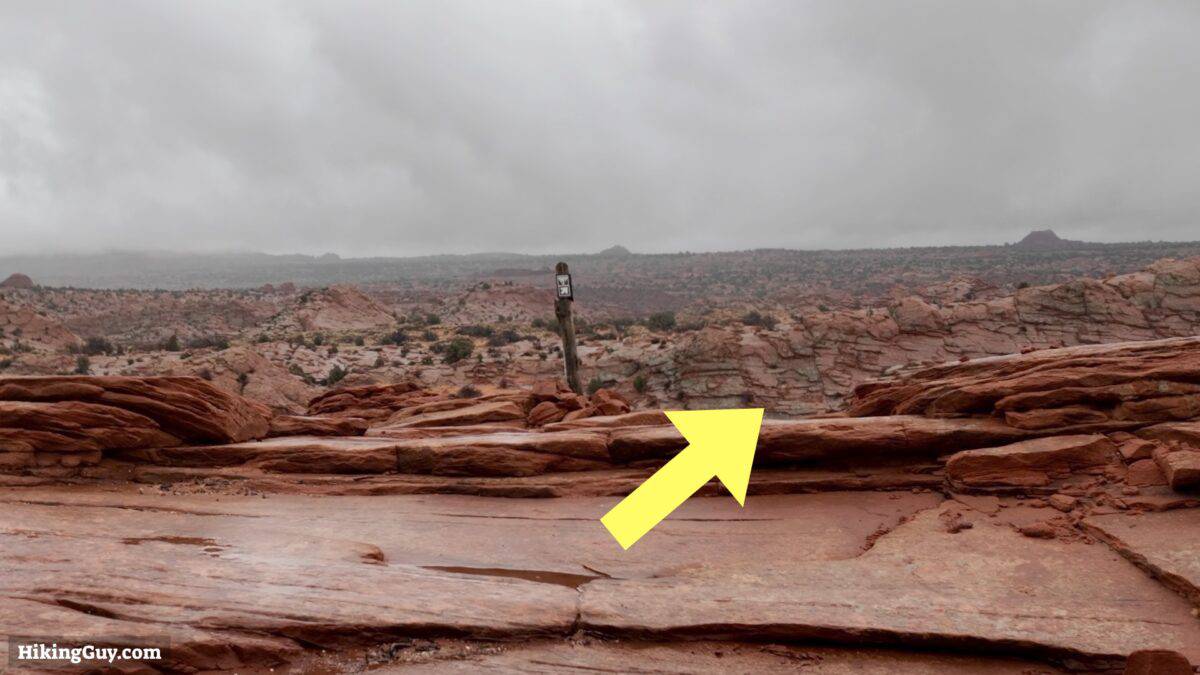
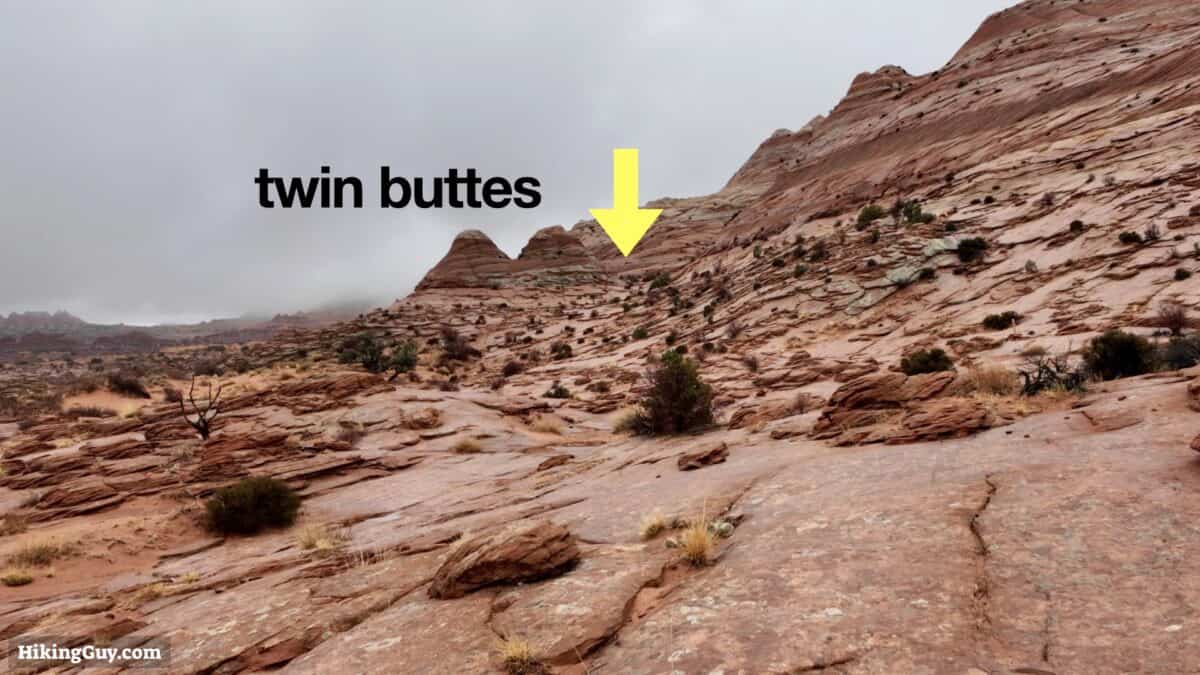
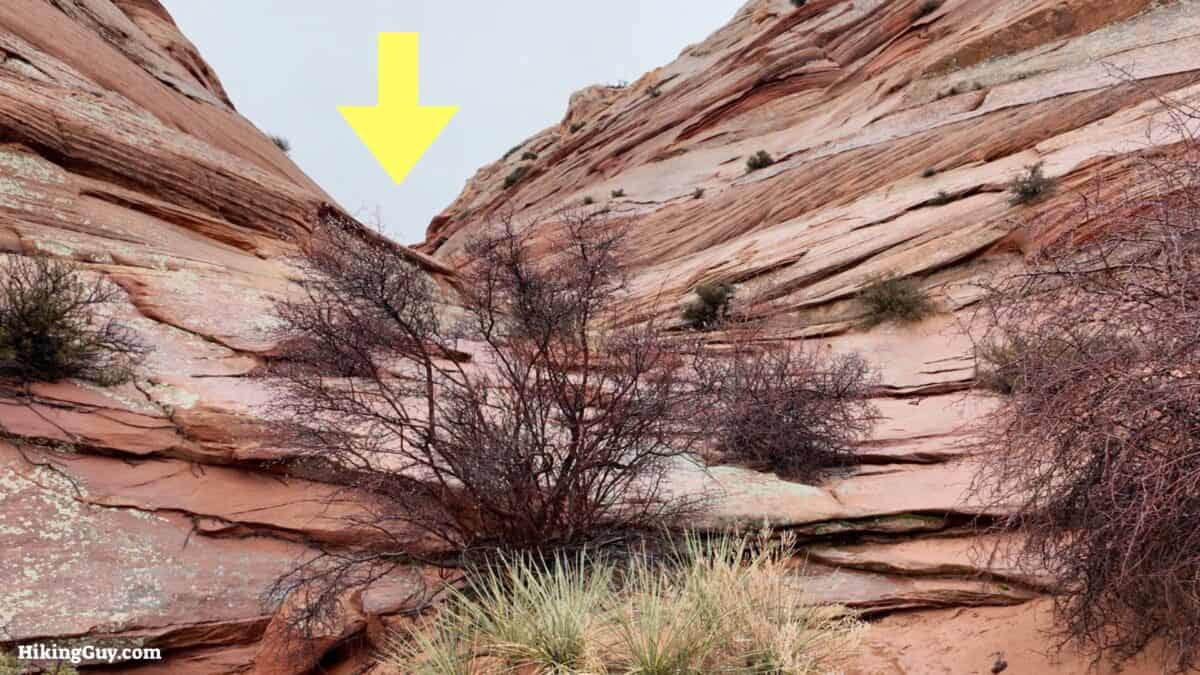
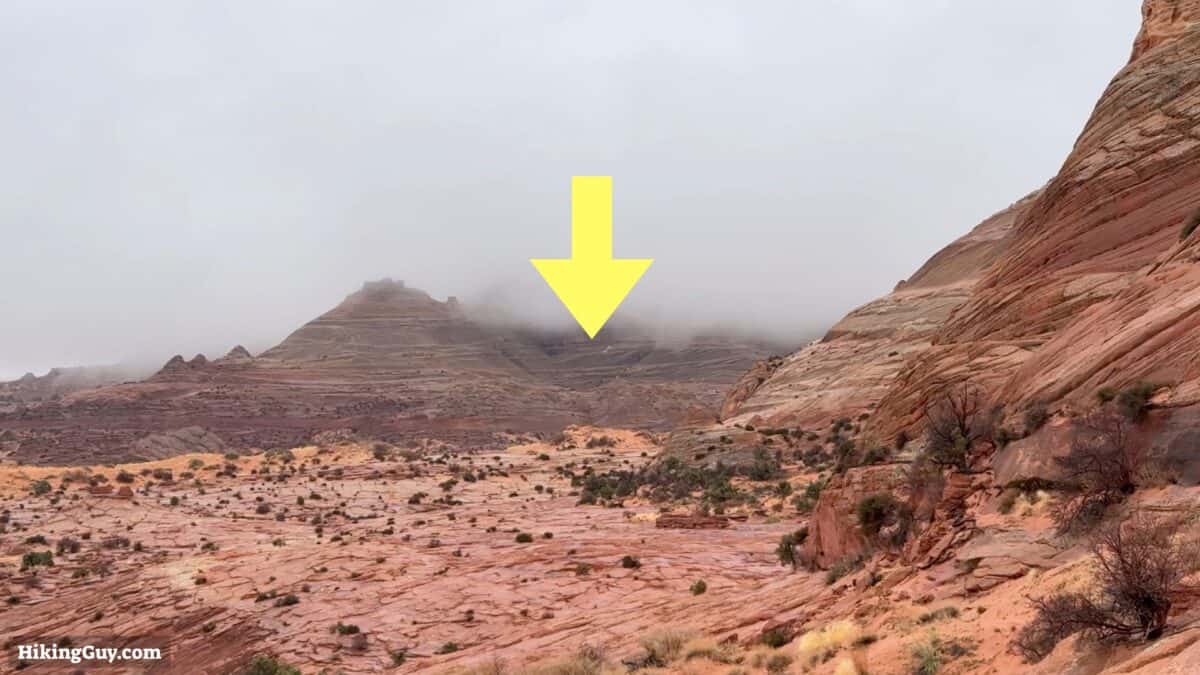
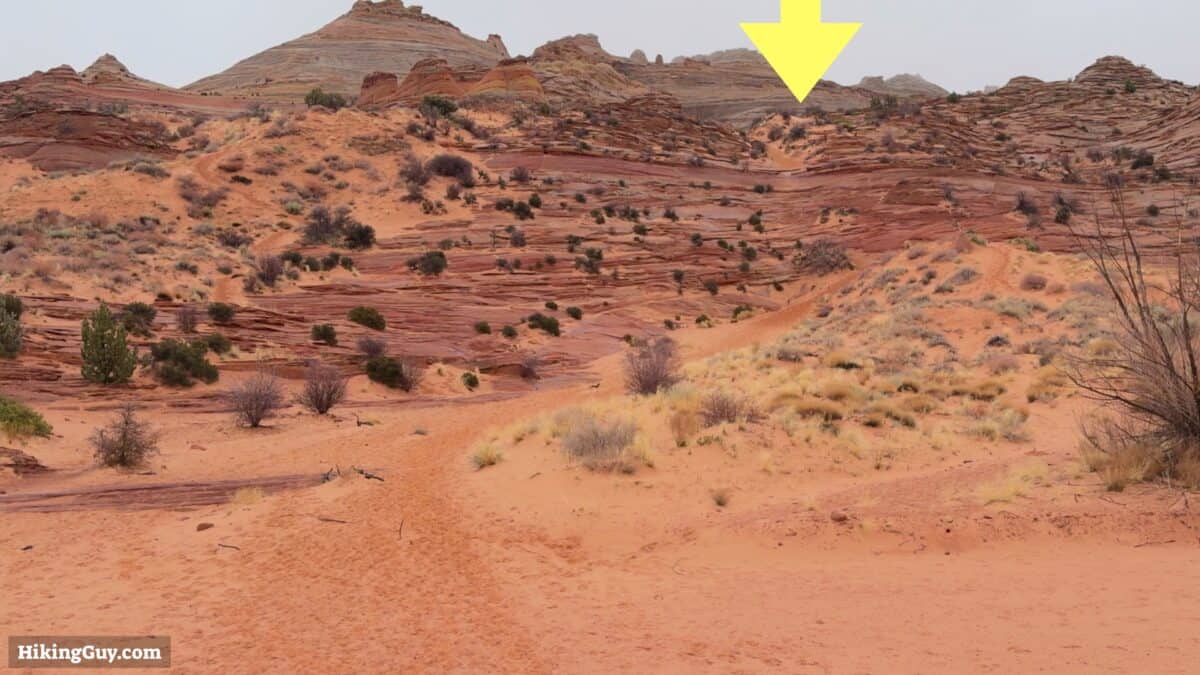
- There is no marked trail, and you navigate by landmark. It's definitely helpful to have something like AllTrails Pro on your phone with the trail loaded offline. If you're confident in using GPX files, I have a custom one below, along with many landmarks on the hike.
- The Wave is a moderate hike. There's no big climbs, but rather a series of small ups and downs. In the heat it can feel much harder than in the cooler temps.
Gear That I Love Right Now
Nothing is sponsored or promoted, just the actual gear that I use.


Check out the complete list here. ( Updated October 2024)
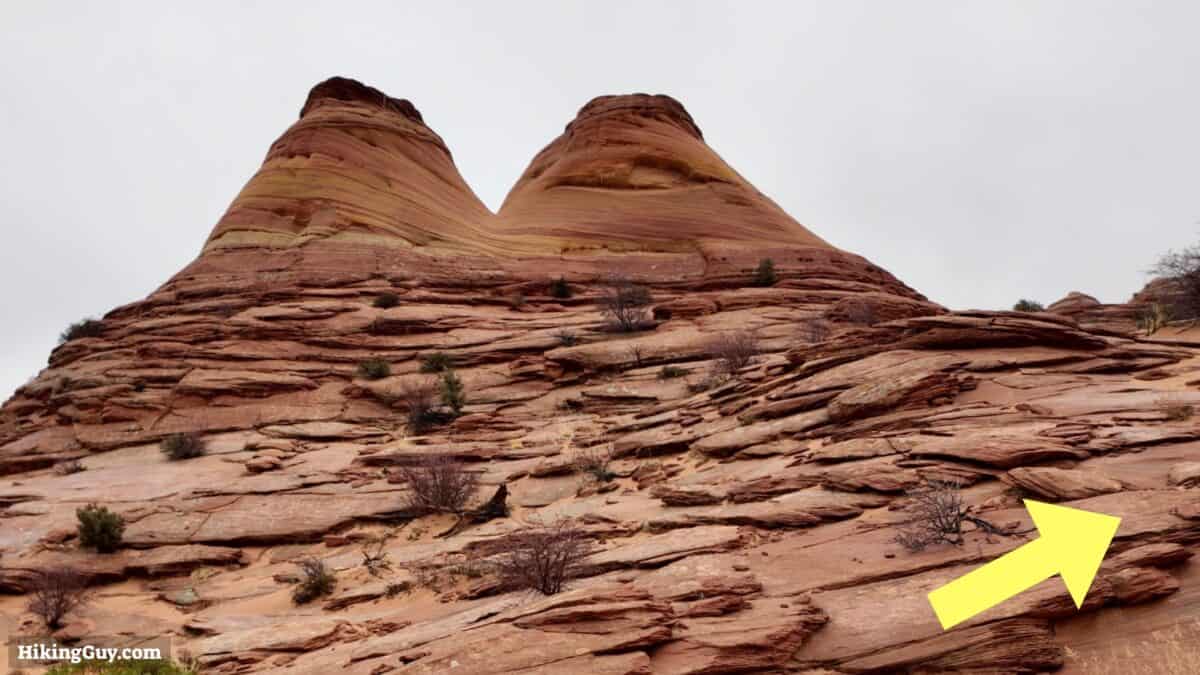
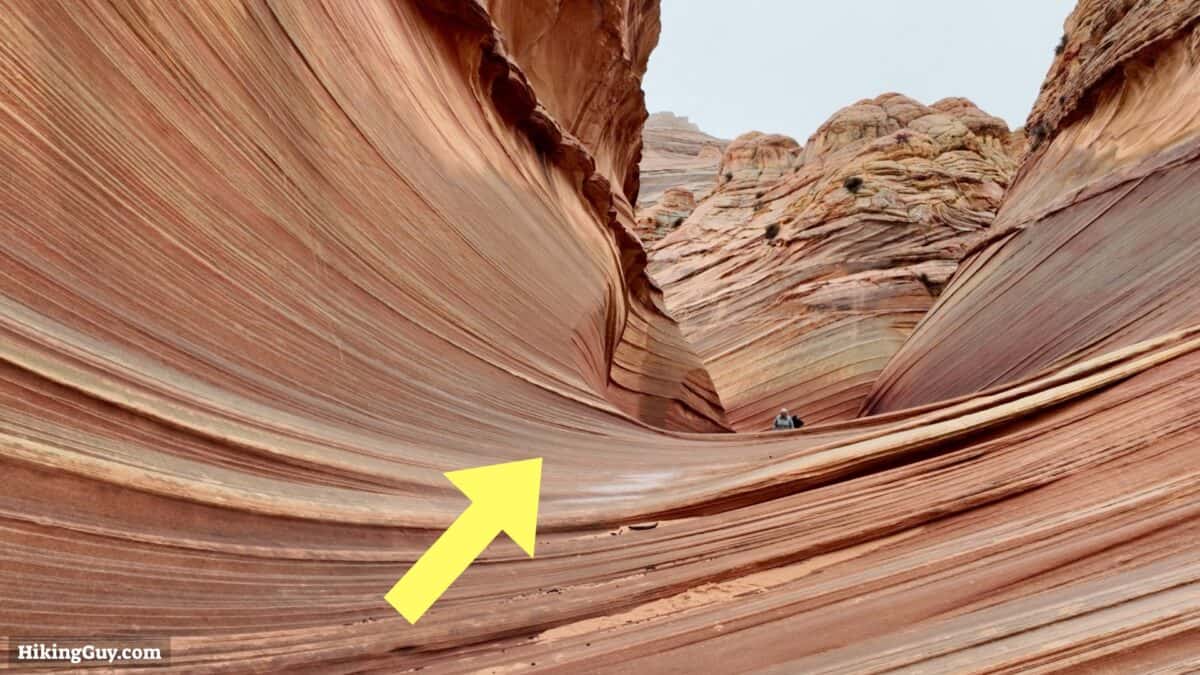
The Wave Trail Maps
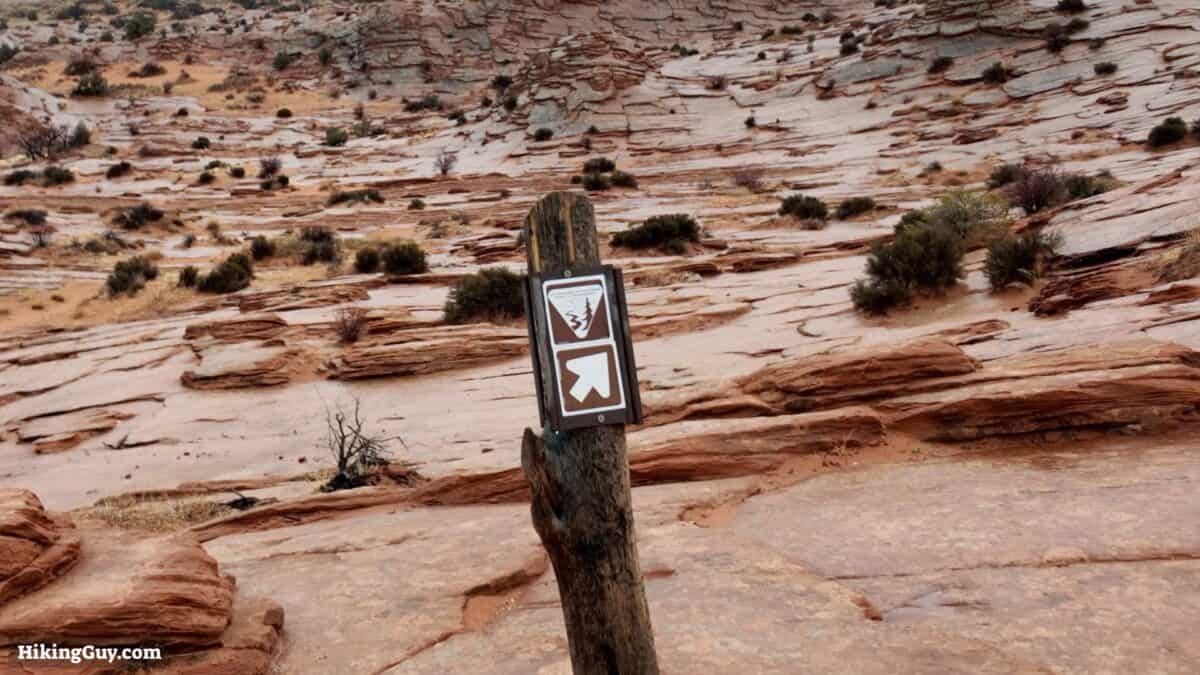
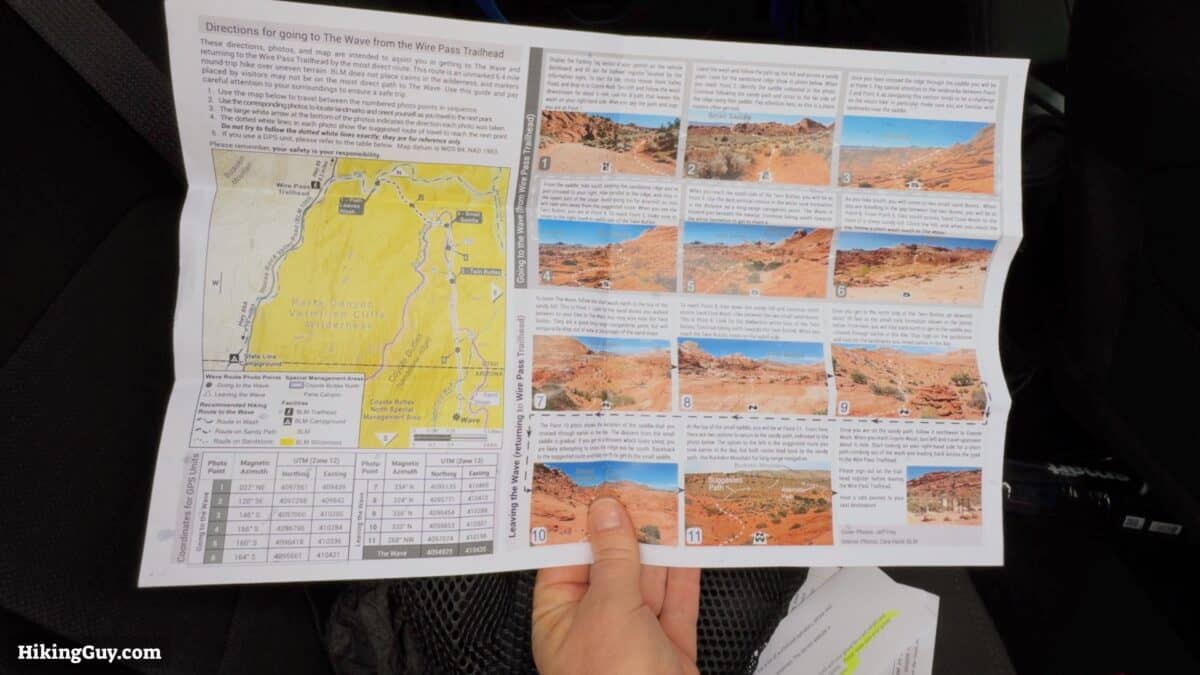
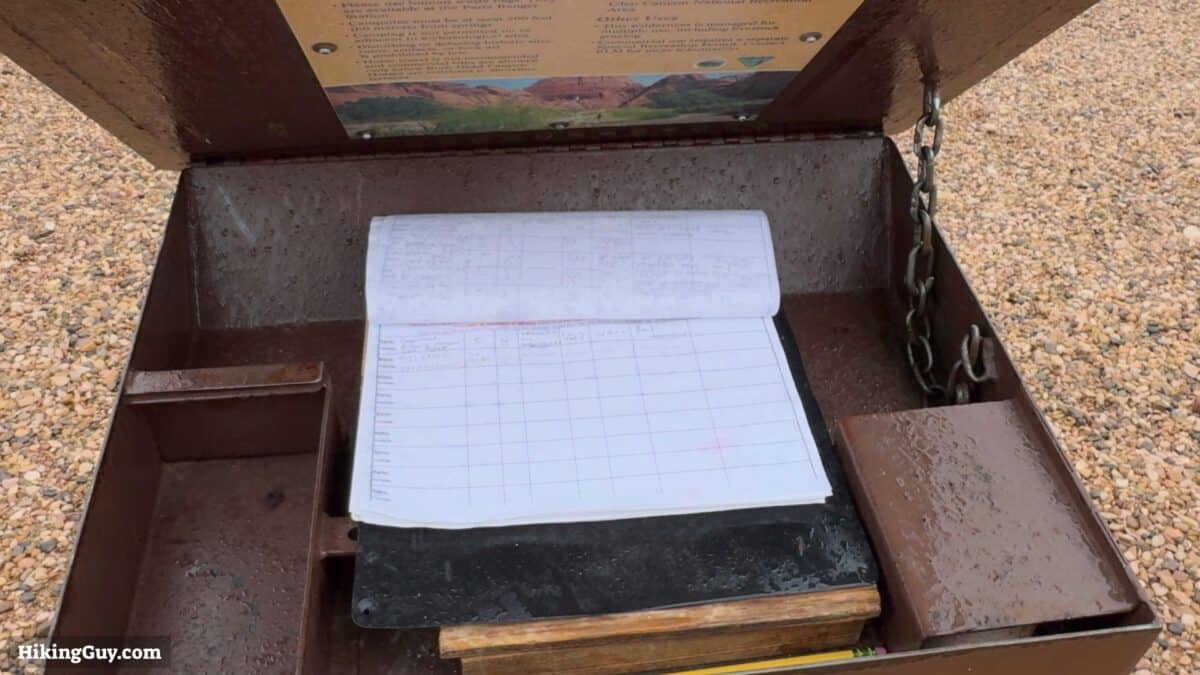
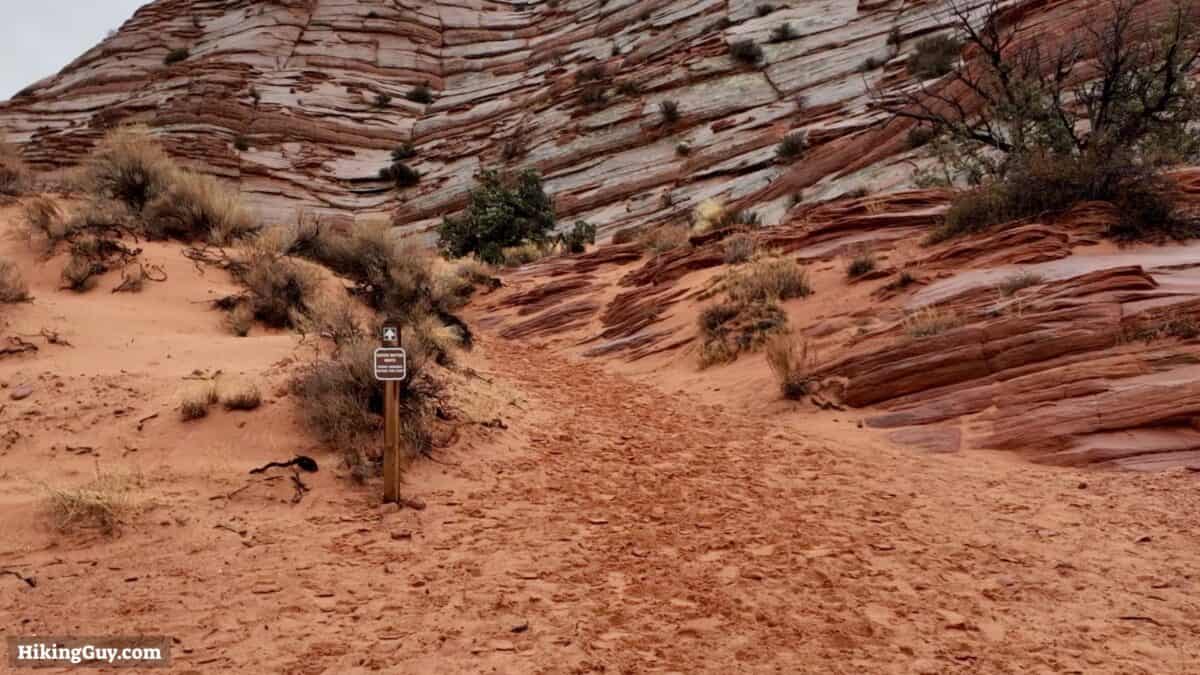
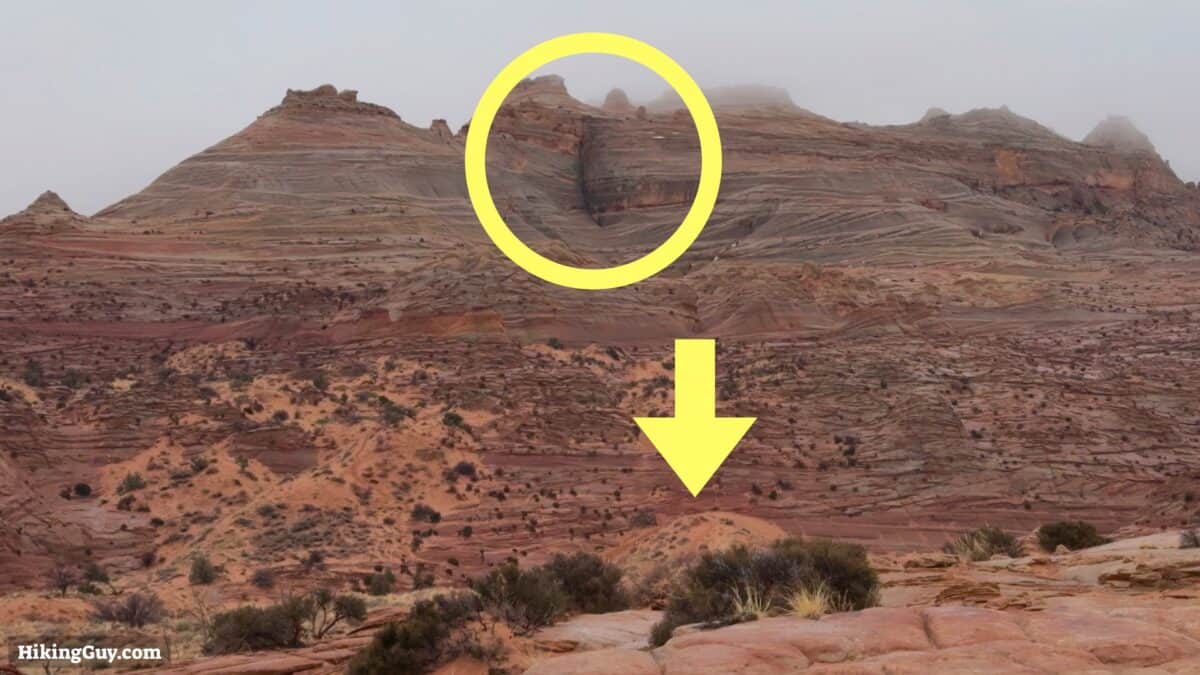
- The BLM will give you a printed guide with the landmarks along the hike. It's helpful to bring this.
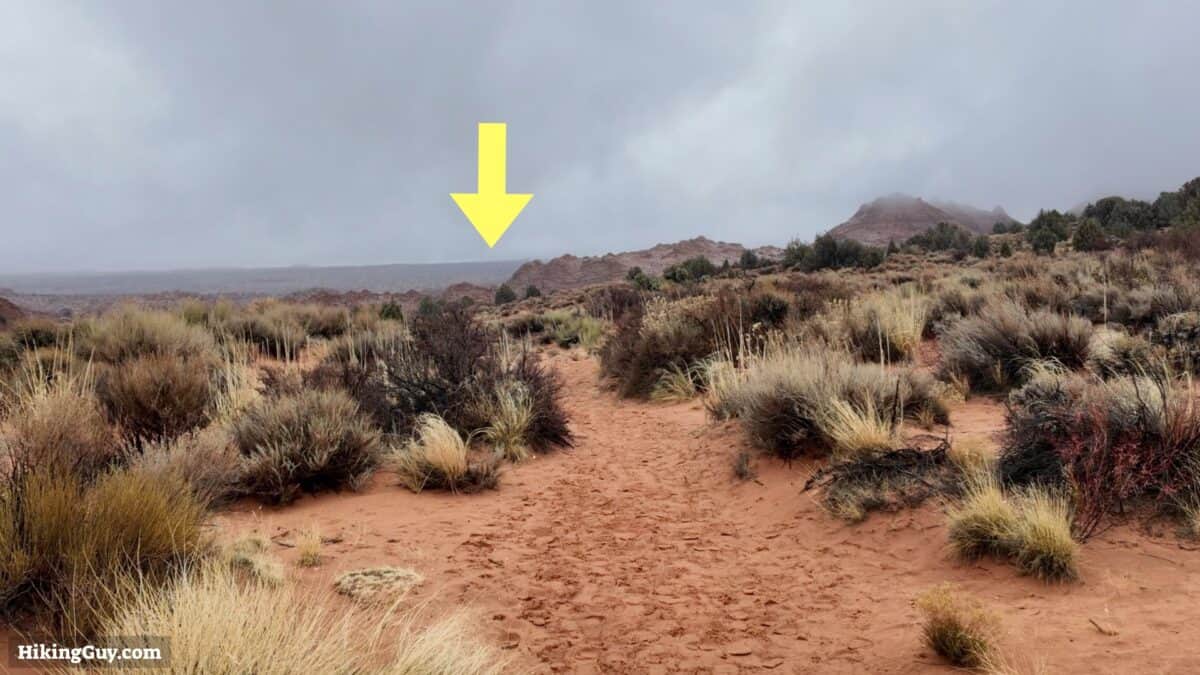
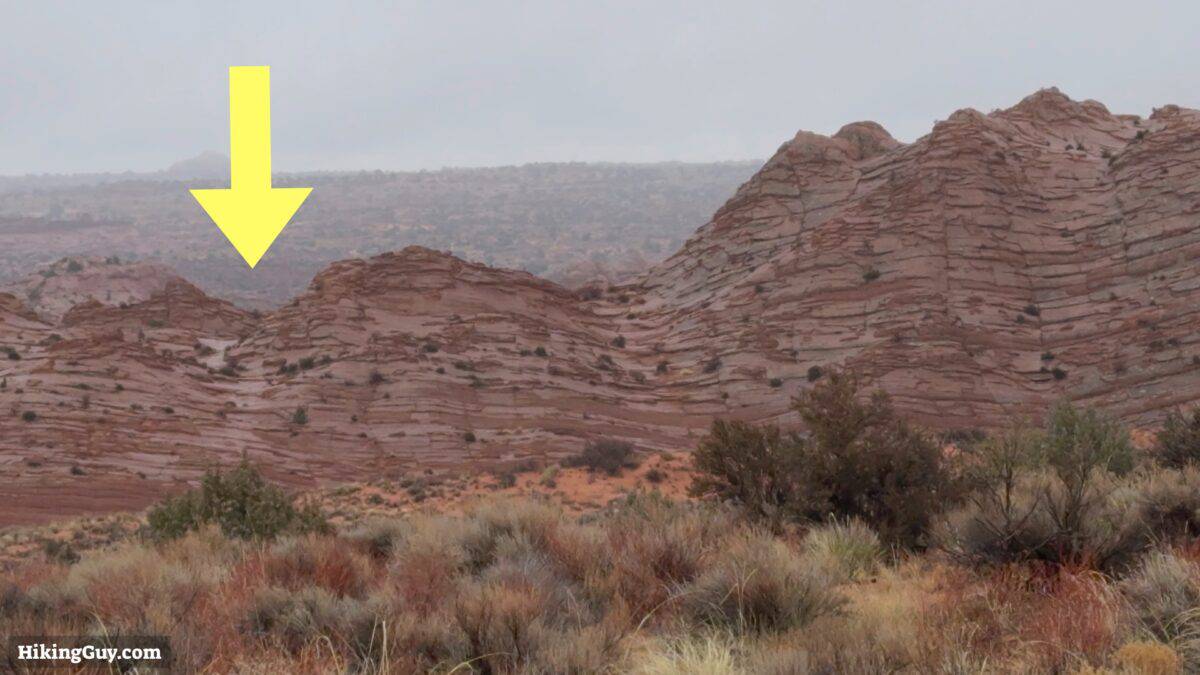
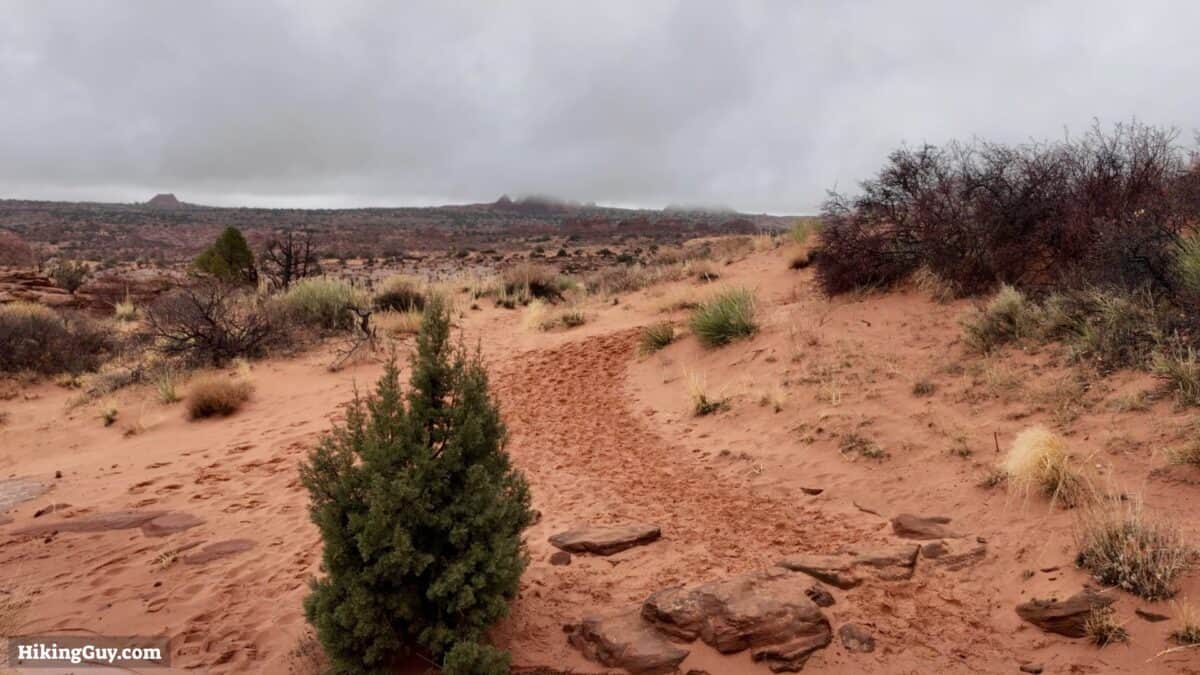
- Some sections are on rock, and some sections are in the sand. You can follow the footsteps in the sand, but the rock is much harder.
- I use my phone GPS with AllTrails Pro to make sure I'm in the right place.
- I've seen some other guide recommend that you use offline Google Maps, but the trail line isn't the same as the actual trail.
- There are lots of other places to explore along the hike. I've included them in the map and GPX file below.
How Will You Navigate?
 Using the Apple Watch for Hiking
 Garmin Fenix 7 & Epix Review For Hikers
 How To Read a Topographic Map
 Garmin GPSMAP 67i Review
Elevation Profile
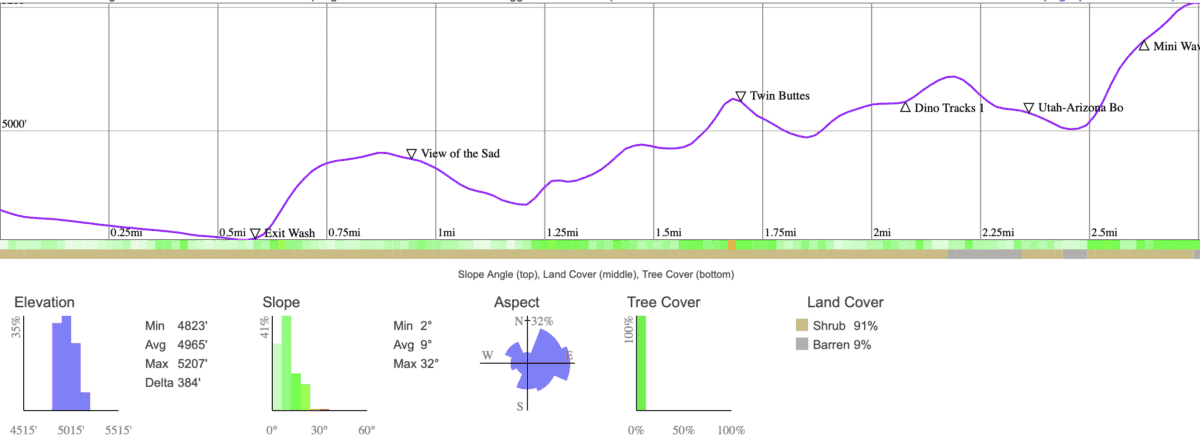
Before You Go
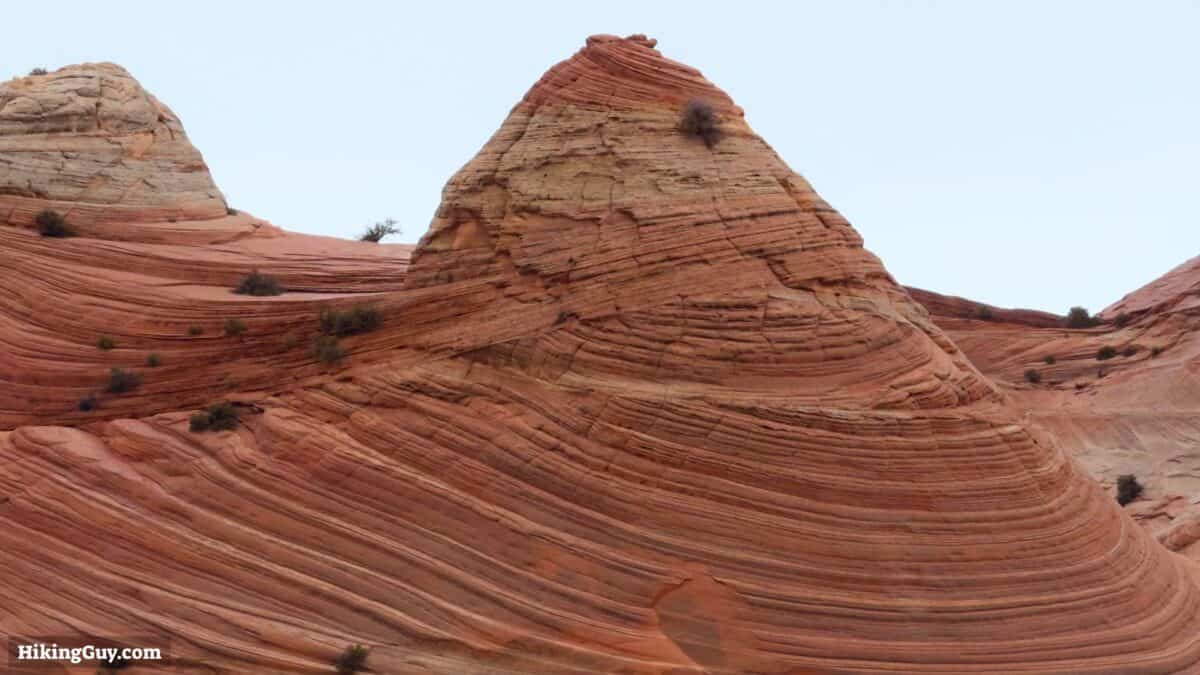
- Most of the rock you see on the hike is called Navajo Sandstone. Millions of years of wind and water shaped the rock. Oxidation of all the minerals created the colors.
- The sandstone is fragile. Leave no trace. Take all your trash out, leave everything else as is.
- How did The Wave get so popular? It was first featured in a German nature documentary in 1996 called Faszination Natur, which led European tourists on a hunt to surface the location. When Instagram exploded in the early 2010s, the spot became overrun, leading to the implementation of the permit system you see today.
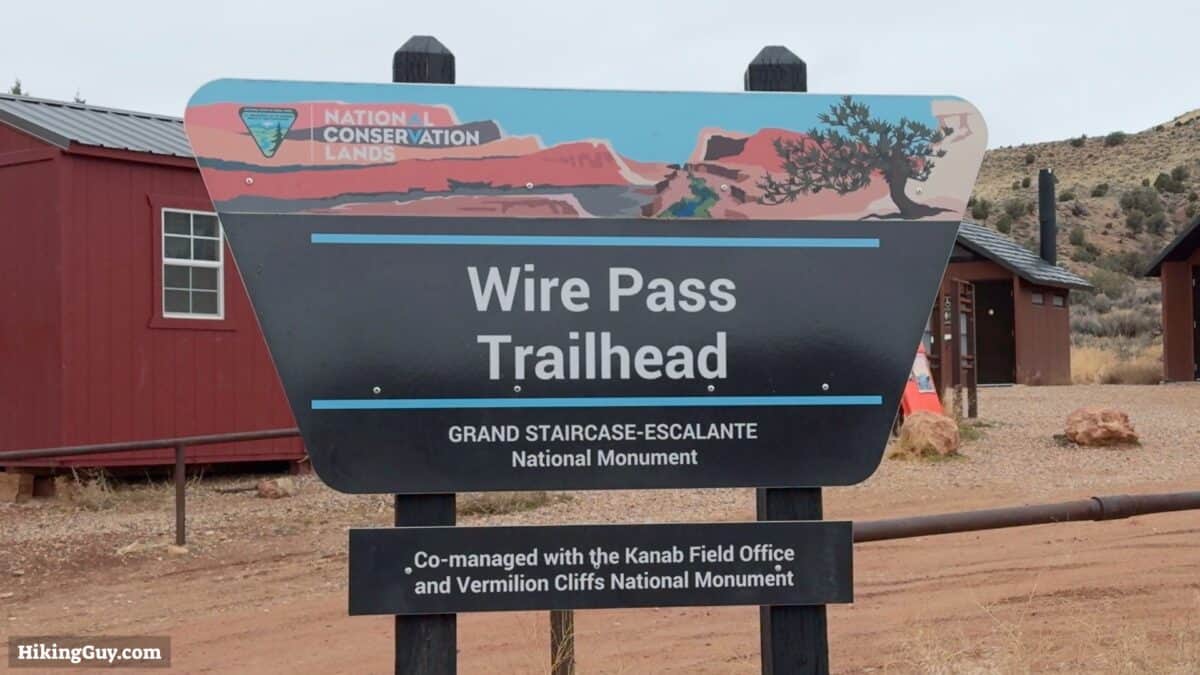
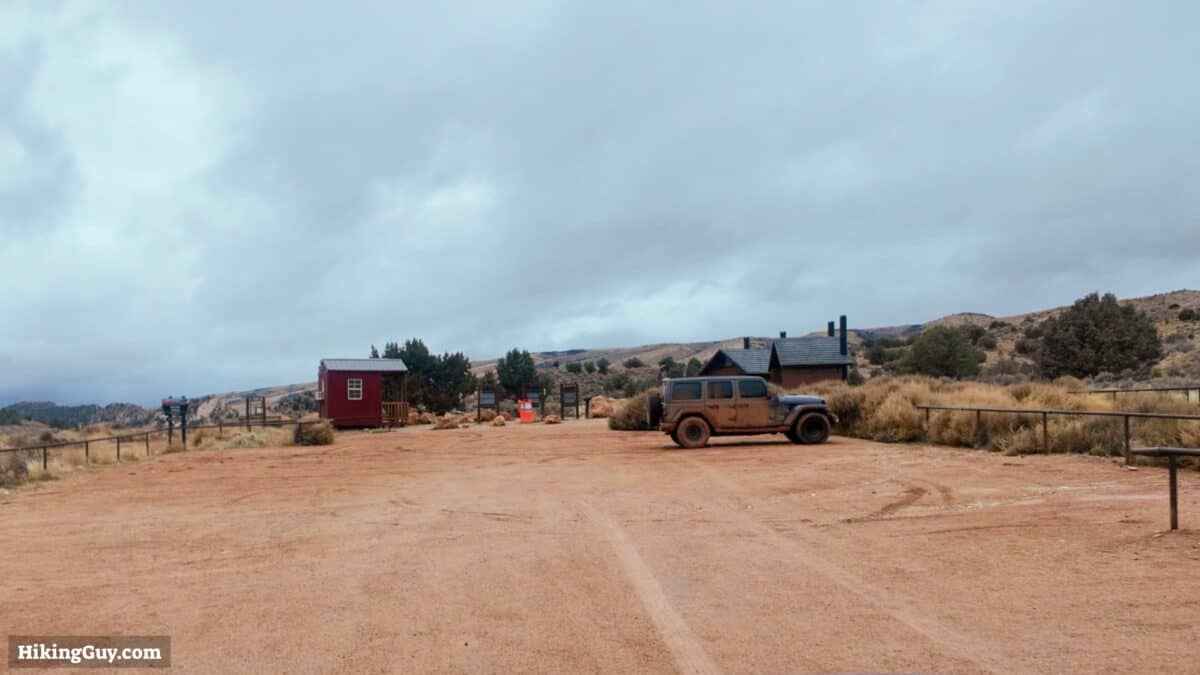
Getting to the Trailhead
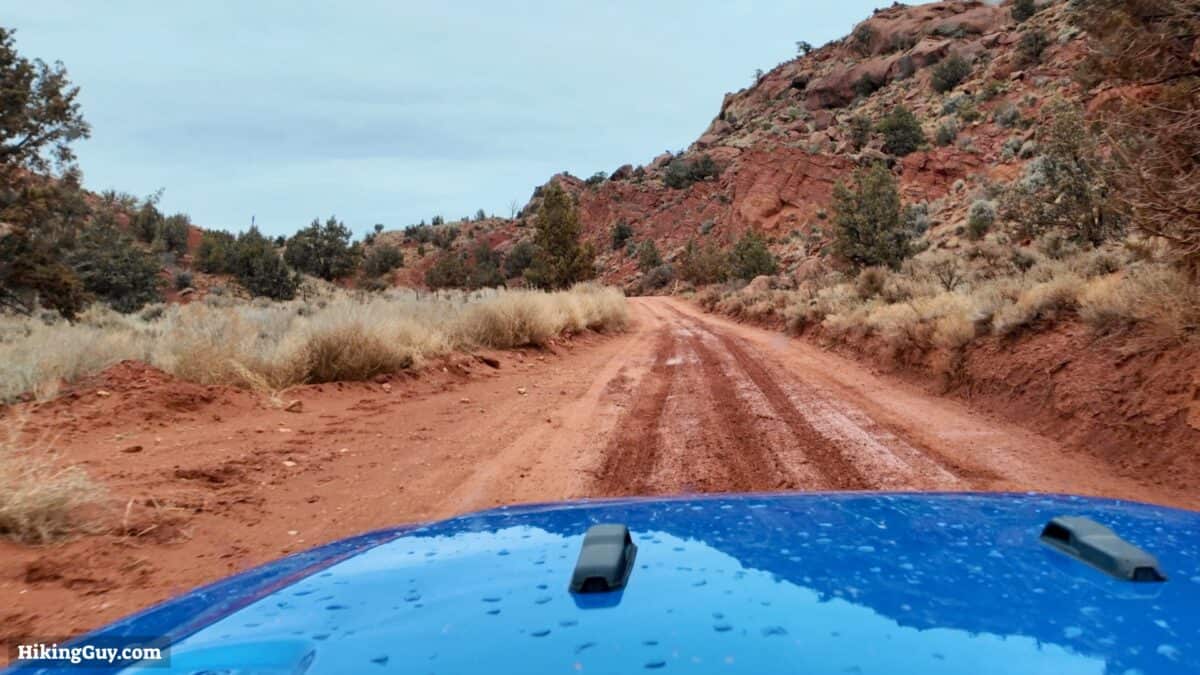
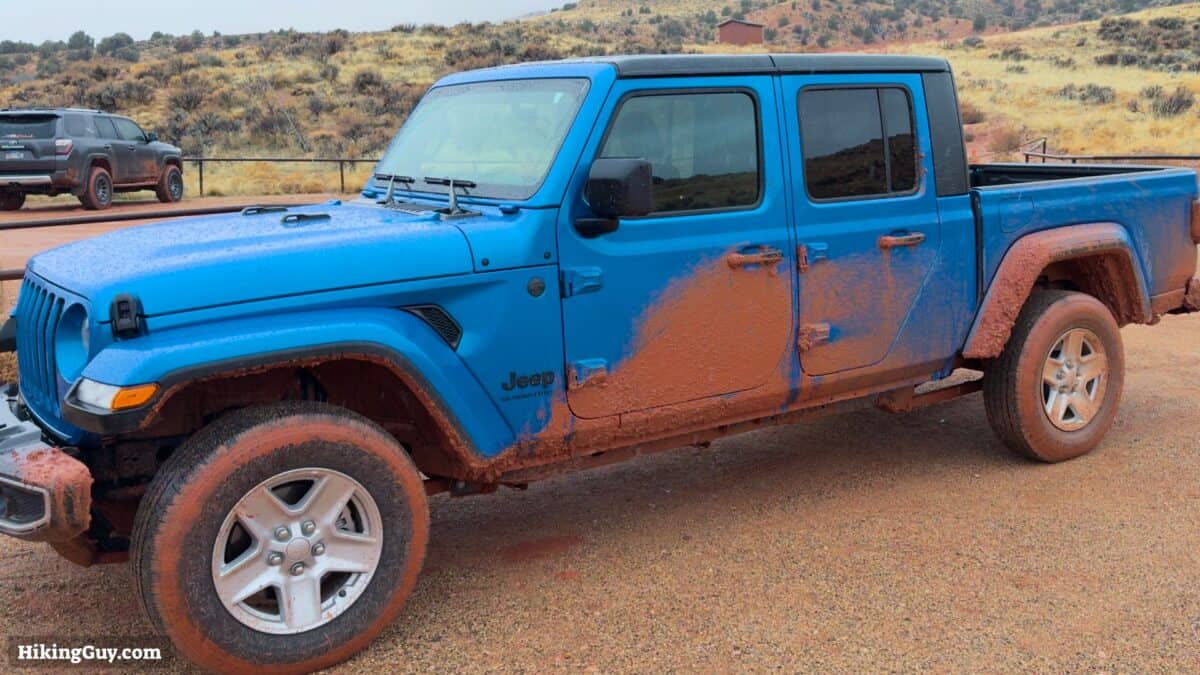
The condition of the road to the trailhead can vary. Generally in dry conditions, it's pretty tame. After rain or snow the mud can be extremely slippery, almost like ice. I've seen low-clearance cars at the trailhead over the years, so it is doable. But if you're traveling here and renting, I highly recommend opting for a 4-wheel drive vehicle like a Jeep. It will take any anxiety about the drive out of the equation.
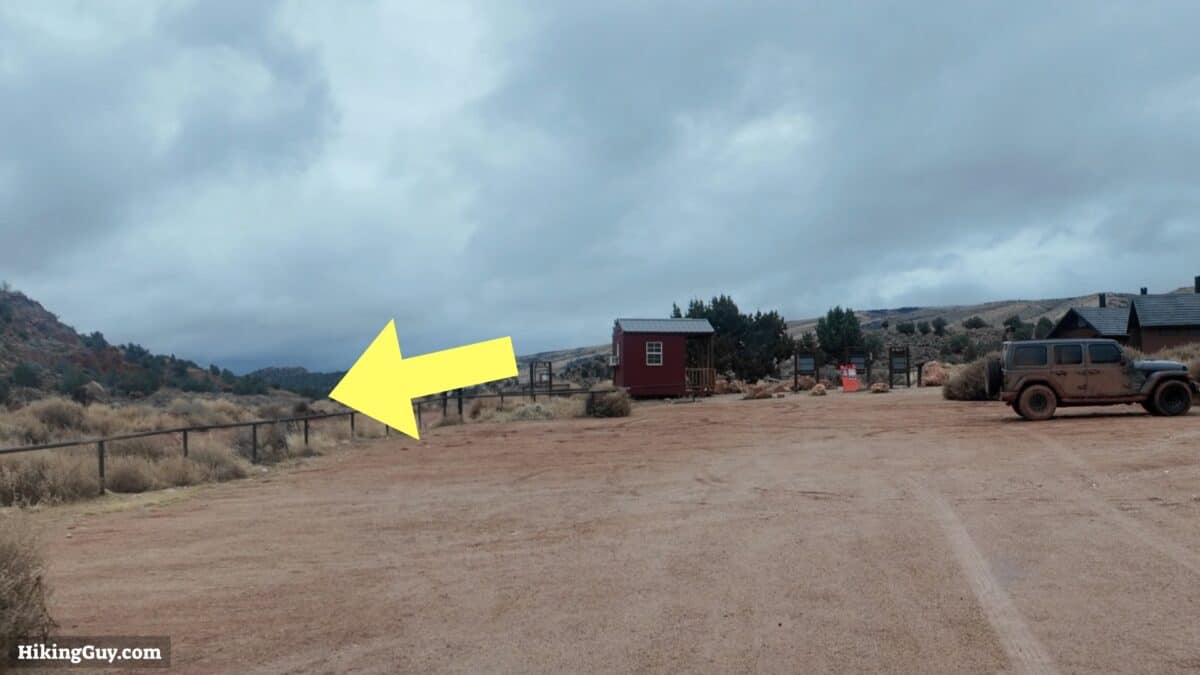
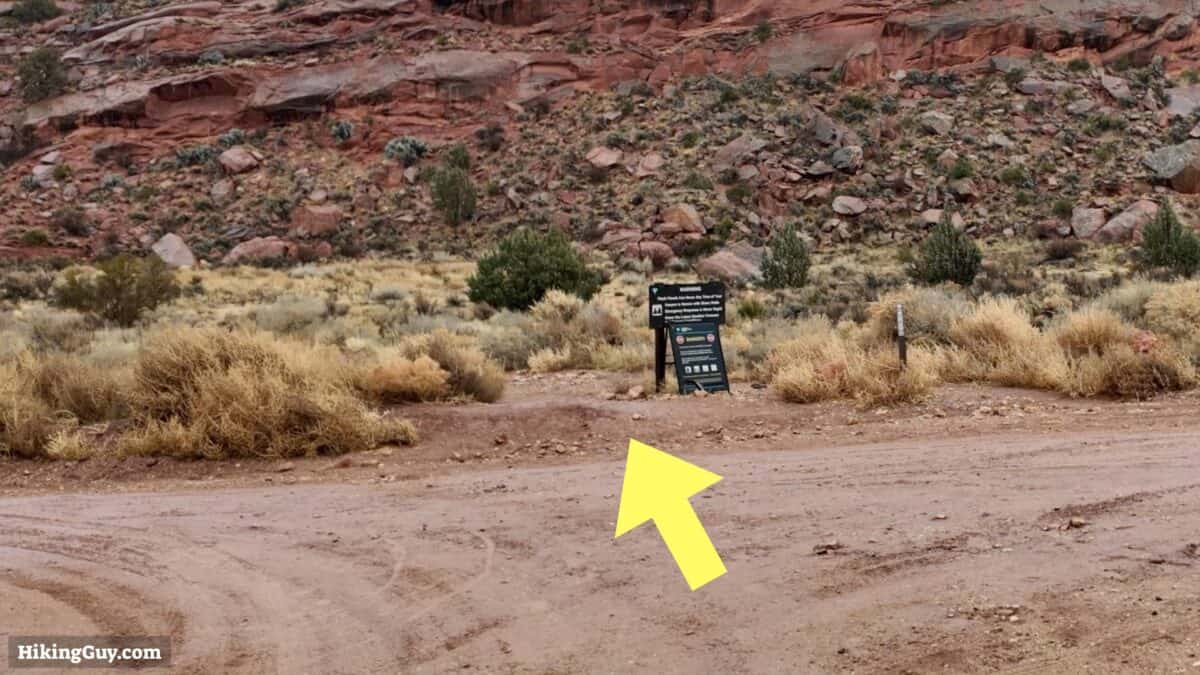
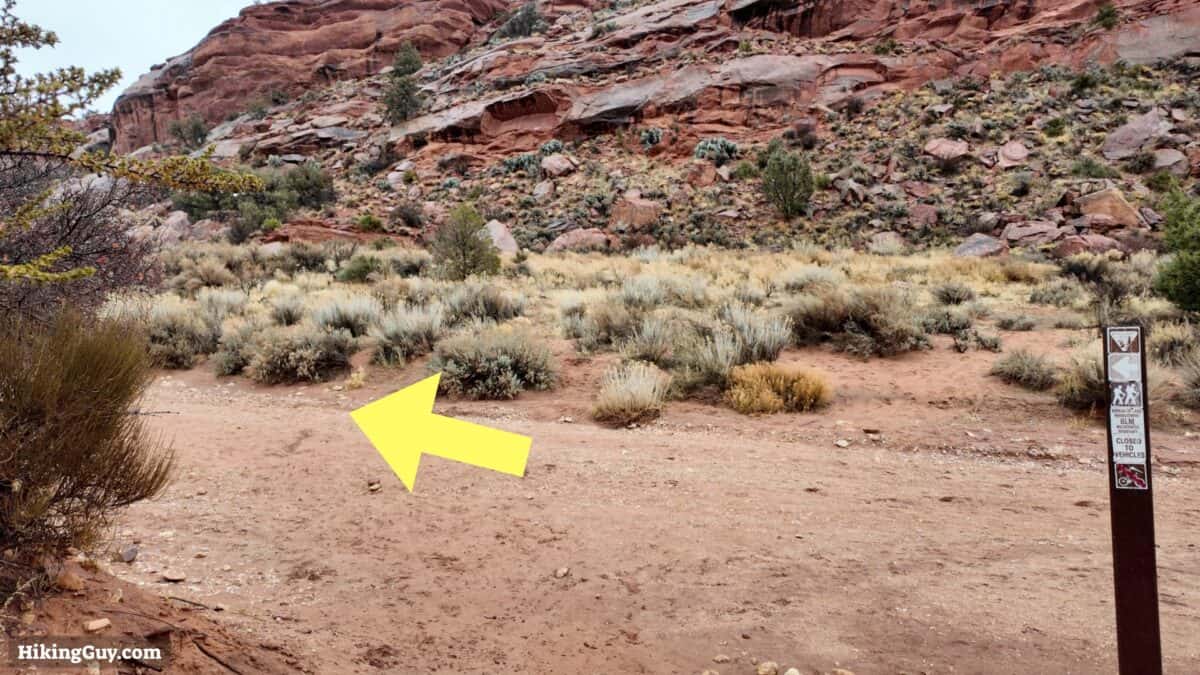
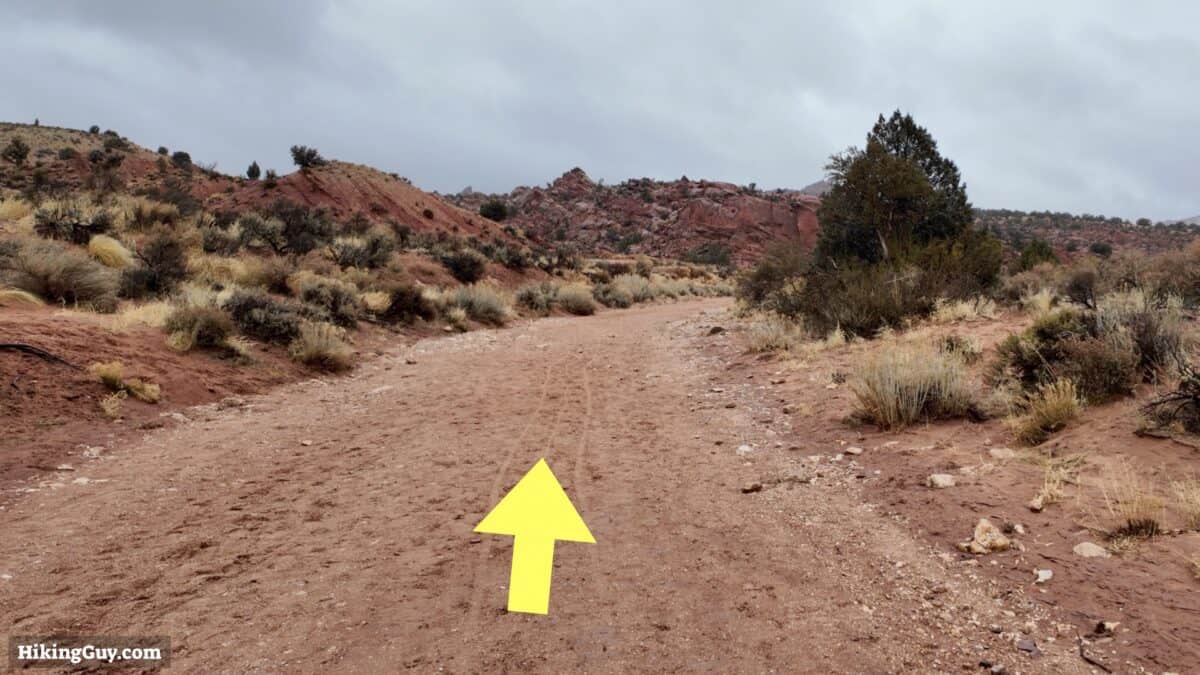
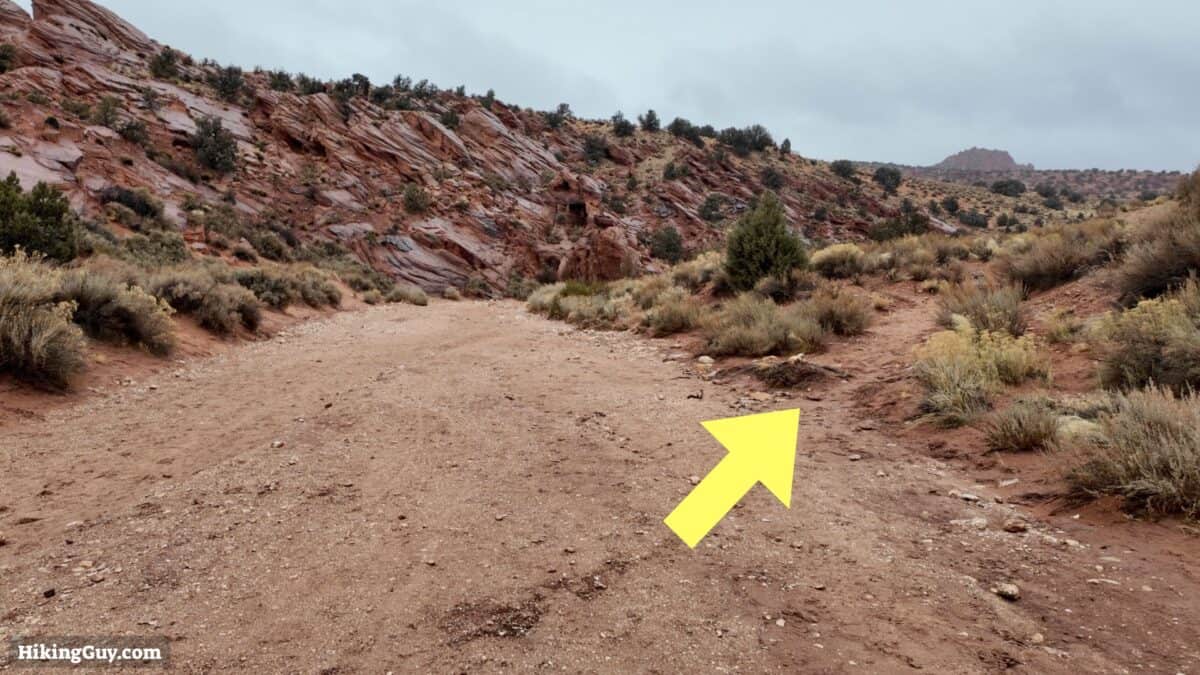
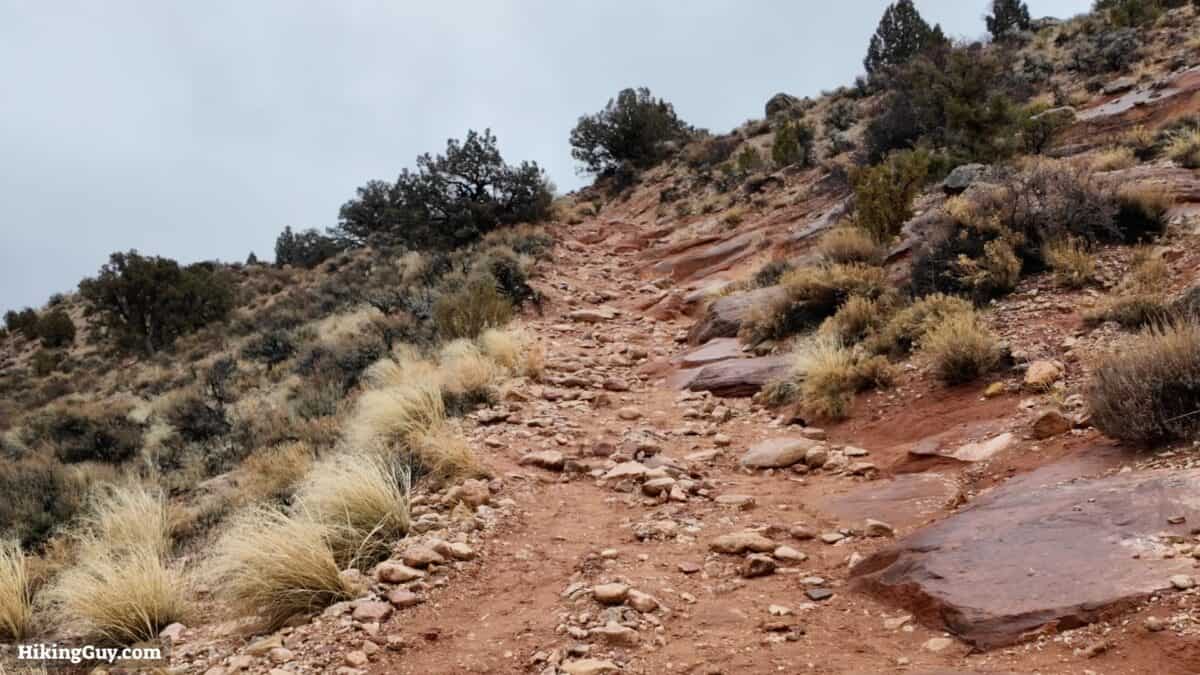
The Wave Hike Directions

Need More Info?
- Have a question about the guide? Join my Patreon and ask me a question.
- When planning, always check the park website and social media to make sure the trails are open. Similarly, check the weather and road conditions.
- Do you have an update to this guide? View the Youtube comments for this video. Leave a comment and I will do my best to update the guide.
Related Guides
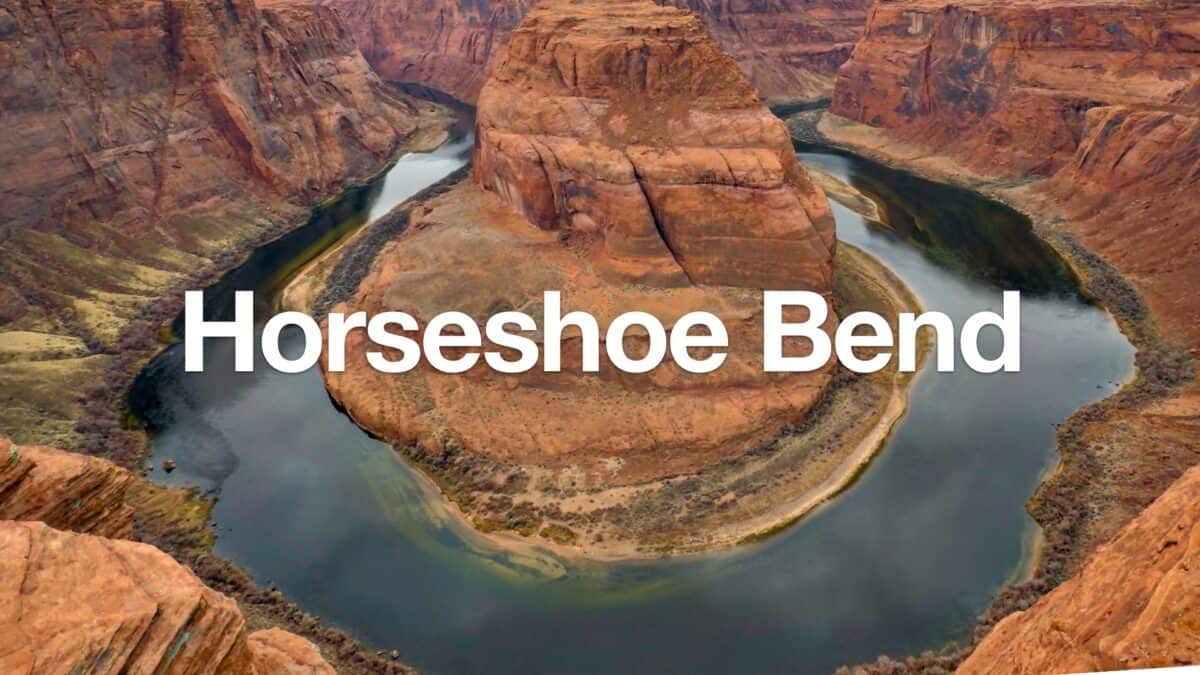 Horseshoe Bend Hike (Arizona)
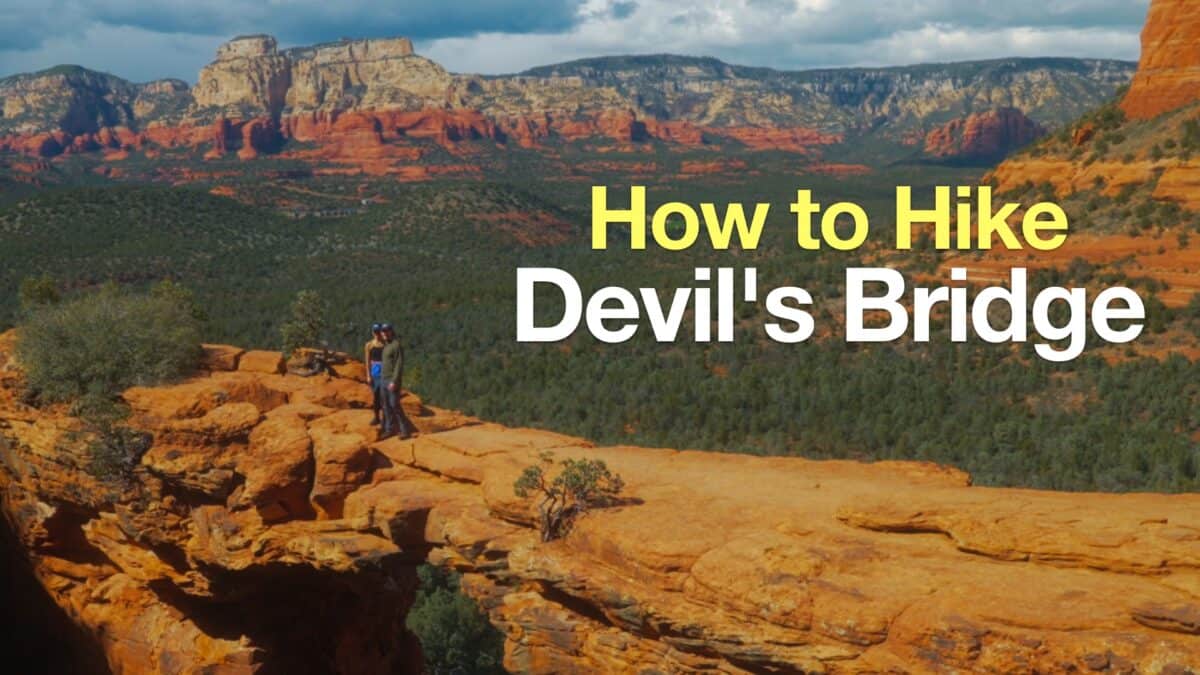 Hike Devil's Bridge Sedona
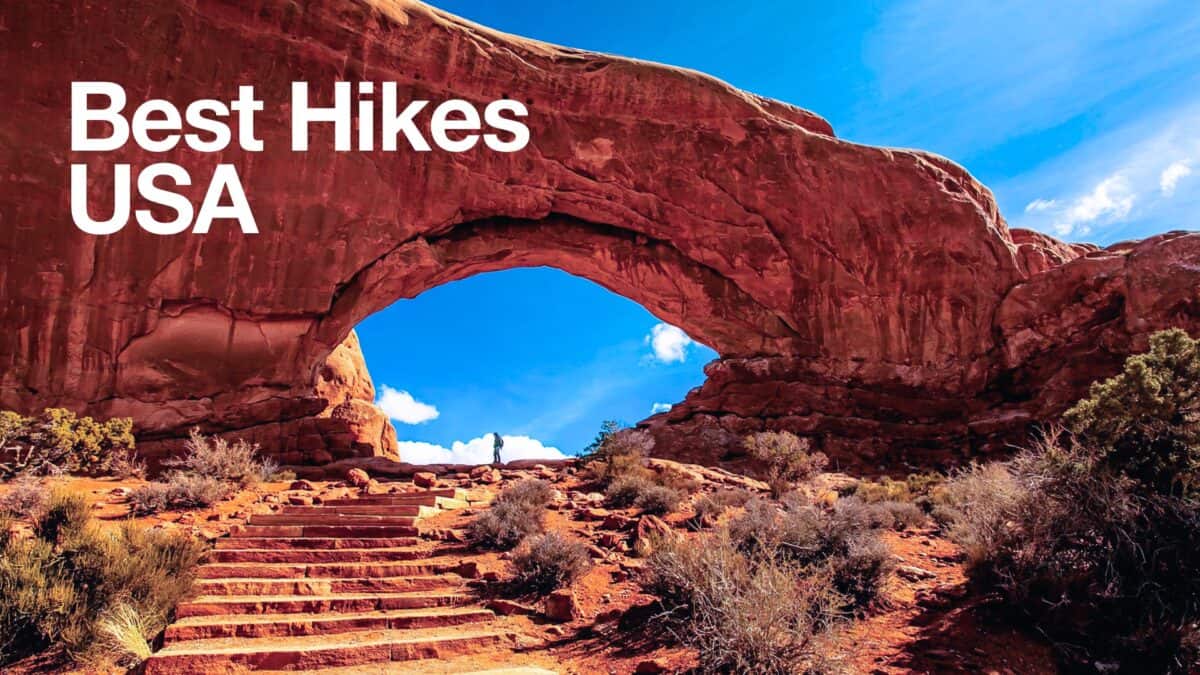 Best Hikes in the US
 Grand Canyon Hikes
 Phoenix Hiking
Popular Guides
 Best Hiking Gear 2024
 Hiking Boots or Shoes: Do I Really Need Hiking Boots?
 When to Hit SOS on inReach
This Guide Was Written by Cris Hazzard

Hi, I'm Cris Hazzard, aka Hiking Guy, a professional outdoors guide, hiking expert, and author based in Southern California. I created this website to share all the great hikes I do with everyone else out there. This site is different because it gives detailed directions that even the beginning hiker can follow. I also share what hiking gear works and doesn't so you don't waste money. I don't do sponsored or promoted content; I share only the gear recommendations, hikes, and tips that I would with my family and friends. If you like the website and YouTube channel, please support these free guides (I couldn't do it without folks like you!). You can stay up to date with my new guides by following me on YouTube, Instagram, or by subscribing to my monthly newsletter.