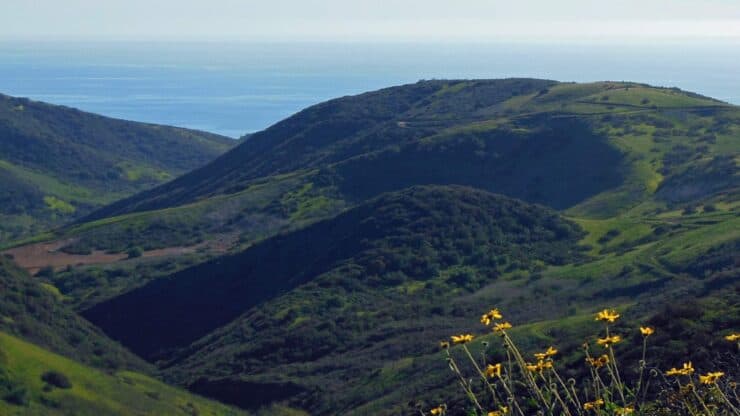
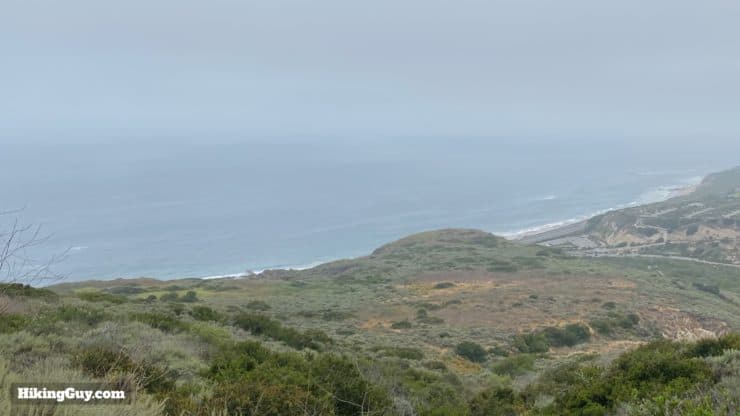
The Crystal Cove red route is the toughest hike that the park recommends, calling it "a strenuous loop hike around the permitter of the park." The hike doesn't include a big mountain climb, but rather is a series of ups and downs through pristine native coastal scrub, a rarity in Southern California. The red route is well marked and easy to follow, there are bathrooms along the way, and it offers lots of opportunities for wildlife spotting and expansive ocean views.
In this Guide:
Video & Turn by Turn Hike Directions
How to Get to the Crystal Cove Red Route Hike
Everything You Need to Know To Prepare for the Hike
The Crystal Cove red route is the toughest hike that the park recommends, calling it "a strenuous loop hike around the permitter of the park." The hike doesn't include a big mountain climb, but rather is a series of ups and downs through pristine native coastal scrub, a rarity in Southern California. The red route is well marked and easy to follow, there are bathrooms along the way, and it offers lots of opportunities for wildlife spotting and expansive ocean views.
Where is the Crystal Cove Red Route?
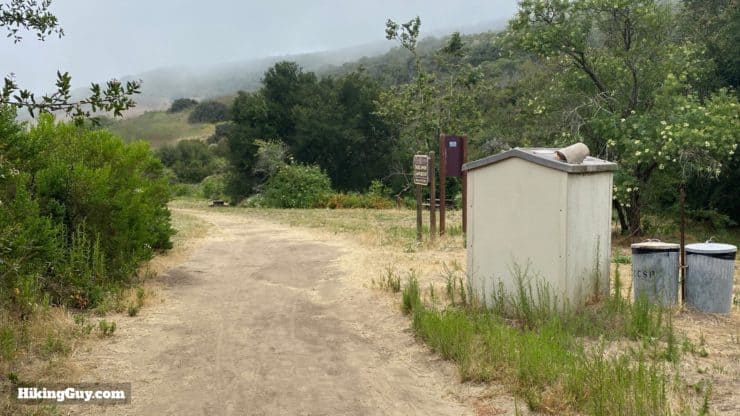
The red route starts at the Moro Canyon Ranger Station in Crystal Cove State Park. Crystal Cove is known for its beaches, but they're also 18 miles of trails in over 2,400 acres of protected native habitat.
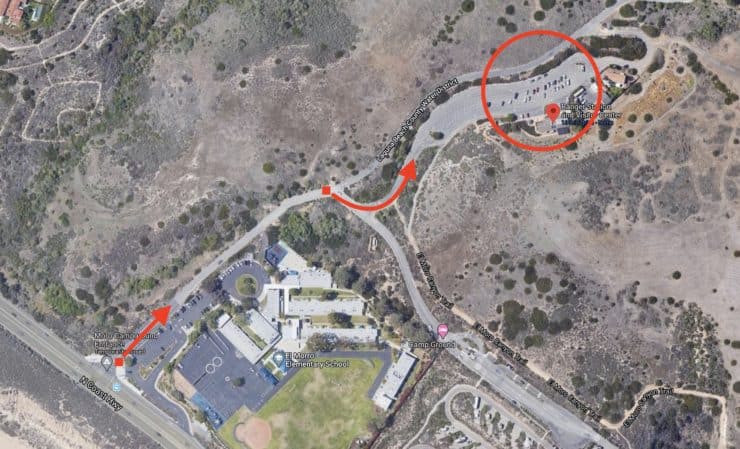
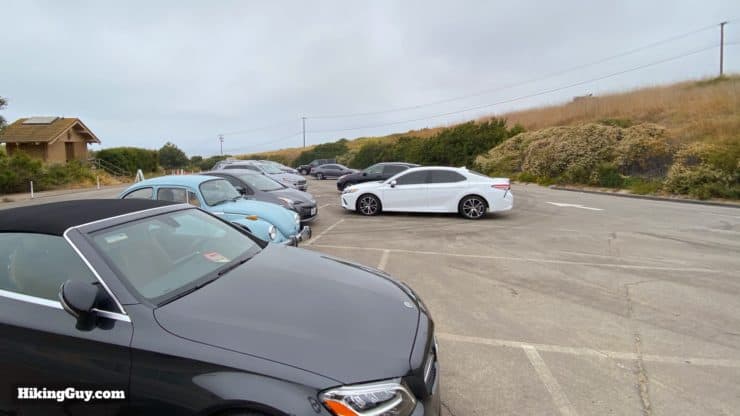
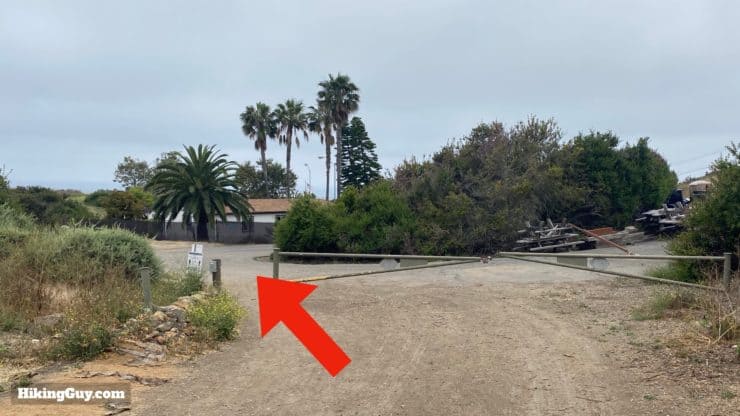
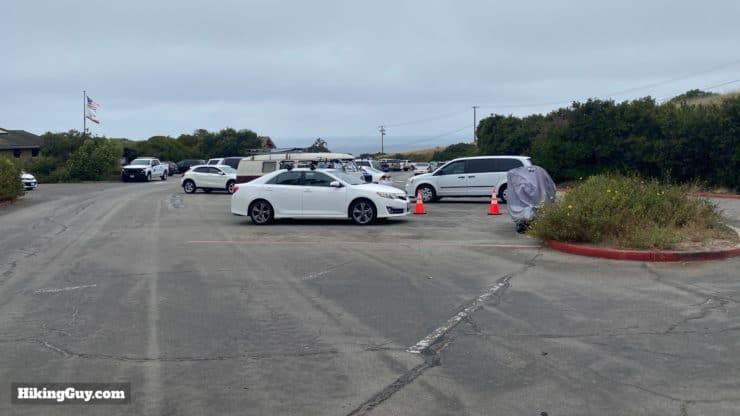
After you turn off of the PCH, finding the lot can be a little tricky. Go straight past the high school, bear right at the turn, and then make your first left into the parking lot.The parking lot at the ranger station is big but does fill up. When it's full they will turn people away.
There is a fee to park at Crystal Cove SP. Please pay at the visitor center.
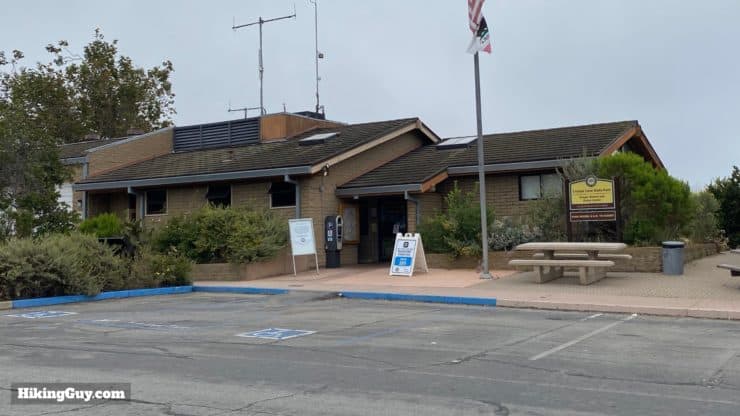
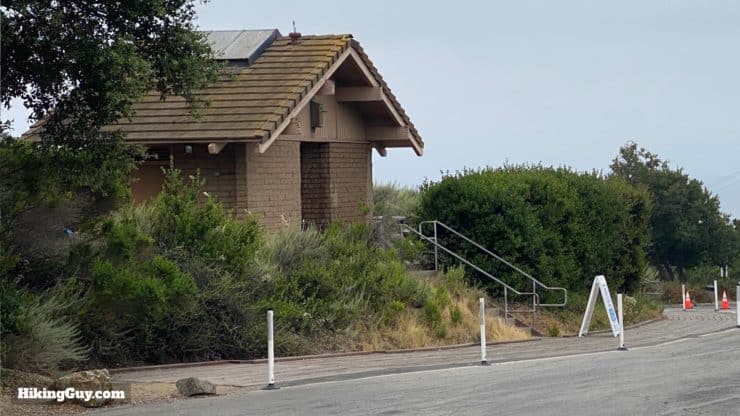
The ranger station and visitor center is also worth a visit. There are interpretive displays and helpful rangers to answer any questions.There are bathrooms and water refill stations right next to the visitor center.
Do this hike as early as possible to avoid the crowds and heat.
Gear for the Hike
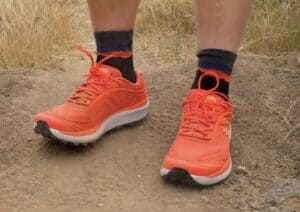
This is a long hike with lots of ups and downs, and I recommend proper hiking gear and footwear when you do it. Bring at least 2L of water with you and sun protection. There is no shade and in the summer it can be very hot here.
Osprey Hikelite 26Lightweight, carries all your gear, and your back doesn't get sweaty. Oh yea, it's also one of the most inexpensive packs you can get.
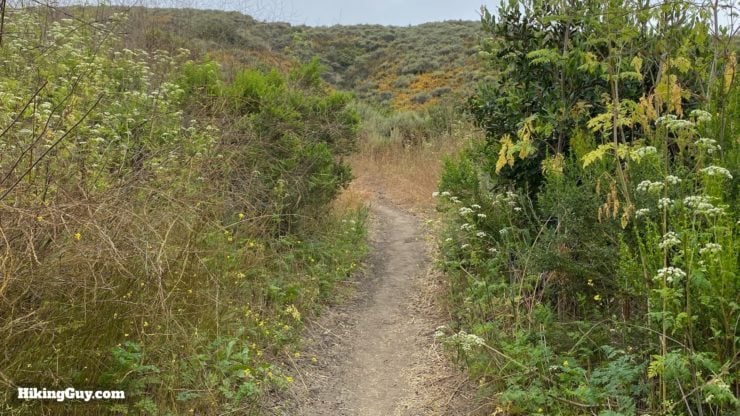
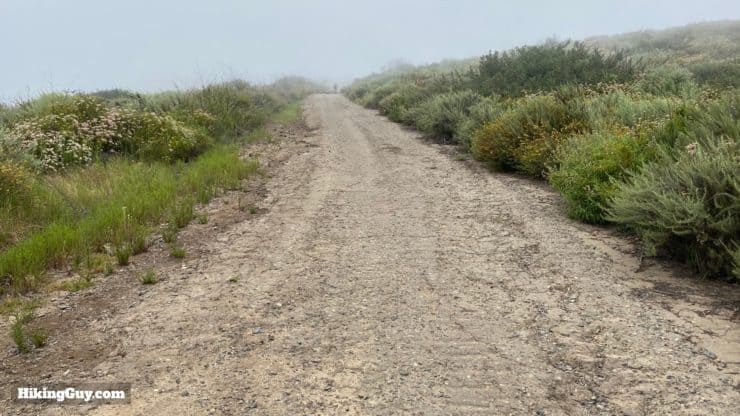
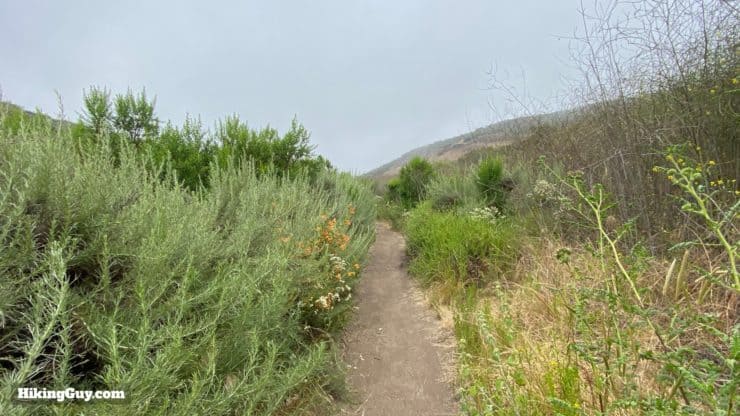
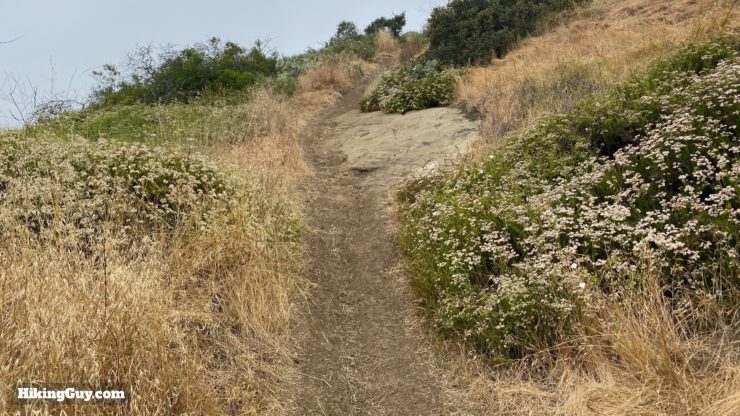
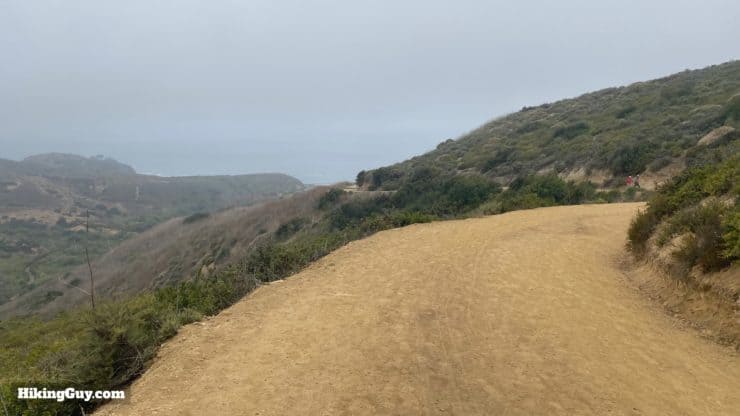
Overall the trails are easy to follow and vary between wide sandy tracks and smaller single trail. The park is shared with mountain bikers, so keep an eye out, especially on the narrower sections.
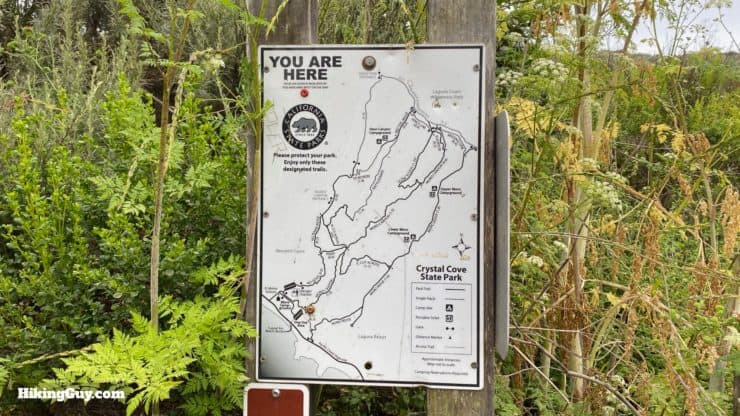
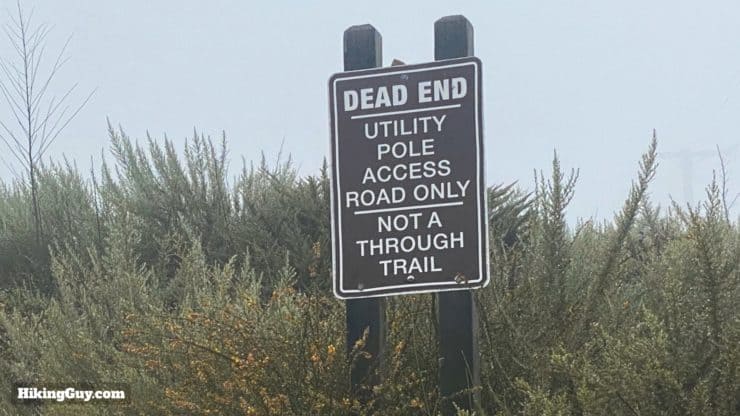
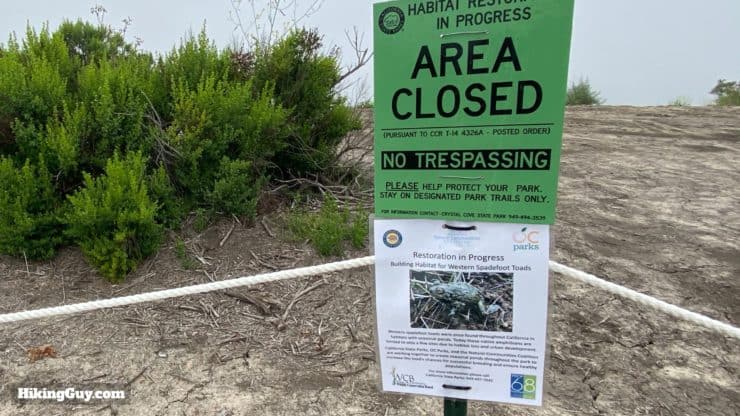
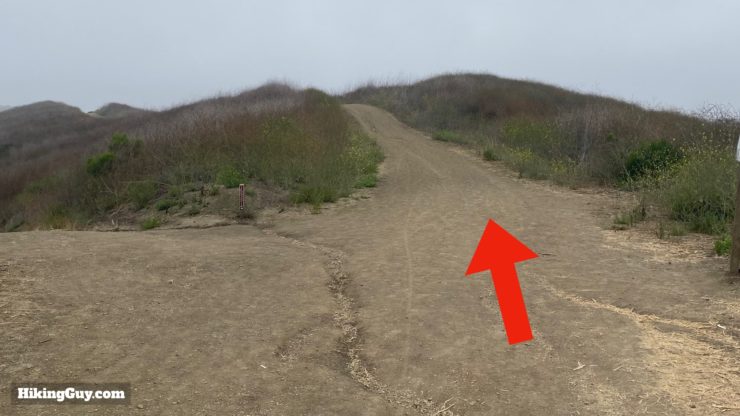
The Crystal Cove trails have this handy trail map at most junctions. Look for the rivit in the sign that tells you where you are.I've noted all the important turns in the hike directions below, but you'll also see some of these dead end side trails along the way, used to access utility poles.Some areas may be closed for habitat restoration. One of the park's missions is to protect native species and fauna.
You'll roughly climb to the highest point by the middle of the hike, and then hike back to the same elevation. But there are a lot of small ups and downs that add up over the 9 miles of the red route.
Hike Landmarks
Landmark
Distance
Elevation
Trailhead
0
170
Bridge
0.5
50
Viewpoints Start
1
400
Lower Moro (Bathroom)
3
860
Uppe Moro Bathroom)
3.8
840
Deer Canyon (Bathroom)
6
640
Ridge Trail Views
7
690
3D Map
You can see from this 3d view that the red route does a loop around the permitter of the Moro Canyon area of the park.
Crystal Cove Red Route Hike Directions
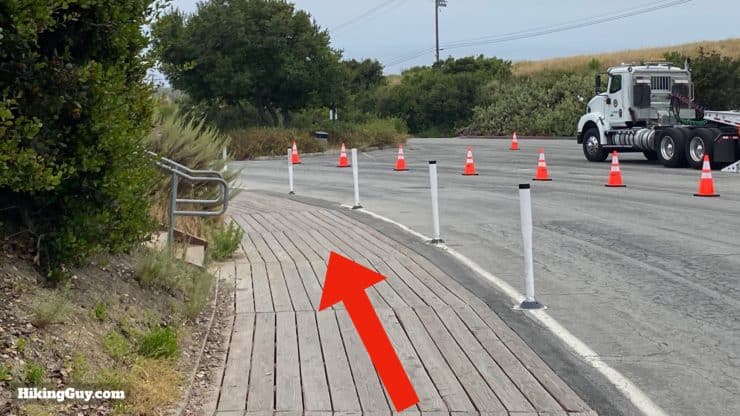
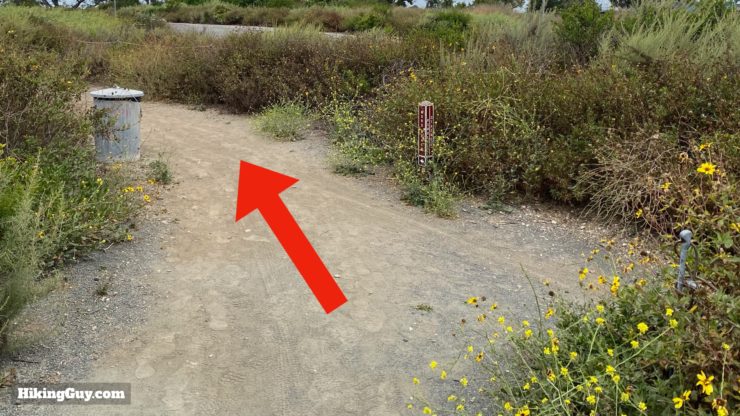
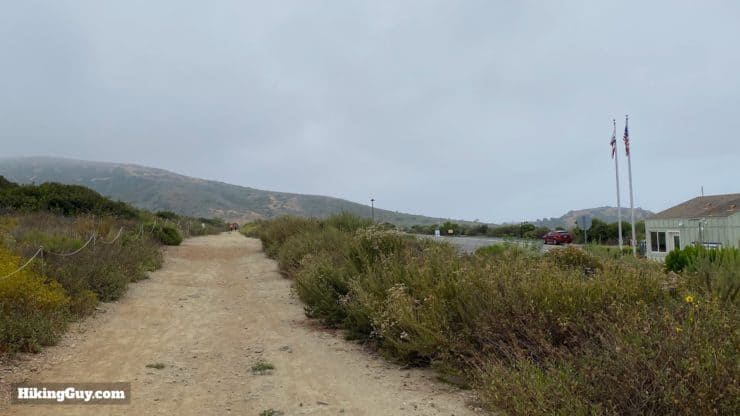
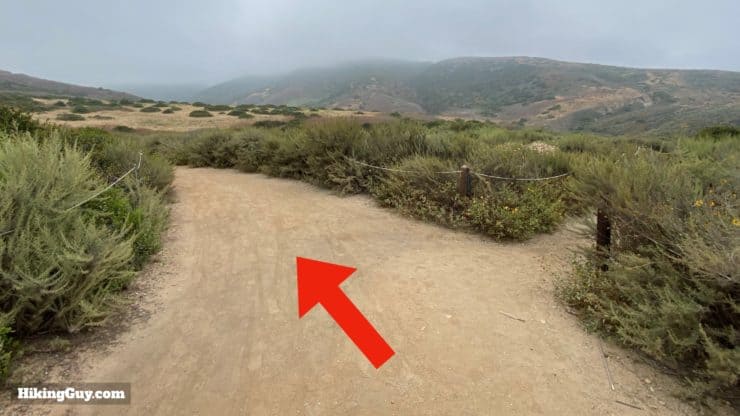
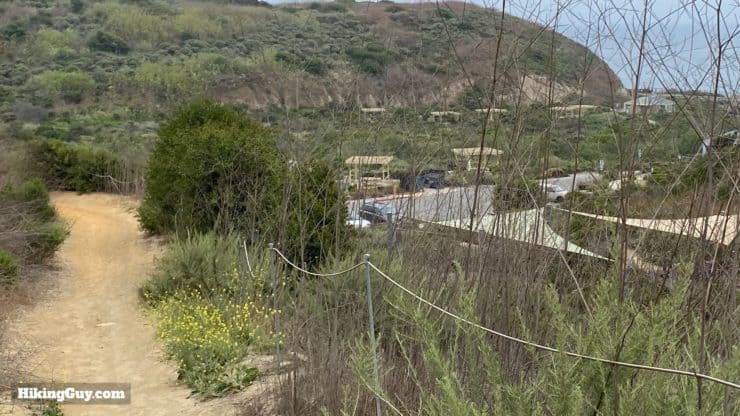
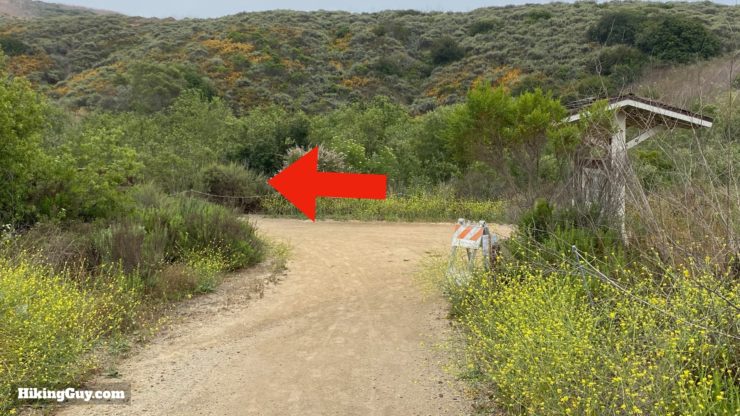
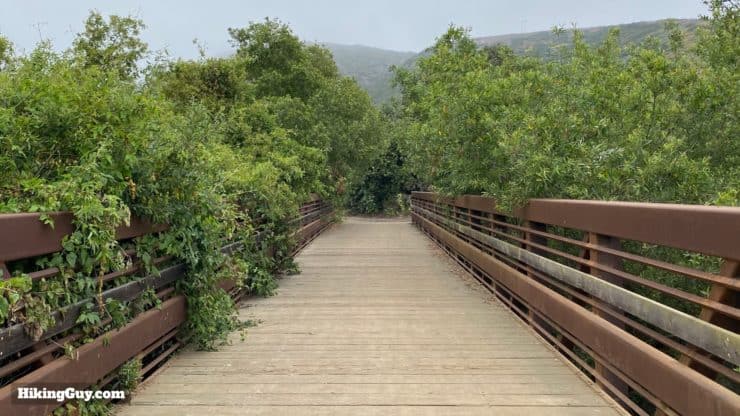
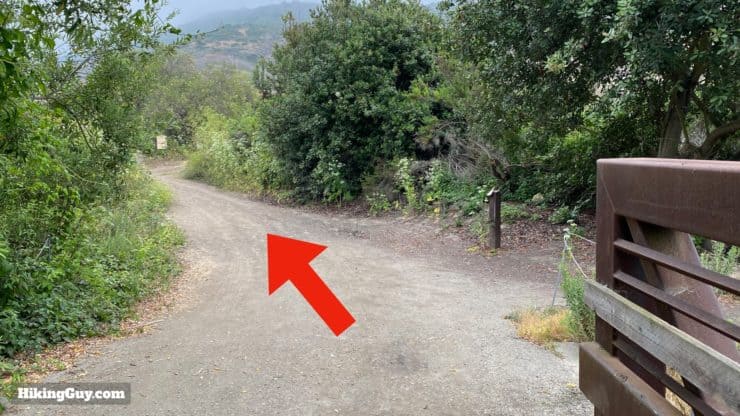
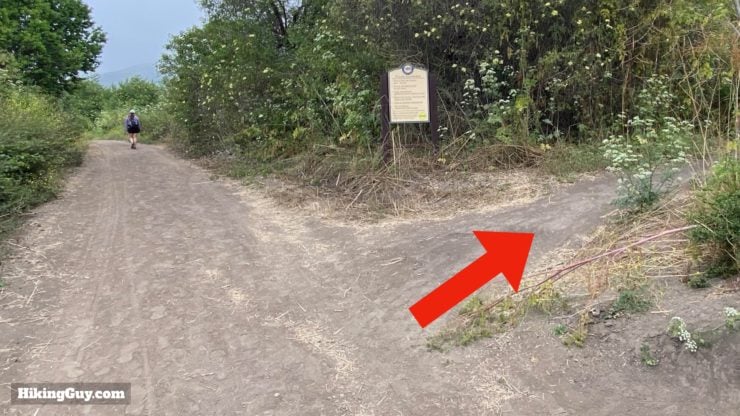
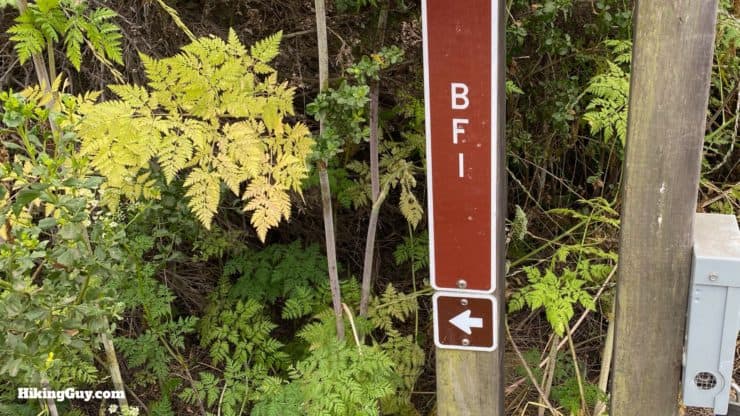
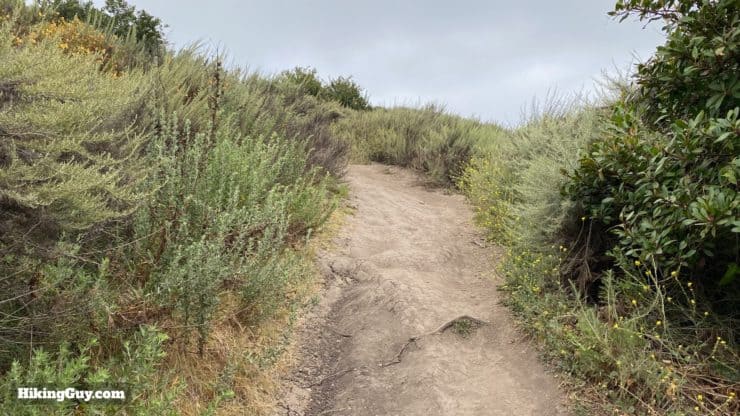
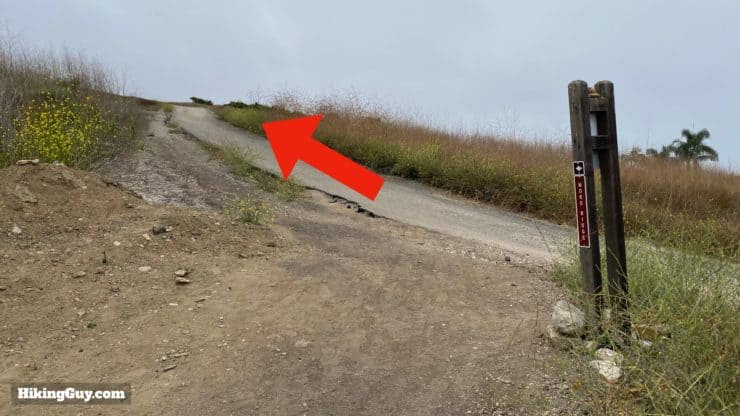
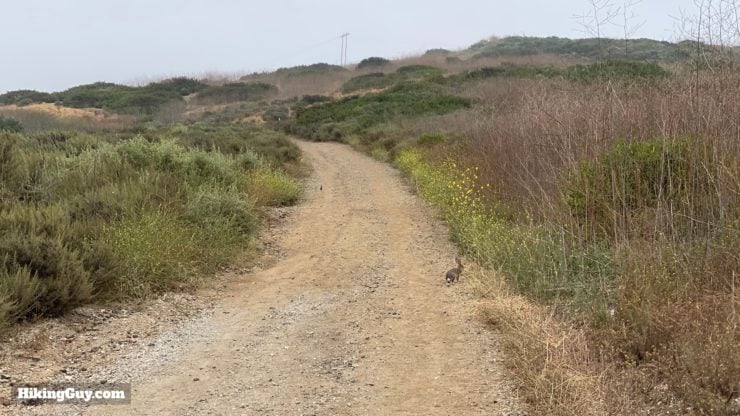
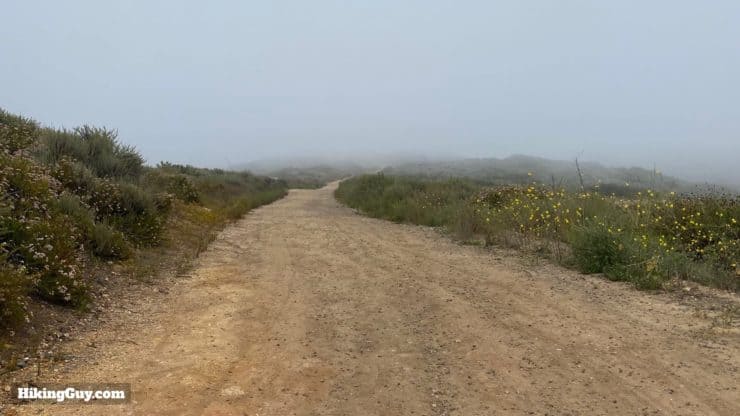
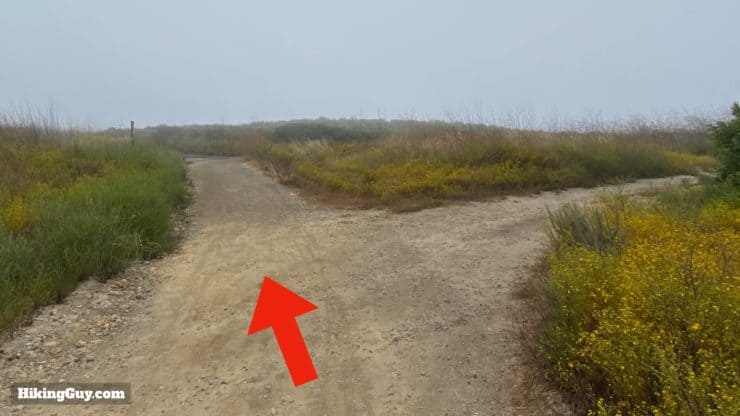
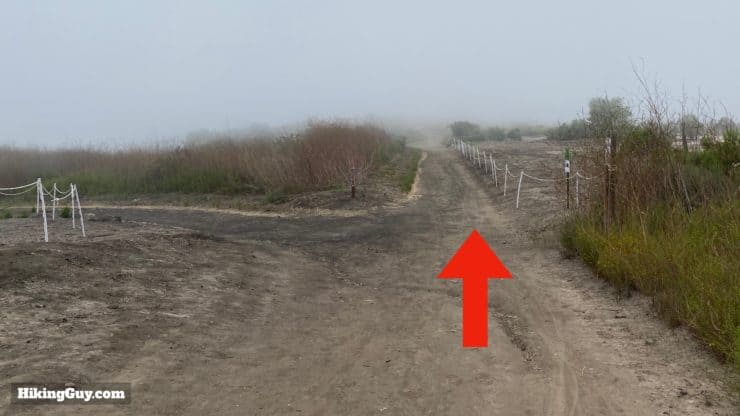
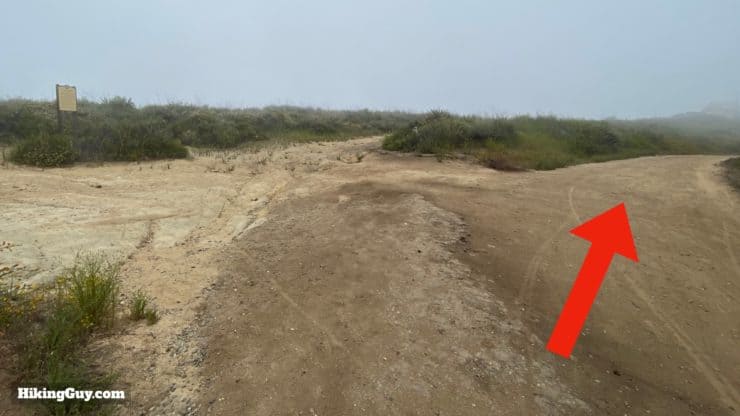
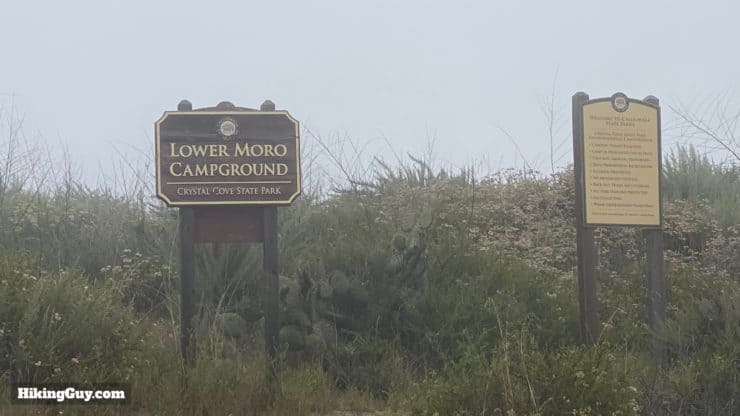
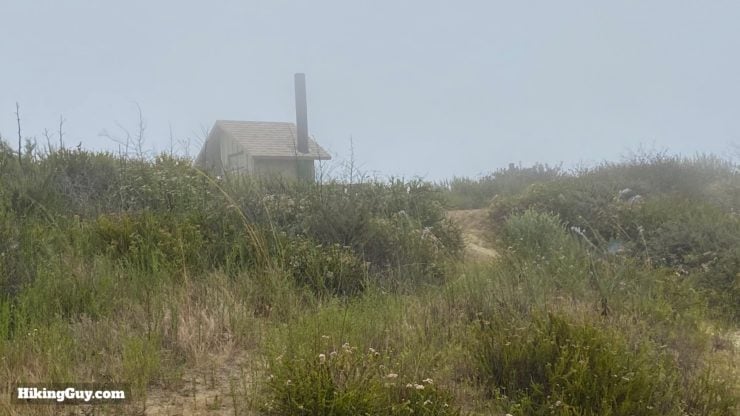
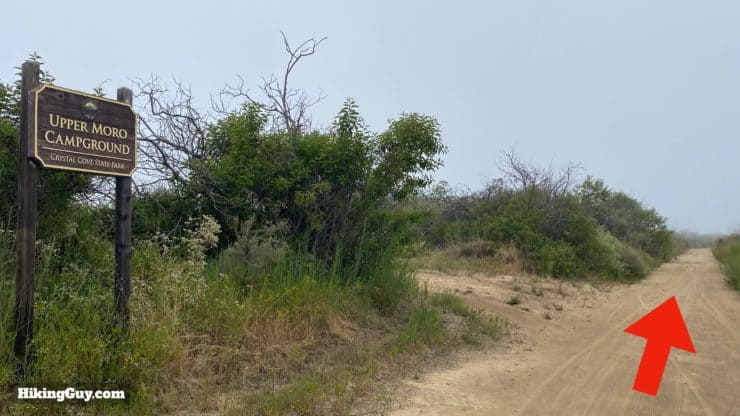
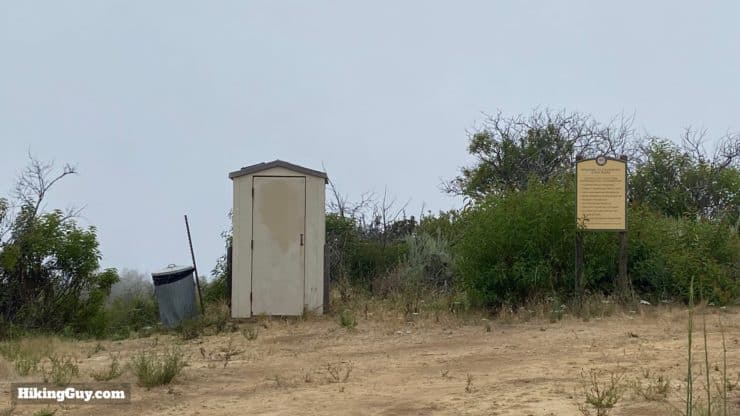
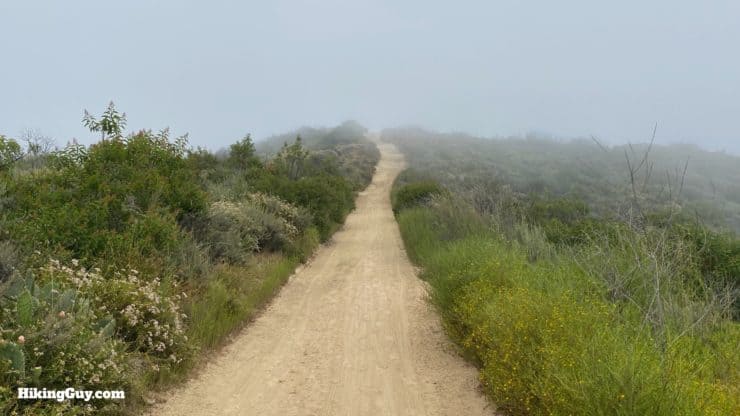
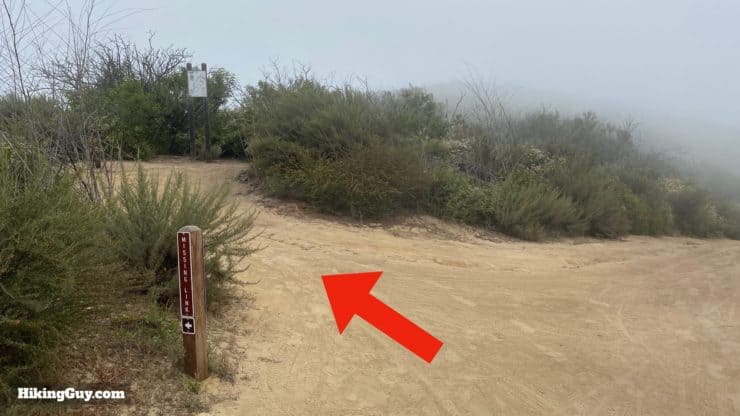
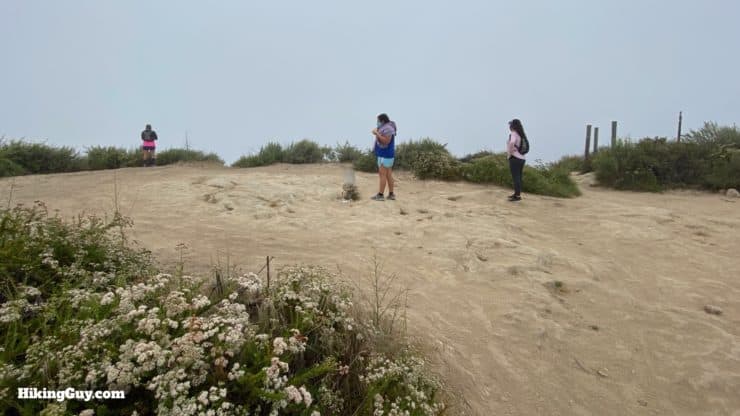
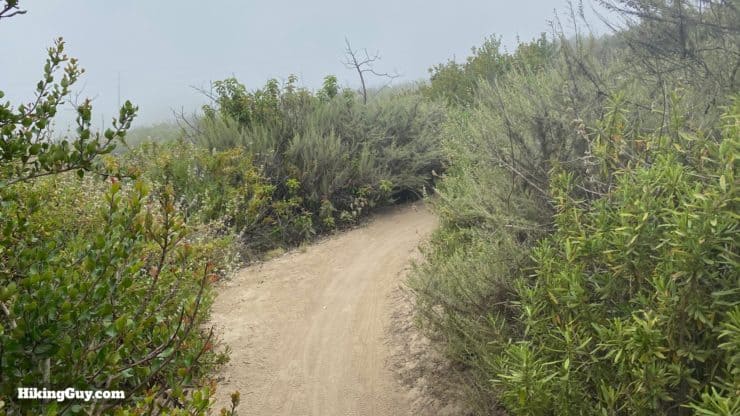
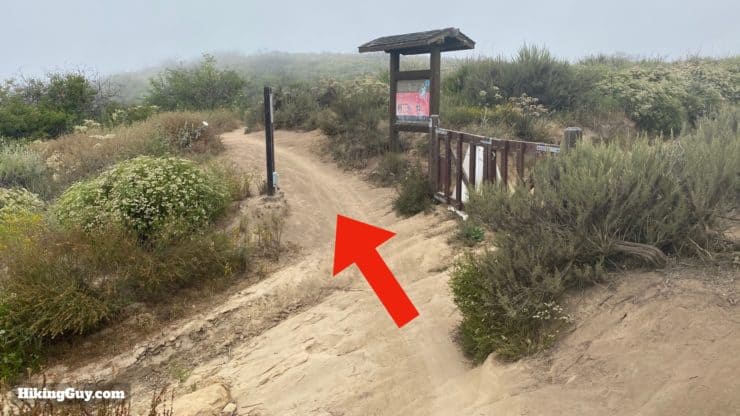
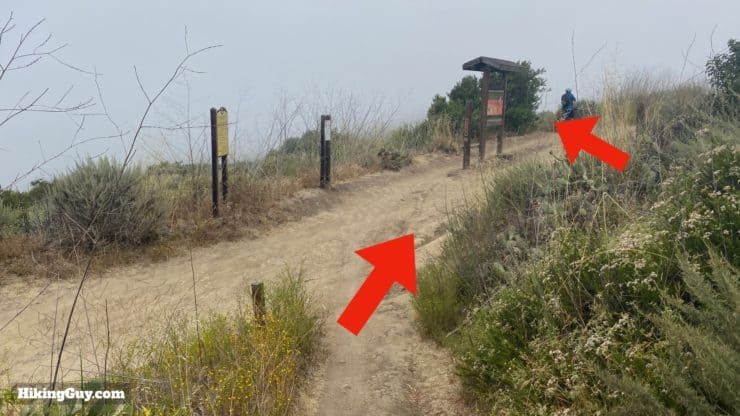
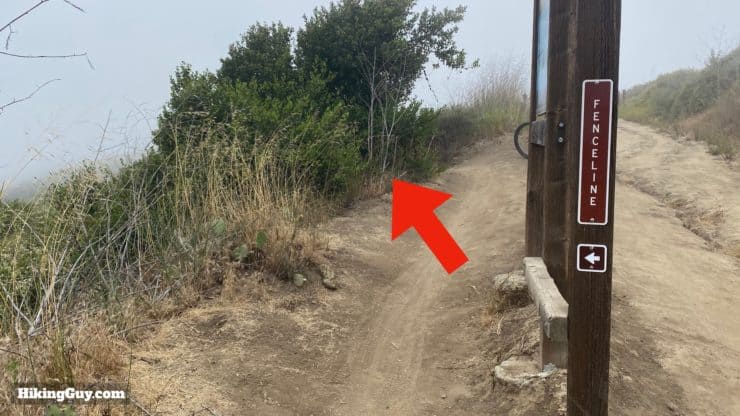
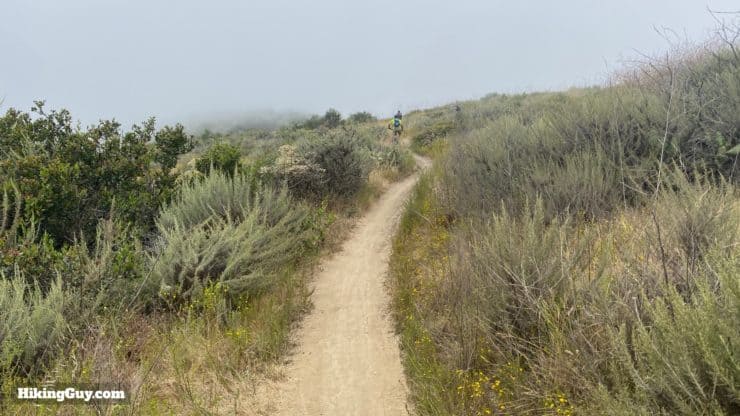
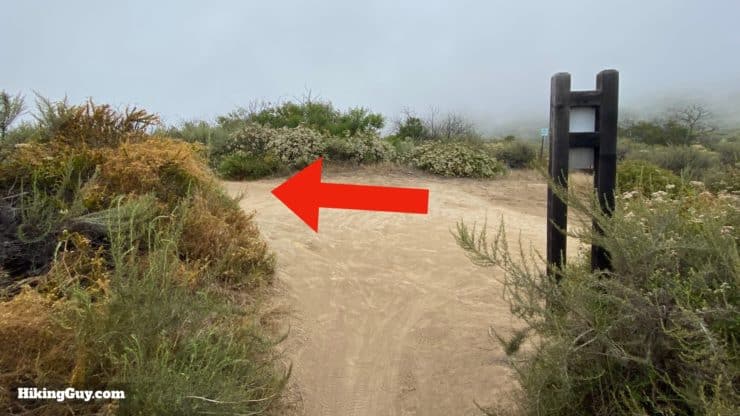
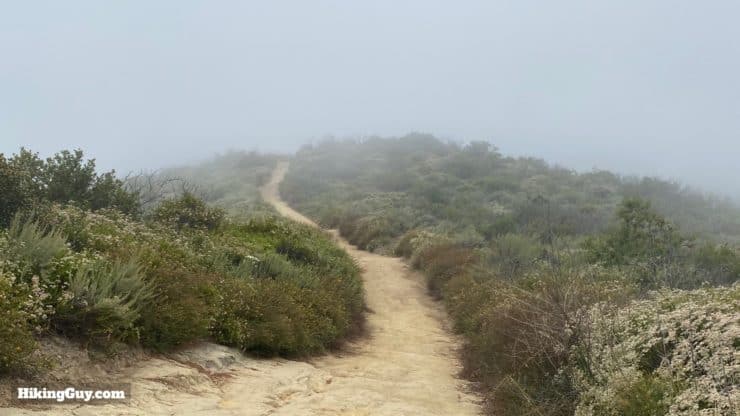
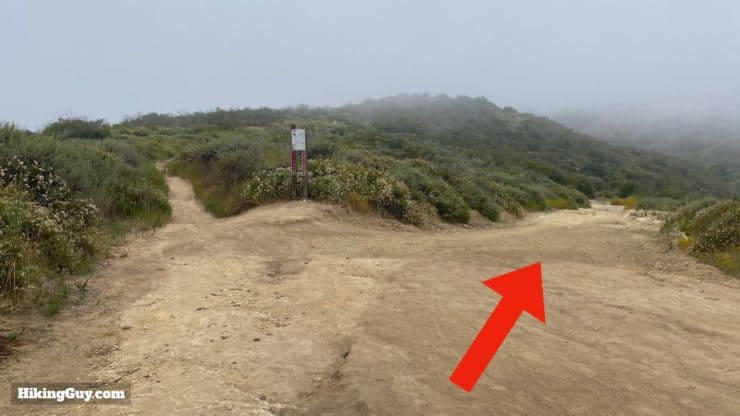
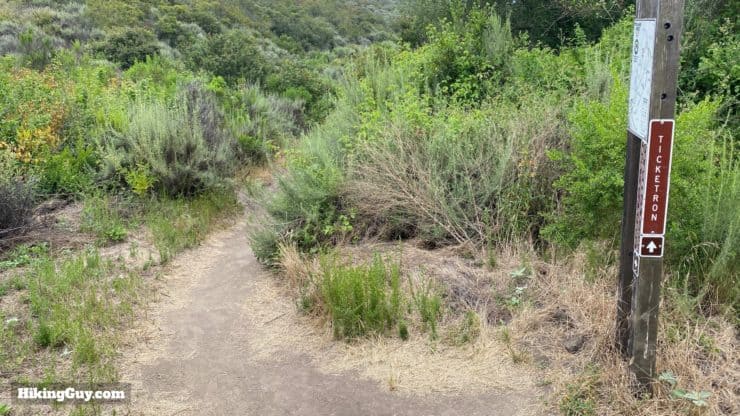
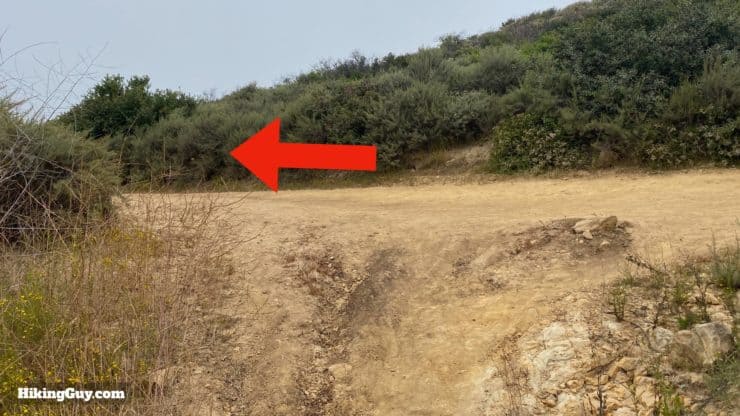
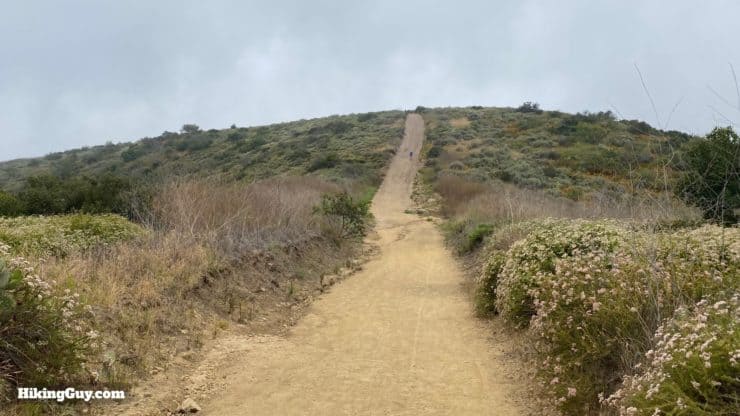
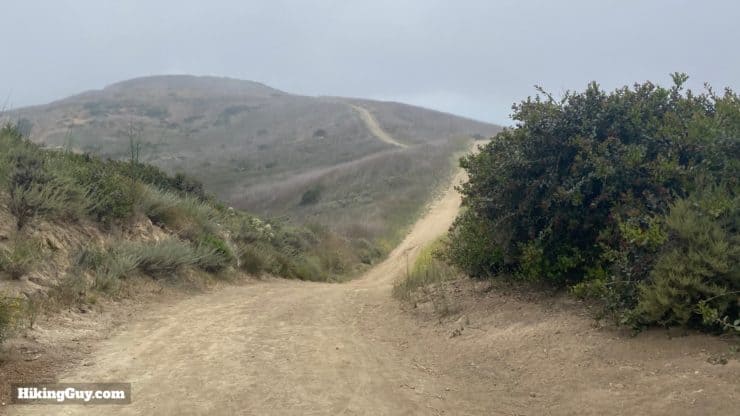
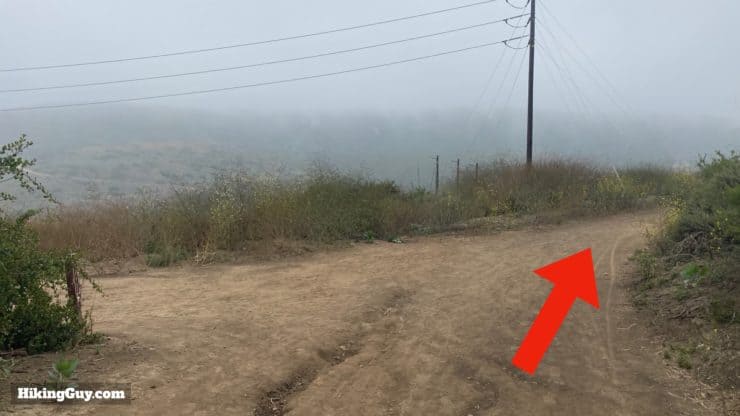
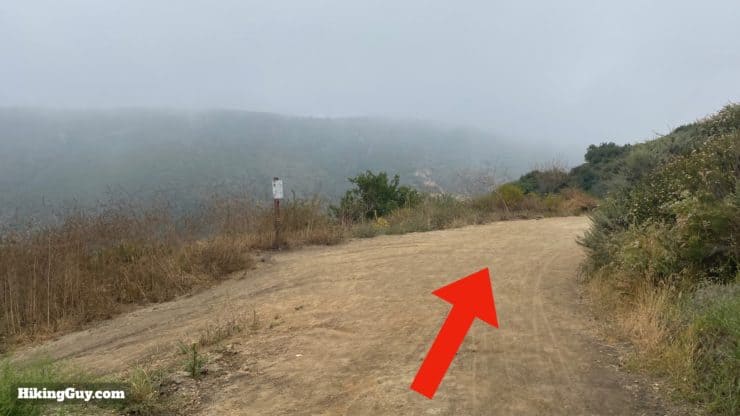
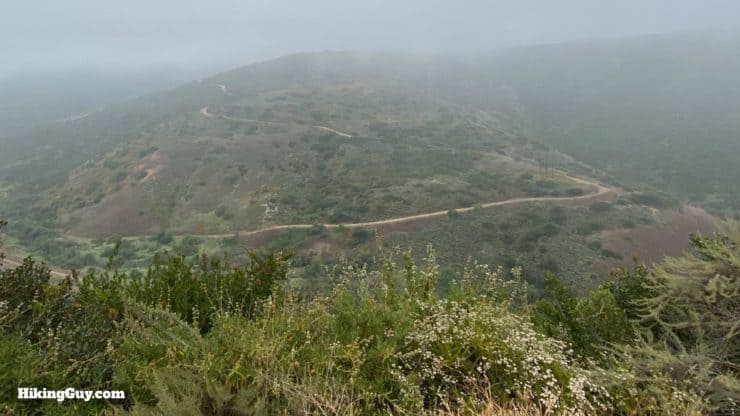
Start by following the boardwalk down from the parking lot.The boardwalk turns to dirt. Make the first left when you come to the intersection.The trail follows the road to the campground. Keep hiking straight.Avoid the beach trail to the right and bear left on the bigger trail.You'll start descending into the bigger (lower) parking area. If you need to use a bathroom, you can do it in this parking area too.At the bottom of the hill (and at the trail board) make the left onto the Moro Canyon Trail.Right after the turn you'll cross this big bridge.Avoid the side trail to the right immediately after the bridge.But make the next right after that last turn onto the BFI Trail.Here you can see the trail sign at that junction. You'll have these trail signs along the route. And BFI stands for "Big (fill in the blank) Incline."The trail is narrow and gradually uphill.But then you get to the "BFI" part of the trail and it gets steep. Just take your time. This first climb will be the toughest on the entire red route.When you reach the pavement, make the left and follow it uphill.Now you're on the Moro Ridge Trail, and it's steep going as you climb about 500 vertical feet.The nice thing about this steep section is that you have great ocean views when you stop to turn around. On a clear day you'll see from Catalina Island to Palos Verdes.Eventually Moro Ridge Trail levels out with some gentle inclines.Stay straight as a dead-end trail comes in from the right.At about 2.5 miles in, you'll reach the junction with the East Cut Across Trail. Go straight.There are some ups and downs as you continue on the Moro Ridge Trail, but it's mainly easy going.At around 3 miles in you'll reach Lower Moro Campground. Bear to the right; the trails to the left go into the camping area.If you want to do some primitive camping at Crystal Cove, this is one of your options. You can make a reservation here.There are primitive toilets just off the trail in the campground.About a half mile after Lower Moro, you'll reach Upper Moro Campground.Upper Moro also has a primitive toilet.Continue hiking on Moro Ridge as it does a few short, steep climbs.At the top of one of the climbs, look for the left turnoff for Missing Link Trail, which you will follow for about 0.5 miles.Right after you start Missing Link, there's a nice overlook, which on the day I did this guide, was covered in fog.The Missing Link Trail is small with lots of twists and turns.When you come to the junction with the Moro Canyon Trail, go straight through. On the right side of this fence is Laguna Coast Wilderness Park, an Orange County Park.After a very short stretch, bear right onto the Slow N Easy Trail.Just past the trail board, make the left onto the Fenceline Trail, which we'll follow for about 0.5 miles.The Fenceline Trail is small like our last trail.At the end of the Fenceline Trail, make the left turn onto the Red Tail Trail.The trail is wide and meanders downhill.At the intersection with the Rattlesnake Trail, stay right on the wide Tickerton Trail and continue downhill.The downhill is steep, so watch your footing.At the bottom of the hill you'll reach the Deer Canyon Campground, which has the last toilet before the end of the hike.The Red Route continues on the Tickerton Trail through the other side of Deer Canyon Campground.This part of the red route is quiet and peaceful.After a flat stretch you'll have to do an uphill to climb out of Deer Canyon. It's not nearly as tough as the first climb you did.When Tickerton ends, make the left onto No Name Ridge Trail.There are some ups and downs on this stretch.Keep going straight on No Name Ridge, avoiding the West Cut Across Trail to the left.More ups and downs. When it's not foggy, you'll start getting some good views from here.Stay right as the Poles Trail joins.And then joins again.... stay right.You'll be able to see other hikers and trails as you continue down along the ridge, which is now called the No Dogs Trail.And you'll also get sweeping views of the ocean once again.At the bottom of the hill you'll reach a gate. Bear to the left.And a second later you're back at the parking lot where you started!


 Using the Apple Watch for Hiking
 Garmin Fenix 7 & Epix Review For Hikers
 How To Read a Topographic Map
 Garmin GPSMAP 67i Review
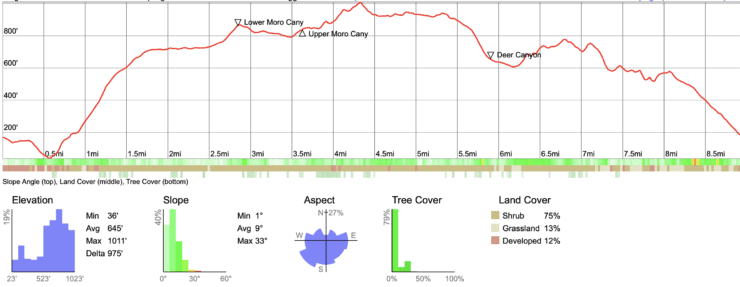


 Crystal Cove Best of Hike
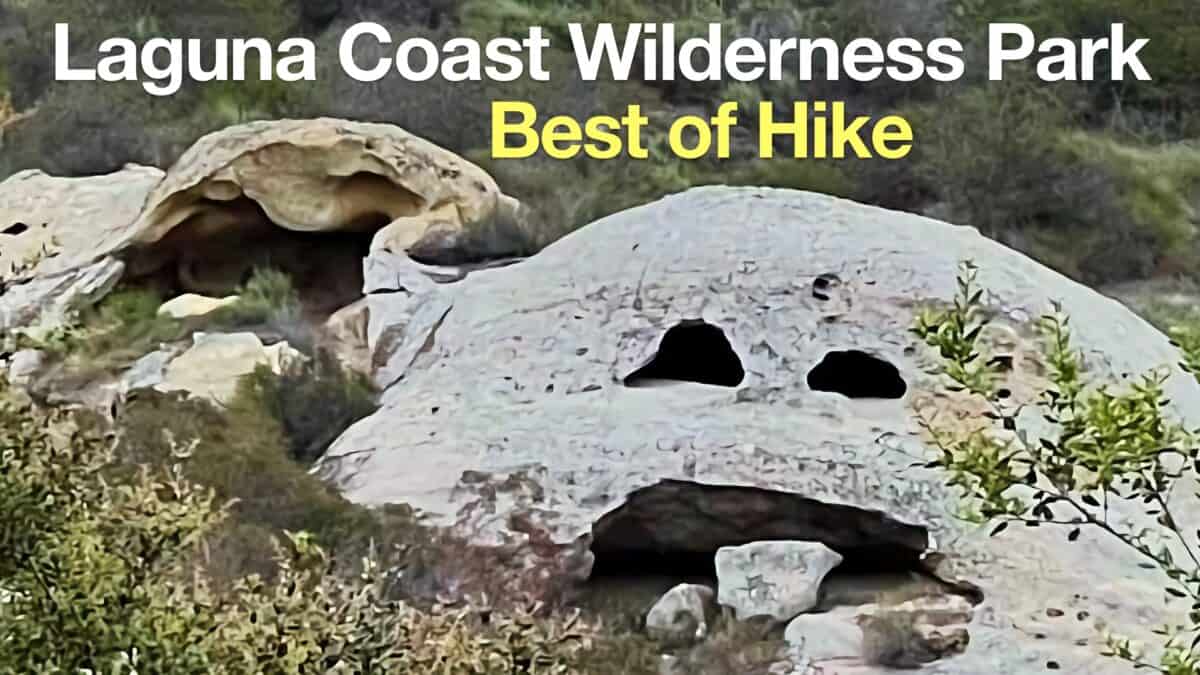 Laguna Coast Wilderness Park Hike
 Car Wreck Trail (Laguna Beach)
 Bane Canyon Loop Trail - Chino Hills State Park
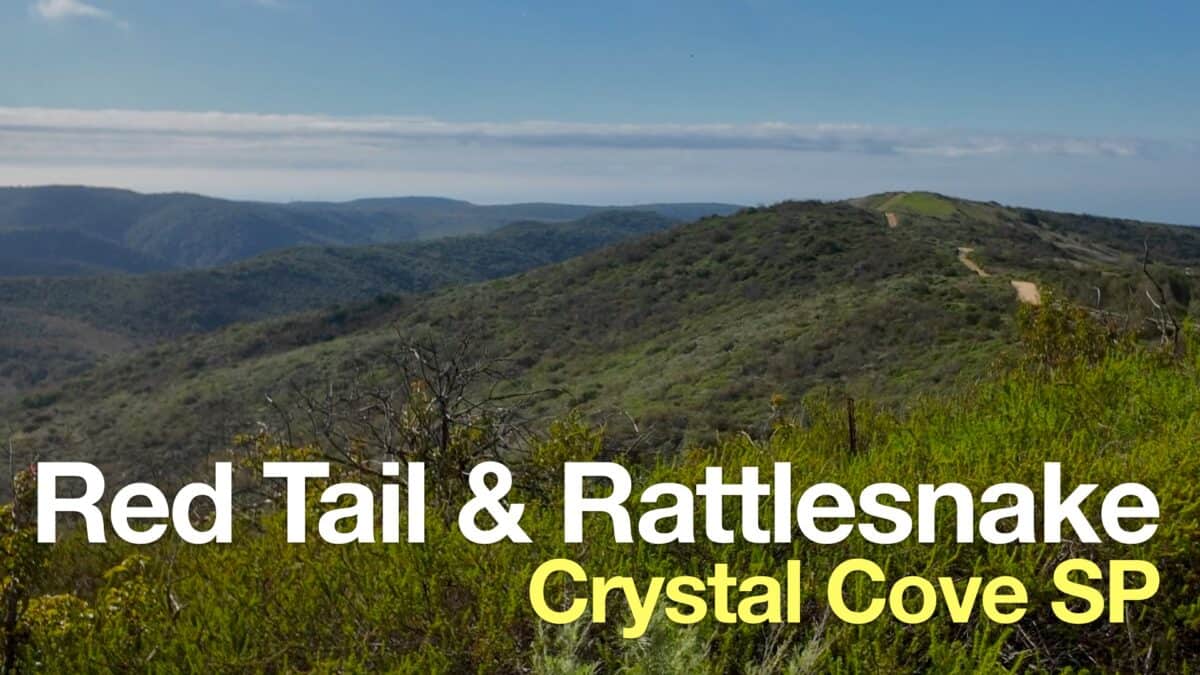 Red Tail and Rattlesnake Loop
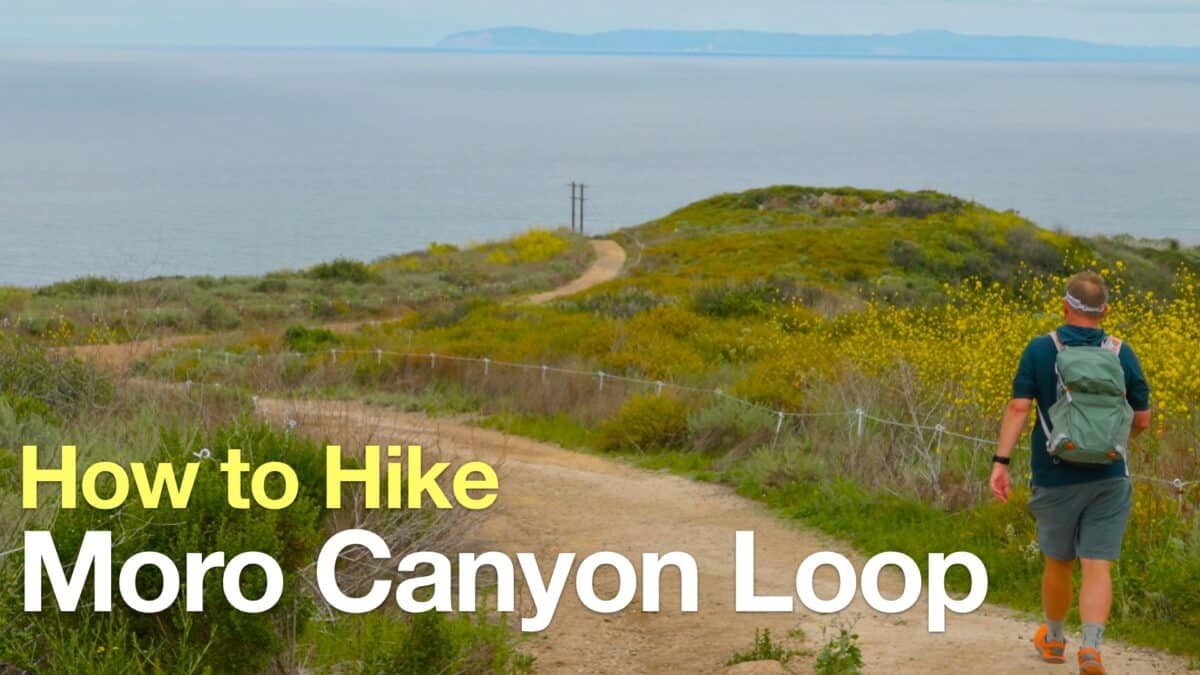 El Moro Canyon Loop Trail
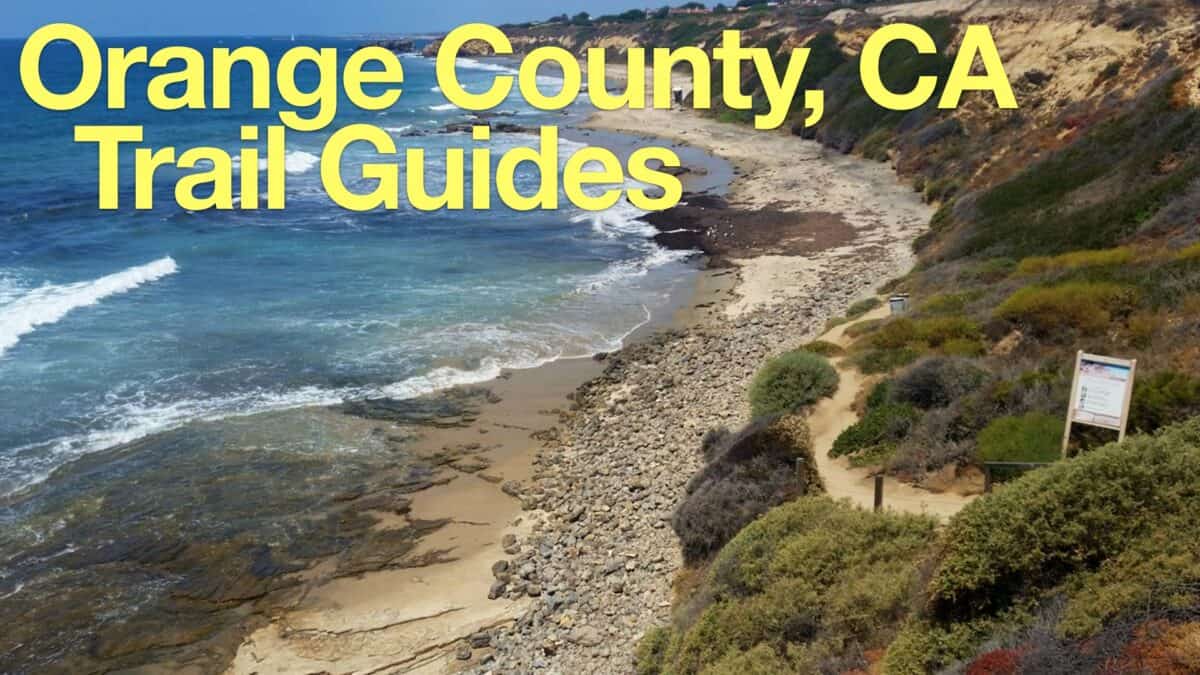 Hikes In and Around Orange County
 Best Hiking Gear 2024
 Hiking Boots or Shoes: Do I Really Need Hiking Boots?
 When to Hit SOS on inReach