
Located far away from the South Rim crowds, this hike on the Hermit Trail to Dripping Springs is one of the great Grand Canyon hiking adventures. The Hermit Trail is an engineering marvel, once paved with sandstone slabs when it was built in 1911 for tourists. At the end of the hike you reach a unique hanging garden spring, tucked into a remote corner of the Canyon. It's not a very long hike but it's challenging, with steep climbs and narrow sections.
- Turn-by-Turn Hike Directions & Video
- What to Expect on the Hermit Trail Hike to Dripping Springs
- Tips on Weather, Parking, and Planning for the Hike
Don't forget to check out my Grand Canyon hiking tips here!
How To Get to the Trailhead
The hike starts on the western end of the South Rim area of the Grand Canyon at Hermit's Rest. In the winter you can drive right to the trailhead, but in the other times of the year Hermit Road is closed to private vehicles, so you need to take a shuttle bus.
Shuttle Bus Parking
Except for the winter months when Hermit Road is open to private vehicles, you have to take a Hermit Road Shuttle Bus to the start of the hike at Hermit's Rest. You can get the Hermit Road shuttle at the Village Route Transfer station, where the blue Village Route intersects the red Hermit Road route. In the winter you can drive right to the Hermit's Rest area.
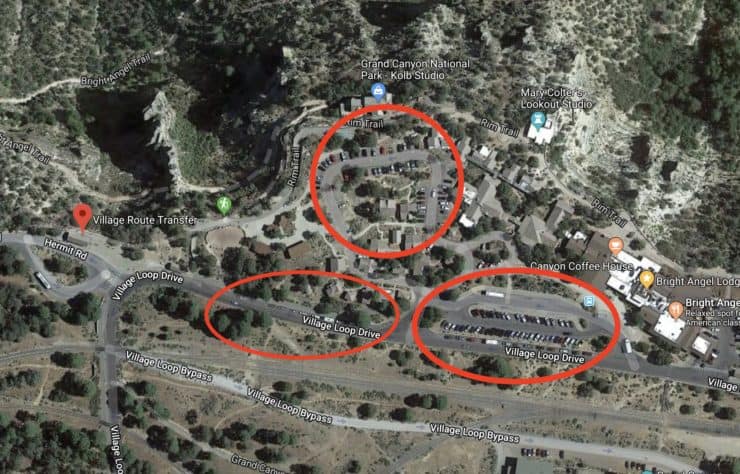
If you're driving to the shuttle bus, navigate to the Bright Angel area and then find a spot just past (to the west) of the lodges. There's parking on the street and in the lot by the Bright Angel Trailhead. You can park anywhere that you don't see a no-parking sign or staff parking sign. The parking lots are shared with visitors staying in accommodations such as Bright Angel Lodge.
Use this navigation address to park near the shuttle bus:
Bright Angel Lodge, 9 Village Loop Drive, Grand Canyon Village, AZ 86023

The blue Village Shuttle Bus is a good option to get to the trailhead if you're parked or staying somewhere else in the park. The bus runs year-round.
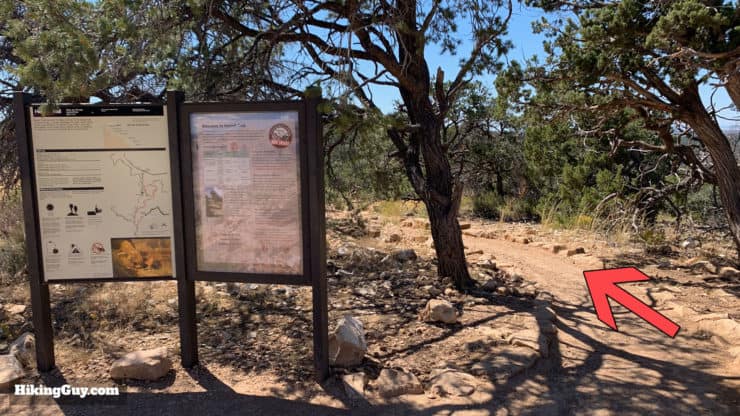
Trailhead From Hermit's Rest Bus Stop
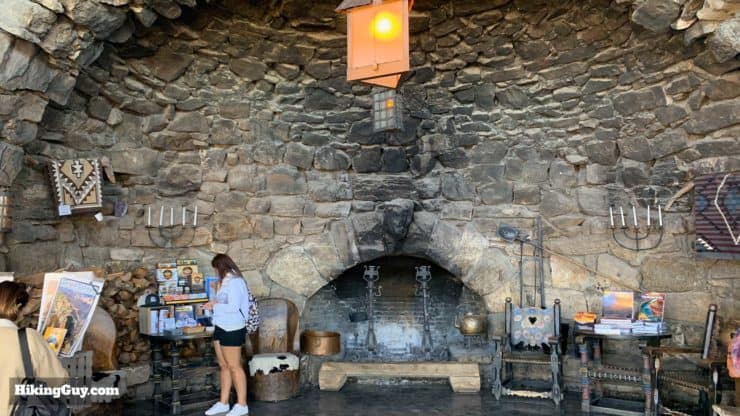
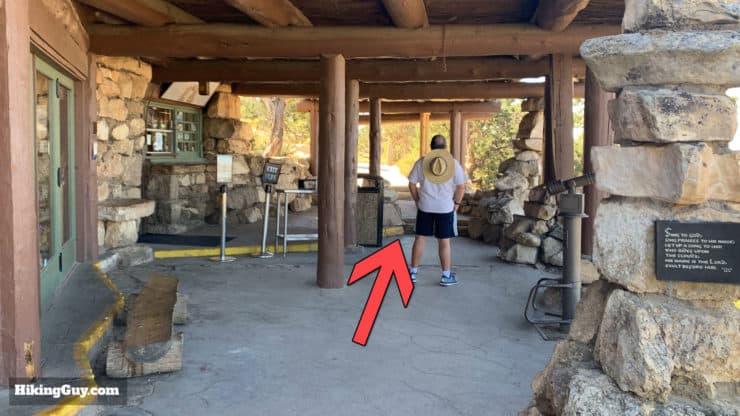
Once you get to the shuttle stop at Hermit's Rest, walk along the right to reach the actual Hermit's Rest building.

Gear for the Hike
Even though this isn't a long hike, it's still a challenging one with some narrow and steep trails. You can get away with fitness clothing, but I recommend proper hiking gear. Trekking poles will be helpful on some of the narrow sections. And even though Dripping Spring generally drips all year, it is just a drip, so it's easier to take 3L of water with you. The water at Dripping Springs also needs to be treated, so bring a water filter if you plan on refilling there.
As is the case will all hikes in the Grand Canyon, conditions can be extreme. In the summer, it can be incredibly hot, and in the winter, the trail can be covered with snow and ice, so prepare accordingly.
Gear That I Love Right Now
Nothing is sponsored or promoted, just the actual gear that I use.

Hermit Trail Maps
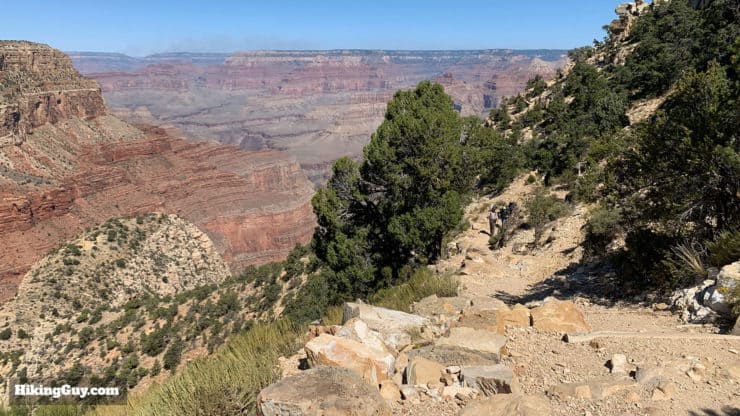
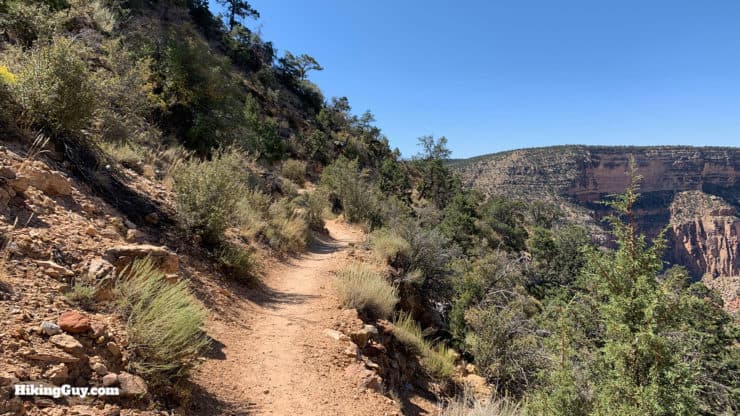
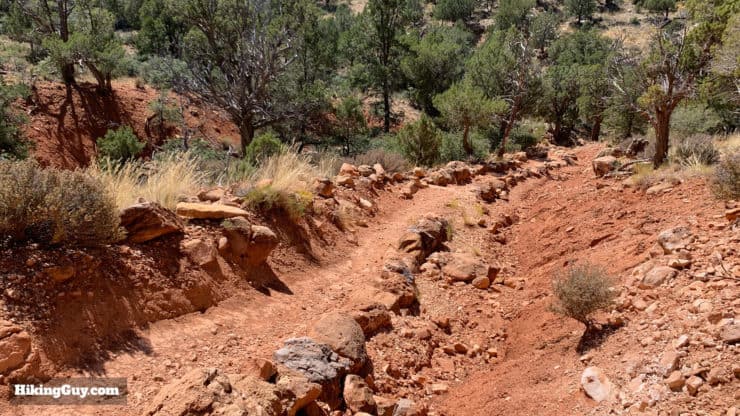
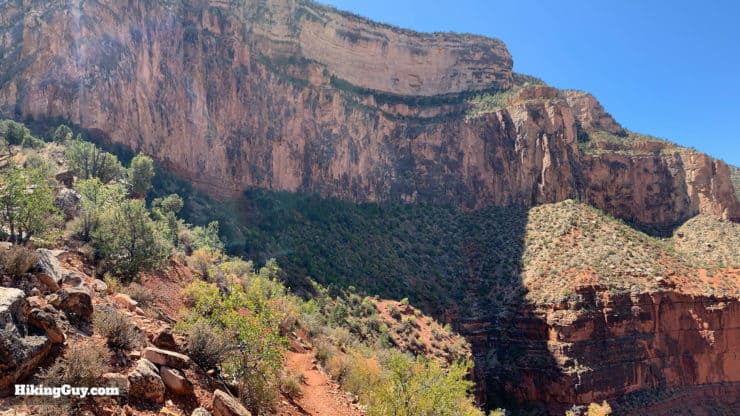
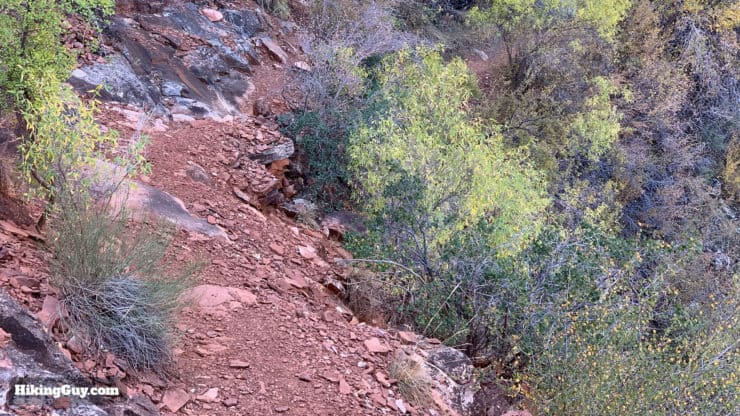
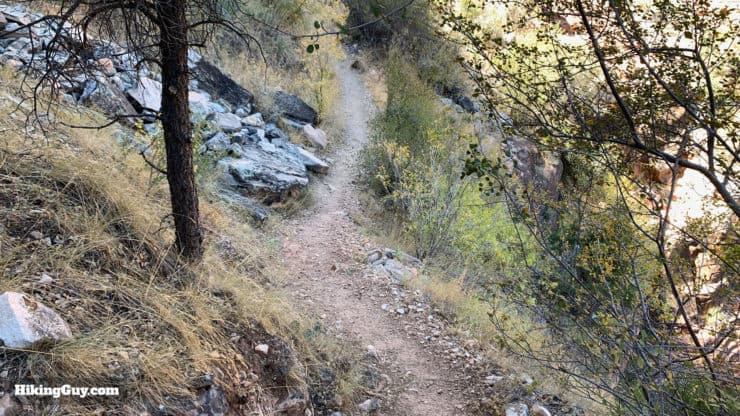
Overall the trail is in great shape, but there is one section between the start of Dripping Springs Trail and the Boucher Trail that has narrow sections and has steep drop-offs. I've done this trail many times and I can confirm that it's easy to traverse, but I've also seen people turn around when they get to it. I'll show you some images in the turn by turn directions below. Having trekking poles will help fortify your footing here.
How Will You Navigate?
 Using the Apple Watch for Hiking
 Garmin Fenix 7 & Epix Review For Hikers
 How To Read a Topographic Map
 Garmin GPSMAP 67i Review
Hike Landmarks
| Landmark | Distance | Elevation |
|---|---|---|
| Hermit's Rest Building | 0 | 6640 |
| Trailhead | 0.2 | 6640 |
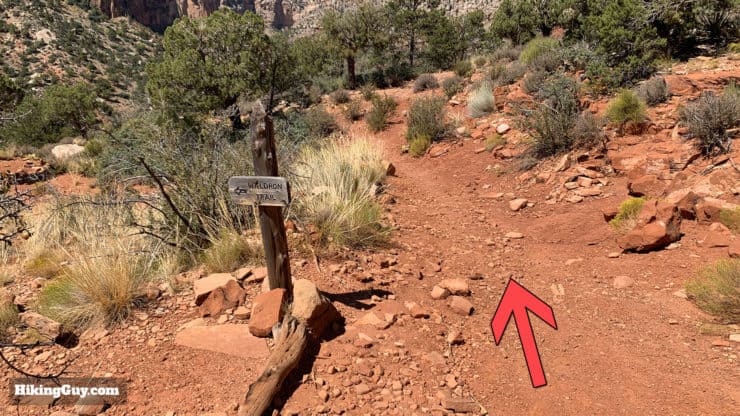
| Waldron Trail | 1.5 | 5400 |
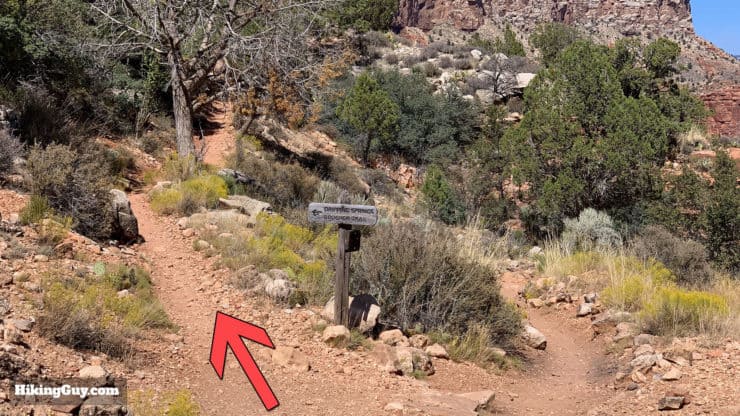
| Dripping Spring Trail Start | 1.8 | 5270 |
| Boucher Trail Junction | 2.8 | 5270 |
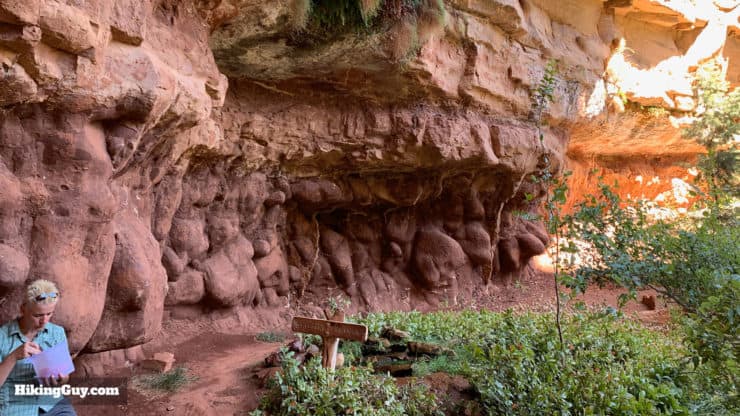
| Dripping Spring | 3.4 | 5600 |
Elevation Profile

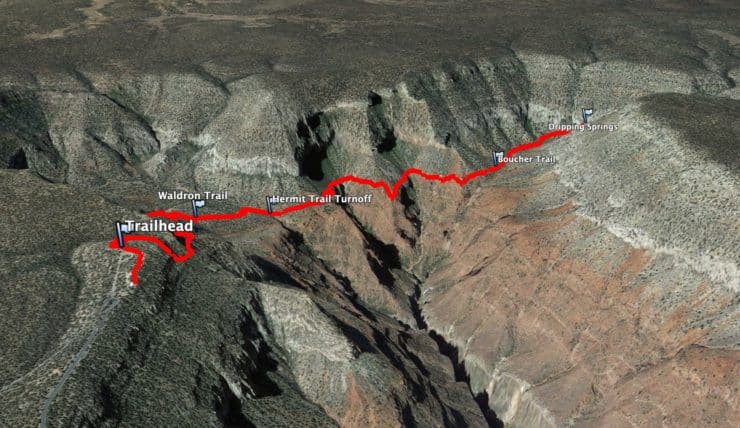
3D Map
Hike Brief
- When the Hermit Trail was first built in 1911, it was the only trail built exclusively for tourism. Other trails like Bright Angel started as mining trails. The railroad built the Hermit Trail because other trails like Bright Angel and the Grandview were privately owned and charged a toll. The trail went down to Hermit Camp, then a luxury camp, and now a primitive camping site.
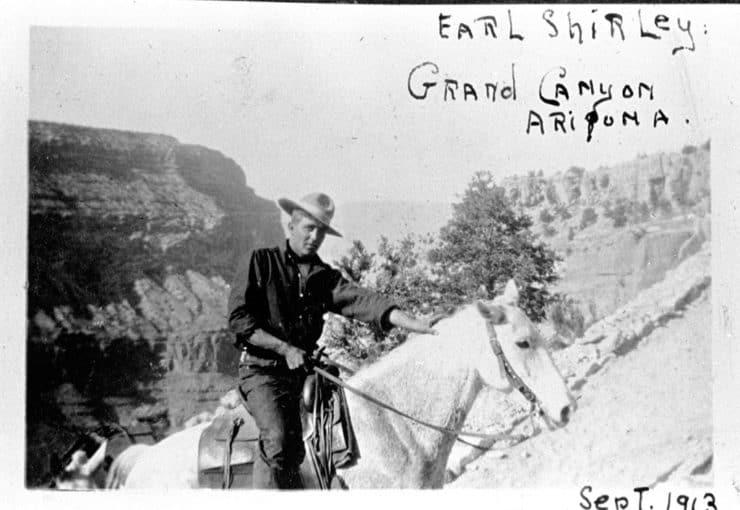
- Hermit Trail is named after "the hermit," Louis Boucher, a Quebecois, miner, trail maker, and prominent character in Grand Canyon history. He lived in the area at the start of the hike and often camped down in the basin. He had a primitive camp at Dripping Springs called "Cozy Camp."
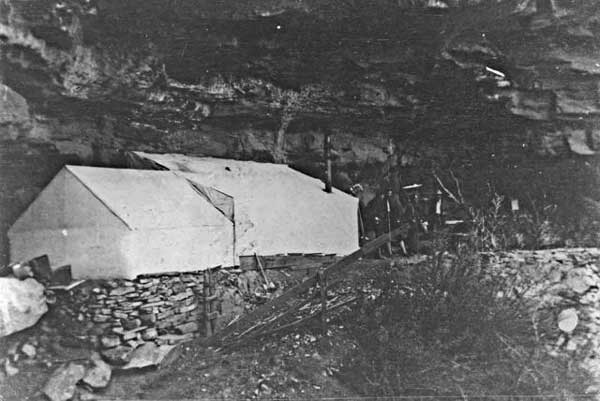
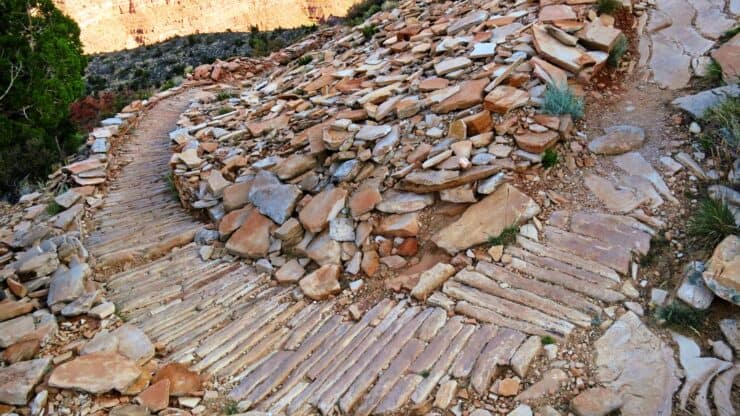
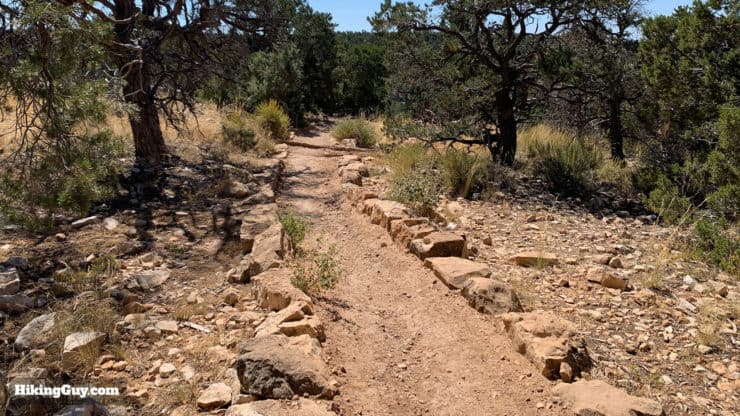
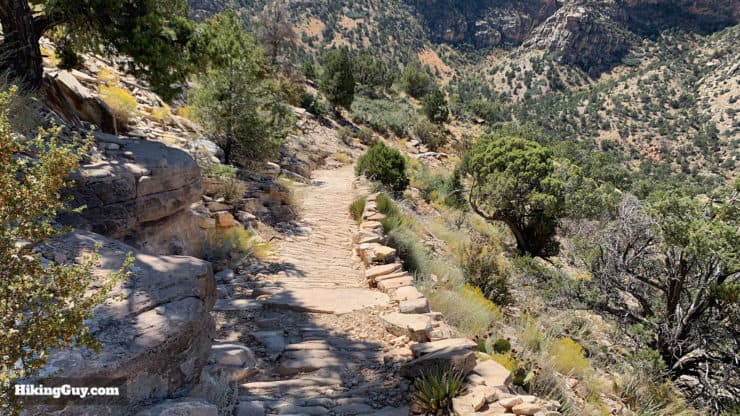
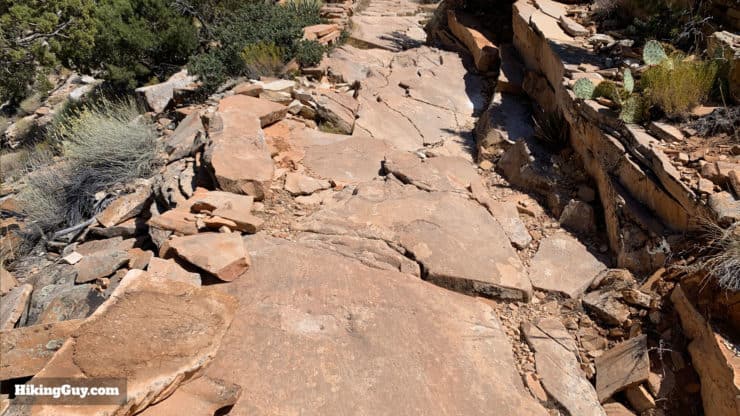
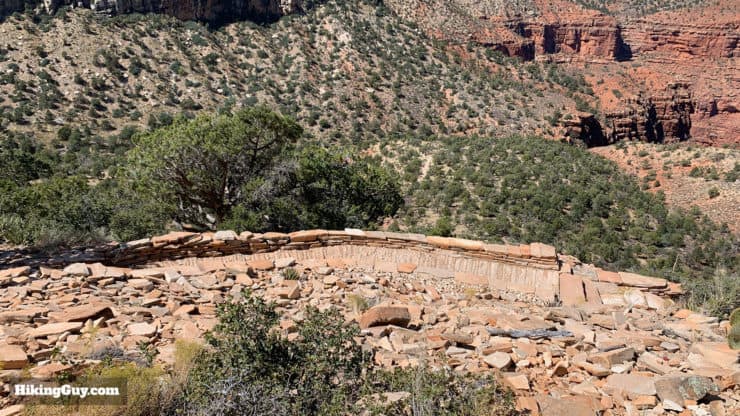
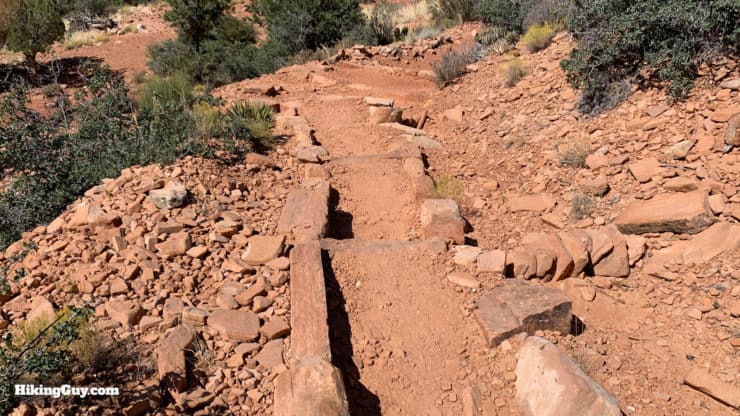
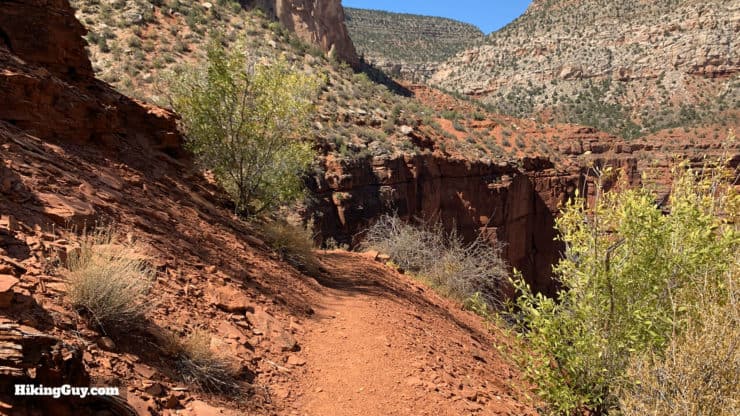
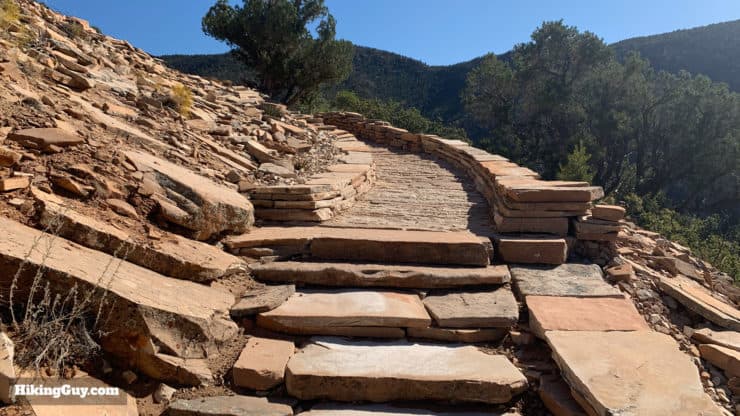
Tents at Dripping Springs, date unknown. Photo Grand Canyon NP - Most of the Hermit Trail was originally surfaced with big smooth slabs of rock. The builders wanted to make it as easy and inviting for tourists to use. The trail's wide walkway, switchbacks, and reinforced cribbing became a model for other National Park trails in the early 1900s. You can still see some slabs of the original walkway on the hike.
- The Hermit Trail is a "threshold trail" which means it's for experienced hikers. It's listed as "not maintained" but the Parks Service does make sure it's passable and relatively safe. It just not as actively maintained as a corridor trail like South Kaibab.
- Keep your eyes open for fossils. When they mined the stone for the trail slabs they uncovered many pieces with fossils. There's a famous one that you can see on the lower slopes of the climb, but there are also smaller random ones you can spot if you keep your eyes open.
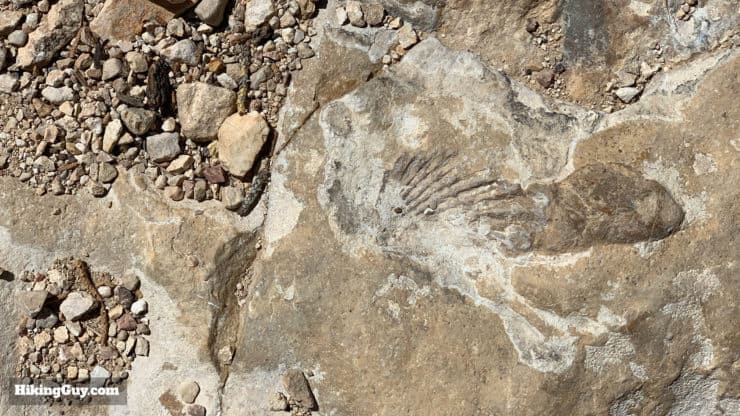
Here's a fossil that I spotted on the trail near the top of the climb.
Hermit Trail to Dripping Springs Hike Directions


Need More Info?
- Have a question about the guide or want to see what other people are saying/asking? View the Youtube comments for this video. Leave a comment and I will do my best to respond.
- When planning, always check the park website and social media to make sure the trails are open. Similarly, check the weather and road conditions.
Related Guides
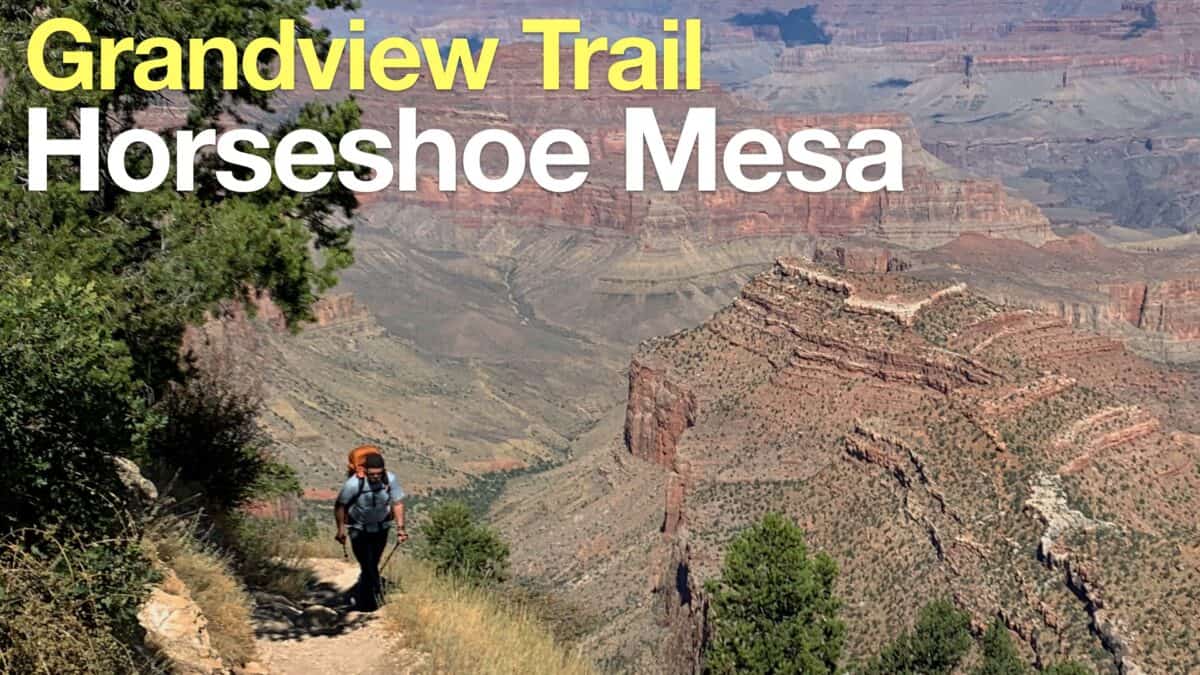 Grandview Trail To Horseshoe Mesa Hike
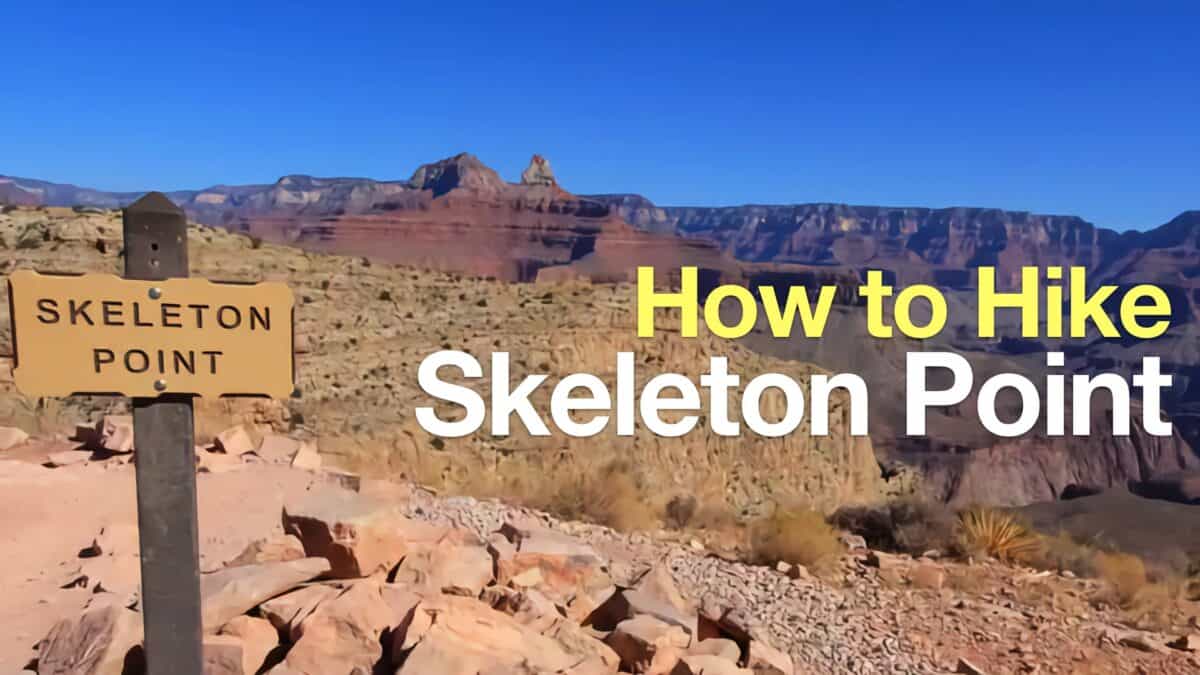 Hike Skeleton Point
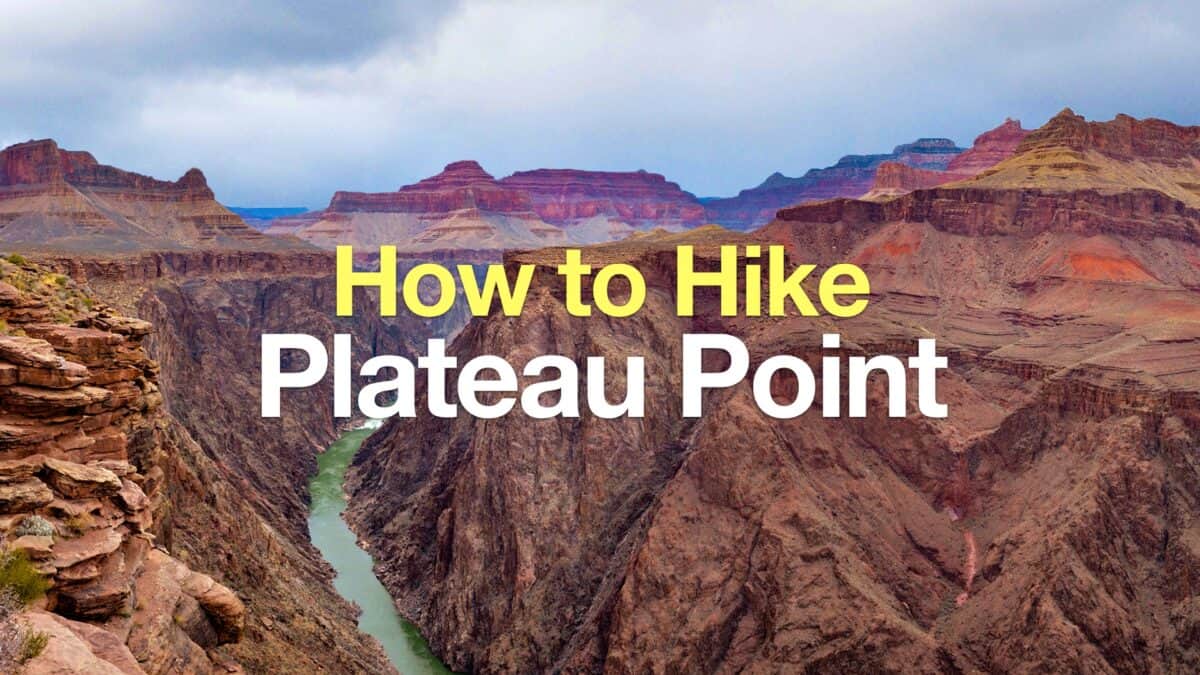 Bright Angel Trail to Plateau Point Hike
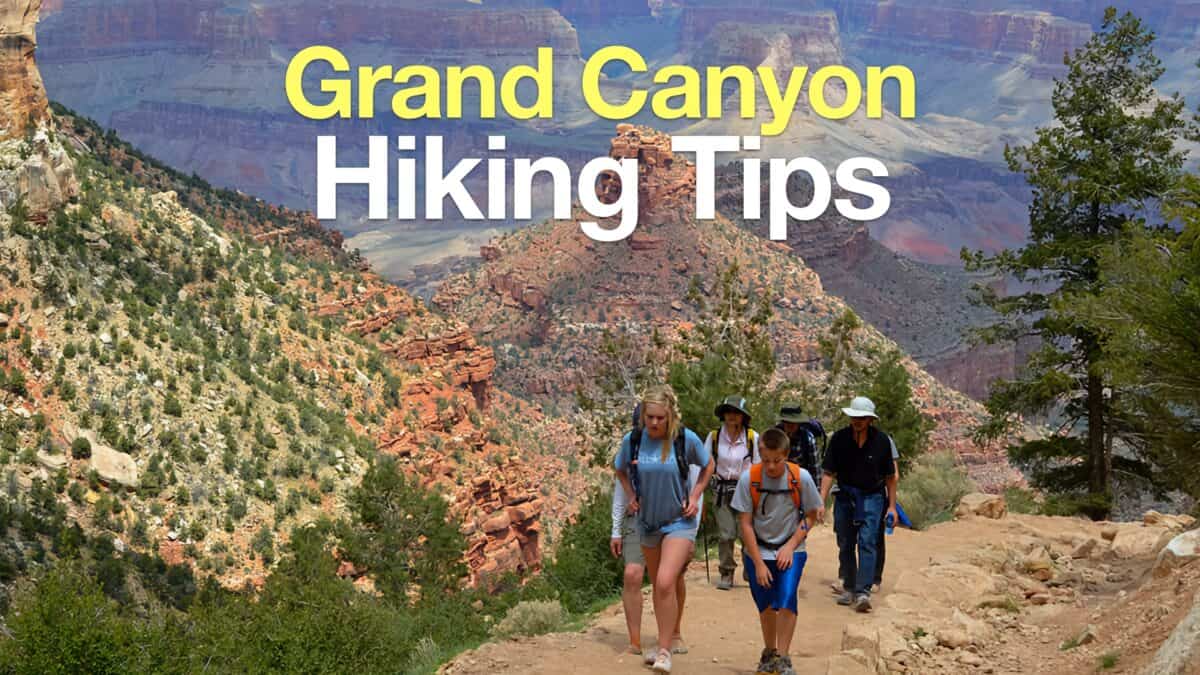 Grand Canyon Hiking Tips
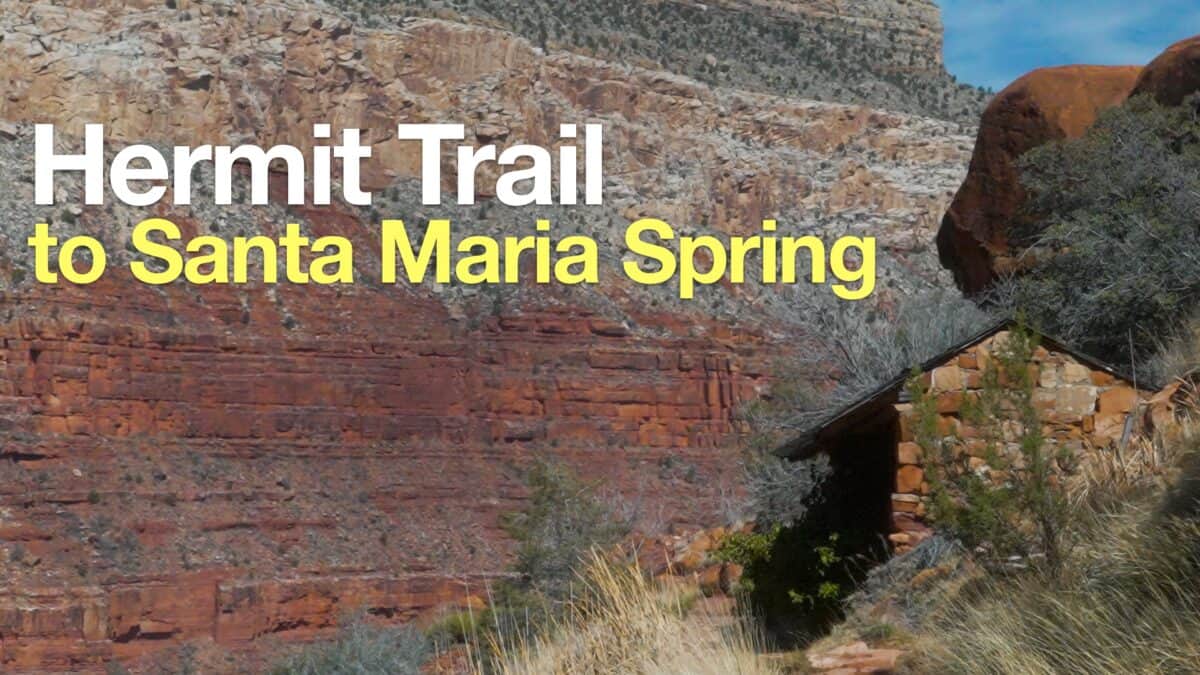 Hermit Trail to Santa Maria Spring
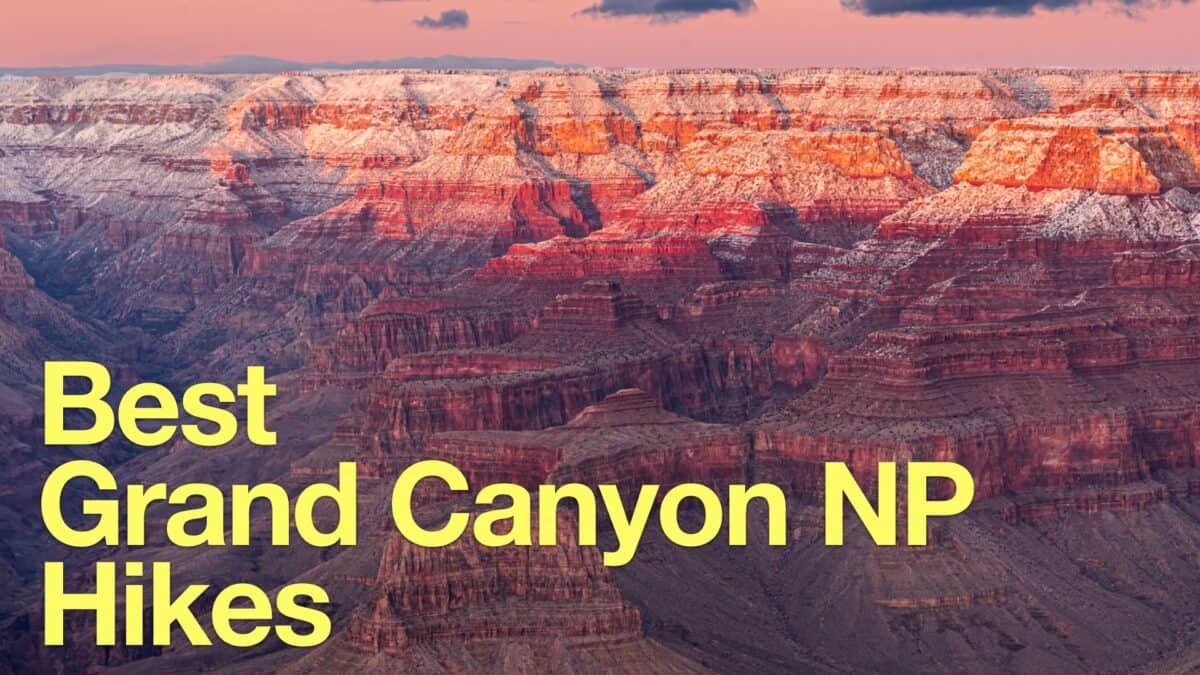 Grand Canyon Hikes
Popular Guides
 Best Hiking Gear 2024
 Hiking Boots or Shoes: Do I Really Need Hiking Boots?
 When to Hit SOS on inReach
This Guide Was Written by Cris Hazzard

Hi, I'm Cris Hazzard, aka Hiking Guy, a professional outdoors guide, hiking expert, and author based in Southern California. I created this website to share all the great hikes I do with everyone else out there. This site is different because it gives detailed directions that even the beginning hiker can follow. I also share what hiking gear works and doesn't so you don't waste money. I don't do sponsored or promoted content; I share only the gear recommendations, hikes, and tips that I would with my family and friends. If you like the website and YouTube channel, please support these free guides (I couldn't do it without folks like you!). You can stay up to date with my new guides by following me on YouTube, Instagram, or by subscribing to my monthly newsletter.