

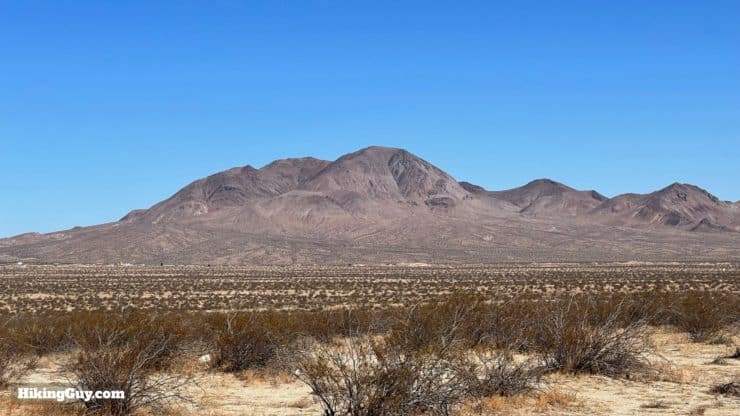
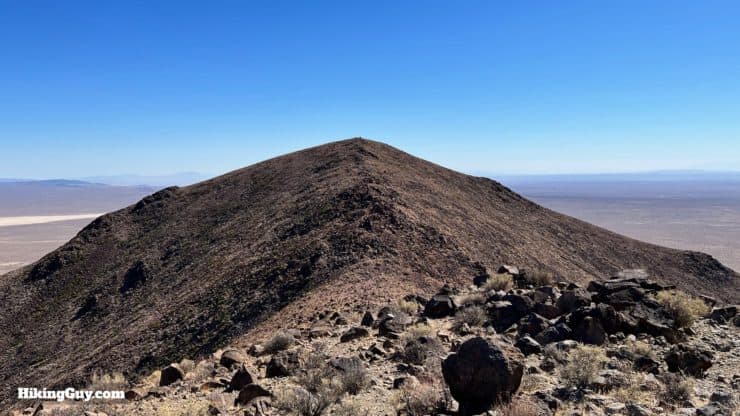
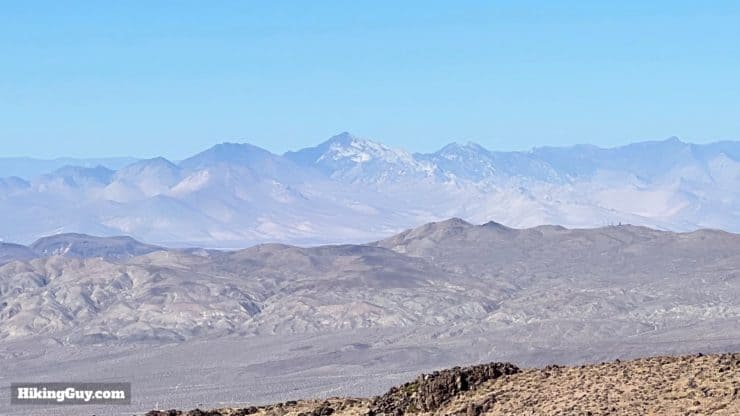
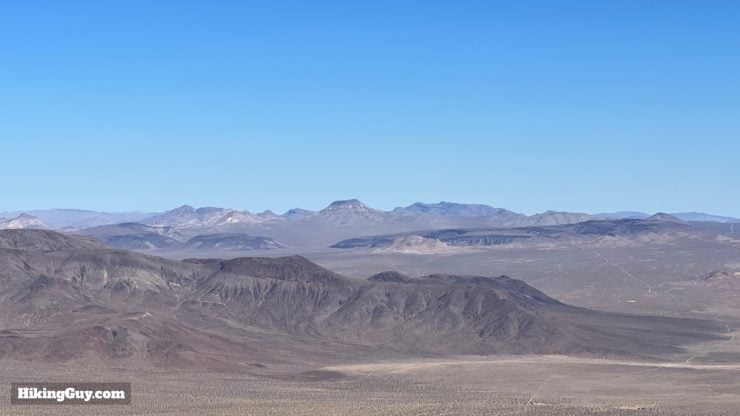
The Red Mountain hike, although "normal" on paper, really packs a punch. Red Mountain, a volcanic cone rising over 2000 feet above the surrounding Mojave Desert, has steep slopes, harsh terrain, and a challenging trail. And with great effort comes great payoff: the summit offers sweeping views and an interesting history.
- Video and Turn-by-Turn Directions to hike Red Mountain (Mojave Desert)
- Getting to the Trailhead for Red Mountain
- Tips and Recommendations for the Hike
Where is Red Mountain?
First of all, don't just type in "red mountain" and go. There are 96 named "red mountains" in the USA, and 18 in California. And it gets even trickier because the area where you will park is on a dirt BLM (Bureau of Land Management) road. Getting to the trailhead can be a challenge, use these initial coordinates, which are right off of historic Rt 395 in Red Mountain, CA:
35.367173, -117.619459
Once you get to that spot, you're going to follow the dirt roads to a small parking area where you can start hiking. I've included the track to the parking area in the map below, and you can also use these coordinates:
35.36555, -117.60978
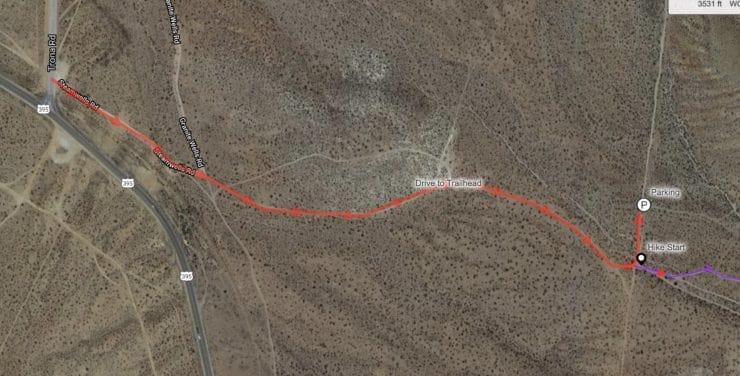
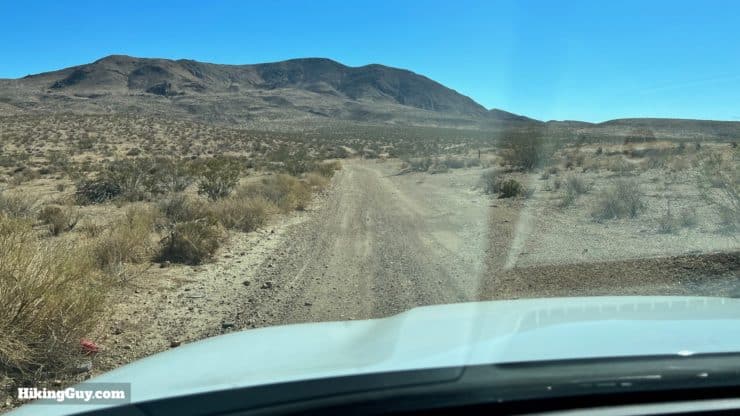
The road to the parking area is sand with some washboarding, but doable in a sedan if you go slow over the bumpy parts. Otherwise you can park at the initial coordinates off of 395 and walk in. There is another trailhead listed in earlier Sierra Club guides, but I found the road very challenging in anything non-4x4.
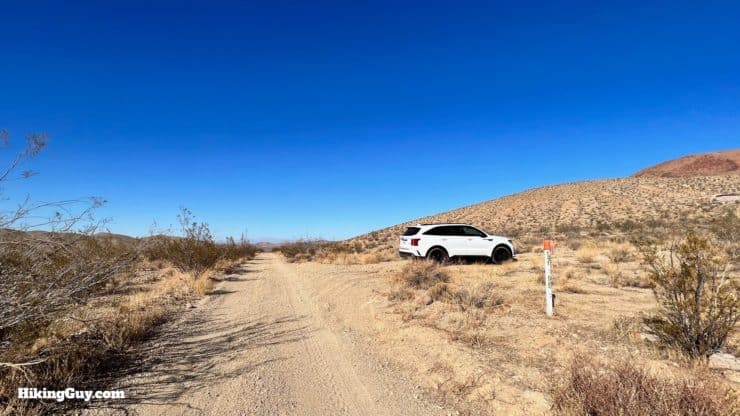
There's no fee to park here, and also no facilities. This is also BLM land, so you are allowed to camp and overnight pretty much anywhere.
Gear For the Hike
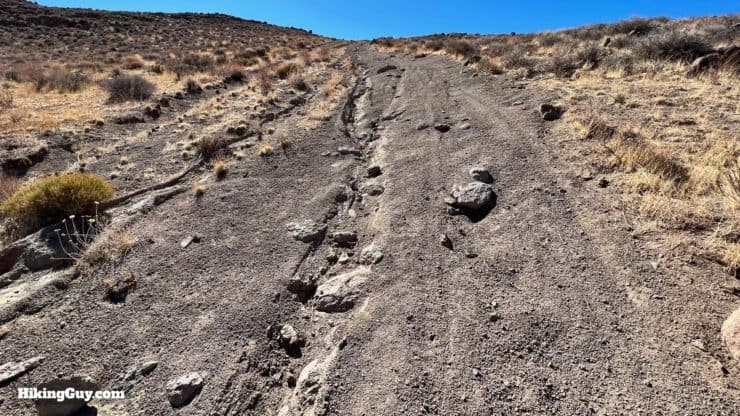
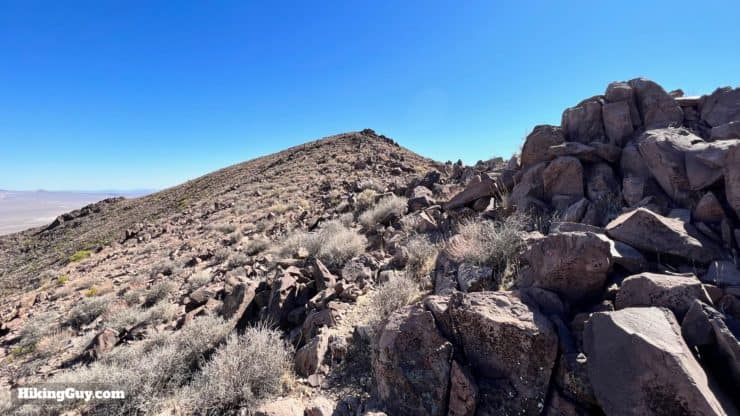
This is a rugged hike in the middle of the Mojave Desert. The landscape is harsh and unforgiving, the terrain is rugged. Bring a full hiking kit including your essentials, sun protection, and at least 2L of water. Trekking poles are a must on the extremely steep slopes.
This is the desert. When temps are high, conditions are extreme and deadly. Save this one for times when the forecast high is below 80F.
Gear That I Love Right Now
Nothing is sponsored or promoted, just the actual gear that I use.

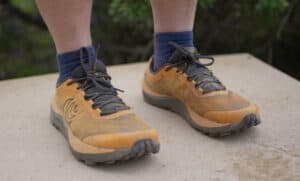

Check out the complete list here. ( Updated October 2024)
Red Mountain Trail Maps
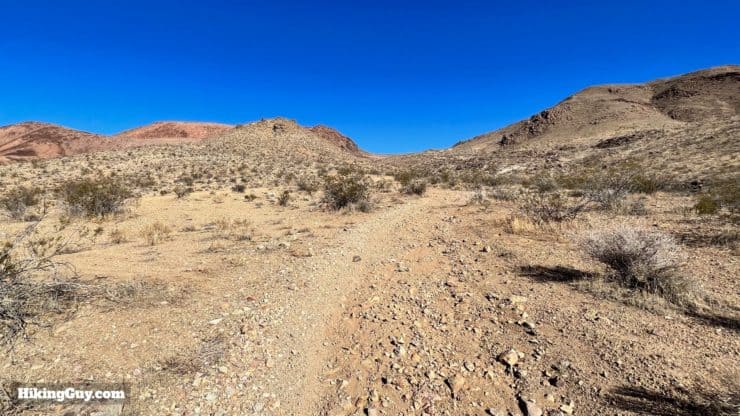
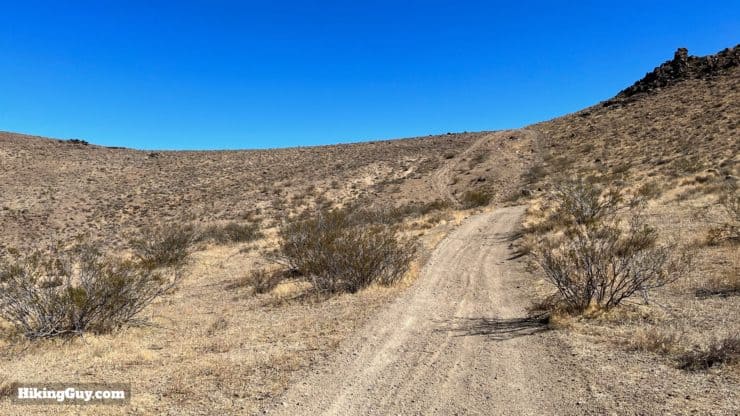
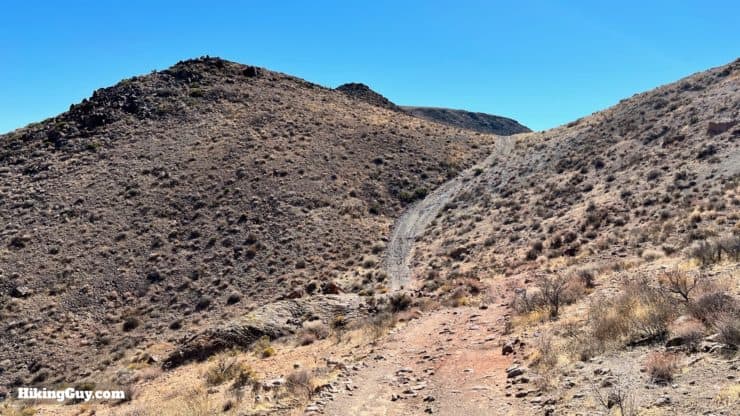
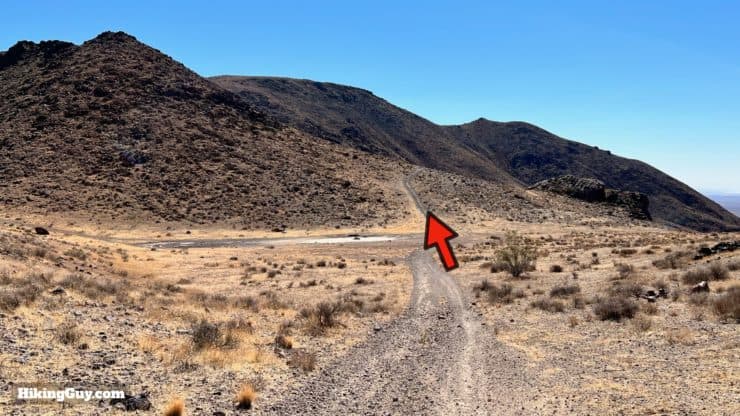
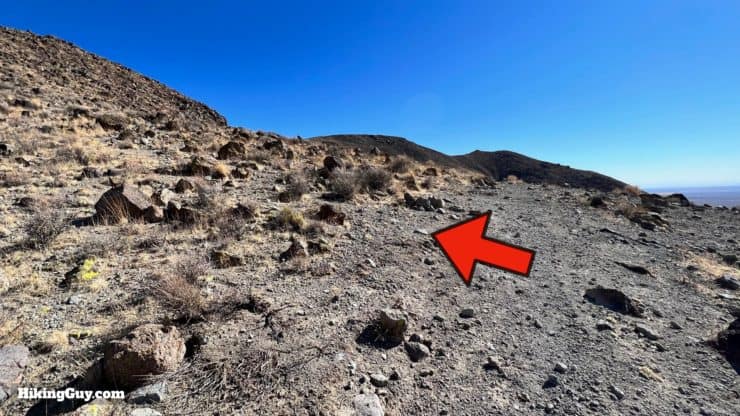
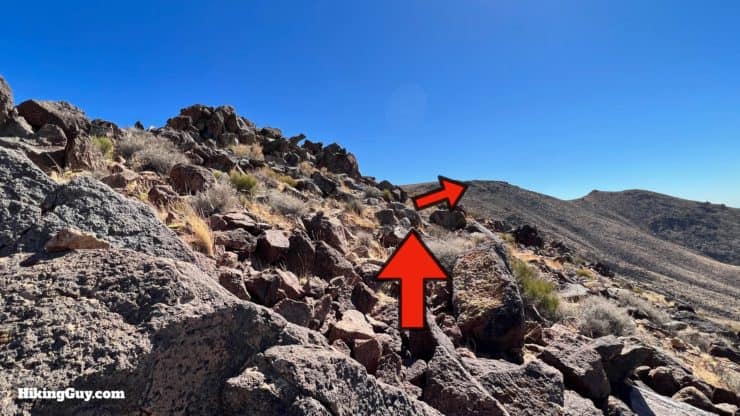
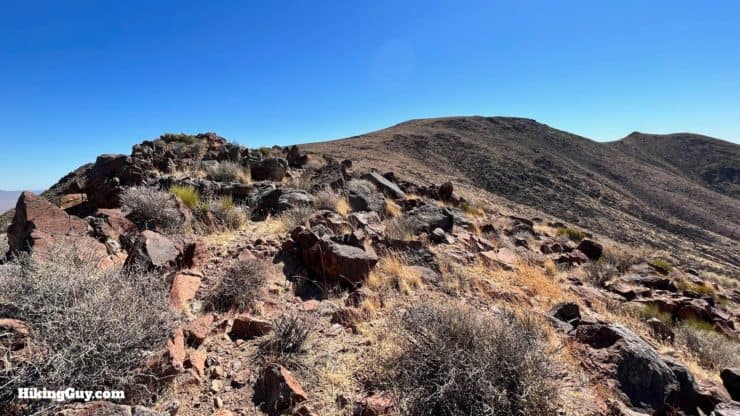
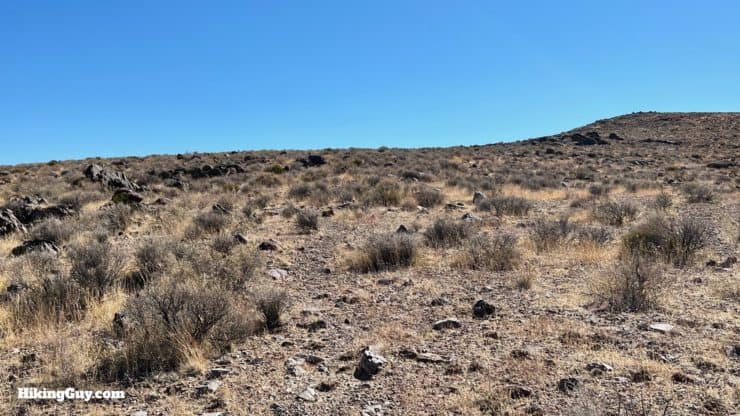
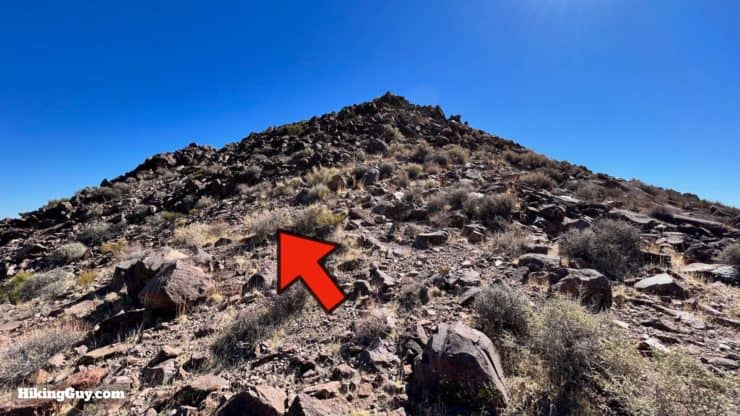
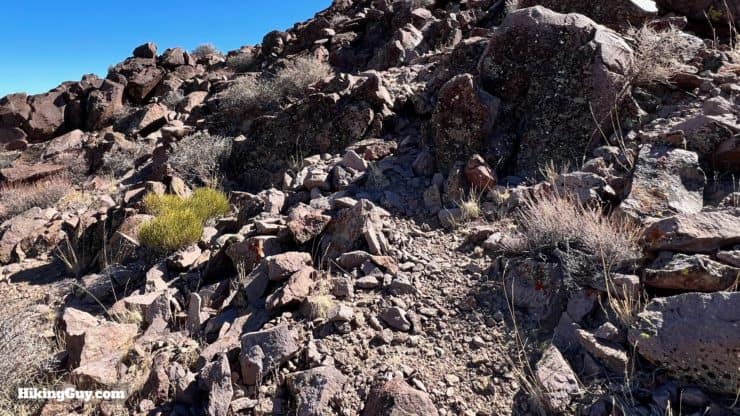
The trails on this hike are a mixed bag. In the beginning, you'll be on old mining roads, now used by OHVs. When you leave the roads, the trail is faint, non-official, and sometimes bifurcates. I highly recommend bringing the GPX track loaded onto your GPS unit or phone to cross-check where you are. The track below (and in the GPX) is one that I hiked. There are other trails that will split and rejoin, so if you find something solid and it's going in the right direction, stick with it over the GPX file.
If you don't feel comfortable with your GPS, navigation skills, or following faint trails, you should probably give this hike a skip.
How Will You Navigate?
 Using the Apple Watch for Hiking
 Garmin Fenix 7 & Epix Review For Hikers
 How To Read a Topographic Map
 Garmin GPSMAP 67i Review
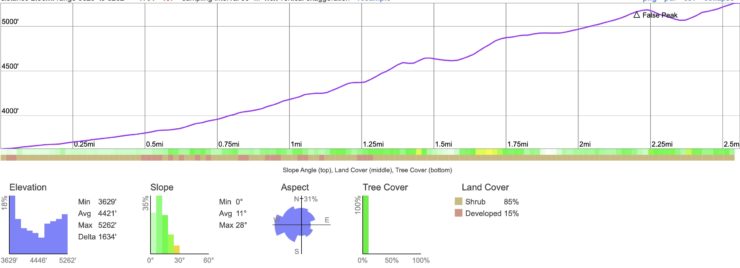
Elevation Profile
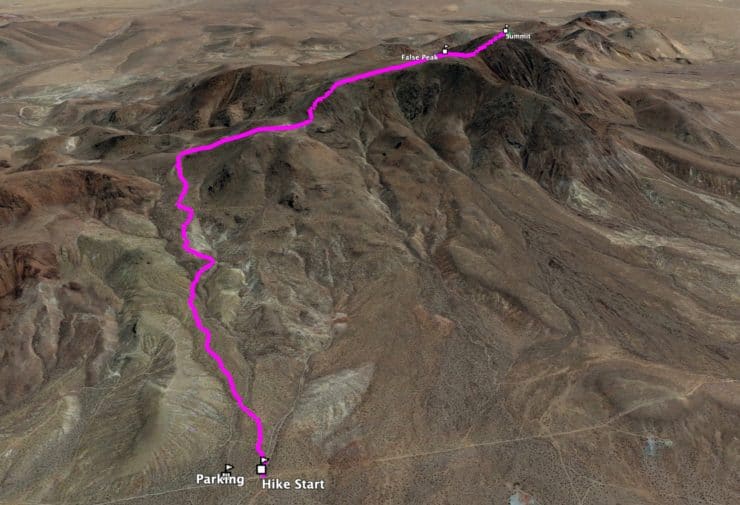
3D Map
Hike Brief

- The drive in through the town of Red Mountain is, let's say, "interesting." The area used to be an old wild west mining town, with three separate discovery booms, the last of which was silver in 1919. In the early 1900s this boomtown was much different, filled with miners, serving booze during prohibition, offering a 9-hold golf course for big wigs, and sporting a large community of prostitutes. Its reputation got so bad that locals changed the name from "Osdick" to "Red Mountain" in 1929 to try and leave the earlier chapter behind. The silver mine was one of the most productive in the country. Unfortunately a lasting legacy is arsenic contamination (used to process minerals). Arsenic levels are thousands of times higher here than they should be, making the water unsafe and leading to numerous other health issues for locals.
- Red Mountain is a cone in the Big Pine volcanic field, active from 1.2 million years ago, up until about 17,000 years ago. The volcanic field is too old to be still considered a threat, but there are earthquakes in the area. If you want to visit a neat volcanic area, check out Fossil Falls a bit to the north on 395.
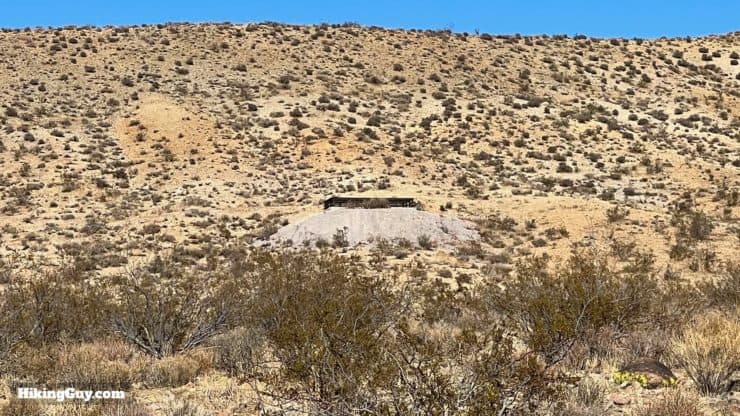
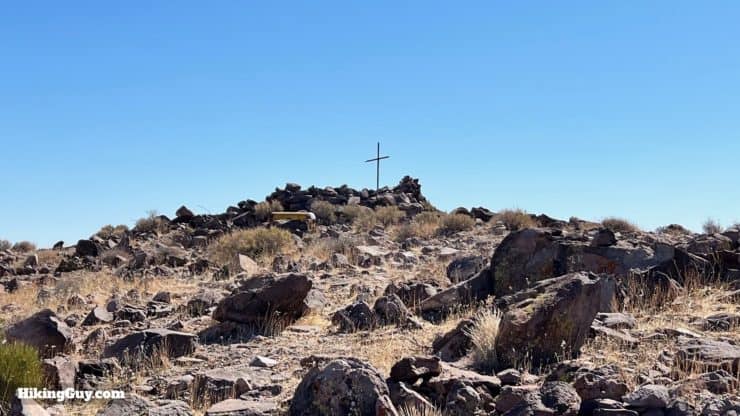
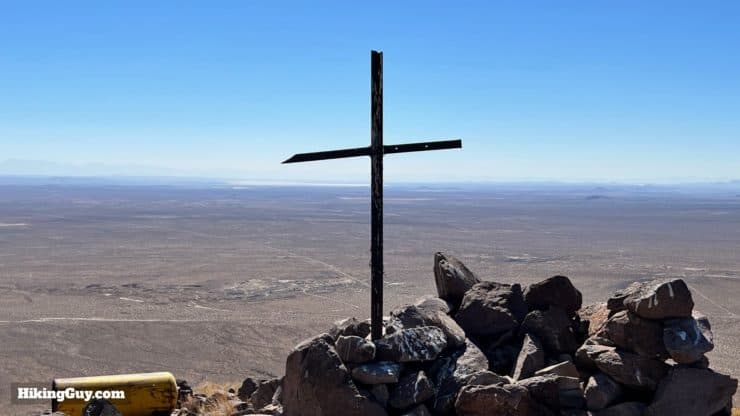
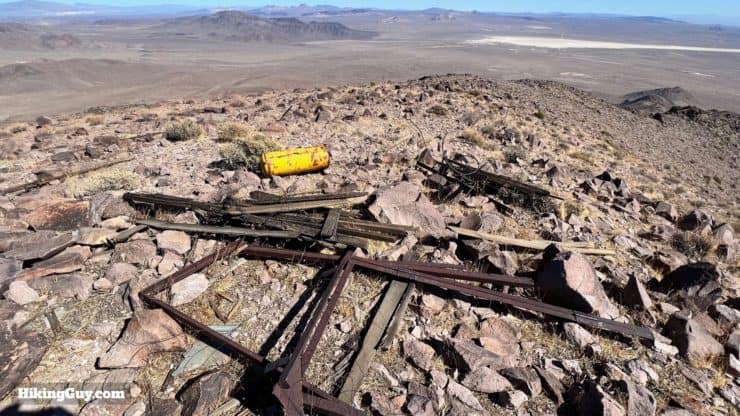
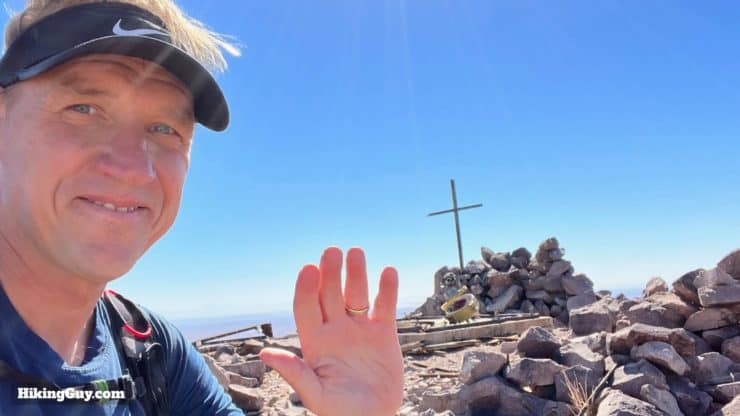
- There used to be a structure at the summit. There's a concrete base, metal framing, and some yellow gas tanks. I've looked everywhere for info on what was here. If you happen to know about it, please contact me.
Red Mountian Hike Directions
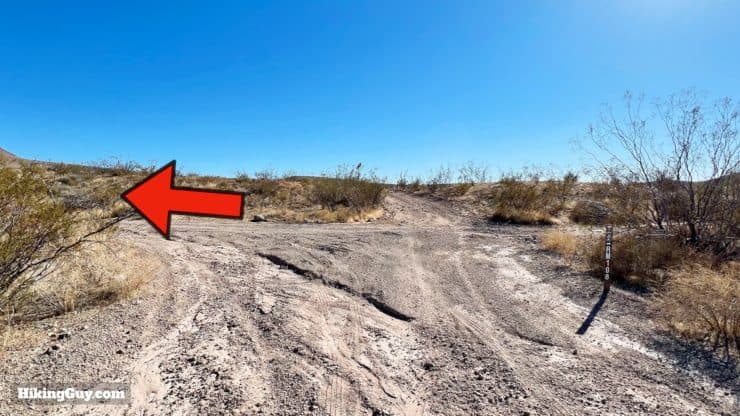

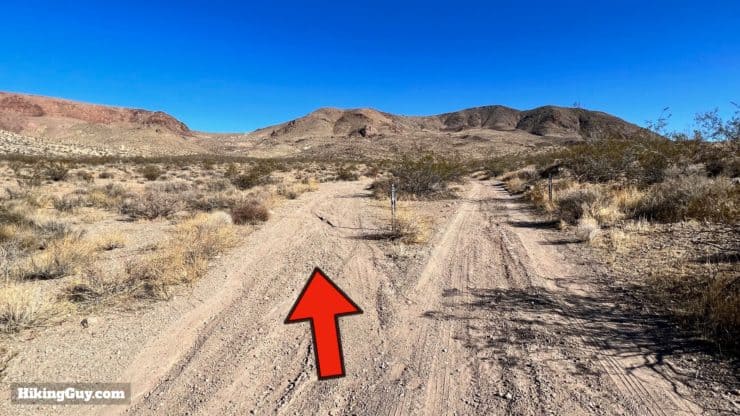
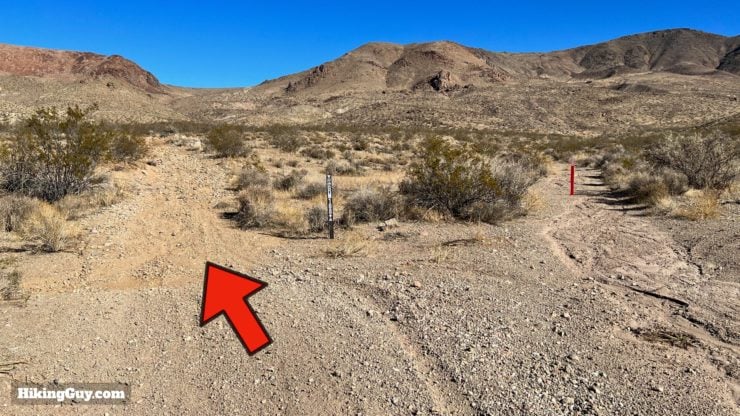
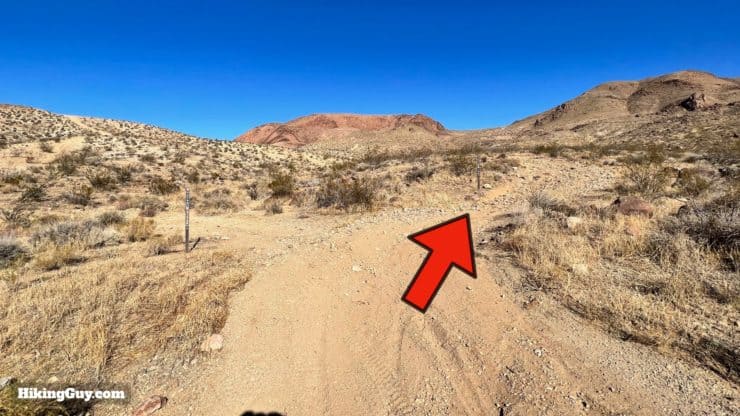

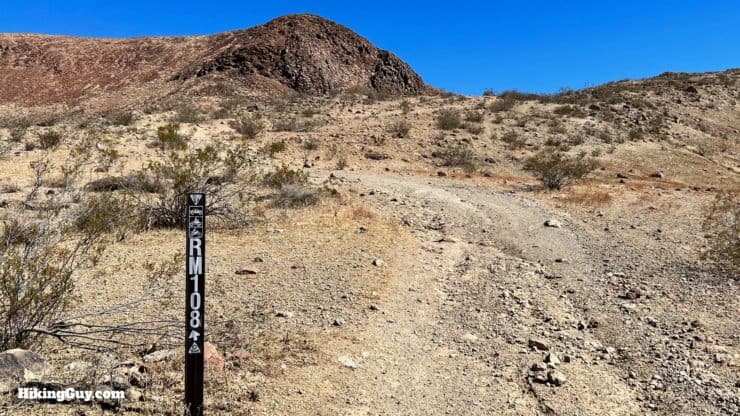
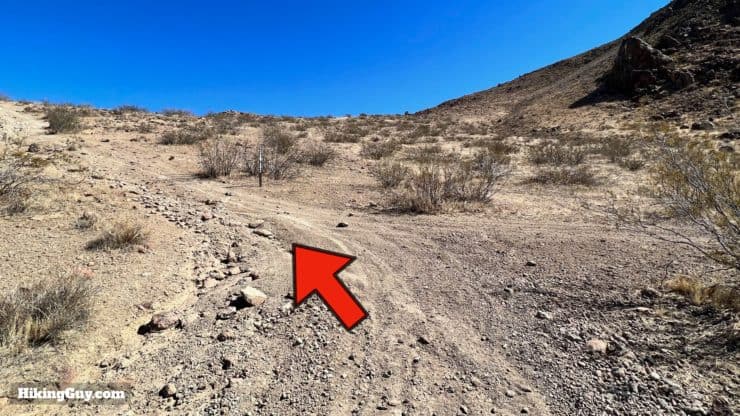
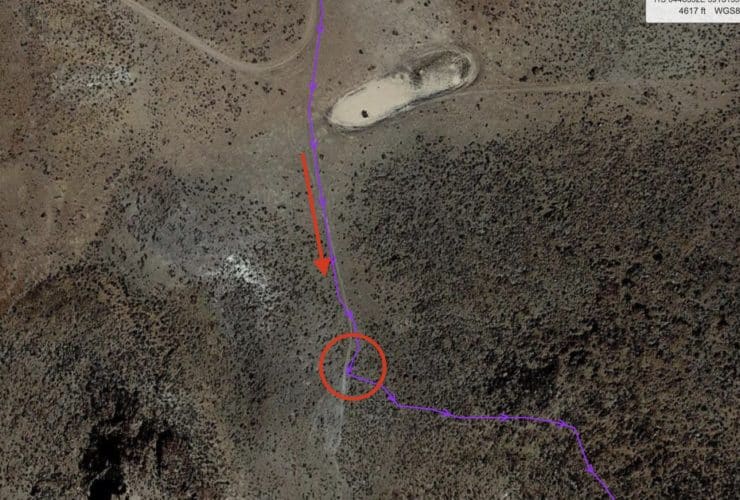
Just before the dirt road, there's a single track that you can also take up the hill. I've marked it in the GPX file and map. I generally take it, but it can be very hard to spot. The road is steep but easy to find.

Need More Info?
- Have a question about the guide? Join my Patreon and ask me a question.
- When planning, always check the park website and social media to make sure the trails are open. Similarly, check the weather and road conditions.
- Do you have an update to this guide? View the Youtube comments for this video. Leave a comment and I will do my best to update the guide.
Related Guides
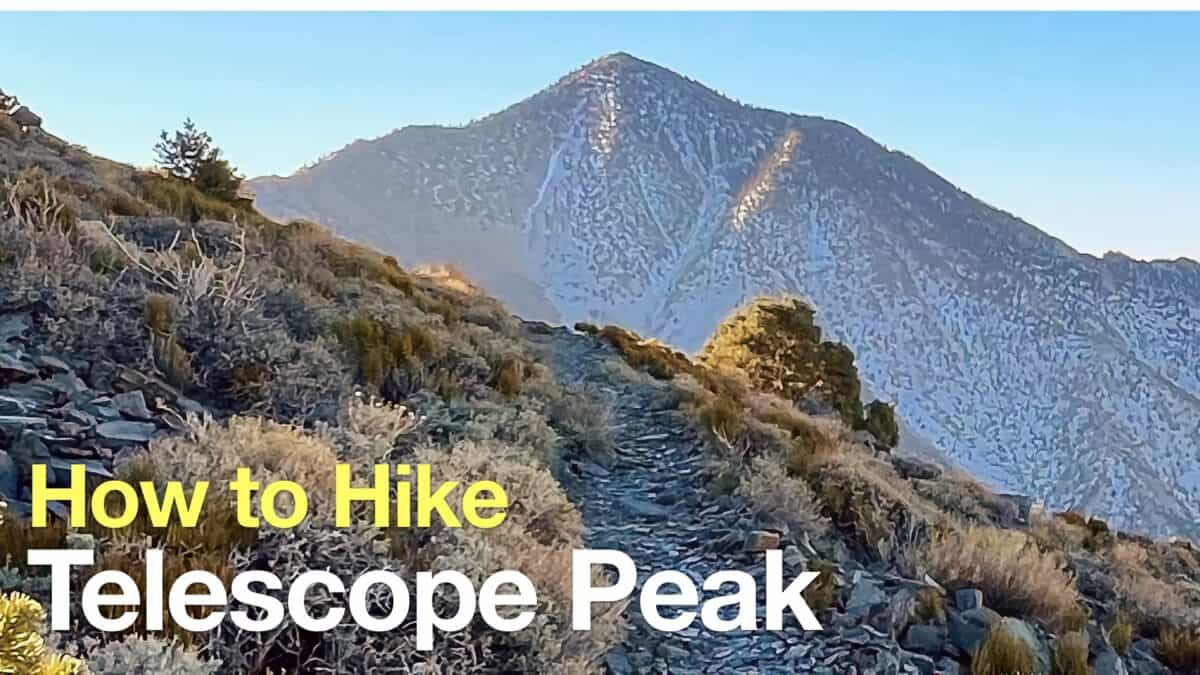 Telescope Peak Hike (Death Valley)
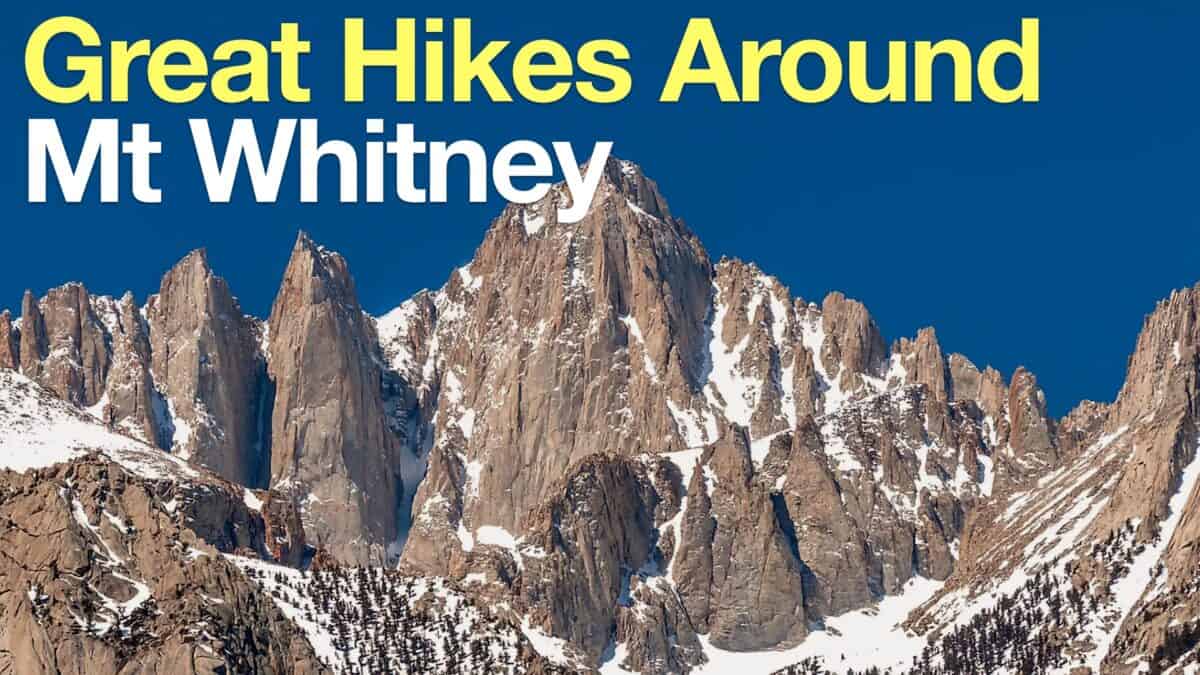 Hikes Around Mt Whitney
 LA Mountain Hikes
 Sierra Club 100 Peaks
Popular Guides
 Best Hiking Gear 2024
 Hiking Boots or Shoes: Do I Really Need Hiking Boots?
 When to Hit SOS on inReach
This Guide Was Written by Cris Hazzard

Hi, I'm Cris Hazzard, aka Hiking Guy, a professional outdoors guide, hiking expert, and author based in Southern California. I created this website to share all the great hikes I do with everyone else out there. This site is different because it gives detailed directions that even the beginning hiker can follow. I also share what hiking gear works and doesn't so you don't waste money. I don't do sponsored or promoted content; I share only the gear recommendations, hikes, and tips that I would with my family and friends. If you like the website and YouTube channel, please support these free guides (I couldn't do it without folks like you!). You can stay up to date with my new guides by following me on YouTube, Instagram, or by subscribing to my monthly newsletter.