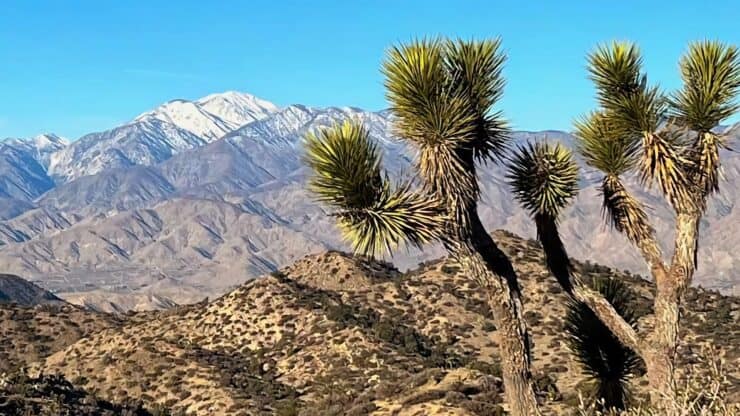
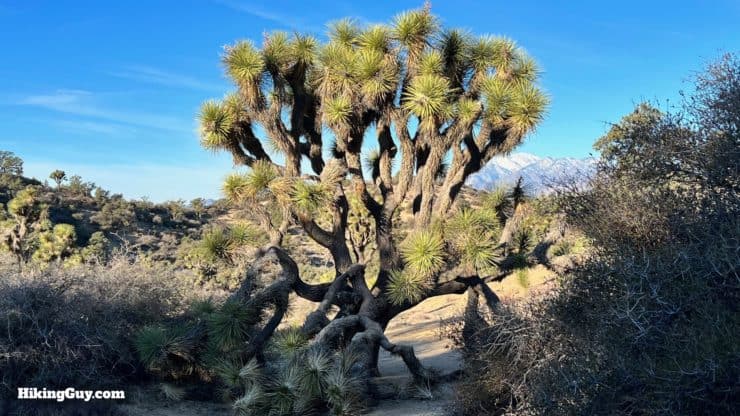
The Panorama Loop and Warren Peak hike in Joshua Tree NP gets you away from the crowds and into some classic Joshua Tree terrain. You'll enjoy Joshua Tree groves, foothill climbs, and epic views. You'll also bag the most western point over 5000 feet in Joshua Tree NP. And Warren Peak is not Warren Peak. More about that in the guide.
In this Guide:
Video and Turn-by-Turn Directions for Panorama Loop & Warren Peak Hike
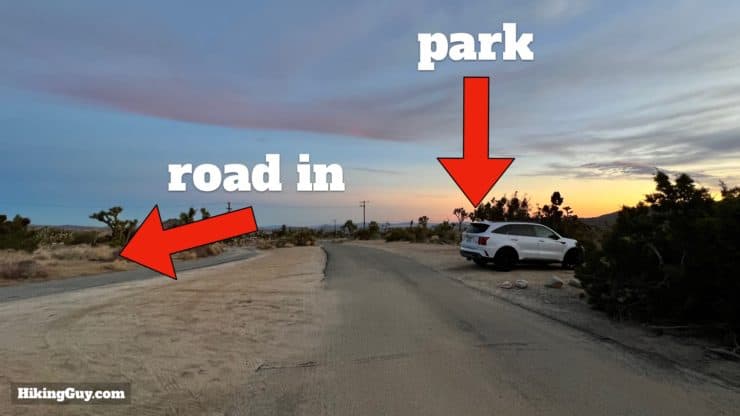
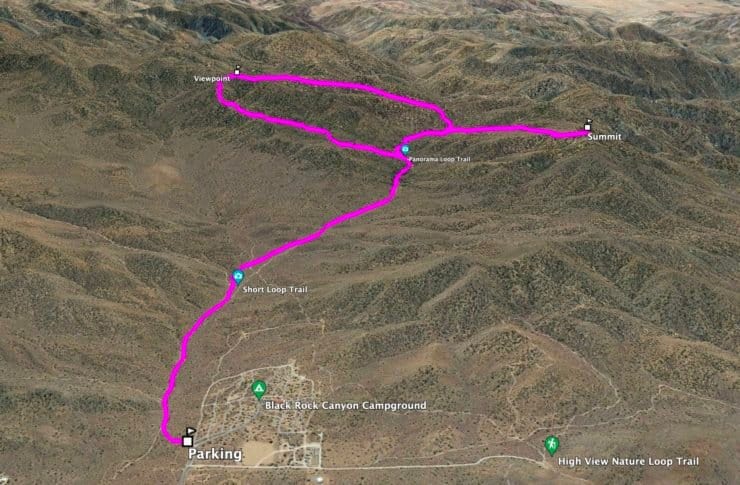
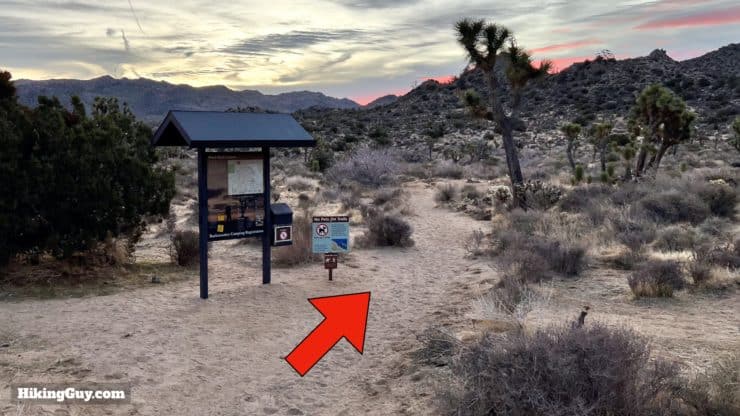
The hiker parking lot is right by the entrance to the campground, on the paved road on the way out. The easiest thing to do is just drive across the sand when you first enter. The trail starts to the right of the parking area.Here's another view of the parking. The parking lot is shared with the California Riding and Hiking Trail, and can get full. If that's the case, find another spot within the campground.
There is no entrance gate to Joshua Tree NP here. I just leave my National Parks pass on my dashboard.
Gear For the Hike
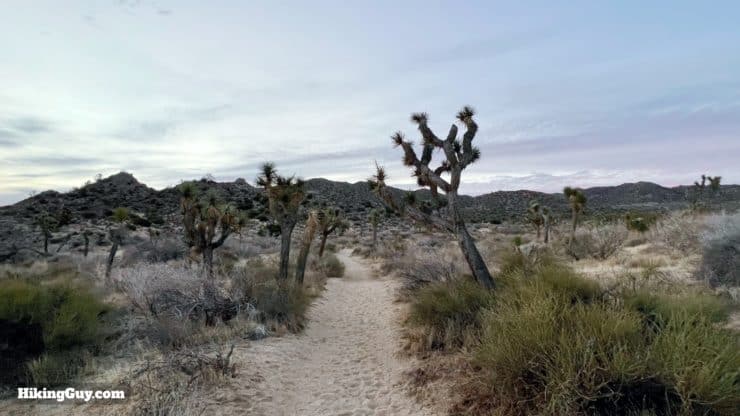
This is your classic Joshua Tree trail. In the summer, it's probably too hot to hike outside of sunrise and sunset. The trail can be very sandy. Bring plenty of water and trekking poles for the steep slopes of Warren Peak.
Osprey Hikelite 26Lightweight, carries all your gear, and your back doesn't get sweaty. Oh yea, it's also one of the most inexpensive packs you can get.
There's a bit of climbing, but it's nothing too crazy. The first climb to the viewpoint starts gradually and then gets steeper toward the end. After a nice cruise downhill, it's the same experience for Warren Peak, easy at first and steep at the end, but it's not as long as the initial climb up Black Rock Canyon.
3D Map
From the campground you'll hike up through Black Rock Canyon. When the loop starts, we'll go clockwise (for the best views), and then do a spur out and back up to Warren Peak. After that, we'll continue on the Panorama Loop back to the start.
Panorama Loop & Warren Peak Hike Directions
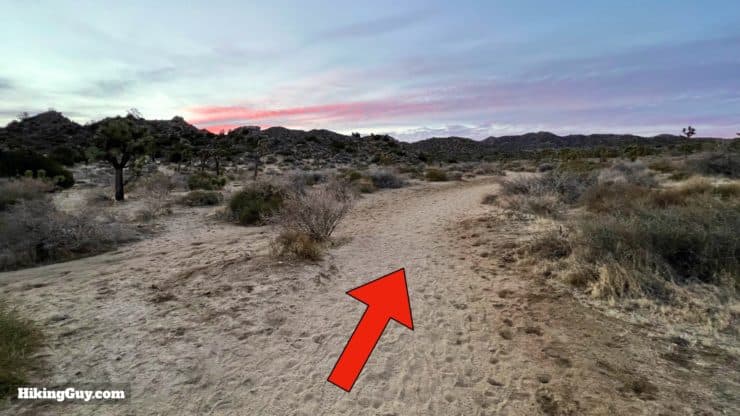
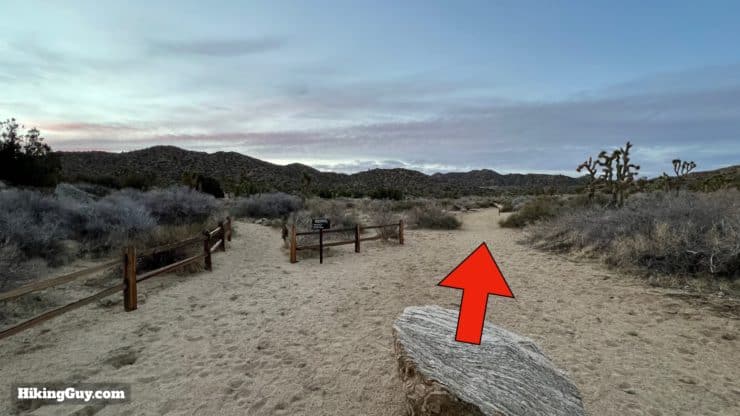
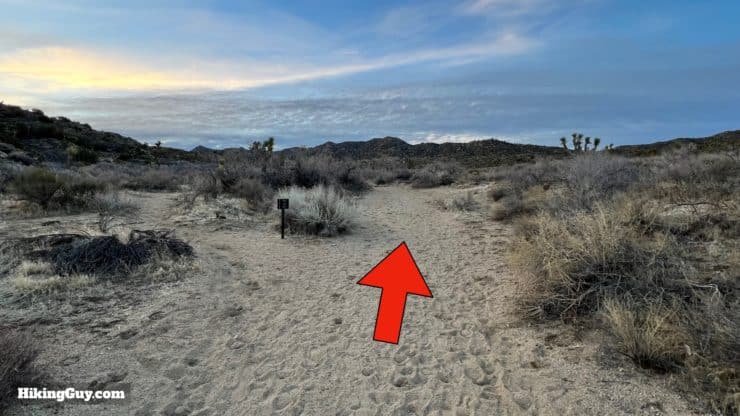
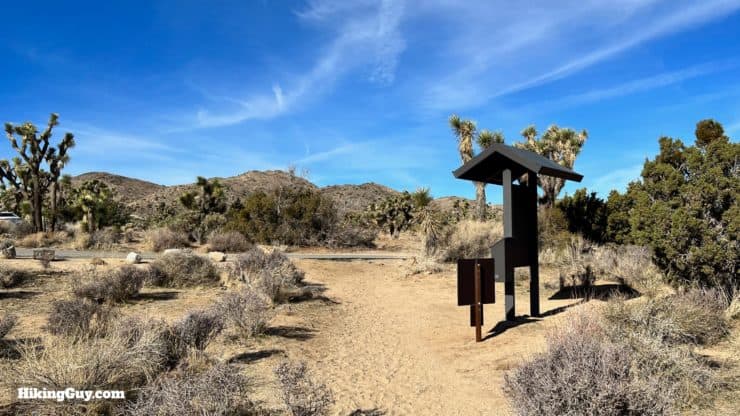
Start at the trail board to the right of the parking area. Don't worry about the permits, they're only if you are hiking overnight.The start of the trail is sandy and flat.Continue on the widest trail around to the right as other smaller use-trails join.At the junction for the California Riding & Hiking Trail, keep straight.
If you're looking for a fun backpacking trip through Joshua Tree NP, the California Riding & Hiking Trail (CRHT) is a thru-hike that you can bag in 2-3 days. I have a full guide here.
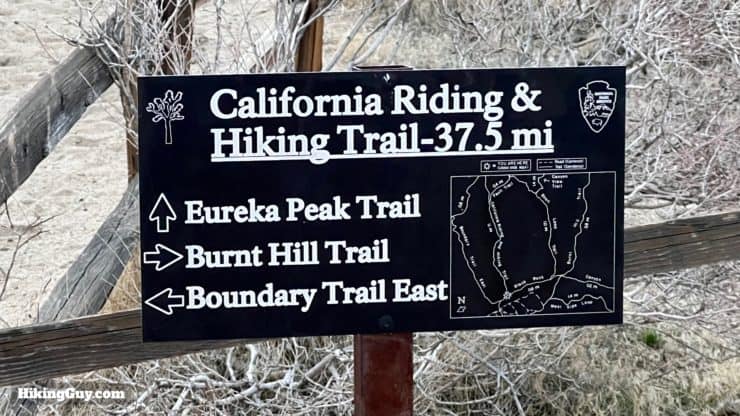
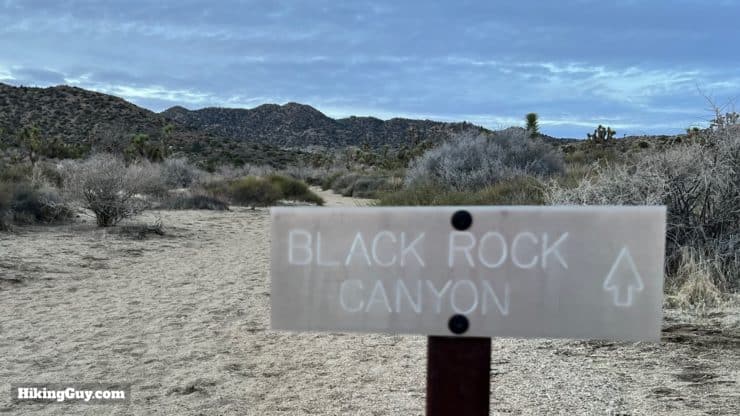
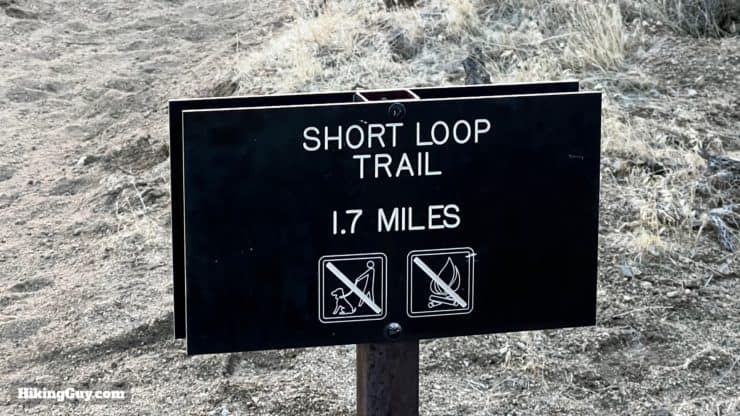
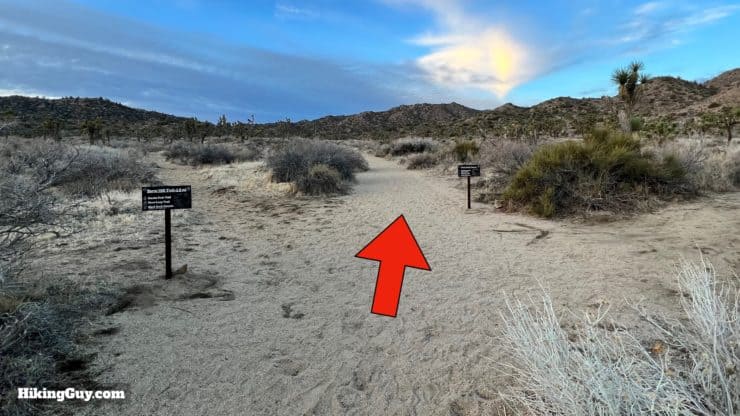
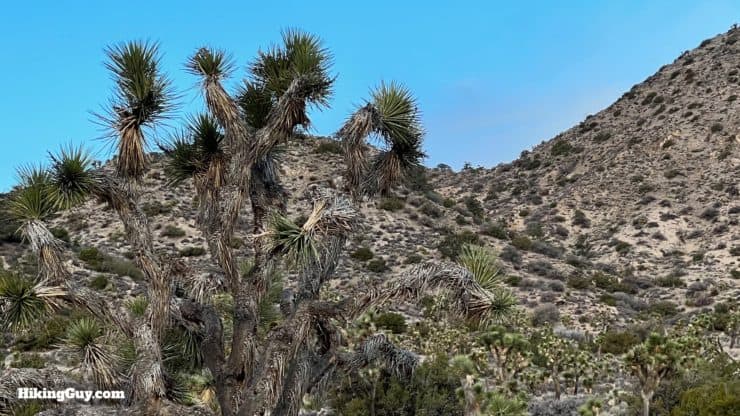
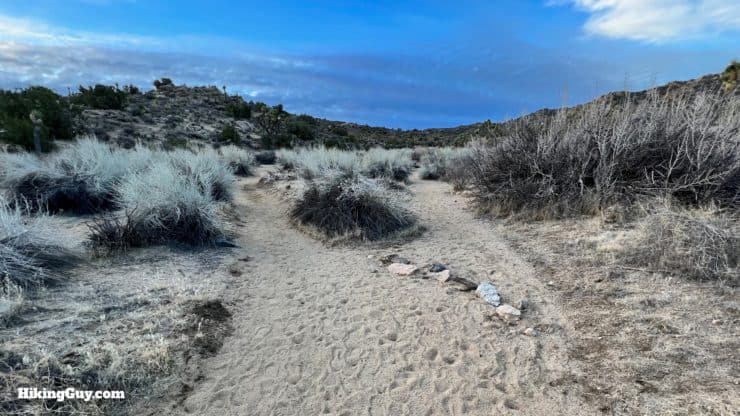
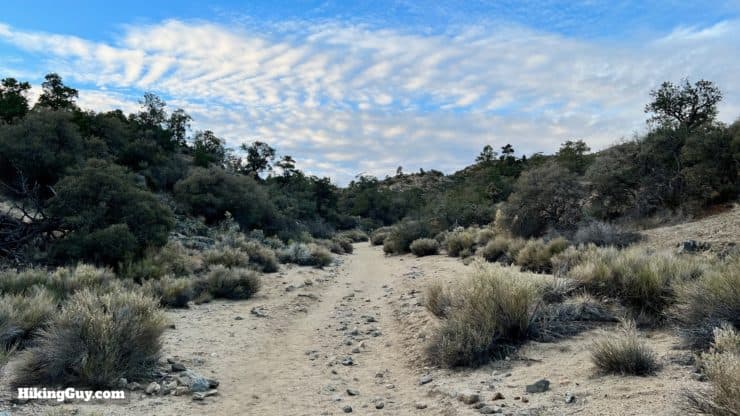
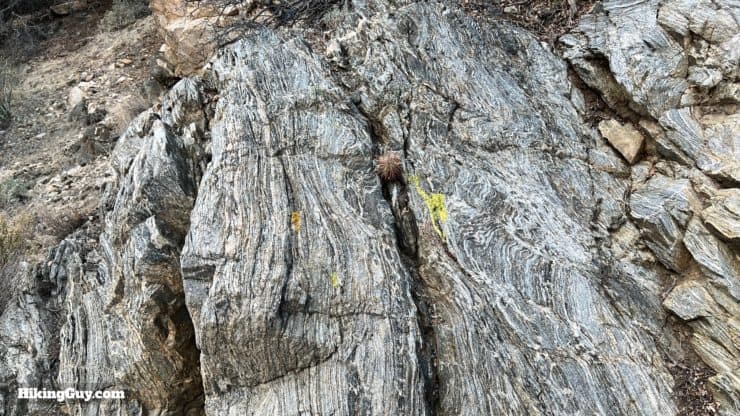
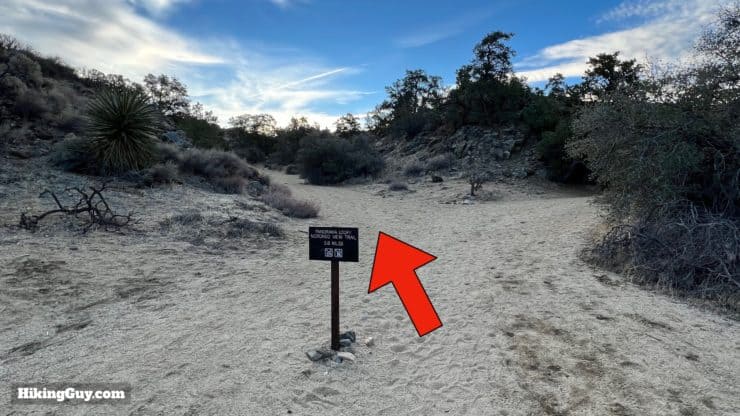
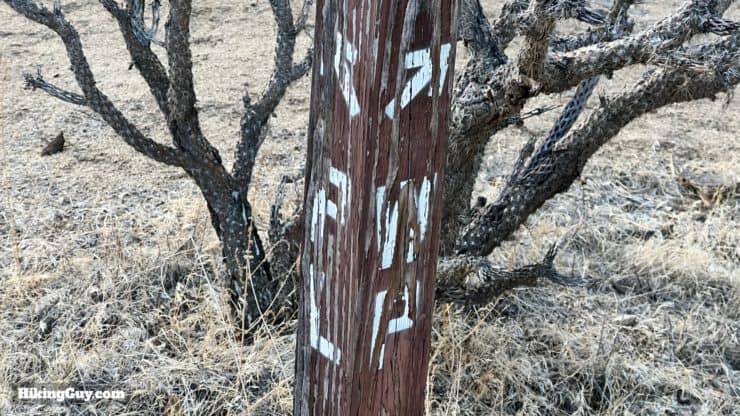
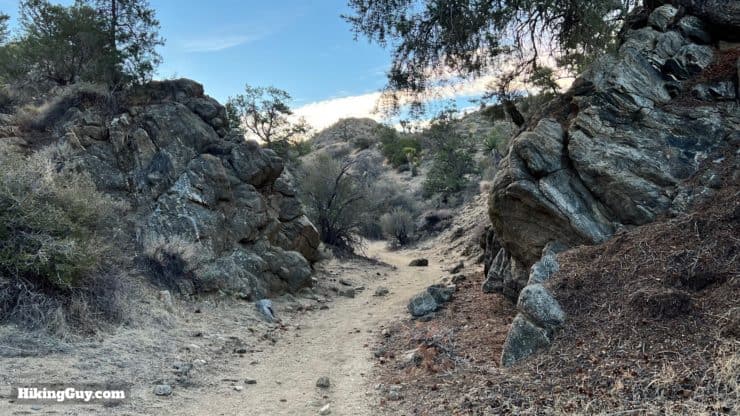
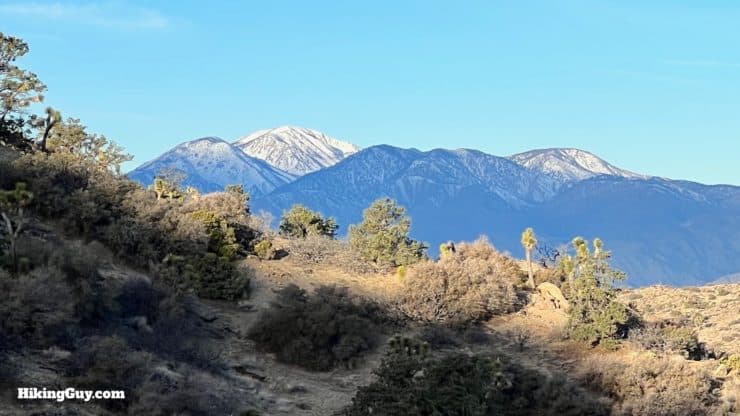
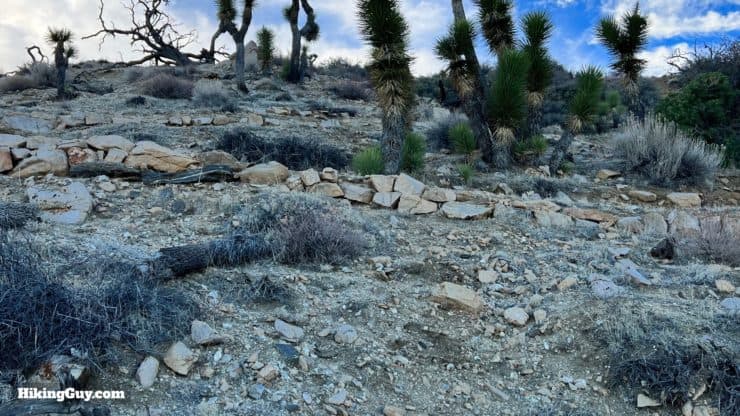
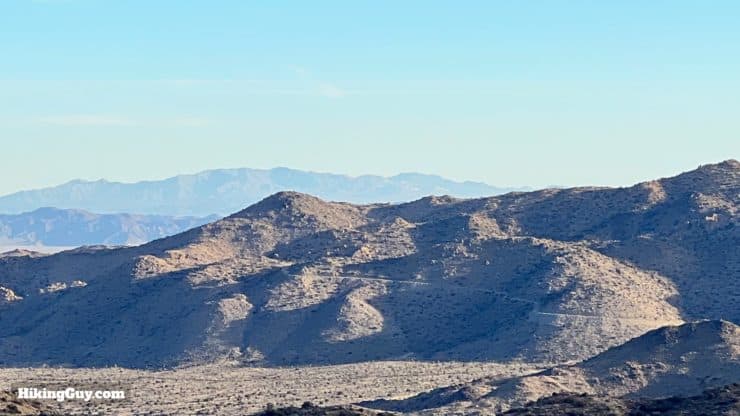
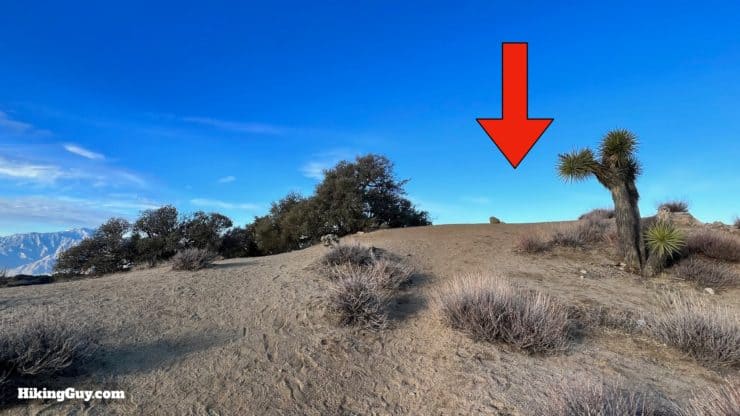
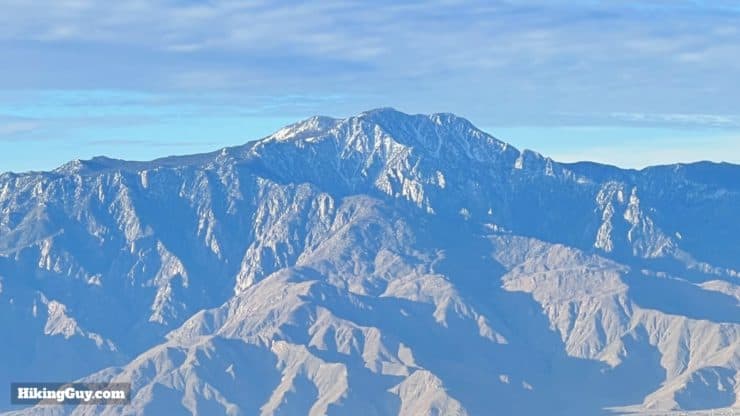
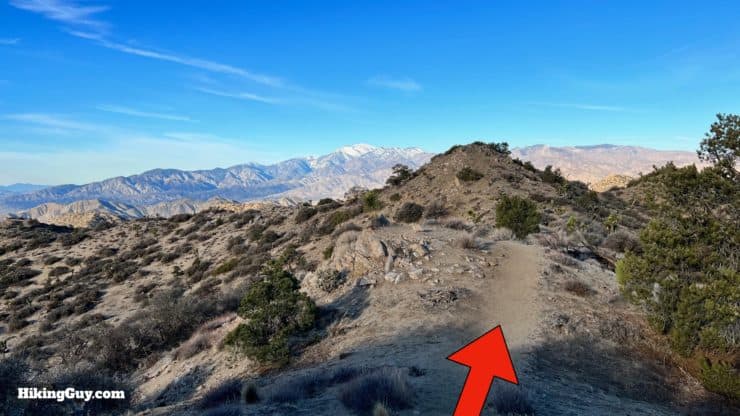
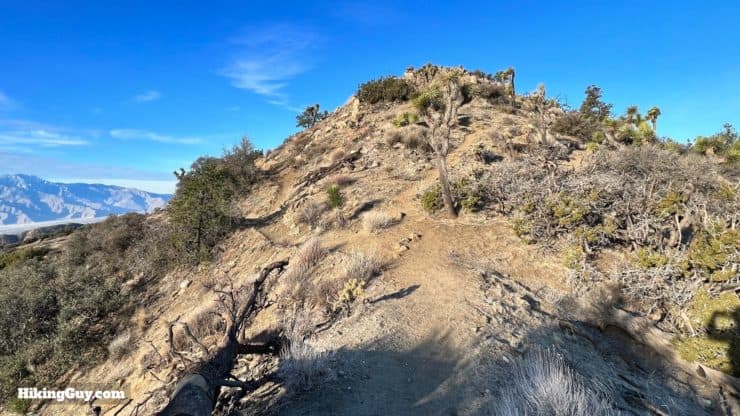
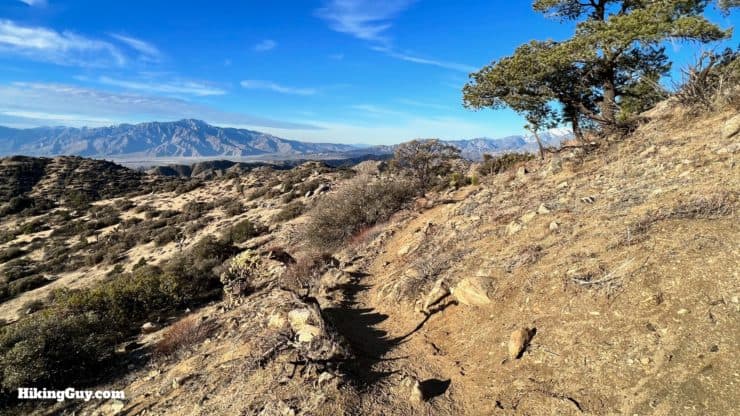
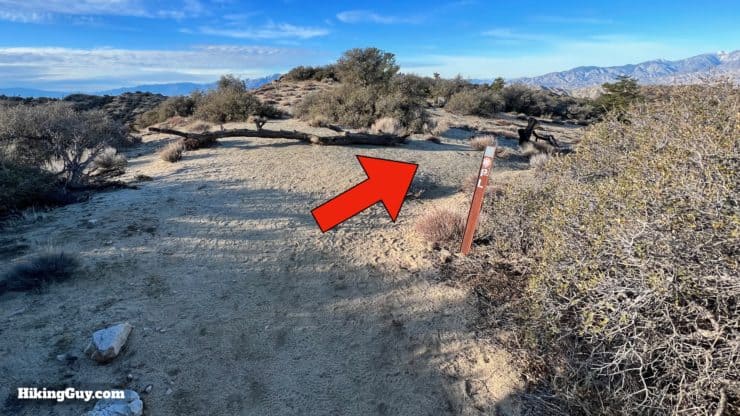
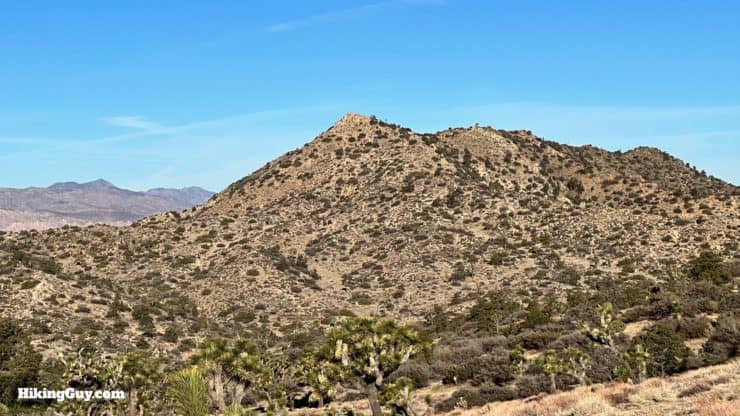
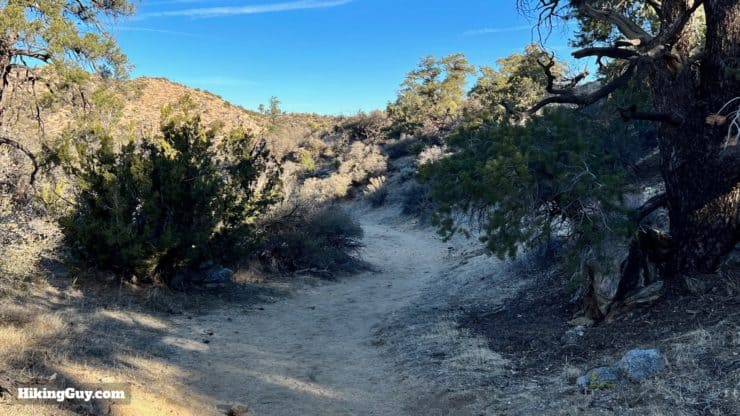
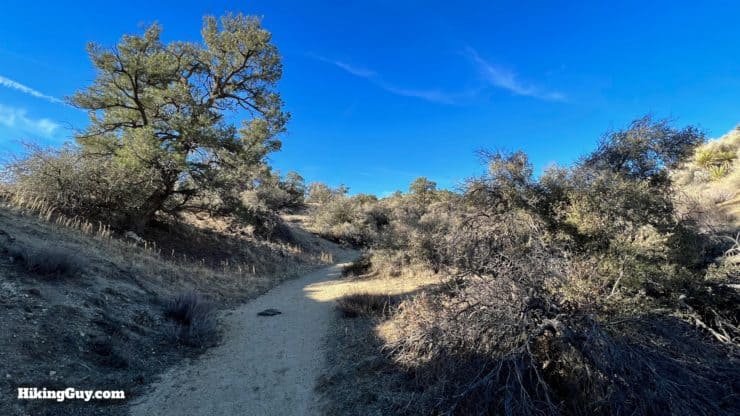
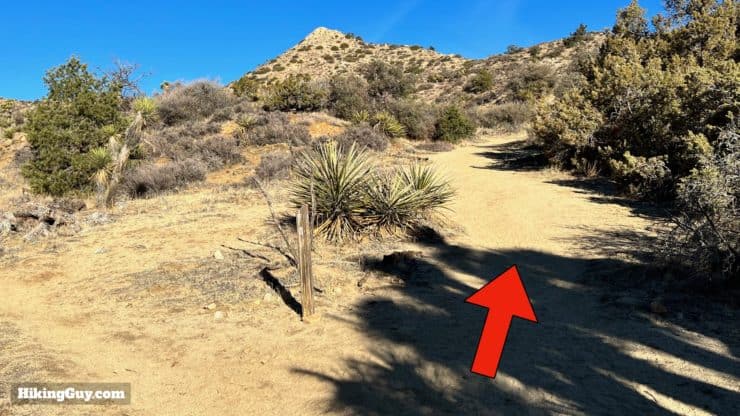
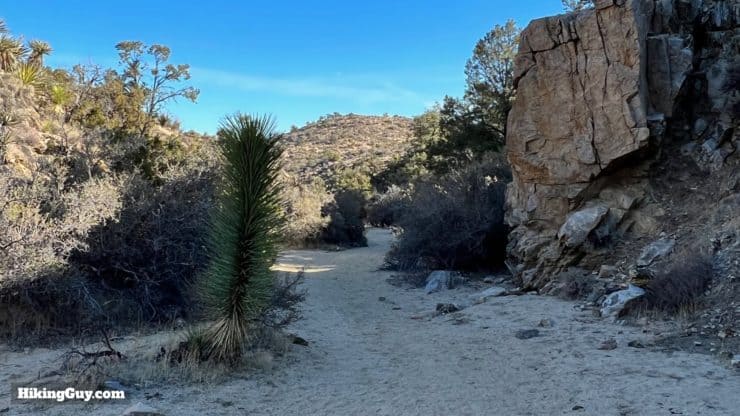
Here's the sign from the last junction. Nothing about Warren Peak or the Panorama Loop yet.Just past that junction is a sign for Black Rock Canyon. Keep hiking straight up the sandy trail.Shortly after that is the junction for the Short Loop Trail. Keep hiking straight.Here's the sign from that junction.Keep hiking straight past the Burnt Hill Trail junction.And then you see a sign for the Black Rock Canyon trails. Keep hiking straight up the gradual climb toward Panorama Loop.There's some serious Joshua Tree growth here in Black Rock Canyon.There are also sections that split and rejoin eventually. They're usually well marked like this one.At about 1.6 miles in, the canyon narrows and becomes lusher. When the canyon narrows you are at Black Rock Spring.And as the canyon narrows, there are some incredible rock formations close to the trail.At about 1.8 miles in, you'll reach the loop part of the Panorama Loop Trail. We're going to go clockwise. When we return, we'll pop out from the left.Here's the sign from the junction.There's also an old wooden marker at the split. "WP" is Warren Peak.Past the junction the trail becomes much narrower. And thankfully the thick sand is gone until we return.And at about 2.7 miles in you start the switchbacks. The trail gets steeper.Enjoy the views, including to San Gorgonio, as you climb.Keep hiking up the switchbacks, which are well-maintained.You'll get nice views into Joshua Tree and the peaks beyond in Mojave National Preserve.When you reach the flat area at the top, you're at the viewpoint.Prepare for some jaw-dropping views, including views of Mount San Jacinto.And San Gorgonio.Continue along the ridge. The views "keep on keeping on."When the trail splits you can go either way. If you climb the rise, you'll be at unnamed point "5195" (feet).Enjoy the long and gradual downhill.When you come to the flat area, make the hard right by the "PL" trail sign.The Joshua Trees along here are massive.And soon Warren Peak comes into view.
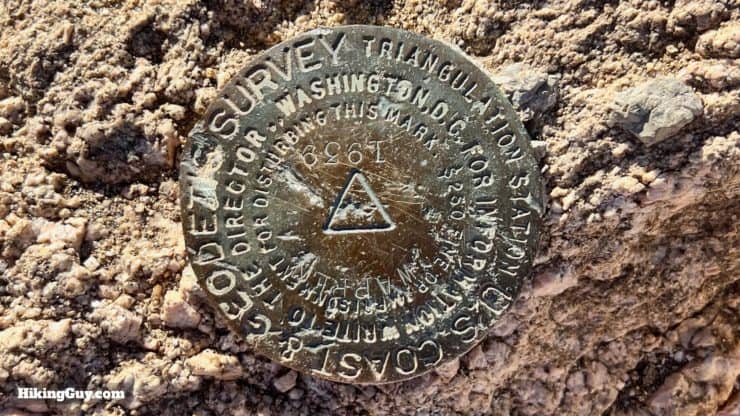
Warren Peak is not officially Warren Peak. The Parks Service refers to it as Warren Peak, but it's listed as a survey marker "with checked spot elevation," and the word "Warren" is next to it on the official USGS Topographic maps. The elevation benchmark is from 1939. It first appeared on the official map in 1955. But the word "Warren" doesn't appear on maps until 1972. Some people call it "Warren Point" since it's not an official peak name.
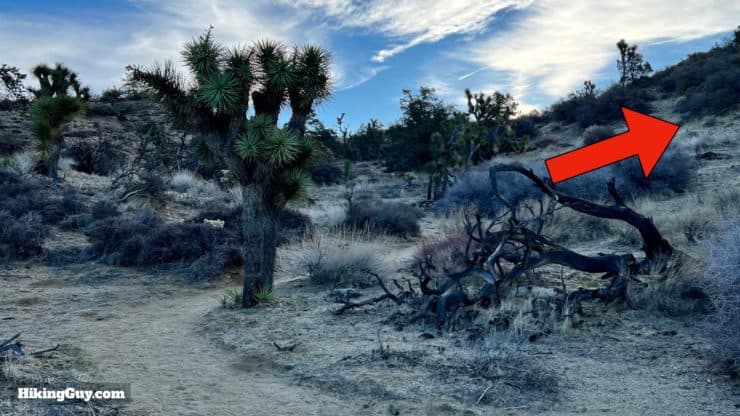
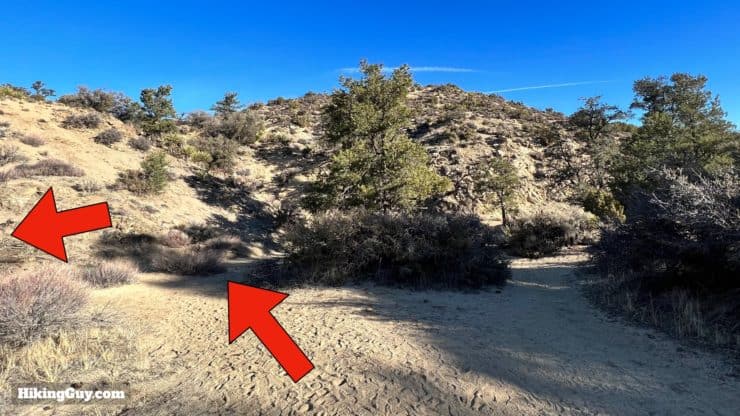
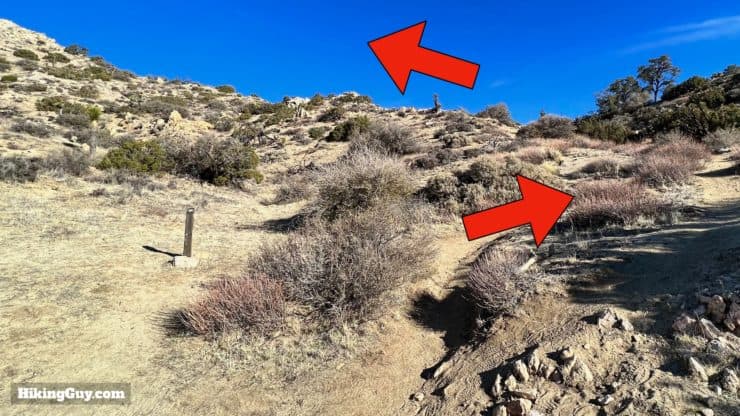
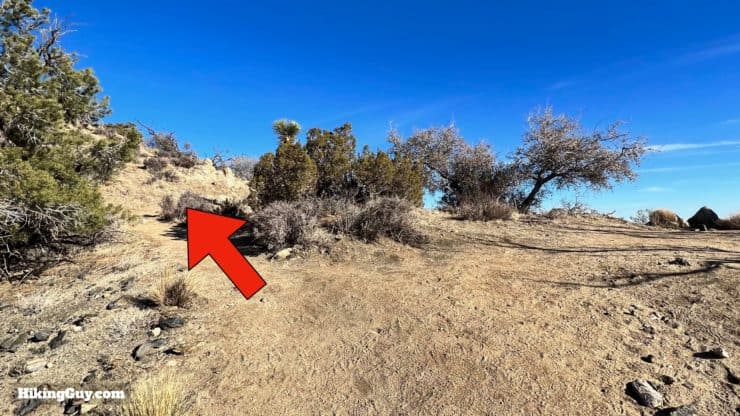
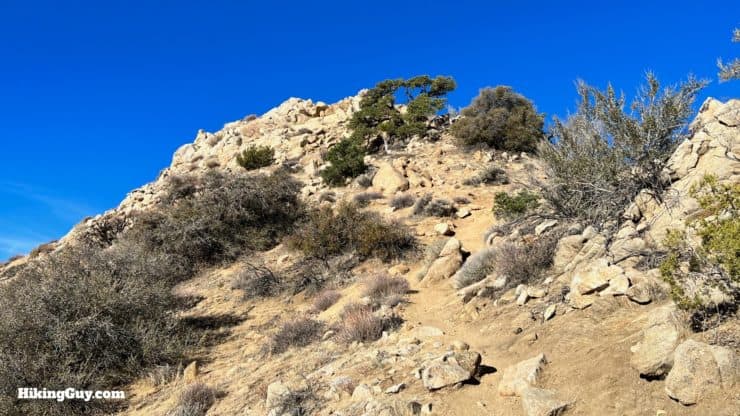
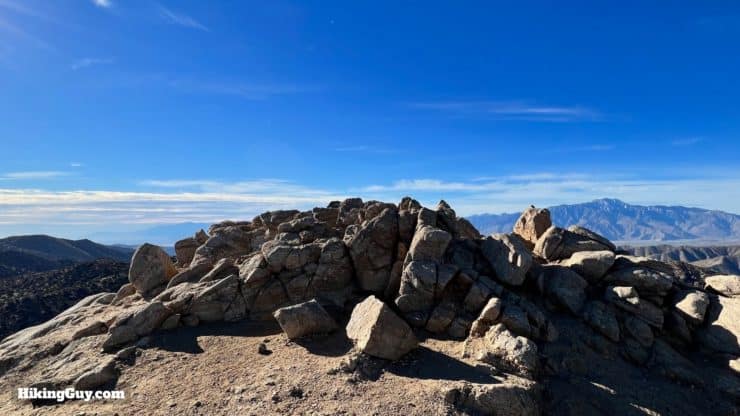
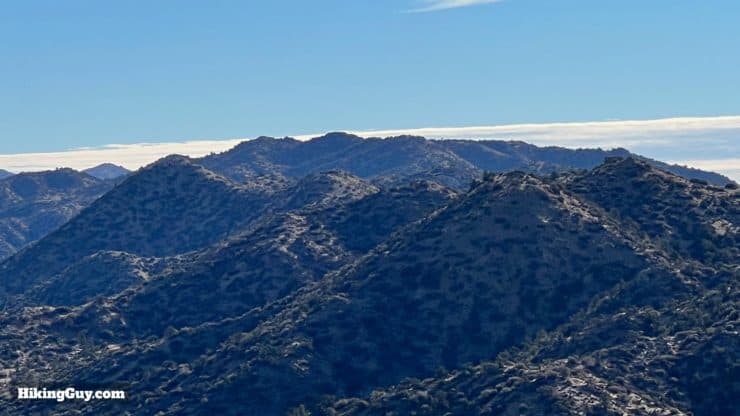
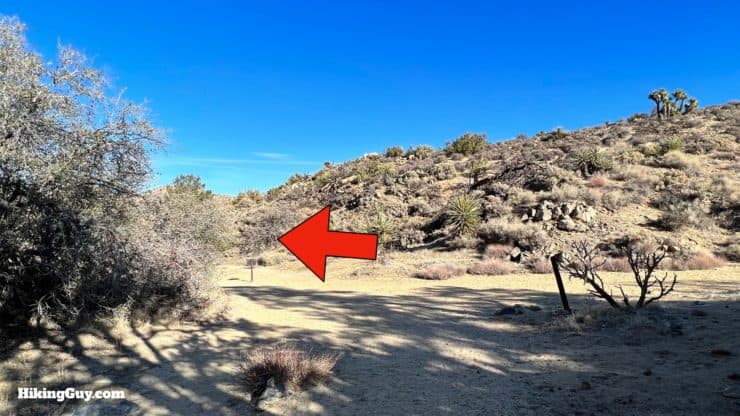
As you descend the trail becomes more like the initial climb up Black Rock Canyon.The turnoff for Warren Peak can be easy to miss. Look for the big tree in the middle of the trail, about 4.4 miles into the hike, and make the hard left.The climb up to Warren Peak starts gradually.Stay right at the junction with the Morongo View Trail.When you approach the rocky area of the peak, the trail goes right and then climbs up the ridge.There's a small viewpoint to the right, and then the trail continues uphill to the left.The last stretch up to the summit is steep.And when you get to this pile of granite, you've reached the summit. You'll continue to have great views of the high peaks you saw earlier.And also views into the Little San Bernardino Mountains and Joshua Tree NP.And here's the survey benchmark.
After visiting Warren Peak, head back the way you came.
You'll rejoin the Panorama Trail at the big tree.And then continue down a short stretch of the loop.And then arrive back at the original split. Make the left to hike back to the trailhead.And that's it!


 Using the Apple Watch for Hiking
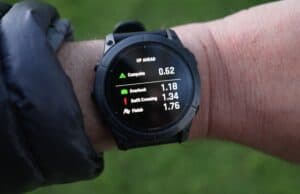
 Garmin Fenix 7 & Epix Review For Hikers
 How To Read a Topographic Map
 Garmin GPSMAP 67i Review
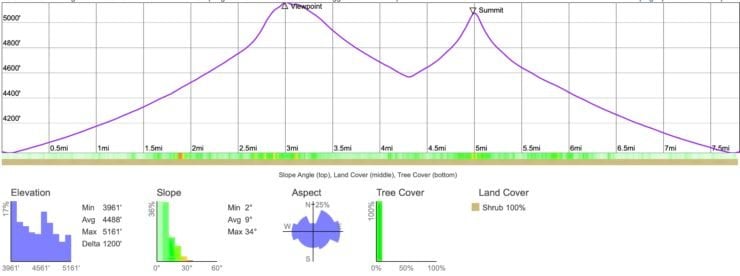


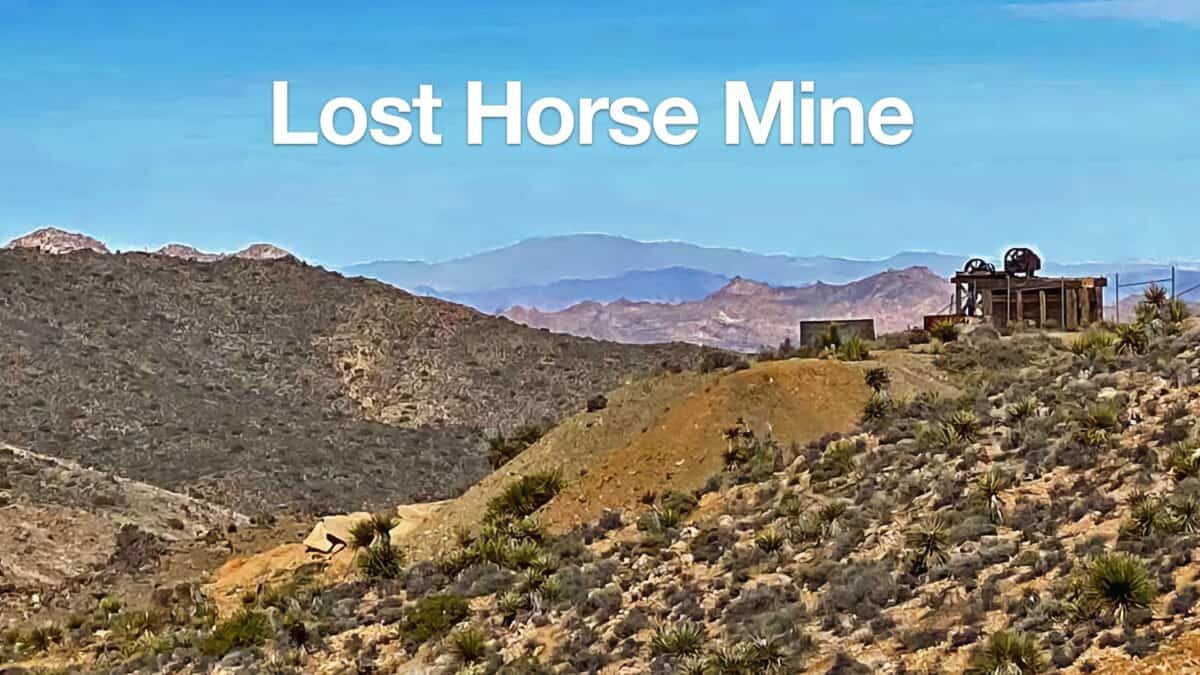 Lost Horse Mine Trail
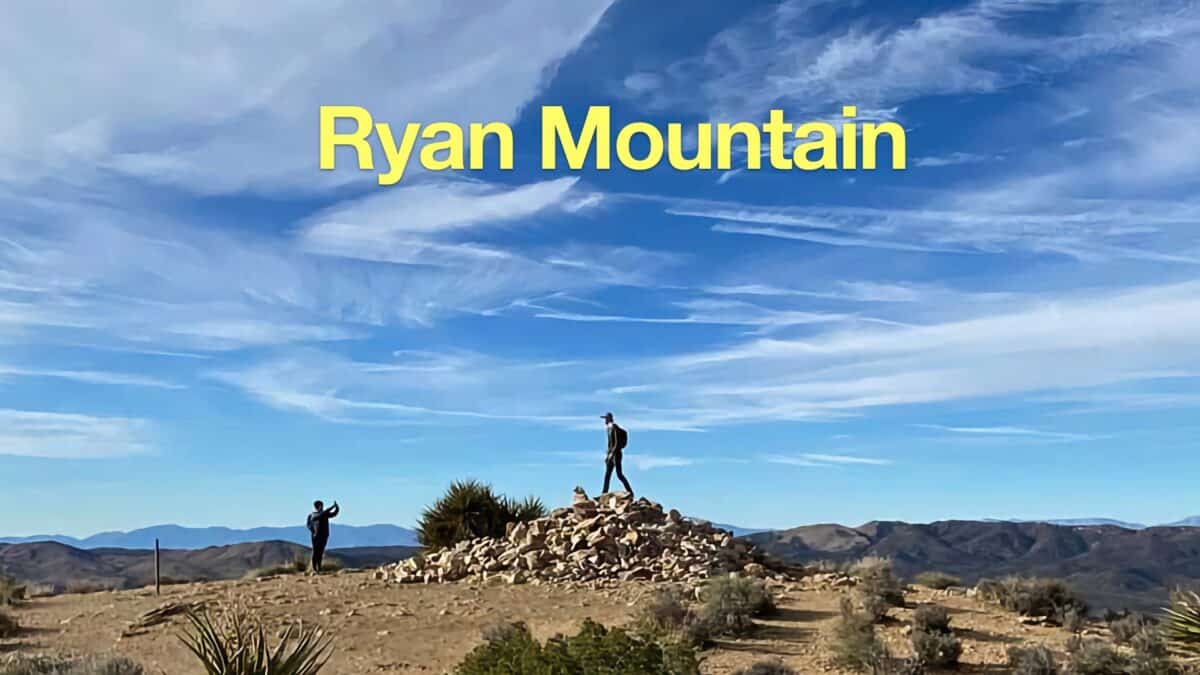 Ryan Mountain Trail Hike
 Hike Indian Loop Trail at Pioneertown Mountains Preserve
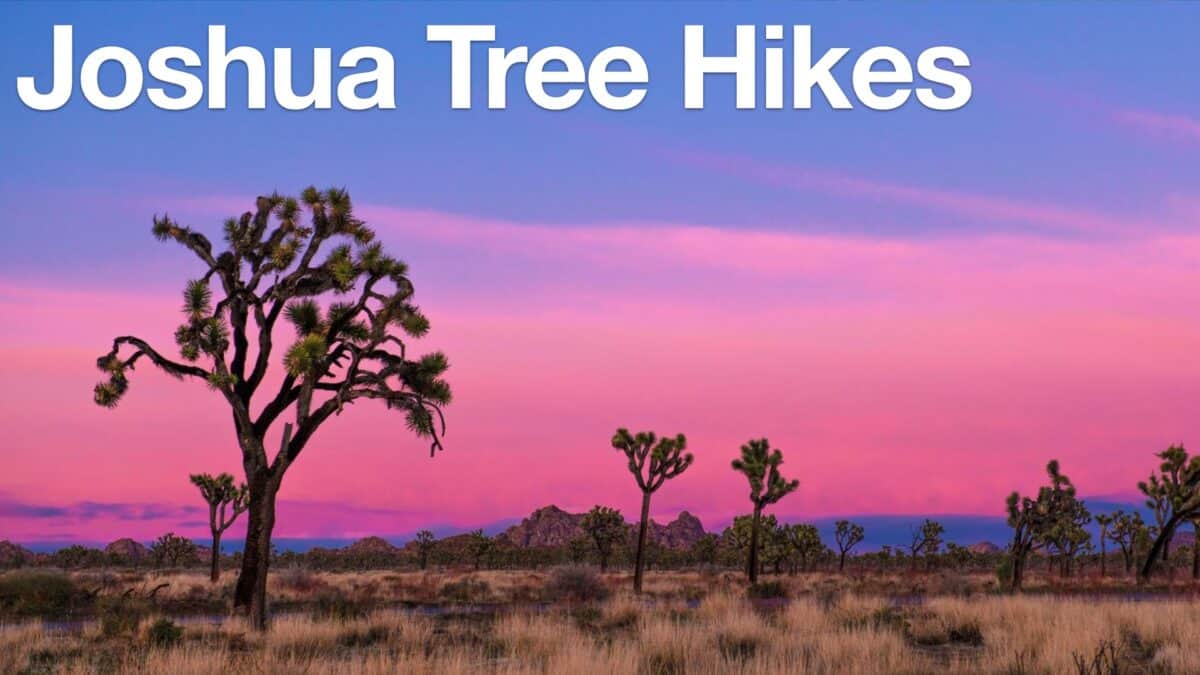 Joshua Tree Hikes
 Sierra Club 100 Peaks
 Best Hiking Gear 2024
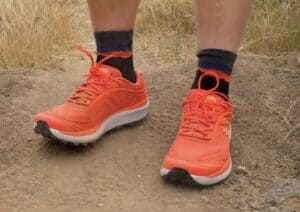
 Hiking Boots or Shoes: Do I Really Need Hiking Boots?
 When to Hit SOS on inReach