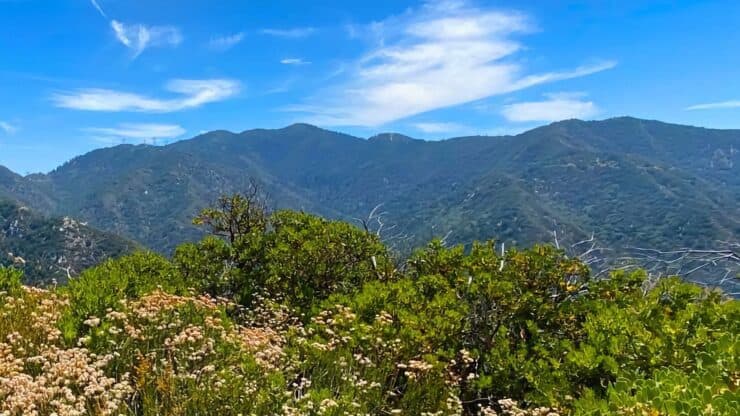
The Mt Zion loop hike is a great option for those that have hiked from Chantry Flat before, maybe to Mt Wilson, but want something a little more off the beaten path. On this loop, I'll take you on the Upper Gabrielino Trail, then on the historic Mt Zion Trail, built in 1896 and once the main trail into the area, then up to Mt Zion for panoramic views, and finally back to the start on the Upper Winter Creek Trail. And while there might be crowds on the nearby trails, this loop route on Angeles National Forest's secondary trails offers peace and tranquility.
In this Guide:
Video & Turn by Turn Directions
How to Get to the Mt Zion Trailhead
Everything You Need to Know To Prepare for the Hike
The Mt Zion loop hike is a great option for those that have hiked from Chantry Flat before, maybe to Mt Wilson, but want something a little more off the beaten path. On this loop, I'll take you on the Upper Gabrielino Trail, then on the historic Mt Zion Trail, built in 1896 and once the main trail into the area, then up to Mt Zion for panoramic views, and finally back to the start on the Upper Winter Creek Trail. And while there might be crowds on the nearby trails, this loop route on Angeles National Forest's secondary trails offers peace and tranquility.
How to Get to the Trailhead
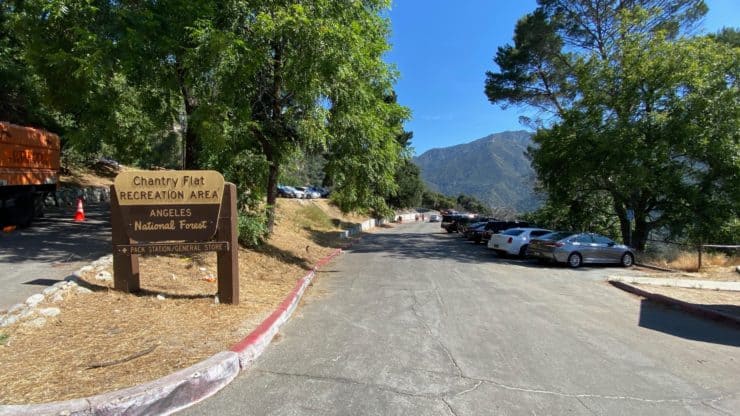
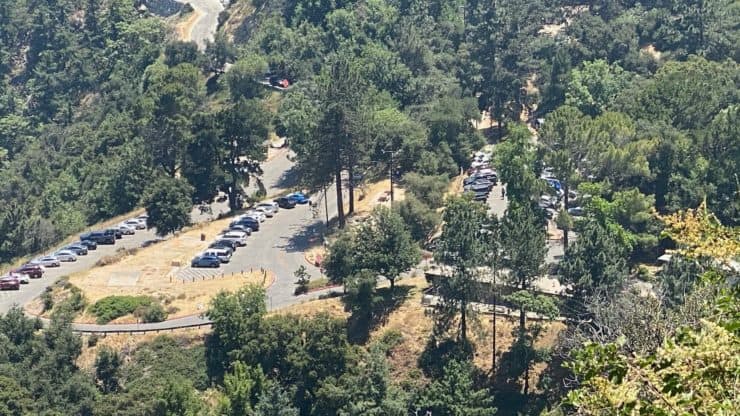
This hike starts at the popular Chantry Flat Picnic Area. There are popular waterfalls nearby and the parking can get crazy. Do yourself a favor and get here at sunrise. The gate to Chantry Flat opens at 6am but sometimes is open earlier. Use this trailhead address: Chantry Flat Recreation Area, Chantry Flats Rd, Arcadia, CA 91006
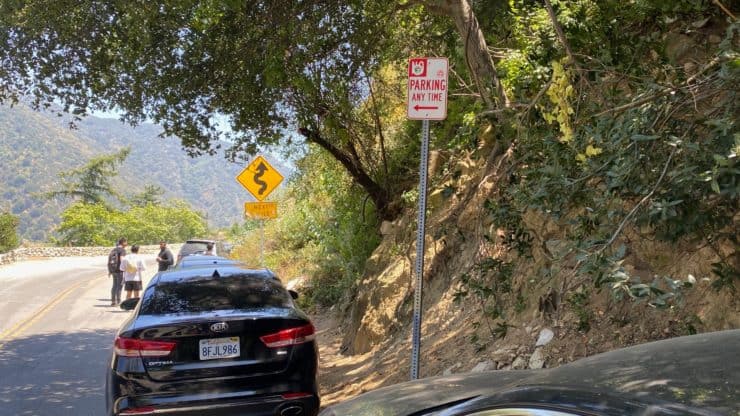
You need a parks pass or Adventure Pass to park here, even if you are parking in the street overflow.
You've probably been to Chantry Flat before if you're doing this hike. Come early and avoid the crowds. There are primitive toilets here.If the lot is full you can park on the street. Just not like this guy in the no-parking zone.
Gear for the Hike
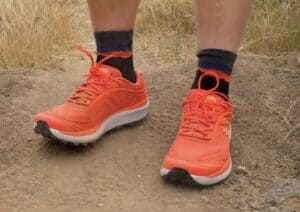
This is longer hike in the backcountry, so you're best served by using proper hiking gear. There are some stream hops and climbs, so proper footwear and trekking poles are handy. In the summer the bugs can be intense. This route is also generally snow-free (since it's at a lower elevation).
Osprey Hikelite 26Lightweight, carries all your gear, and your back doesn't get sweaty. Oh yea, it's also one of the most inexpensive packs you can get.
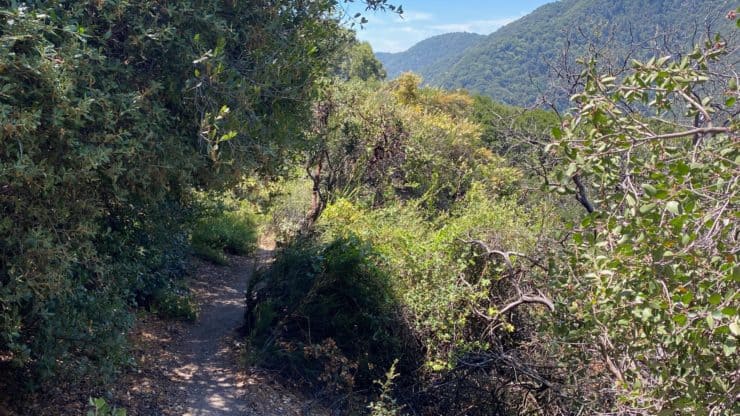
I've purposely routed this hike on some of the lesser-used trails in the area to give you a different experience. The first section on the Upper Gabrielino Trail offers some views of Mt Zion and distance from the crowds of people at the falls. And coming back, you'll take the Upper Winter Creek Trail, which winds along a ridge, high above the lower trail and campsites.
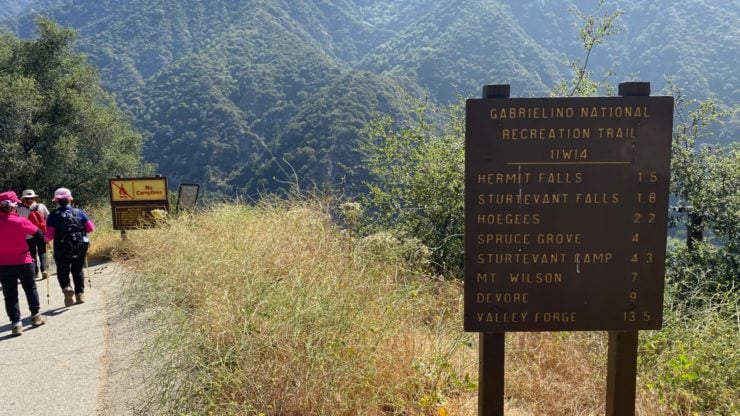
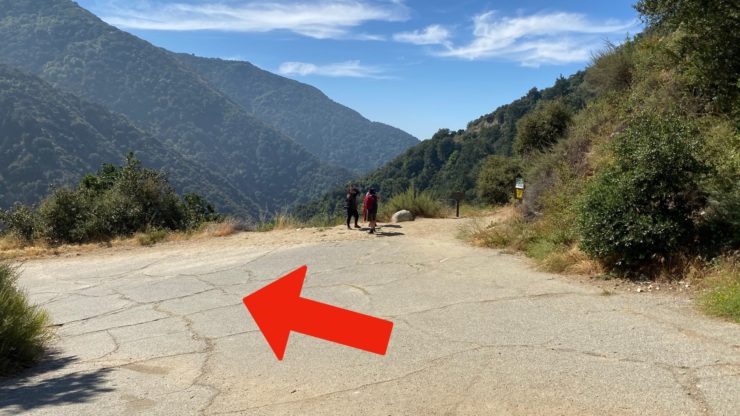
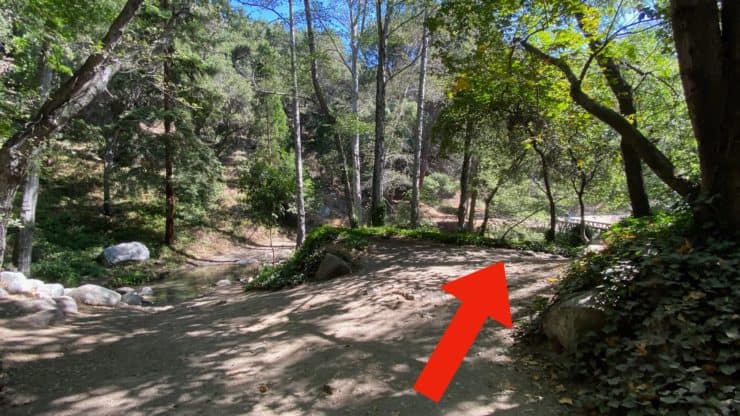
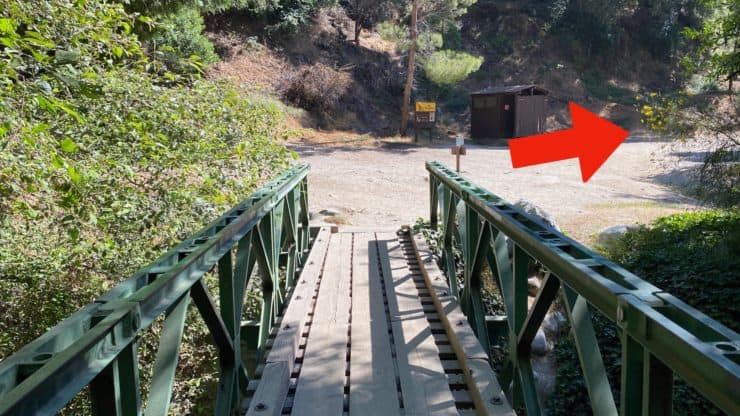
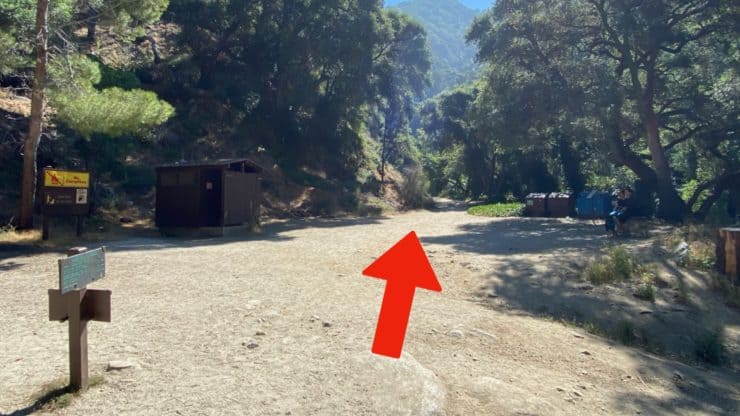
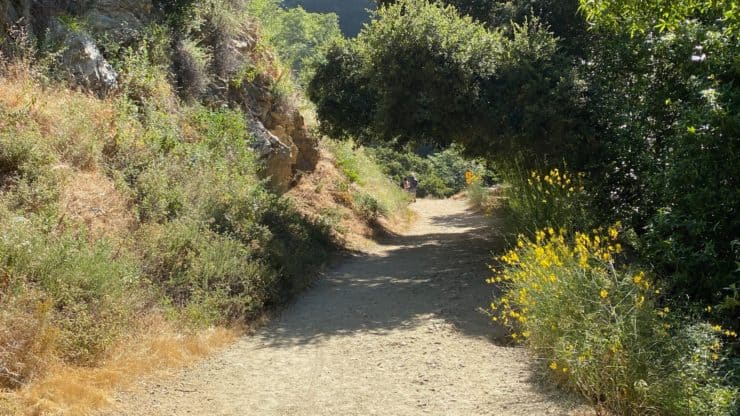
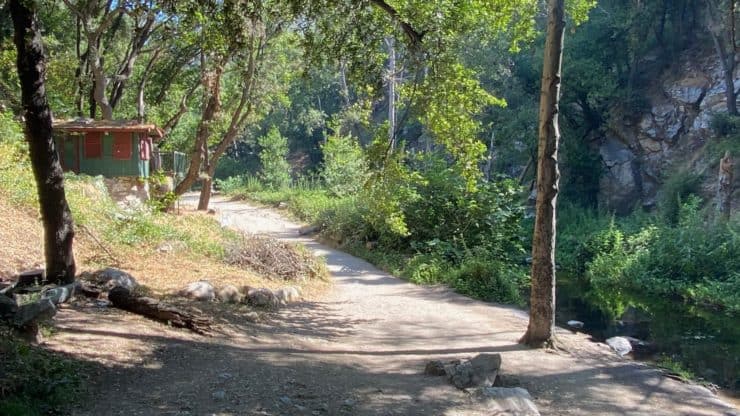
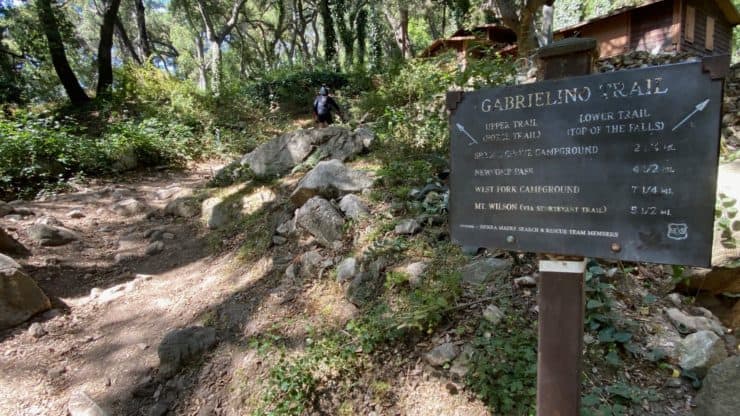
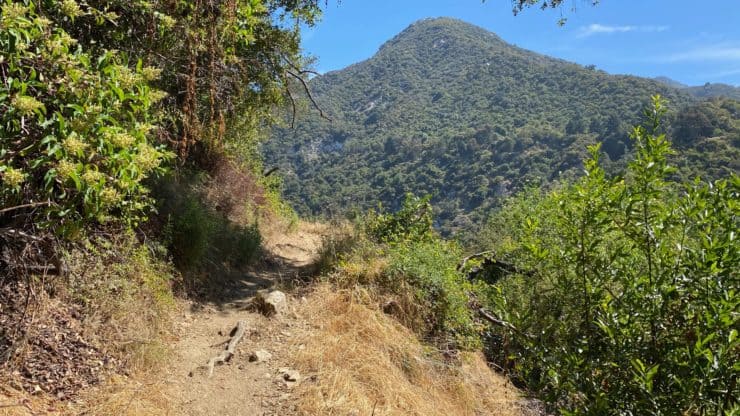
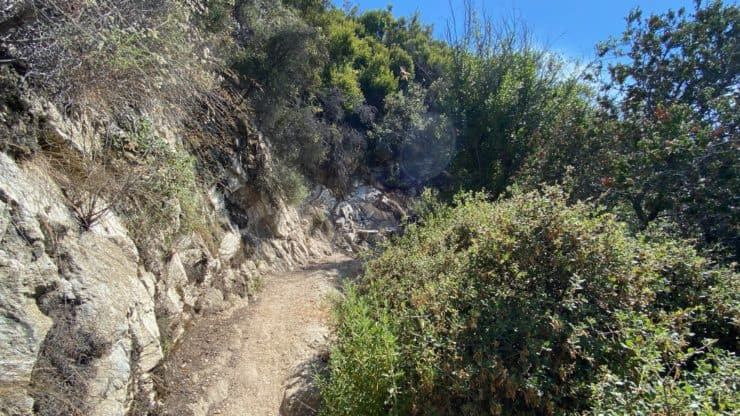
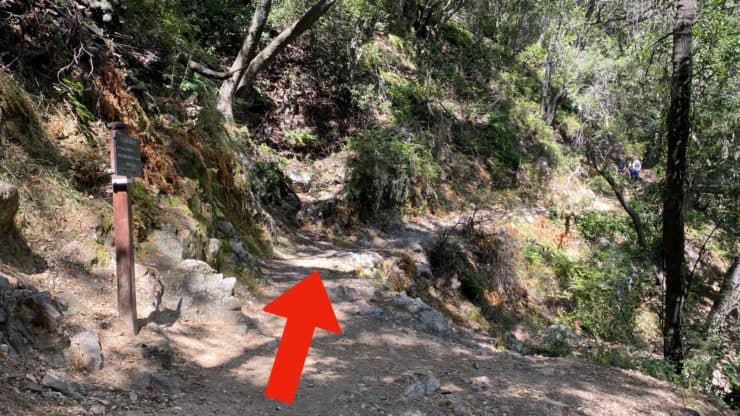
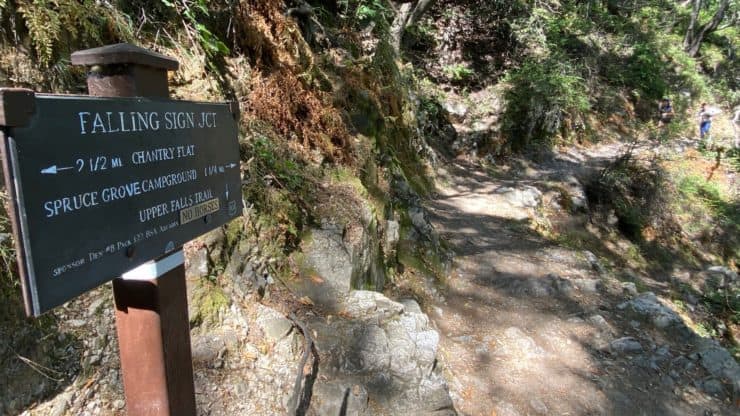
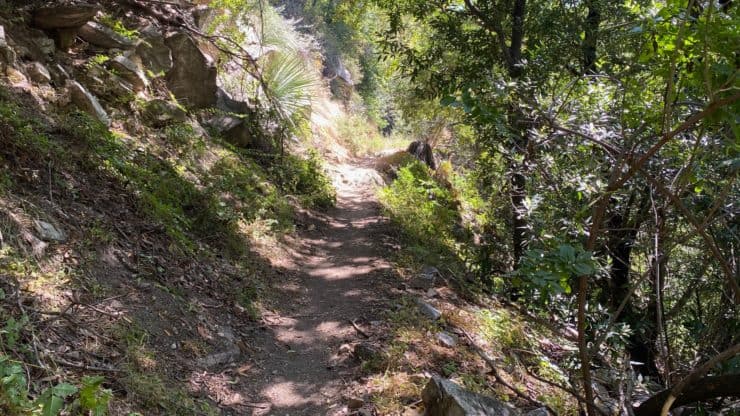
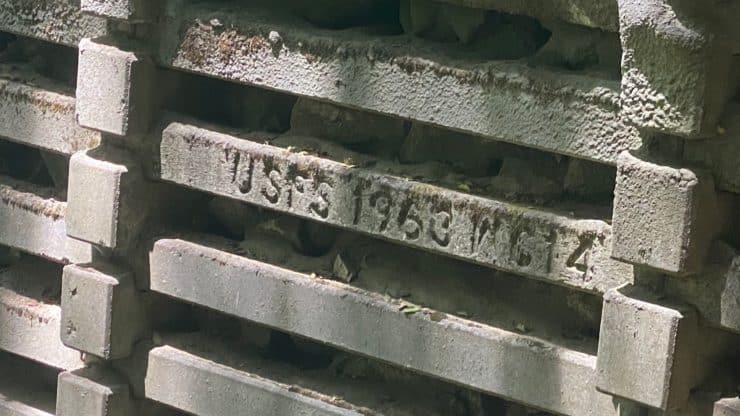
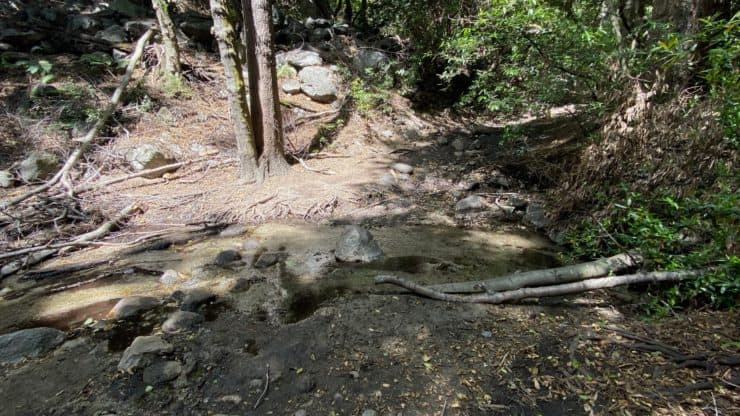
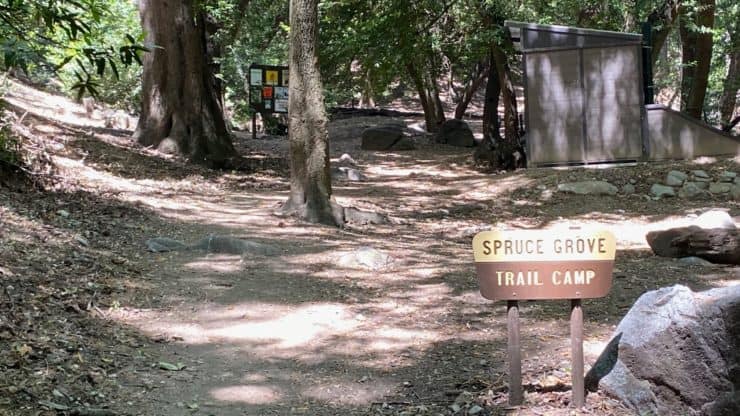
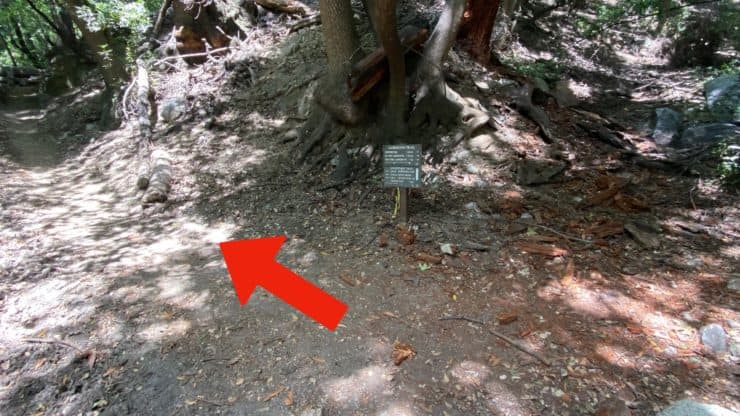
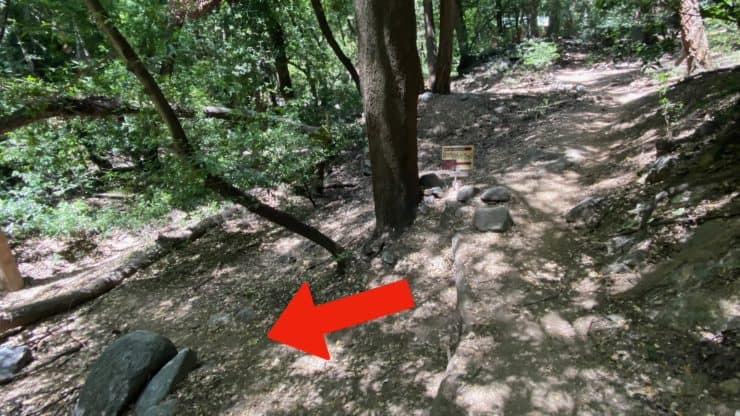
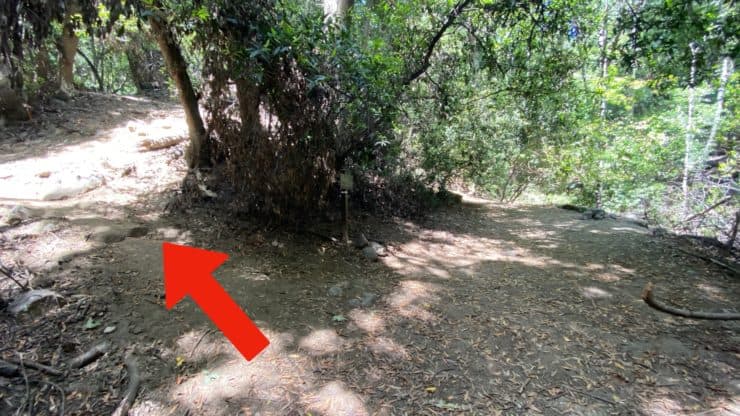
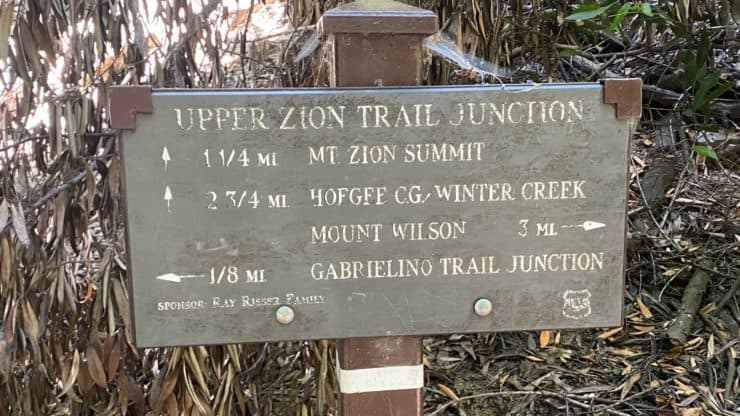
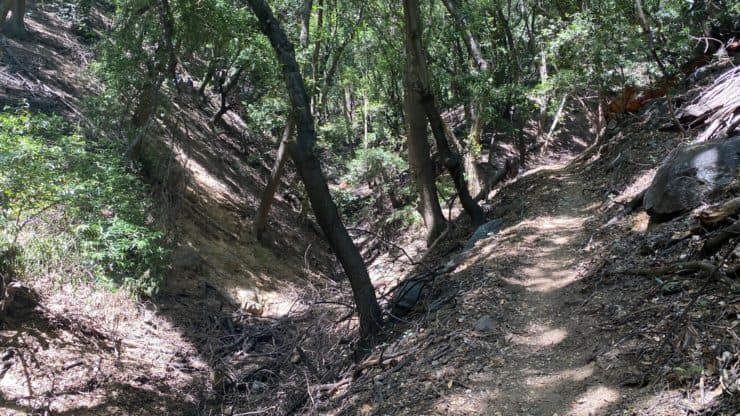
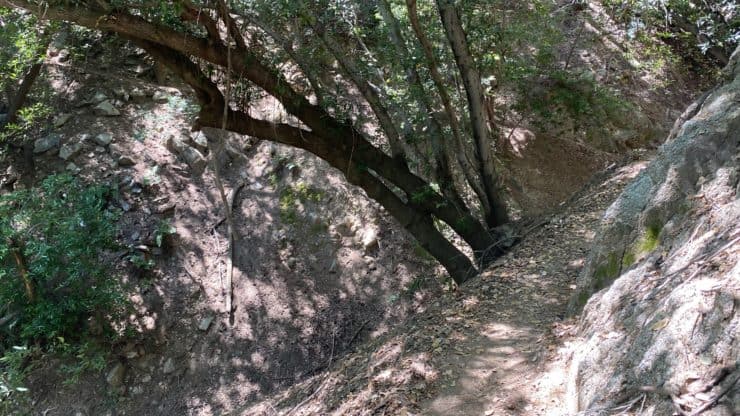
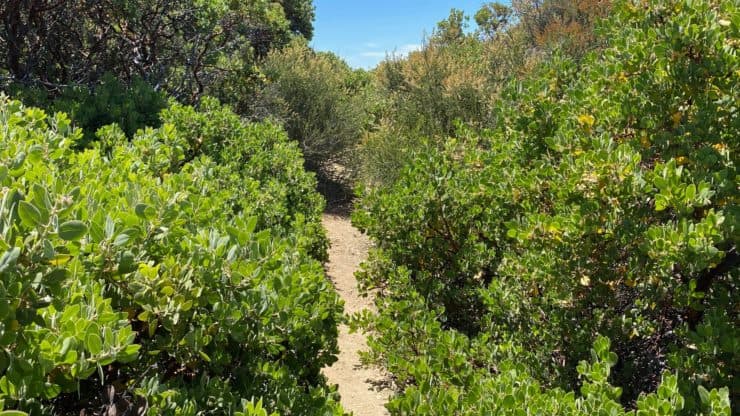
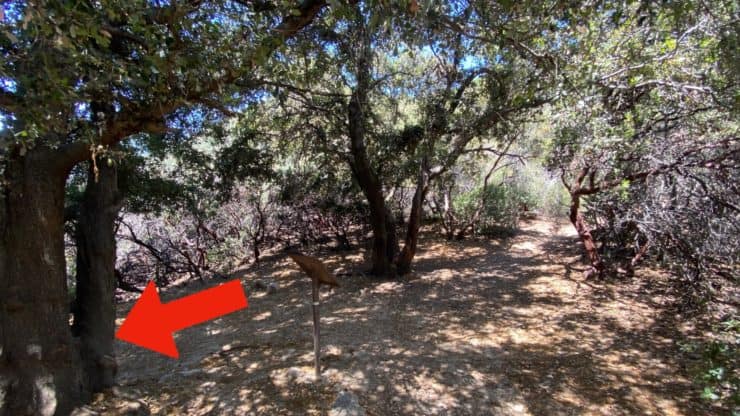
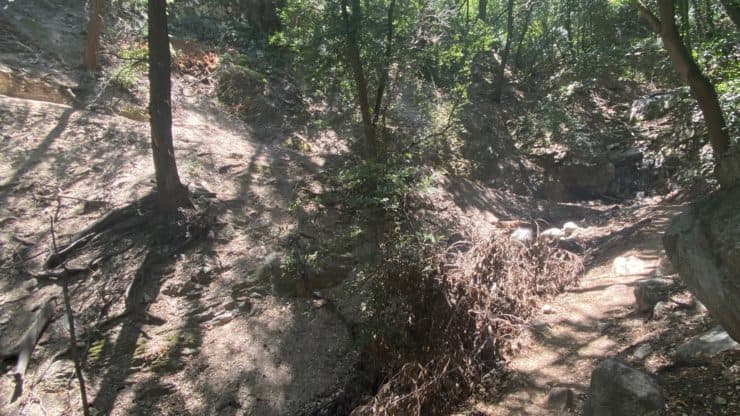
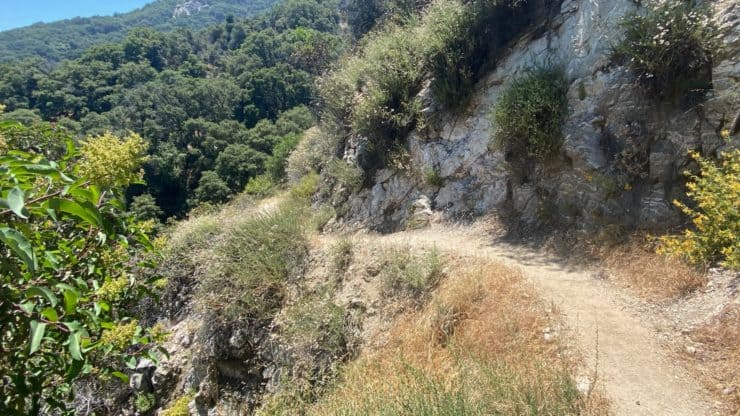
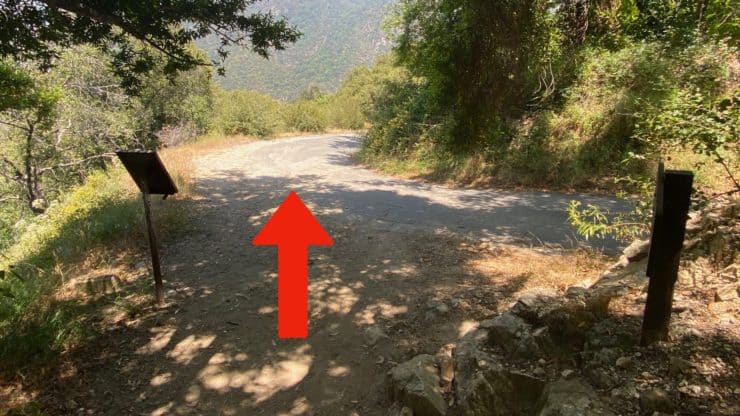
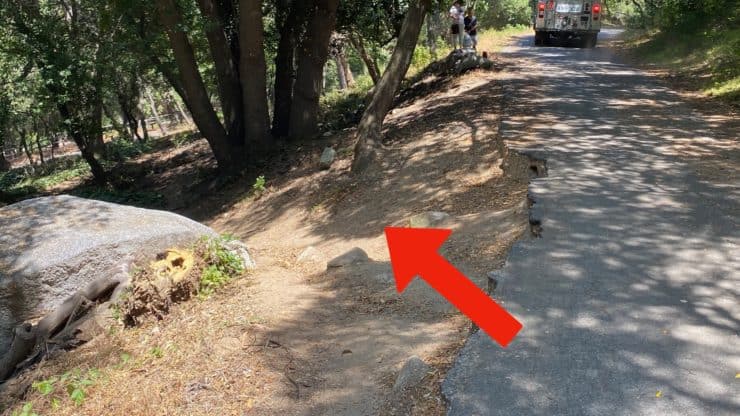
Hike down through the gate at the beginning of Chantry Flat.We're heading to Sturtevant Camp in 4.3 miles, and then up to Mt Zion.Keep heading to the bottom of the paved road, passing the trail to Hermit Falls.At the bottom of the hill, head to the right and over the bridge.Once over the bridge, make the right through the big intersection. If you need to go to the bathroom, there's one here.Head up the Gabrielino Trail from the intersection.Leave the crowds behind and hike up the Gabrielino.You'll hike through the area with all the cabins.Make the hard left at the first junction (going straight heads to the falls).Okay, make the hard left to head on the Upper Gabrielino Trail.The trail climbs about 400 feet in a half mile and is manageable.As the trail winds around the ridge you'll get some views of Mt Zion.The trail has some level sections and is easy to follow.At around 2.4 miles in you'll rejoin the lower trail at the Falling Sign Junction. Go straight.Here's a closeup of the sign at Falling Sign Junction, which should be familiar if you've done the hike to Mt Wilson from Chantry Flat.The Gabrielino Trail continues uphill through the shaded Angeles National Forest.Hike through the Cascade Picnic Area.If you're wondering about these dams that you see all through this section of Angeles National Forest, here's the deal. In 1954, the government laid out a program to protect the property and watershed (which served LA) here. They set up a series of check dams to ease flash flooding but also to help fight fires. In subsequent floods many of the dams blew out. That, combined with new schools of thought about fire and flood prevention, led to the abandonment of the project. Chris Kasten has an interesting article on the check dams here.Cross over the creek and keep heading up the trail.Hike through the Spruce Grove campsite.After Spurce Grove you'll leave the Gabrielino Trail by heading to the left.Here's a closeup of the sign at that junction. We're heading up the Sturtevant to the Mt Zion trail in 1/8th of a mile.Just past the last junction, make the left before the Sturtevant Camp sign. You can also go straight through the camp and then join the trail later if you like.Head up the trail across the stream from Sturtevant Camp.And here's the important trail junction for Mt Zion. Look for the trail to the right up to Mt Zion.Here's the sign at the Upper Zion Trail junction. We're going to Mt Zion summit and then onto (upper) Winter Creek.While not a majorly popular trail, it's still often well maintained. There might be a downed tree or branch, but they are generally cleared rather quickly.
This path was the original trail from Chantry Flat to Sturtevant Camp, built by Wilbur Sturtevant in 1896, allegedly by following the path that a bear took over the mountain to get to the camp. In the fire and subsequent landslides of 1953, most of the trail was destroyed. It was rebuilt by volunteers and reopened in 1985.
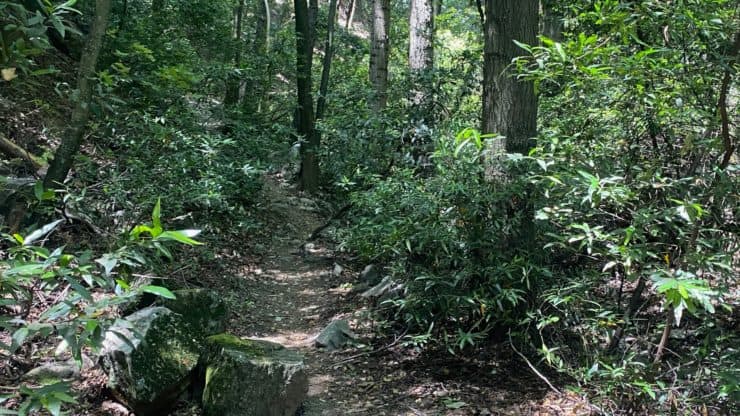
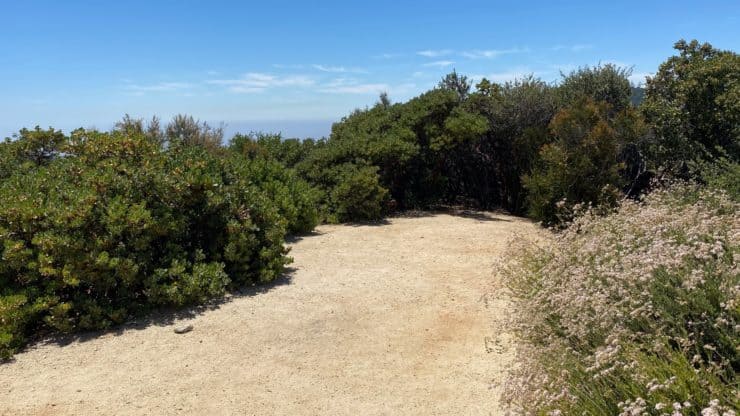
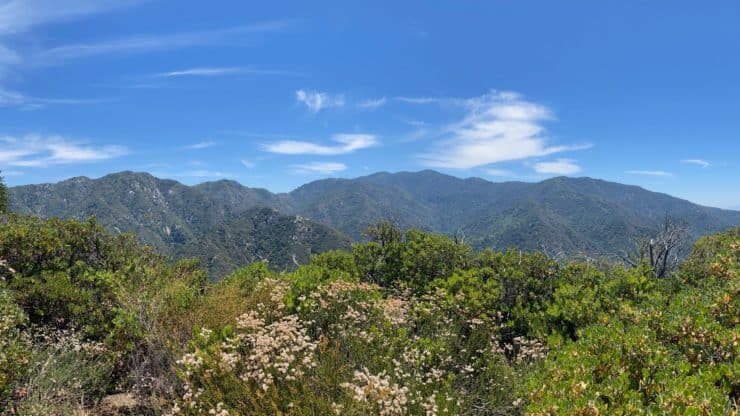
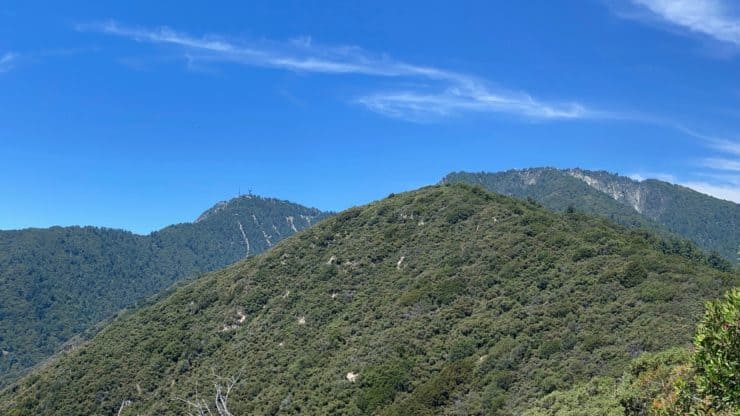
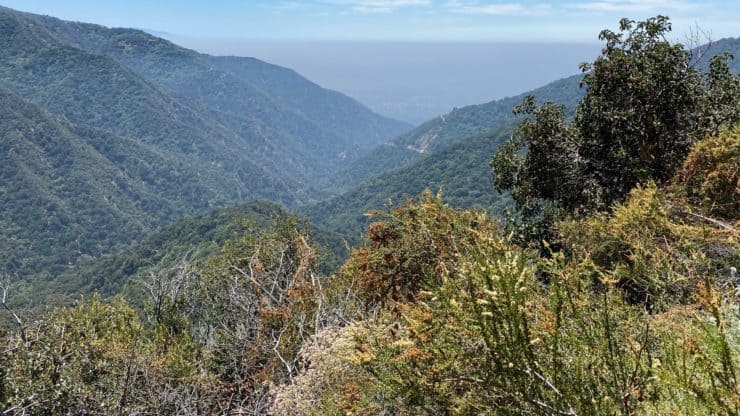
The trail climbs for a good portion, but it's not a huge mountain grind. You've done most of the climbing already.When you get to the junction with the trail history display, make the left to head up the spur trail to the Mt Zion summit.The trail to the summit can get a little narrow and overgrown, but it's there.When you reach the clearing, you're at the summit! It's not a high peak but it does have about 100 feet of prominence above the surrounding terrain.To the east you can see as far as Mt Waterman and Twin Peaks.And to the west you'll see Mt Harvard and Mt Wilson
When you're done at the summit, head back to the spur junction.
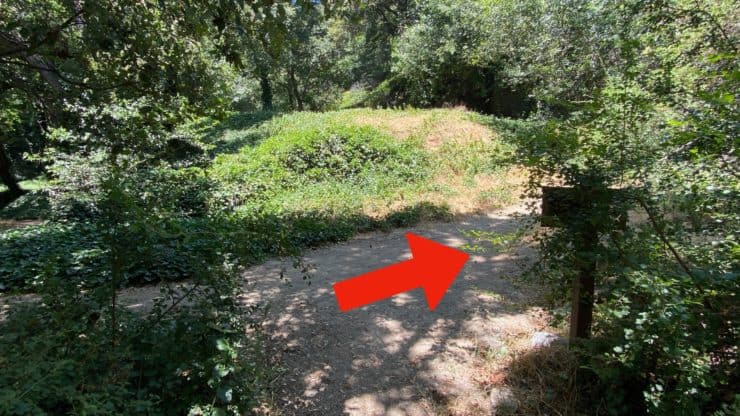
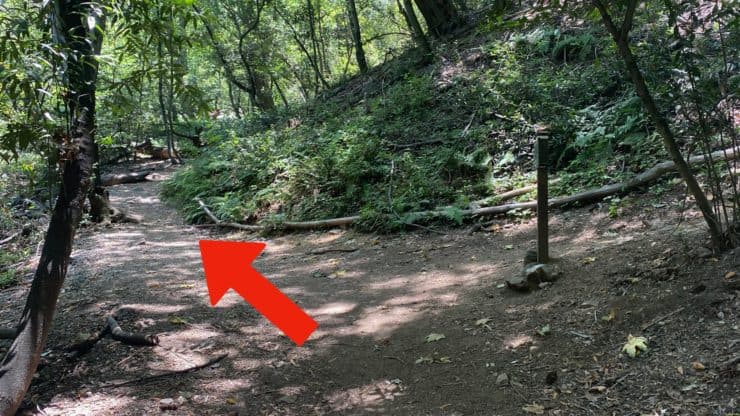
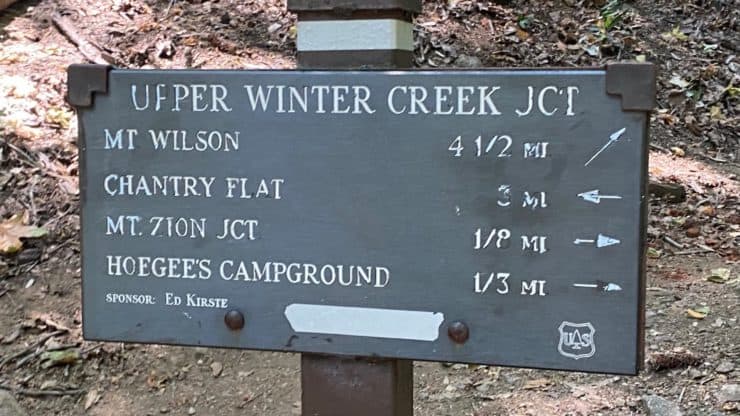
At the spur, make the left and start heading back to the start on the loop at Chantry Flat.The trail winds downhill as you lose about 1000 feet in a mile.The views into Santa Anita Canyon are great.When you reach the junction by Hogees Camp, make the right.After a short uphill stretch you'll reach the junction with the Upper Winter Creek Trail, which might look familiar if you've come down from Mt Wilson toward Chantry Flat in the past. Go straight onto the Upper Winter Creek Trail.Here's the sign at the trail junction. We're heading back to Chantry Flat, about 3 miles ahead.At the beginning of the Upper Winter Creek Trail, there is some uphill hiking.But soon the trail levels off (with some small ups and downs) and winds along the ridge above the canyon.Soon you'll hear the screams and Bluetooth speakers at Chantry Flat, which will come into view from the trail when you reach the end.The Upper Winter Creek Trail ends at the road. Go straight downhill.And look for this little side trail downhill. You can follow the winding road or cut straight down the trail back to the picnic area and parking lot.When you reach the fence, hop over and head straight down to the parking lot to end the hike.


 Using the Apple Watch for Hiking
 Garmin Fenix 7 & Epix Review For Hikers
 How To Read a Topographic Map
 Garmin GPSMAP 67i Review
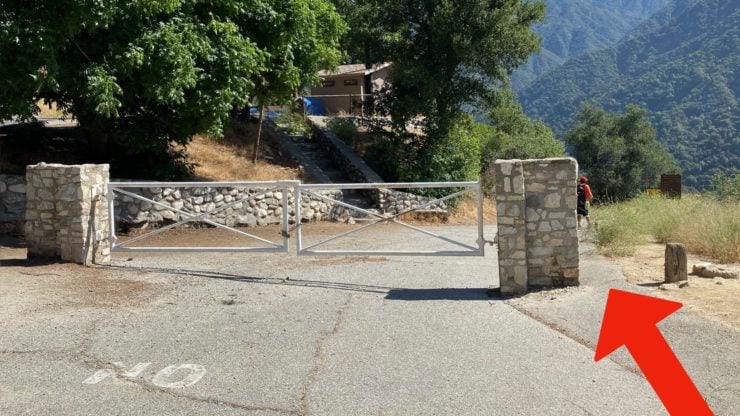


 Mt Wilson Hike From Chantry Flat
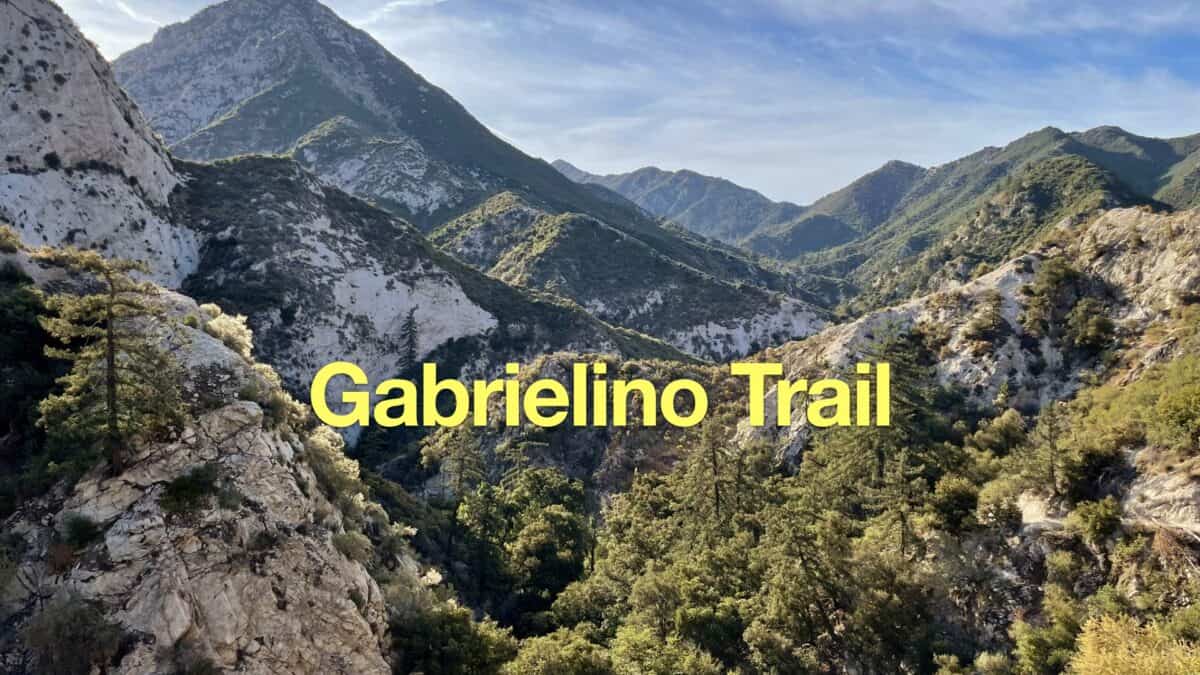 Gabrielino Trail (NRT) Guide
 Hike Mt Waterman & Twin Peaks
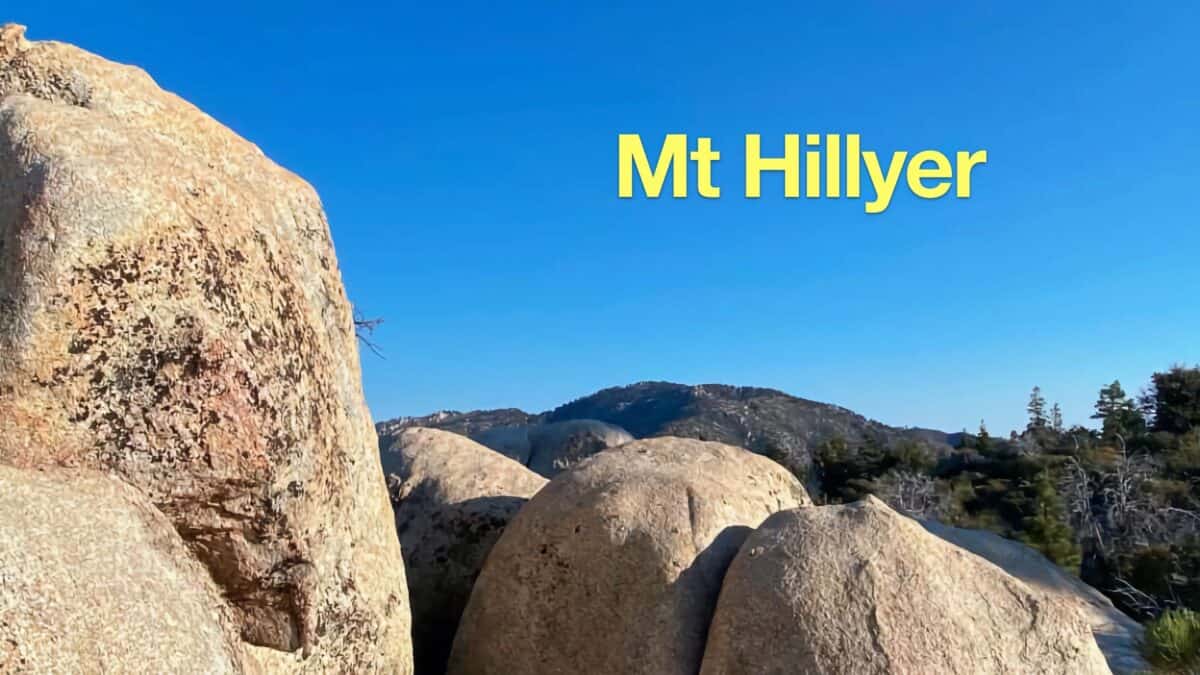 Mt Hillyer Trail Hike
 Hike Jones Peak on the Bailey Canyon Trail
 Los Angeles Hikes
 Angeles National Forest Hikes
 LA Mountain Hikes
 San Gabriel Mountains National Monument Hiking
 Best Hiking Gear 2024
 Hiking Boots or Shoes: Do I Really Need Hiking Boots?
 When to Hit SOS on inReach