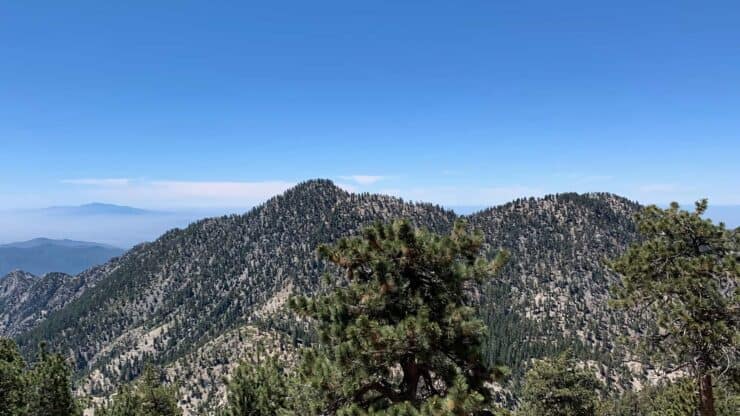
A hike to Mt Waterman and the Twin Peaks offers rugged and remote beauty, well-groomed trails, panoramic views of the major summits in Angeles National Forest, and an absence of major crowds. This guide shows you how to do the popular 11.5 mile "reverse lollipop" route to Twin Peaks and then back over Mt Waterman, but you can also just do a shorter 5.5 mile hike to Mt Waterman and get a taste of the beauty of the area. If you have the time, I highly recommend the longer hike. It's a bit of a workout with a lot of up-and-down, but the summit of Twin Peak East is a great one.
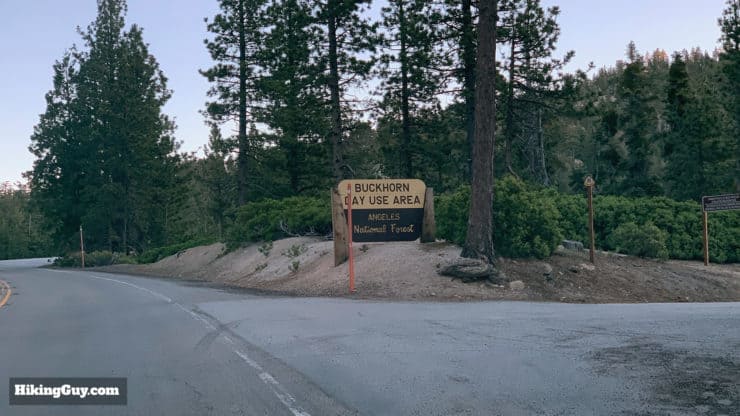
The good news is that the trailhead is in the middle of nowhere and doesn't fill up too often. The bad news is that the trailhead is in the middle of nowhere and you have to get there. More precisely, the trailhead is the Buckhorn Day Use Area, which is just about in the middle of Angeles National Forest on the Angeles Crest Highway. Make sure you have a full tank of gas!
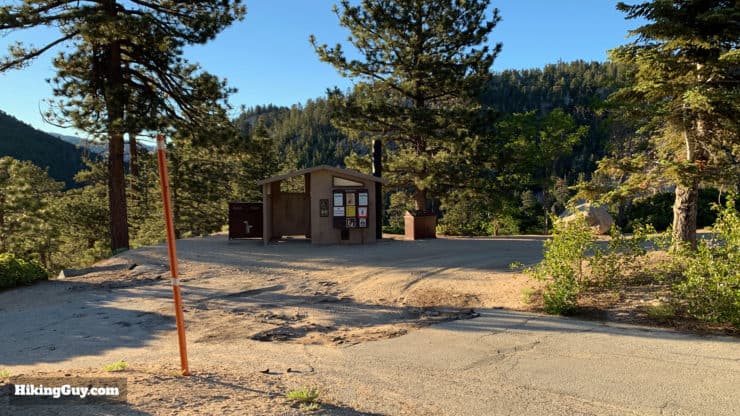
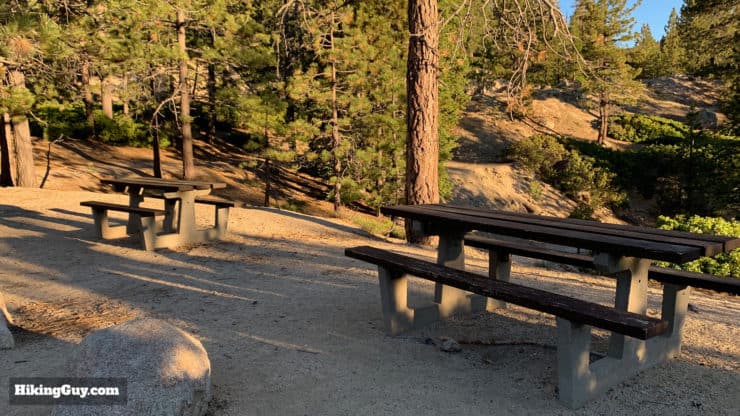
The parking area is off of the Angeles Crest Highway. Don't get it confused with the nearby Buckhorn Campground entrance.There's a fair amount of parking in the lot and it serves mainly as trailhead parking for those heading up towards Mt Waterman and the trails around it.There are primitive bathrooms at the far end of the lot.There's also some nice picnic benches which serve as a good place to get your pack together or have a snack when you're done the hike.
Gear For the Hike
This is a tough hike and I'll use all my normal hiking gear. I usually bring 3L of water and a decent amount of snacks. Trekking poles will help on the steep climb and descent of Twin Peak East. In the winter, expect snowy and icy conditions and plan accordingly.
You can also camp on the summit of Twin Peak East if you want to split this up over a couple of days.
Osprey Hikelite 26Lightweight, carries all your gear, and your back doesn't get sweaty. Oh yea, it's also one of the most inexpensive packs you can get.
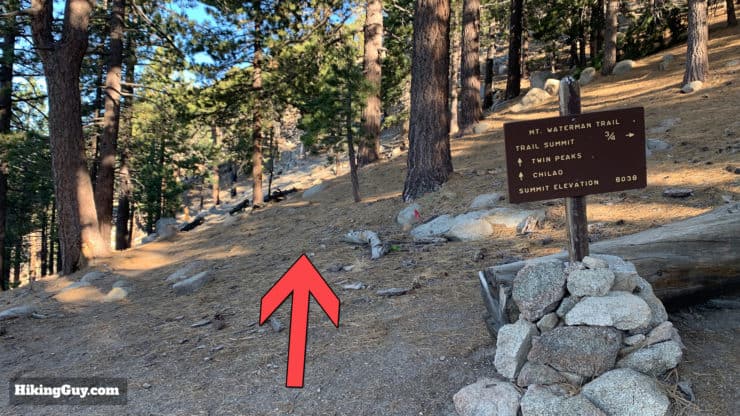
There are two "Mt Waterman Trails." This guide starts from Buckhorn Day Use Area on Waterman Trail #10W05, also known as Mt Waterman Trail #2. It then continues on a stretch of Waterman Trail #10W04, also known as Mt Waterman Trail #1. It can get confusing but the turn-by-turn directions below will point you in the right way. Just a heads up if you're referring to other maps.
Note that some sections of my GPX don't match the (incorrect) OSM trails.
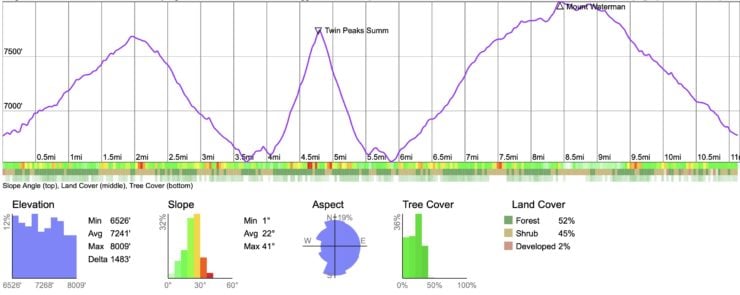
The route follows a reverse lollipop route, starting in the lower right, heading to Twin Peaks, then back on the same trail, up Mt Waterman, then around to the finish.There's a decent amount of up-and-down on the hike, which always seems to hurt me more than just a straight up and down hike. The Twin Peaks climb is particularly steep as you can see here. The other climbs are more gradual.
Mt Waterman & Twin Peaks Hike Directions
This area has reopened after the Bobcat Fire closure. Some sections include blackened trunks, mostly dead, brown foliage or barren trees. It's not all like this, but be prepared for sections that are. Thanks to Lea G. for the update!
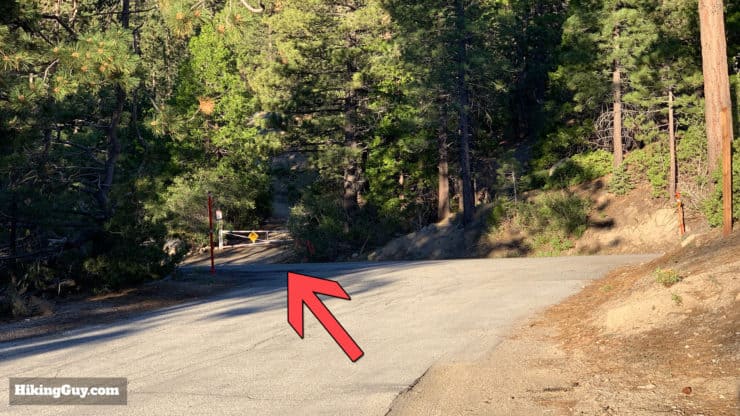
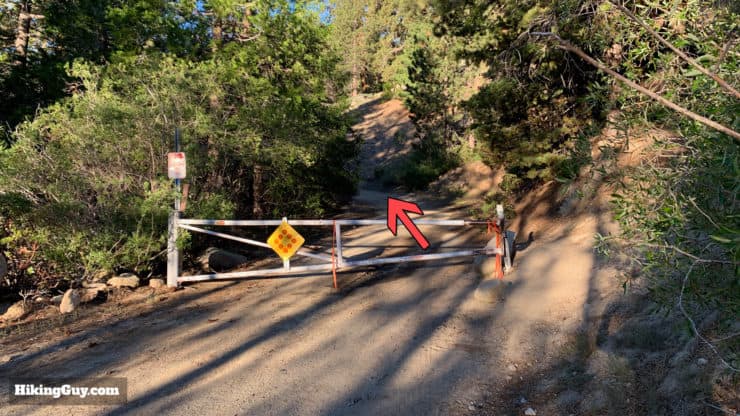
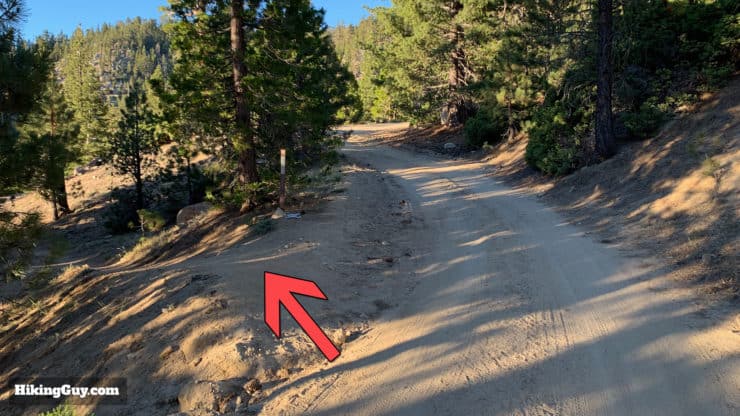
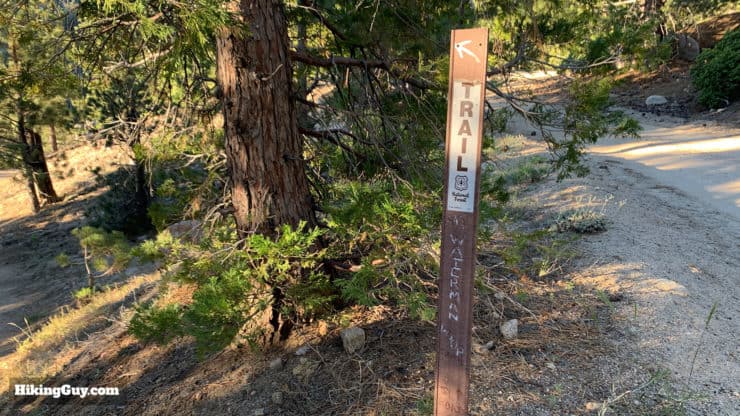
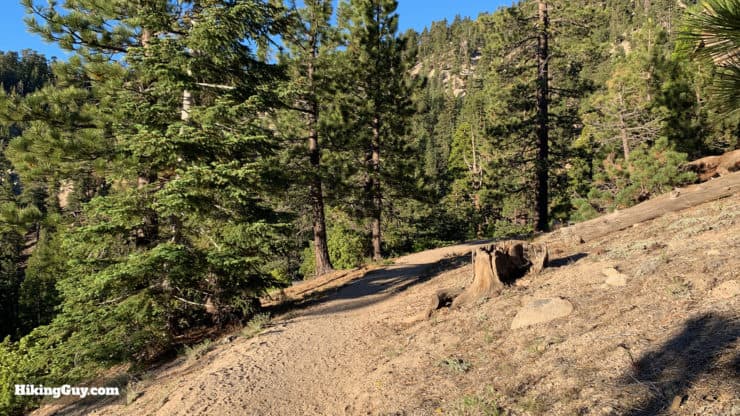
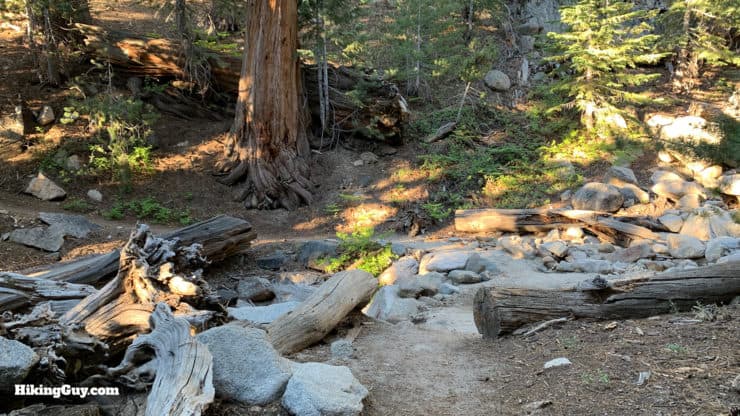
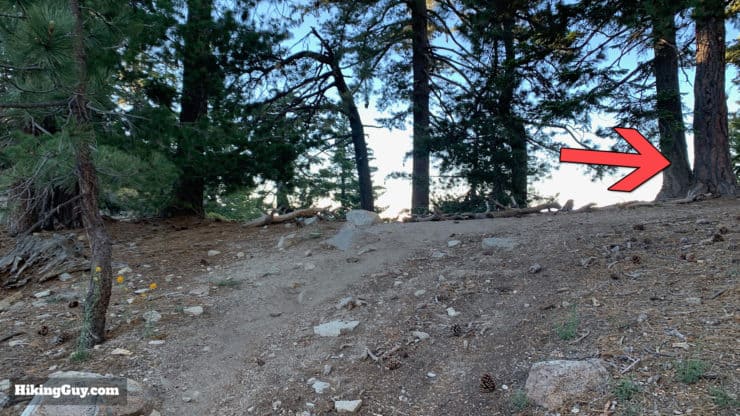
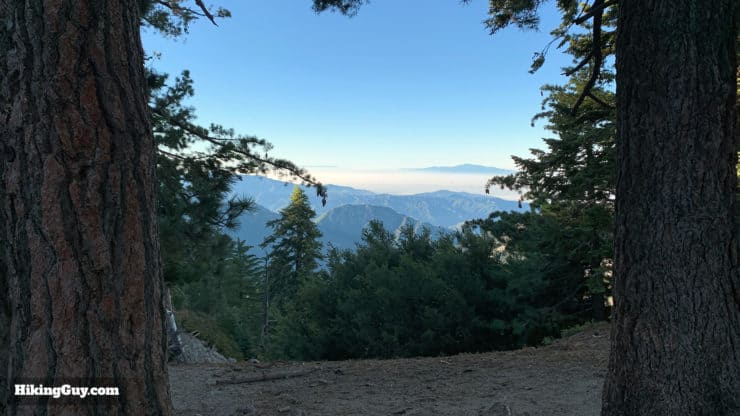
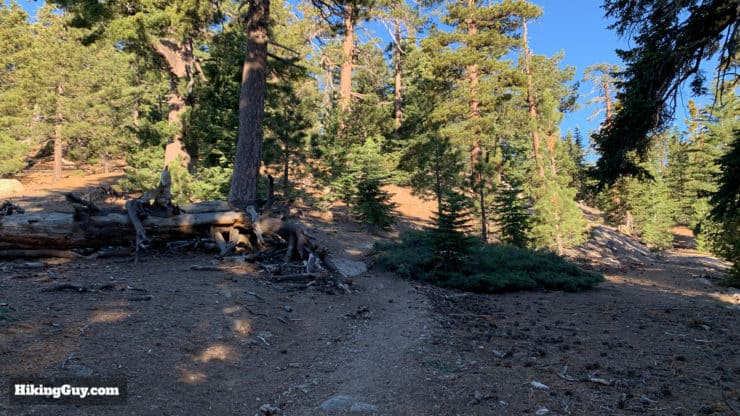
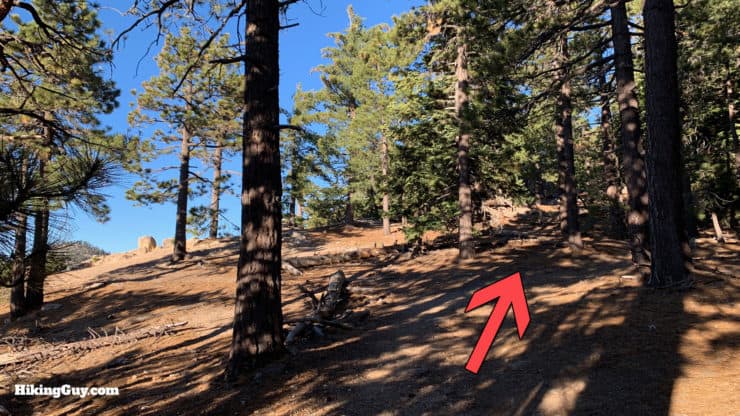
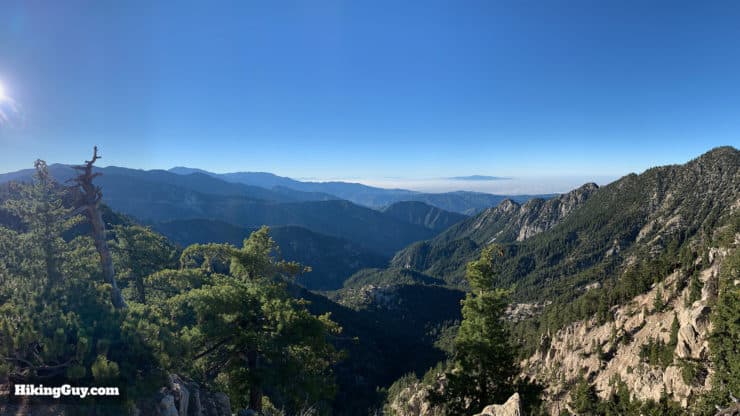
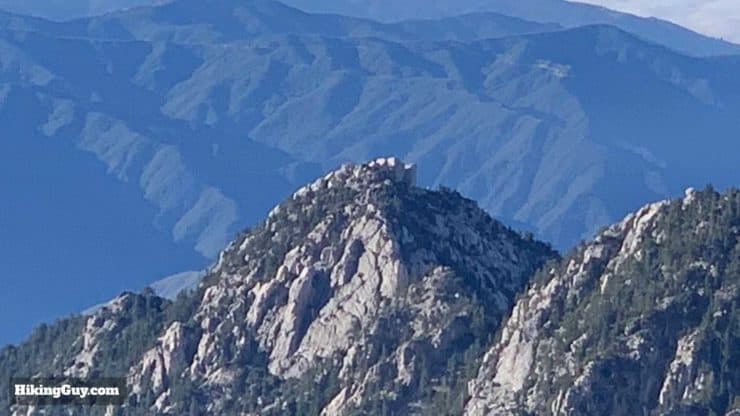
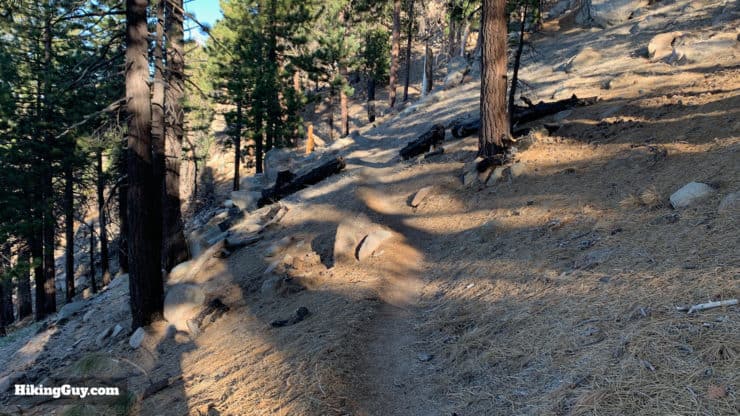
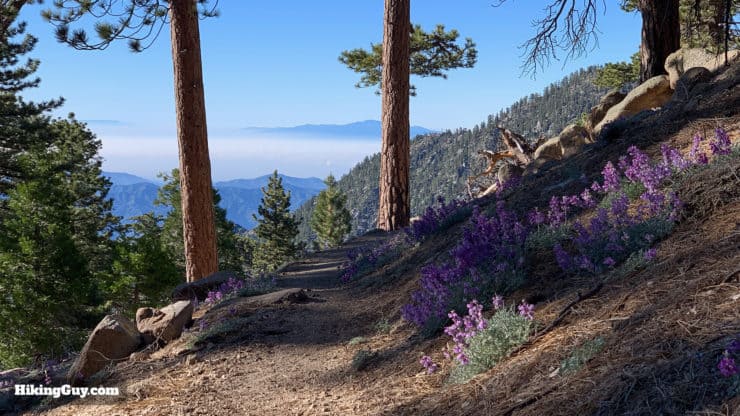
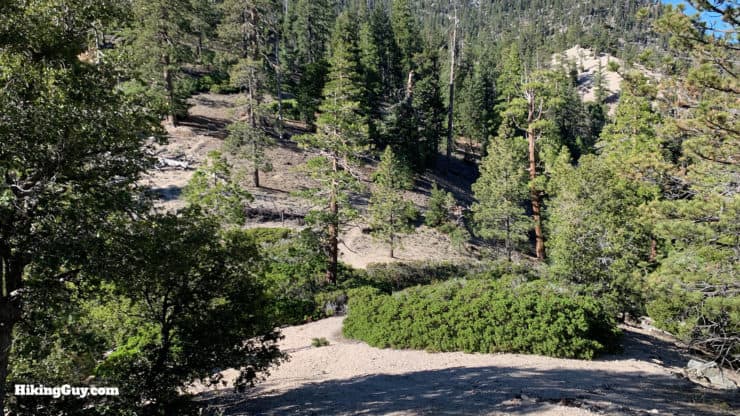
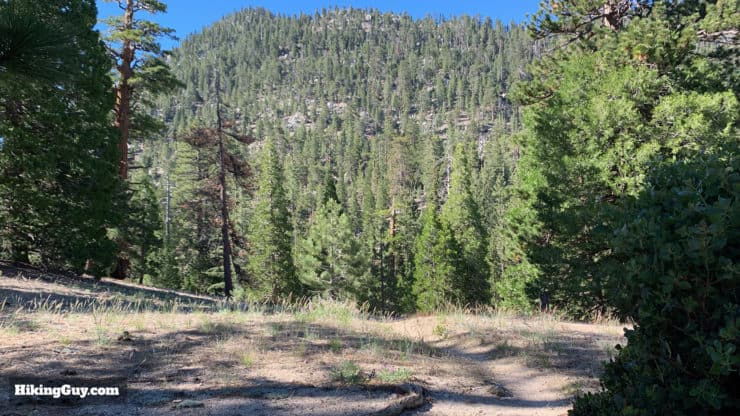
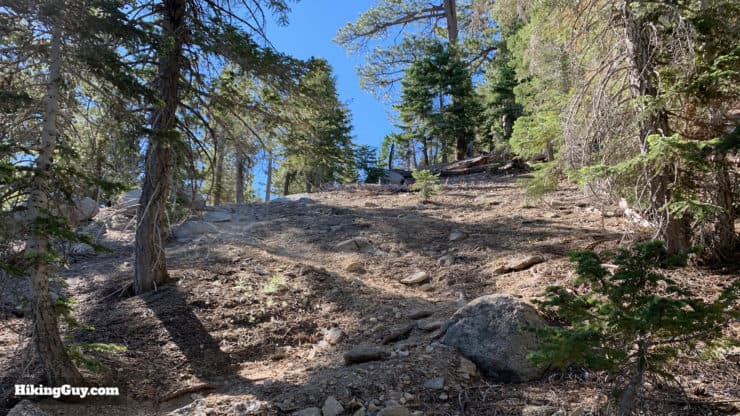
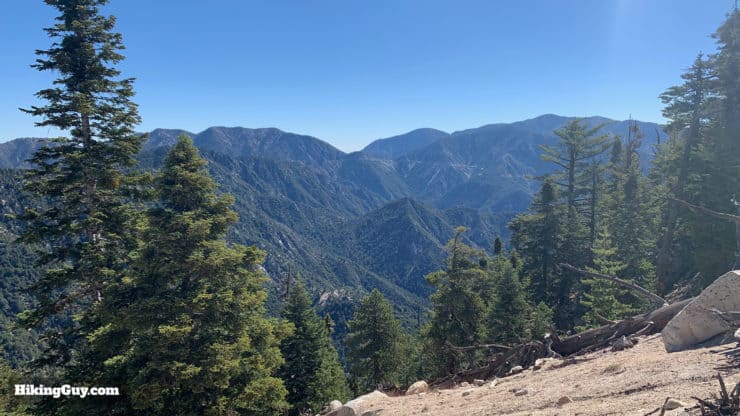
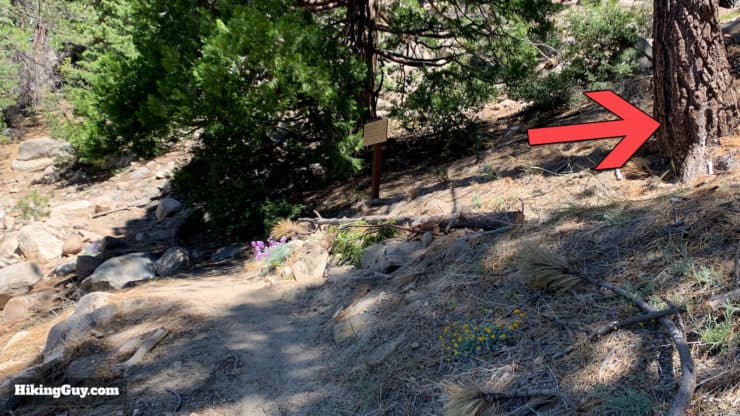
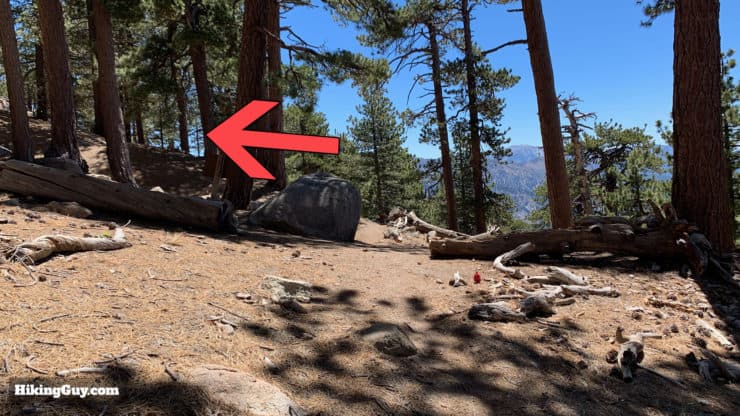
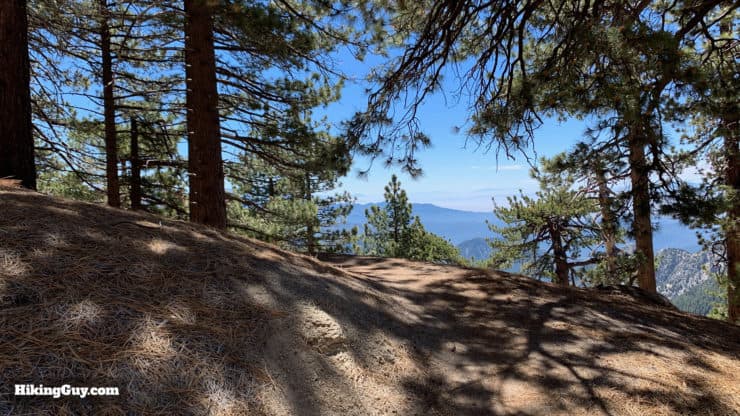
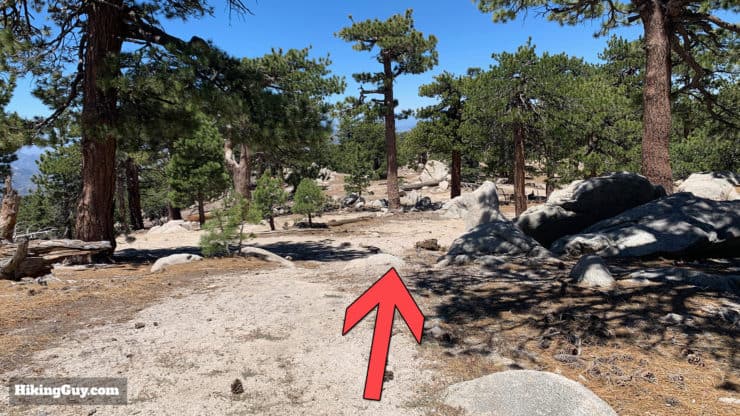
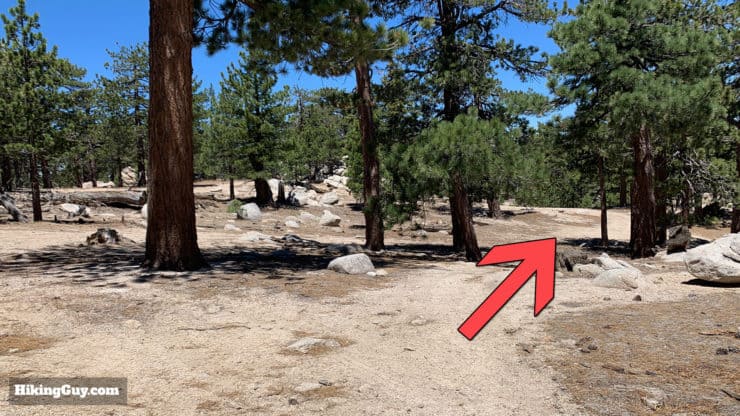
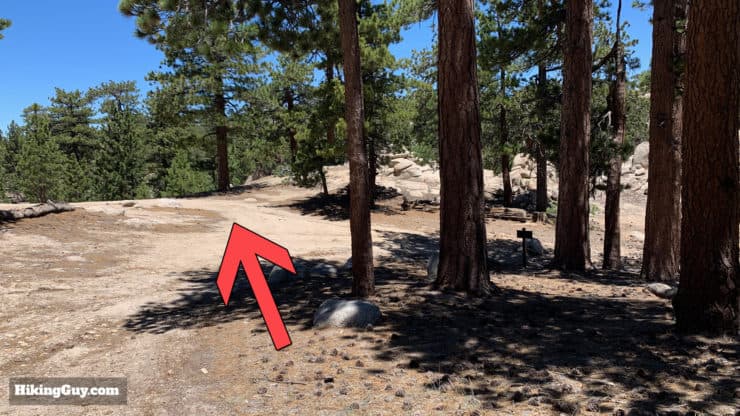
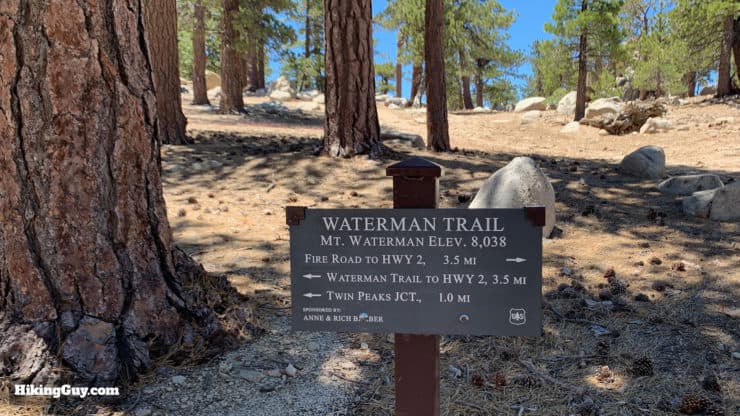
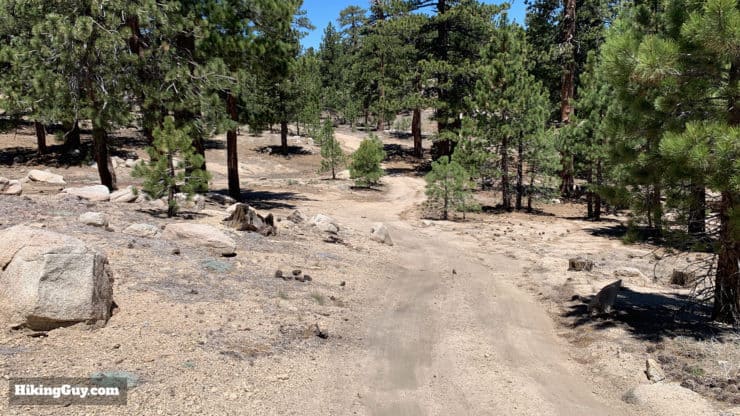
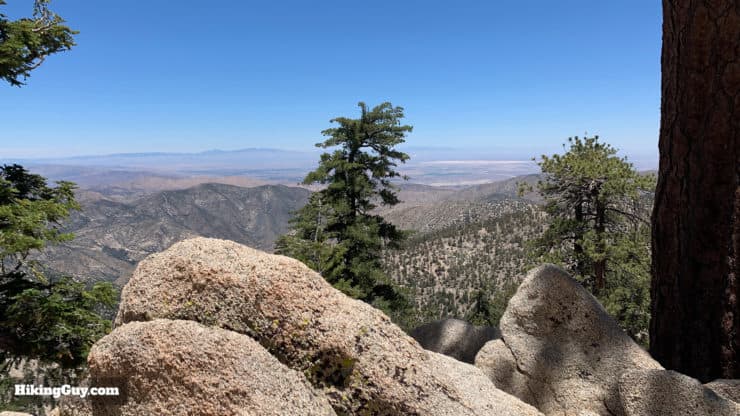
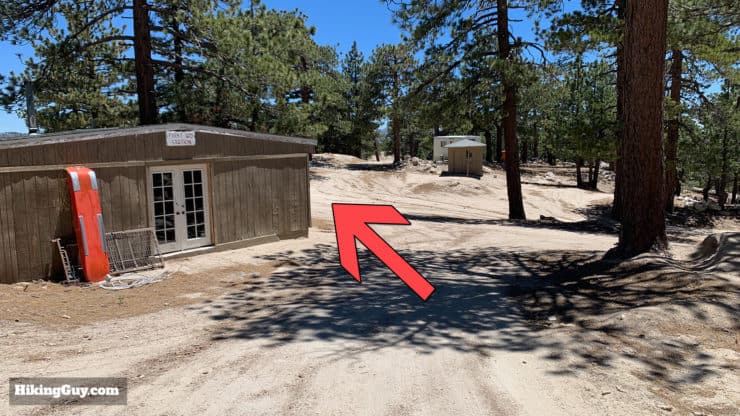
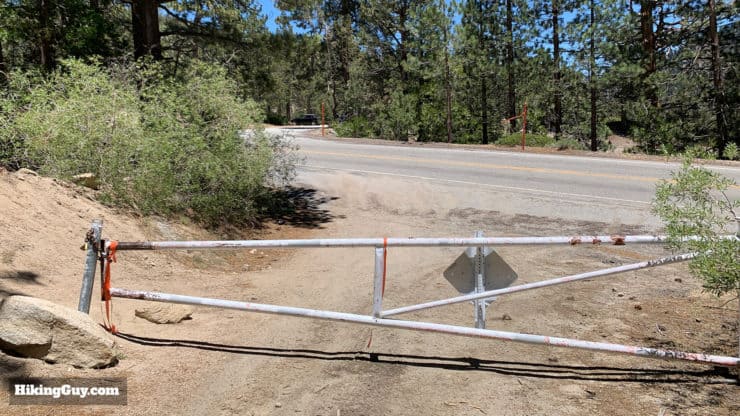
The hike starts across the road from the Buckhorn Day Use area. Head out and cross the road to the left. Look for the gate.Hike around the gate and walk up the dirt road.A few minutes past the gate you'll see this left turnoff for the Waterman Mountain Trail, aka Mt Waterman Trail #2. Make this left onto the "trail" trail.Here's a closeup of the sign at that junction.You'll start climbing up with Angeles Crest Highway disappearing below you. This is one of my favorite stretches of trail, with the smell of cedar and pine in the air.At one point you'll cross a small stream. Keep heading uphill. There's about 900 feet of climbing before you start to go down again.When you get to the ridge, hike to the right.There are some great views along this stretch as you hike along the ridge. In the distance is Camelback Mountain in Orange County, poking above the clouds.The trail continues up and is easy to follow.There are some side trails off to the left where the views are good. The main trail heads up on the right.Take time to check out some of the vista points on this part of the trail. You can see Mt Baldy, Mt Wilson, and many of the peaks in Angeles National Forest.If you look closely in the last shot, on the last bump down from Twin Peak East, you can see Triplet Rocks, one of the hardest points to reach in the San Gabriels. Here's a closeup, and I'll talk more about Triplet Rocks later in the guide.At the intersection, go straight to head to the Twin Peaks. We'll come back to this intersection on the hike to the Mt Waterman summit.
If you want to do the shorter 5.5 mile hike to Mt Waterman, skipping Twin Peaks, make the right here and pick up the directions from this intersection several steps below.
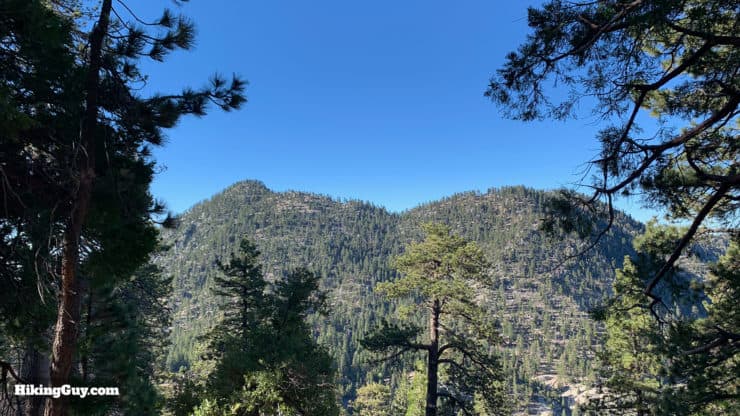
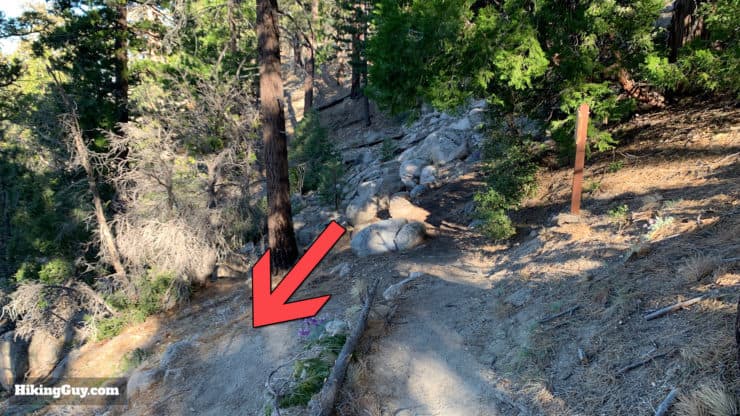
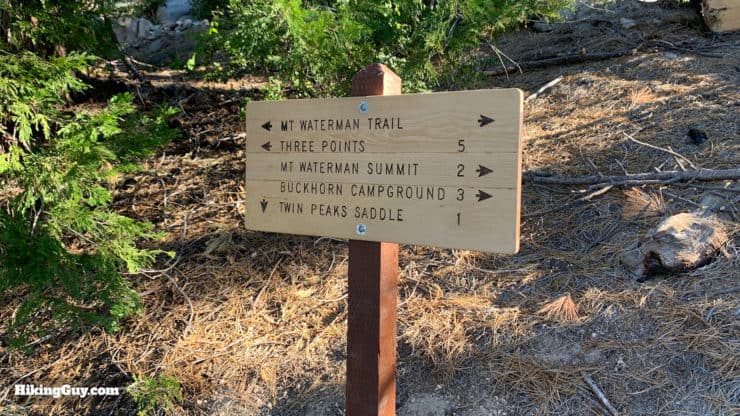
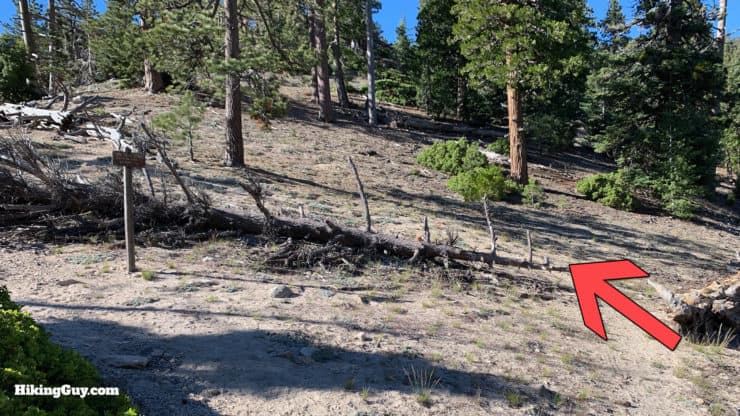
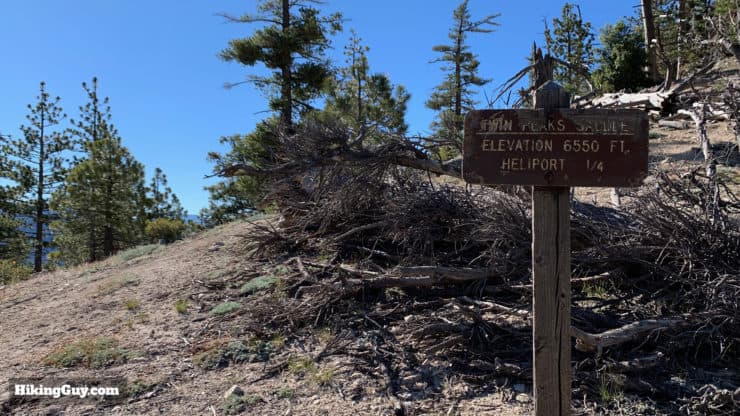
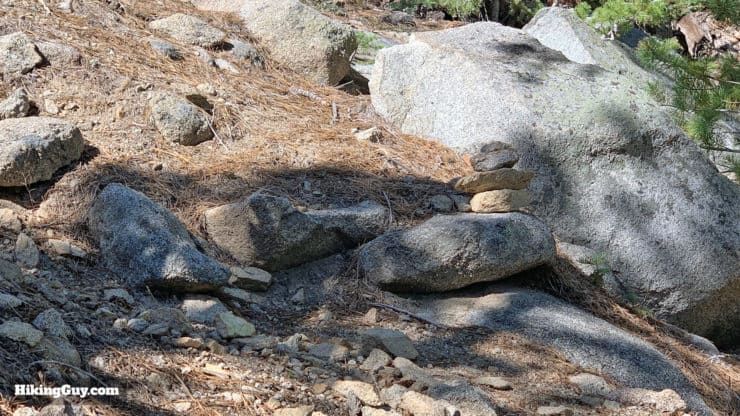
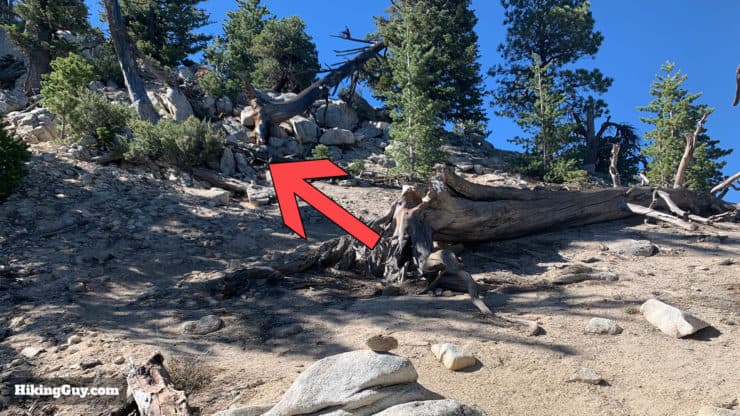
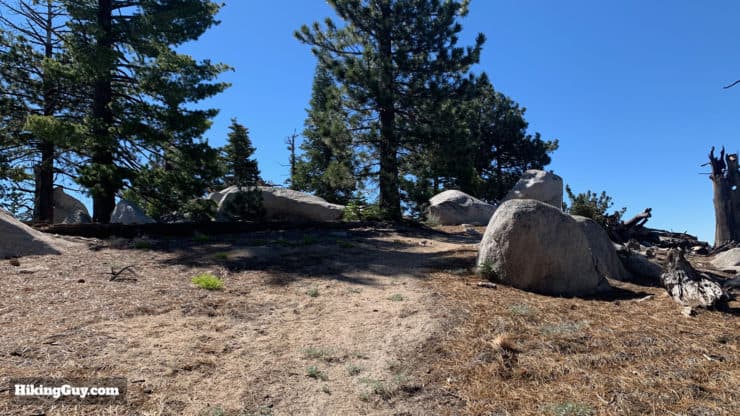
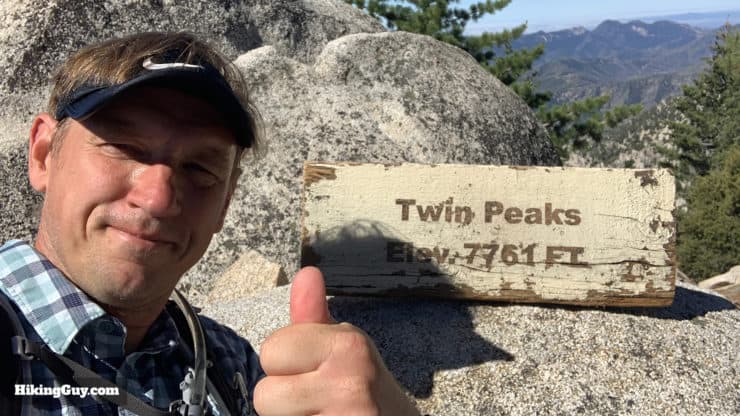
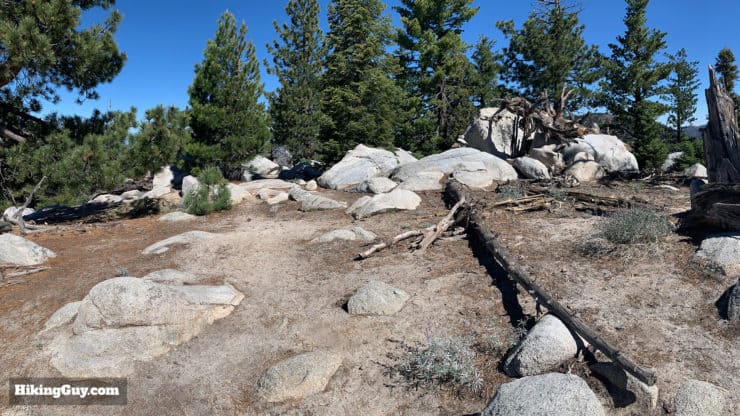
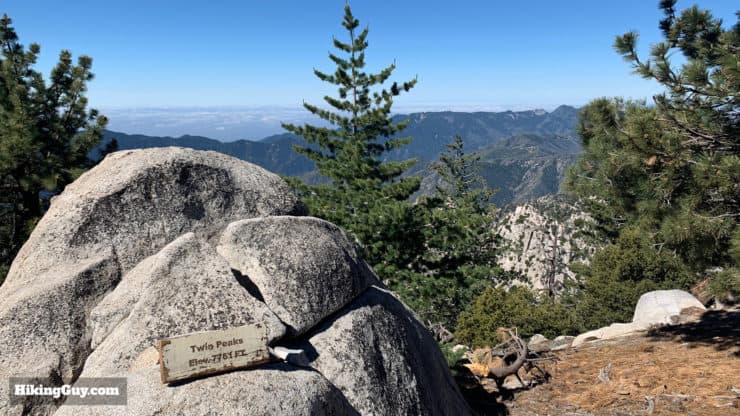
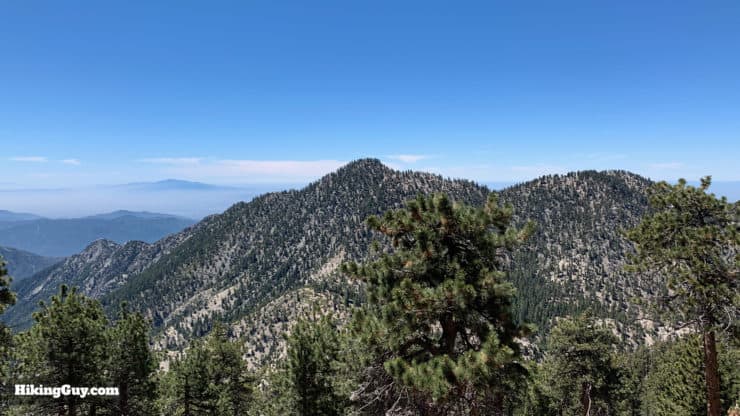
Okay, now you have a gradual descent on Mt Waterman Trail #1.You're going to descend about 1100 feet to the saddle.The trail is easy to follow and has some great views.After a short while your next destination, Twin Peaks, will come into view. We'll be climbing Twin Peak East, the higher and more prominent summit, on the left.At the next trail junction, make the hard left and head towards Twin Peaks Saddle. Going straight would take you to Three Points Trailhead on the Angeles Crest Highway.Here's a closeup of the sign at that intersection. BTW volunteers put the sign on the day before I shot this guide. Thank you!Keep heading down the switchbacks until you can see the Twin Peaks Saddle in the distance.When you get to the saddle, head up and to the left, passing the trail to the hard left.Here's the trail sign at the hard left that leads to the heliport. There's not much of a heliport left, but there are some decent views of Mt Baldy. Visit if you want, otherwise continue on to Twin Peaks.There's a gentle section of trail as you continue to the base of the Twin Peaks climb.Now you've got work to do. The climb to the east peak of Twin Peak is steep. Take your time and keep climbing.Three are parts of the trail that break apart and come back together, and some parts that go over rocks. Keep your eyes open for cairns and look up to see where the trail heads.If you get totally winded like I do, take a break and turn around for some nice views of Mt Waterman, your next stop.When you get to the top of the climb, keep left to hike the last stretch to the peak.The trail eases up as you enter the peak area.Pat yourself on the back, that was a tough one. 7,761ft never felt so good...The summit has a lot of protected flat areas where folks can spent the night.You'll get nice panoramic views of the surrounding peaks, including Mt Wilson, which you can identify by the radio towers and observatory.
For me, this hike is enough on it's own, but if you feel inspired, there are some other options from the summit.
You can take the small use-trail over to Twin Peaks West. There is a class 3 boulder climb to get to the "summit summit" but you can pretty easily walk to the summit area.
To the east of the summit, up and down several ridges and class 3 climbs, is the "least accessible peak in the San Gabriel mountains," Triplet Rock. Not something you just decide to do.
After you've had your fill of the summit, head back down to the saddle, and then up again. You're going back to the last big trail junction. Once you get back to the saddle, you have about 1500 feet of ascent to the Mt Waterman summit.At the trail junction make the right to continue on to Mt Waterman.The trail has a decent amount of climbing and switchbacks, and is the same trail you came down earlier. You'll get nice views to your right of Twin Peaks, where you just were.At the Mt Waterman trail junction that you went through earlier, make the left to keep ascending to the Mt Waterman summit.
If you took the 5.5 mile route to Mt Waterman, pick up the directions below.
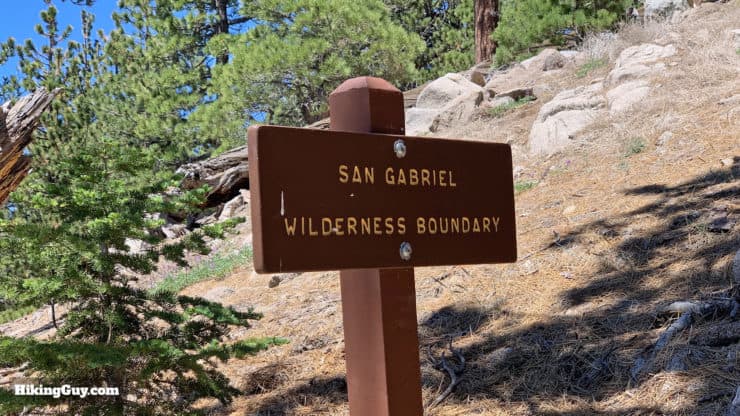
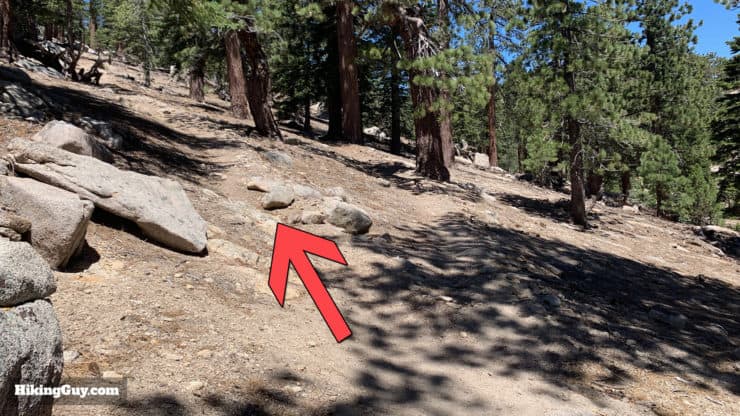
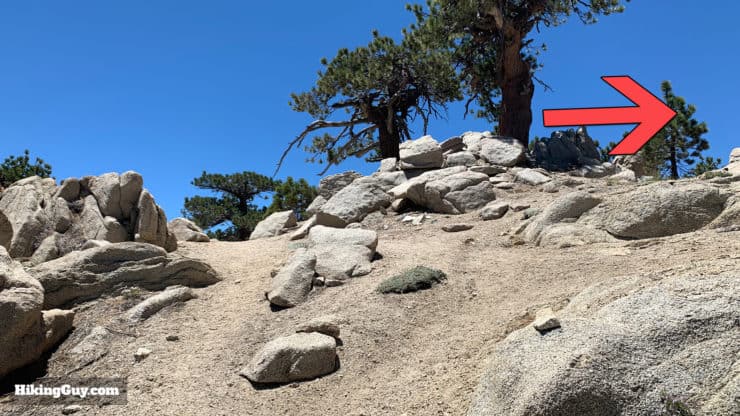
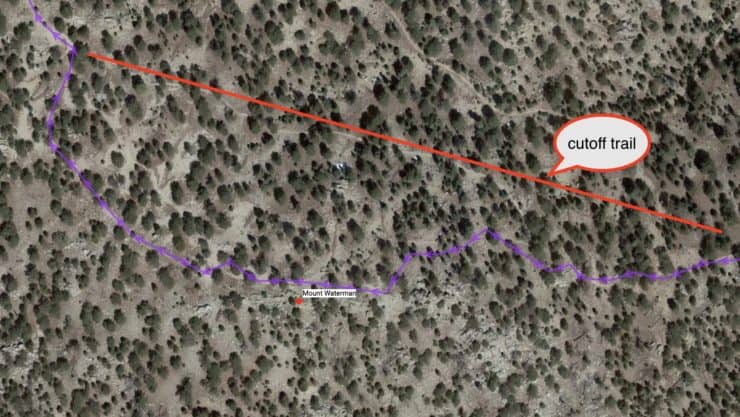
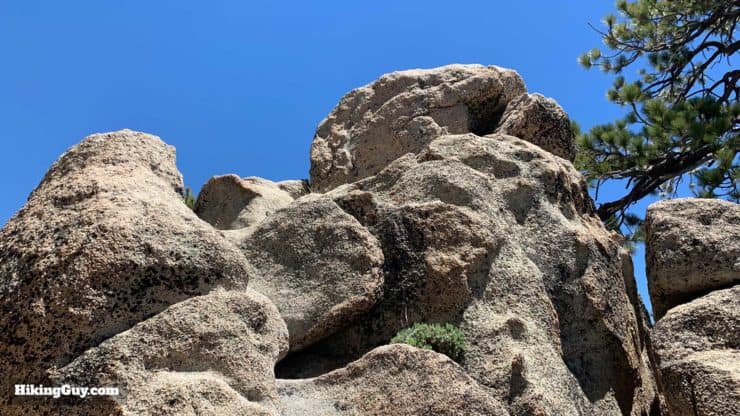
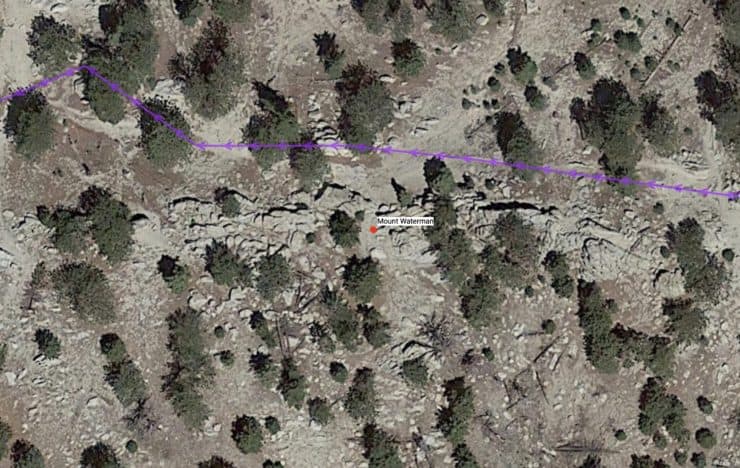
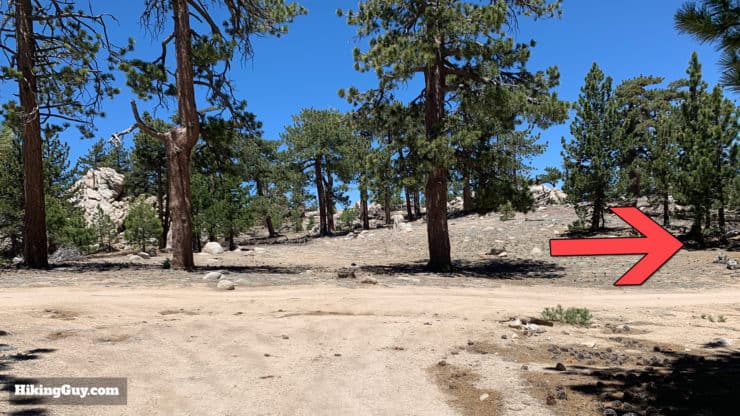
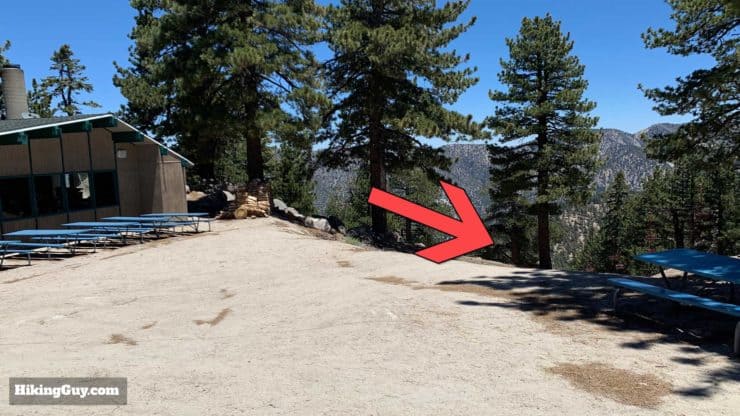
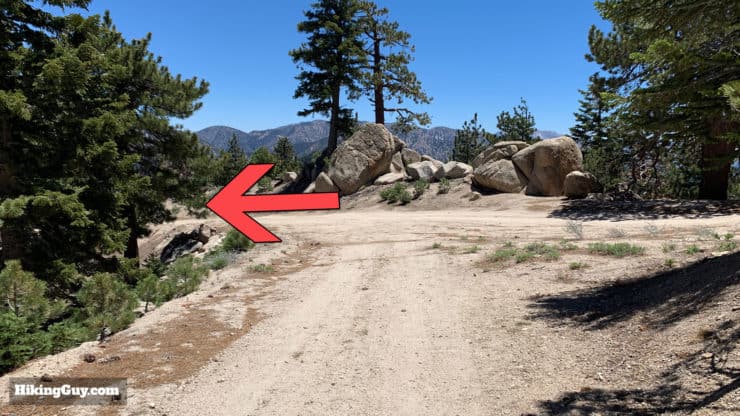
After all the climbing you did earlier, this stretch of climbing is gradual and mellow.There's a sign for the San Gabriel Wilderness boundary in case you were wondering where you are.There's a trail spit, bear to the left to hike to the summit.When you get to the ridge, make the right.Here's the detail of the last intersection and the trail to the summit area. These directions follow the purple line, the right at the last intersection is the (official) red cutoff trail. You're going to hike straight through the trails around the summit and then bear right out the other side to rejoin the official trail. There are a lot of small trails around this area.The "summit summit" of Mt Waterman involves a small scramble up a pile of boulders.Here's a satellite view: the actual summit is up a pile of rocks that you can scramble up to the left of the trail. You'll see it when you pass, it's the tallest pile of boulders. Scramble up if you'd like. Otherwise keep straight.Continue straight past the summit area. Mt Waterman was named after Liz Waterman, the first white non-indigenous woman known to have crossed the San Gabriel Mountains (in 1889).When you see the turnoff to the right, head that way.Immediately after bearing right you'll see where this trail rejoins the official trail. Go left when you get there.Here's the sign at the last intersection where the summit spur rejoins the main trail.
If you want to do the popular loop, follow the directions below. You can also make the right at this junction and head back to the last junction, and then back down Mt Waterman Trail #2 to Buckhorn. I think it's a more scenic option, but it's not the loop. Again, the directions below are for the loop.
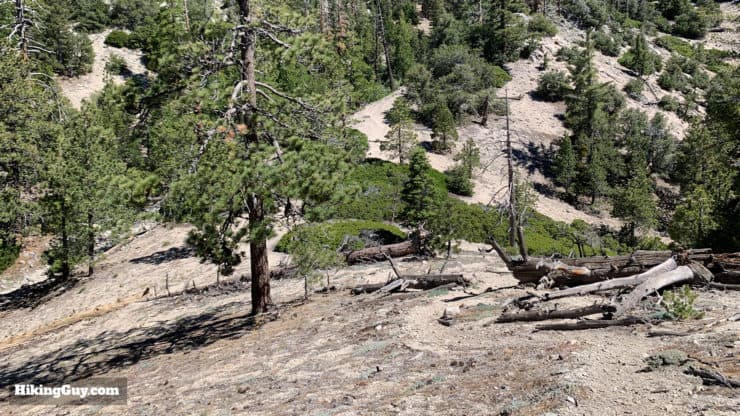
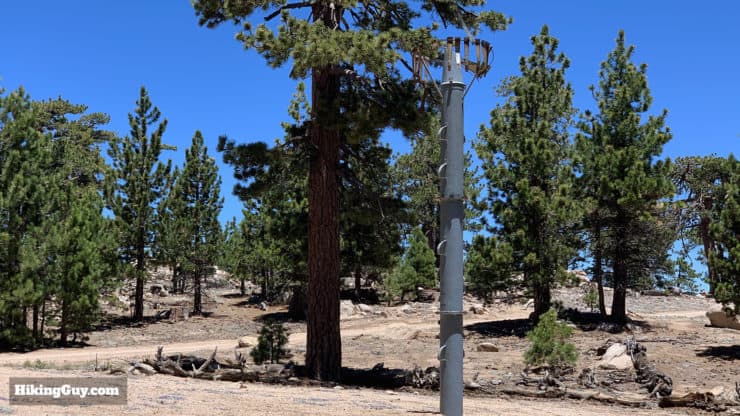
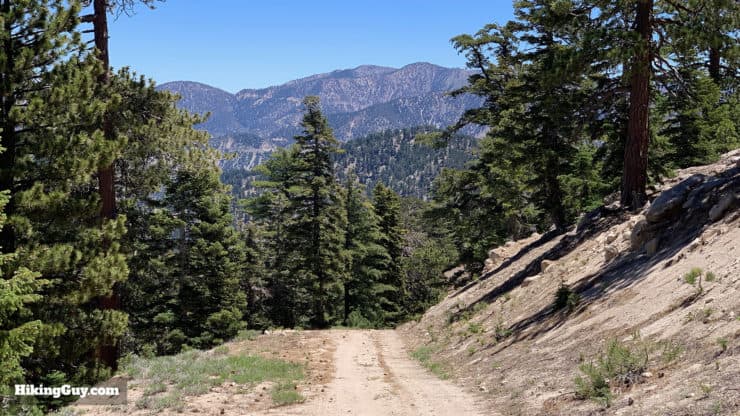
From here on out you'll be on dirt roads through the Mt Waterman Ski Area as you descend on this part of the loop. The metal baskets you see in the trees around you are for frisbee golf.You'll pass an old tower on your right, which I think was a weather station at one point. A notice on the pole warns you "not to molest" it.When the trail Ts, make the hard right and continue downhill through the ski area and past the ski lifts on your right.Pass the pond on your left and continue straight. Note that some GPX files on AllTrails route you down the ski slopes to your right as you descend. I find that this way is easier, the slopes can get rocky, steep, and hard to walk on.One of the nice things about going this way is that you have views into the Mojave. Keep goingWhen you get to the ski area, make the left around the First Aid Station.Right after that last turn, go through the cafe and structures to take the road out of the ski area.The trail heads downhill and is easy to follow. There are some nice views of the high peaks include Mt Baden Powell in the distance.Make the left and continue downhill.At the end of the downhill you'll arrive back at the gate where you started. Cross the road and return to your car at Buckhorn, that's it!


 Using the Apple Watch for Hiking
 Garmin Fenix 7 & Epix Review For Hikers
 How To Read a Topographic Map
 Garmin GPSMAP 67i Review
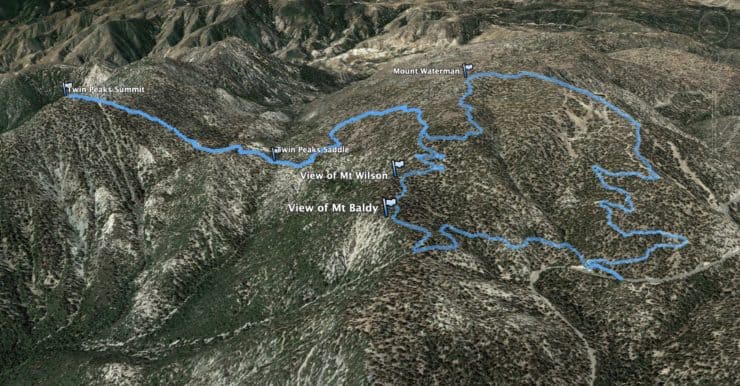

 Hike Mt Lukens From Deukmejian Wilderness Park
 Hike Mt Islip From Crystal Lake
 Strawberry Peak Hike
 Mt Hawkins Loop Hike (Hawkins, Middle, and South Mount Hawkins)
 Mt Zion Loop Hike From Chantry Flat
 Throop Peak + Mount Burnham + Baden-Powell From Dawson Saddle
 Los Angeles Hikes
 Angeles National Forest Hikes
 LA Mountain Hikes
 San Gabriel Mountains National Monument Hiking
 Sierra Club 100 Peaks
 Best Hiking Gear 2024
 Hiking Boots or Shoes: Do I Really Need Hiking Boots?
 When to Hit SOS on inReach