

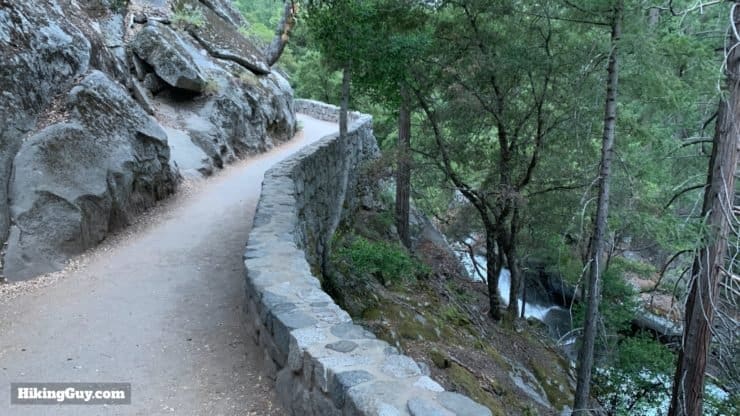
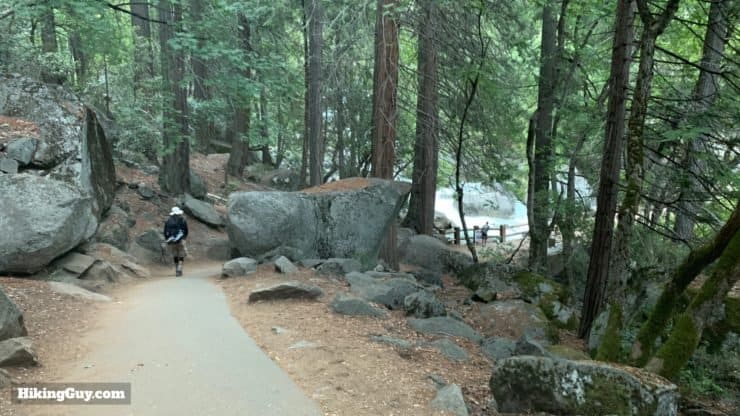
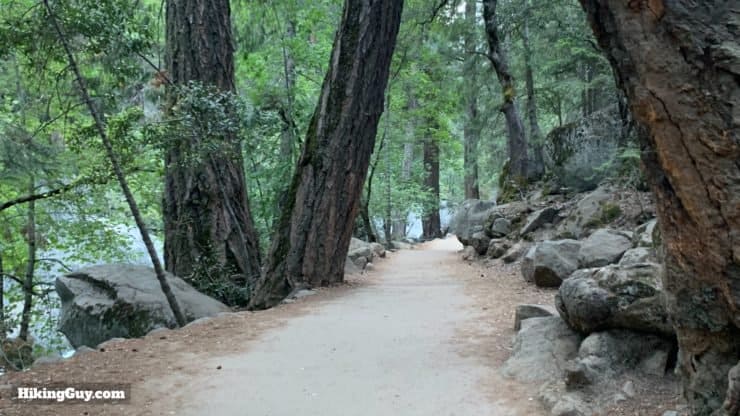
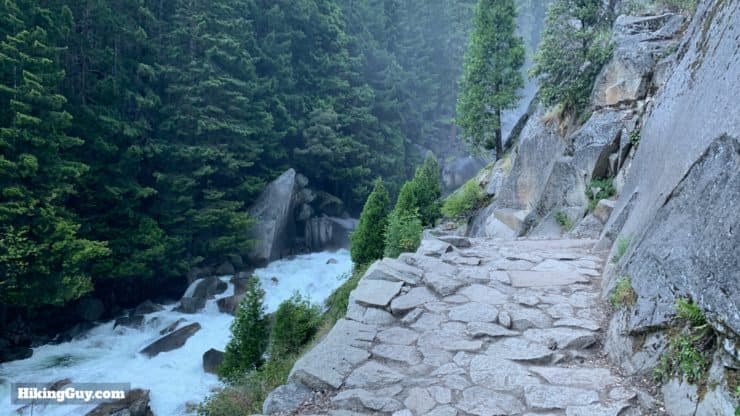
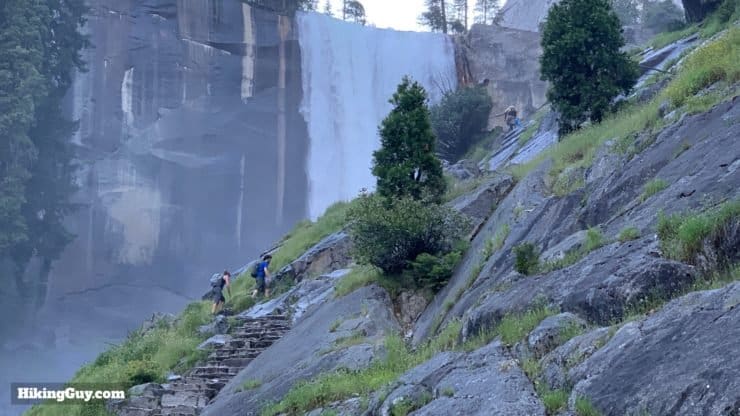
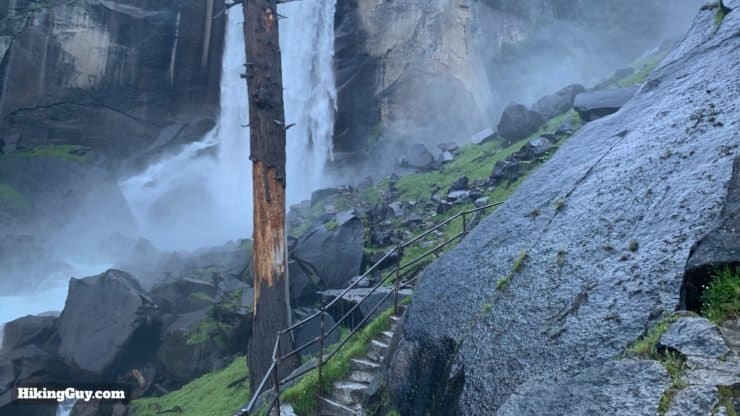
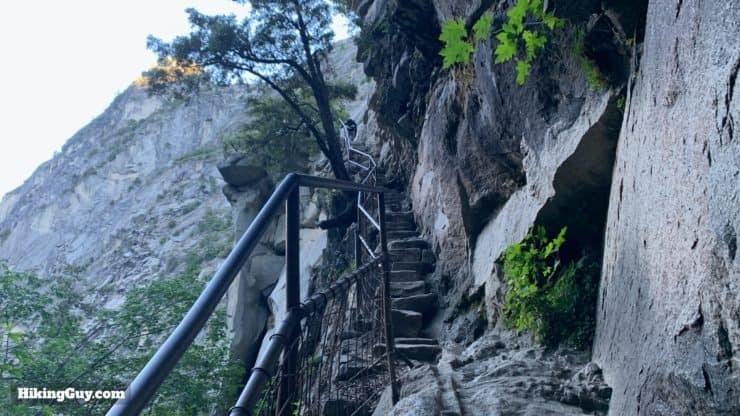
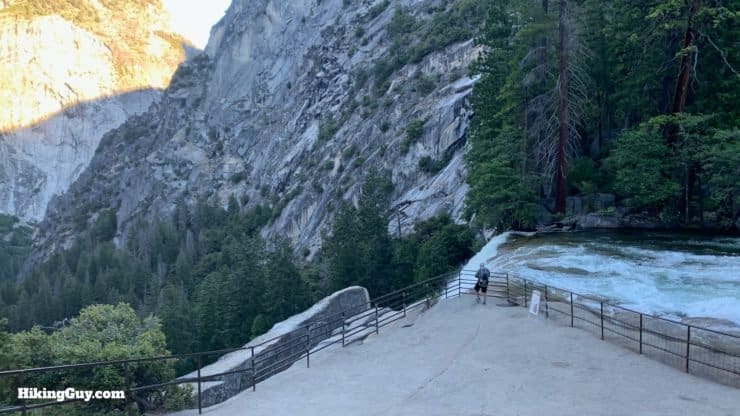
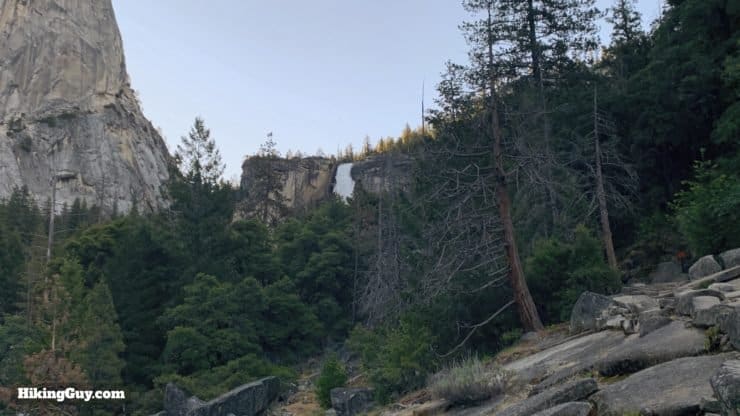
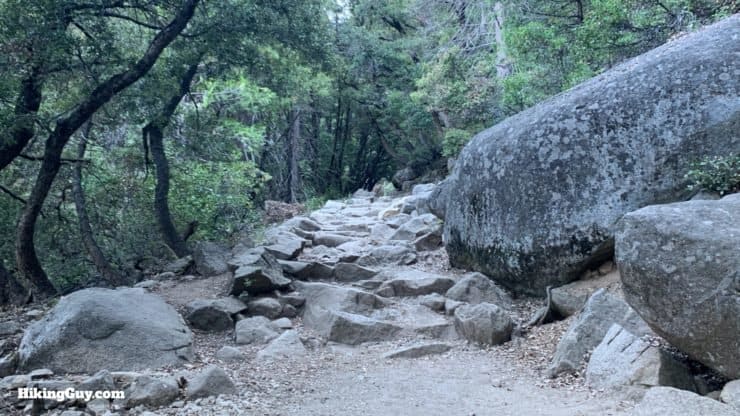
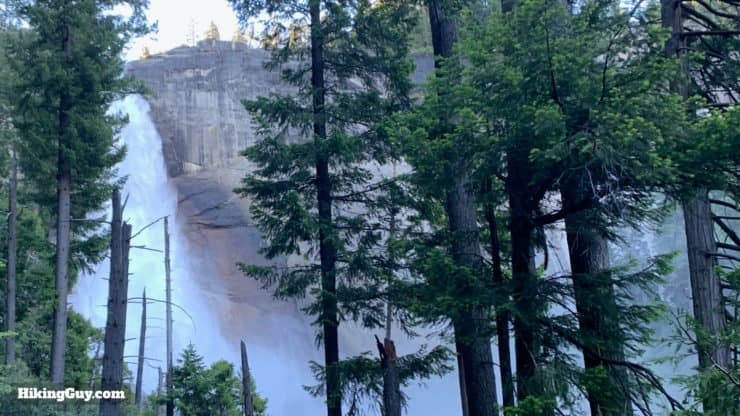
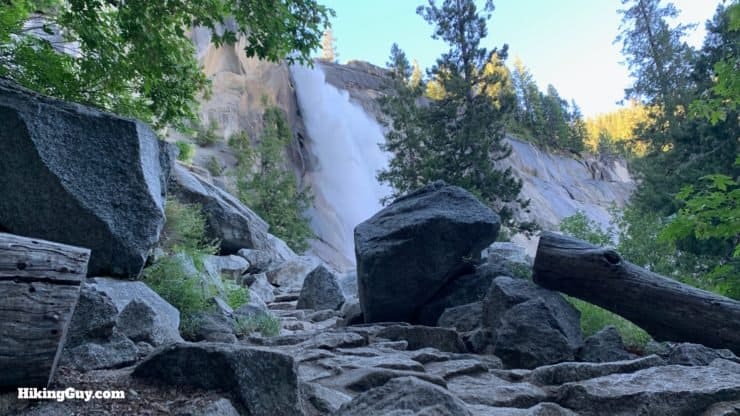
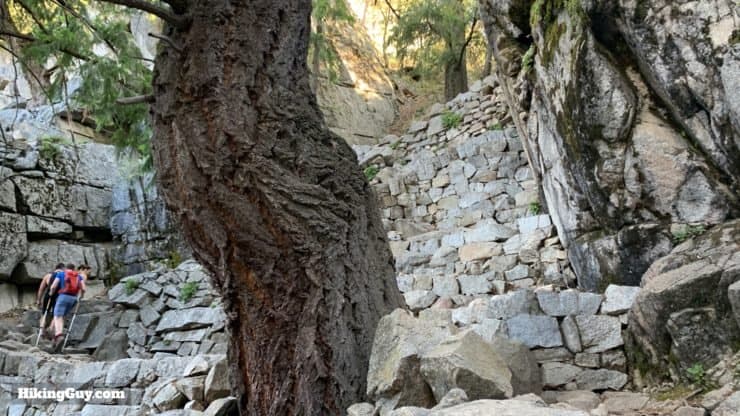
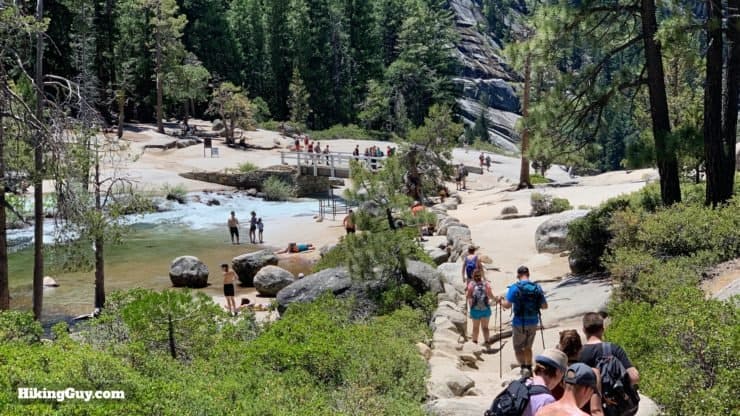
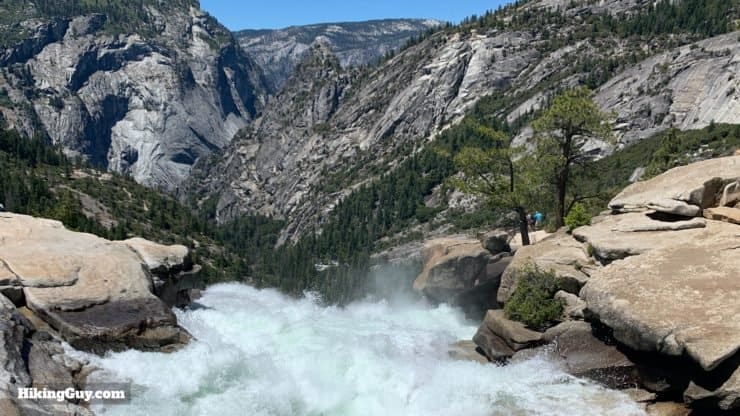
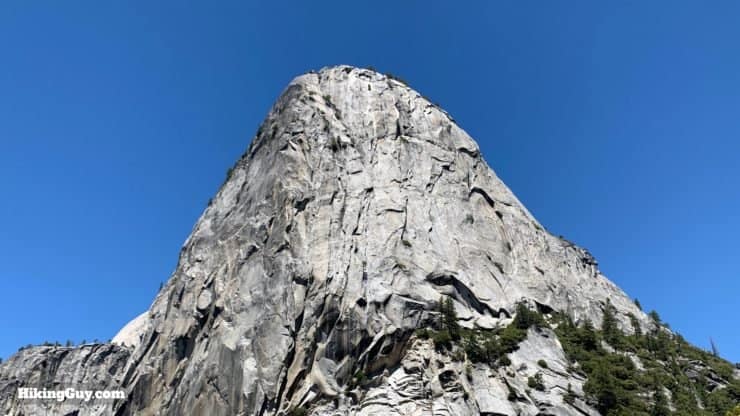
Considered the classic Yosemite hike, the Mist Trail to Vernal Falls and Nevada Falls lives up to its hype. The lower slopes are paved and scenic, but then you cross the Merced River and hike through the mist up 600 granite steps to the 317-foot Vernal Falls (3 miles round-trip). You can then continue to the massive and booming 594-foot Nevada Falls (6 miles round-trip). And for a (highly recommended) loop hike back, follow the famous John Muir Trail down scenic switchbacks where you'll get great views of Nevada Falls and Liberty Dome.
- Video & Turn by Turn Directions for the Mist Trail
- How to Get to the Mist Trail Trailhead
- Everything You Need to Know To Prepare for the Hike
- Options for 3 mile (total) hike to Vernal Falls, 6 mile (total) hike to Nevada Falls, and 7.5 mile (total) hike to Nevada Falls and Back on the John Muir Trail with Scenic Viewpoints
#1 Tip: Leave at sunrise to beat the crowds! Tons of people do this hike as the day wears on and it's a much different experience when it's just you, the waking forest, and the waterfalls.

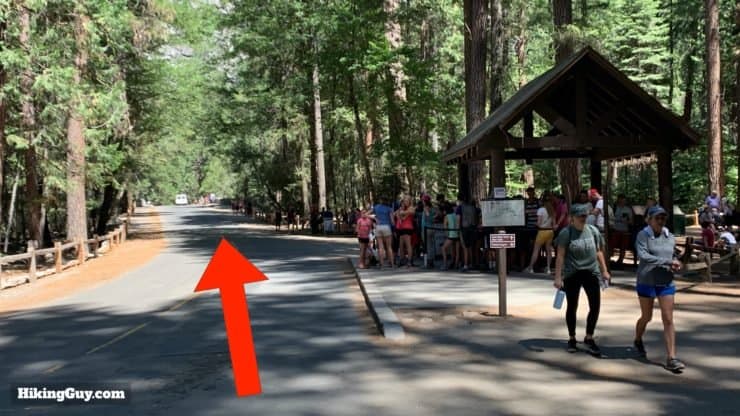
How to Get to the Mist Trail in Yosemite
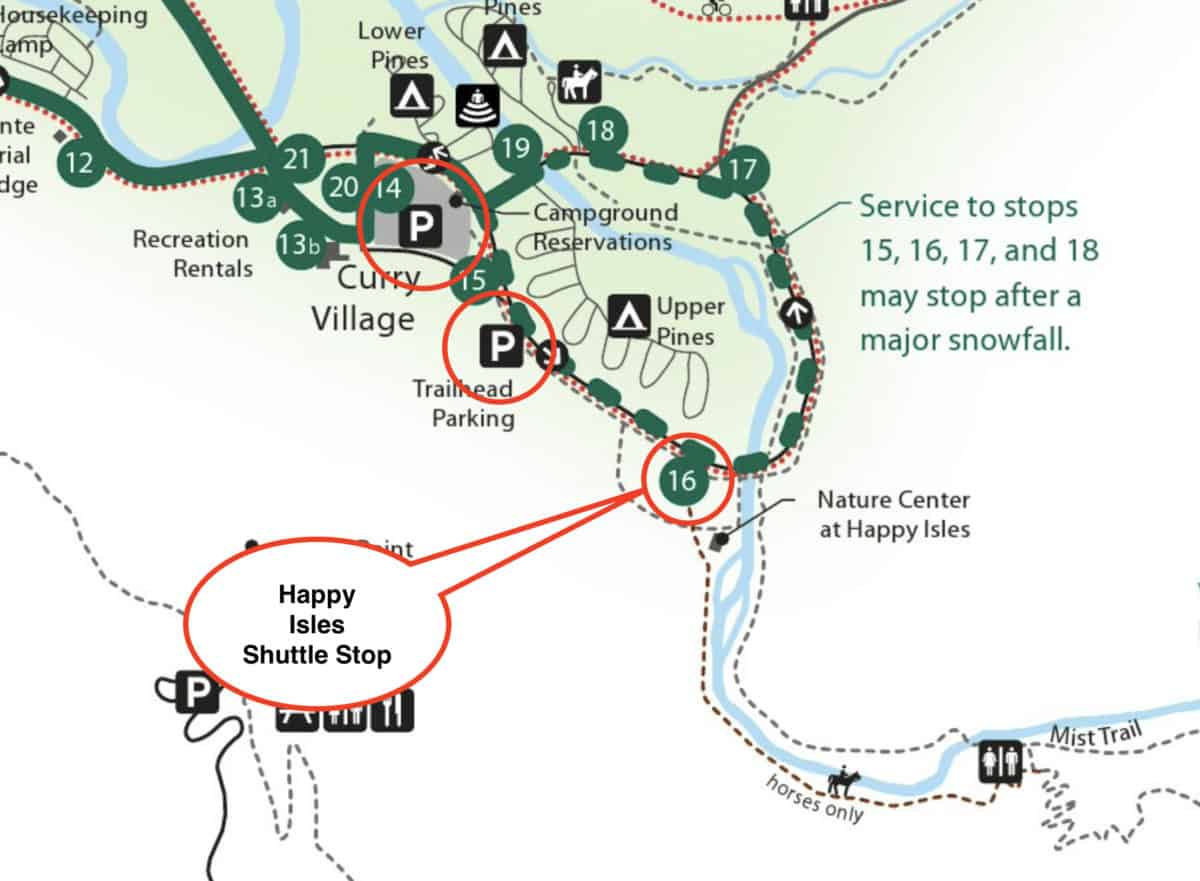
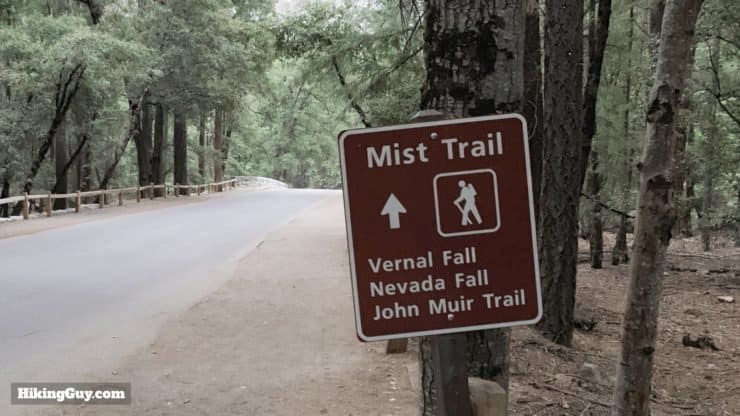
Your best bet to hike the Mist Trail is to take the (free) green park shuttle bus to the Happy Isles stop (#16) and hike from there. Happy Isles is at the far (eastern) end of Yosemite Valley, just past Curry Village. The mileage in this guide (and in the National Parks official guides) starts from there.
Use this trailhead address:
Happy Isles Shuttle Stop (#16), Yosemite Valley, CA 95389
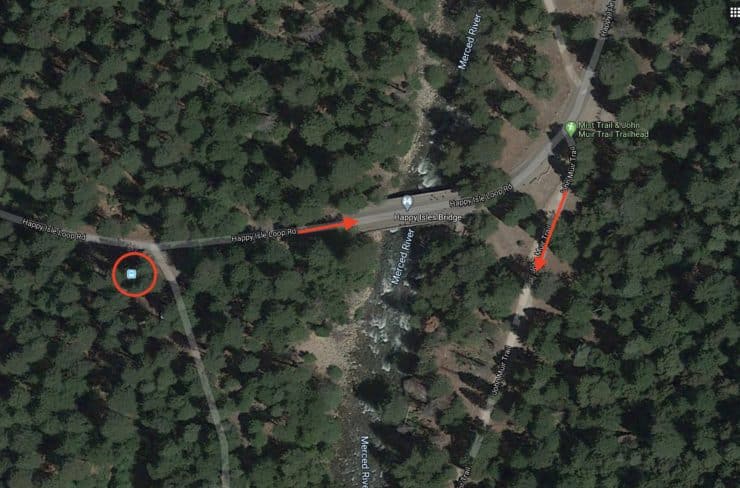
If you'd like to drive as close as you can to the trailhead, there's a parking lot, the Yosemite Valley Parking Lot, about 0.5 miles from Happy Isles. The lot is usually closed in the peak season after the early morning; it's commonly reserved for those hiking Half Dome or the backcountry. In the off-season it can be open. Just park and walk down the road.
And you can park around Curry Village in the public Half Dome Village Parking Lot as well. Again, just walk down the road 0.8 miles to the trailhead.
Gear for the Hike
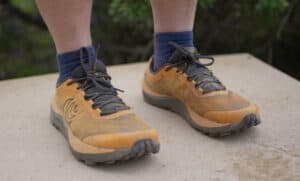
It certainly helps to do this hike with proper hiking gear if you have it. If you don't have hiking clothes, your best bet is fitness clothes. The trail can be wet and slippery, so good hiking boots or shoes help, as do trekking poles. Be prepared to get wet too; the mist from the falls makes it seem like it's raining out (watch the video below). I use a simple rain jacket / wind breaker.
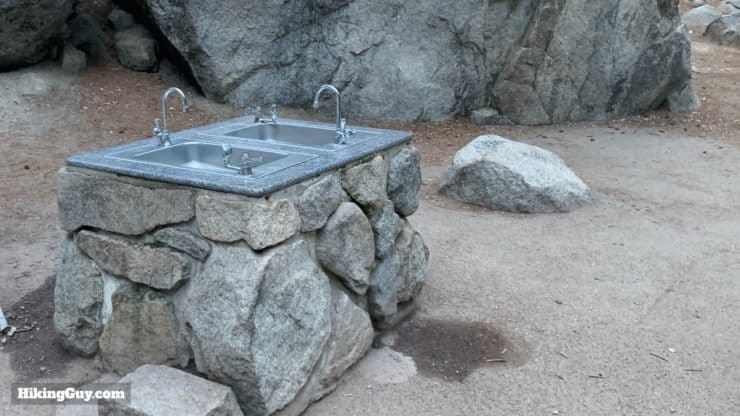
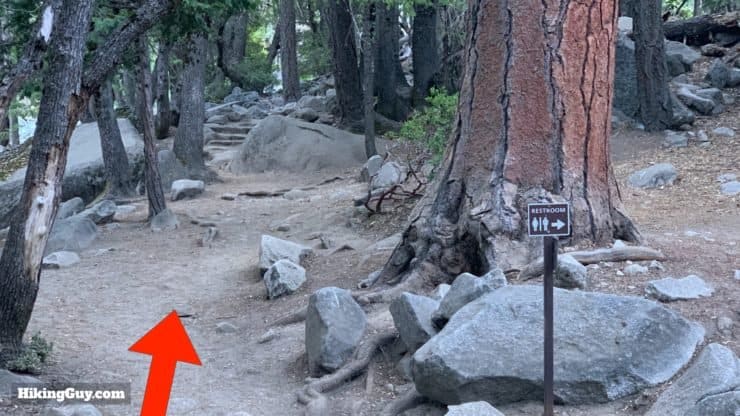
It's also a longer hike, so bring plenty of water (at least 1L, 2L recommended) and snacks. There are bathrooms along the hike; I've noted them on the map below. If you're hiking later in the day and aren't experienced doing this distance, bring a headlamp or flashlight in case you take longer than you think.
Gear That I Love Right Now
Nothing is sponsored or promoted, just the actual gear that I use.


Check out the complete list here. ( Updated October 2024)
Mist Trail, Vernal Falls, Nevada Falls Trail Maps
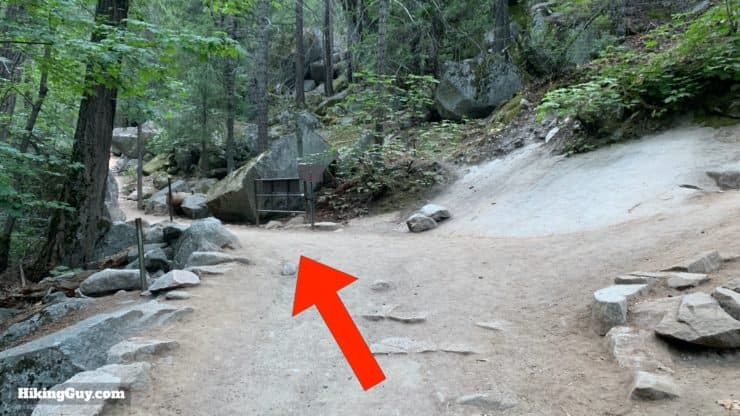
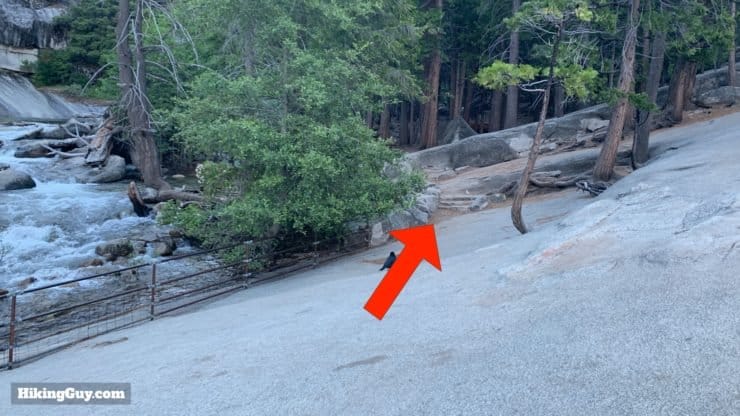
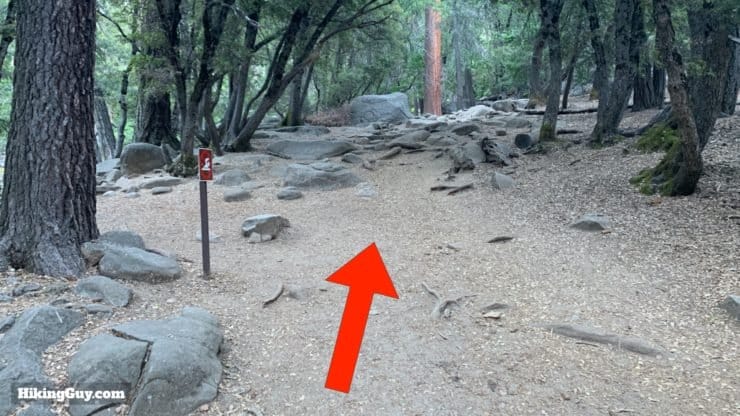
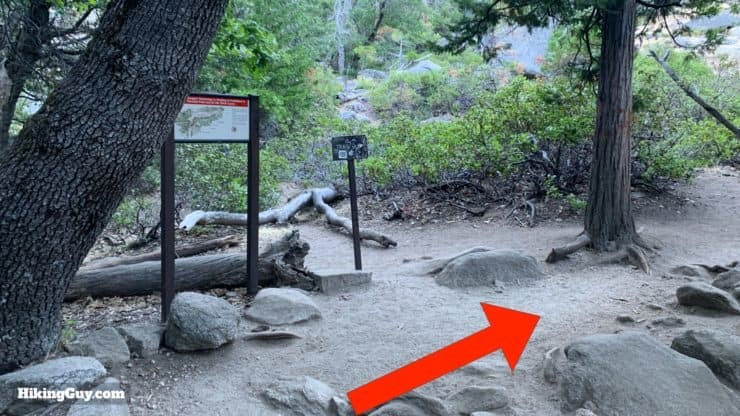
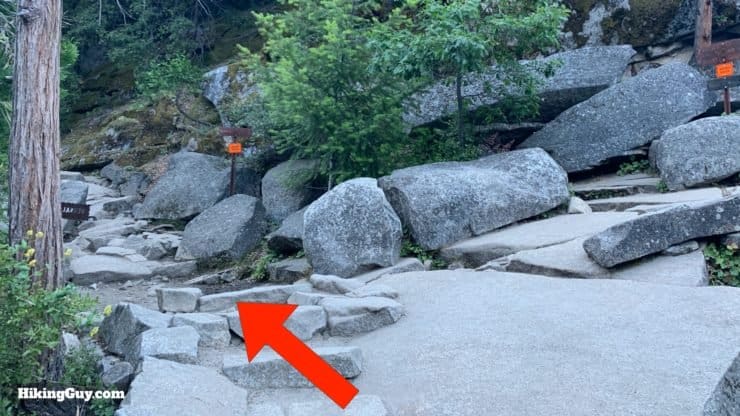
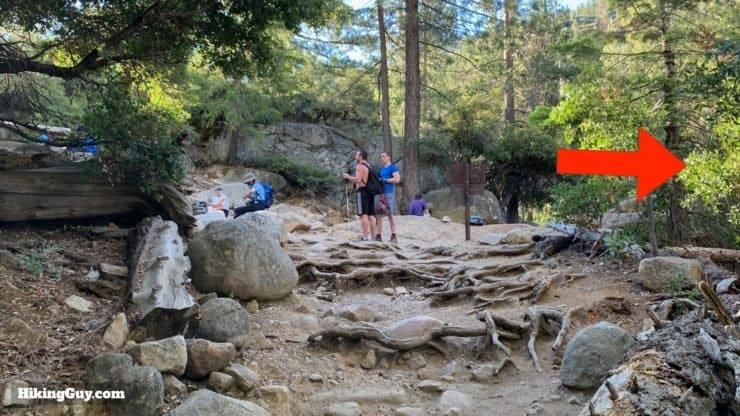
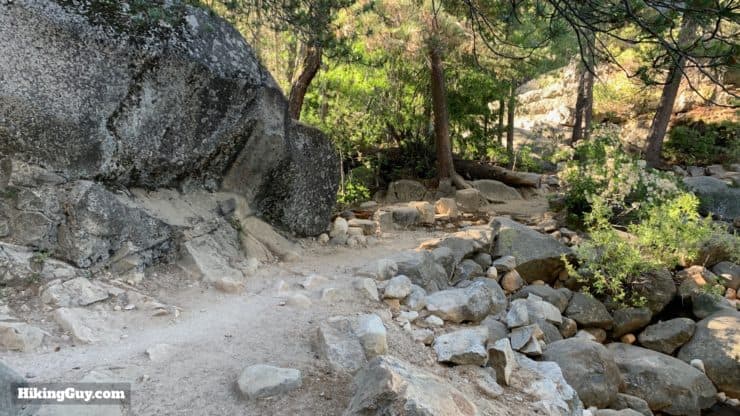
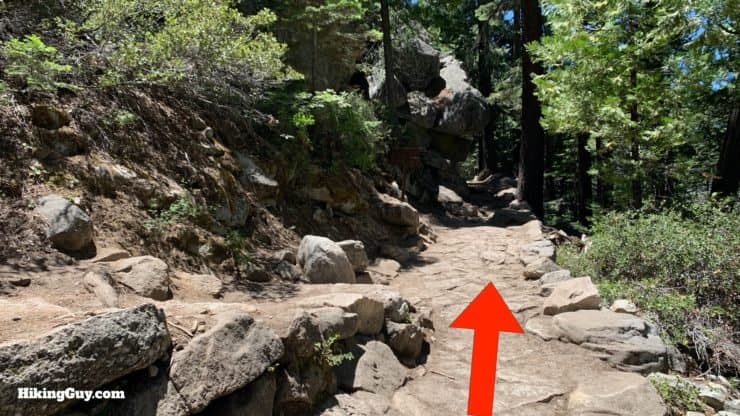
The trails are very well marked in Yosemite, and especially on the popular Mist Trail. That said, some sections can be tricky so make sure you study the images in the directions and watch the video. It's not an area of Yosemite that you have to worry about getting lost in; you'll be with tons of other people. You just want to avoid turning onto the wrong trail.
How Will You Navigate?
 Using the Apple Watch for Hiking
 Garmin Fenix 7 & Epix Review For Hikers
 How To Read a Topographic Map
 Garmin GPSMAP 67i Review
Hike Landmarks
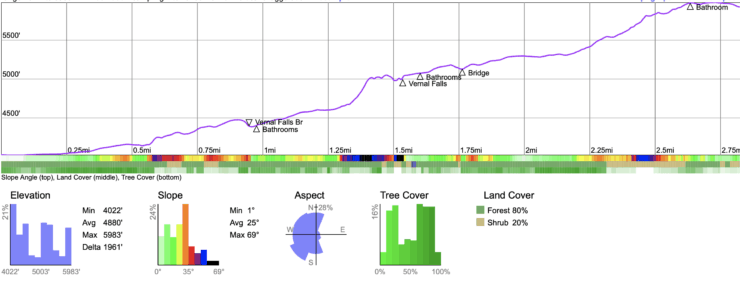
| Landmark | Distance | Elevation |
|---|---|---|
| Happy Isles Shuttle Stop | 0 | 4020 |
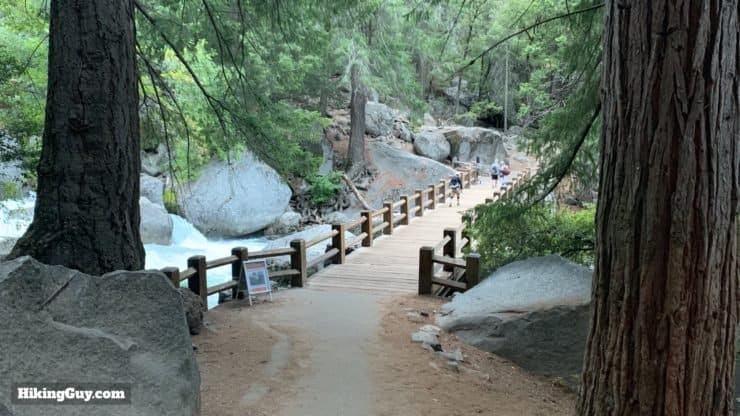
| Vernal Falls Bridge | 1 | 4400 |
| Vernal Falls | 1.6 | 5000 |
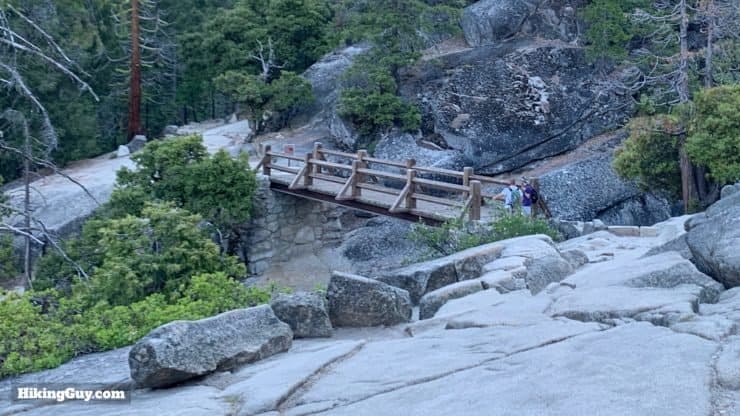
| Bridge | 1.9 | 5150 |
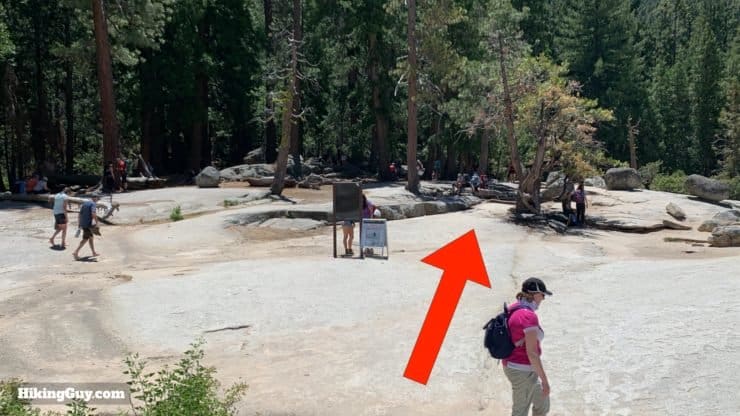
| Bathrooms / Trail Junction | 2.8 | 5980 |
| Nevada Falls | 3 | 5930 |
Trail Elevation
3D Map
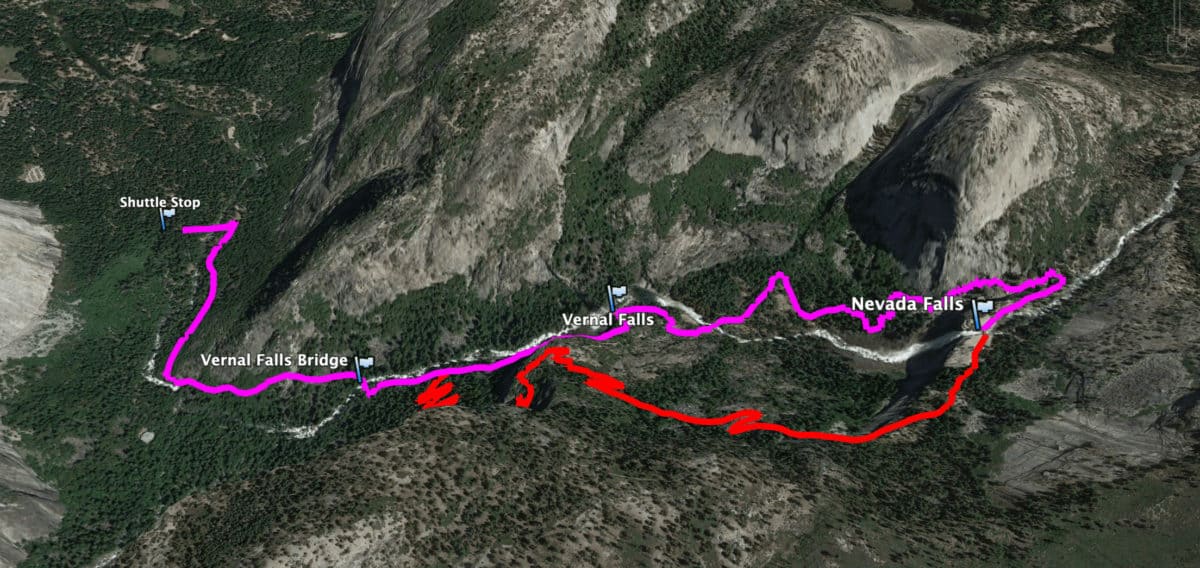
Alternate Return On the John Muir Trail
I've included directions for an alternate loop back down to the start from Nevada Falls on the John Muir Trail. I highly recommend taking this way back down for several reasons.
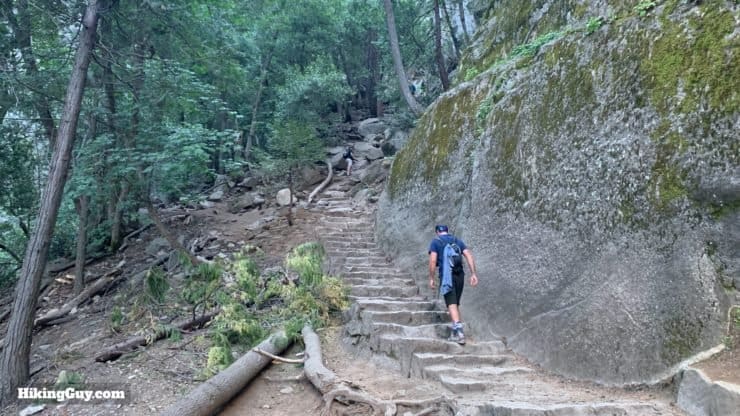
- You won't beat up your knees going down the granite stairs.
- It's safer to descend on the John Muir Trail. There are no places to potentially slip on a wet granite step and fall.
- You won't have to walk against crowds coming up the Mist Trail.
- The trail is not nearly as crowded as the Mist Trail.
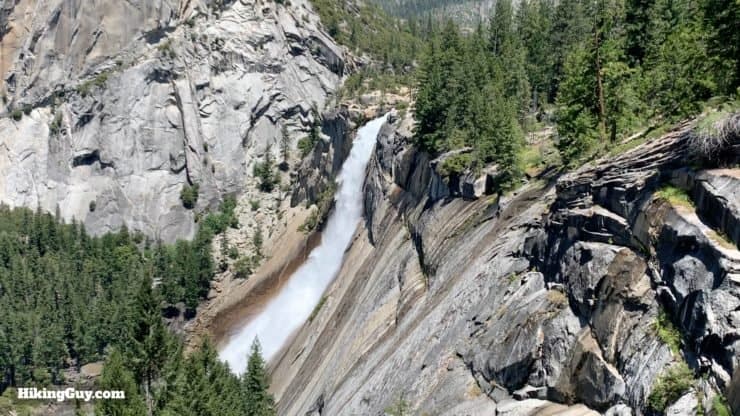
- You'll get incredible views of Nevada Falls, Liberty Dome, and the back of Half Dome.
Being Safe On the Mist Trail
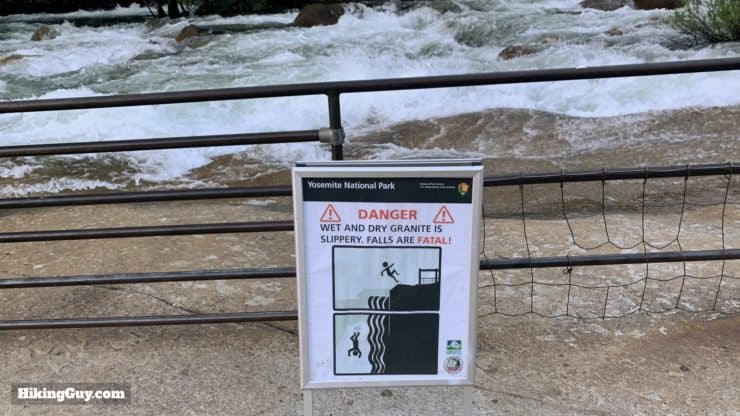
As Yosemite's signature and most popular hike, the Mist Trail, as you might imagine, has its share of accidents and deaths. That doesn't mean it's a dangerous trail. Thousands of people hike it safely all the time. But if you don't follow the rules, you could end up as a fatality.
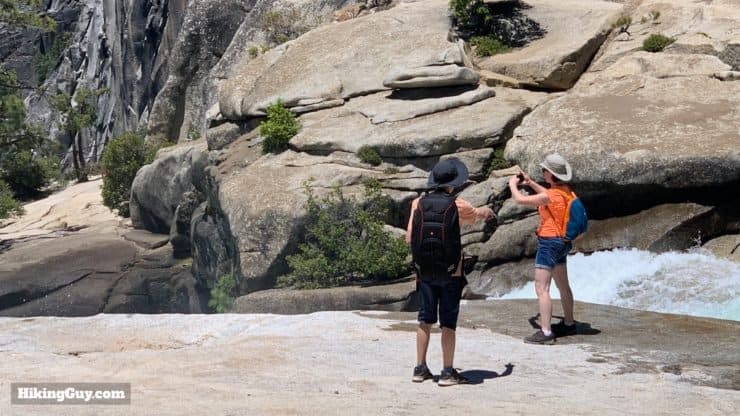
- Don't go into, wade in, or go right next to the water. Think about what would happen if you were to slip into the river. How slick is the granite? Would you be able to stop? People fall into the water, slip, get swept away, and die here. It's real.
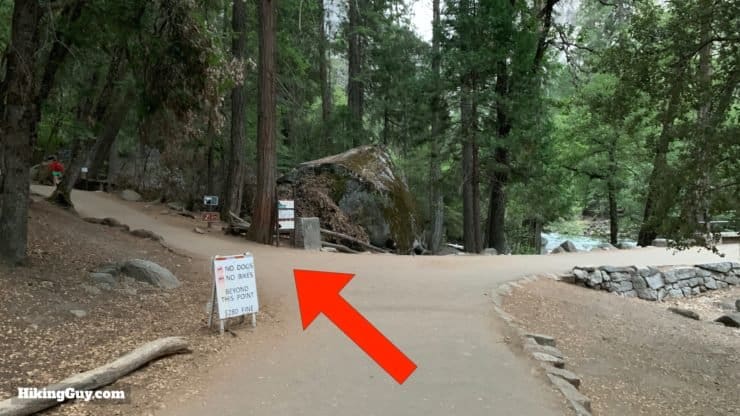
- Heed all the warning signs.
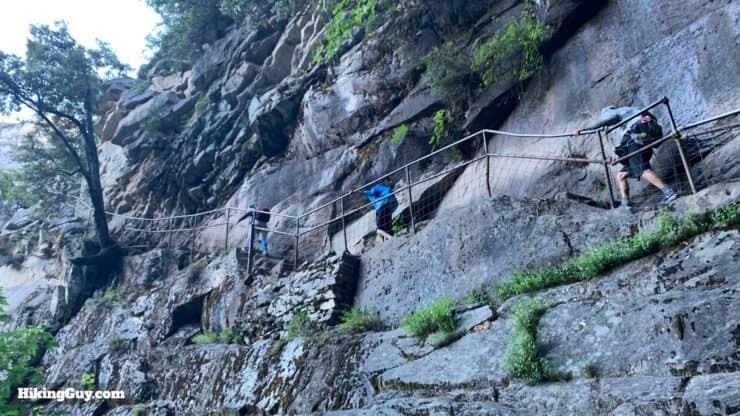
- If the trail is crowded, hug the inside of the trail and let others pass on the outside.
- If you are passing, let others know before you pass, and do so very carefully. If you don't feel like you can pass safely on a section of the trail, stay behind and pass in a better section.
- In the winter the trail can be closed due to falling ice. Heed all trail closures or detours.
- I wouldn't do this hike with small children.
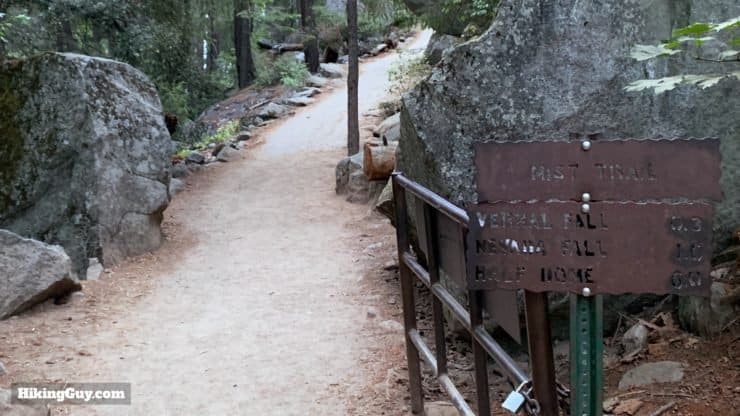
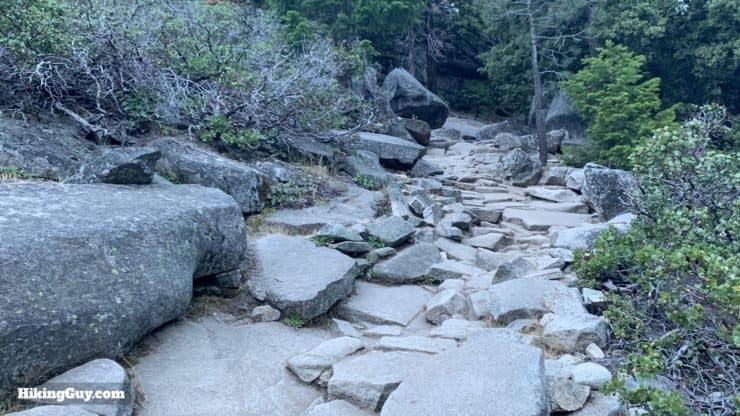
Mist Trail to Vernal and Nevada Falls Hike Directions


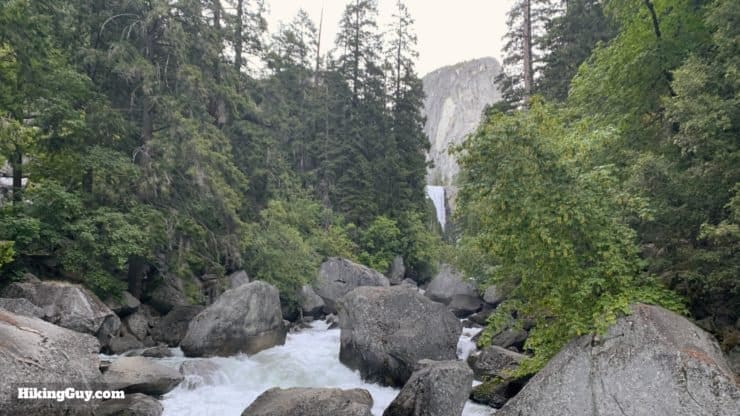
Vernal, meaning "of spring" refers to the fact that the falls flow the most in spring when the snow melts.
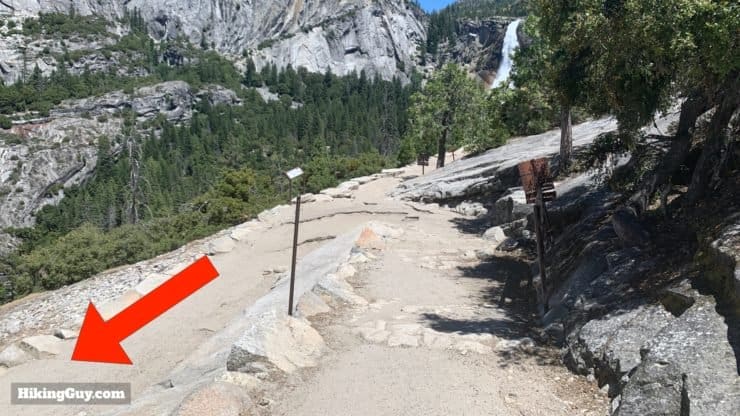
If you want to do the 3 mile hike, simply turn around and go back the way you came from here. Be careful on the slippery steps back down.
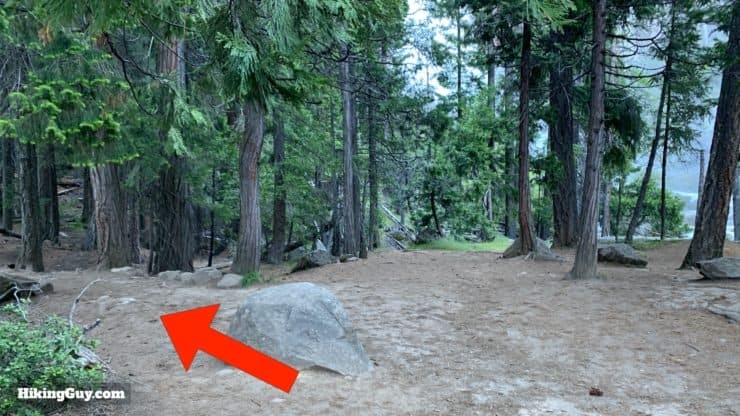

As of June 2023, the route below has been closed. You'll have to return the way you came up on the Mist Trail.
From here you can turn around and go back the way you came, or you can take the (slightly longer but easier) loop back down the John Muir Trail. If you are taking the John Muir Trail loop back down, follow the directions below. Otherwise just turn around and hike back down.

Need More Info?
- Have a question about the guide? Join my Patreon and ask me a question.
- When planning, always check the park website and social media to make sure the trails are open. Similarly, check the weather and road conditions.
- Do you have an update to this guide? View the Youtube comments for this video. Leave a comment and I will do my best to update the guide.
Related Guides
 Upper Yosemite Falls Hike
 Four Mile Trail Hike Guide
 Hike Chilnualna Falls Trail
 How To Hike Half Dome
 Yosemite Hiking Tips
 Best Hikes in the US
 Yosemite Hikes
Popular Guides
 Best Hiking Gear 2024
 Hiking Boots or Shoes: Do I Really Need Hiking Boots?
 When to Hit SOS on inReach
This Guide Was Written by Cris Hazzard

Hi, I'm Cris Hazzard, aka Hiking Guy, a professional outdoors guide, hiking expert, and author based in Southern California. I created this website to share all the great hikes I do with everyone else out there. This site is different because it gives detailed directions that even the beginning hiker can follow. I also share what hiking gear works and doesn't so you don't waste money. I don't do sponsored or promoted content; I share only the gear recommendations, hikes, and tips that I would with my family and friends. If you like the website and YouTube channel, please support these free guides (I couldn't do it without folks like you!). You can stay up to date with my new guides by following me on YouTube, Instagram, or by subscribing to my monthly newsletter.