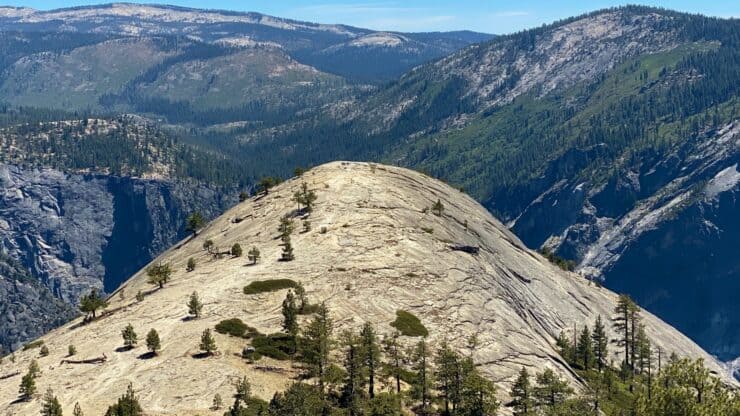

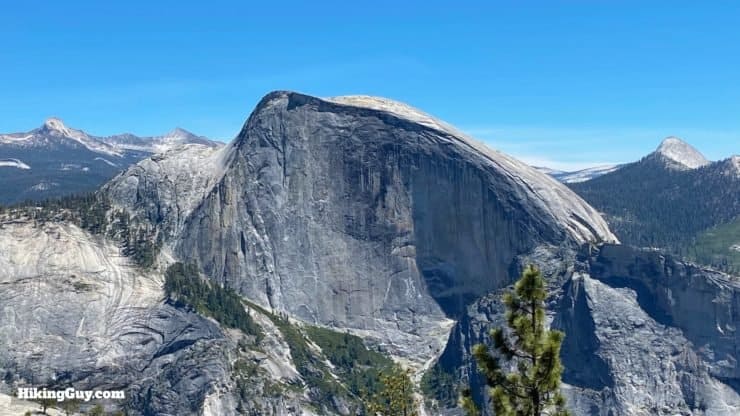
The North Dome hike in Yosemite is a gem in so many ways. It's tough, but not super hard. You enjoy beautiful trails but without the major crowds. A quick side-trip takes you to Yosemite's only natural arch, which is worth a visit. There are picture-perfect views of Half Dome from directly across the valley. And then, of course, North Dome offers panoramic views from down the Yosemite Valley up to the high peaks on Tioga Road and beyond. I highly recommend this hike; give it a try.
- Video and Turn by Turn Directions to North Dome
- Do I Need a Permit for North Dome?
- North Dome Hike Trail Maps
- Where to Park to Hike to North Dome
- Indian Rock Side Trip
The North Dome hike in Yosemite is a gem in so many ways. It's tough, but not super hard. You enjoy beautiful trails but without the major crowds. A quick side-trip takes you to Yosemite's only natural arch, which is worth a visit. There are picture-perfect views of Half Dome from directly across the valley. And then, of course, North Dome offers panoramic views from down the Yosemite Valley up to the high peaks on Tioga Road and beyond. I highly recommend this hike; give it a try.
Where Is the North Dome Trail?
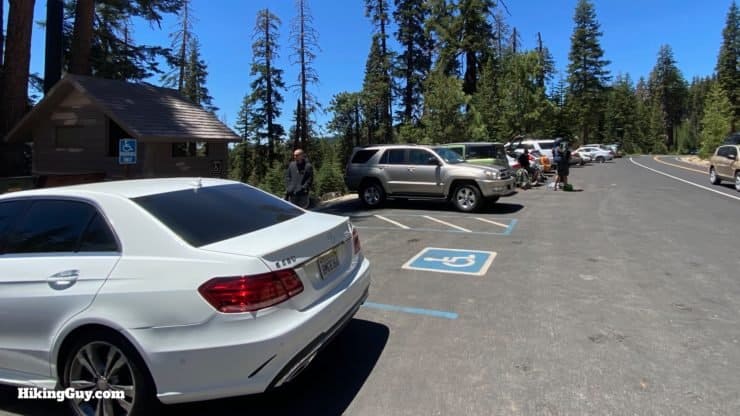
There are a few routes to hike to North Dome, and this guide covers the shortest and easiest way to get there, which is from the Porcupine Creek Trailhead on Tioga Road. The trailhead is about 1 hour from Yosemite Valley, depending on the traffic.
Use this trailhead address:
Porcupine Creek Trailhead, Tioga Road, Yosemite Valley, CA 95389
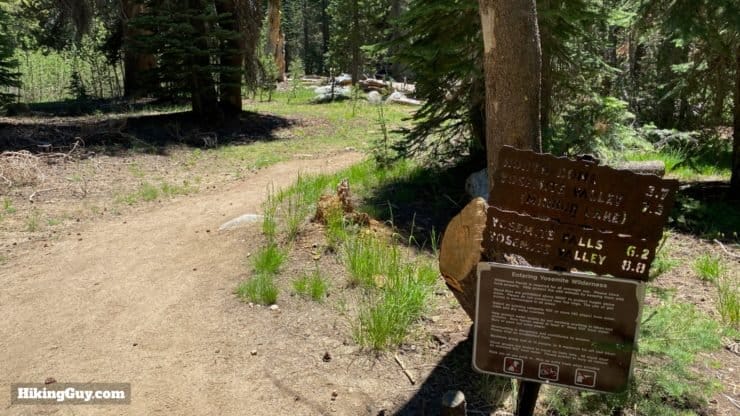
Do I Need a Permit to Hike North Dome?
If you want to do the North Dome hike as a day hike, which is how most folks do it, you DO NOT need a permit. If you'd like to do an overnight backcountry camping trip to the North Dome area, you do need a wilderness permit. The permit demand for Porcupine Creek Trailhead is listed as "medium," which means that you have a decent chance to land a permit. But again, for just a day hike, you don't need a permit.
If you were trying to hike to Half Dome and didn't get a cables permit, try doing this hike or the hike to Clouds Rest. Both hikes can be done without a permit and offer similar, spectacular views.
Gear For the Hike
I've listed this hike as moderate because, compared to other hikes in Yosemite of the same length, there's not much climbing. But at almost 10 miles and with 2000 feet of ups and downs, it's not a cakewalk. Ideally you should have proper hiking gear, including good footwear, to deal with the small stream crossings and granite sections. Bring 2L of water and some snacks. North Dome summit is a good place for a break and refueling. Mosquitos can be intense in the spring and early summer.
Gear That I Love Right Now
Nothing is sponsored or promoted, just the actual gear that I use.


Check out the complete list here. ( Updated October 2024)
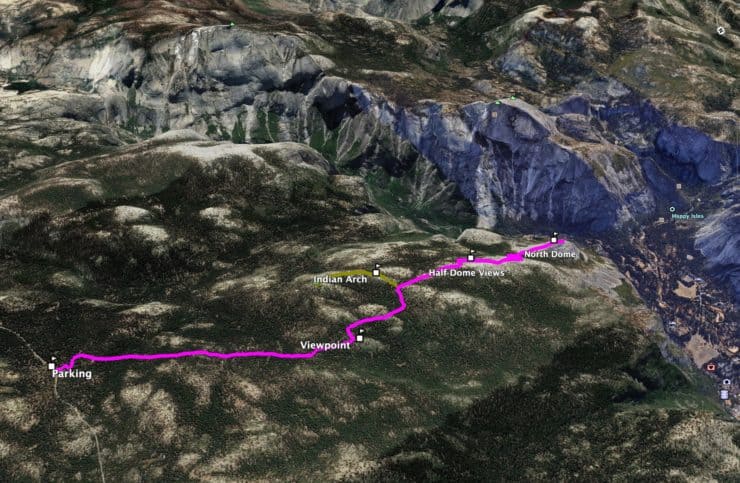
North Dome Trail Maps
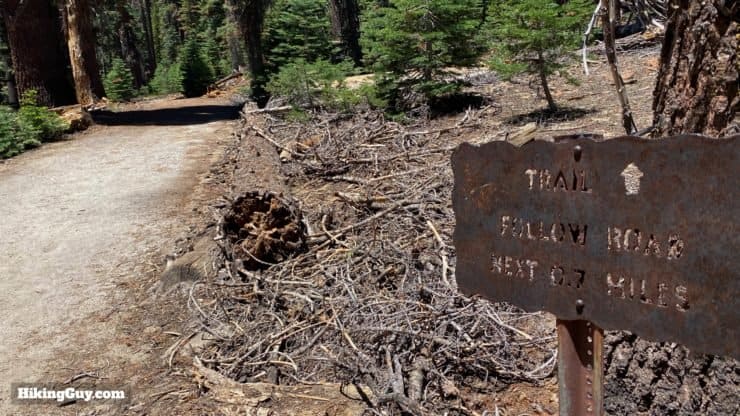
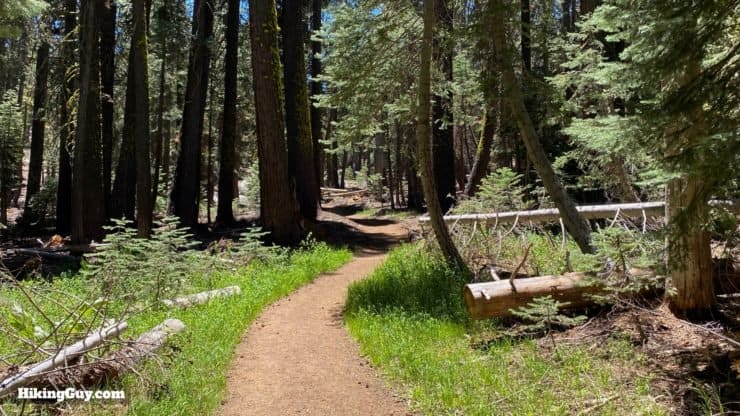
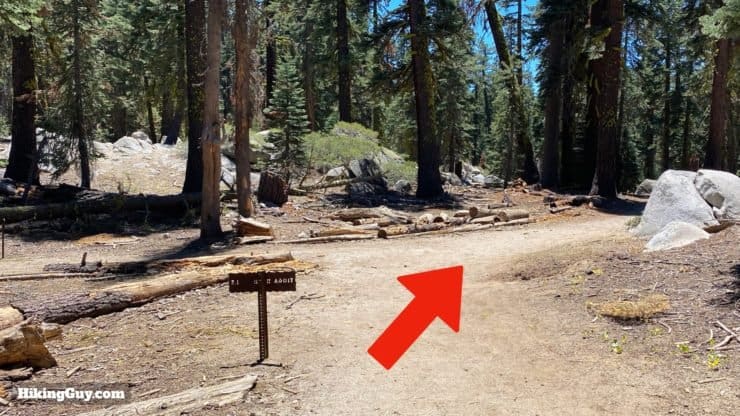
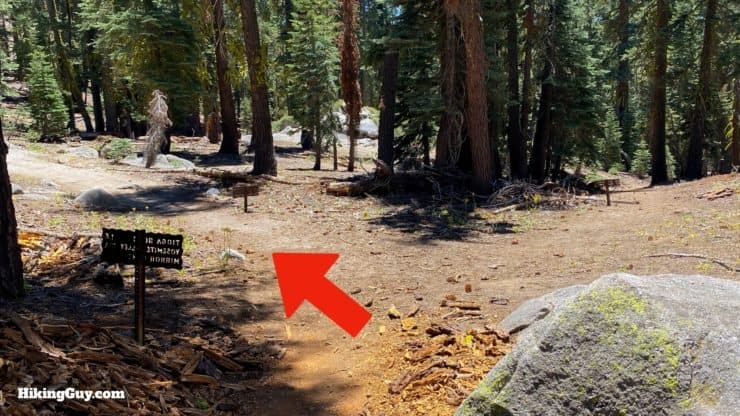
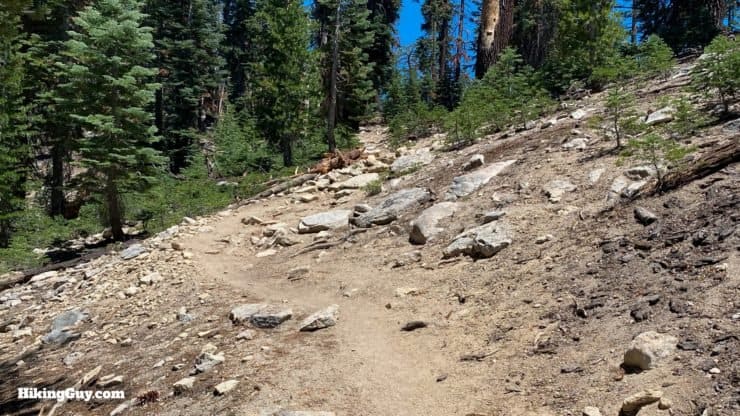
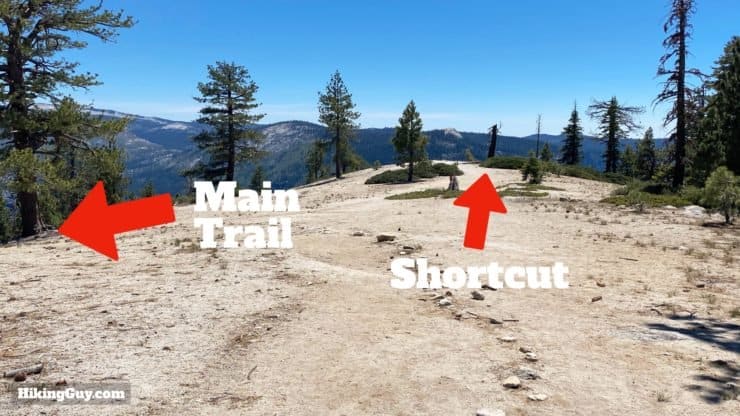
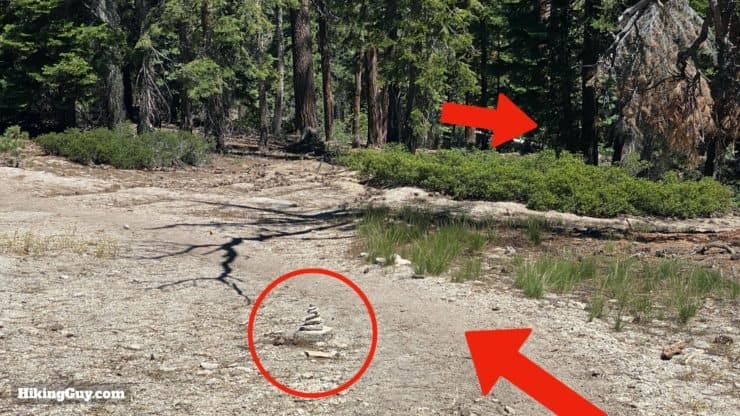
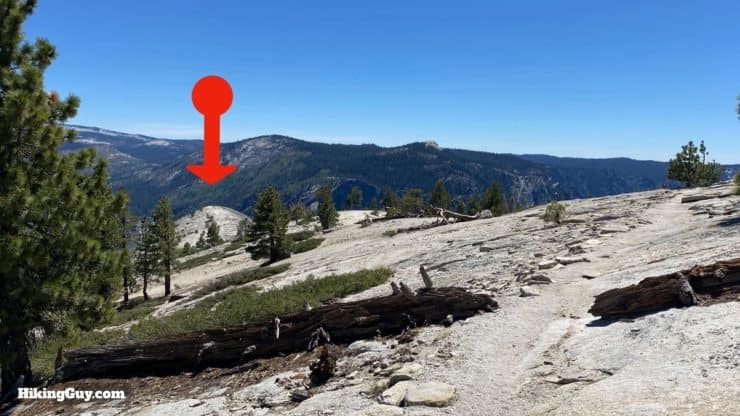
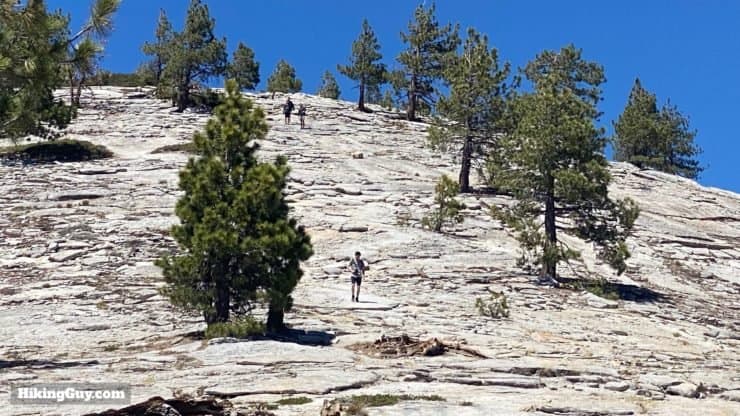
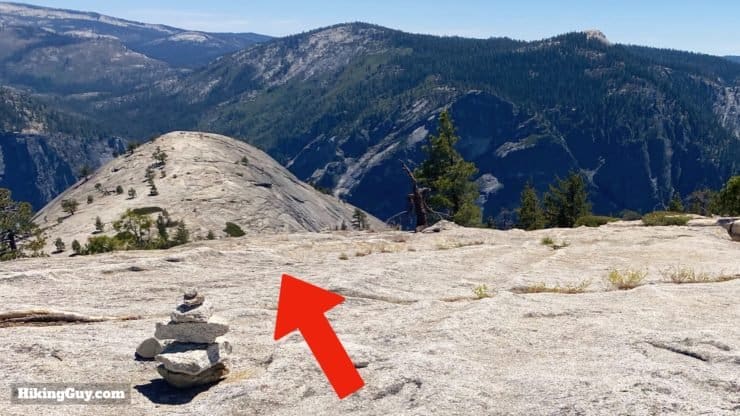
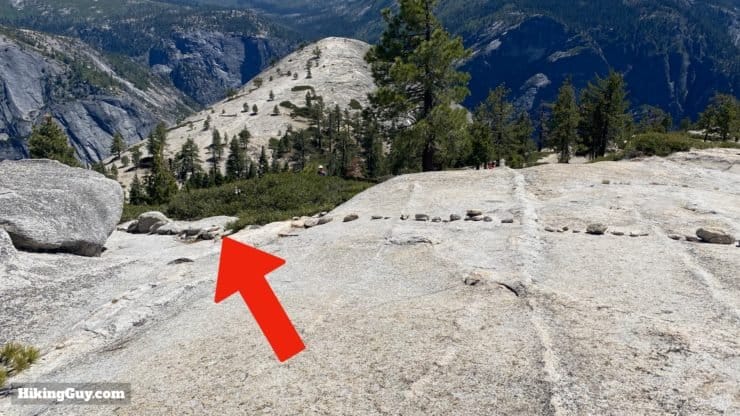
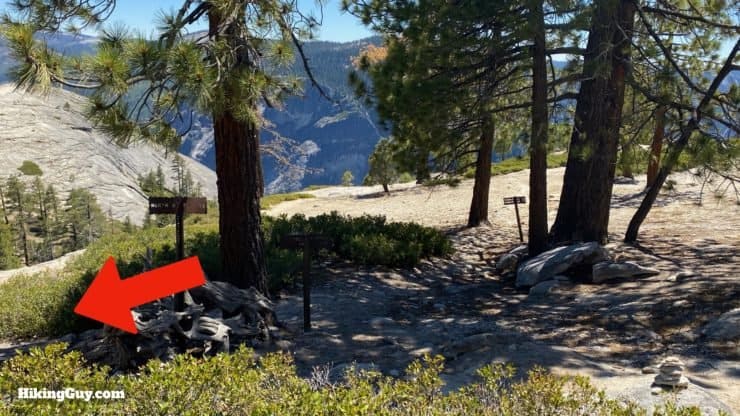
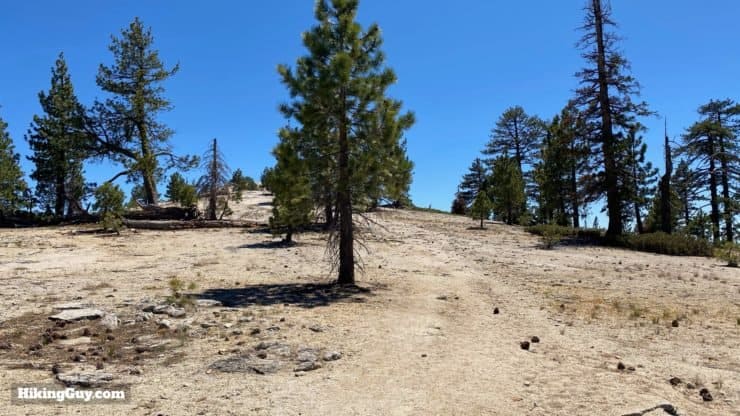
Like most popular trails in Yosemite, the North Dome Trail is well marked and easy to follow. It can get confusing when the trail goes across the granite in places, but the directions below should get you through those without a problem.
How Will You Navigate?
 Using the Apple Watch for Hiking
 Garmin Fenix 7 & Epix Review For Hikers
 How To Read a Topographic Map
 Garmin GPSMAP 67i Review
Elevation Profile
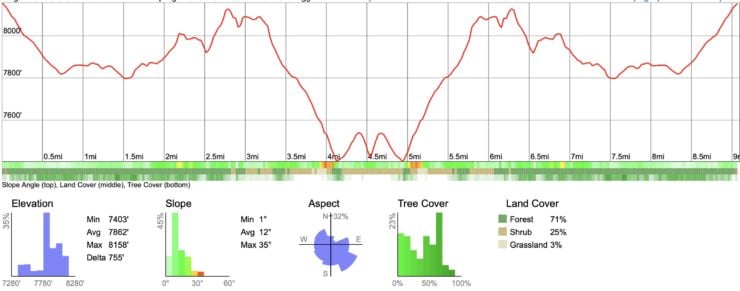
3d Map
North Dome Hike Directions


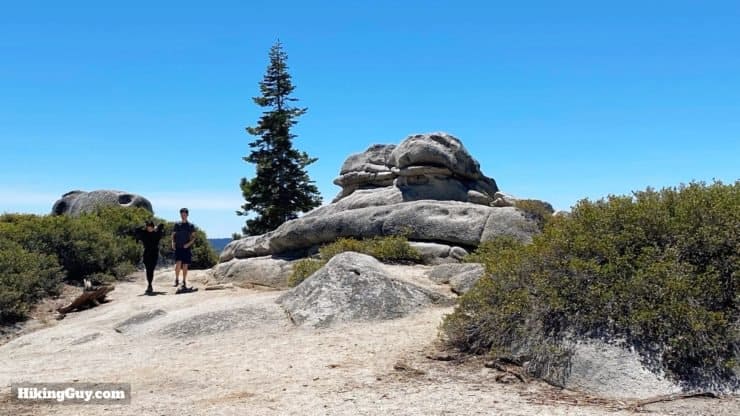
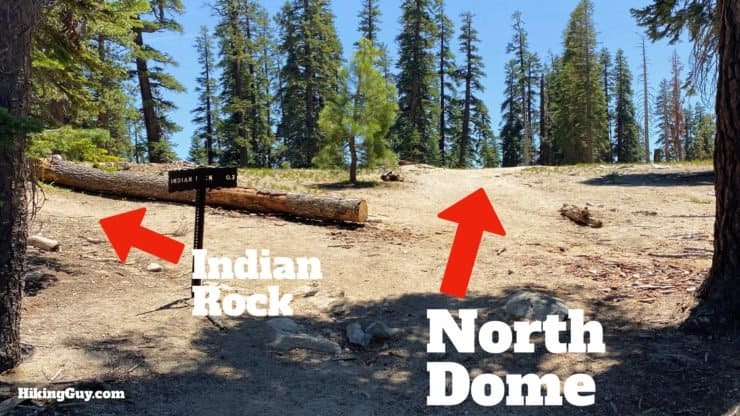
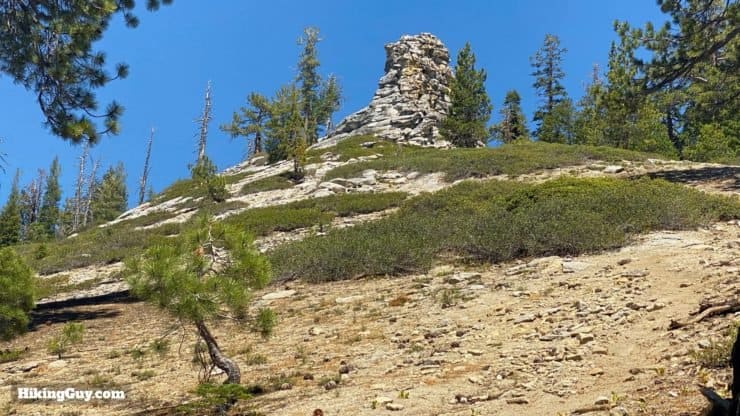
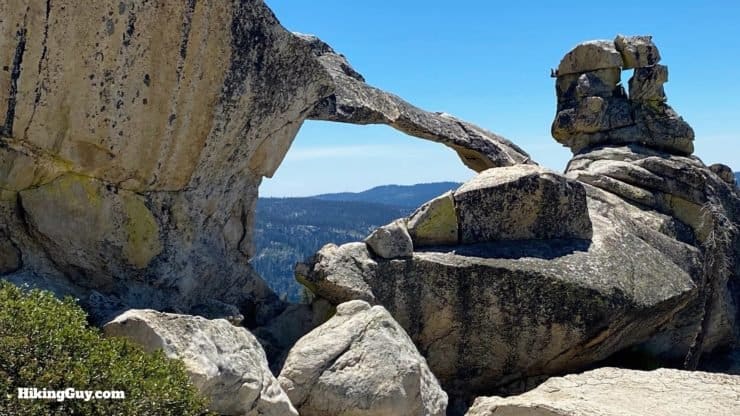
You can follow the trail all the way to Indian Rock, but it's not as spectacular as the arch. For most folks, I'd recommend heading back down to the North Dome Trail after enjoying Indian Arch.
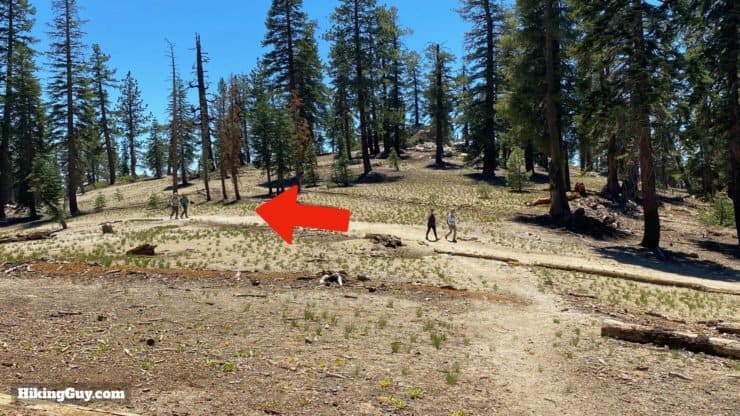
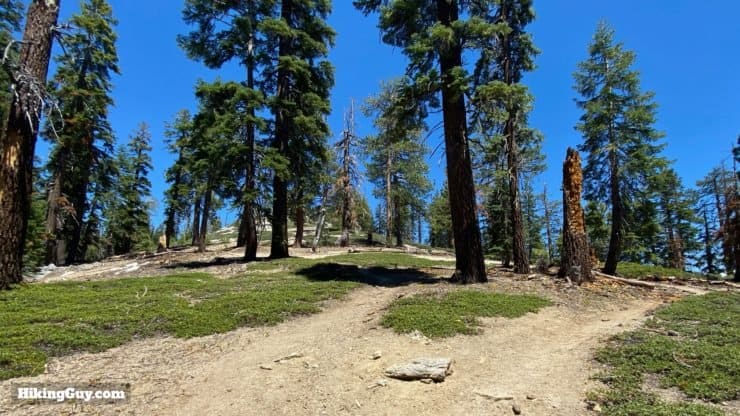
There's some spectacular backcountry tent camping sites straight toward the shortcut and then to the right.
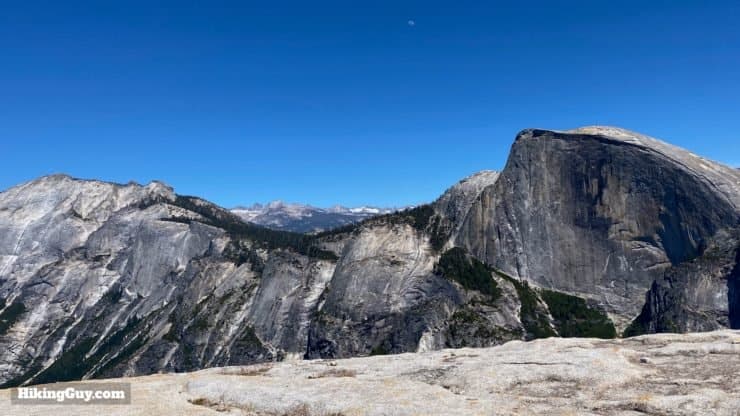
North Dome was named in 1851 by the Mariposa Battalion. The battalion was a state militia that fought against the Native Americans who inhabited the area during the Mariposa War. The conflict started when gold rush miners wanted to force natives off the land.
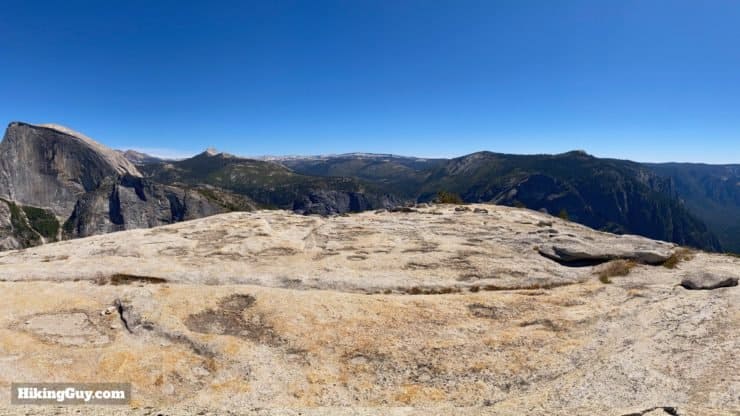
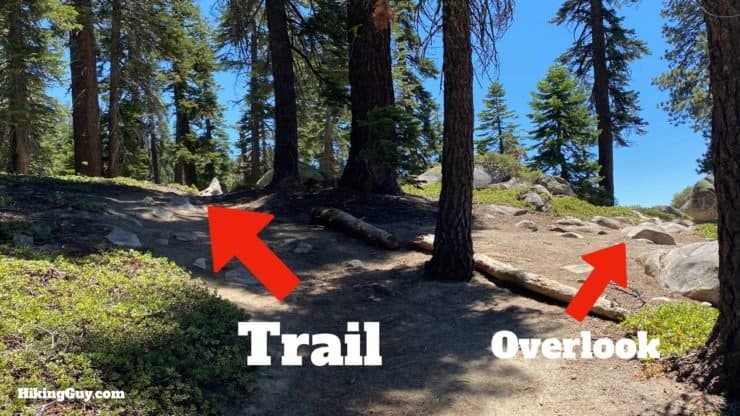
The summit of North Dome has nice groups of rocks where you can sit and soak in the views. When you're done, you just turn around and go back the way you came to finish the hike.
Need More Info?
- Have a question about the guide? Join my Patreon and ask me a question.
- When planning, always check the park website and social media to make sure the trails are open. Similarly, check the weather and road conditions.
- Do you have an update to this guide? View the Youtube comments for this video. Leave a comment and I will do my best to update the guide.
Related Guides
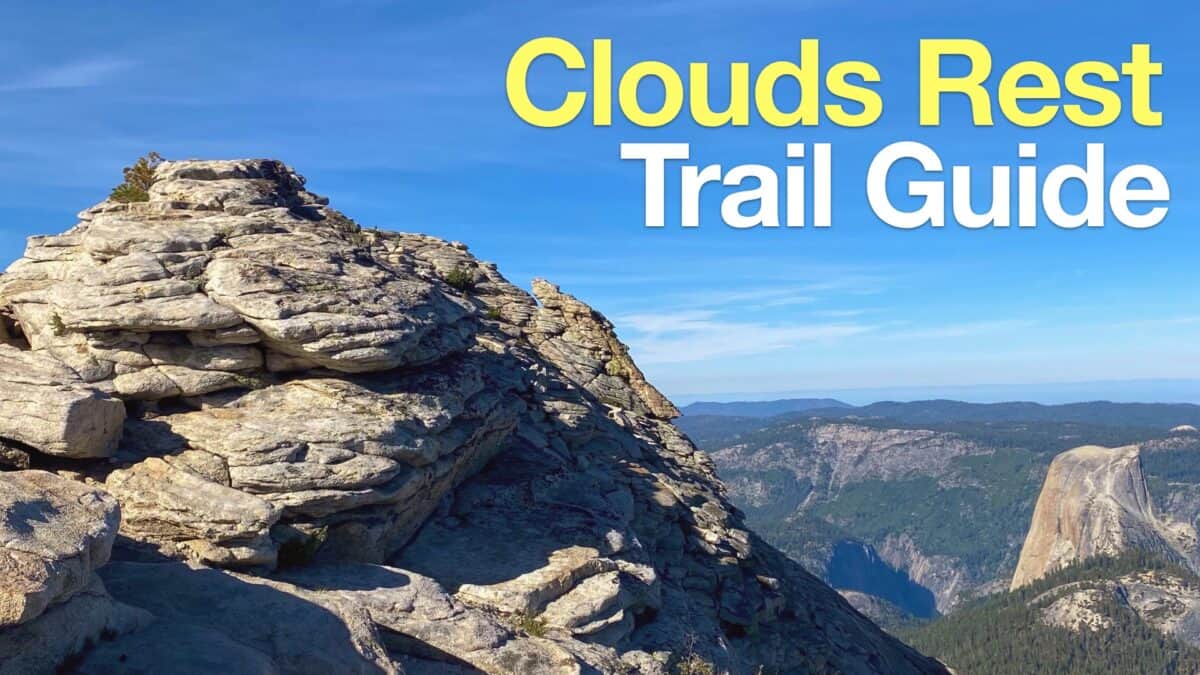 Clouds Rest Hike Guide
 Sentinel Dome Hike
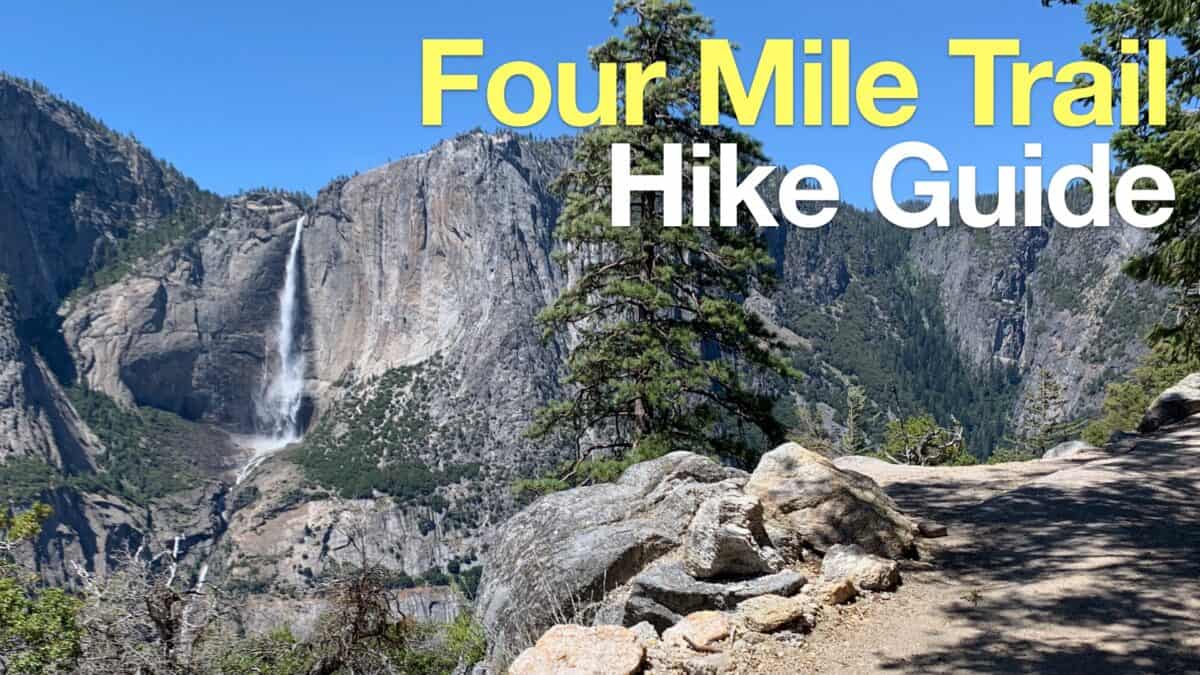 Four Mile Trail Hike Guide
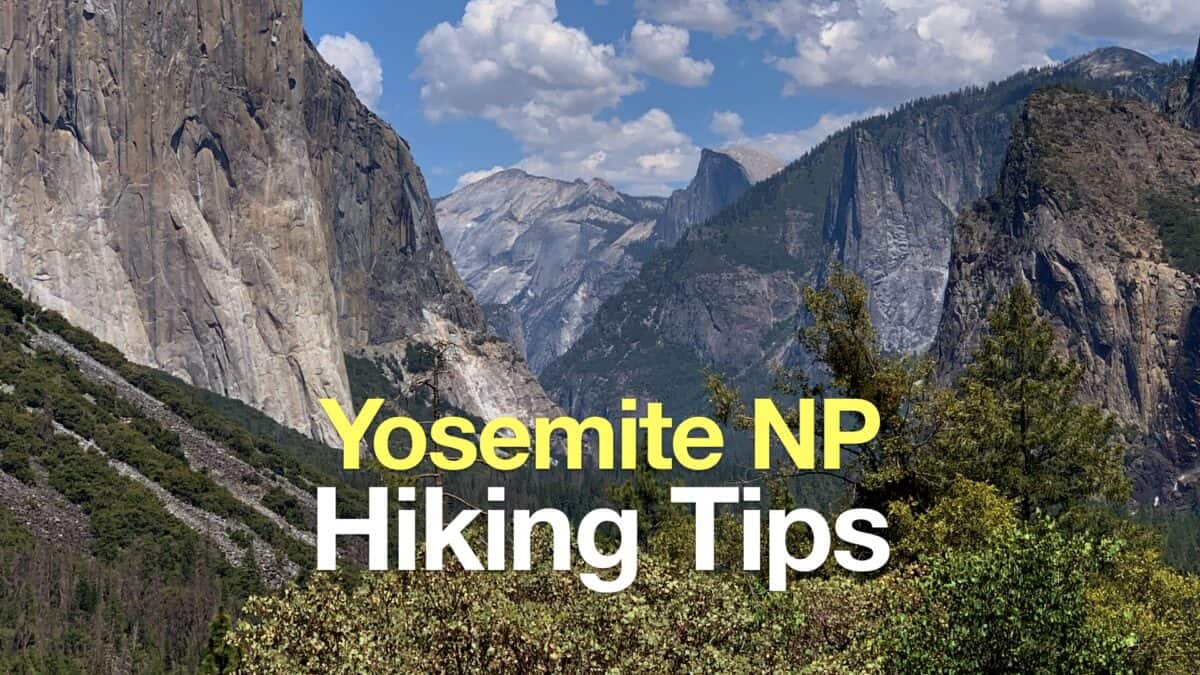 Yosemite Hiking Tips
 Yosemite Hikes
Popular Guides
 Best Hiking Gear 2024
 Hiking Boots or Shoes: Do I Really Need Hiking Boots?
 When to Hit SOS on inReach
This Guide Was Written by Cris Hazzard

Hi, I'm Cris Hazzard, aka Hiking Guy, a professional outdoors guide, hiking expert, and author based in Southern California. I created this website to share all the great hikes I do with everyone else out there. This site is different because it gives detailed directions that even the beginning hiker can follow. I also share what hiking gear works and doesn't so you don't waste money. I don't do sponsored or promoted content; I share only the gear recommendations, hikes, and tips that I would with my family and friends. If you like the website and YouTube channel, please support these free guides (I couldn't do it without folks like you!). You can stay up to date with my new guides by following me on YouTube, Instagram, or by subscribing to my monthly newsletter.