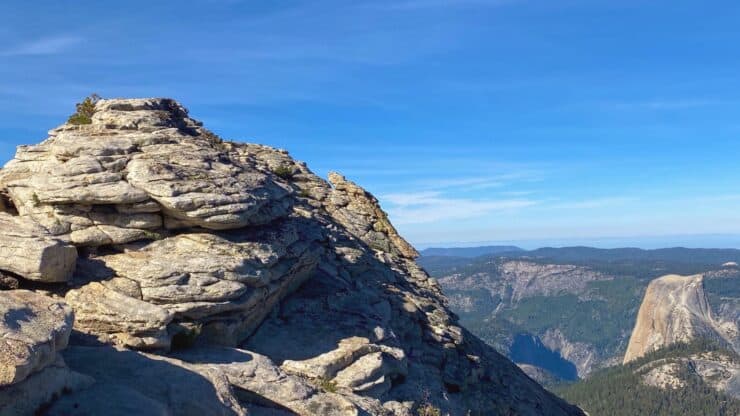

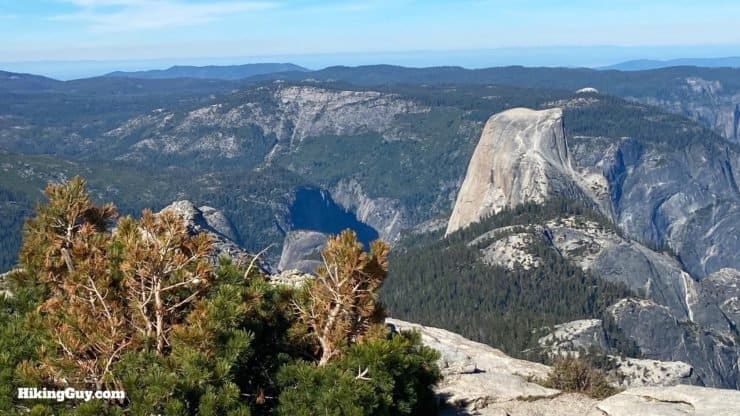
The Clouds Rest hike in Yosemite is a favorite of the park rangers; you get incredible panoramic views from over 1,000 feet above Half Dome. And unlike Half Dome, for the Clouds Rest hike, no permit is needed, the distance and climbing is manageable, and you don't have to navigate anything like the anxiety-inducing cables section. It's considered one of the epic Yosemite hikes and is definitely worth the effort.
- Video and Turn by Turn Directions for the Clouds Rest Hike
- Parking and Trailhead for Clouds Rest
- Gear Recommendations and What to Expect on the Hike
- Clouds Rest Trail Maps
The Clouds Rest hike in Yosemite is a favorite of the park rangers; you get incredible panoramic views from over 1,000 feet above Half Dome. And unlike Half Dome, for the Clouds Rest hike, no permit is needed, the distance and climbing is manageable, and you don't have to navigate anything like the anxiety-inducing cables section. It's considered one of the epic Yosemite hikes and is definitely worth the effort.
The last ridge to Clouds Rest gets a bad rap for being scary. While not an ordinary experience, the ridge doesn't offer nearly the level of the danger or anxiety that the cables on Half Dome do. I'll talk about the ridge later in the guide so that you can master it without fear.
Where Does the Clouds Rest Hike Start?
Like most destinations in Yosemite National Park, you can reach Clouds Rest from various trails and routes. The most common and shortest route, which I cover in this guide, starts from Tenaya Lake, which is off Tioga Road in the northern section of the park. Depending on the traffic, it's roughly an hour from the Yosemite Valley to get to the trailhead. And in the winter, the Tioga Road is often closed because of snow. Check the Yosemite NP website closures page for current conditions.
Use this trailhead address:
Sunrise Lakes Trailhead, Tioga Pass Rd, Lee Vining, CA 93541
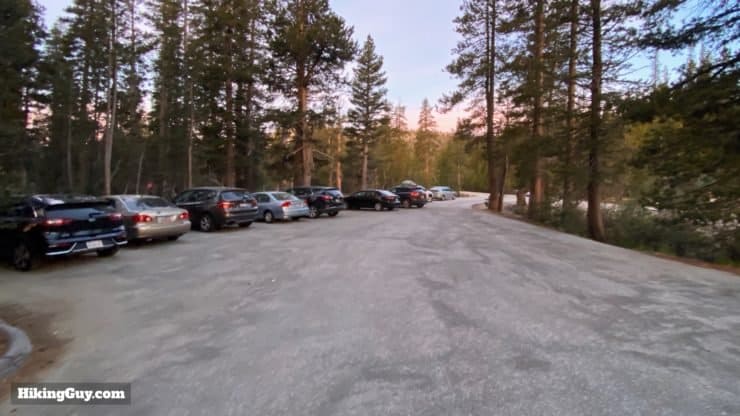
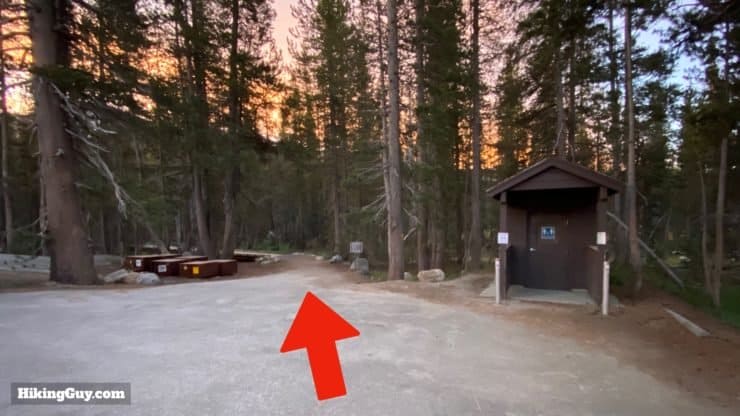
The trailhead has a primitive toilet, food storage lockers, and bear-proof trash receptacles, but no water.
Gear For the Hike
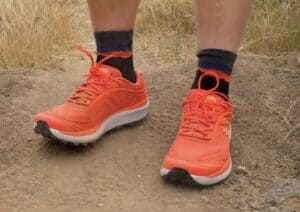
This is a tough hike and I recommend having proper hiking gear when heading to Clouds Rest. There is a tough climb and about 50% of the trail is exposed, so bring 3L of water. There are water sources along the trail if you want to treat and refill. Good hiking footwear is a must and trekking poles will help on the climbs. In the spring and early summer the mosquitos and bugs can be intense; bring some repellant with you just in case. As someone said in the hiking forums, "I wanted to lay down and let the mosquitos fly me to the summit."
Gear That I Love Right Now
Nothing is sponsored or promoted, just the actual gear that I use.


Check out the complete list here. ( Updated July 2024)
Clouds Rest Trail Maps
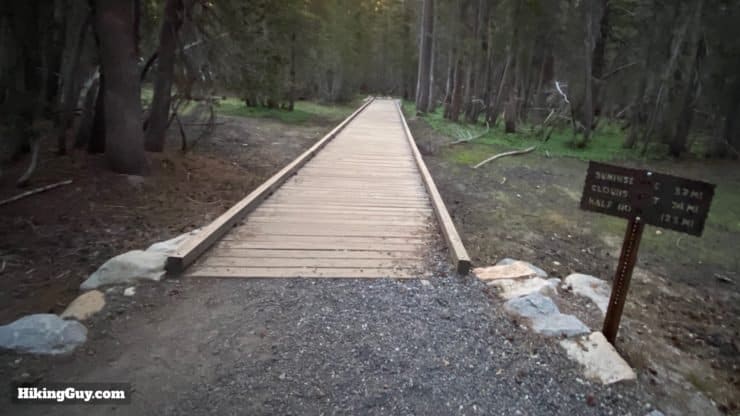
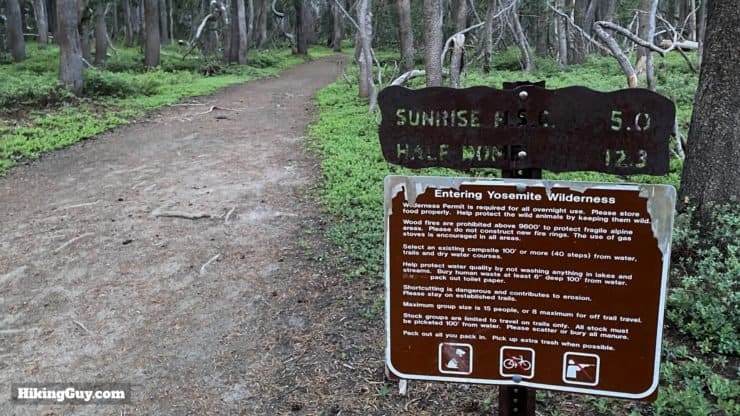
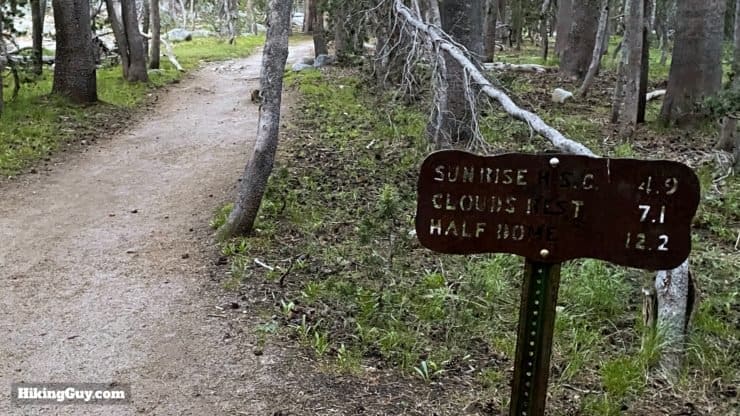
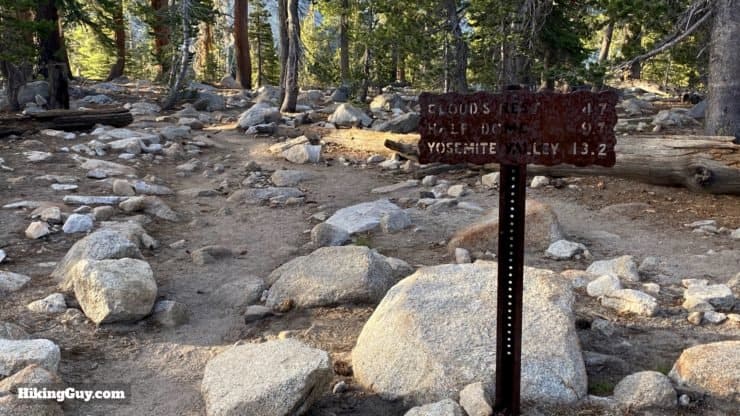
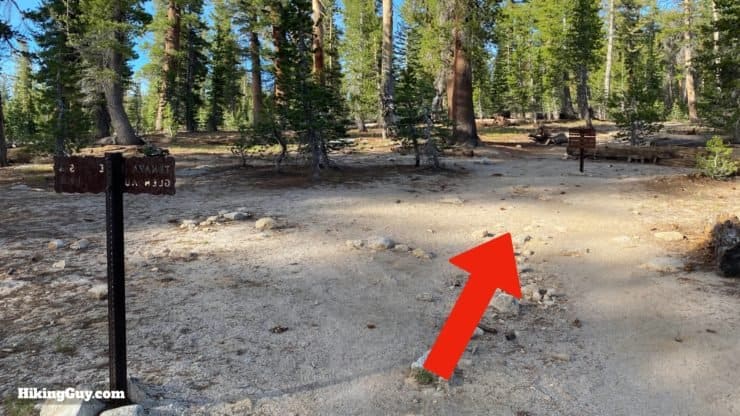
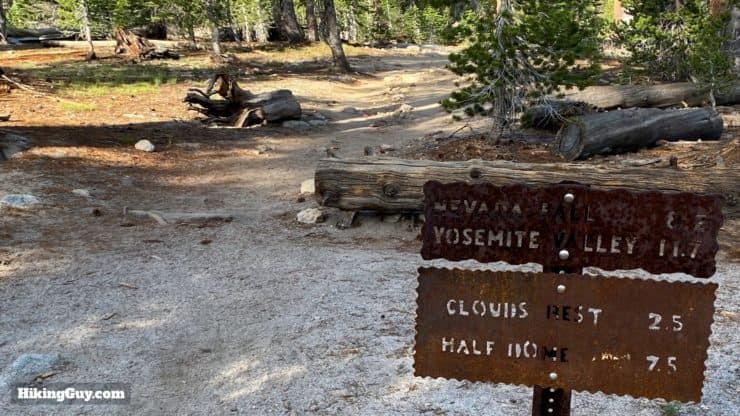
Like most trails in Yosemite NP, the trails to Clouds Rest are well-traveled, well-maintained, and easy to follow. The only thing to note is that the mileage markers on the (metal) trail signs don't match with the current trail; they are longer. I'm not sure if this is something the park is going to fix, or if they do it to scare folks a bit, but just something to note as you hike along.
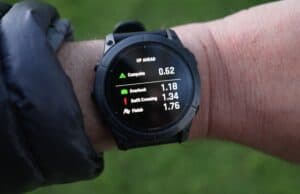
How Will You Navigate?
 Using the Apple Watch for Hiking
 Garmin Fenix 7 & Epix Review For Hikers
 How To Read a Topographic Map
 Garmin GPSMAP 67i Review
Elevation Profile
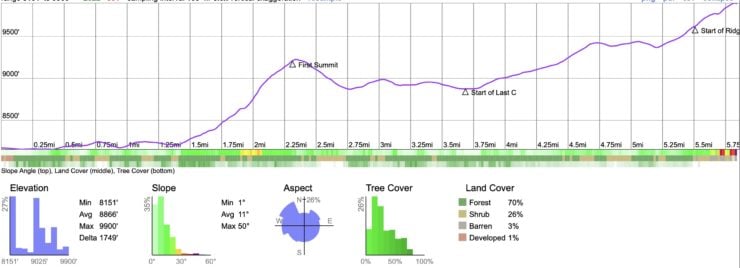
The high elevation can make this hike seem much tougher than it would be at sea-level. People have been evacuated on this hike because of altitude sickness. Check out the section on altitude sickness on my guide to Mt Whitney so that you can stay safe.
Hike Landmarks
| Landmark | Distance | Elevation |
|---|---|---|
| Trailhead | 0 | 8170 |
| Start of First Climb | 1.5 | 8200 |
| First Summit | 2.5 | 9220 |
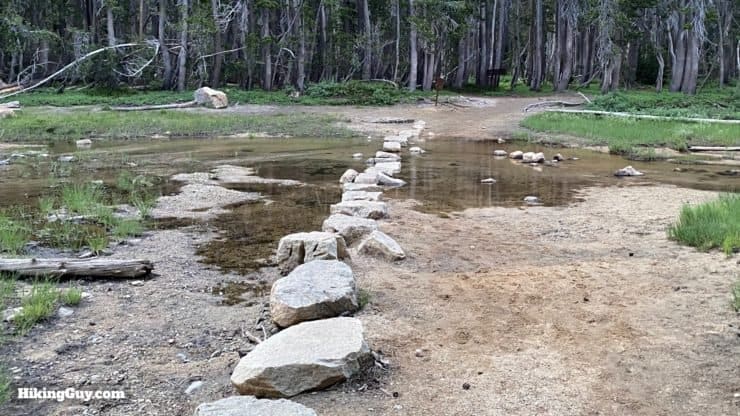
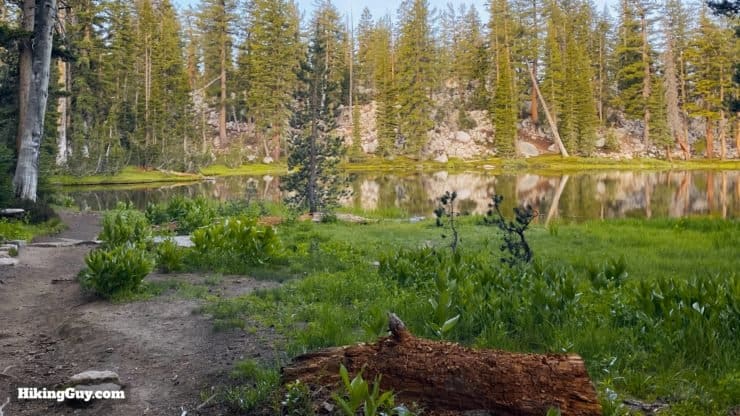
| Pond | 3.6 | 8960 |
| Last Climb Start | 4.2 | 8880 |
| Start of Ridge | 5.9 | 9620 |
| Clouds Rest | 6.2 | 9926 |
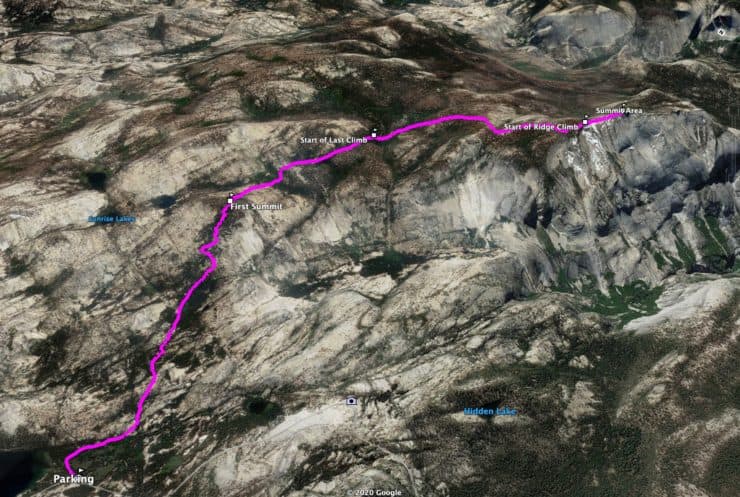
3D Map
How Dangerous is the Clouds Rest Hike?
Having hiked Half Dome and Clouds Rest many times, I can confidently tell you that Clouds Rest is much LESS scary if you have a fear of heights. Here's what you need to know.
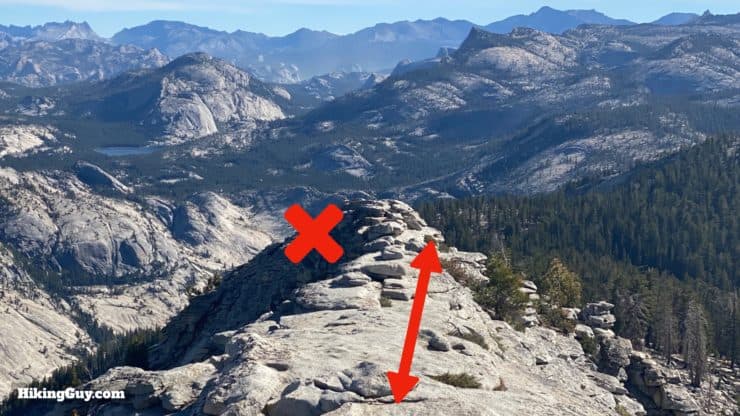
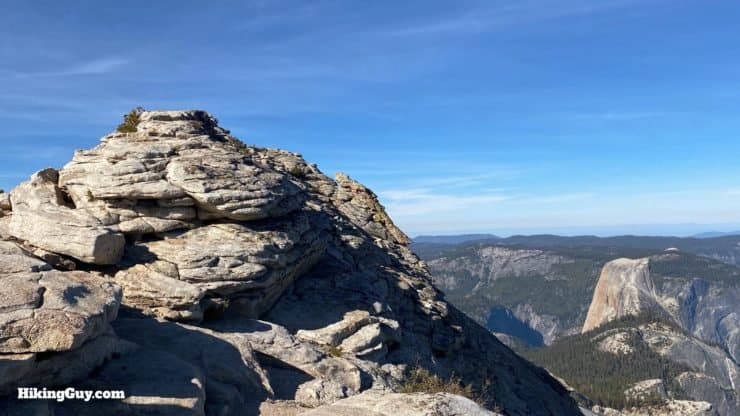
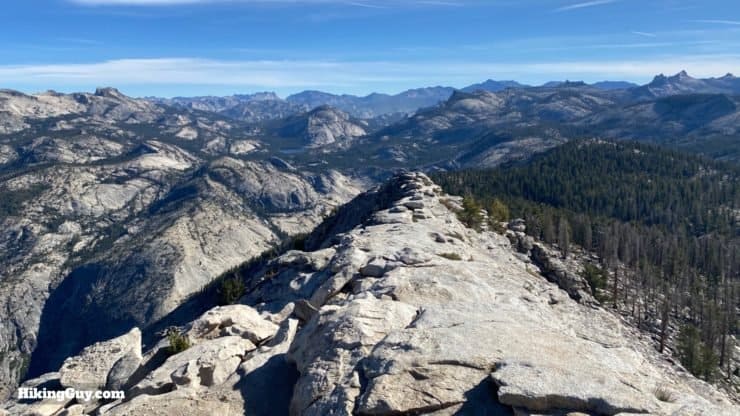
- The "spine" section of exposed trail over granite is roughly the last 0.3 miles of the hike to Clouds Rest.
- On the right of the spine is Tenaya Canyon, a steep drop, and on the left is a gentler slope with some talus and vegetation (before a steep drop).
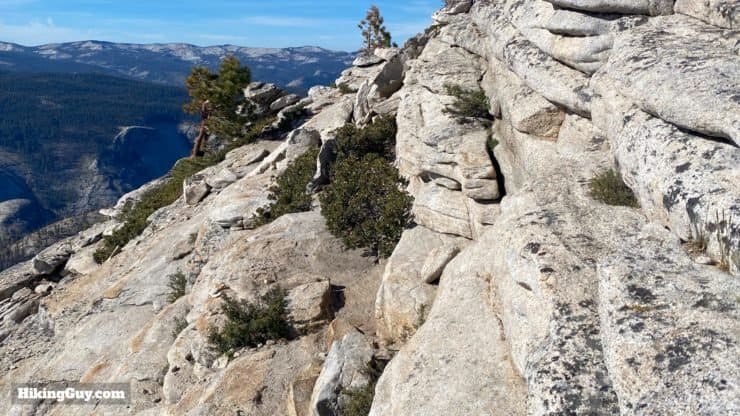
- You don't actually hike on the literal "spine" the entire way. The trail goes on the left side of the spine on the narrowest section, away from any steep drop. I'll show you pictures in the directions below. Stay to the left and you're fine. If you do follow the spine all the way, you will be on a narrow section about 3-4" wide with a steep drop on the right side.
- I would (anecdotally) say that the trail never is really less than 5' wide, which is wider than the main Grand Canyon trails. Most of the time it is much wider.
- There is always a trail. You are never hanging, jumping, or inching along a ledge or cliff edge.
- I encourage you to watch the 360 video (link below) so you can look down and get an idea of what it's like.
- If you experience fear, just go a few steps at a time, pause, look ahead for the trail, and continue. Don't look around at the horizon.
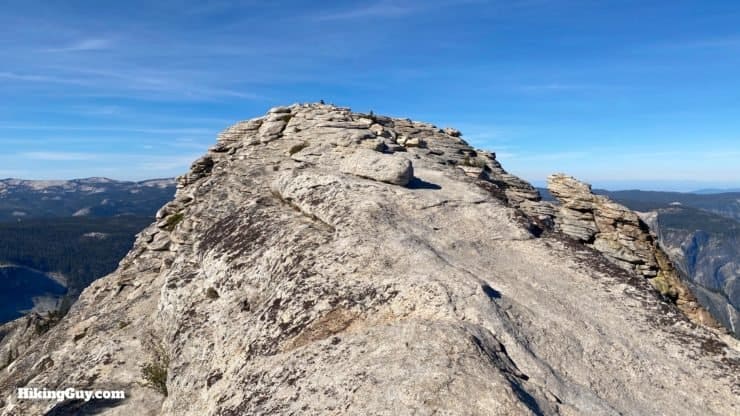
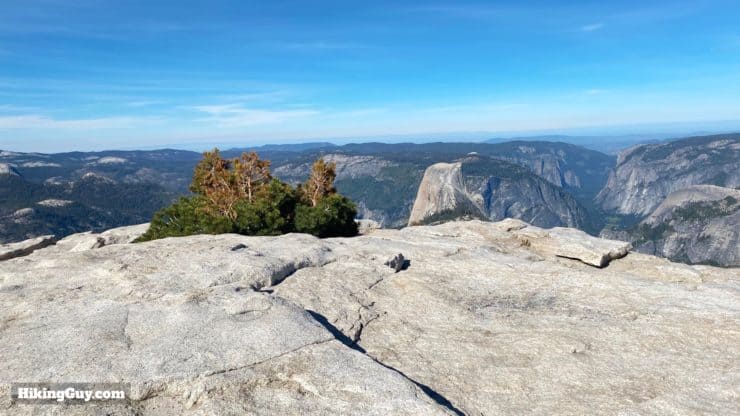
- The actual summit is not narrow and is wide enough for lots of people.
- If it's very windy, it can be a little nervy. I've crawled when winds were 30mph up here.
- If there are thunderstorms, it's not safe to be in this exposed location.
- In modern times, the only death on Clouds Rest was in 2009, when a woman fell from the summit, not the spine.
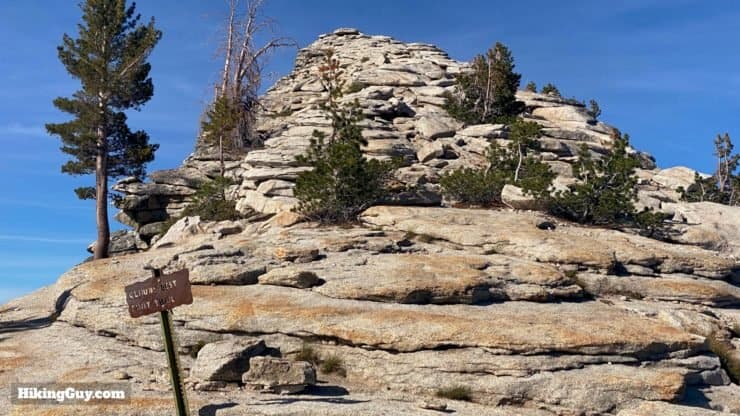
Clouds Rest Hike Directions
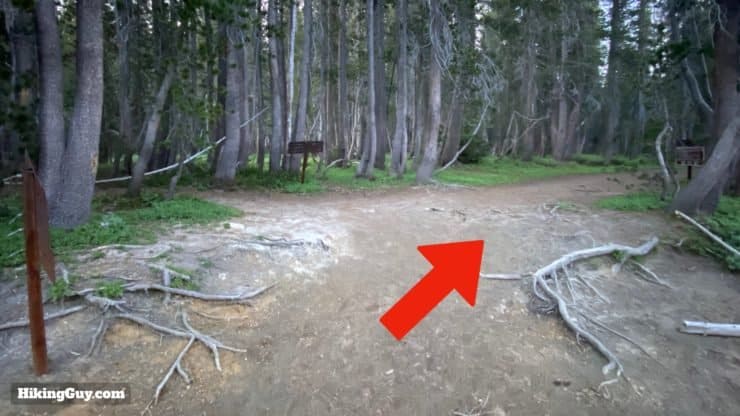
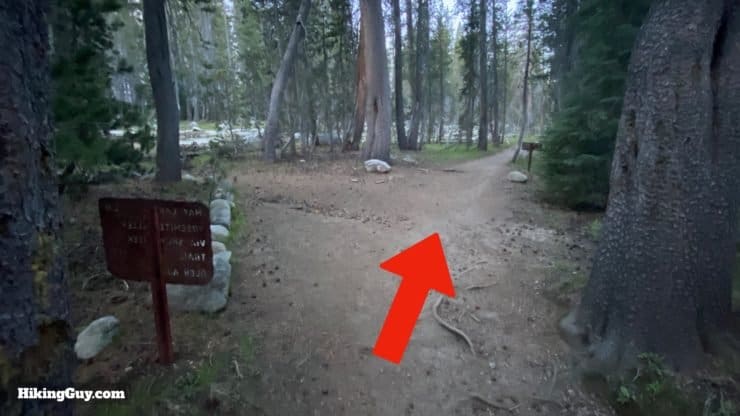
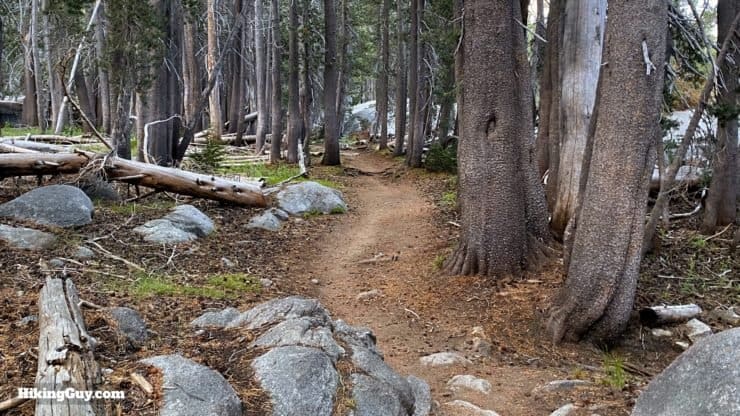
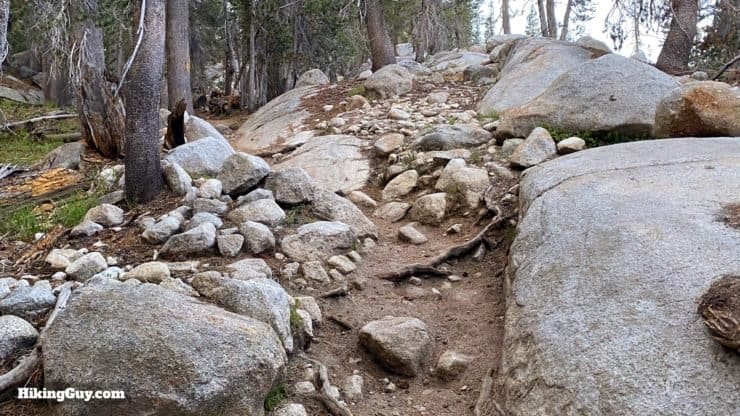
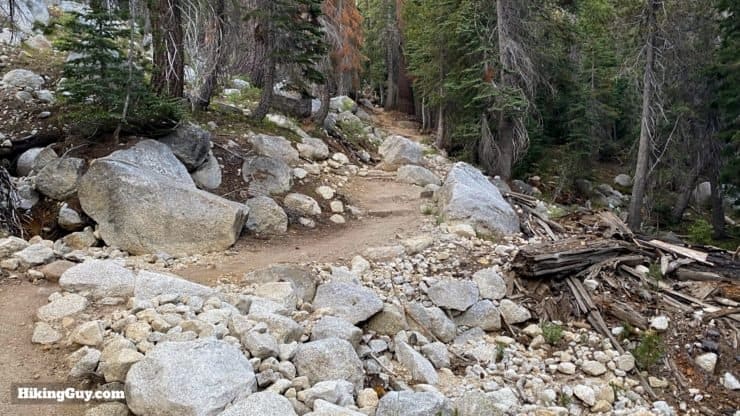
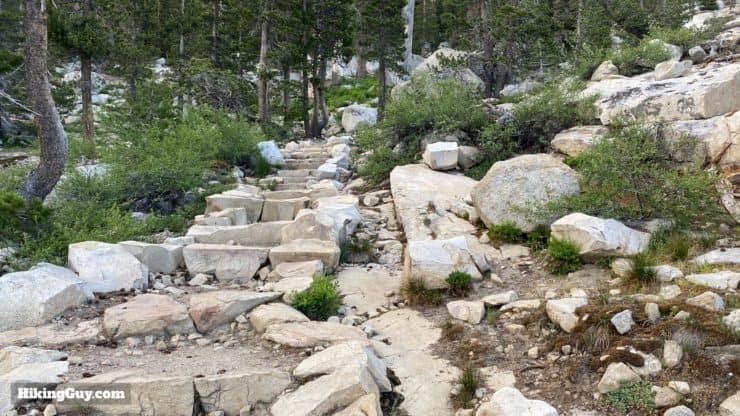
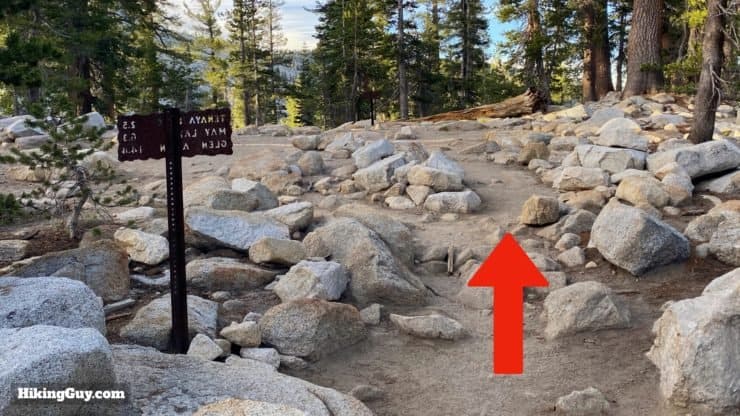
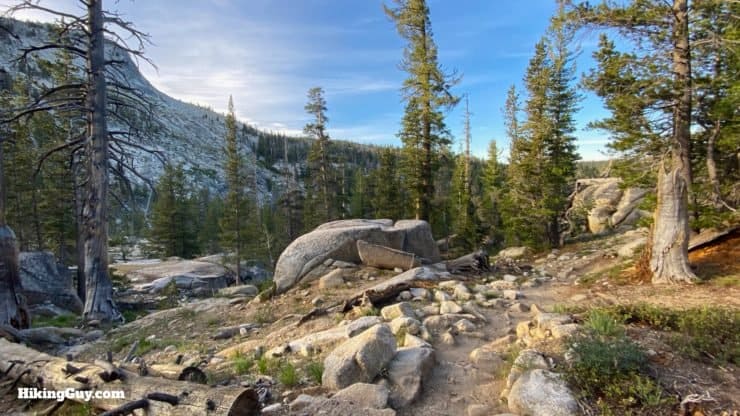
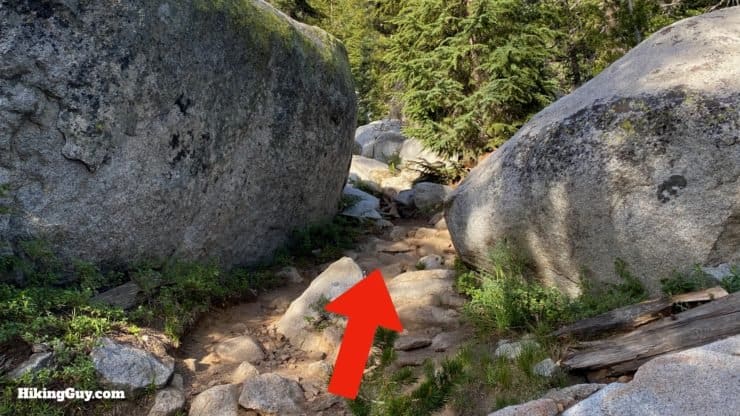
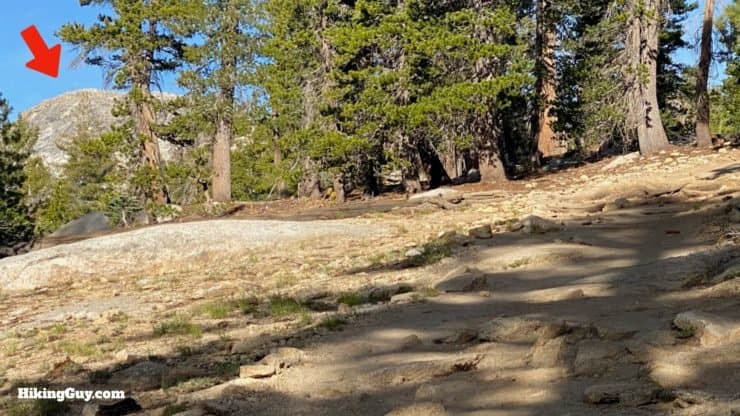

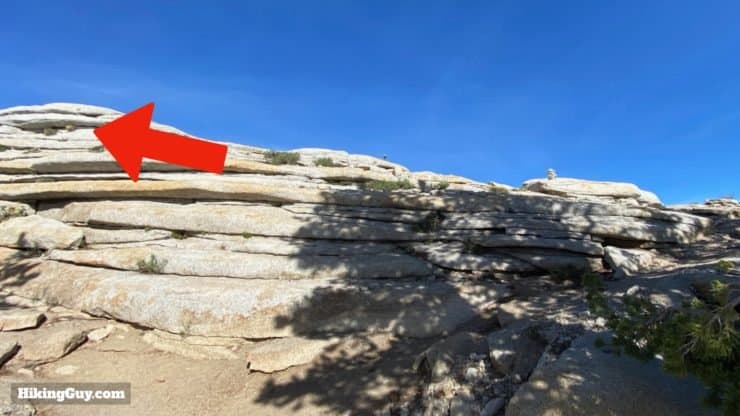
From here on out the trail goes over the granite. There is enough trail traffic here so that you should be able to see footprints in the dirt and smoothing on the rocks to mark the trail.

Need More Info?
- Have a question about the guide? Join my Patreon and ask me a question.
- When planning, always check the park website and social media to make sure the trails are open. Similarly, check the weather and road conditions.
- Do you have an update to this guide? View the Youtube comments for this video. Leave a comment and I will do my best to update the guide.
Related Guides
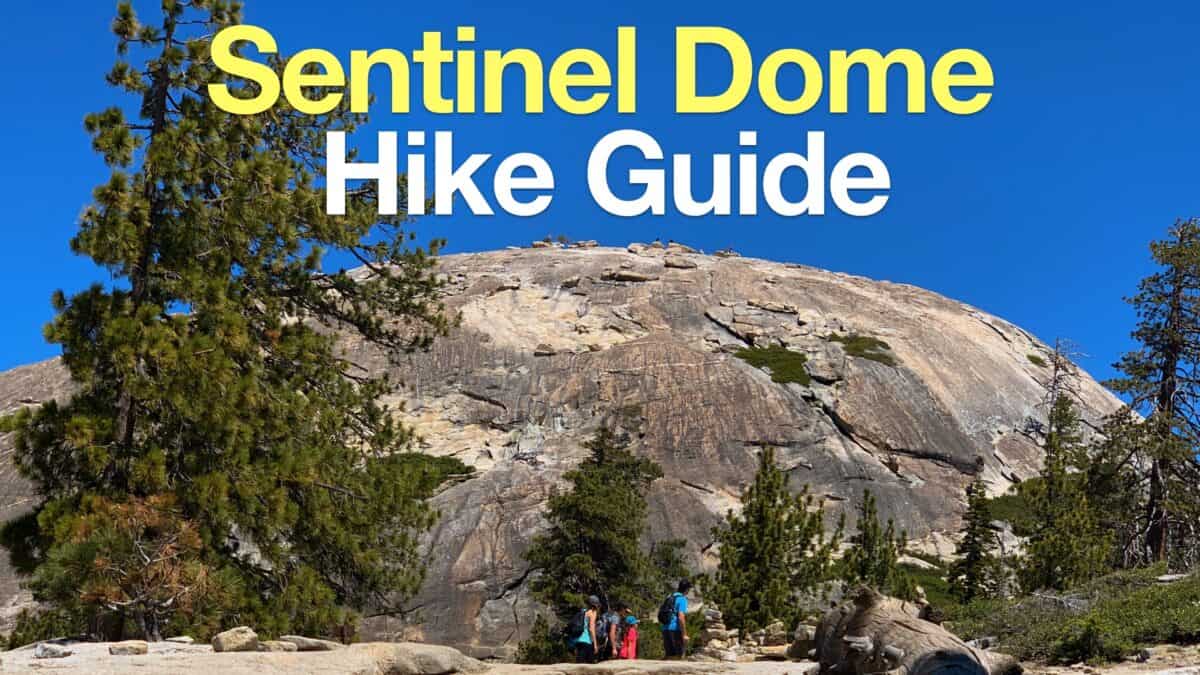 Sentinel Dome Hike
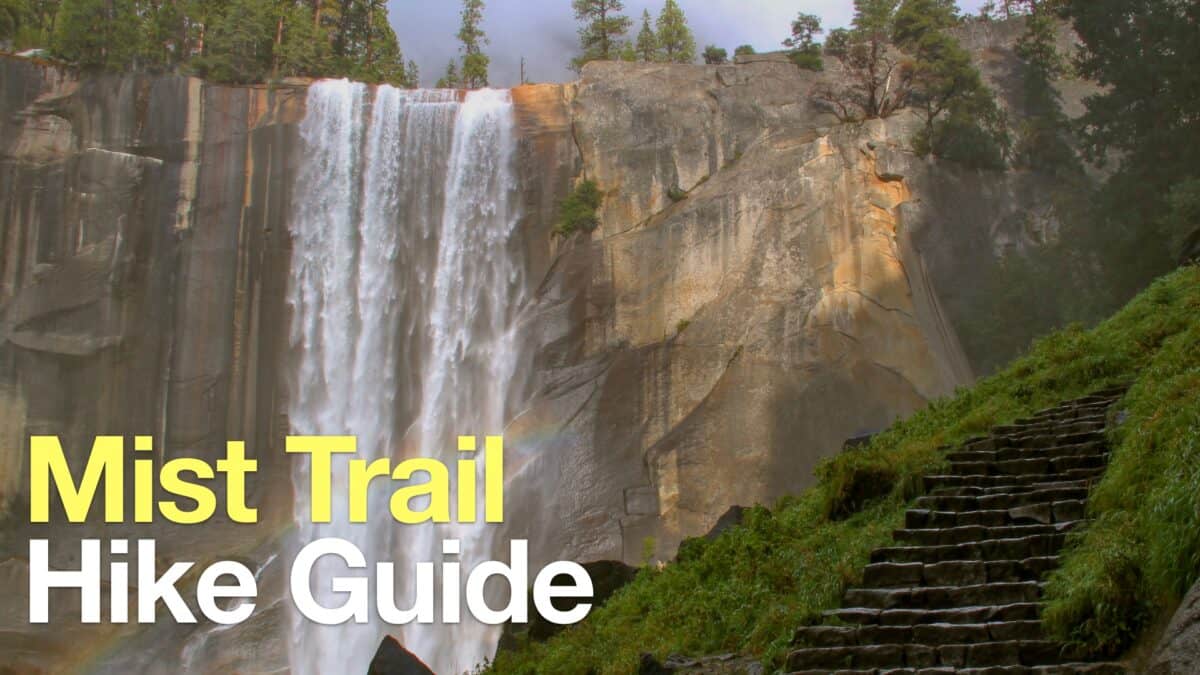 Mist Trail to Vernal and Nevada Falls
 North Dome Hike
 How To Hike Half Dome
 Yosemite Hiking Tips
 Yosemite Hikes
 Backpacking Trips
 Best Hikes in the World
Popular Guides
 Best Hiking Gear 2024
 Hiking Boots or Shoes: Do I Really Need Hiking Boots?
 When to Hit SOS on inReach
This Guide Was Written by Cris Hazzard

Hi, I'm Cris Hazzard, aka Hiking Guy, a professional outdoors guide, hiking expert, and author based in Southern California. I created this website to share all the great hikes I do with everyone else out there. This site is different because it gives detailed directions that even the beginning hiker can follow. I also share what hiking gear works and doesn't so you don't waste money. I don't do sponsored or promoted content; I share only the gear recommendations, hikes, and tips that I would with my family and friends. If you like the website and YouTube channel, please support these free guides (I couldn't do it without folks like you!). You can stay up to date with my new guides by following me on YouTube, Instagram, or by subscribing to my monthly newsletter.