The Echo Mountain hike packs a lot of bang for the buck. You'll hike up the Sam Merrill Trail, which follows the old Mt Lowe railway route up to Echo Mountain, where you can see the old ruins of the Echo Mountain mountain resort. USA Today included the Echo Mountain hike as one of the "10 Great North American Hikes" and Sunset Magazine called it one of the top 45 hikes in the west. The hike is easy to follow, has an interesting history, offers great views, is a good workout, and is close to LA. Overall it's a win.
The Echo Mountain hike packs a lot of bang for the buck. You'll hike up the Sam Merrill Trail, which follows the old Mt Lowe railway route up to Echo Mountain, where you can see the old ruins of the Echo Mountain mountain resort. USA Today included the Echo Mountain hike as one of the "10 Great North American Hikes" and Sunset Magazine called it one of the top 45 hikes in the west. The hike is easy to follow, has an interesting history, offers great views, is a good workout, and is close to LA. Overall it's a win.
These directions include an optional hike extension to a scenic viewpoint at Inspiration Point. See the guide below for more info.
Where is the Echo Mountain Hike?
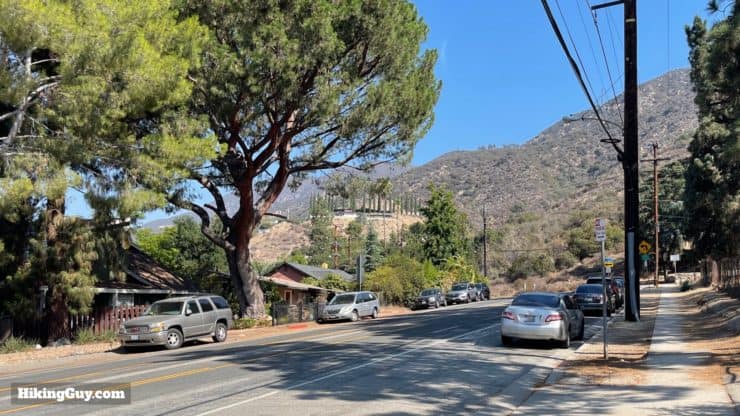
Getting to the trailhead for the hike is easy. You just park on a city street in Altadena. Use this trailhead address: 3302 Lake Ave, Altadena, CA, 91001, USA.
Park along the street leading up to the trailhead, which is at the turn at the end of the street. It can get crowded, so you may have to park a few blocks away. Street parking is free.
This is a residential neighborhood. Please don't block driveways, avoid no-parking zones, keep the noise down, and don't leave trash behind.
Gear for the Hike
This is a bit of an in-between hike. You can certainly do this with fitness clothes and minimal gear, but I do recommend hiking gear if you have it. The Echo Mountain hike is a steady uphill, so prepare for the effort. If you're going to do the extra loop to Inspiration Point, definitely use hiking gear.
Bring 1L of water.
Most of the trail is exposed, prepare for intense sun.
If you use trekking poles and they help, bring them along.
Gear That I Love Right Now
Nothing is sponsored or promoted, just the actual gear that I use.
In general the trail is popular and easy to follow. If you are unsure of your position, you'll probably see other hikers who can help you out.
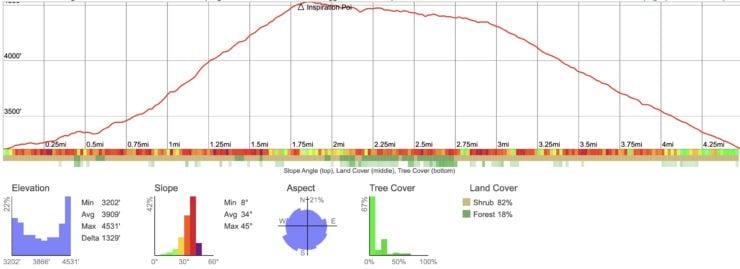
I've included an optional hike extension to Inspiration Point, which adds another 5 miles onto the hike. If you have the energy, go for it. Inspiration Point has great views and a unique viewing station. Read below for all the details.
There's no getting around it, you're pretty much going uphill the whole way. At the end, it flattens out. On the way back down, you do this in reverse.If you do the optional trip to inspiration point, you have about another 1500 feet of climbing.
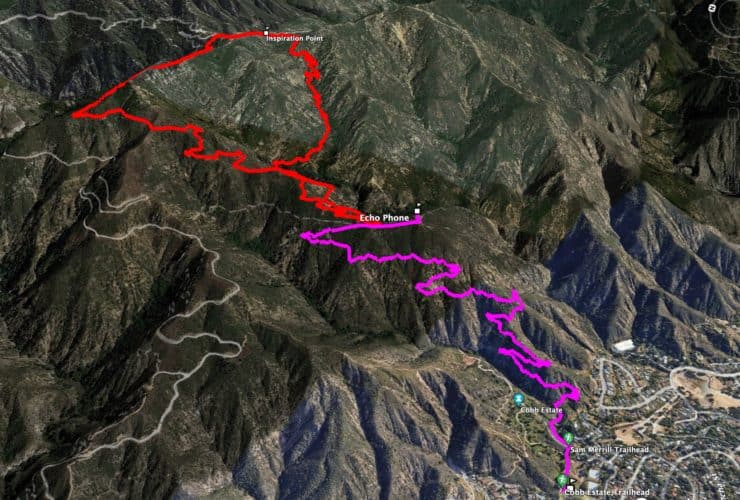
3D Map
The purple line shows the trail up to Echo Point. You'll climb up the east side of Los Flores Canyon. If you opt into the extenstion to Inspiration Point, you'll keep hiking up to about 4500 feet, then loop back down.
Hike History
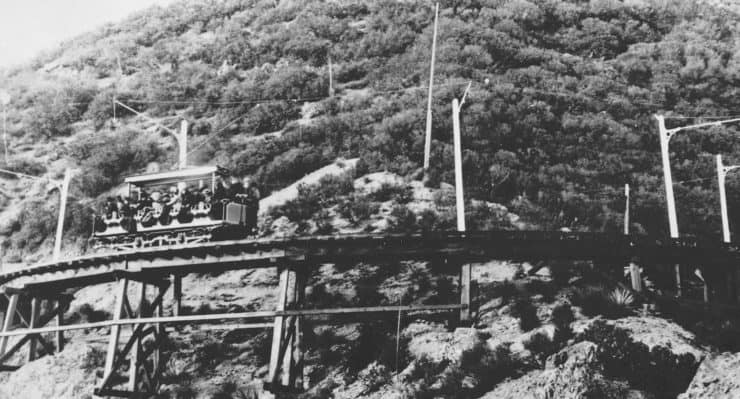
The hike will parallel some of the old Mount Lowe Railway route. Here you can see the electric trolley filled with tourists climbing to Echo Mountain.
The Sam Merrill Trail to Echo Mountain starts at historic Cobb Estate, now public parkland, but was originally built by lumber magnate Charles Cobb. After he passed away in 1939, it became a retreat for nuns, and then the Marx Brothers bought it in 1956. In 1971 local conservationists raised the $175,000 to purchase it, and then donated it as parkland. And it's allegedly haunted, so there's that.
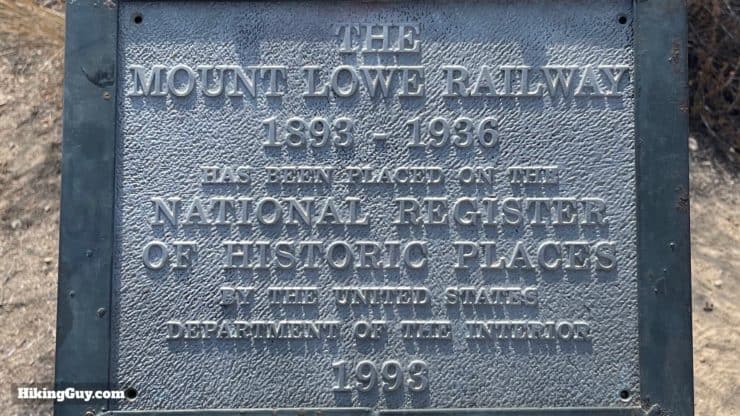
As you climb the trail, your route will parallel some of the old Mount Lowe Railway route, the only electric mountain railway ever built in the USA. When it was built in 1893, it was considered a modern marvel and welcomed over 3 million riders during its lifetime.
The Mount Lowe Railway led to the Echo Mountain House, which was a 70 room Victorian hotel built to rival the Hotel del Coronado in San Diego. It was intended to be a full-service resort "a mile up in the sky." At the end of the hike you'll see the remains of the resort.
The resort and railway weathered some fires and natural disasters over the years, but the great flood of 1938 was the final nail in the coffin, washing much of the railway and resort away. After that, Sam Merrill, who lived with John Muir as a young man and was active in the Sierra Club, restored and maintained the trails to Echo Mountain. When he died in 1948, the Sierra Club named the trail after him.
Echo Mountain Hike Directions
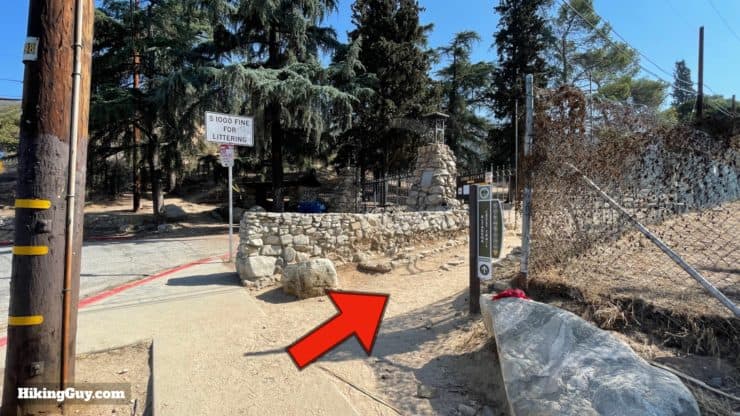
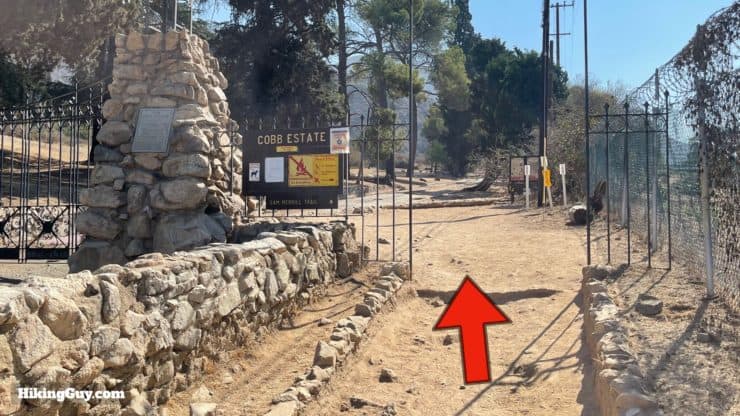
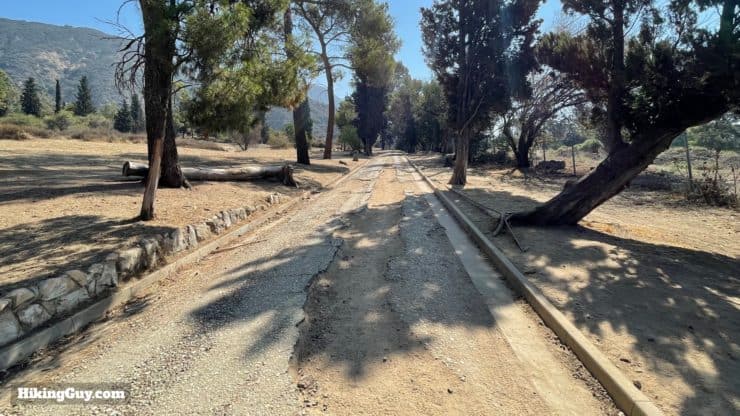
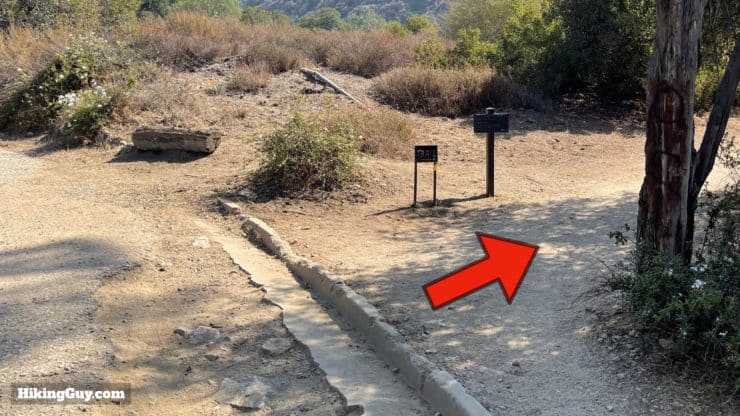
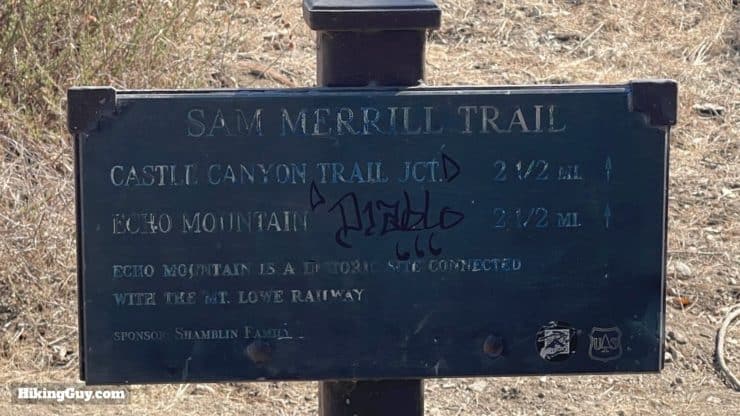
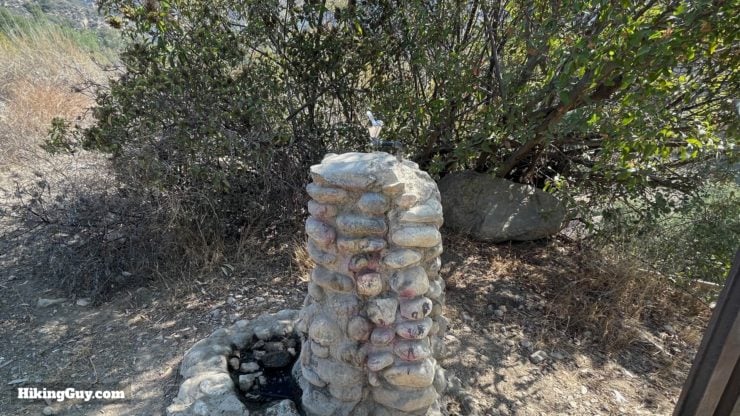
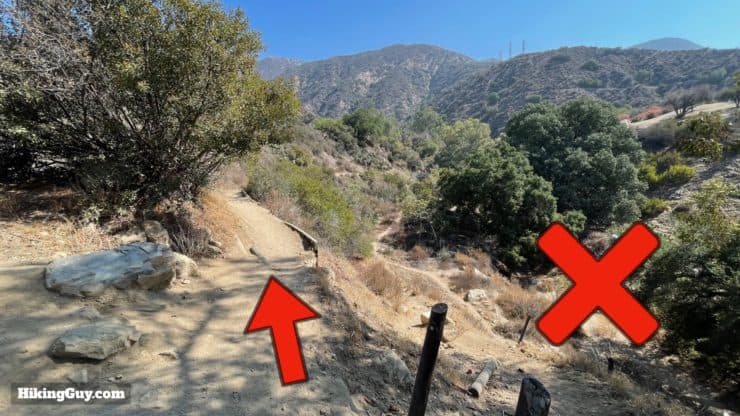
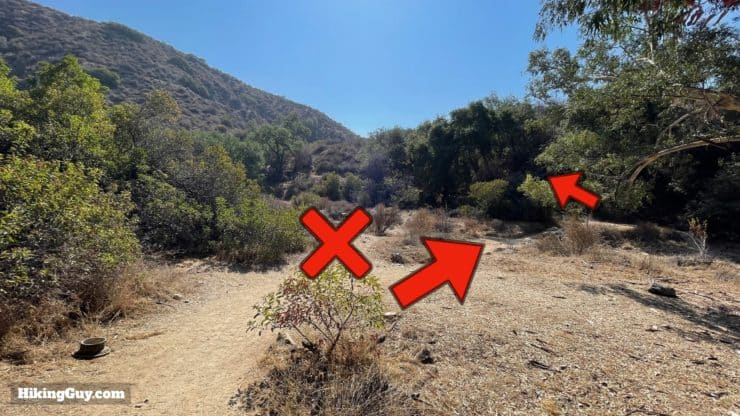
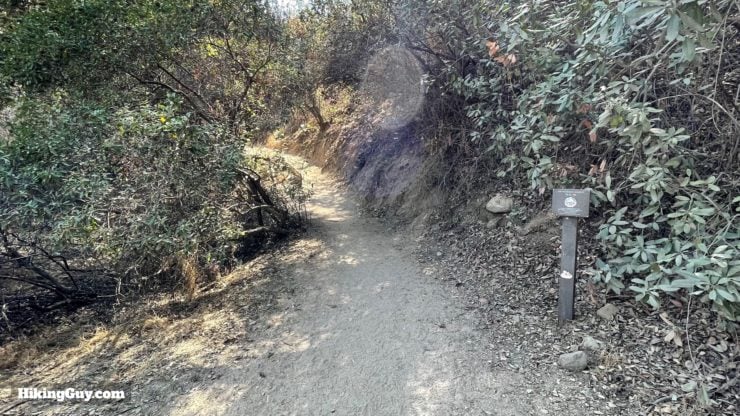
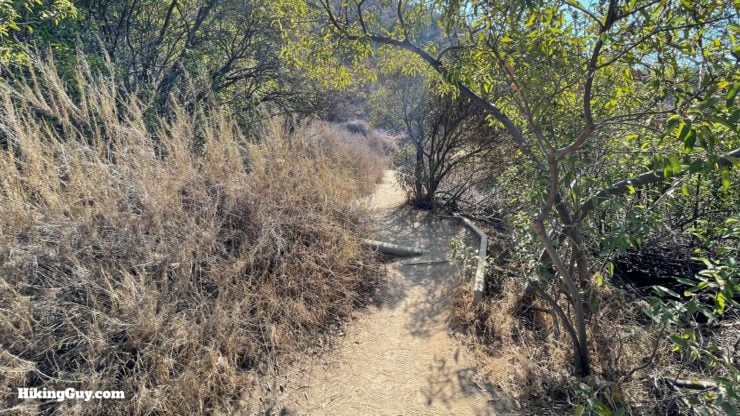
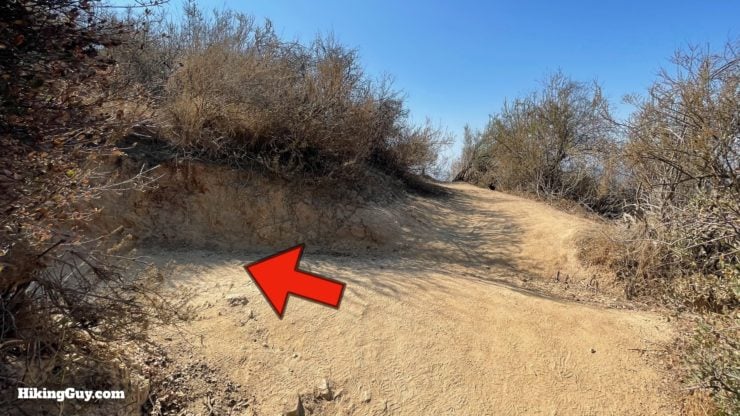
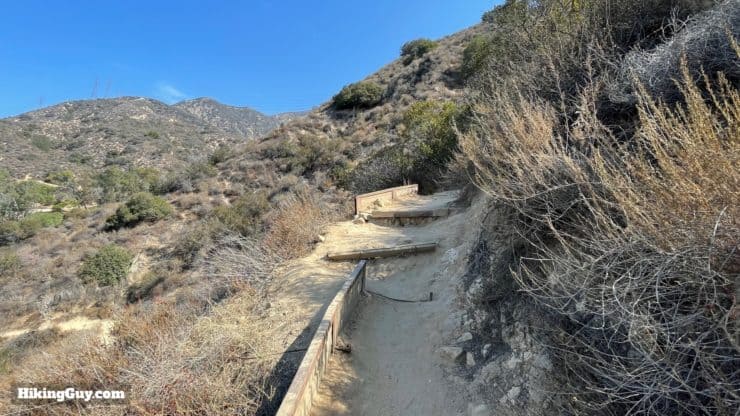
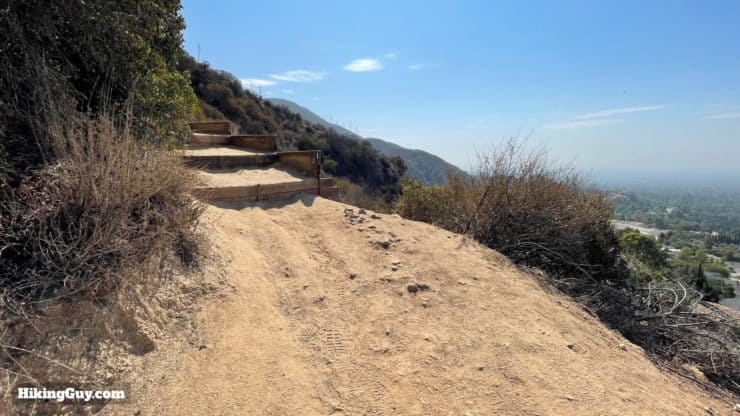
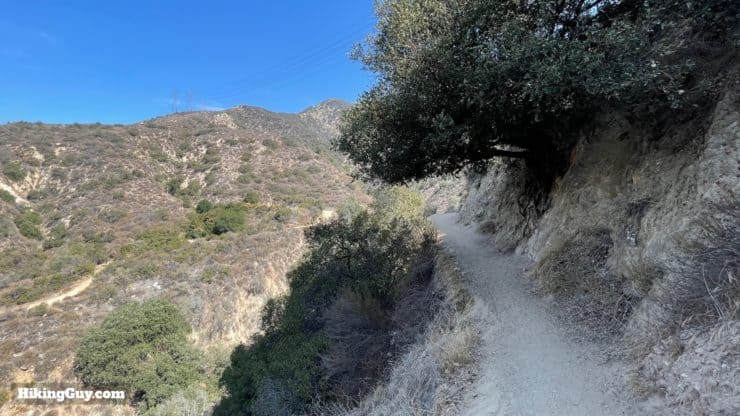
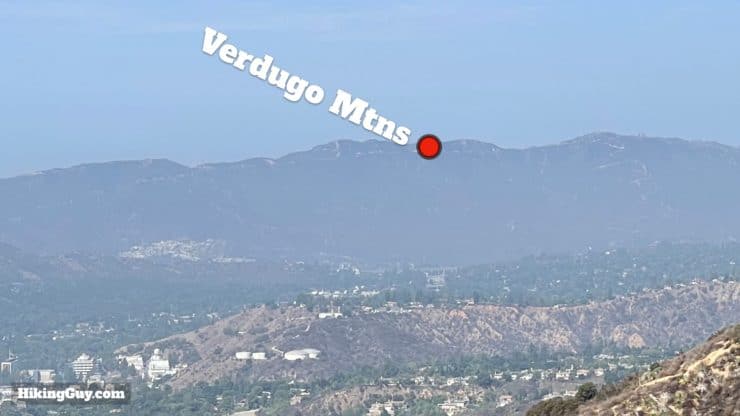
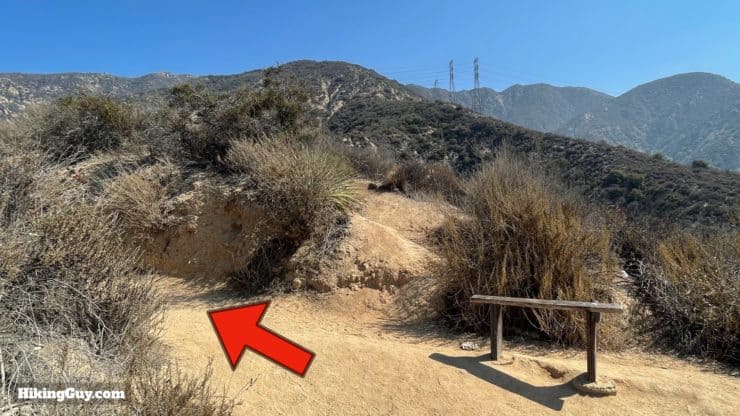
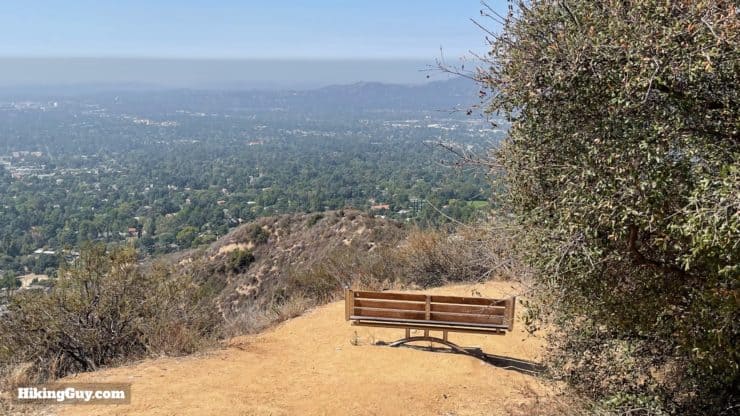
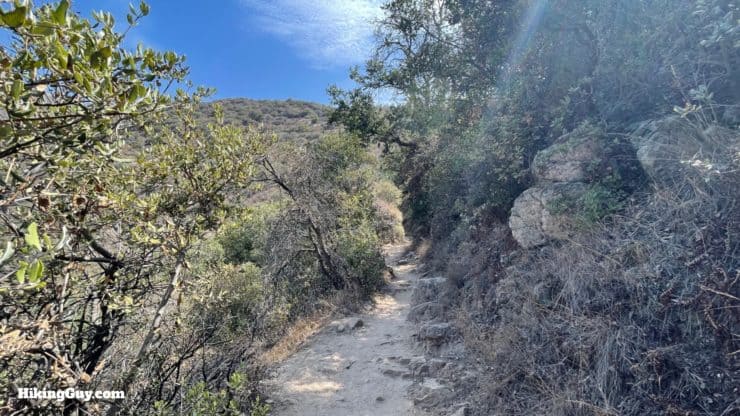
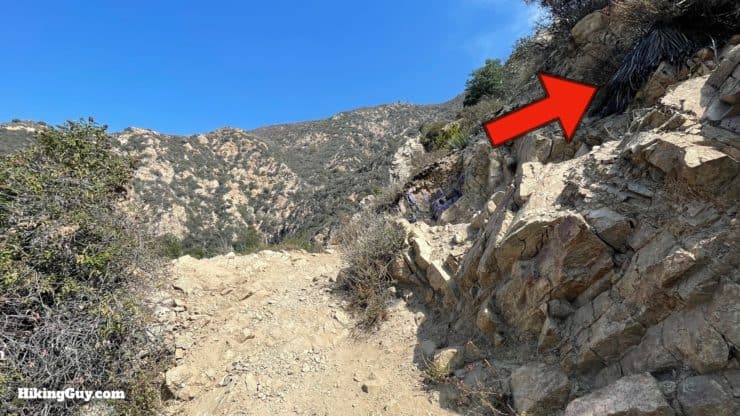
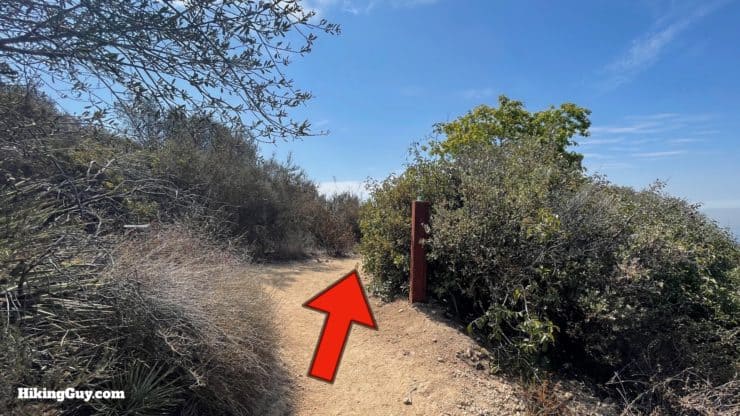
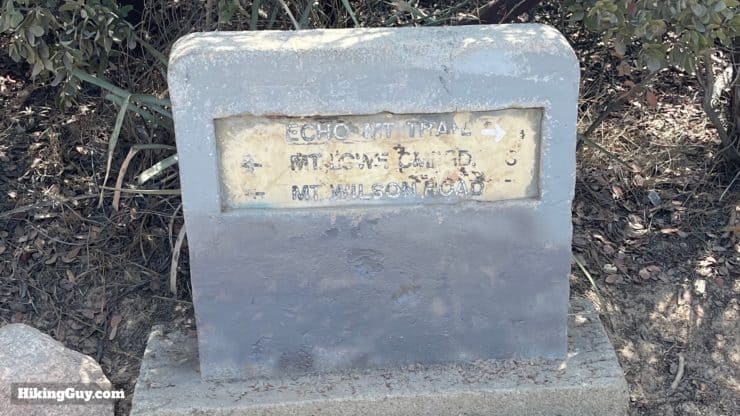
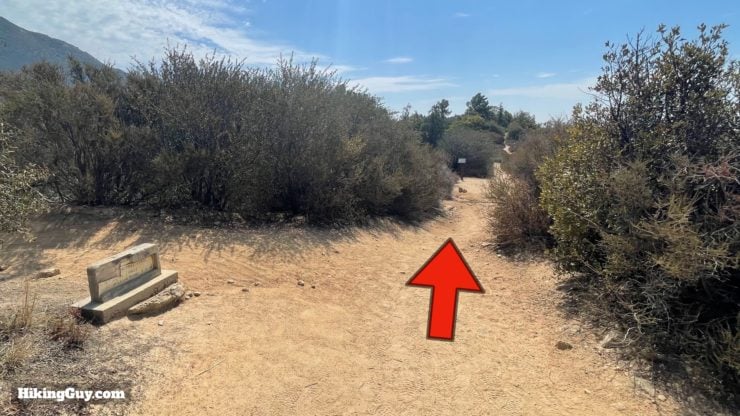
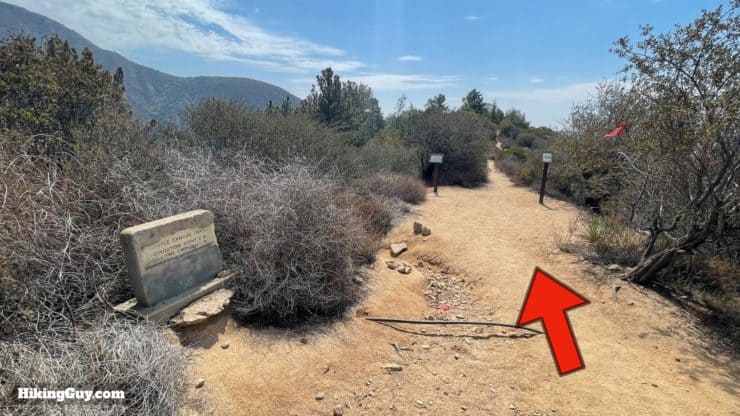
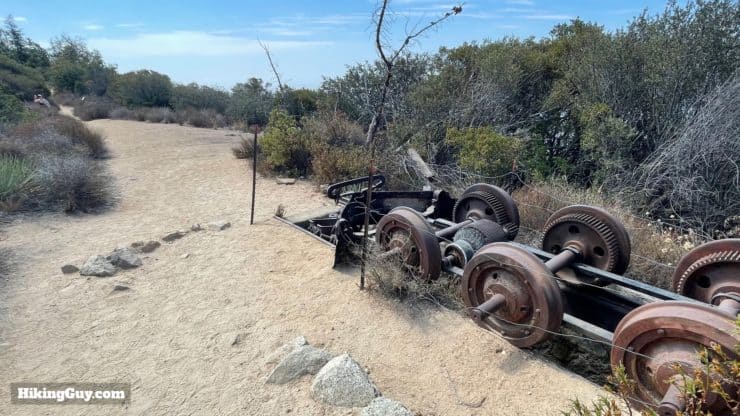
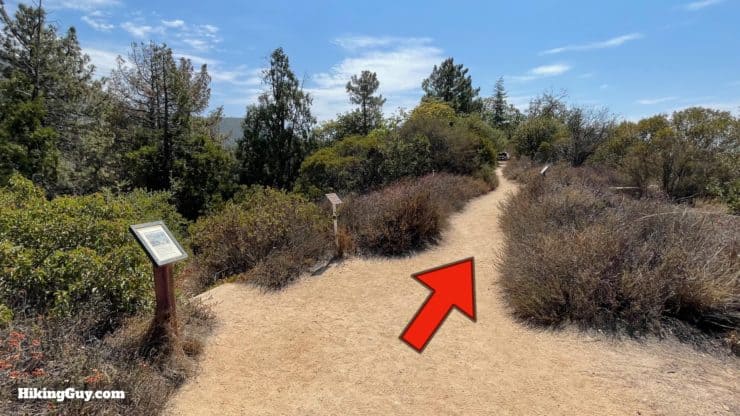
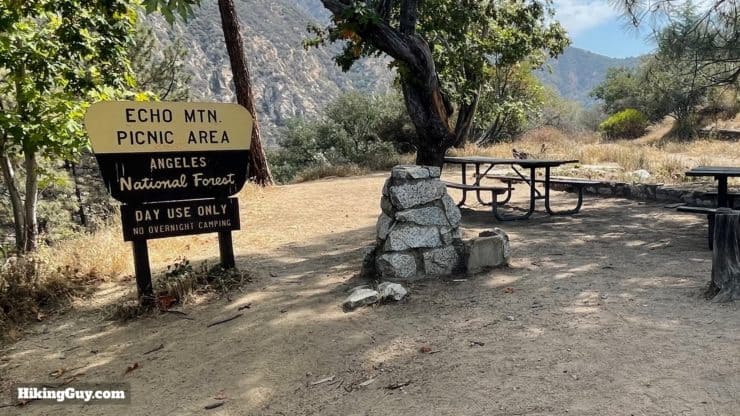
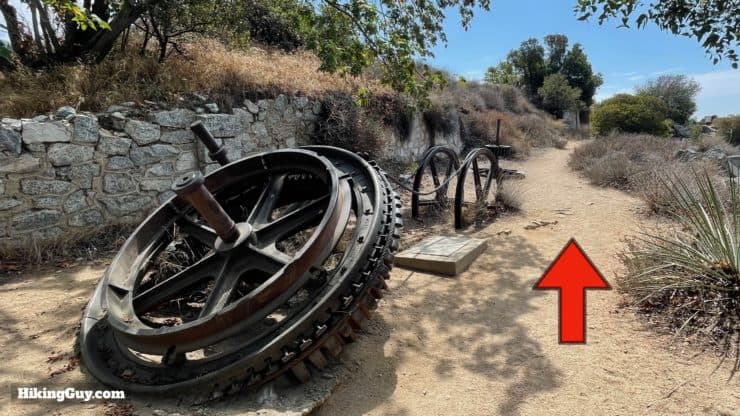
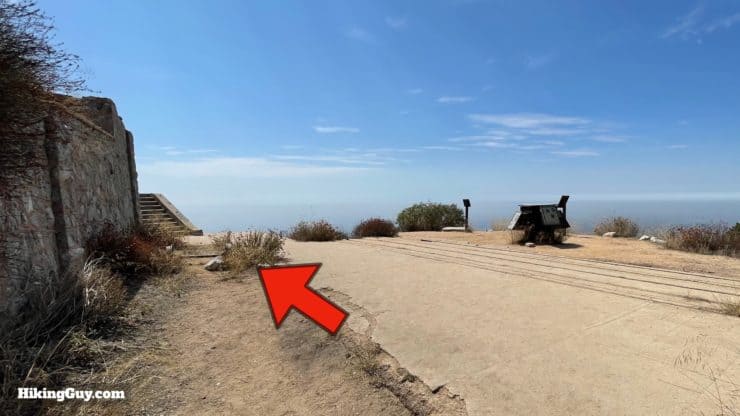
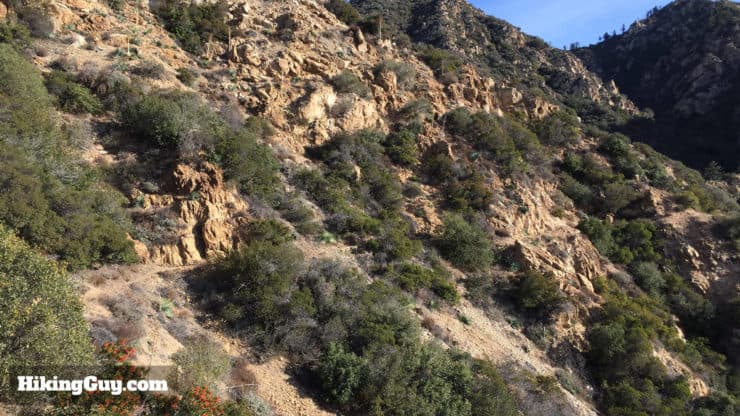
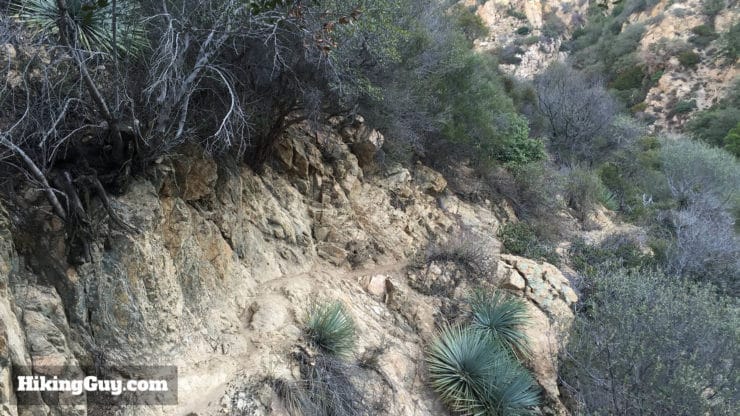
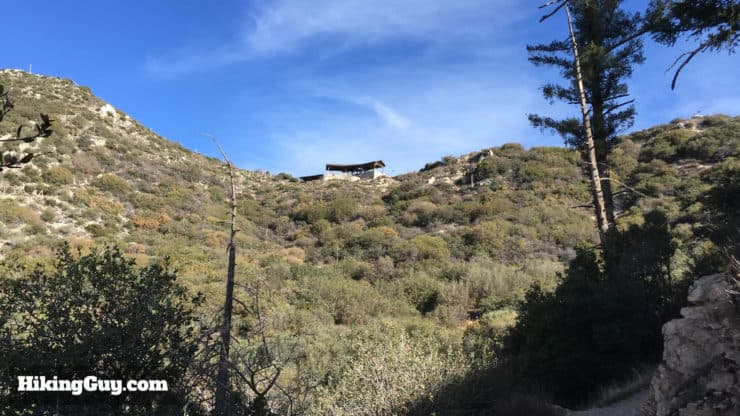
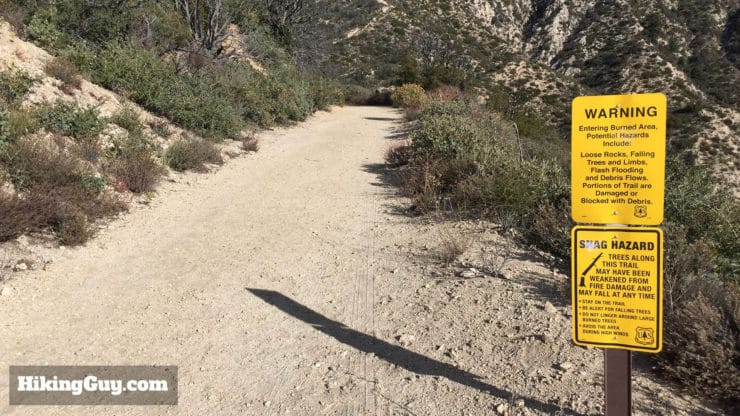
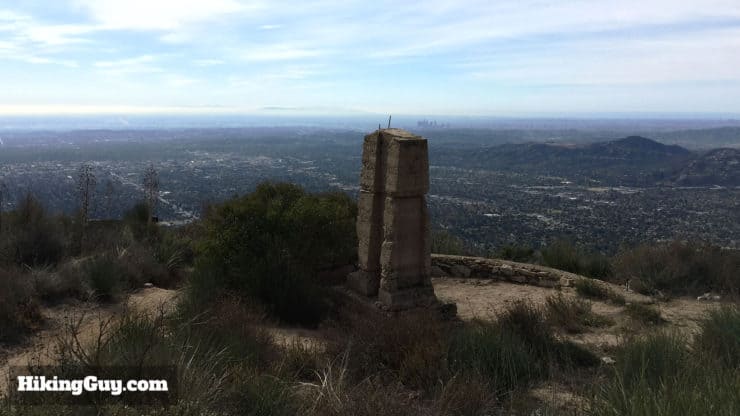
The hike starts where the road makes a 90-degree turn.Right after you make that turn, you'll see the entrance to Cobb Estate. Hike through the gate.Hike up the old paved road.After a few minutes of hiking, look for a trail sign and turn off to the right.Here's the sign from that last junction.This part can be a little tricky. When you see the next sign, make the hard left right after the sign. Avoid the trails up to the left before this sign.There's a water fountain here. Make sure you're topped up for the climb.Once you've made the turn, say on the left side of the dry wash. You'll see a lot of trails down into the wash which you should avoid.When the main trail crosses the wash (just past a concrete dam), hike across, avoiding trails up the wash.Once you cross the wash, you'll see a sign reminding you to call 911 in case of an emergency.From here the climbing starts. The lower slopes are gradual.Stay on the main trail, avoiding any unofficial side trails. These usually go to viewpoints or bathroom break spots and then fizzle out.Now the trail gets steeper as you climb up along Los Flores Canyon. Expect lots of switchbacks.The trail winds around to the other side of the ridge, where you get views into Rubio Canyon.And then comes back to Los Flores Canyon. Here you can see one of the occasional spots of shade.As you wind up, you'll see a big mountain range toward LA, which are the Verdugo Mountains.Keep heading up the main trail past the bench. The bump ahead is Echo Mountain.You'll see the 200,000 gallon reservoir in Los Flores Canyon below. There are also some old abandoned gold mines down there that date back to 1893.Hike past the Lee Tracy Memorial bench.As you get closer to the summit there's a section that levels out a little and offers shade.But then it old stylegets steep and exposed for the last stretch to the top.And then you'll see a post, this is the top, the climbing is over.Here's the junction at the post. Make the right to head to the historic area and echo phone.You'll see these old-style "gravestone" trail signs up here, which I think date back to the original resort.Keep hiking straight past the Sam Merrill (upper) trail on the left.And then straight past the Castle Canyon Trail on the left, through the interpretive displays ahead.There are lots of (dated but still interesting) interpretive displays and historical markers to check out.You'll pass the wreckage of the old railway trains.Keep going straight past the side trail on the left to the old tennis courts.And then you'll reach the Echo Mountain Picnic Area.Go straight past the picnic area, and then past the old cables and gears used by the railway.You'll reach the foundation of the resort. Check out the views, and then hike up the stairs on the left.When you get up the stairs, the echo phone is through the foundational ruins up to the right.Go past the old pool.And here you are at the echo phone. If you yell into it, your voice will echo across Rubio Canyon ahead.If you look up from the echo phone, you'll see the viewing pavilion at Inspiration Point above.From here, just turn around and head back the way you came, or add on the optional extension to inspiration point.
Optional Extension to Inspiration Point
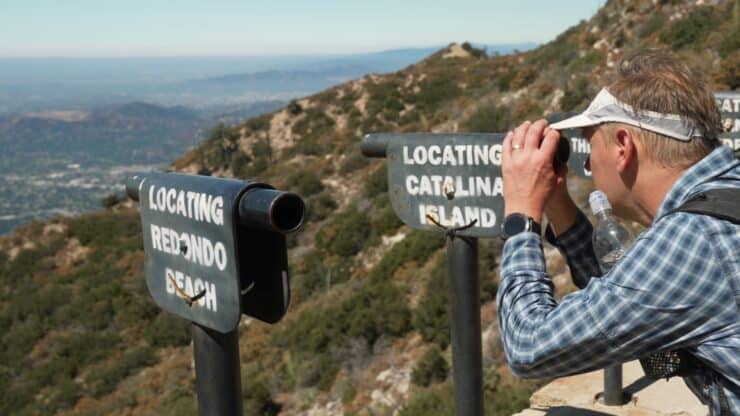
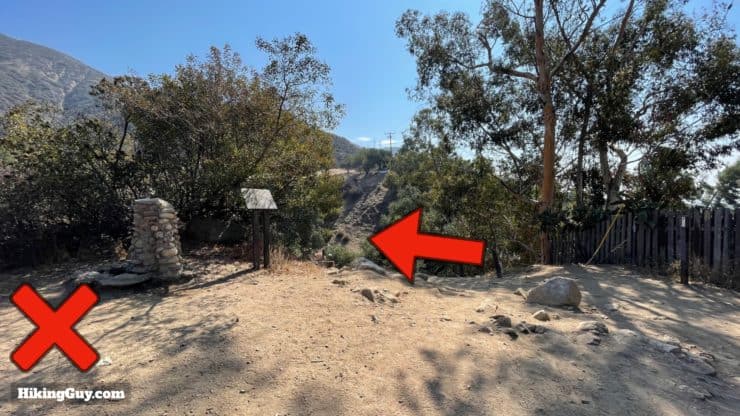
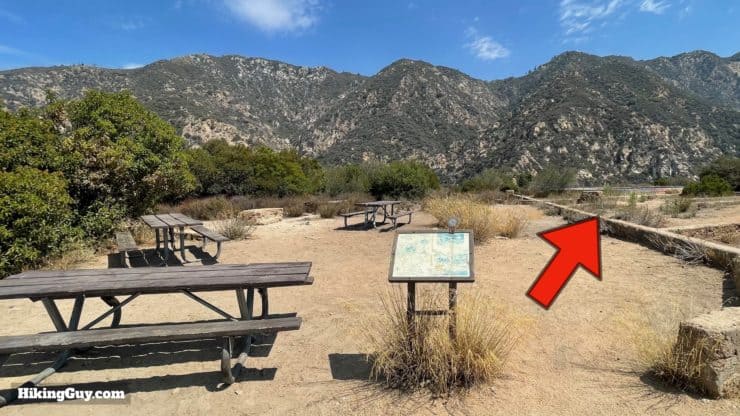
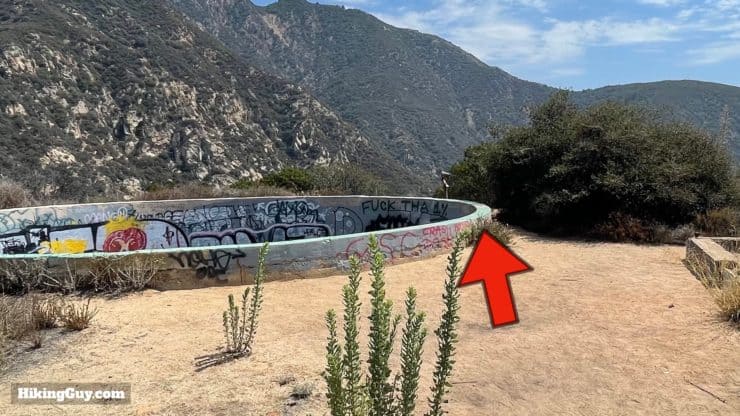
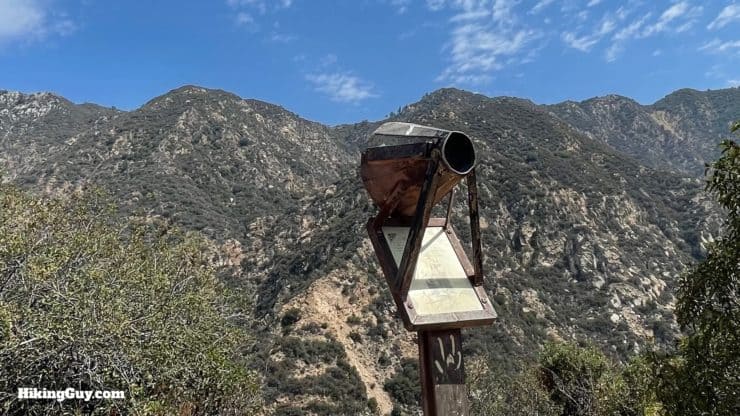
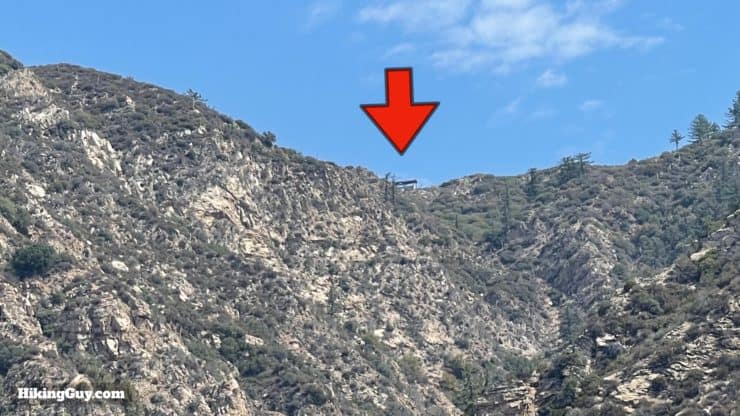
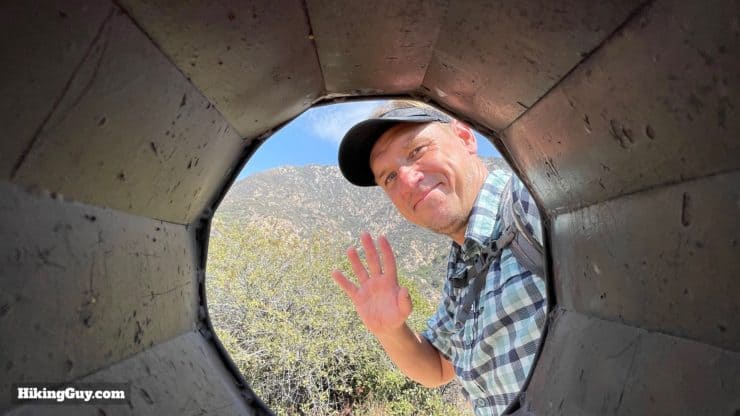
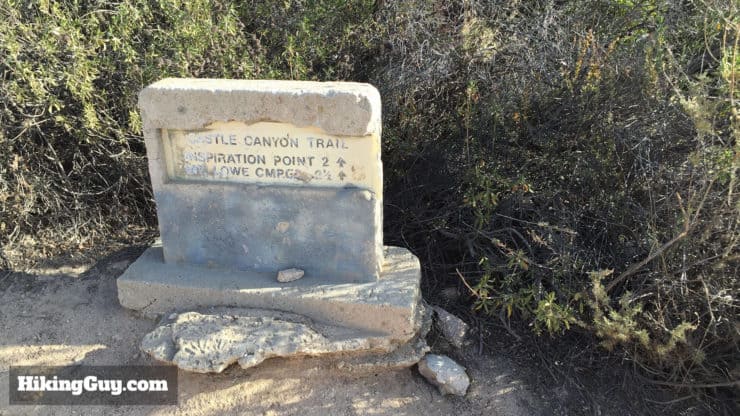
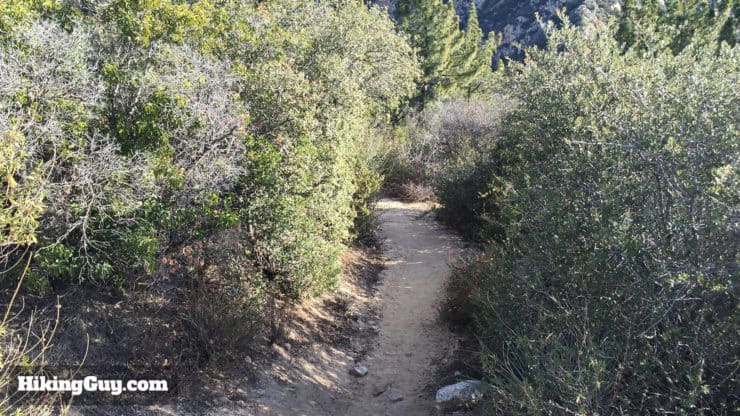
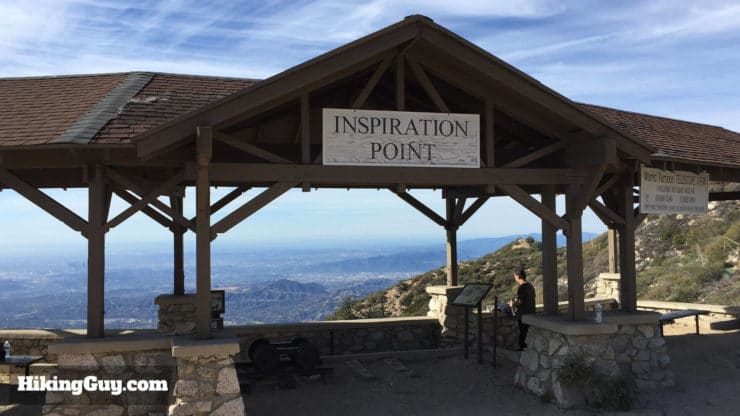
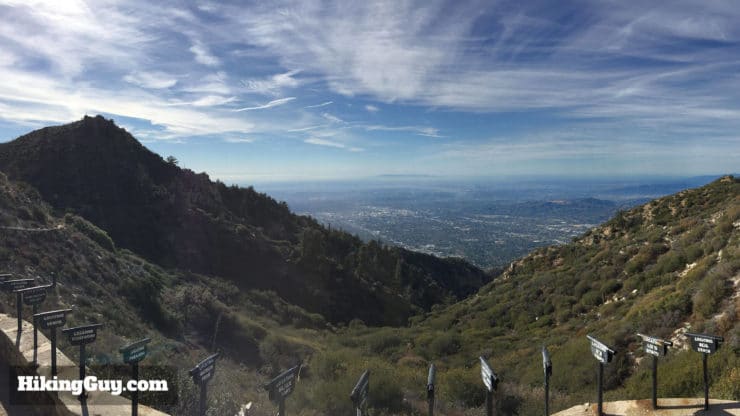
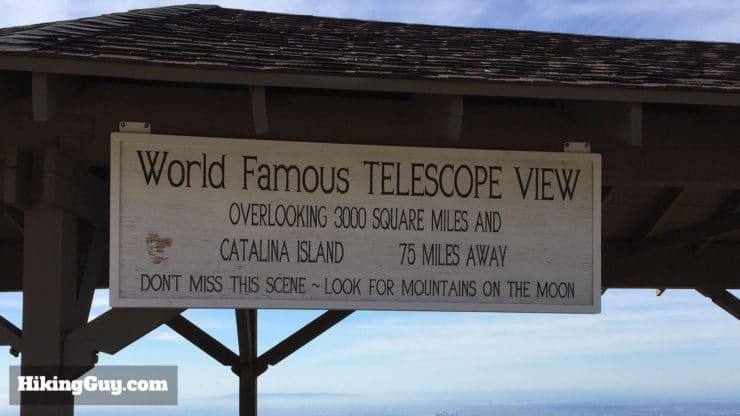
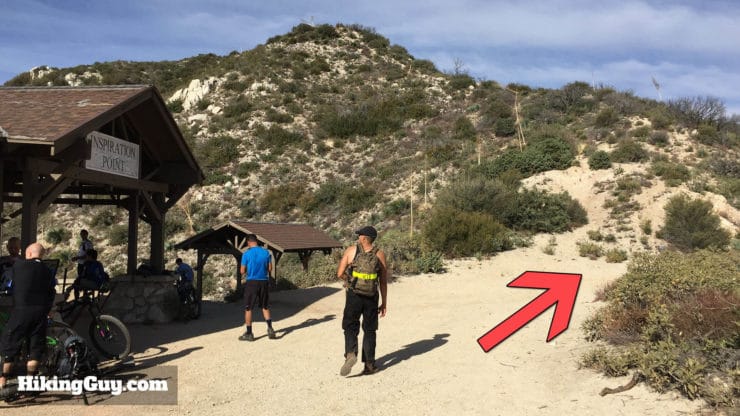
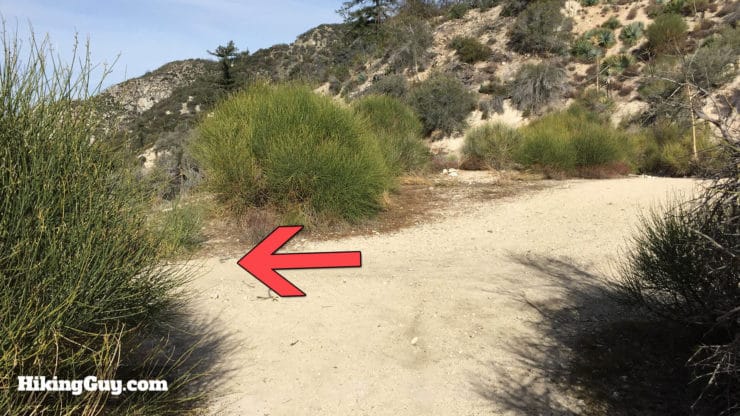
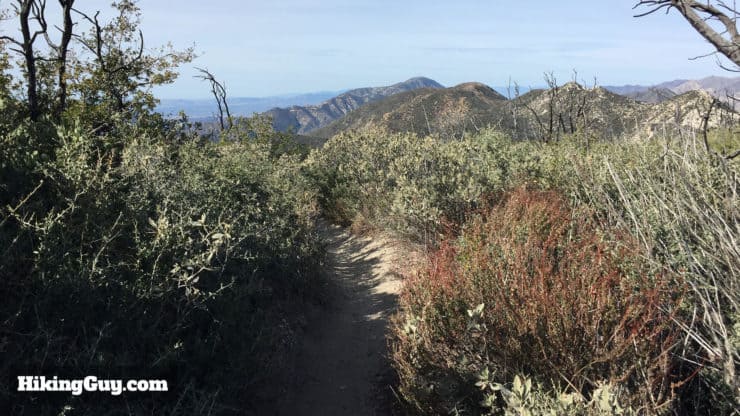
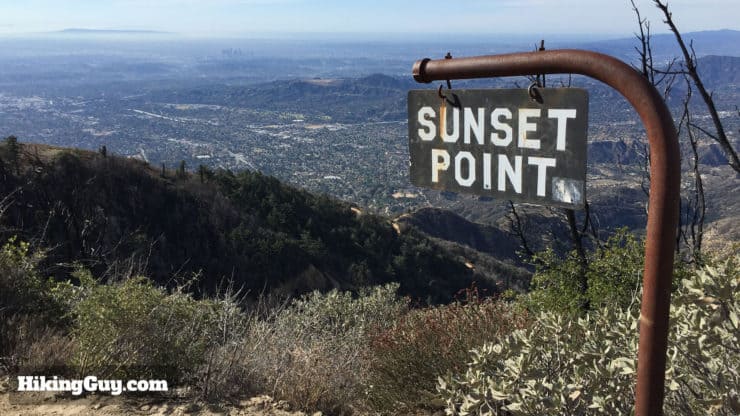
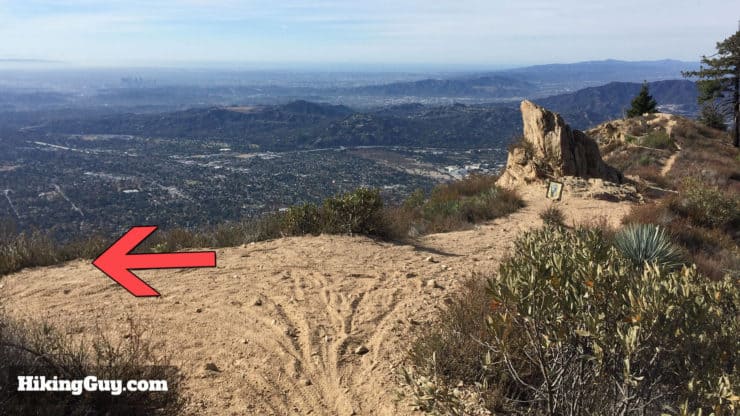
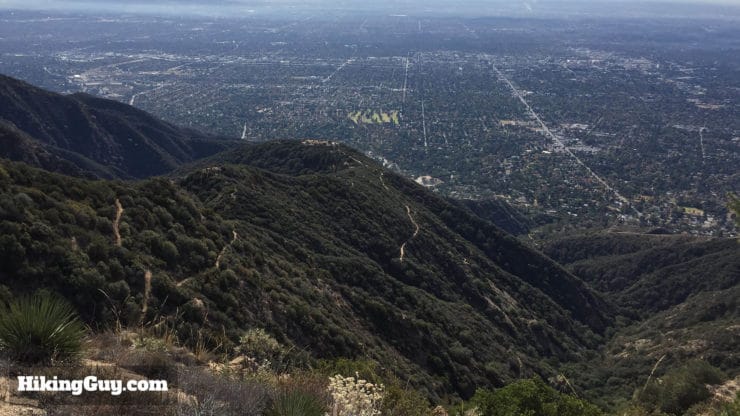
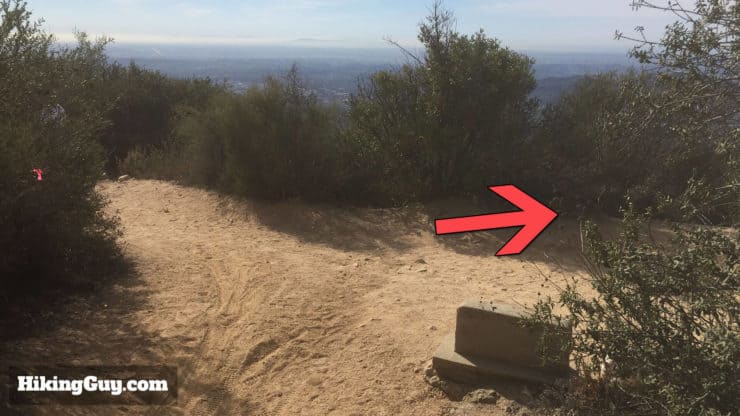
As you hike back out from the picnic area, look for the Castle Canyon trail to Inspiration Point is to your right. It’s smaller and overgrown, so keep your eyes open. It comes a minute or two after leaving the resort ruins area.There’s an old stone marker just past the trail. Make sure the sign says Castle Canyon. The next trail to the right is identical, so check the trail name.The Castle Canyon trail is smaller and lacks the crowds of the lower Sam Merrill Trail.After a few minutes, the trail follows the left side of Rubio Canyon. It’s very scenic.Turn back for some great views of downtown LA.The trail gets thin at some points. Take it easy and watch your step.The trail gets steep as it makes its way up switchbacks.At around 4.9 miles, you’ll start to see the Inspiration Point pavilion. Almost there!You made it! You will reach Inspiration Point in a little over 5 miles.One of the neatest things here is Telescope View. Each tube is pre-set with the right direction to look for the respective sights. Keep an eye open for the viewing tube for Inspiration Point – it’s pretty funny.On a clear day you can see Catalina. Opposite the pavilion are view of Mt Wilson, which is also a great hike.When you’re done soaking it all in, head straight down the road (left if you’re looking at the trail from inside the pavilion). There’s a sign pointing you in this direction for the Sam Merrill Trail.The trail is pretty wide. Continue straight to start your well-earned downhill.At about 0.3 miles from the pavilion, you’ll reach a junction. Make the hard left onto the Sam Merrill Trail. You won’t be able to see it easily as you approach.Here’s the sign marking the beginning of the trail.While you could have retraced your steps from the pavilion at Inspiration Point, this route has a much more scenic descent, but the trail is a little more primitive.Take a break at Sunset Point for some great photos of LA, Catalina, and the surrounding mountains. Note: This sign is reported gone.At around 6.5 miles in, there’s a split in the trail. Head left. If you want a quick detour with views, go to the right on the ridge. A lone pine tree marks a great vista point. Head back after checking it out.As you descend, you’ll see the Sam Merrill Trail unravel beneath you. If you look closely, you’ll also be able to see the ruins of the resort.Shortly before you arrive back at the resort ruins, you’ll see some more ruins including the old Mount Lowe Observatory.And you’re back at Echo Mountain! Head right and go back down the way you came up.
Need More Info?
Have a question about the guide or want to see what other people are saying/asking? View the Youtube comments for this video. Leave a comment and I will do my best to respond.
When planning, always check the park website and social media to make sure the trails are open. Similarly, check the weather and road conditions.


 Using the Apple Watch for Hiking
 Garmin Fenix 7 & Epix Review For Hikers
 How To Read a Topographic Map
 Garmin GPSMAP 67i Review
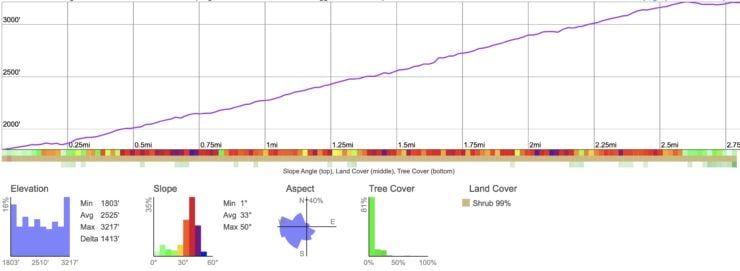


 Mt Baldy Hike
 Dawn Mine Trail Hike
 Hike Mt Lukens From Deukmejian Wilderness Park
 Mt Wilson Trail Hike
 Hike Jones Peak on the Bailey Canyon Trail
 Los Angeles Hikes
 Angeles National Forest Hikes
 LA Mountain Hikes
 Best Hiking Gear 2024
 Hiking Boots or Shoes: Do I Really Need Hiking Boots?
 When to Hit SOS on inReach