
The Grand Canyon "rim to river" hike from the South Rim to Colorado is the one hike that the NPS asks you not to do. Why? Beginning hikers underestimate the effort of hiking back up to the rim after enjoying a casual downhill to the river. I've written this guide to help experienced hikers who understand the challenges of the "rim to river," and for those who are not experienced yet will do it anyway. This guide gives you all the information you need to do the hike safely if you are up to it and the conditions are right.
- Should You Even Try This Hike?
- Video & Turn-by-Turn Directions for the Rim to River Hike
- Insider Tips and Recommendations
Should You Even Attempt the Rim to River Hike?
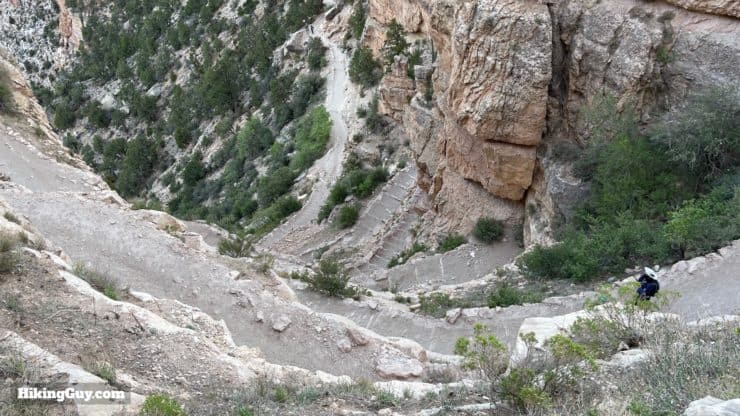
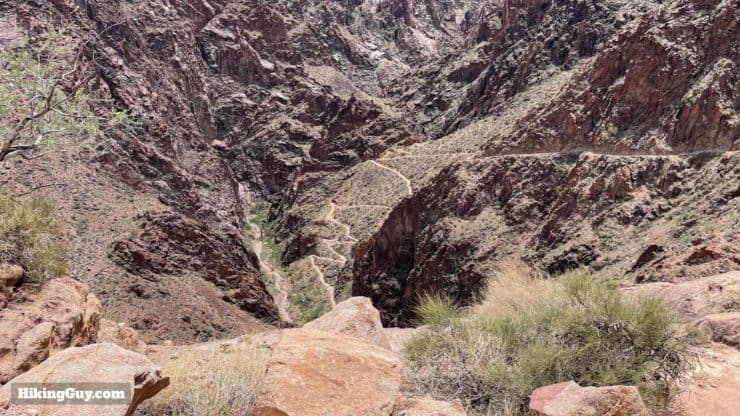
I'll sum the (main) danger up for you clearly. You have an easy hike downhill, it gets hot, and then you have to hike back up through steep exposed sections of the desert with names like the " Devil's Corkscrew." If you can't make it, you don't get a helicopter ride. A ranger will usually walk you back out to the top if you don't die from heatstroke first.
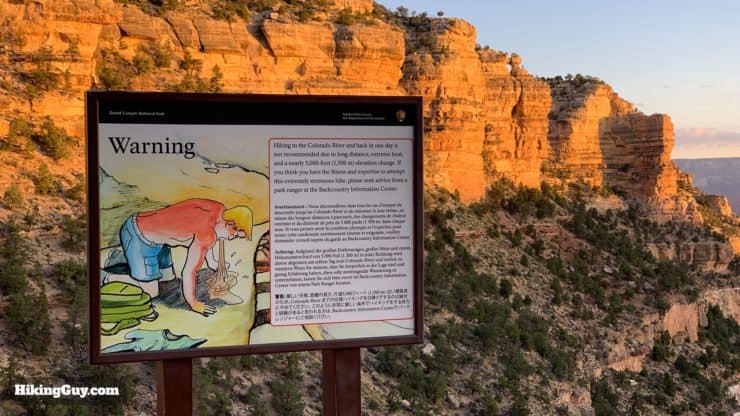
The National Parks Service says this about the hike:
Hiking to the river and back in one day is not recommended due to long distance, extreme temperature changes, and an approximately 5,000- foot (1,500 m) elevation change each way. If you think you have the fitness and expertise to attempt this extremely strenuous hike, please seek the advice of a park ranger at the Backcountry Information Center. Know how to rescue yourself. YOU are responsible for your safety and the safety of your family and friends. Rescue is not guaranteed, and assistance may take hours or days due to weather or other emergencies.
If you have second thoughts, why not try a shorter hike where you can see the river, such as the hike to Plateau Point or the South Kaibab Trail to Skeleton Point. Both hikes are tough in their own right and give you a taste "below the rim."
What Does the Rim to River Start and End?
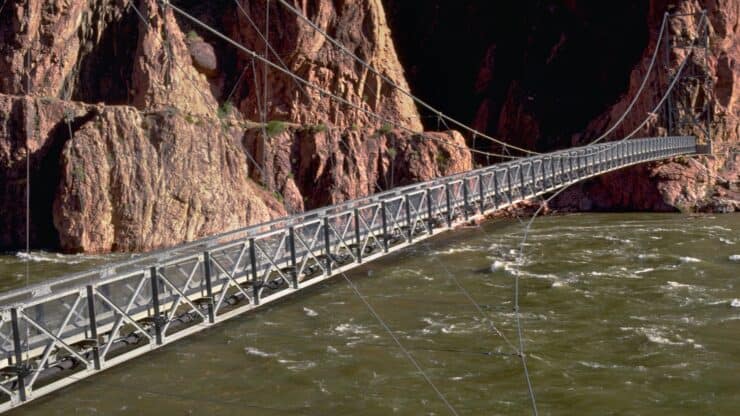
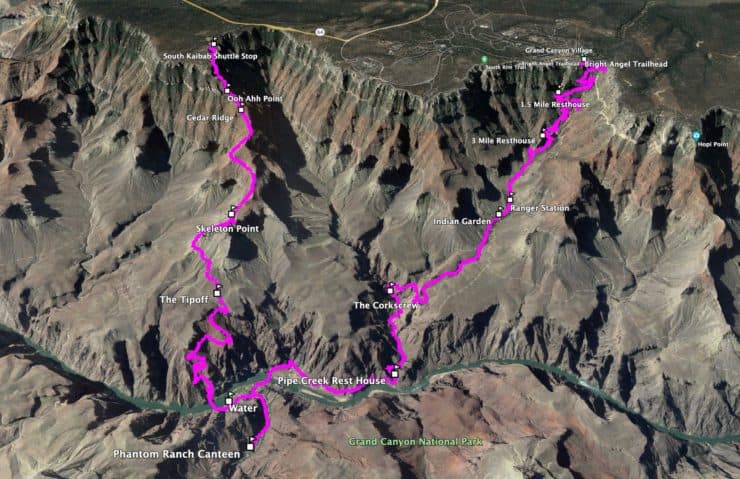
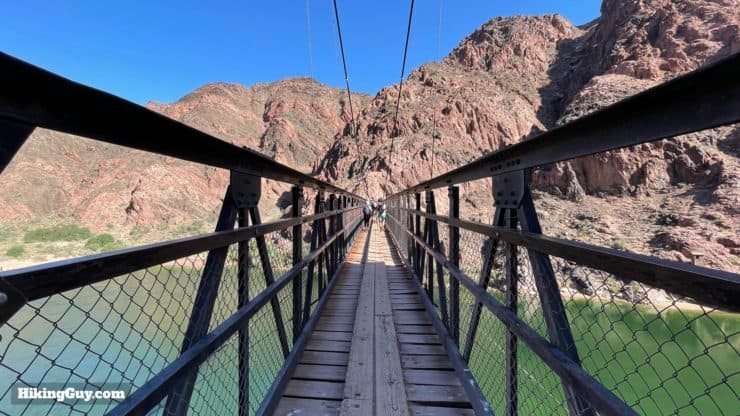
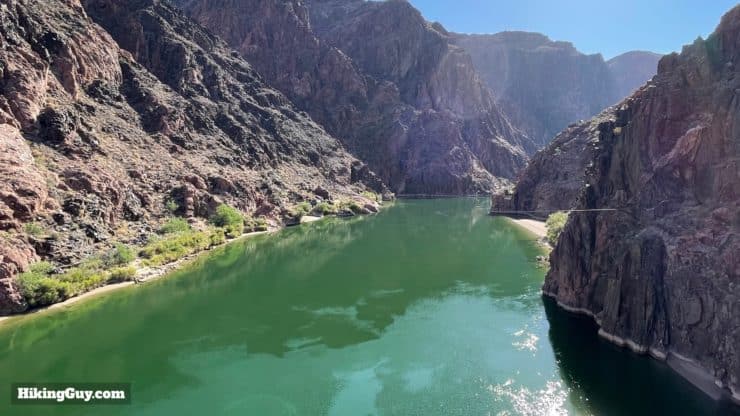
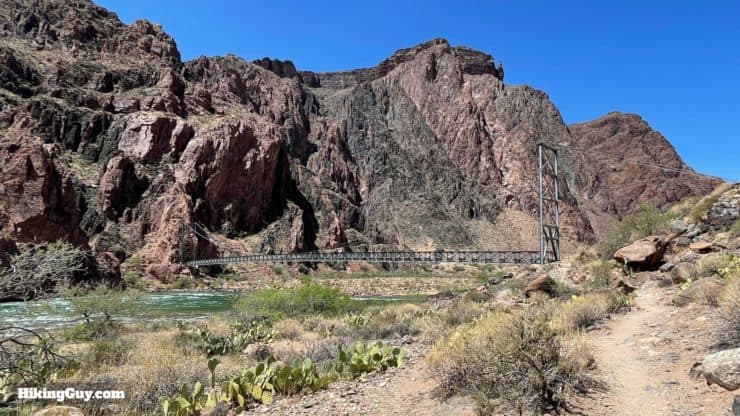
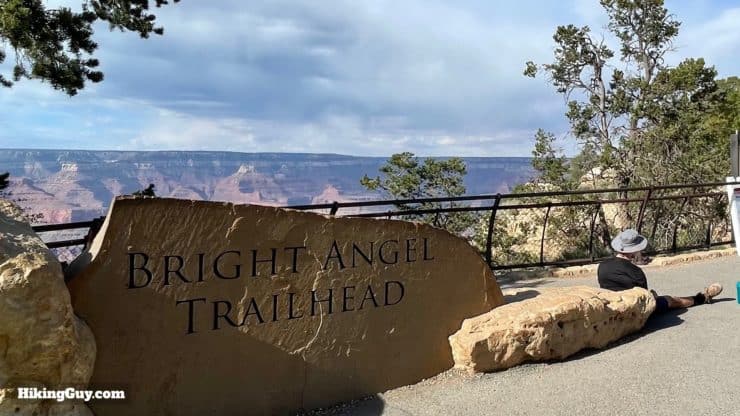
Technically there are several trailheads where you can actually hike to the river from the South Rim, but the traditional route descends on the South Kaibab Trail to Phantom Ranch, and then ascends back to the South Rim on the Bright Angel Trail. This routing allows you to make the (relatively) easier descent with no water (you have to carry your own), take a break at Phantom Ranch canteen at the mid-point, and then climb back on the Bright Angel, which has water (after a stretch).
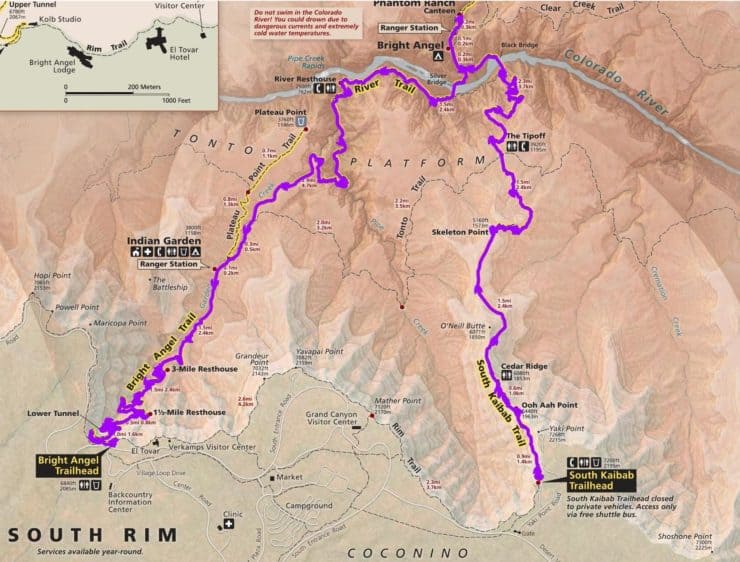
Map locations: South Kaibab Trailhead - Bright Angel Trailhead
The way most people tackle the logistics of the two different trailheads is this:
- Park (or stay) near the Bright Angel Trailhead. There is trailhead parking just next to the Bright Angel Trail, or park in the bigger "Lot D" by the Backcountry Information Center.
- Take the early Hiker's Express or Kaibab Rim (Orange) bus to the South Kaibab Trailhead starting point (no cars are allowed there).
- Finish the hike back at your car or hotel at the Bright Angel Trailhead.
If you want to do the "rim to river" as an overnight trip, I suggest you check out my Rim to Rim guide for a deeper dive on camping options.
Suggested Timing
In the summer this hike is a big no-no. You're going to want to check the weather forecast at Phantom Ranch. If it's going to be over 100F by noon, it's prudent to try a different hike like Bright Angel to Plateau Point, which has water throughout and shaded rest areas. Ideally you want to be back up to Indian Garden (more below) before the real heat hits, which can mean starting as early as possible when it's warm. In the winter, the upper stretches of the trails can be covered with slick ice, and even with spikes on your shoes, you'll go very slow. The sweet spot for this hike is when the temps are cooler but not extreme.
Here's a rough timetable for the average hiker.
| Landmark | Distance (miles) | Time | Gradient |
|---|---|---|---|
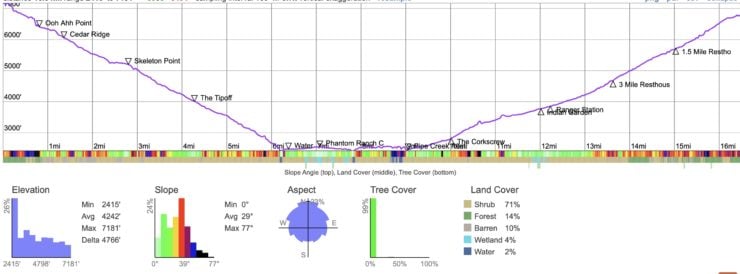
| South Kaibab Trailhead | 0 | - | - |
| Cedar Ridge | 1.5 | 0:45 | Steep Downhill |
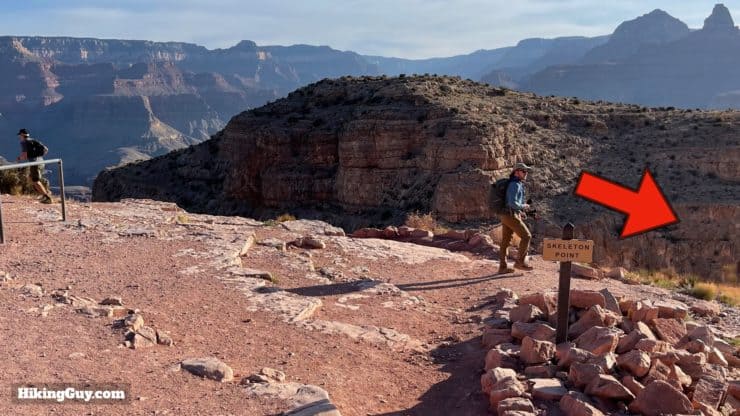
| Skeleton Point | 3 | 1:15 | Downhill |
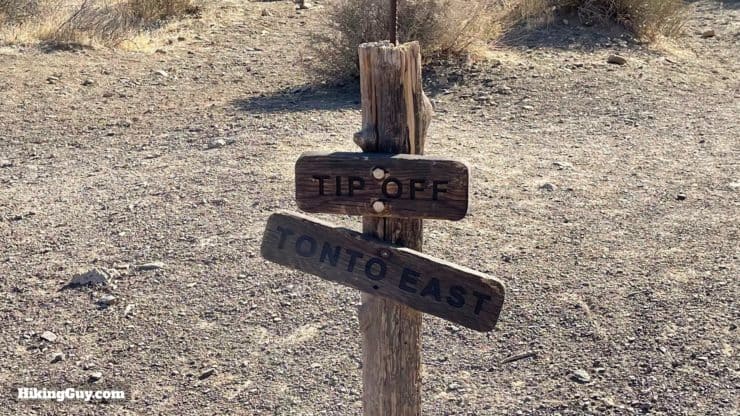
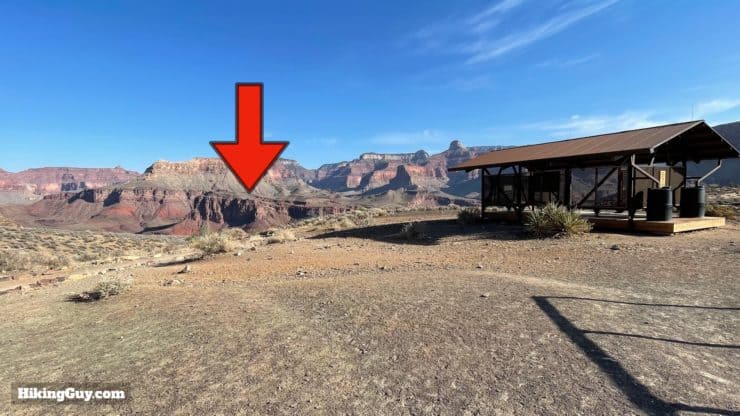
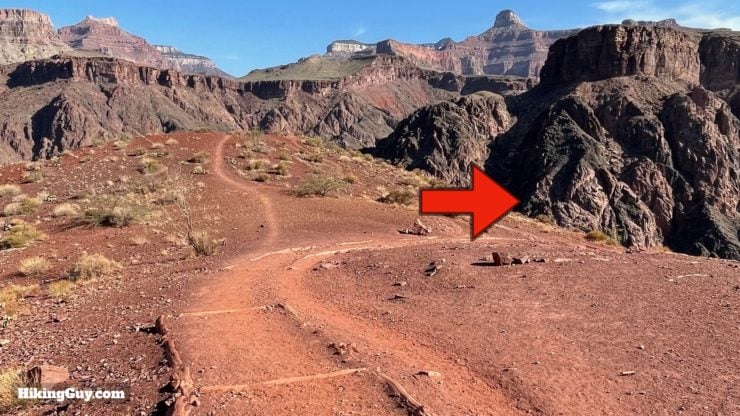
| Tip Off | 4.4 | 2:00 | Downhill |
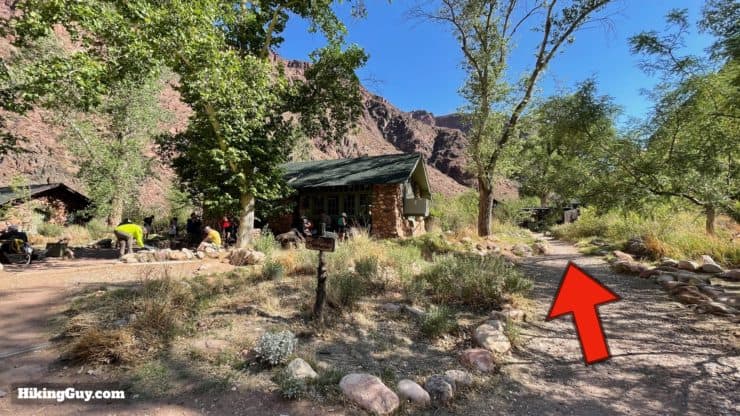
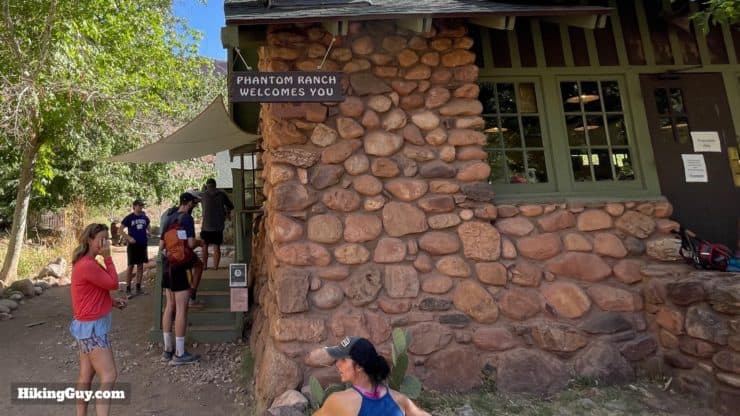
| Phantom Ranch | 7.4 | 3:00 | Downhill |
| Snack Break | - | 3:30 | - |
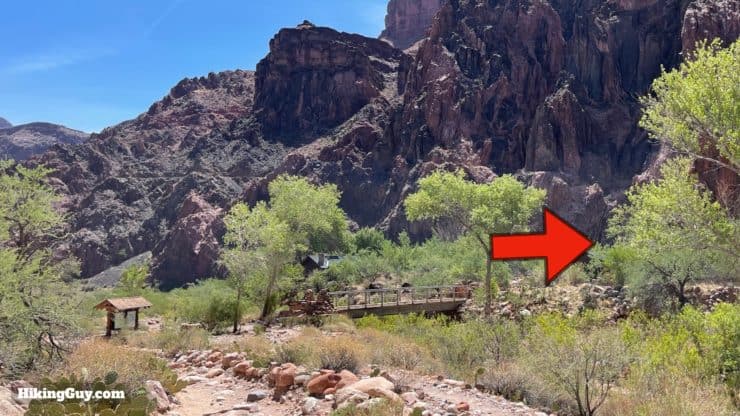
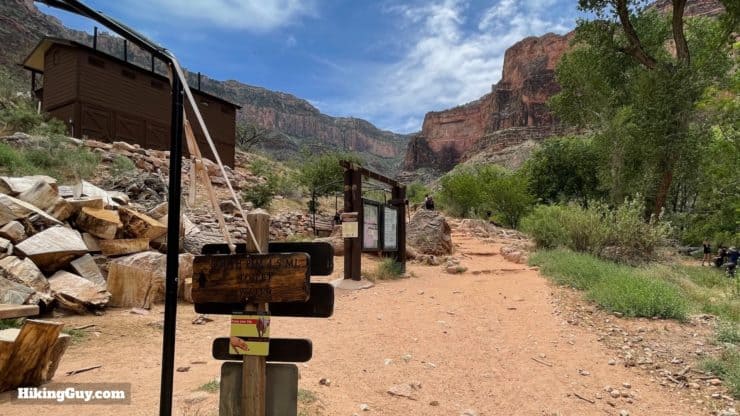
| River Resthouse | 9.7 | 4:30 | Gradual Uphill |
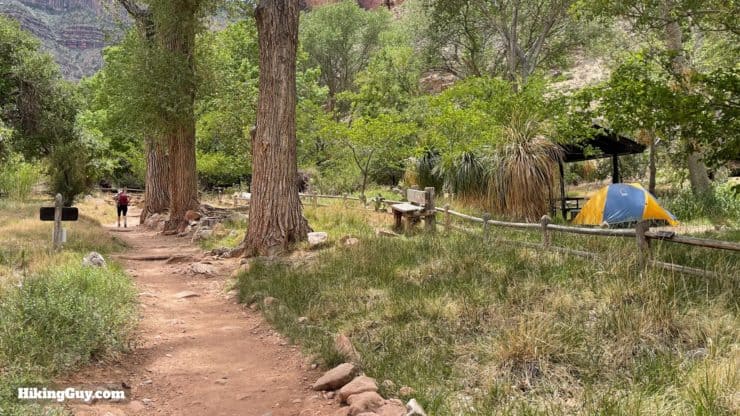
| Indian Garden | 12.9 | 6:30 | Mixed Uphill |
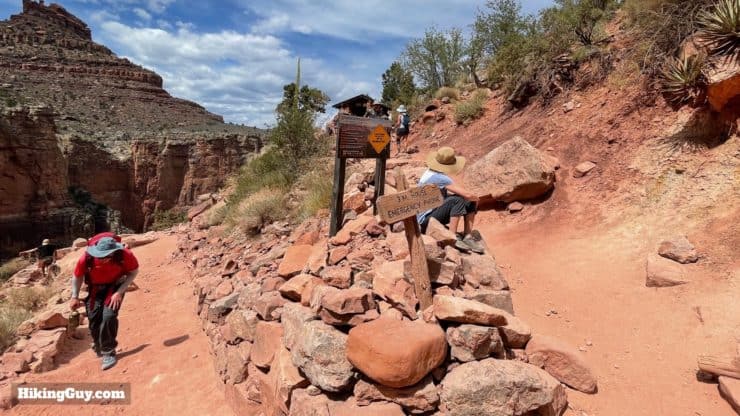
| Three-Mile Resthouse | 14.4 | 7:30 | Steep Uphill |
| Mile-and-a-Half Resthouse | 15.5 | 8:30 | Steep Uphill |
| Bright Angel Trailhead | 17 | 9:30 | Steep Uphill |
Again, you are responsible for your own safety. The hottest part of the hike is usually between Phantom Ranch and Indian Garden. And if you get to Indian Garden and it's very hot, you need to delay your plans, rest in the shade, and wait for it to cool down. People die every year from heatstroke. I'm sure no one thought it would happen to them.
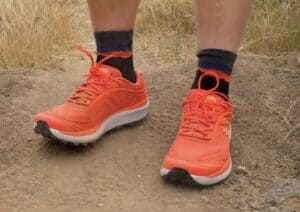
Gear For the Hike
- Understand and bring the day hiking essentials.
- Trekking poles are a massive help on the descent and climb.
- You're going to need sun protection. A wide hat that shades your head and neck, and also soaks up sweat is smart. Soak your hat in water as you pass fill stations to stay cool. And sunglasses will help protect your eyes from photokeratitis
- Use a hydration bladder if you have one, otherwise you can carry two 1.5L Smartwater bottles (or similar).
- Bring food that's easy to get down when it's hot out and that has some salt in it, which most energy bars do (look for sodium). Energy gels are great for the climb out.
- Bring a headlamp in case you get stuck out after dark.
- Pick up the "Trails Illustrated Grand Canyon National Park Trail Map - Bright Angel Canyon/North and South Rims" by National Geographic which is great for navigating the hike.
Gear That I Love Right Now
Nothing is sponsored or promoted, just the actual gear that I use.


Check out the complete list here. ( Updated July 2024)
Planning Your Water
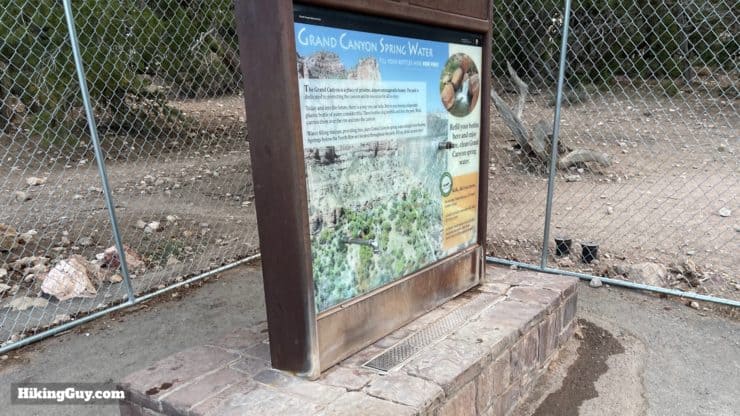
Luckily there are running water fills at key points on this hike. You need to check the backcountry alerts page on the Grand Canyon NPS website - sometimes water is shut off at spots, there is low pressure from leaking, etc.
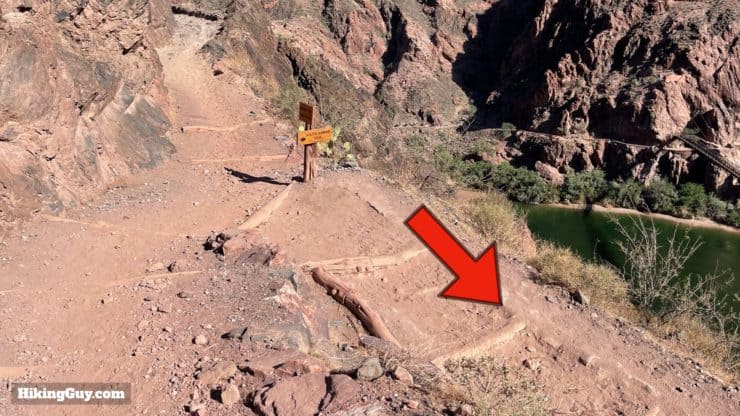
- Carry 3L of water when you leave the South Kaibab Trailhead. There is no water until you get across the river. This water should last until Phantom Ranch.
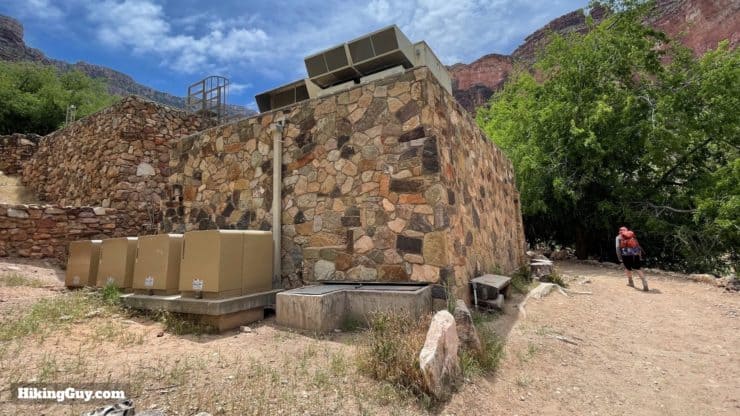
- Refill all 3L at Phantom Ranch.
- Carry 1.5L of water up from Indian Garden.
- Refill your water when needed as you climb. There are refill stations roughly every 1.5 miles (1 hour) from Indian Garden to the end of the hike.
Rim to River Trail Maps
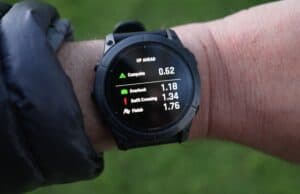
How Will You Navigate?
 Using the Apple Watch for Hiking
 Garmin Fenix 7 & Epix Review For Hikers
 How To Read a Topographic Map
 Garmin GPSMAP 67i Review
Elevation Profile
3D Map
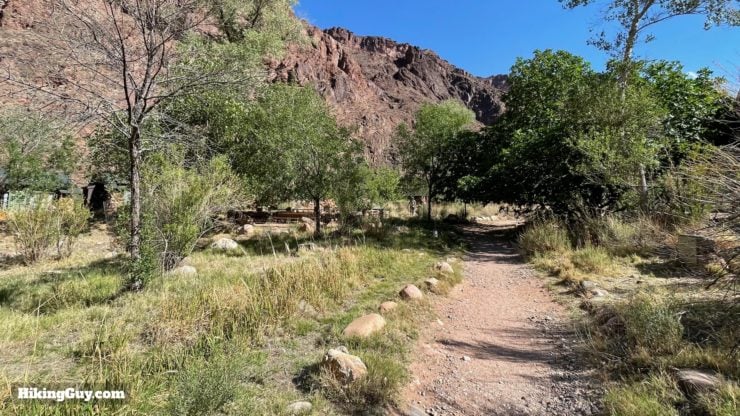
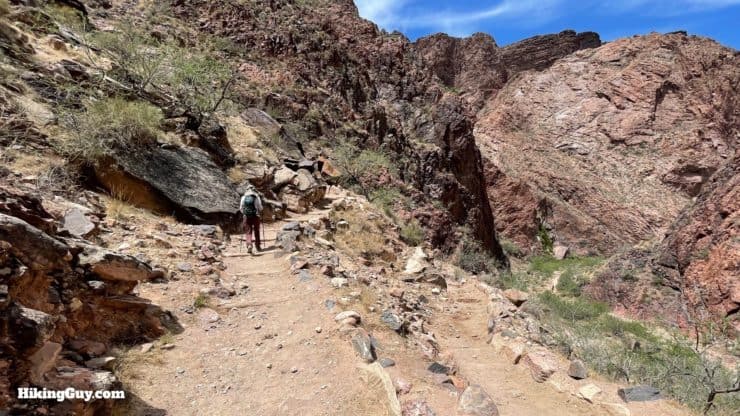
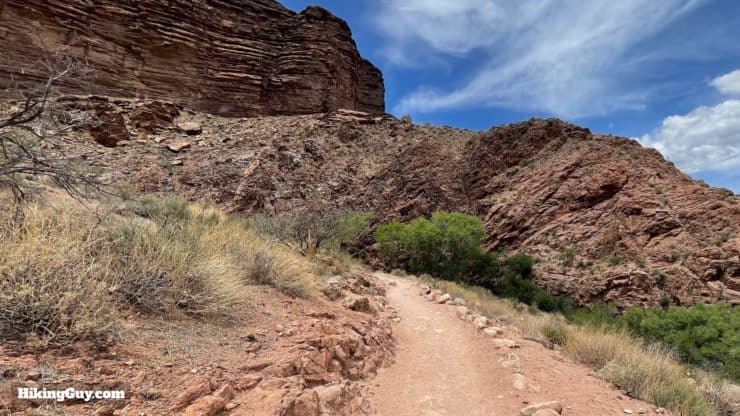
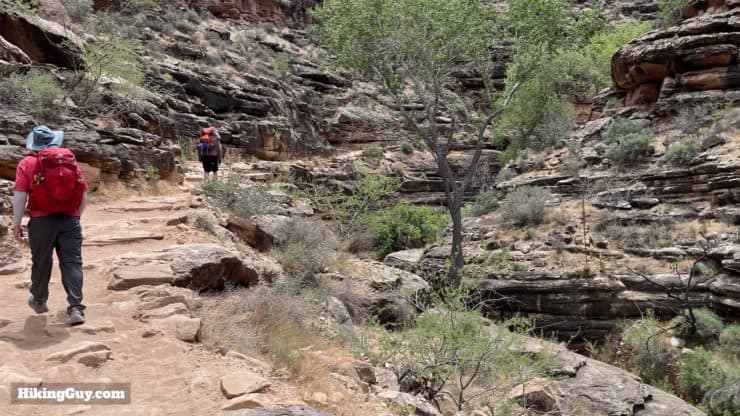
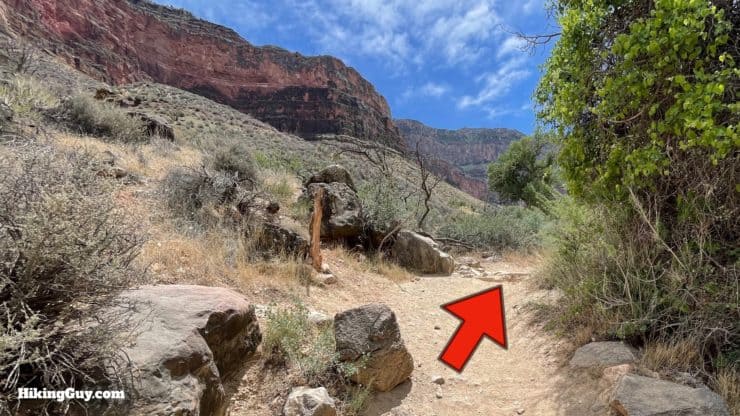
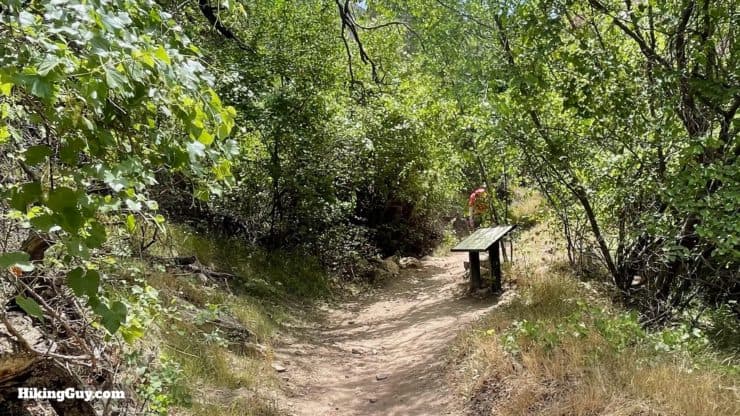
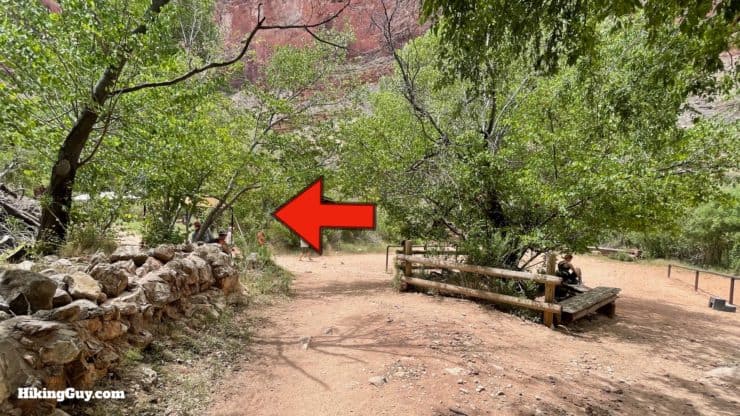
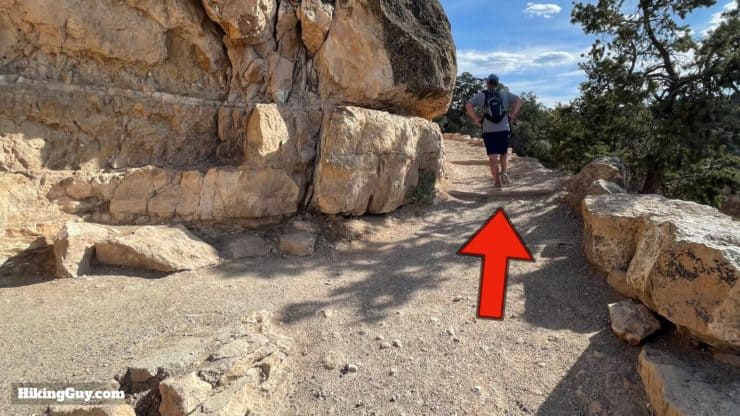
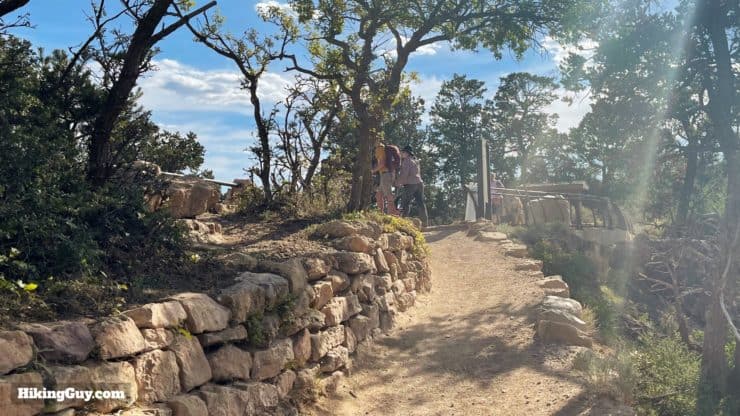
Rim to River Hike Directions
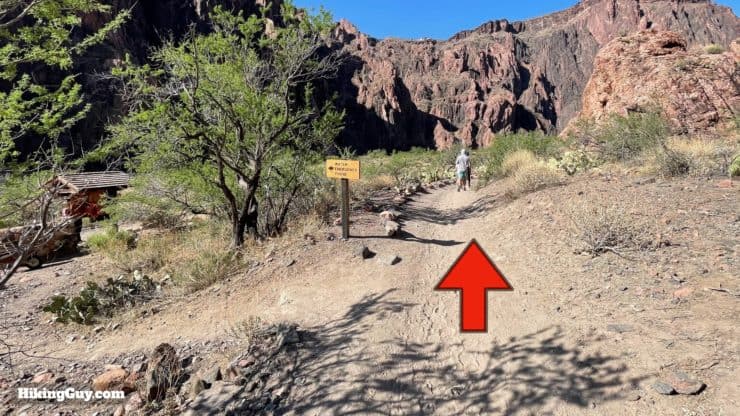
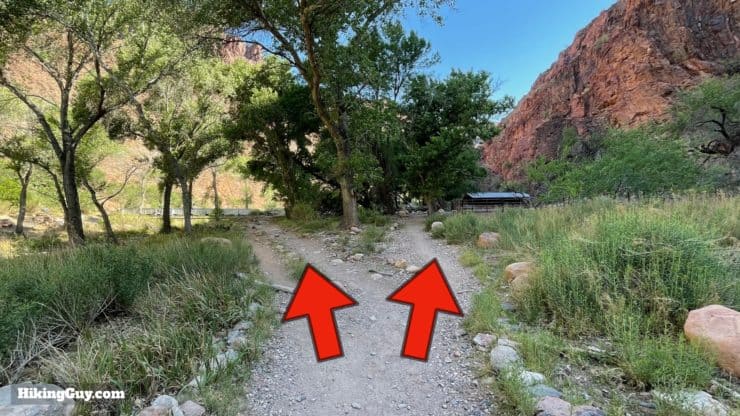
Turn by Turn Directions


Need More Info?
- Have a question about the guide? Join my Patreon and ask me a question.
- When planning, always check the park website and social media to make sure the trails are open. Similarly, check the weather and road conditions.
- Do you have an update to this guide? View the Youtube comments for this video. Leave a comment and I will do my best to update the guide.
Related Guides
 Bright Angel Trail to Plateau Point Hike
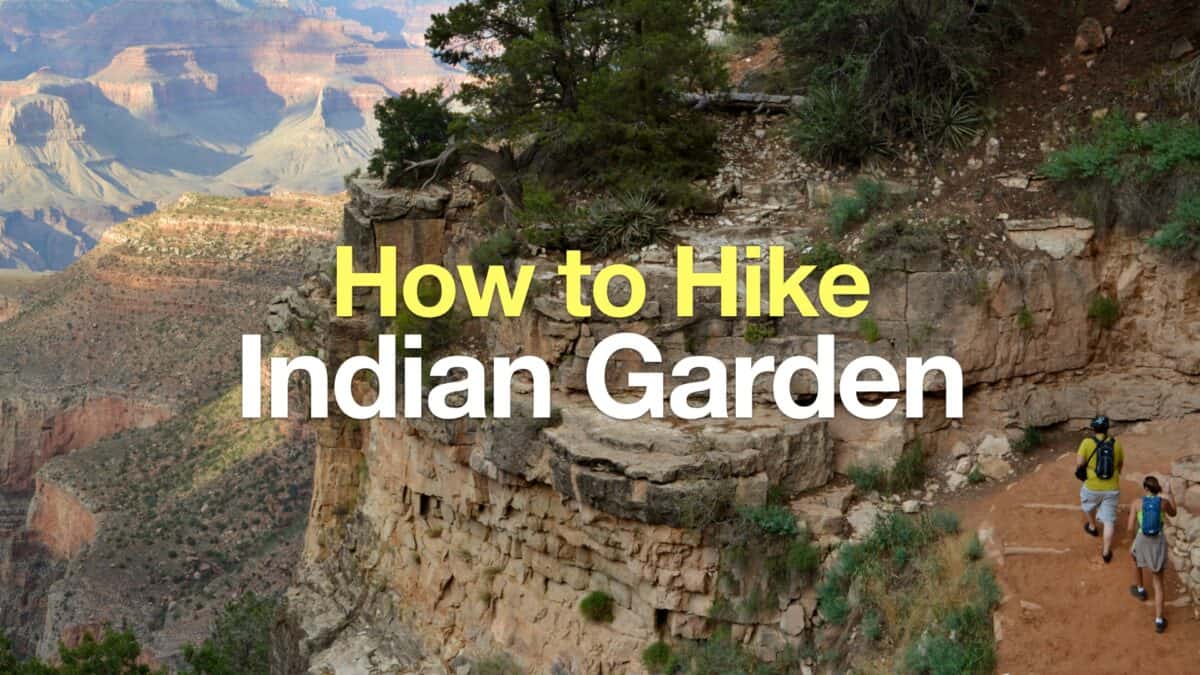 Indian Garden Hike
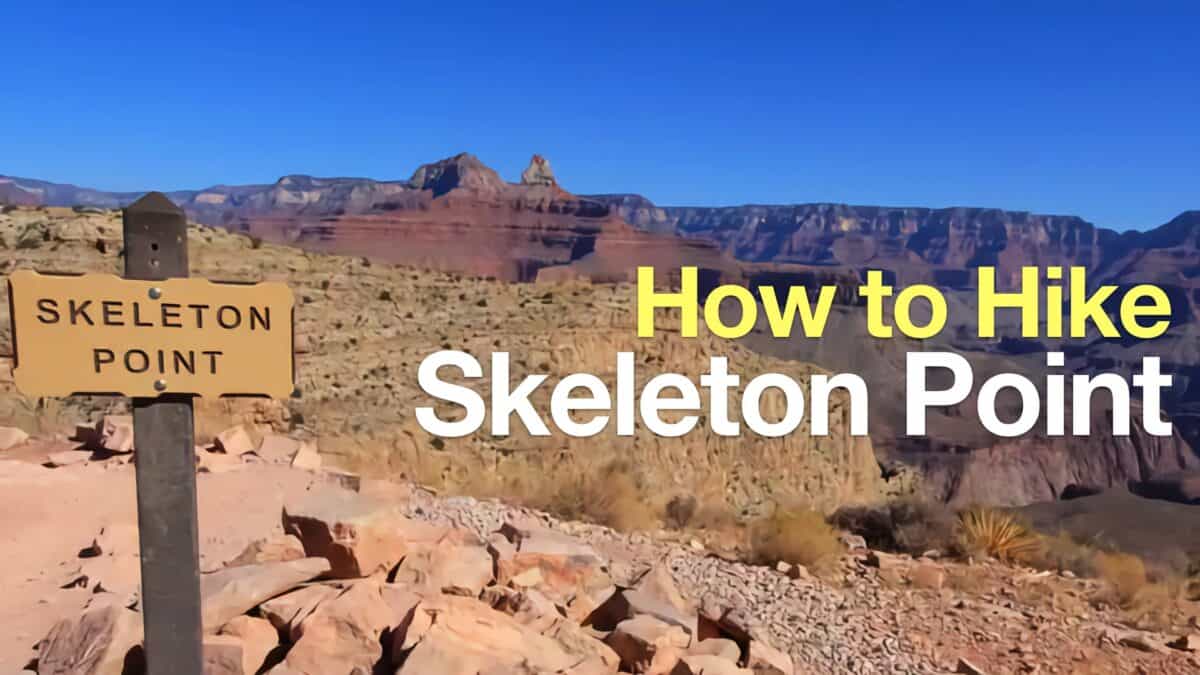 Hike Skeleton Point
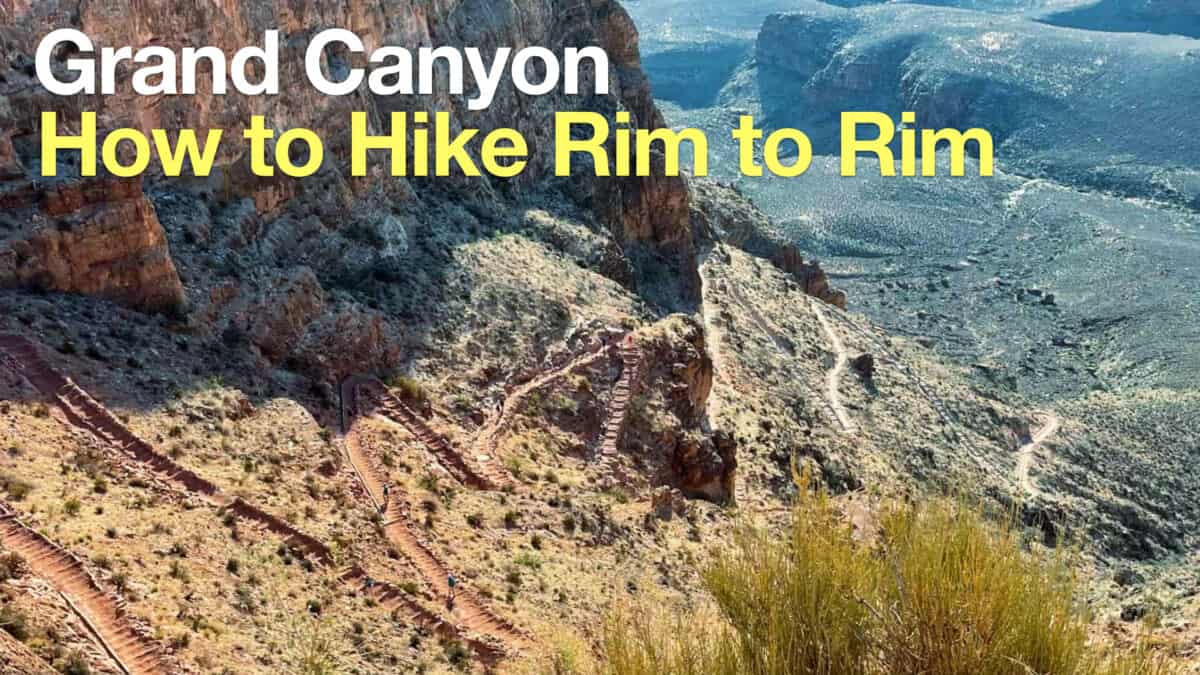 Rim to Rim Grand Canyon Hike Guide
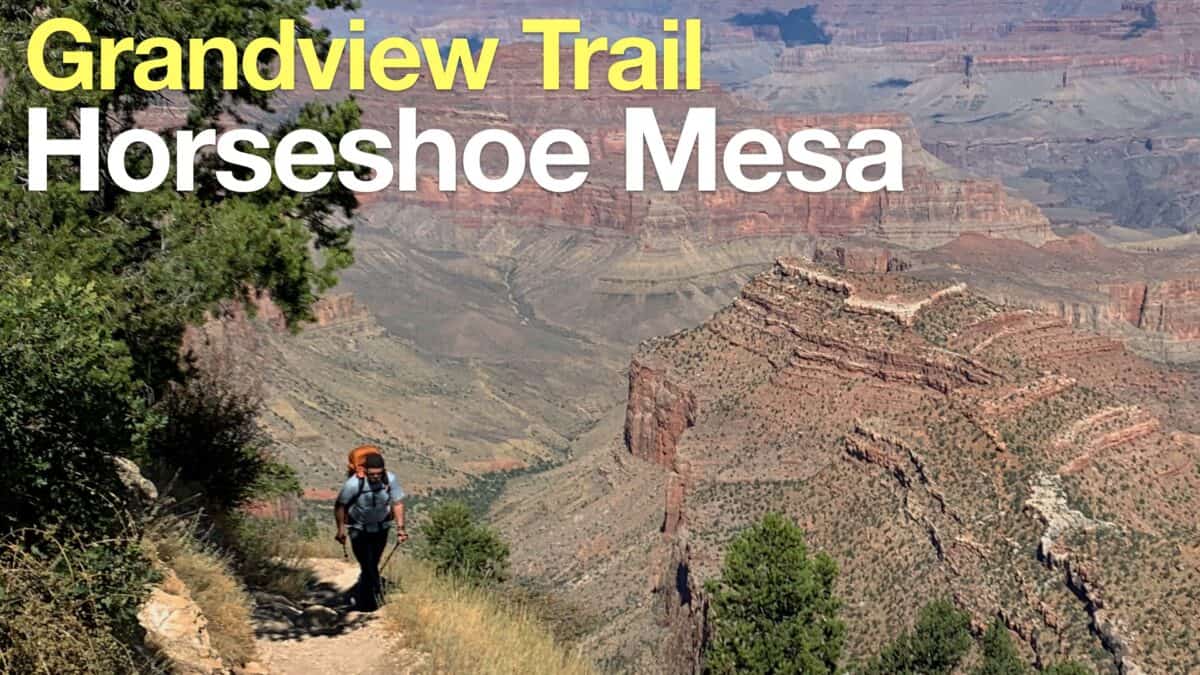 Grandview Trail To Horseshoe Mesa Hike
 Grand Canyon Hikes
 Backpacking Trips
Popular Guides
 Best Hiking Gear 2024
 Hiking Boots or Shoes: Do I Really Need Hiking Boots?
 When to Hit SOS on inReach
This Guide Was Written by Cris Hazzard

Hi, I'm Cris Hazzard, aka Hiking Guy, a professional outdoors guide, hiking expert, and author based in Southern California. I created this website to share all the great hikes I do with everyone else out there. This site is different because it gives detailed directions that even the beginning hiker can follow. I also share what hiking gear works and doesn't so you don't waste money. I don't do sponsored or promoted content; I share only the gear recommendations, hikes, and tips that I would with my family and friends. If you like the website and YouTube channel, please support these free guides (I couldn't do it without folks like you!). You can stay up to date with my new guides by following me on YouTube, Instagram, or by subscribing to my monthly newsletter.