Hike Santiago Peak & Modjeska Peak From Maple Springs
16 miles - Hard Effort
Or: 8 miles from dirt parking lot
7-9 Hours (Total)
3,500 Total Feet of Climbing
Max Elevation of 5,689 feet
Leashed Dogs Allowed
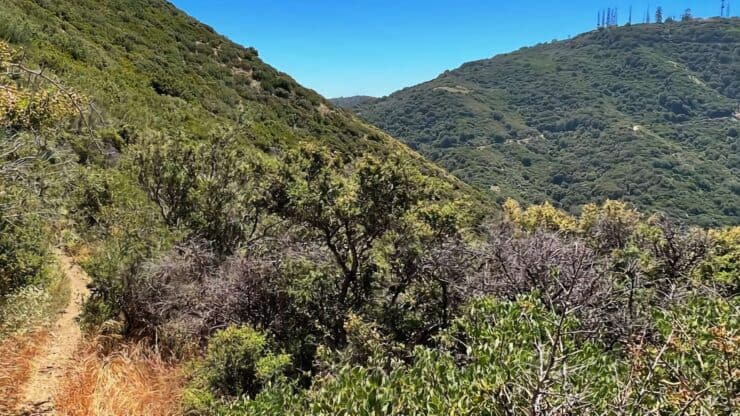
If you want to bag both peaks of Saddleback Mountain, Modjeska and Santiago, the route from Maple Springs is a great option. In this guide I'll show you how to park at the end of the paved road and then hike through the heart of the Santa Anas to the summits. The first few miles of the hike are on a dirt road, but then we'll switch onto rugged singletrack. There's a lot of confusion around hiking this route, and this guide should clear it all up and make it easy.
In this Guide:
Video and Turn-by-Turn Directions From Maple Springs
If you've looked at other guides, there are usually multiple starting points listed for Maple Springs or Silverado Canyon. I'm going to start this guide at the spot you can safely get to with a low-clearance 2WD vehicle in all conditions. You drive to the end of the paved road and then start hiking.
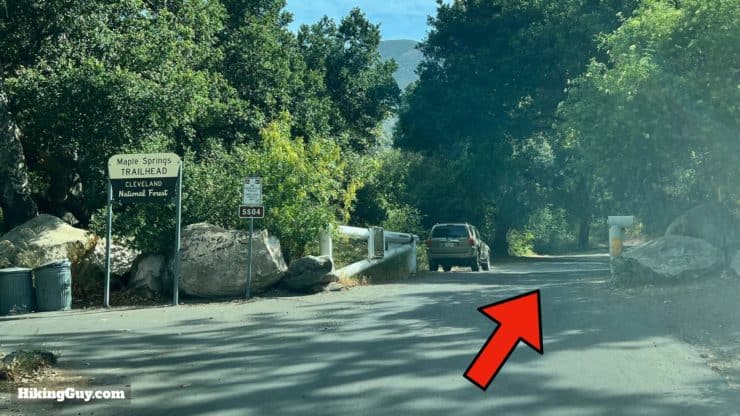
When you get to the trailhead, drive through the white gate. If the weather is bad or there is a high fire risk, this gate can be closed. Check the park website before you go. Most of the time it's open.
The point we're ultimately going to is where the pavement ends, which can be found here: 33.745171, -117.544064.
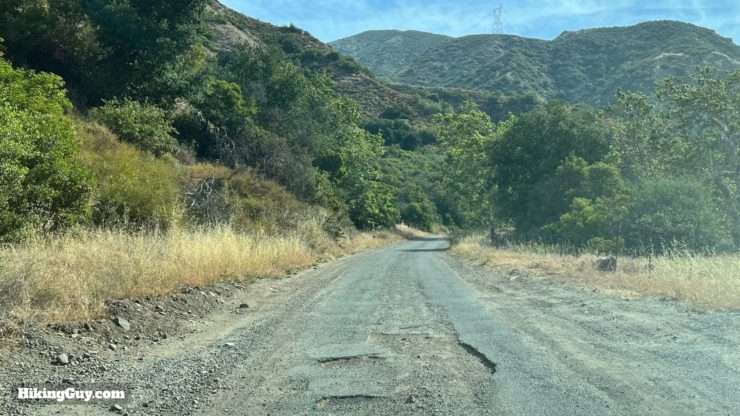
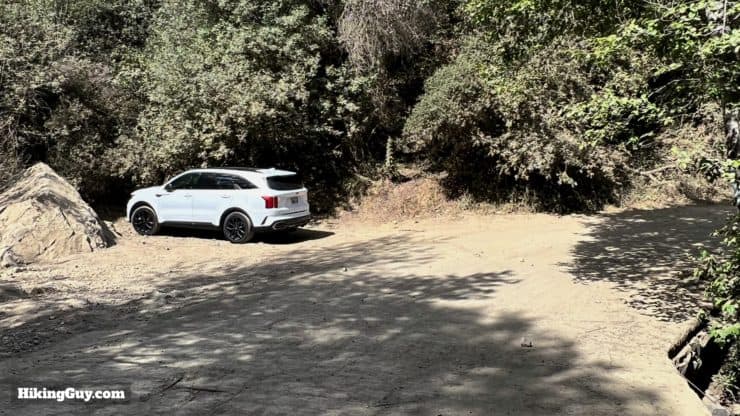
Once you drive past the gate at Maple Springs, the road becomes narrower and has sections with dips and potholes. You might have to go slow at points and avoid potholes, but it is all paved.When you get to the hairpin turn at the end of the pavement, park on the left by the boulder. There's space for about 3 cars. This isn't a popular hike, and you should be fine parking here, but if not, there are several wide sections of road before this on the paved section where you can park.
If you have a high(er) clearance vehicle and want to cut some mileage off the hike, you can drive about 4.5 miles past this point to a large parking area (informally) known as Four Corners. The condition of the road varies over time. I believe fire crews keep the road passable; otherwise, it's not graded or maintained. I've seen Subarus do the road, and I'm sure other 2WD have tackled it as well. But if you want to play it safe, park at the end of the pavement.
Gear For the Hike
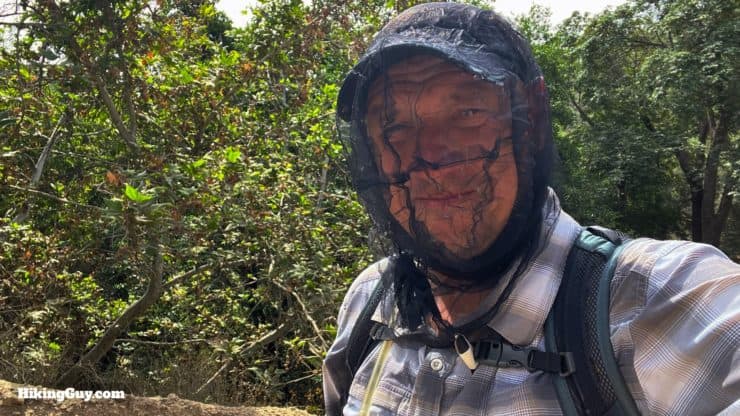
Bugs can be intense when it's warmer. The silly bug head net will preserve your sanity.
This long hike is mainly exposed and offers no water along the way. Bring at least 3L of water.
If you're unfamiliar with the Santa Ana's, they can get very hot, sometimes into the 100Fs. The hike is best done when temps are cooler.
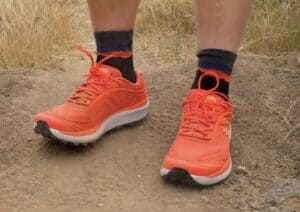
The singletrack portions of this hike can be slightly overgrown. Having long pants and sleeves can save you from some abrasion.
Osprey Hikelite 26Lightweight, carries all your gear, and your back doesn't get sweaty. Oh yea, it's also one of the most inexpensive packs you can get.
Here's the one-way elevation profile. It's pretty much uphill to Modjeska, down to the saddle, and back up. On the return, you can skip the ascent to Modjeska.
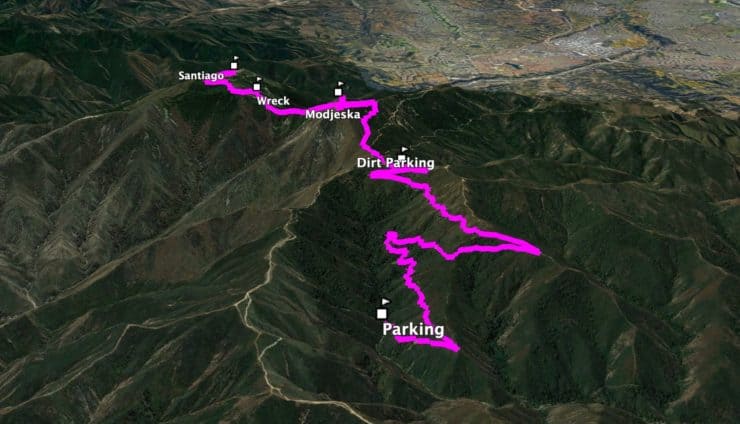
3D Map
We'll start up in Silverado Canyon and get to the saddle at Four Corners (dirt parking area). From there, we hop on singletrack to Modjeska, down to Saddleback Saddle, and then up the singletrack to Santiago Peak.
Maple Springs to Saddleback Hike Directions
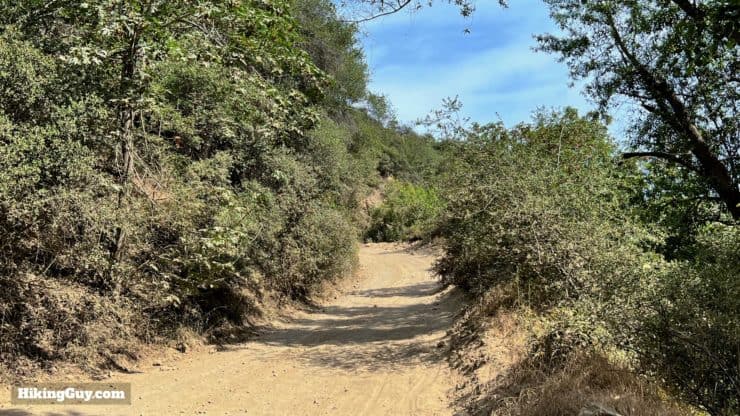
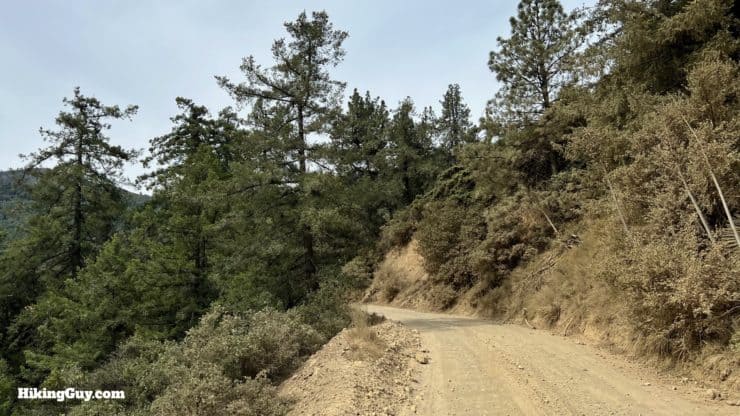
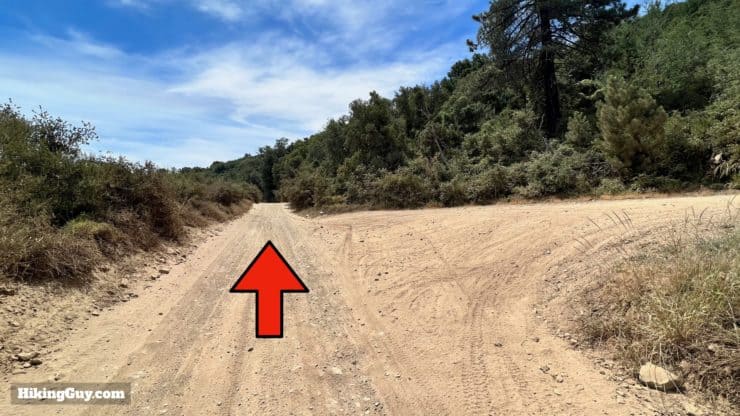
Start hiking up the dirt Maple Springs Road from the parking area.
You will be sharing the road with vehicles. Usually I'll see a few 4x4 and motocross bikes. Sometimes more, sometimes none. You'll generally hear them coming before they reach you. Do the smart thing and move to the side to let them pass.
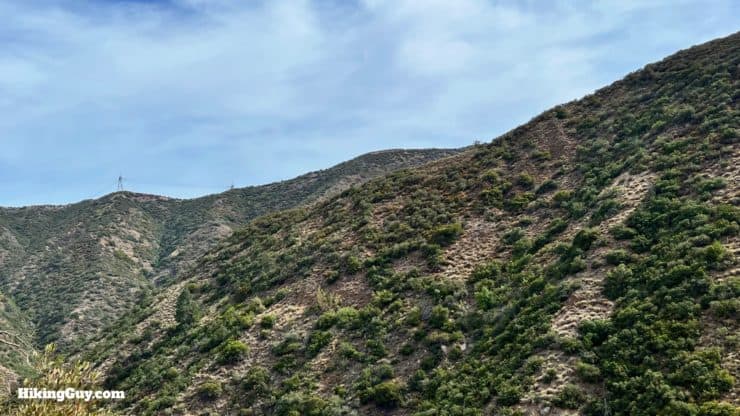
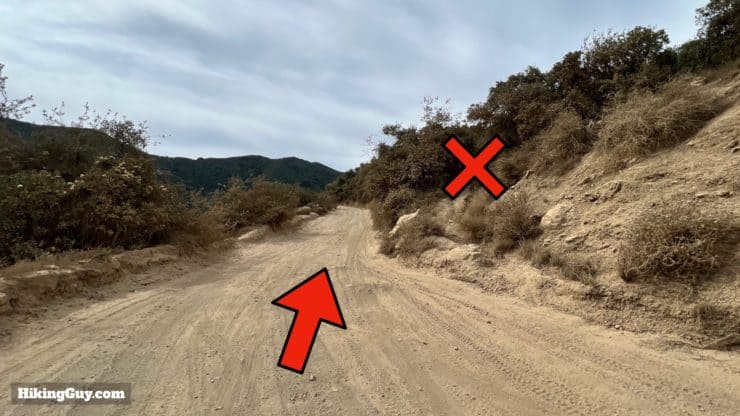
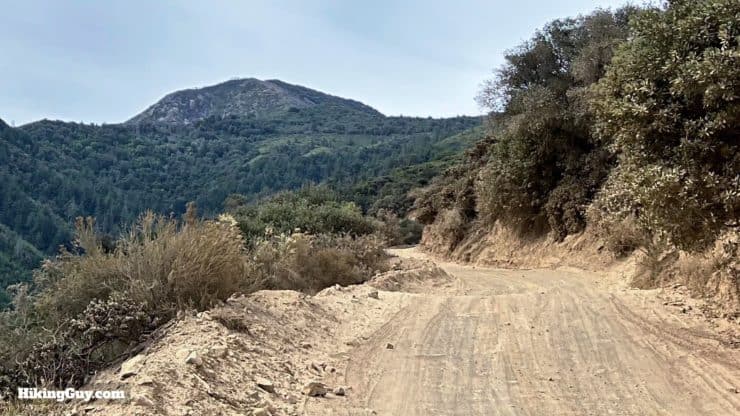
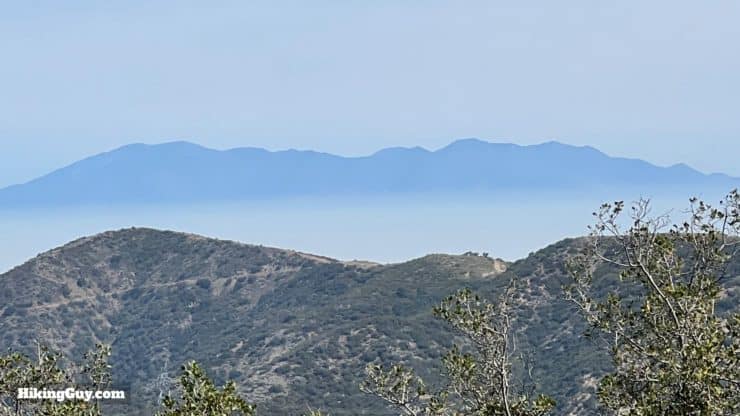
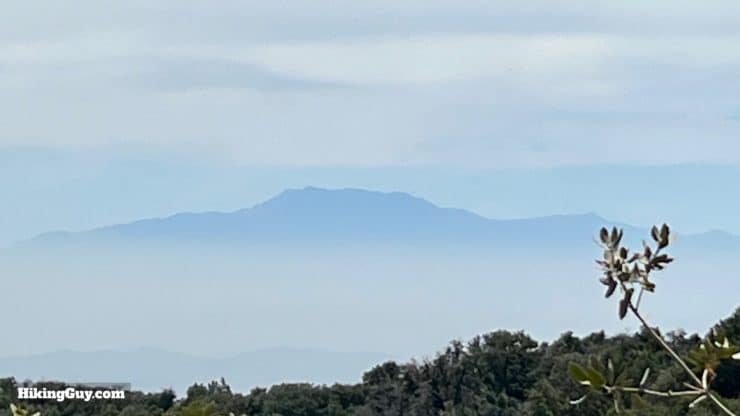
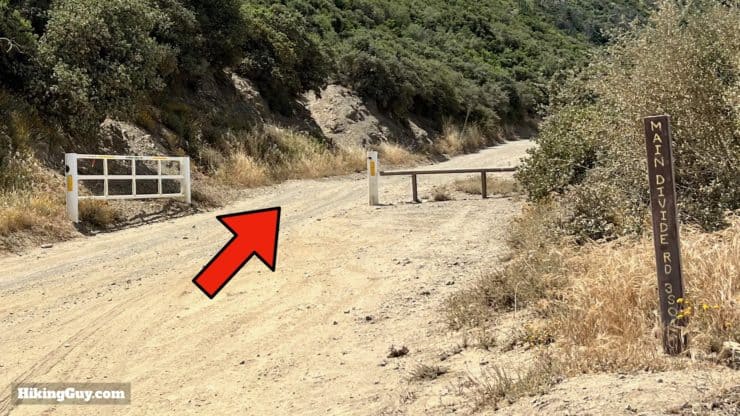
Off to the left you'll see the hills and approach to Bedford Peak.If you look at some maps, you'll see a hiking trail going straight up from here, intersecting Maple Springs Road in a few places. I wish it was in better shape, but it's very overgrown in some spots, and brought my pace down to a crawl. I found it easier to hike up the road.As you climb Modjeska Peak looms in front of you.You'll climb through some nice pines along the way, passing the lush areas of Bigcone Springs and Maple Springs (toward the top).The high peaks of Angeles National Forest come into view as you climb.You'll pass another portion of the cutoff trail as you wind up on Maple Springs Road. The upper section of the singletrack here is easier than the lower section, but again, I find it easier to just stay on the road.Soon the foot of Modjeska comes into view and you're approaching the end of Maple Springs.Keep straight, avoiding the small spur to the right.As you approach the saddle you'll see San Jacinto in the distance.This is the area known as Four Corners. Hopefully when you arrive, there won't be 4x4s doing donuts here. Go straight through and make the right onto Main Divide Road.
If you choose to drive up Maple Springs Road on the dirt road, the parking is here on the right.
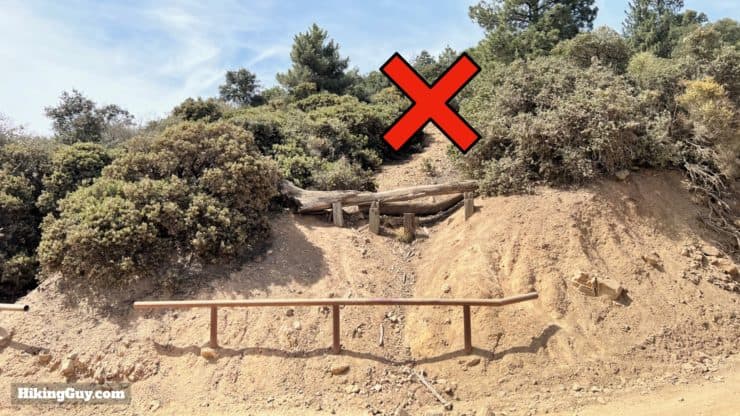
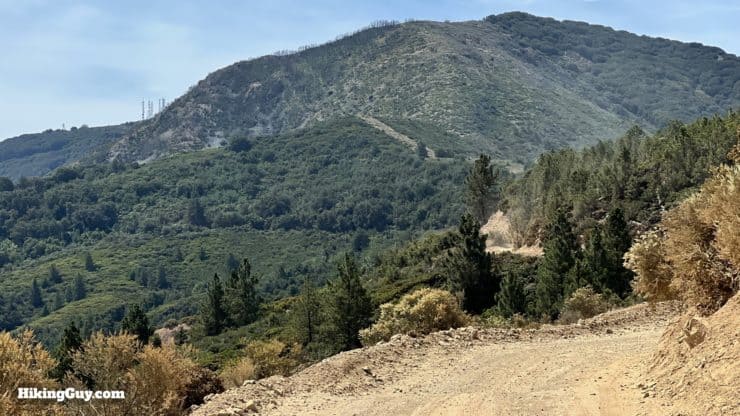
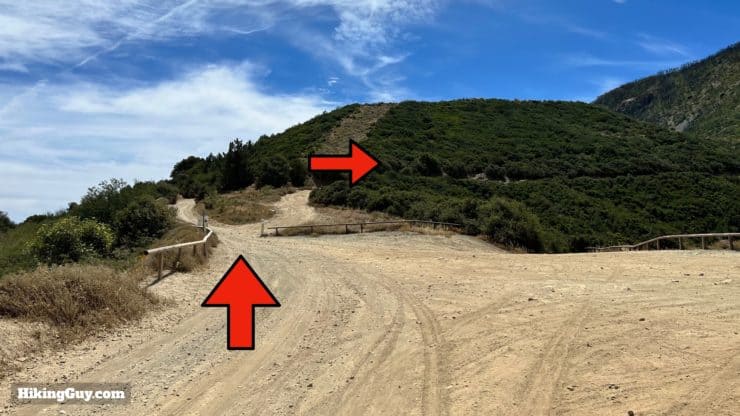
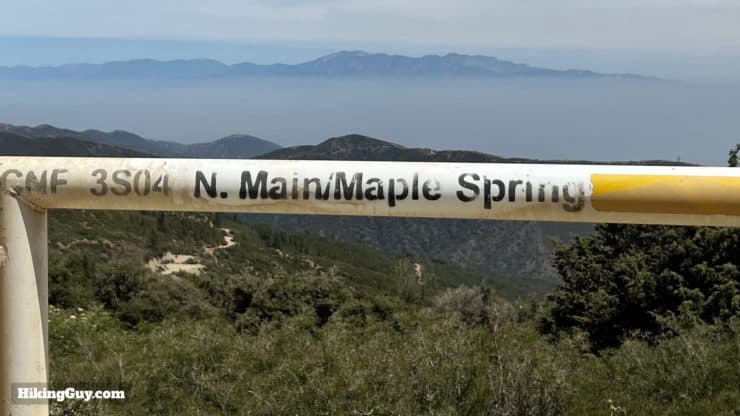
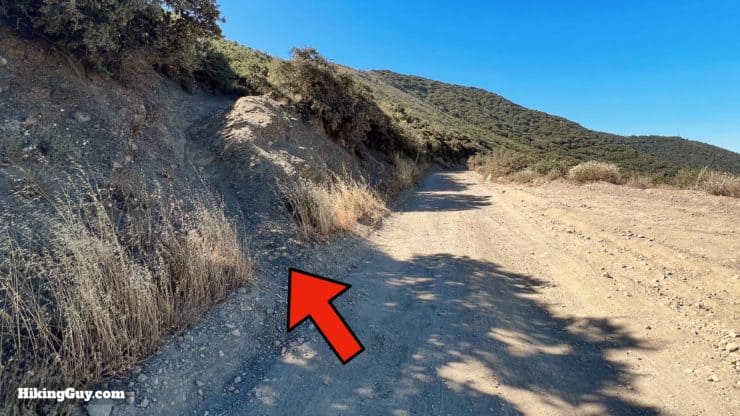
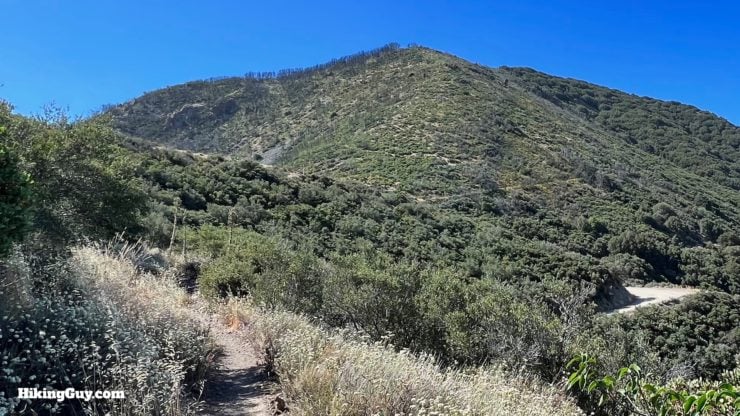
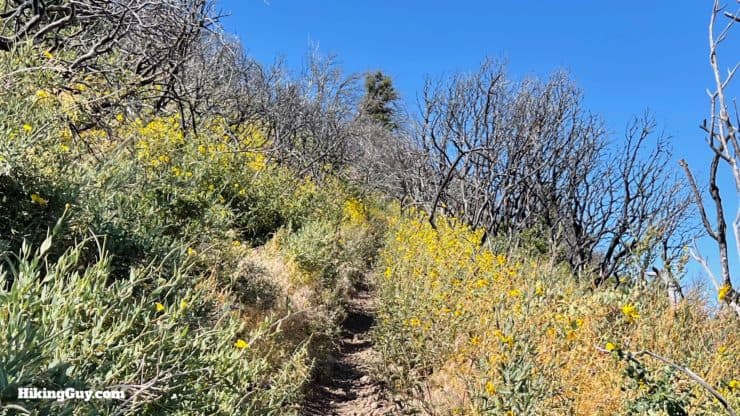
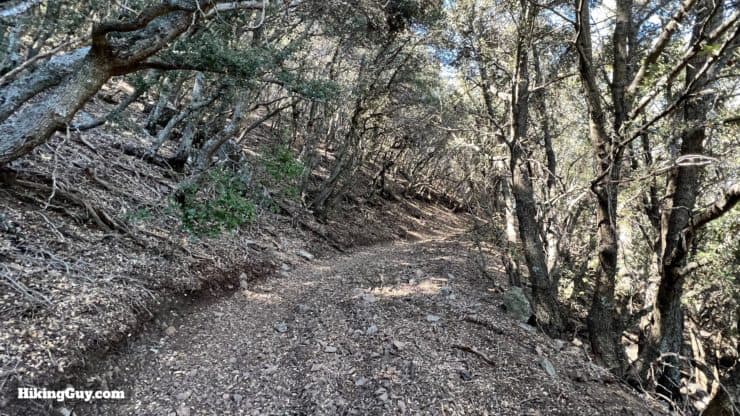
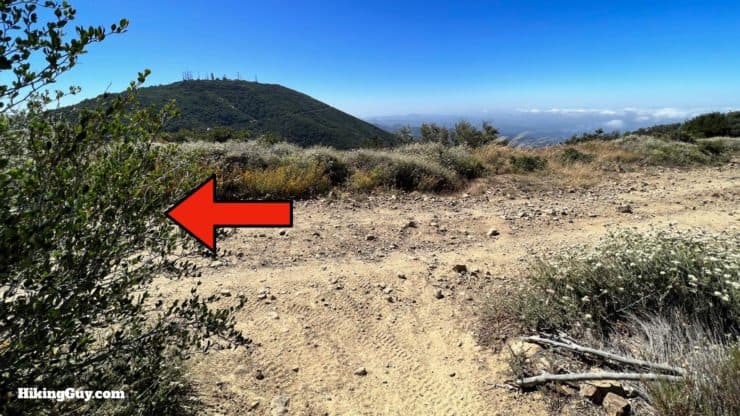
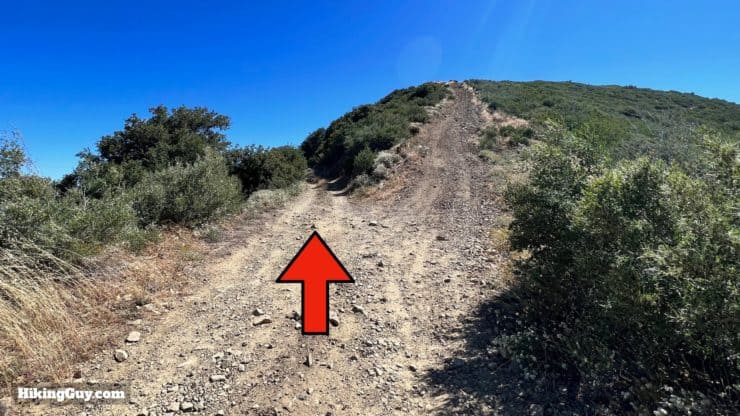
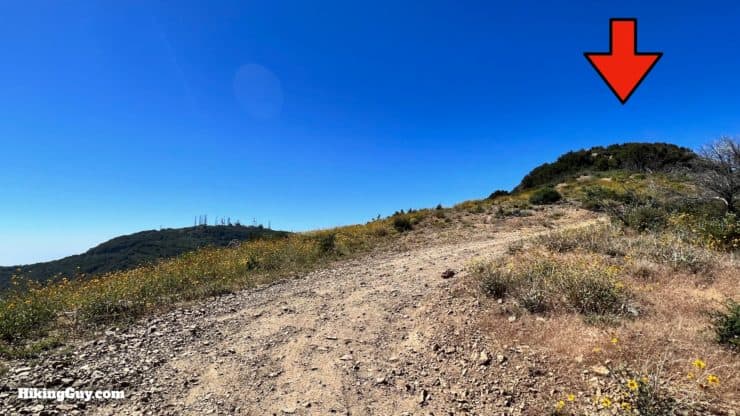
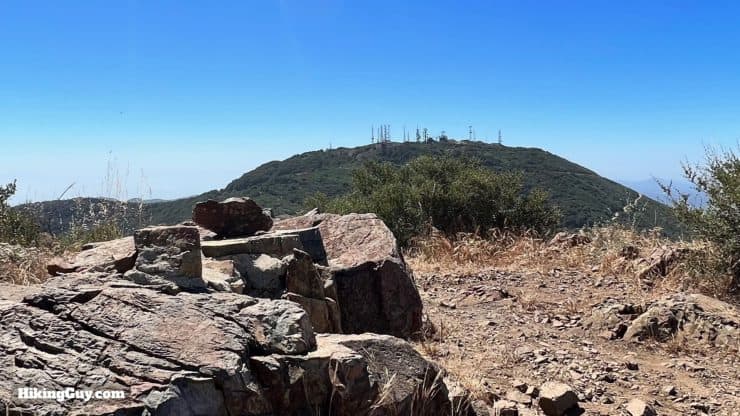
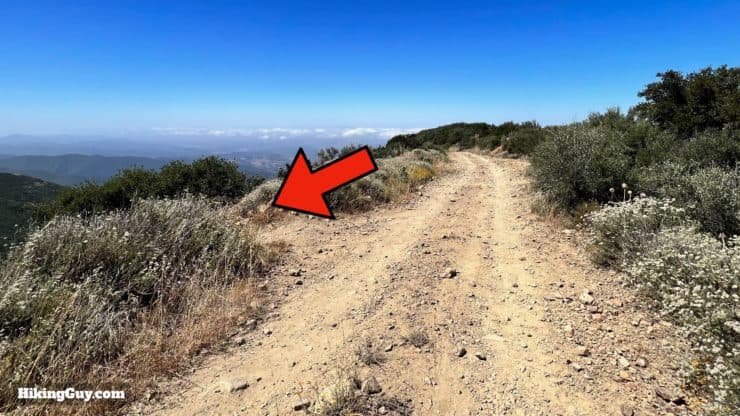
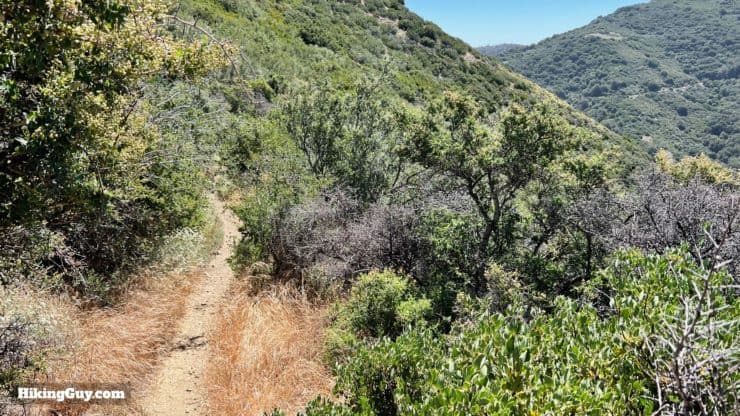
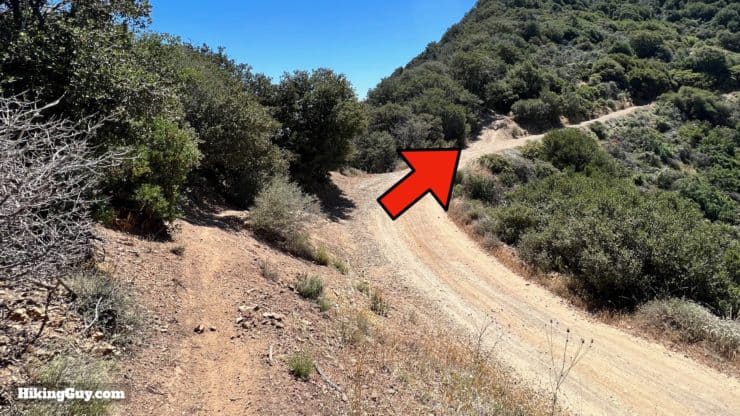
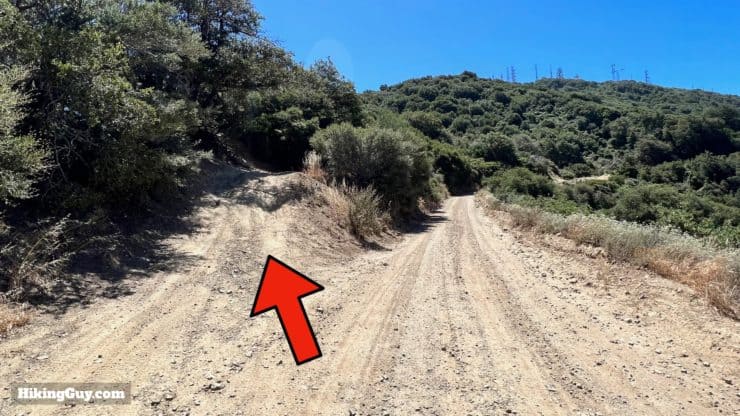
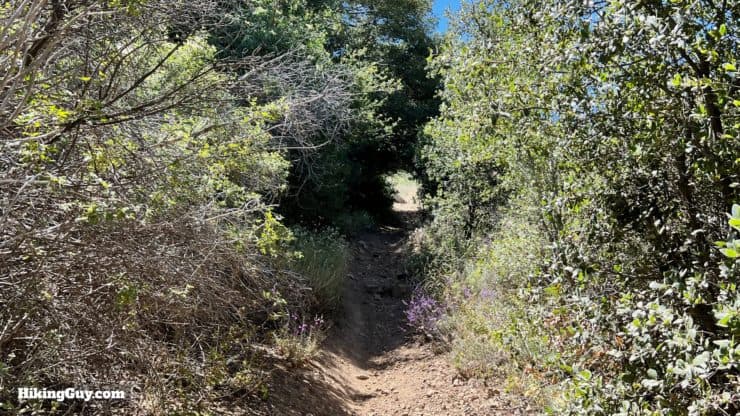
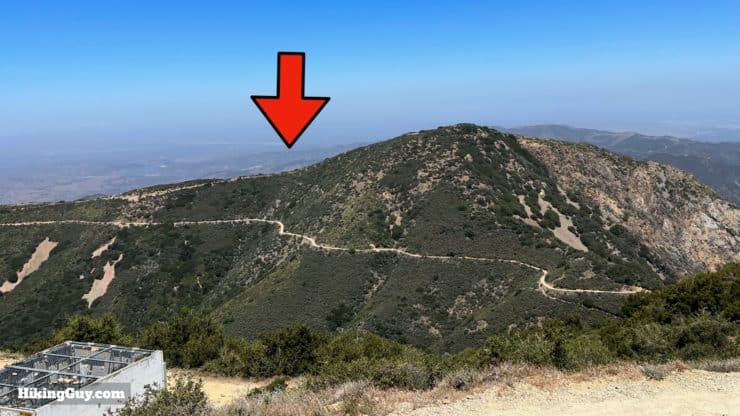
As you leave Four Corners you pass the gate for Maple Springs Road, which you just hiked up.When you make the right you'll see a signpost for Main Divide Road.Just after the gate in the last photo, look for a steep singletrack off to the left.Now you're on decent singletrack. It's usually a little overgrown. Having long pants helps. But otherwise it's not too bad.Views open up to the west as you hike above Main Divide Road.Keep hiking uphill. This stretch is probably the steepest on the hike as it goes through a burn area from the 2018 Holy Fire.There are some spots where the trail goes into shaded areas covered by oak.When the trail spits out onto the Modjeska Peak access road, make the left.Go straight up the road toward the peak. Notice the singletrack trail on the right, which is where we'll continue after bagging the peak.If you are a masochist, go up the steep part. Otherwise take the scenic route to the left.This little section of trail is one of my favorites on the hike. It's mellow with nice views.As you twist around you'll see Santiago Peak in front of you. That's our next stop. Otherwise continue right toward the Modjeska Peak summit.Here we are at the summit of Modjeska Peak!
This peak is named after Helena Modjeska, who lived in Santiago Canyon. Previously it was known as the "North Peak" of "Old Saddleback."
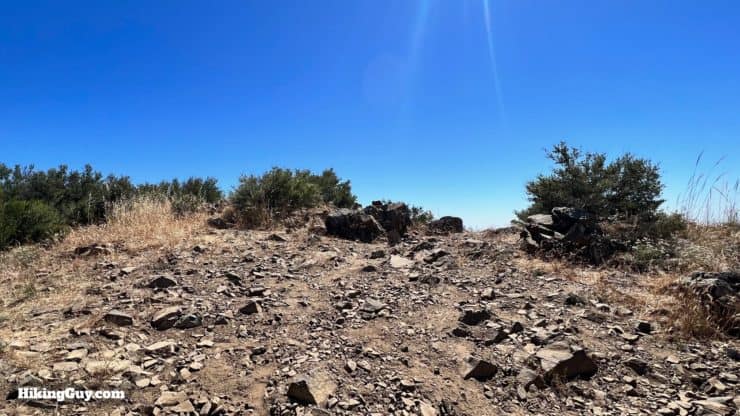
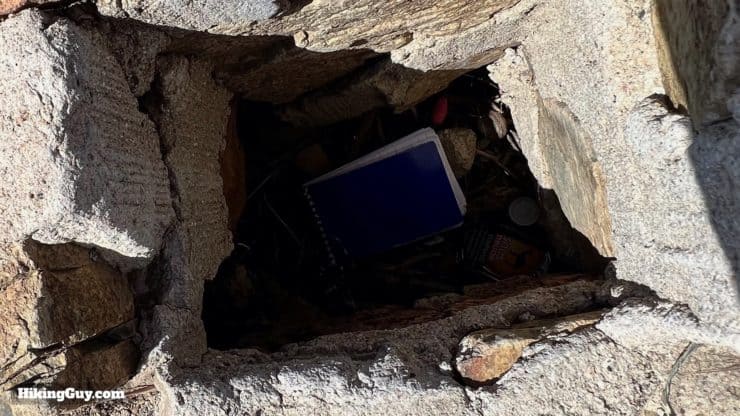
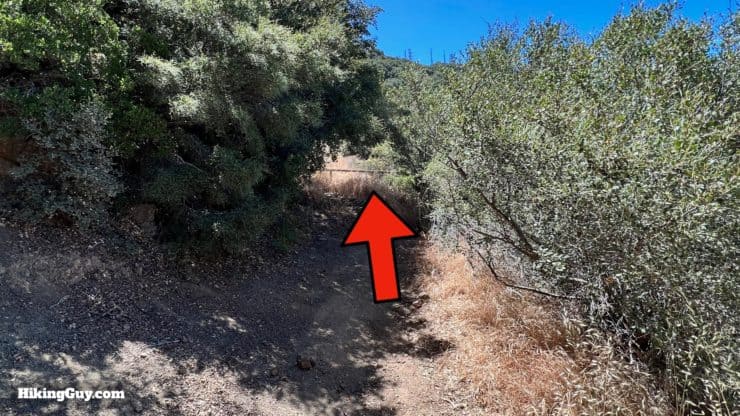
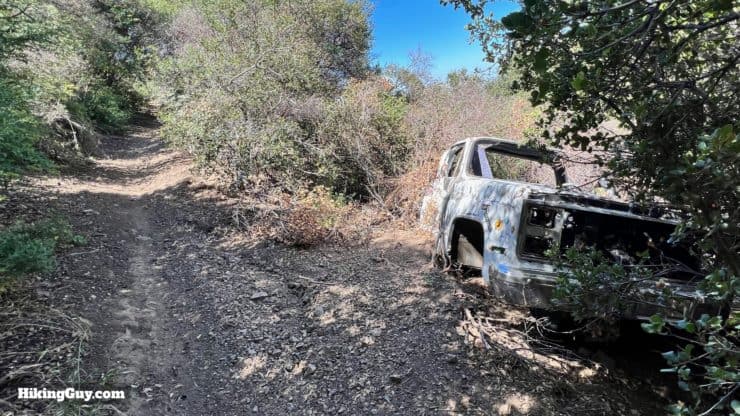
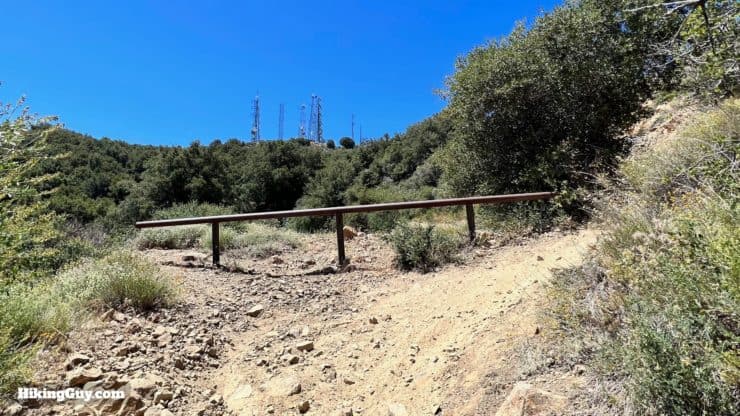
There's sometimes a summit register or sign, but no USGS survey marker.Soak it in and then head back the way you came to hit the next peak, Santiago.When you get back to the junction where you came out to the access road, make the left onto the singletrack that I mentioned earlier.Head down the singletrack toward Saddleback Saddle.When you reach the saddle, hop onto Main Divide Road for a hot second.And then bear left once over the saddle to start another singletrack section.Go through the gate at the start.And start climbing up the singletrack toward Santiago Peak.You'll pass the wreckage of a 4x4. I believe this is the truck that rolled off the road to the peak in 1988, killing 2 people.The trail ends at the road. Go through the gate and bear right.Hike the short distance up Main Divide Road.Hike through the gate,
What's up with all the towers up here? The first one went up in 1946, and today there are 20. Over the years the antennas have served different uses, from private industry to Air Force communications. Today most serve as cellular data links between Southern California. Private users pay leasing fees to the US Forest Service to use this land.
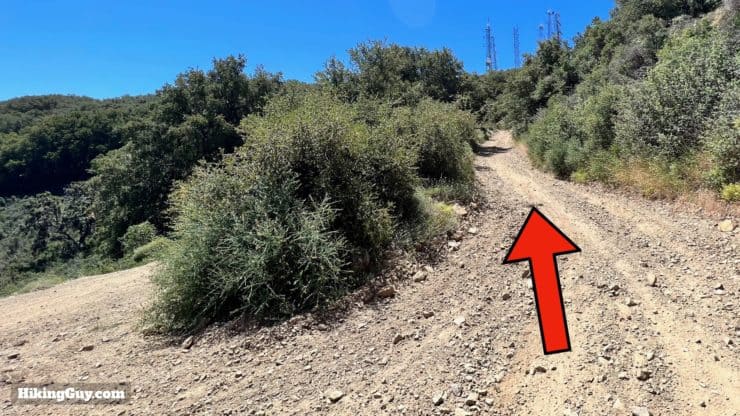
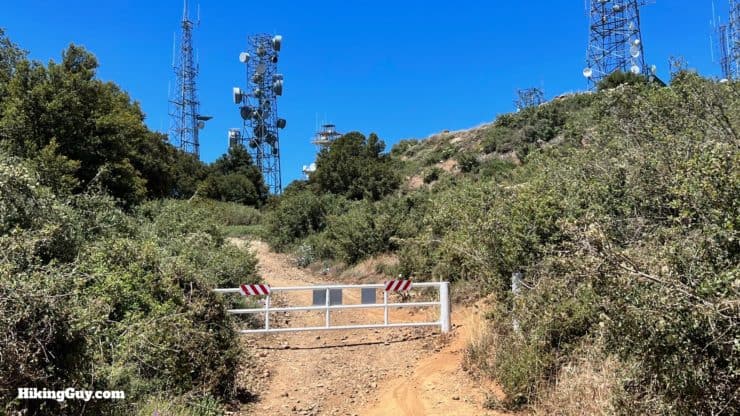
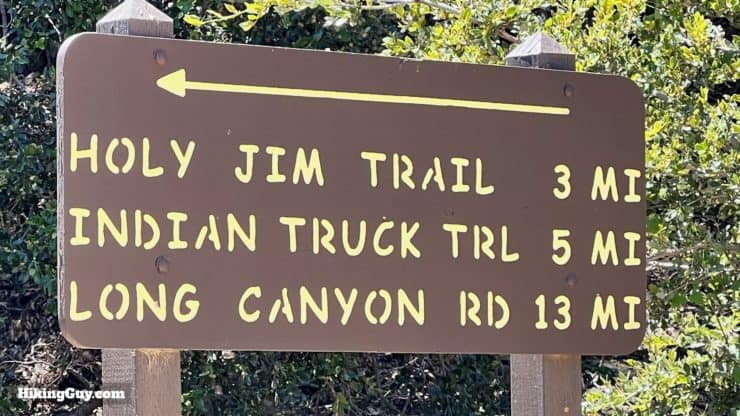
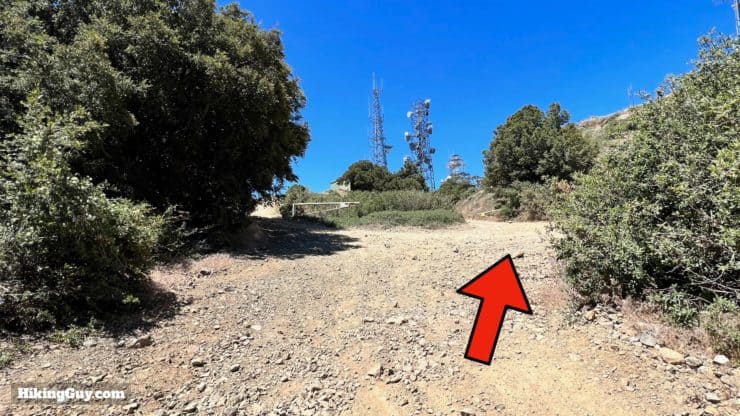
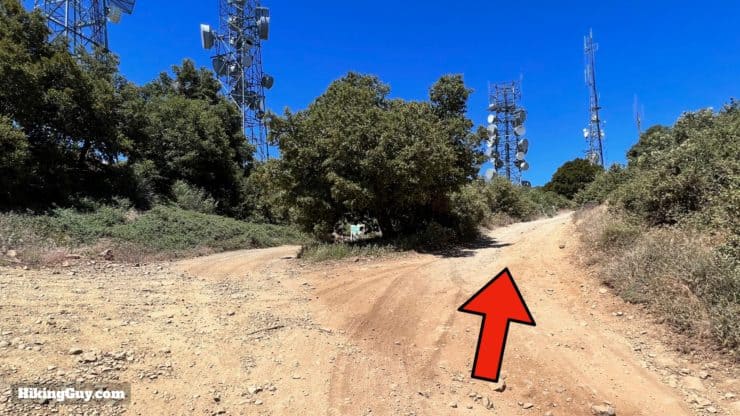
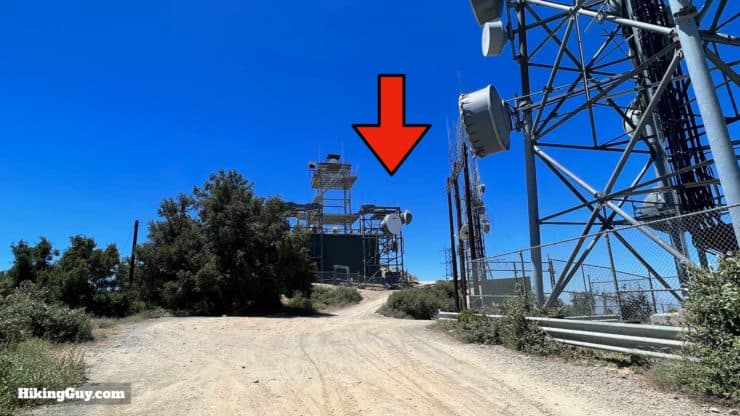
You'll pass a sign with some mileages on it. My favorite way to hike Santiago Peak is via Holy Jim.When you get to the mess of antenna, bear right.And then take the next right, following the main trail up.Look for this building, the top-most one, as you climb. The summit is behind it.
Does the last photo's building look a little like a fire tower structure? The first fire tower on Santiago Peak was built in 1914, and the structure in front of you was the last iteration of a tower, built in 1951. Since then the fire tower watch area has been replaced with radio antennas, but the structure dates to that 1951 tower.
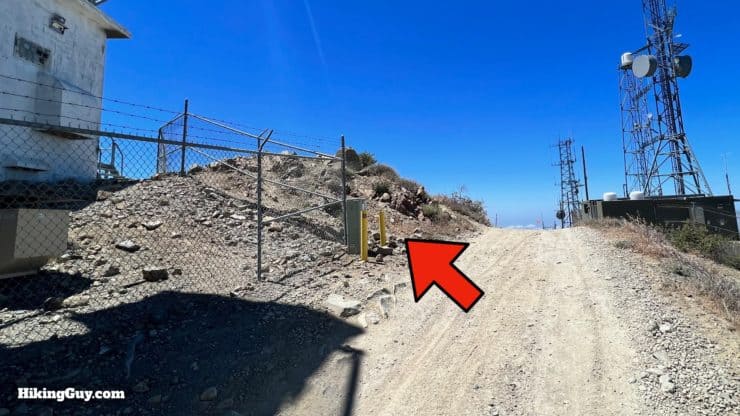
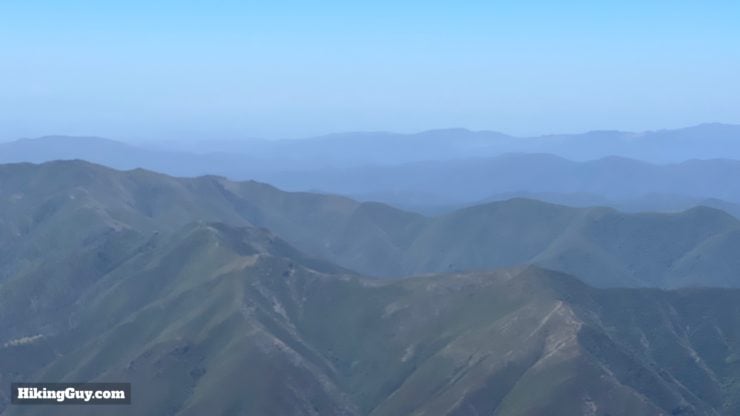
Look for the small dirt path past the building.And here's the summit!Enjoy the views into the Santa Ana Mountains from the peak.To get back, simply retrace your path up. You can probably skip the spur back up to Modjeska unless you're feeling particularly frisky.That's it! See you out on the trails!


 Using the Apple Watch for Hiking
 Garmin Fenix 7 & Epix Review For Hikers
 How To Read a Topographic Map
 Garmin GPSMAP 67i Review
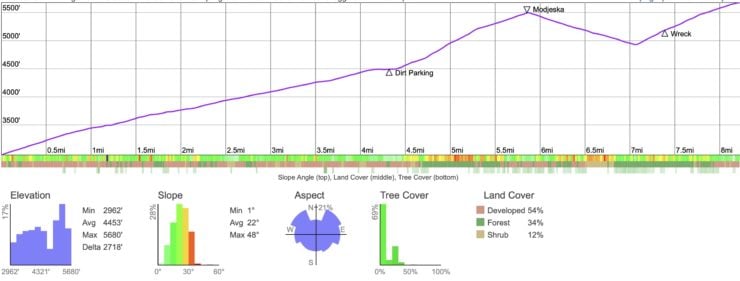


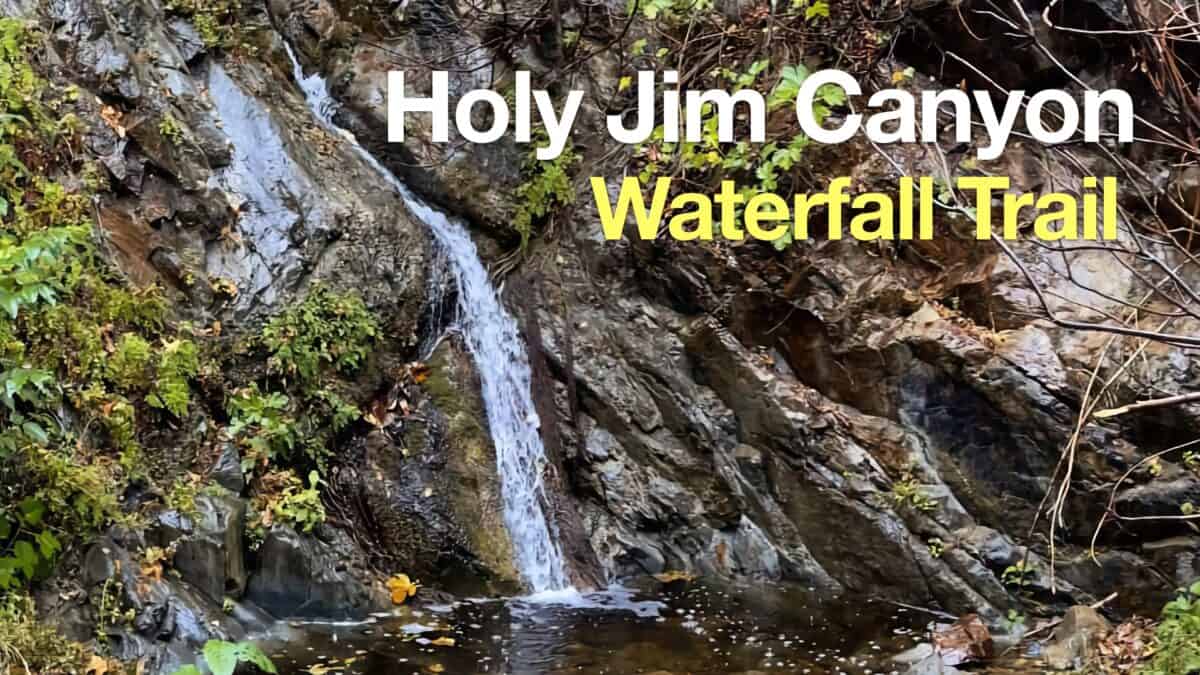 Hike Holy Jim Falls Trail
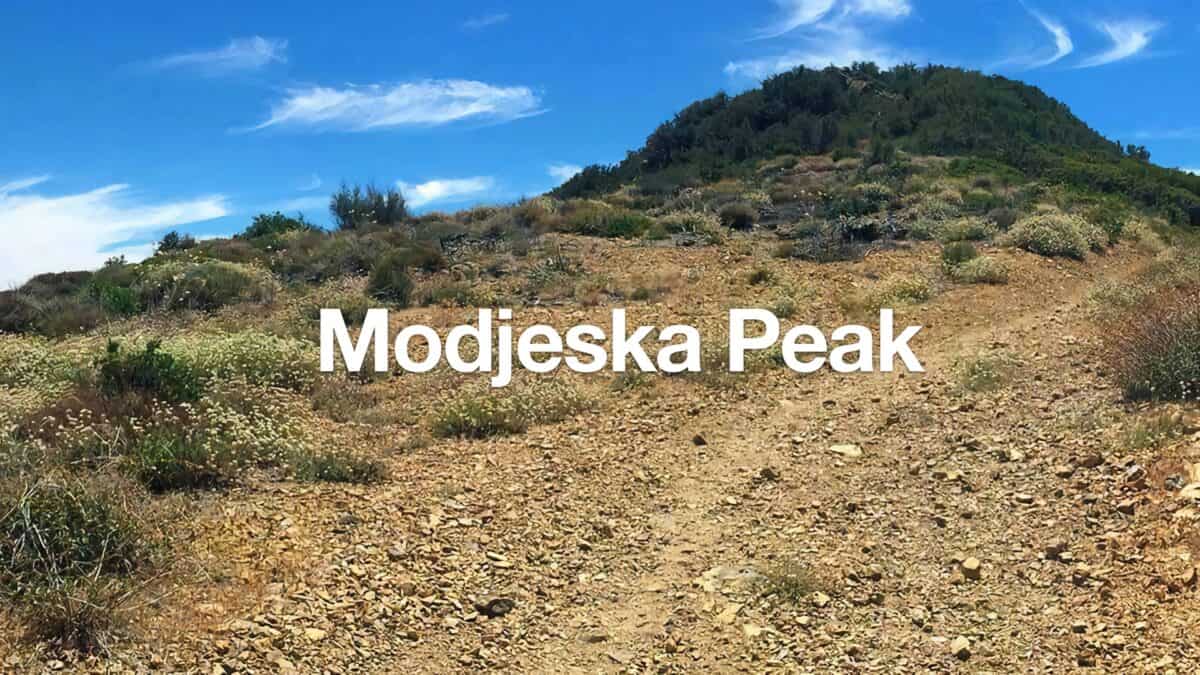 Modjeska Peak Hike
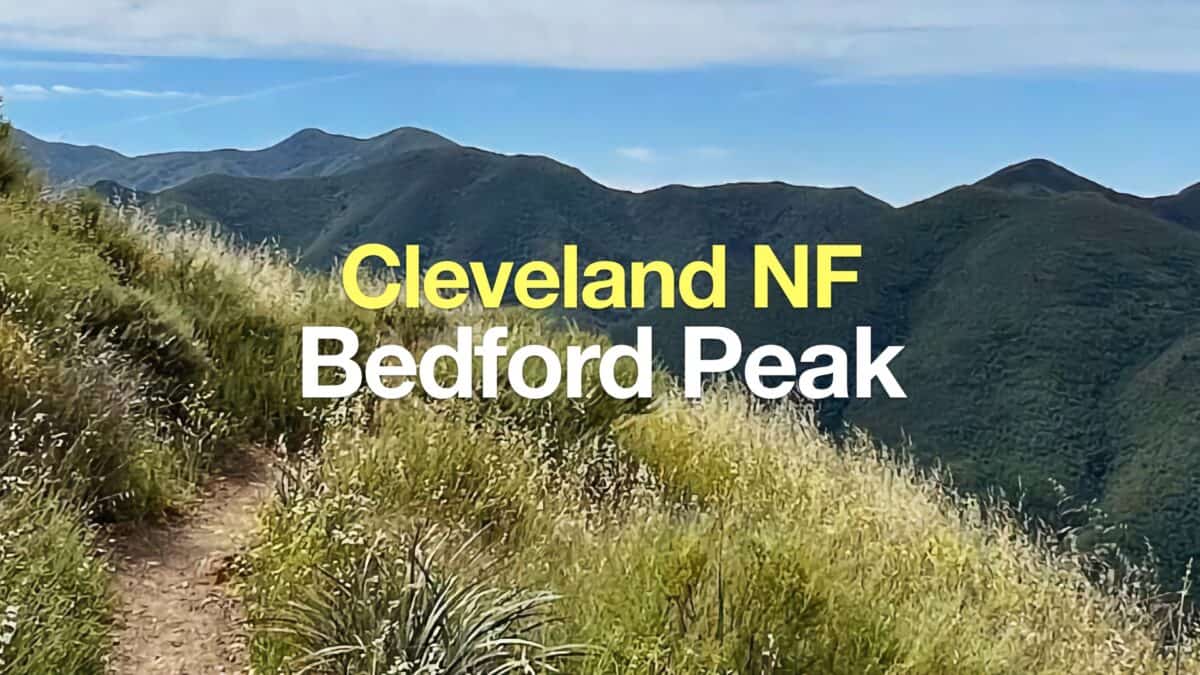 Hike the Bedford Peak Trail (Orange County)
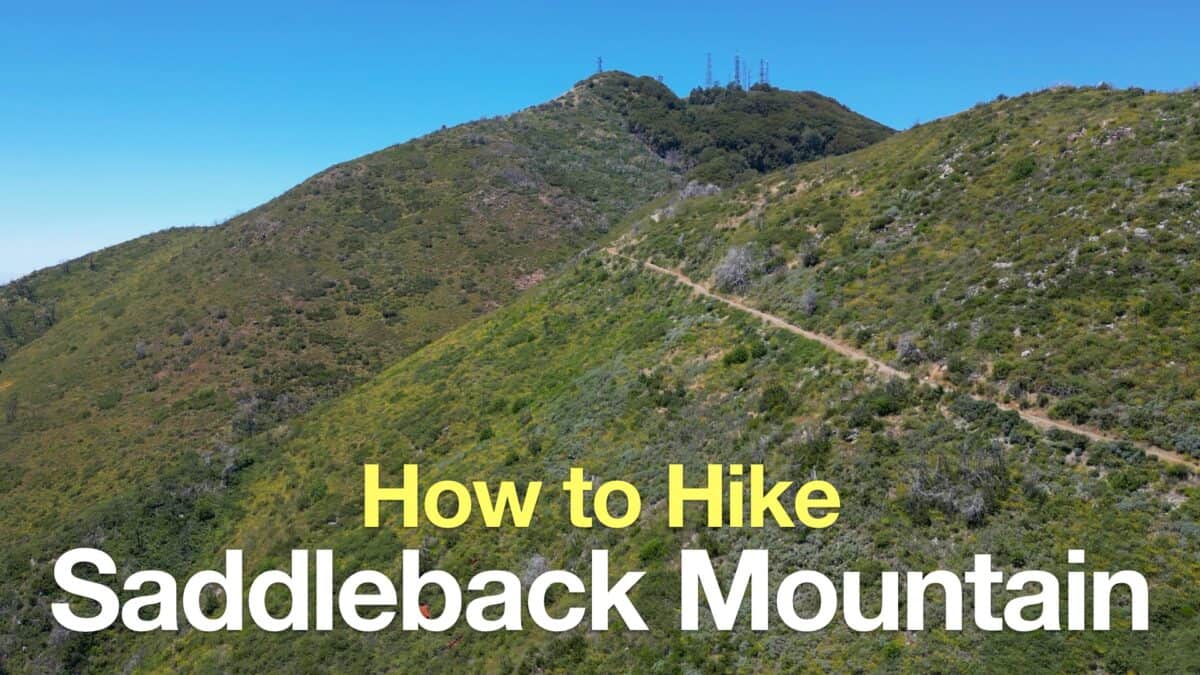 Saddleback Mountain Hike (Santiago Peak)
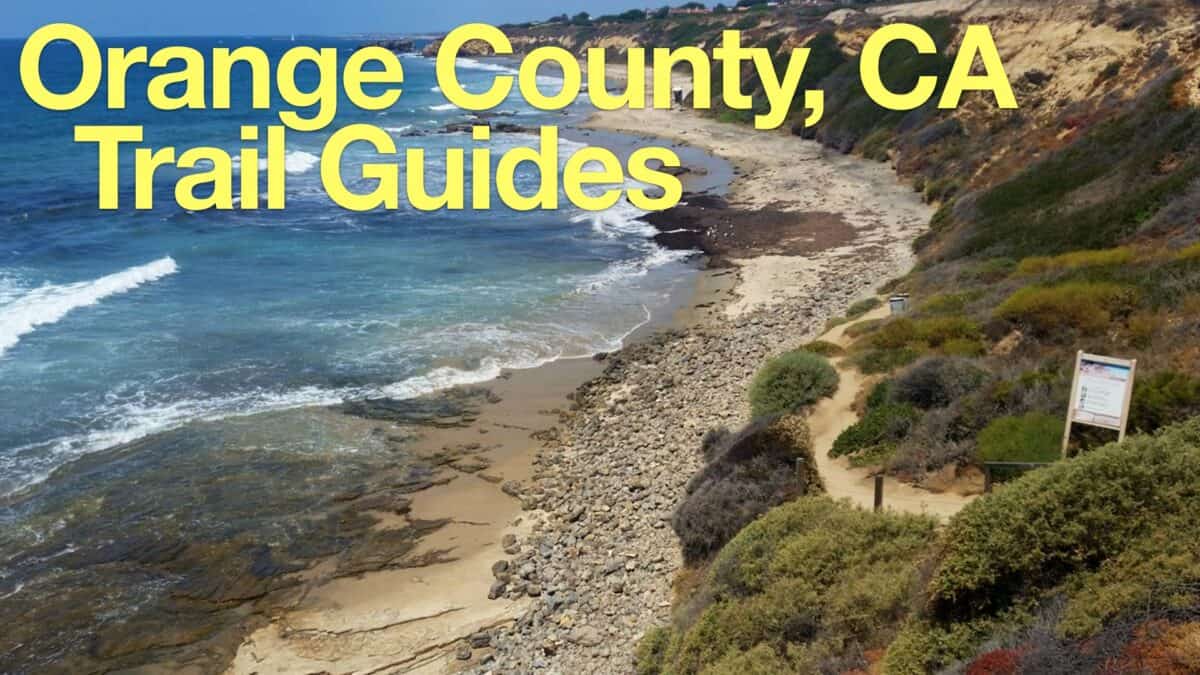 Hikes In and Around Orange County
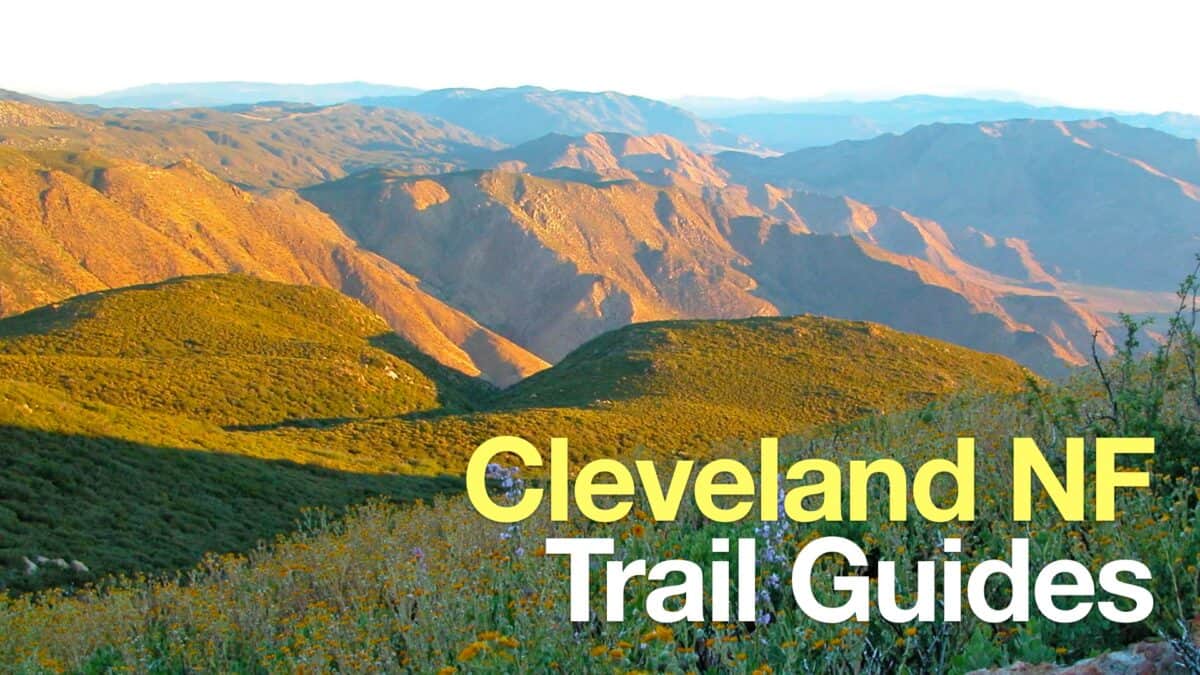 Cleveland National Forest Hiking
 Hikes In and Around Riverside County
 Sierra Club 100 Peaks
 Best Hiking Gear 2024
 Hiking Boots or Shoes: Do I Really Need Hiking Boots?
 When to Hit SOS on inReach