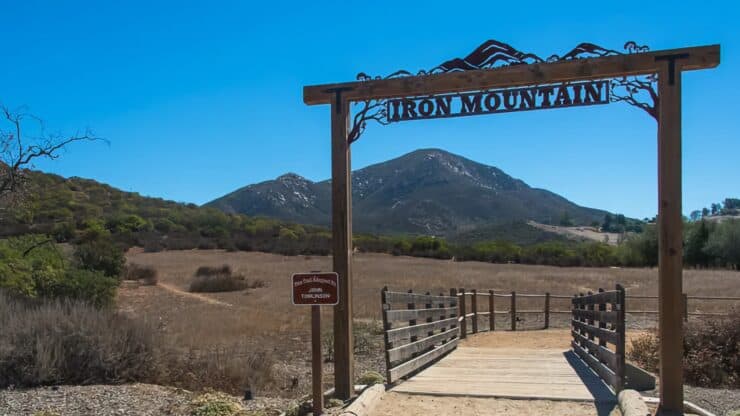

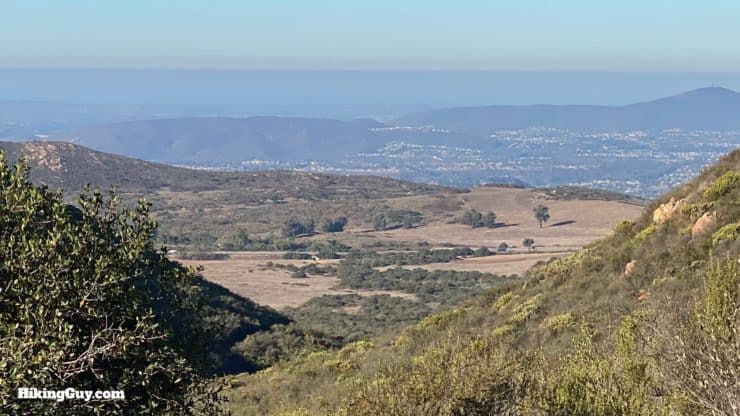
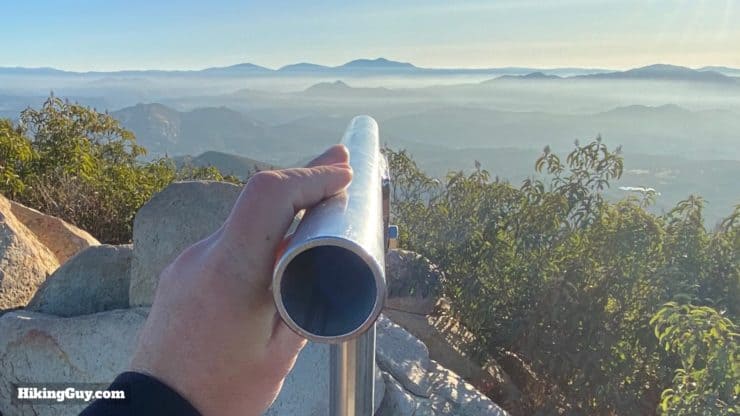
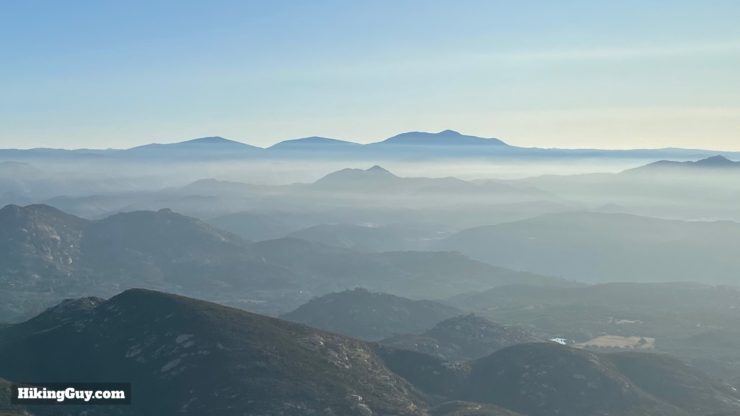
Iron Mountain, in San Diego County, is one of the most popular hikes in the area. Hiking to the summit is tough, but not extreme, and once there, you can soak in panoramic views from the high mountains to the Pacific Ocean. The summit even has a viewfinder and picnic benches where you can relax. In this guide, I'll show you how to safely do the hike, avoid the crowds, and beat the heat.
- Video and Turn by Turn Directions for Iron Mountain
- How to Get to Iron Mountain Near San Diego
- Insider Tips and Recommendations for the Hike
Don't confuse this Iron Mountain hike with the hike of the same name in Angeles National Forest. This Iron Mountain in San Diego is much easier and is doable by most folks. There are 50 peaks named "Iron Mountain" in the USA, so it's easy to get confused.
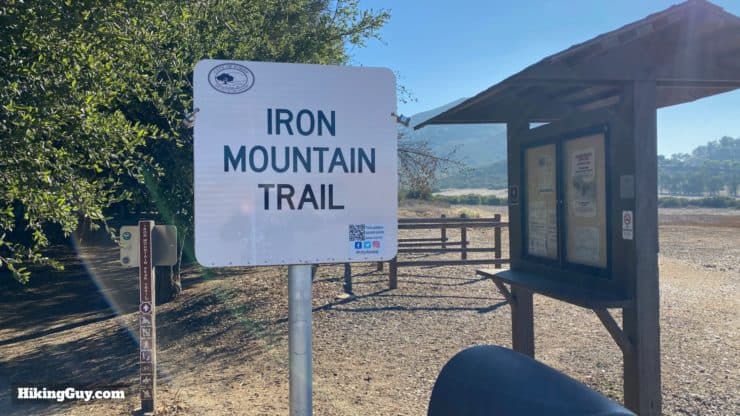
How to Get to Iron Mountain in Poway
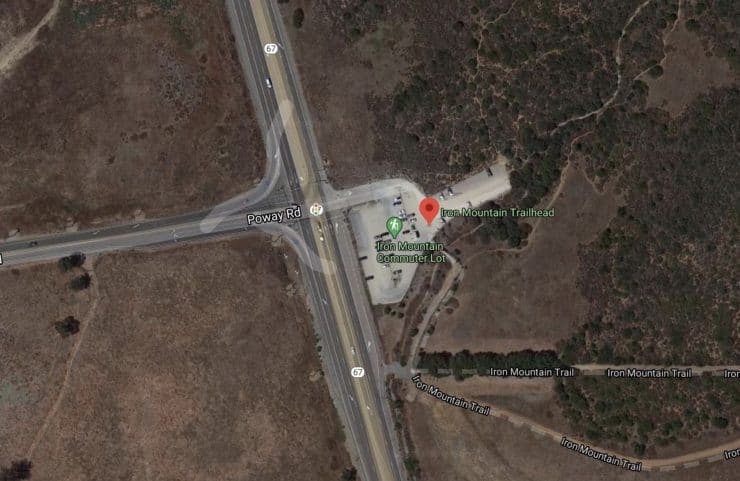
Since there are few "Iron Mountains" around, make sure you pay attention to the address you use, otherwise you could easily get routed to the Iron Mountain near LA. And there a few trailheads and routes to hike Iron Mountain. This guide covers the most popular route that also has the largest parking area.
Use this trailhead address:
Iron Mountain Trailhead, 14847-14909 CA-67, Poway, CA 92064
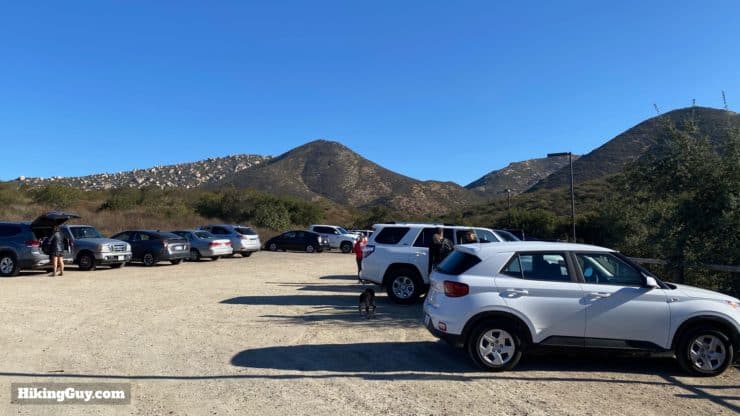
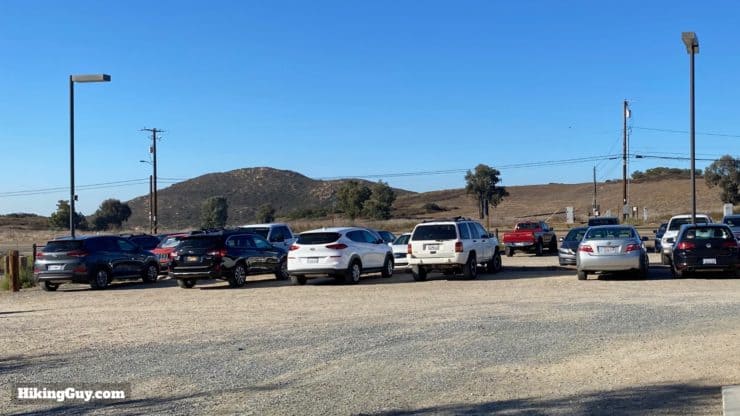
This lot is also used by trail runners, bikers, and people hitting the other trails in the area. It can get very busy; on the weekend there can be 100s of cars parked here and along highway 67. Your best bet is to do this hike at sunrise on a weekday or later in the afternoon. 10am on a Saturday is setting yourself up for a bad time.
If the lot is full, and you decide to park along Highway 67, use extreme caution, as the traffic moves fast and drivers don't expect pedestrians.
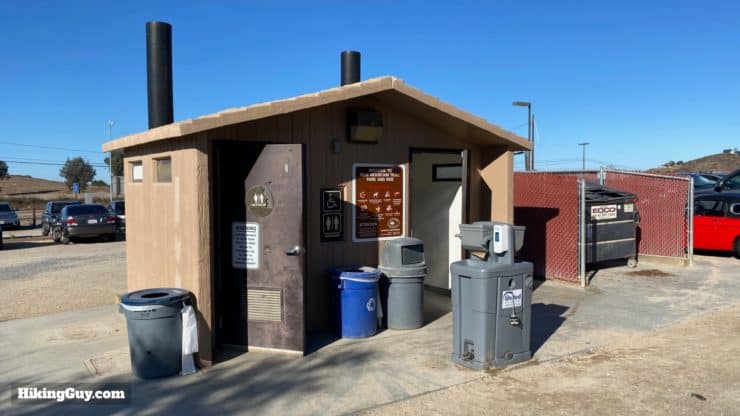
Parking in the lot is free.
Gear For the Hike
- The main thing on this hike is the heat. If it's summer and hot out, it's really tough. If it's sunrise in the winter, it's cool and comfortable. If you do go in the heat, make sure you have at least 2L of water and sun protection. Otherwise you can get away with 1L of water.
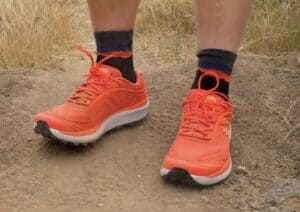
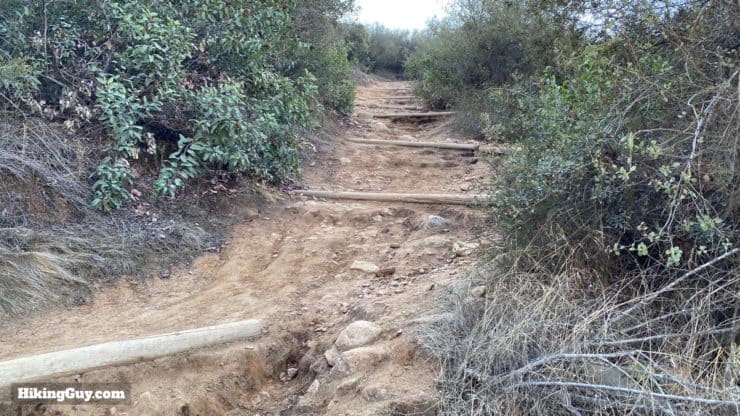
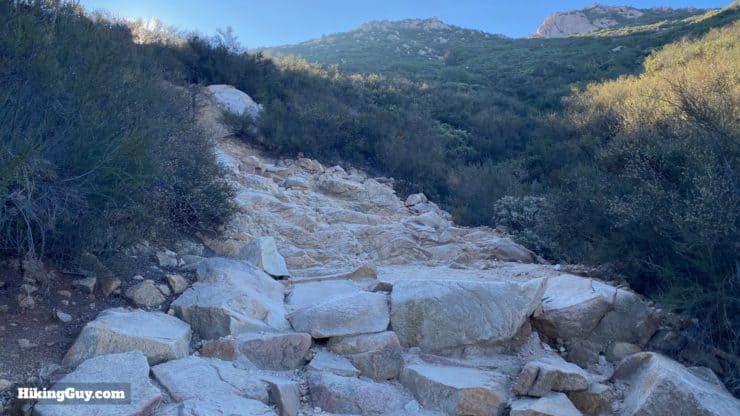
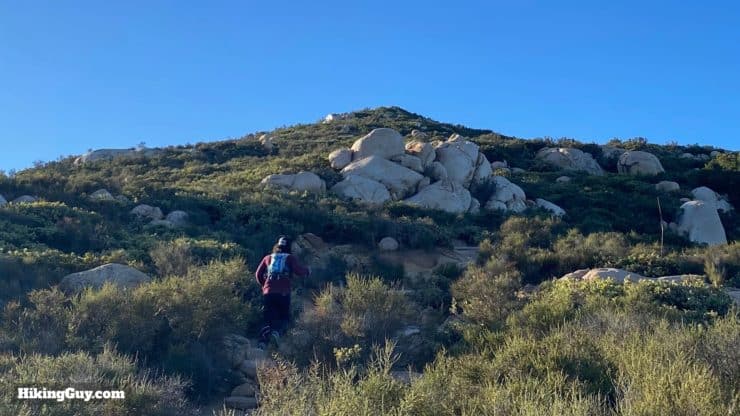
- There are steep sections on the hike. Wear good footwear and bring trekking poles if you have them.
- You can get away with fitness clothes or light hiking gear here.
- This is a popular hike, and if you get into trouble on the trail, you're bound to see other hikers.
Gear That I Love Right Now
Nothing is sponsored or promoted, just the actual gear that I use.


Check out the complete list here. ( Updated July 2024)
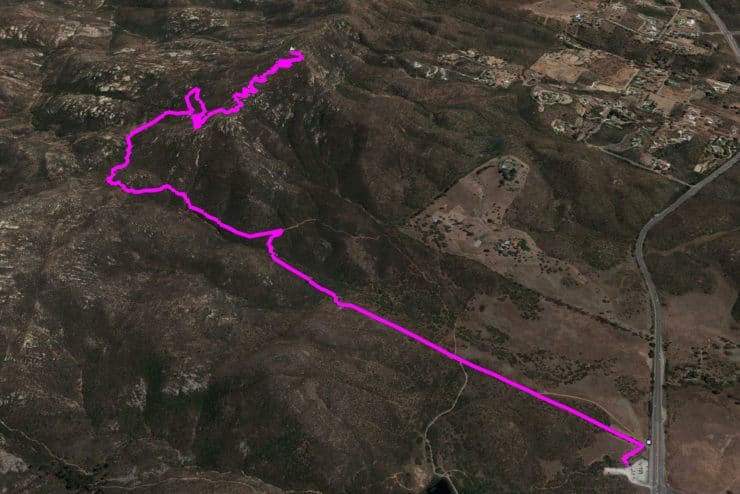
Iron Mountain Trail Maps
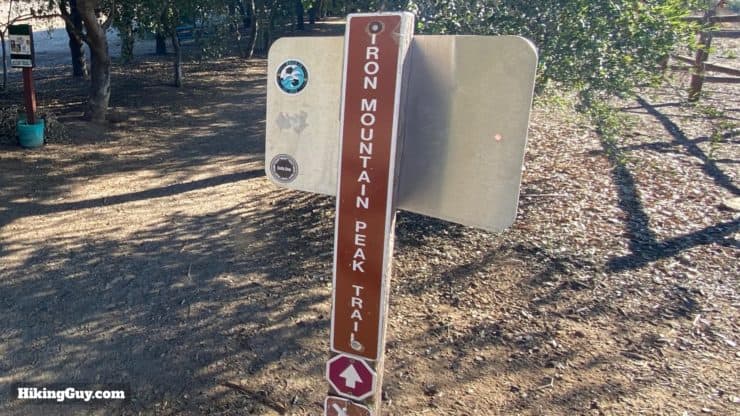
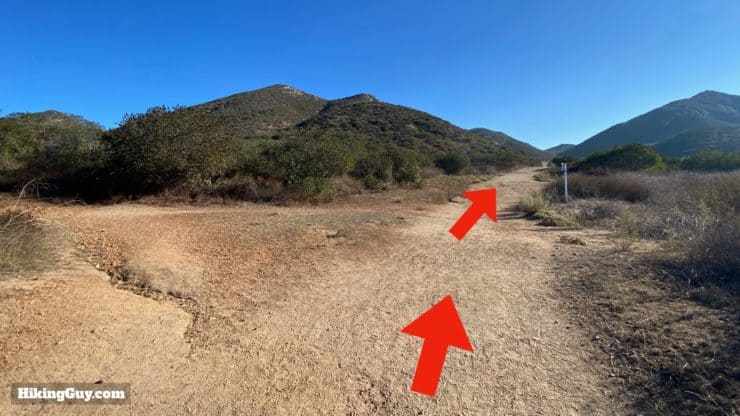
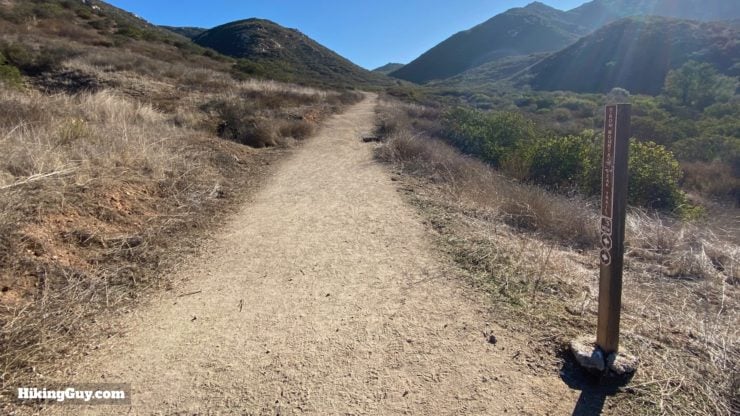
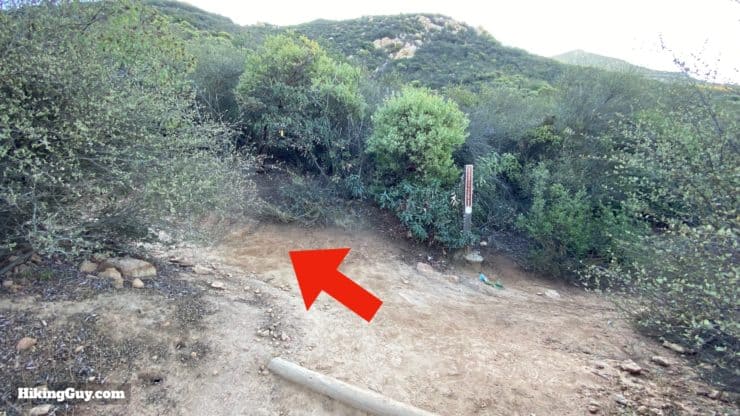
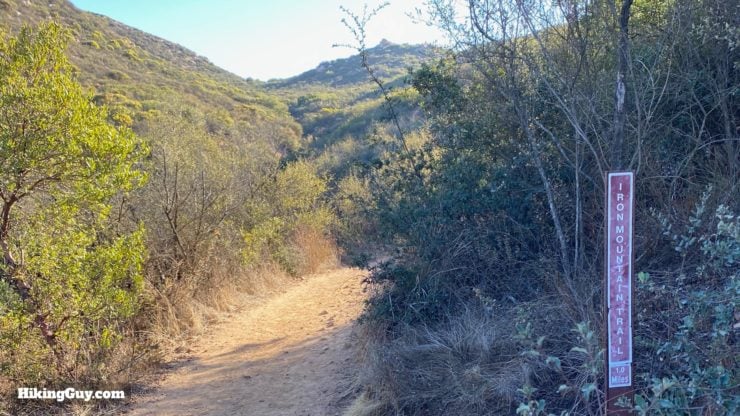
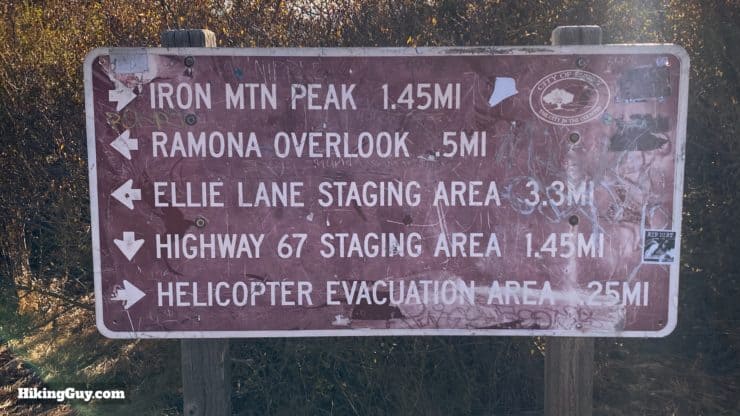
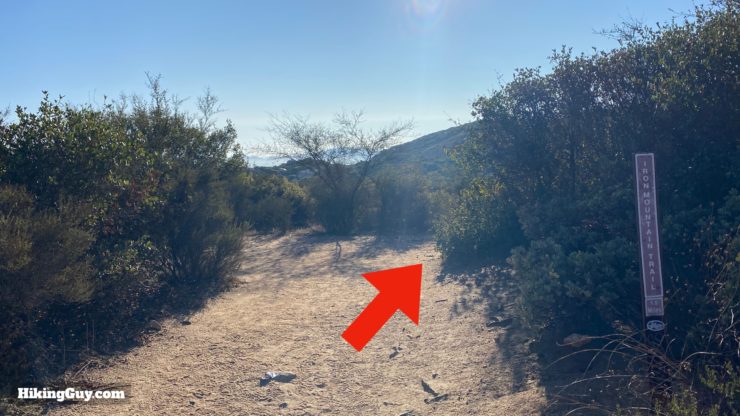
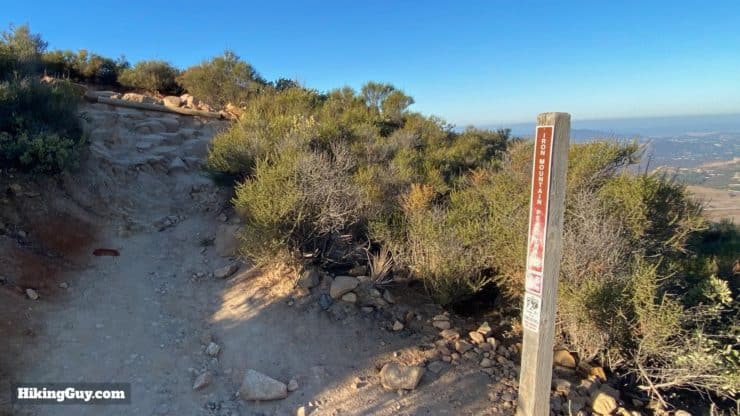
Overall the trail to the summit of Iron Mountain is very well marked and very busy. There are a few intersections (that I show you in the directions below) but otherwise the hike is straightforward.
How Will You Navigate?
 Using the Apple Watch for Hiking
 Garmin Fenix 7 & Epix Review For Hikers
 How To Read a Topographic Map
 Garmin GPSMAP 67i Review
Elevation Profile
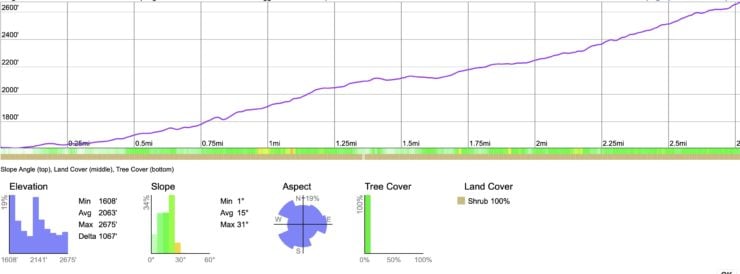
3D Map
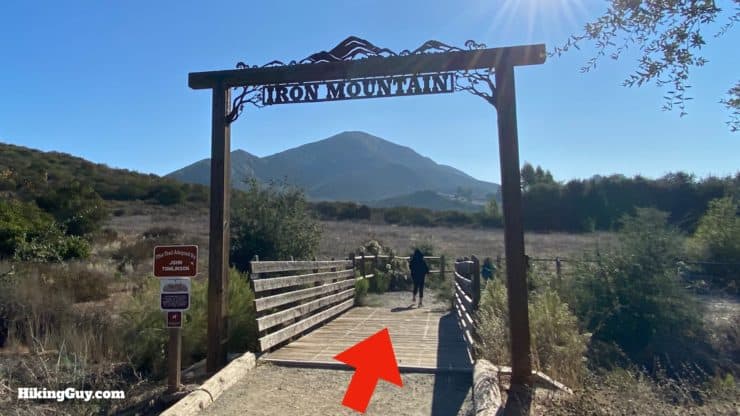
Iron Mountain Hike Directions
The land around you was all destroyed in the 2003 Cedar Fire, one of the largest in California history. Everything you see now has grown back since then.


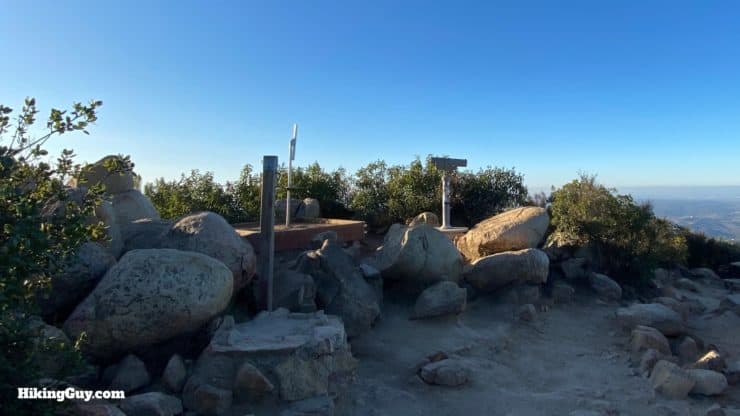


From here, you just turn around and go back down the way you came up. That's the hike!
Need More Info?
- Have a question about the guide? Join my Patreon and ask me a question.
- When planning, always check the park website and social media to make sure the trails are open. Similarly, check the weather and road conditions.
- Do you have an update to this guide? View the Youtube comments for this video. Leave a comment and I will do my best to update the guide.
Related Guides
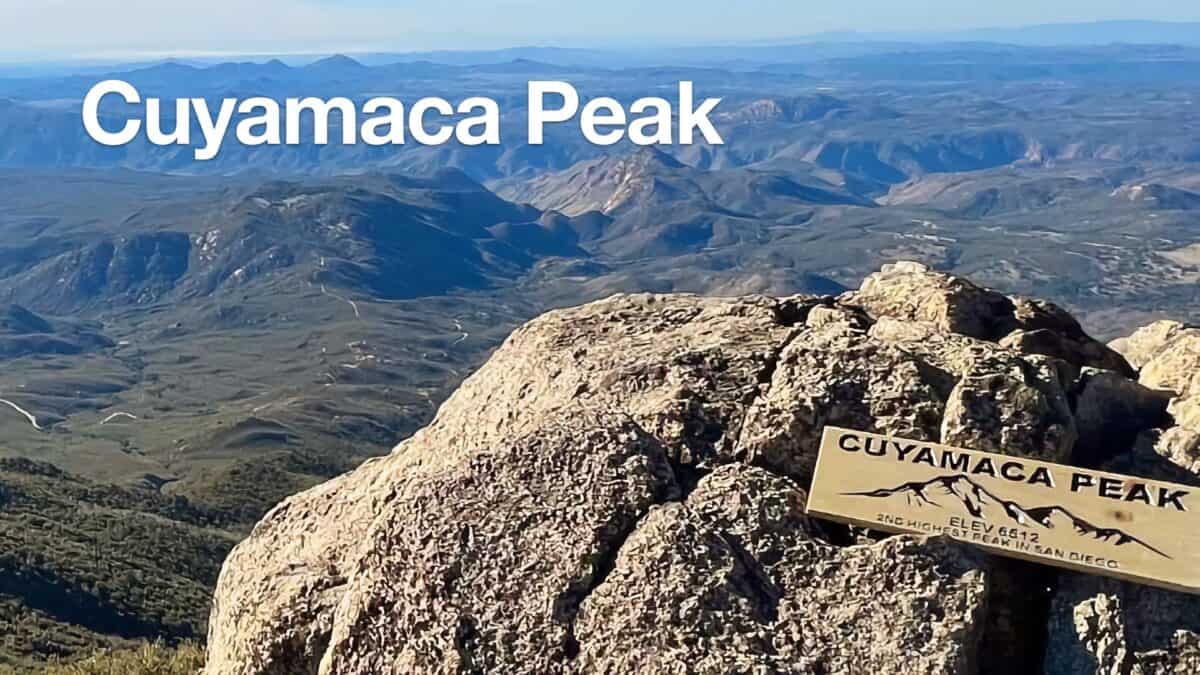 Hike Cuyamaca Peak
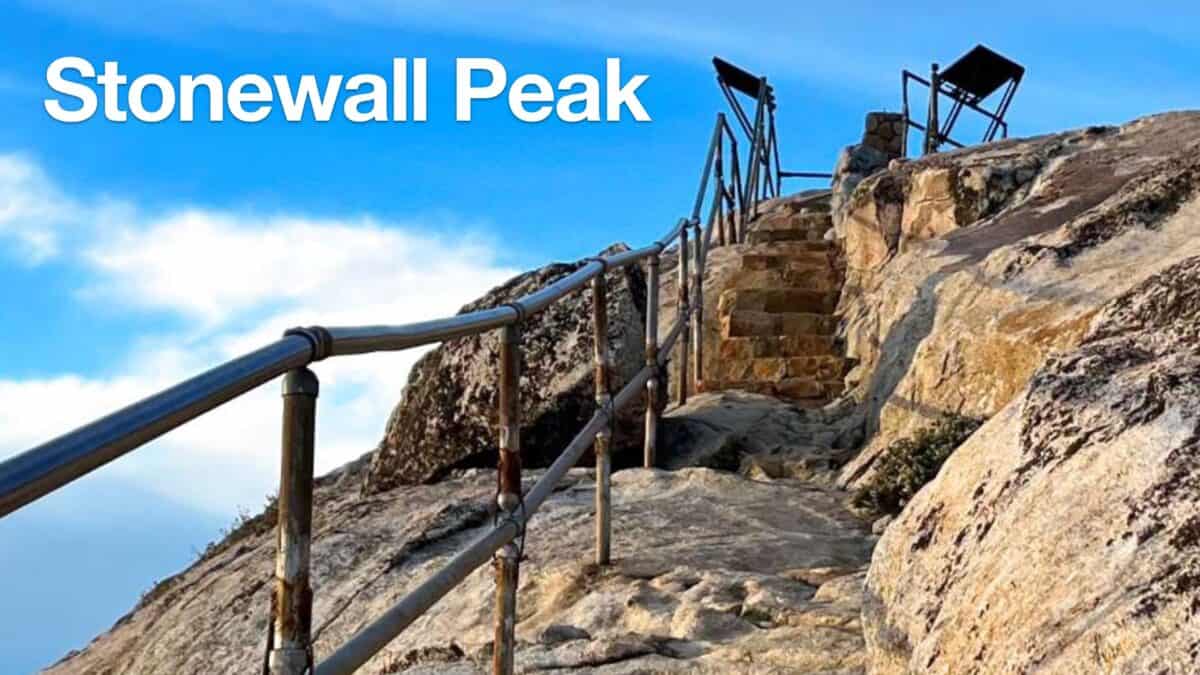 Hiking Stonewall Peak Trail
 Palomar Mountain Observatory Trail
 Oak Grove Trail to High Point Hike
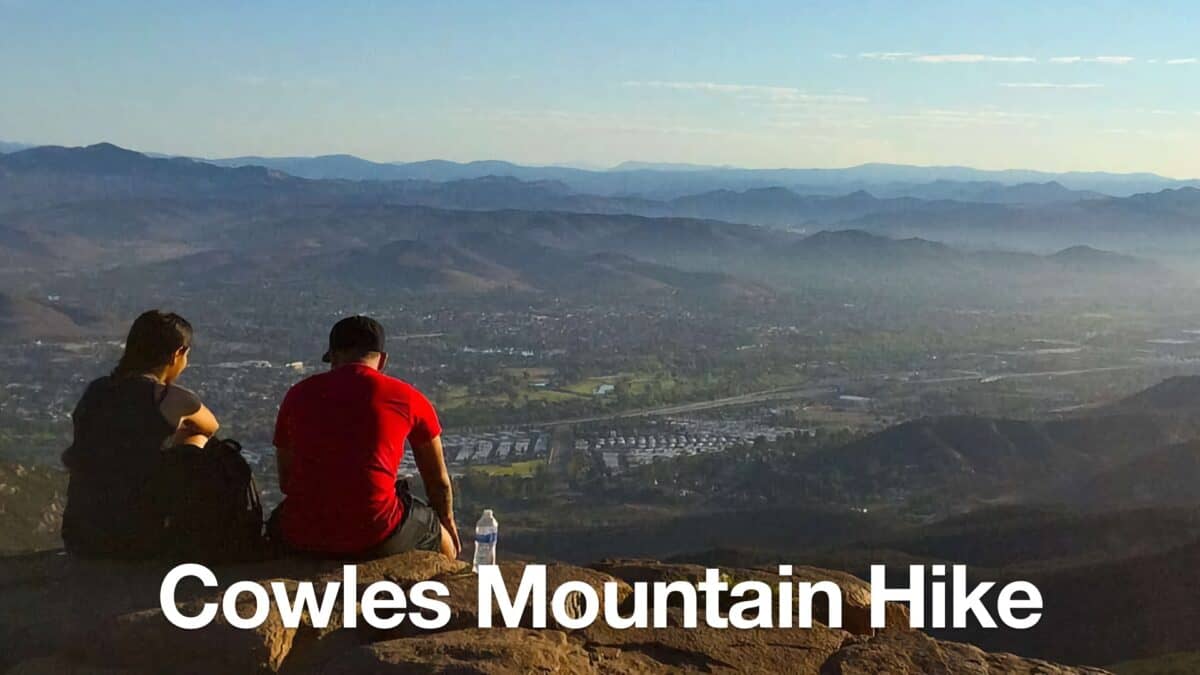 Cowles Mountain Hike
 Bernardo Bay Trail - San Dieguito River Park
 Monserate Mountain Trail Loop Hike
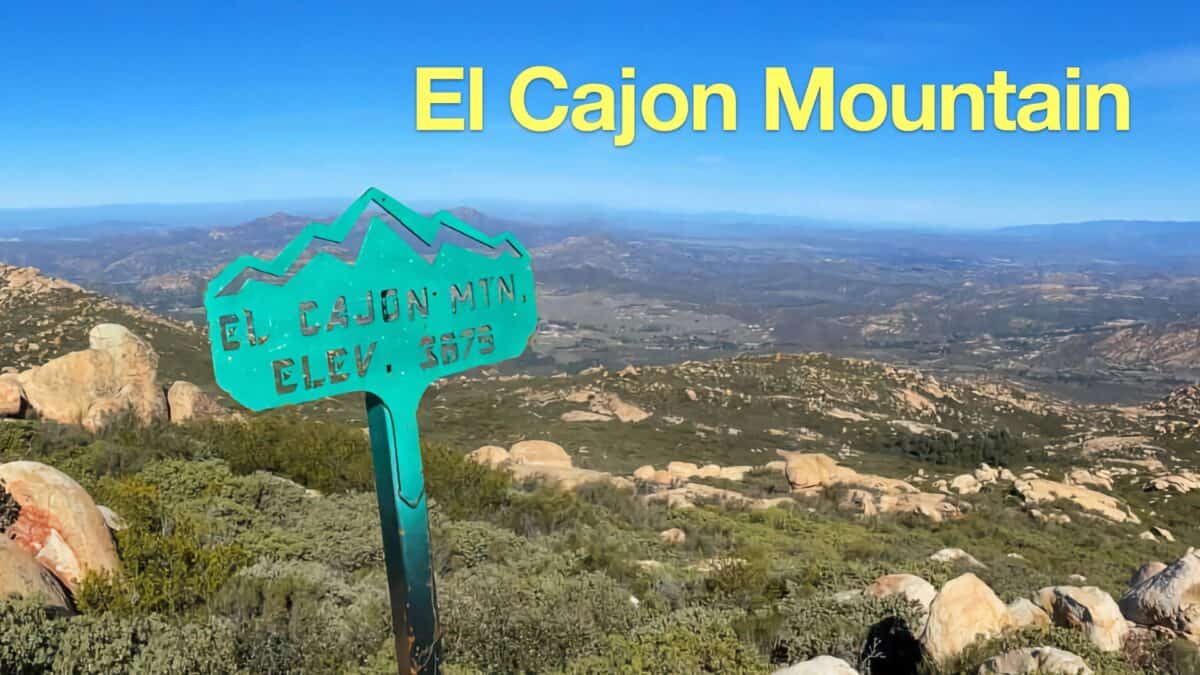 El Cajon Mountain Trail Guide
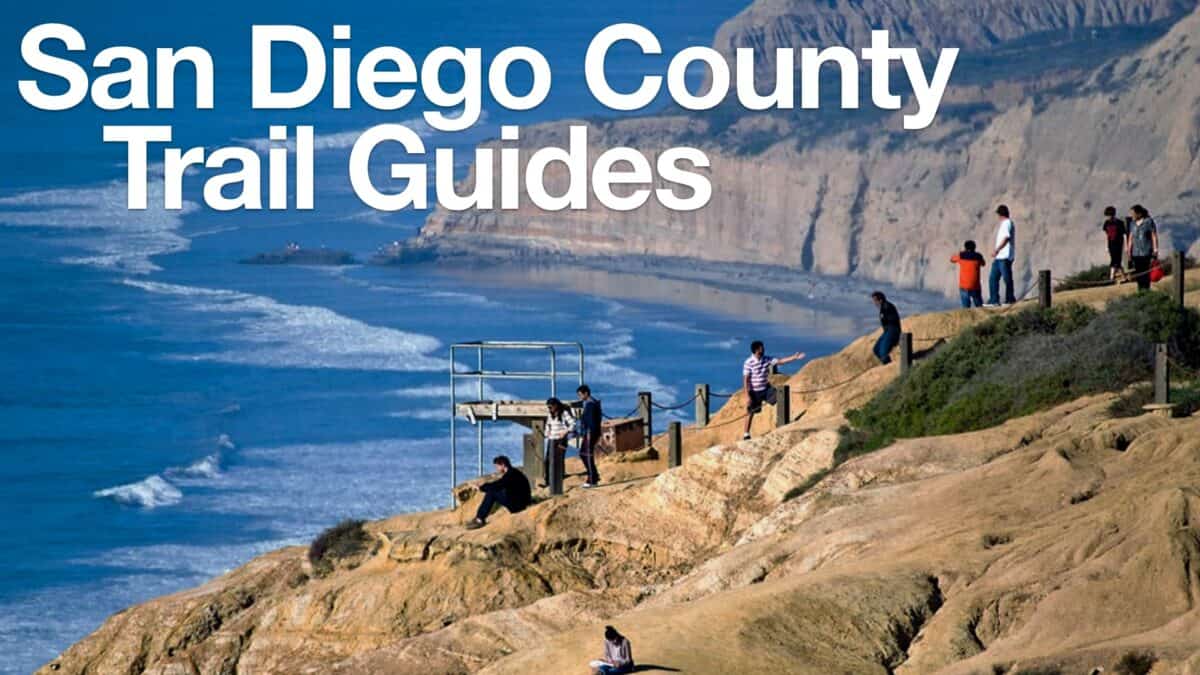 Hiking San Diego
Popular Guides
 Best Hiking Gear 2024
 Hiking Boots or Shoes: Do I Really Need Hiking Boots?
 When to Hit SOS on inReach
This Guide Was Written by Cris Hazzard

Hi, I'm Cris Hazzard, aka Hiking Guy, a professional outdoors guide, hiking expert, and author based in Southern California. I created this website to share all the great hikes I do with everyone else out there. This site is different because it gives detailed directions that even the beginning hiker can follow. I also share what hiking gear works and doesn't so you don't waste money. I don't do sponsored or promoted content; I share only the gear recommendations, hikes, and tips that I would with my family and friends. If you like the website and YouTube channel, please support these free guides (I couldn't do it without folks like you!). You can stay up to date with my new guides by following me on YouTube, Instagram, or by subscribing to my monthly newsletter.