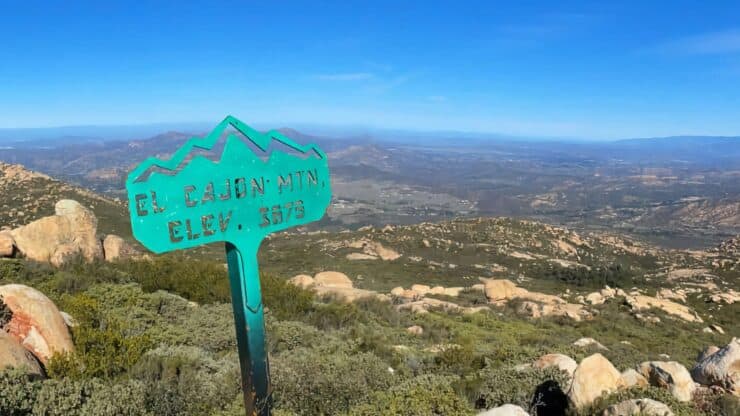
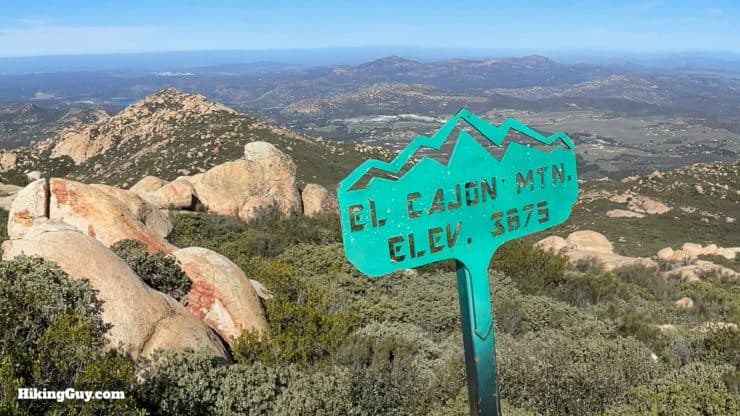
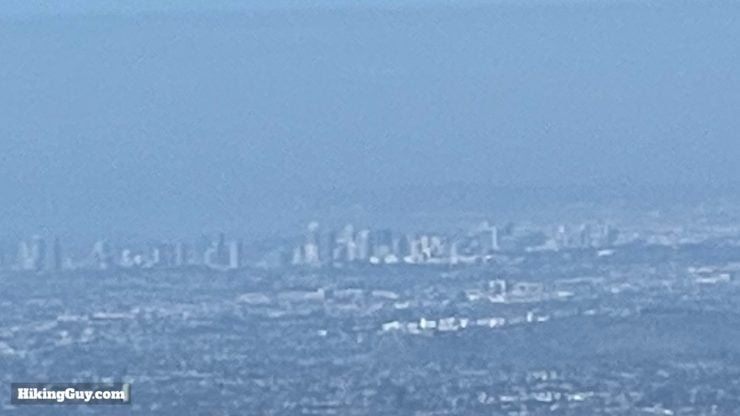
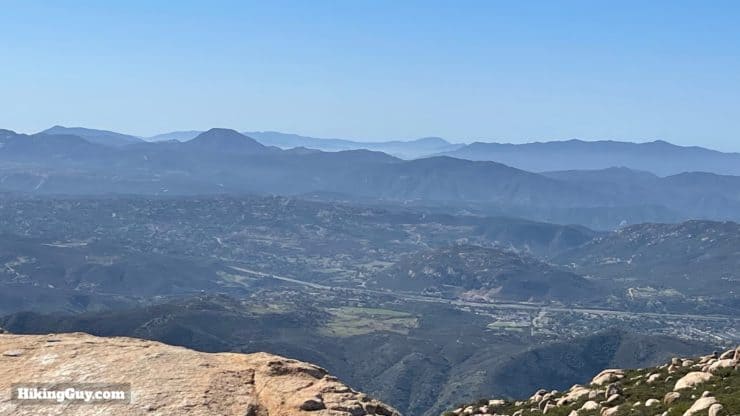
Considered "the hardest hike in San Diego" by some (more on that later), the El Cajon Mountain Trail makes you work for it, even though the summit is only at 3,648 feet. El Cajon Mountain, which towers over eastern San Diego, dominates the skyline you drive down I-8. Its sheer granite cliff face is also colloquially known as El Capitan or El Cap, after the iconic granite rock face in Yosemite National Park. We won't be going up the sheer cliff on this hike but instead taking a rolling trail through El Capitan County Preserve, known for its steep climbs on the way out AND back. Aside from a great workout, the payoff is spectacular views from Palm Springs to Mexico and the bragging rights to say you conquered El Cajon Mountain.
In this Guide:
Video and Turn-by-Turn Directions for the El Cajon Mountain Trail
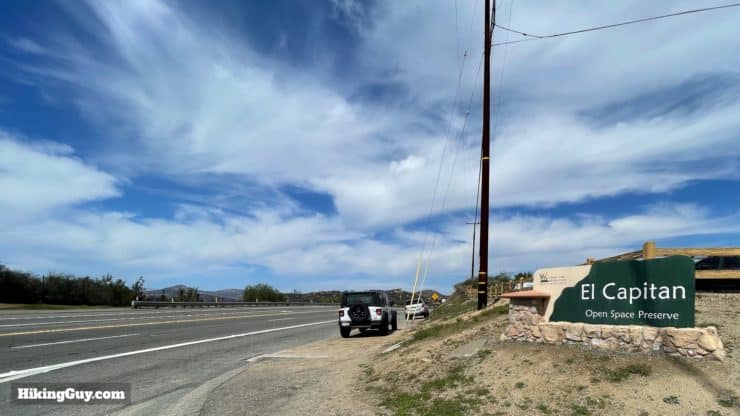
The El Cajon Mountain Trail is located in El Capitan County Preserve, in the eastern park of San Diego. To get to the start of the hike, use this address: 13775 Blue Sky Ranch Road, Lakeside, CA 92040
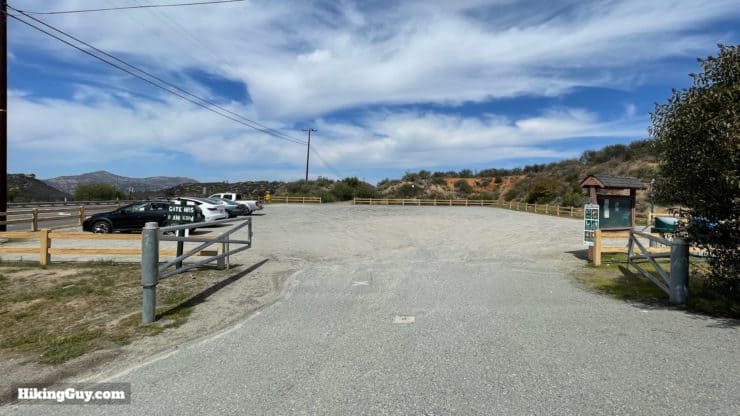
There's a large parking lot at the start of the hike, but the opening hours are limited. Check the park website link at the top of the article for current hours.If you start the hike before the parking lot opens, there are spots on the street in front of the park entrance.
From the parking area, you walk 0.5 miles to the "trail trail." At that point, you'll find bathrooms. I'll show you the way in the directions below.
Is El Cajon Hike the Hardest Hike in San Diego?
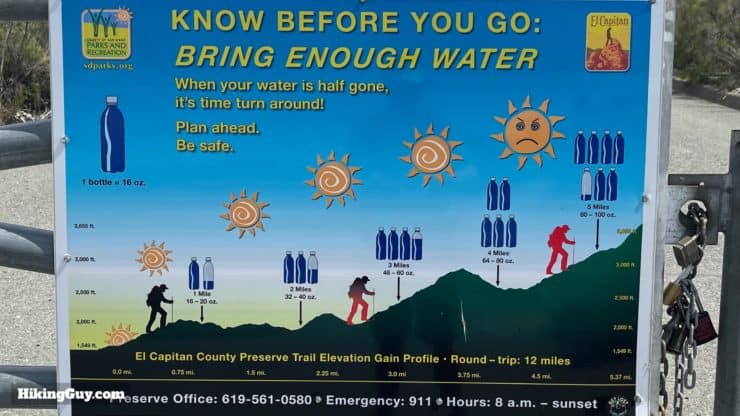
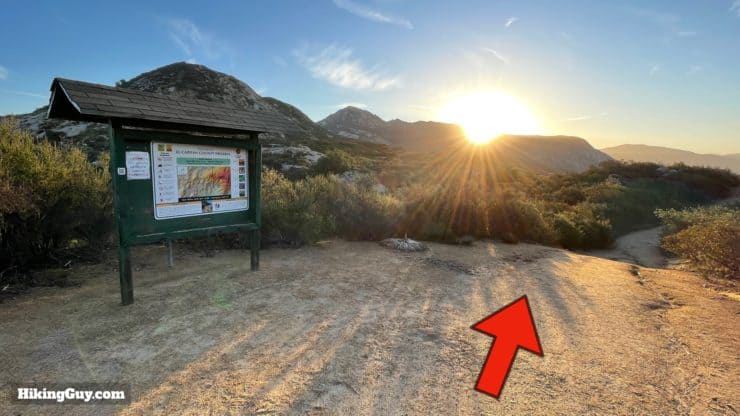
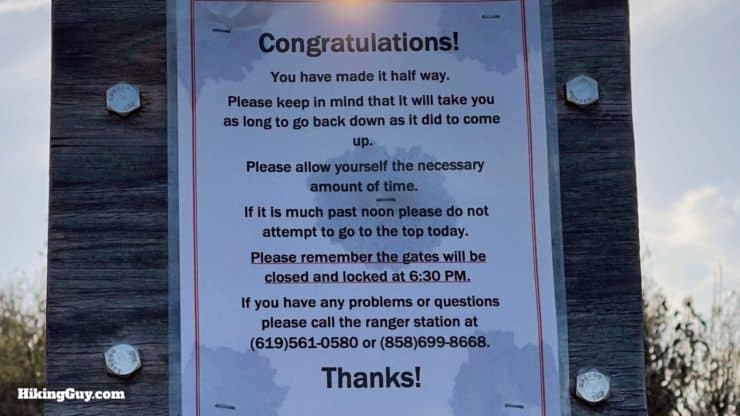
When you start from the parking lot, you're presented with a sign warning you about proper hydration, the distance, the climbing, and all the fun stuff you'll encounter on the hike. The park does a good job of making hikers aware of the rigors of this hike, and you'll see warnings all along the route.
If you've been researching this hike, you have probably read about how tough it is. For most casual or average hikers, the El Cajon Mountain Trail will be very challenging. Here's why:
The climbs are very steep mining roads with gradients up to 36%, which is about the same as house stairs.
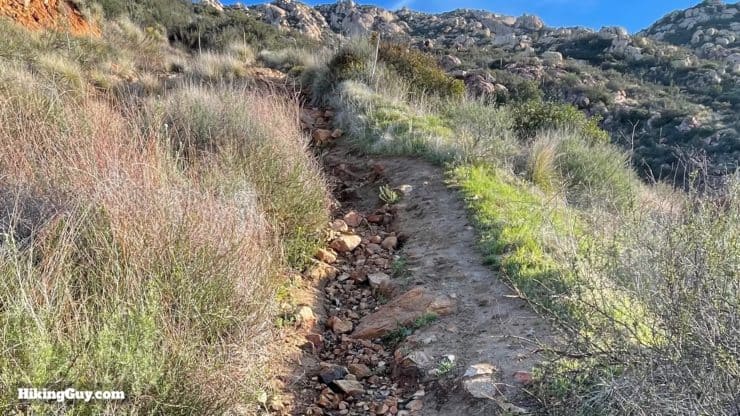
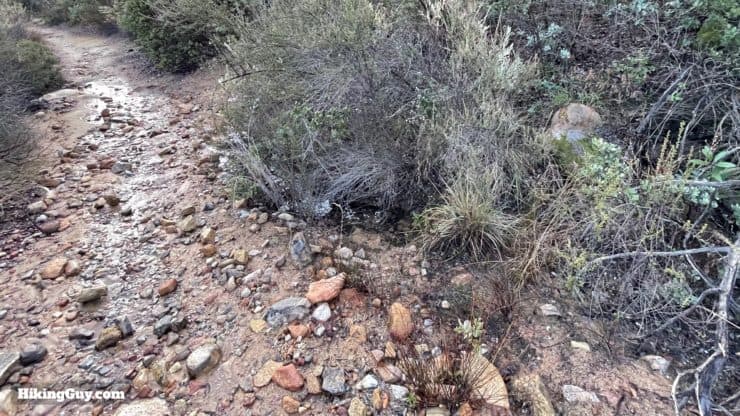
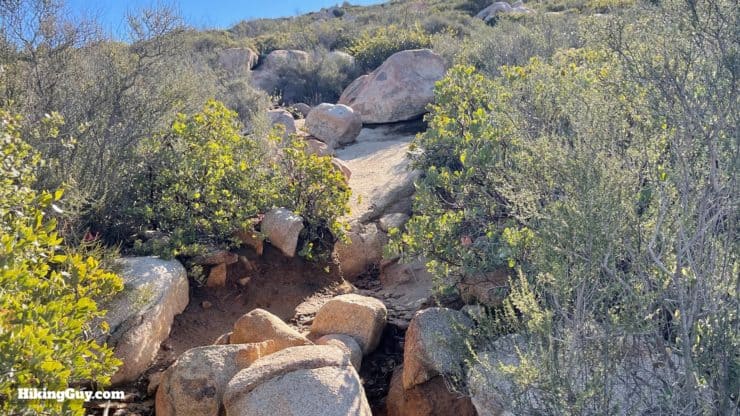
The slopes are rocky and loose. You have to watch your footing.
The route has ups and downs along the way. You have to do some climbing on the way back.
The trail is mostly exposed and gets very hot. It gets so hot that the Preserve is closed in August.
The steep and rocky descents are slow going and require concentration. Expect to go down at roughly the same pace as you climb.
Scared? Well, you shouldn't be. If you're in good shape and used to hiking this distance, you'll be able to do this hike. Otherwise I'd do some build-up hikes first.
So is it the hardest hike? No, generally the hike to Rabbit Peak via Villager Peak in San Diego County is considered the toughest day hike. It's 24 miles with about 8000 feet of climbing. About double what you'll tackle on El Cajon Mountain.
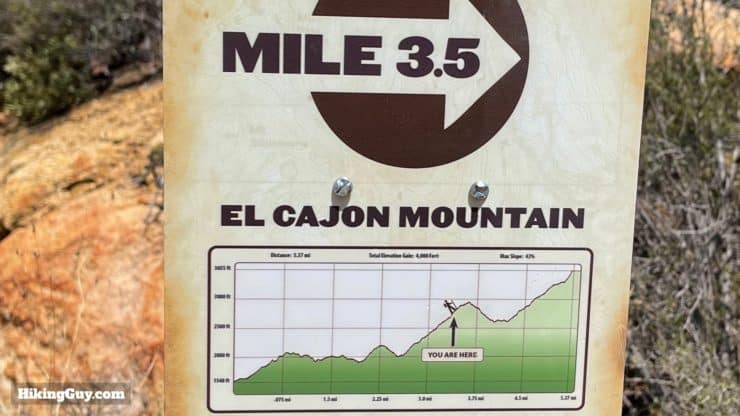
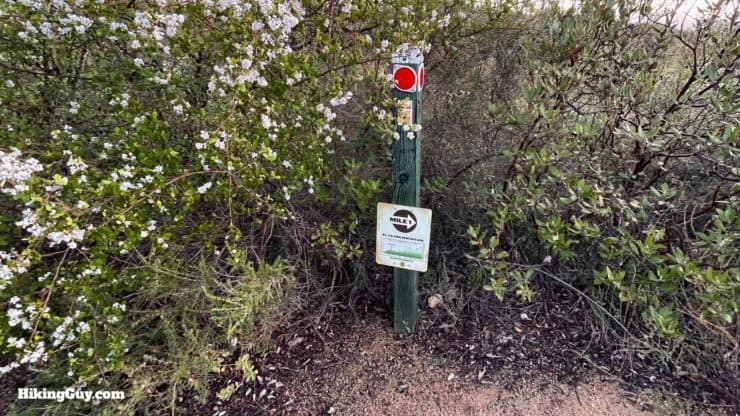
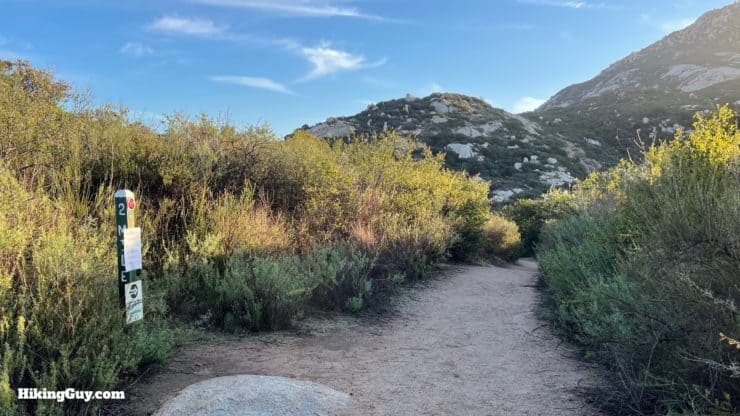
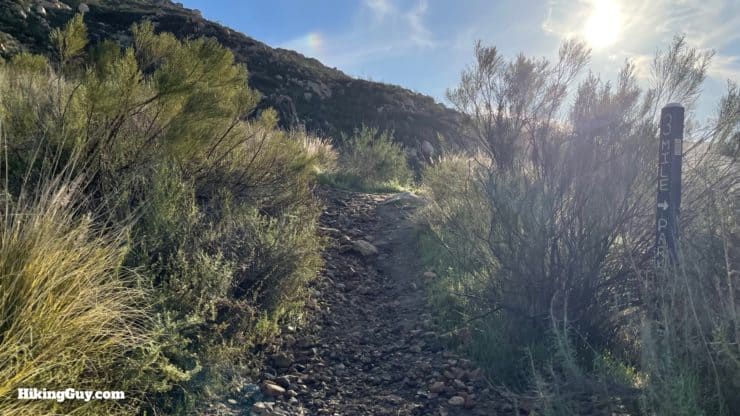
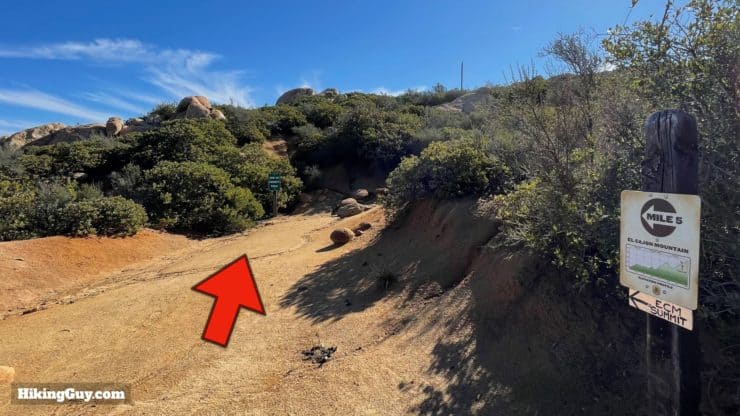
You'll see these trail markers along the way that show a little elevation plot. This hike gets a lot of casual hikers who might be in over their heads, so the park tries to do whatever it can to make it clear that this hike is serious.
Gear For the Hike
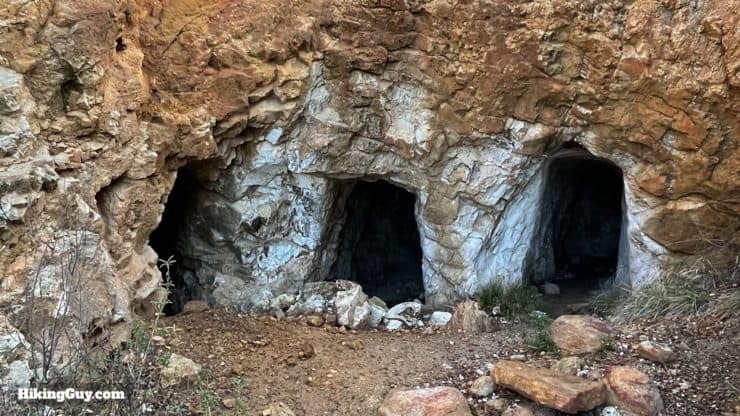
Trekking poles and good hiking footwear will help on these trails, which can be rocky and steep. Many of the trails you'll hike here were old mining roads.
This is a proper hike and I recommend wearing proper hiking gear.
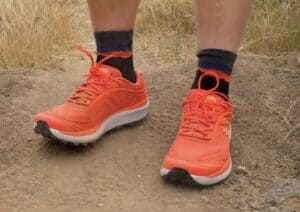
Good footwear is important on this hike. The ground is loose and rocky.
Trekking poles will help a ton on both the climbs and descents.
Osprey Hikelite 26Lightweight, carries all your gear, and your back doesn't get sweaty. Oh yea, it's also one of the most inexpensive packs you can get.
Overall the trails are well marked and easy to navigate. There are a couple of unmarked parts that might be confusing, but I'll cover those in the directions below.
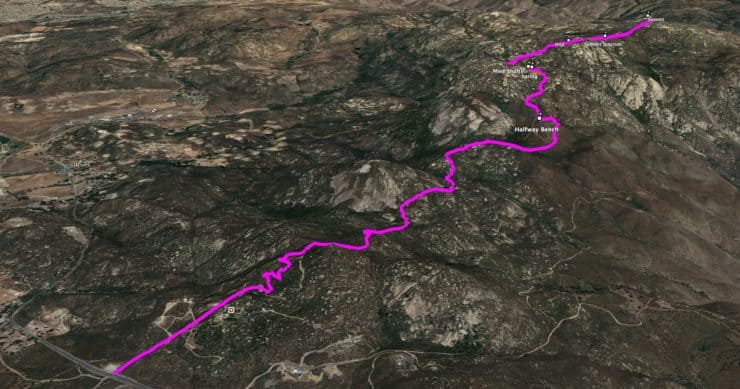
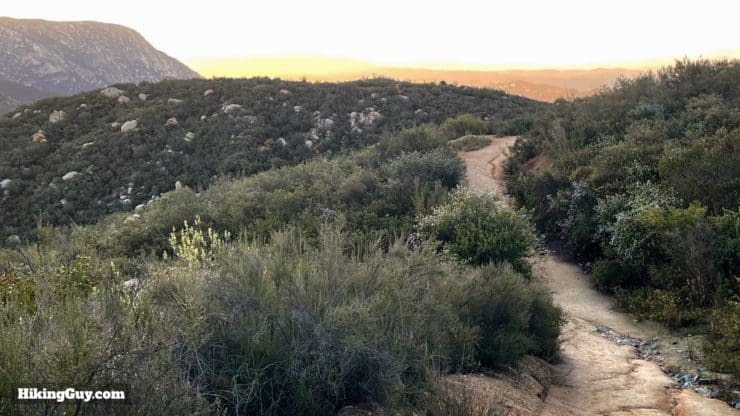
You can roughly break the hike down into three segments: the easier, rolling first three miles, the climb to Silverdome II, and then the climb to El Cajon Summit. Note that this is a one-way (to the summit) profile.
Landmarks on the Hike
Landmark
Distance
Elevation
Trailhead
0
1540
Top of Initial Climb
1.0
2050
Start of Silverdome II Climb
2.7
1950
Halfway Bench
3.2
2400
Mine Detour / Top of Climb
3.8
2890
Start Last Climb
4.5
2570
Summit Junction
5.2
3220
Summit
5.7
3648
3D Map
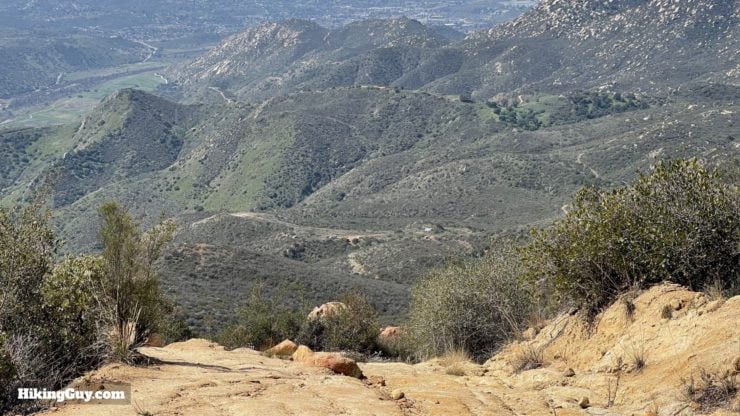
The route is an out-and-back that winds over the slopes approaching El Cajon Mountain.
Hike Brief
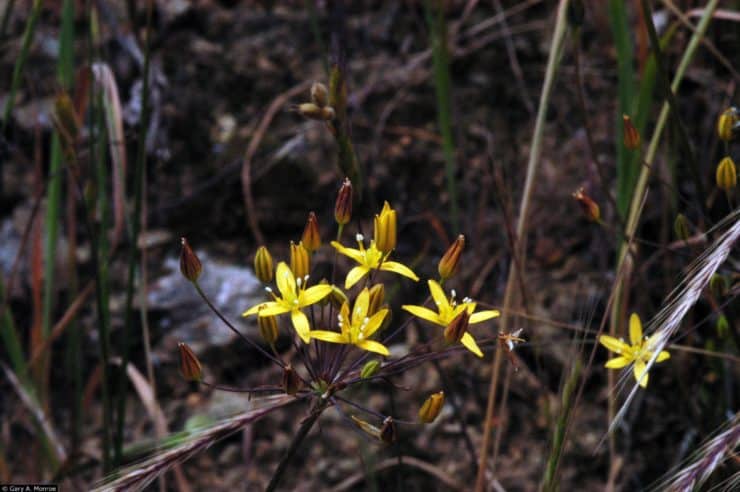
Keep your eyes open for the rare San Diego Goldenstar, which is only found in the mountains around San Diego and in northern Baja. Photo USDA
The mountain is named El Cajon because it roughly translates to the Spanish word for "box," as this peak is boxed in by the peaks surrounding it.
El Cajon Mountain is also known as El Cap or ECM. There is technically a smaller peak by the summit called El Capitan, so the two peaks are not the same. From this hike it's hard to see why it's called El Cap, but if you look at it from the south (I-8 has good views), you can see the semblance to Yosemite's El Capitan.
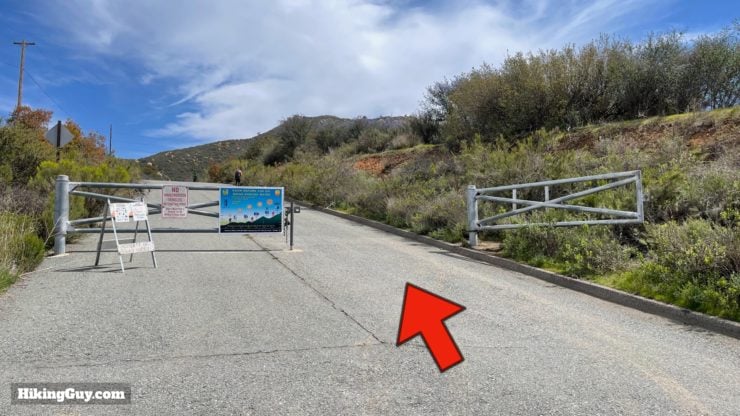
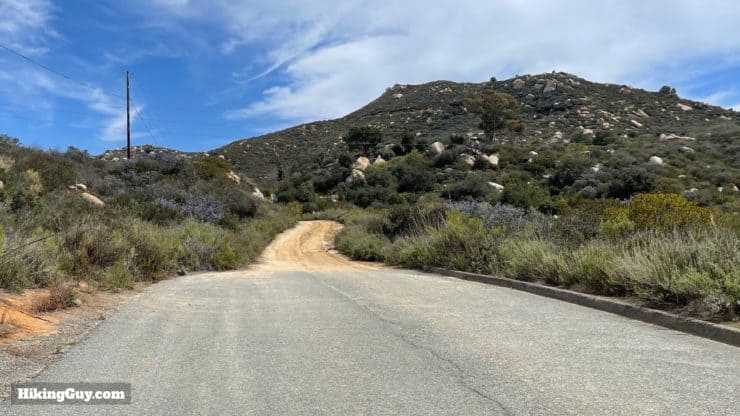
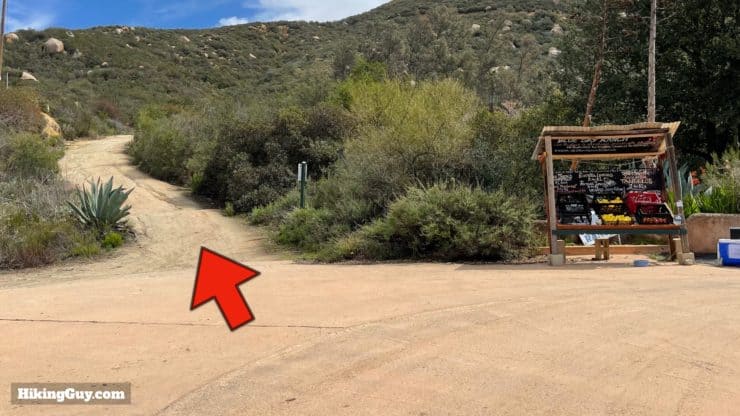
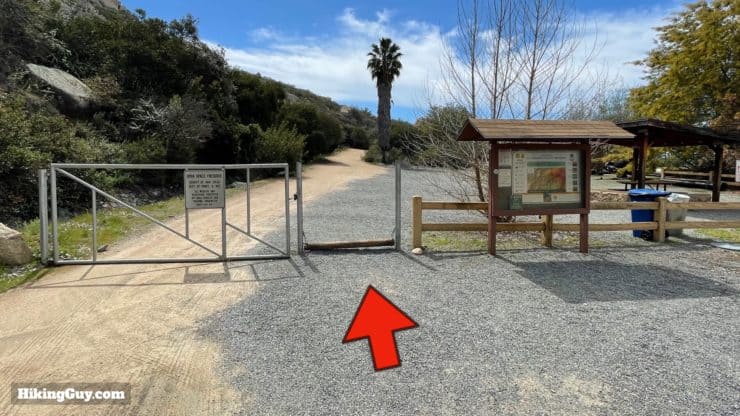
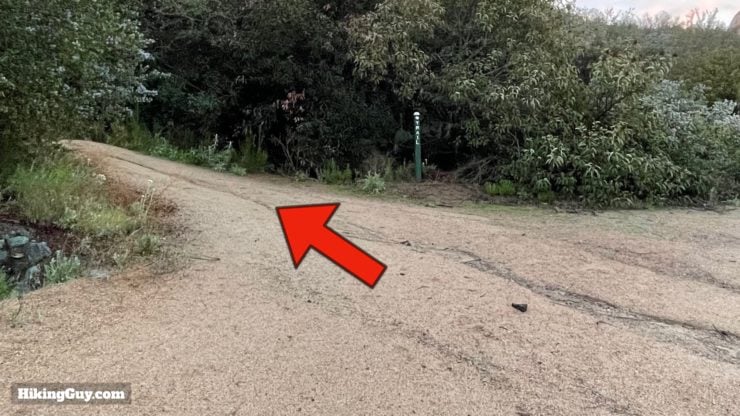
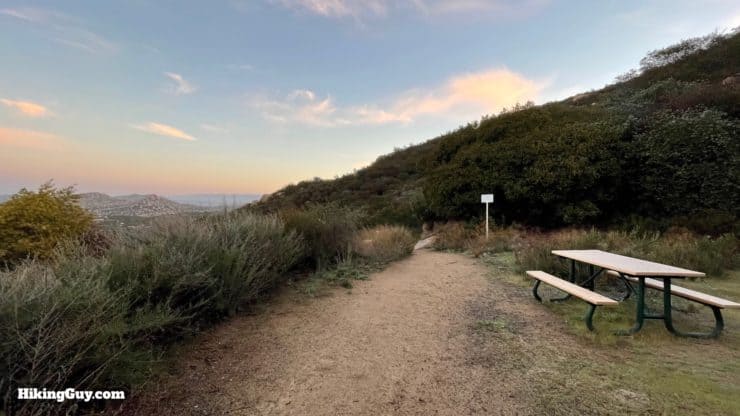
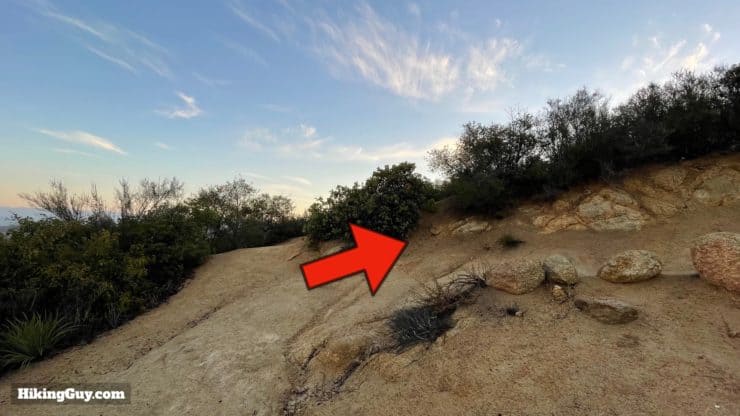
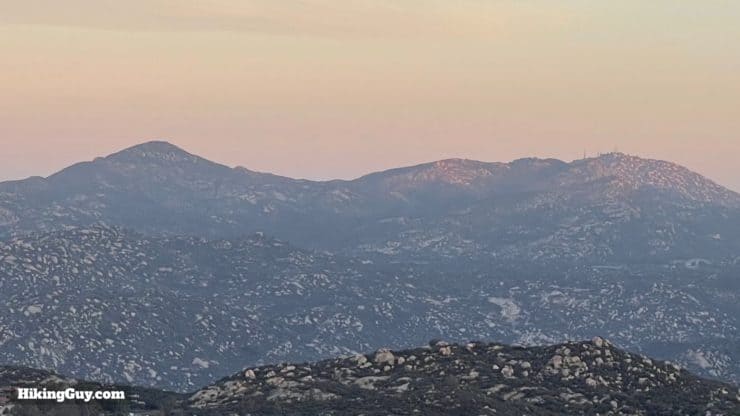
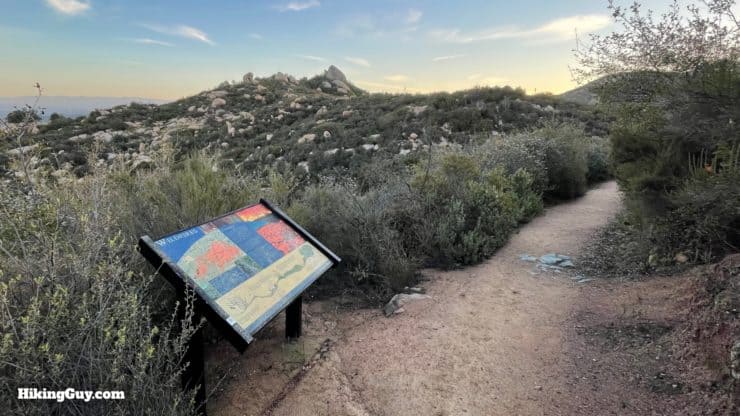
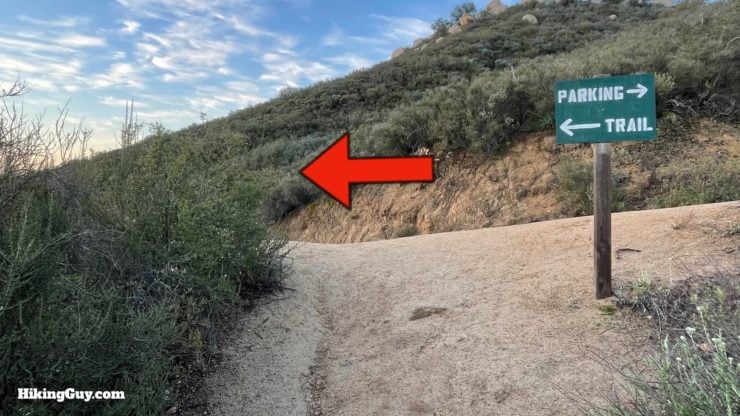
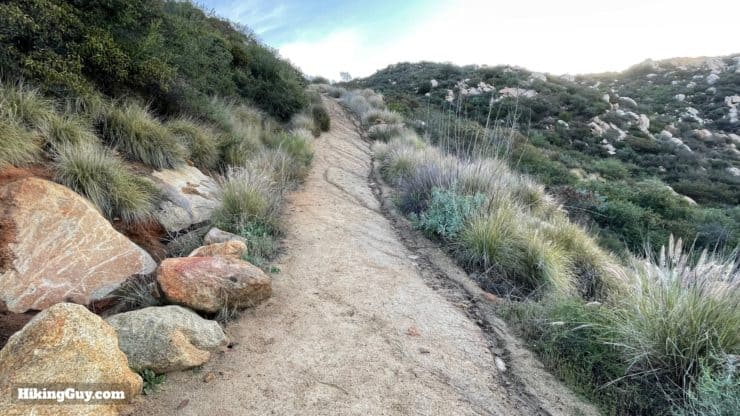
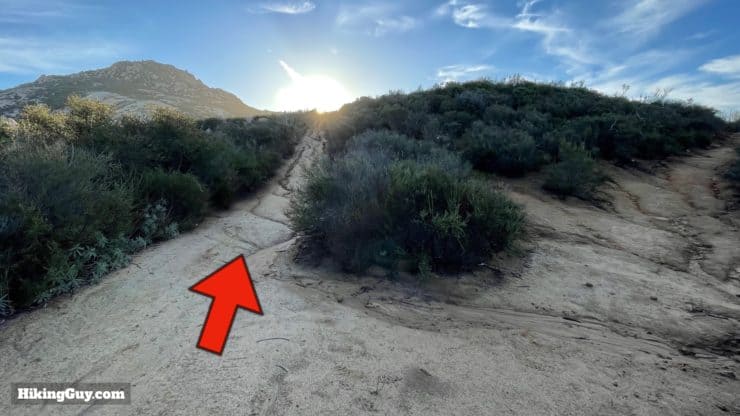
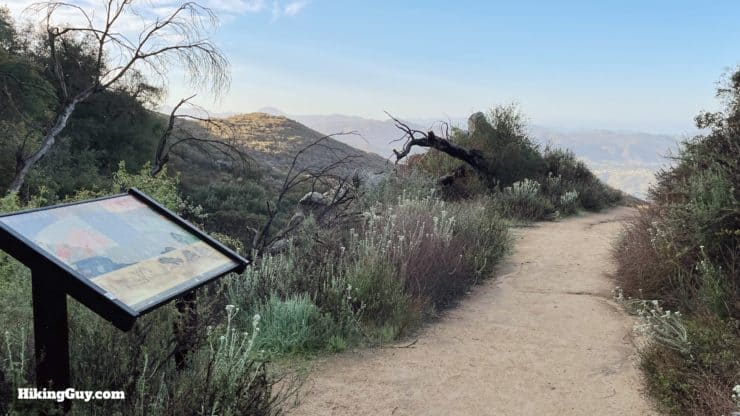
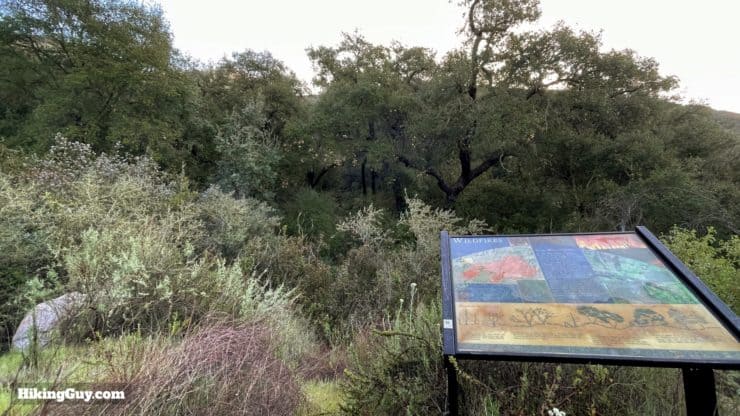
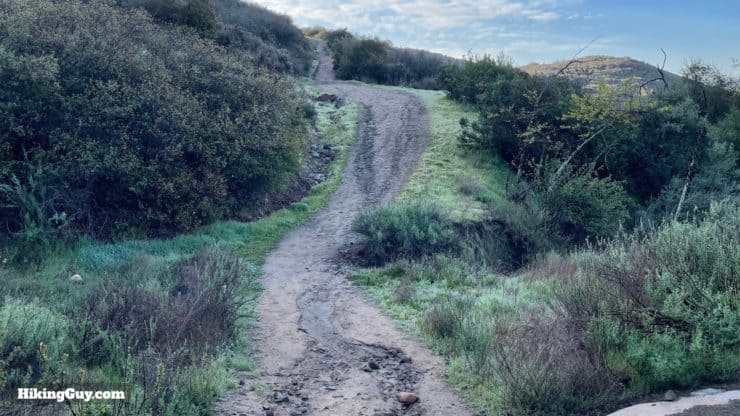
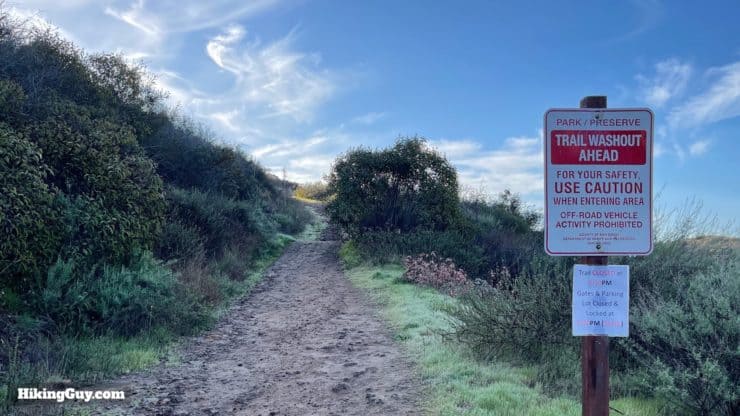
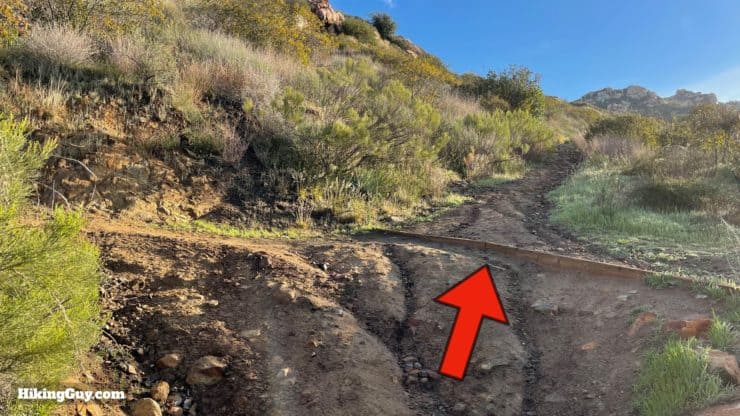
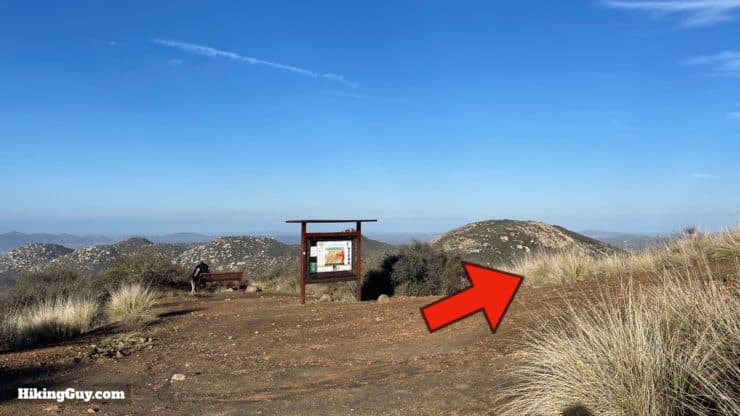
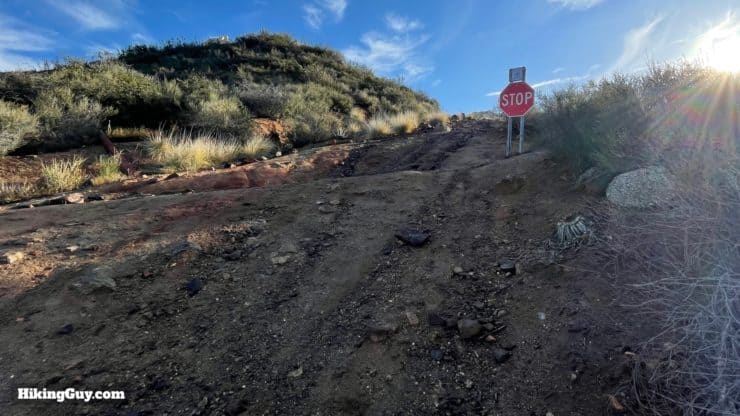
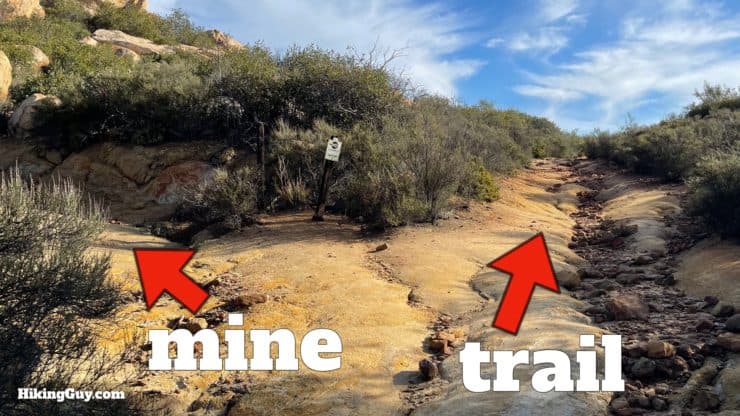
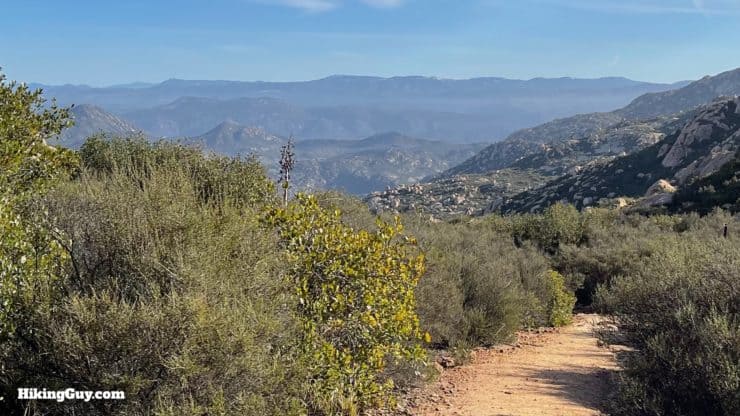
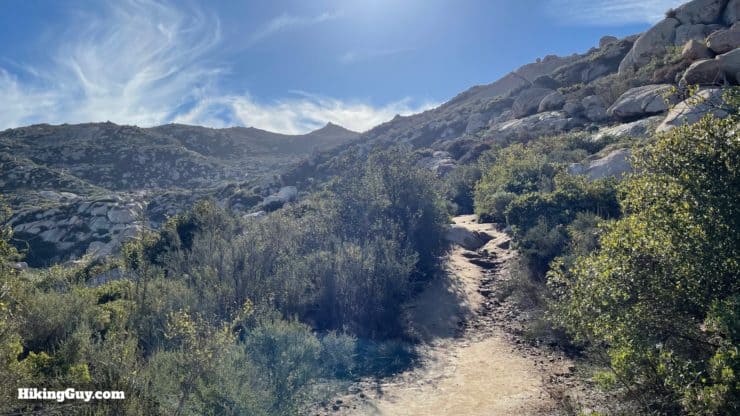
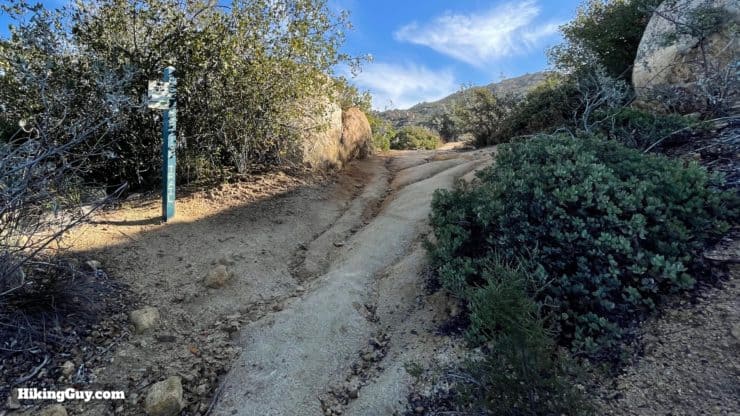
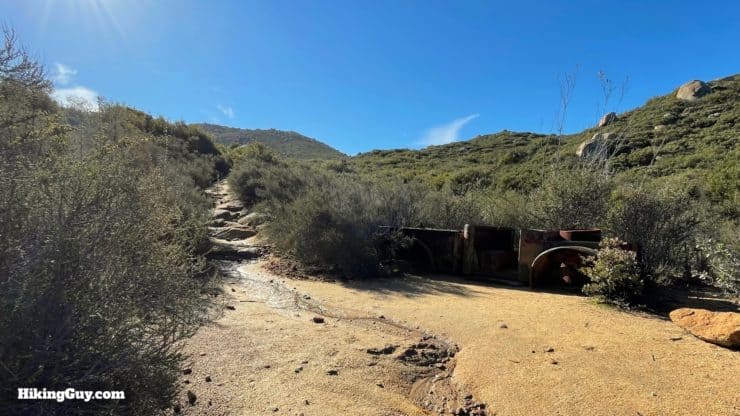
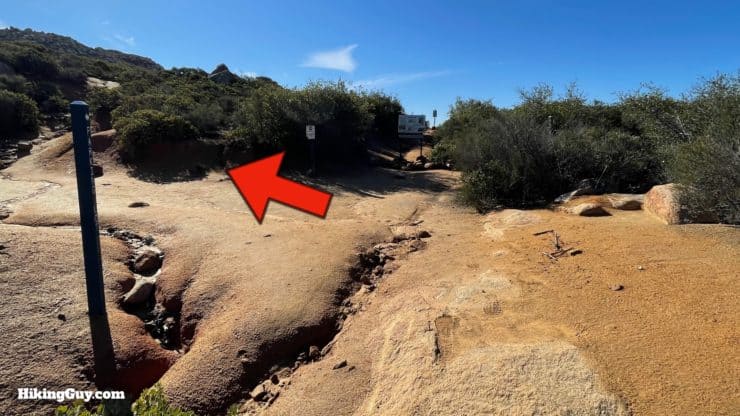
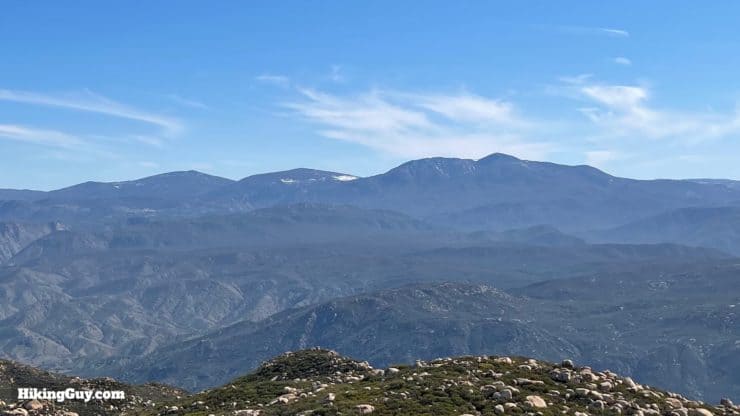
From the parking area, head straight up the road. When the gate is closed, there's a little path around the side.The road alternates between pavement and dirt, and is steep.Keep going straight up the hill. Blue Sky Ranch has produce you can take and pay for later with Venmo, very cool!After about 0.5 miles you'll reach the entrance to the preserve.There's a toilet here if you need to take care of business.Just past the toilet, look for the trail to the left.You'll start climbing and pass a picnic bench.And then there's a series of smaller switchbacks as you head uphill. This is the "nicest" climb on the hike in terms of gradient and ease.This one switchback can be confusing. Cut back along the rocks to the right.You'll have nice views of Iron Mountain and Mount Woodson.After the swtichbacks the trail winds around to the east and you can get your first views of the El Cajon Mountain summit.You'll also start to see the first of several interpretive displays about the 2003 Cedar Fire, which devastated this area. The fire was truly massive and burned many of San Diego's popular hiking spots.When you dead end into the wider trail, make the hard left.Your first climb is over and now you're in the easy phase of the hike. A rolling stretch until you start the climb to Silverdome II.Keep your eyes open for the first mile marker. One down, 11 to go!At the junction with the Pata Ranch Trail, go straight.You'll have your first taste of some of the steeper downhills here. Remember that you have to climb this on your way back.Hike straight past the interpretive sign, which again warns hikers about the rigors of this route.You'll have some nice views to the peaks in the south. The tall peak here is Los Pinos Mountain, home to a fire tower and about 10 miles north of the Mexican border.2 miles down! From here the climbs get tougher.You'll have some steeper climbs on this rolling section.At the split, stay left.Soon you'll reach a small peak with another interpretive display about the Cedar Fire.Look left here to check out the nice oak grove which survived the fire.And now you start heading uphill for real. The pictures don't do the gradients justice. You have about 1.1 miles to the top of this climb, which I think is the hardest of the hike.Ignore the sign about the trail being washed out and continue.The climb is tough, so take lots of breaks, turn around, and enjoy the views. From this point you'll be able to see back to the Pacific Ocean.At the trail split, stay straight. You can actually go either way, but straight is the official route.You'll pass the 3 mile marker.The trail levels out for a hot second and you reach the halfway bench. Make the hard right to continue uphill.There's a big stop sign warning hikers that they're only halfway.If you're wiped out at this point, or it's late, you need to turn around. It's not going to get much easier.Finish the last steep uphill section up Silverdome II.Toward the crest of the climb you'll see a turnoff to the left for the mine. The mine trail is only 0.1 miles and worth a look.Check the mines out and then head back to continue on the main trail.The gradient eases up past the mine turnoff.And soon you're heading downhill with nice views to the north. You should be able to see Hot Springs Mountain, the highest point in San Diego County, and on a clear day, Mt San Gorgonio in the Palm Springs area, the highest point in Southern California, about 100 miles away.Now you have a descent. On the way down, you'll pass a spring on the right. Unfortunately the water is not potable.You'll pass the 4 mile marker on the descent.And then you have a few minutes of a flatter section as you approach the final climb.And now you start the final climb. The good news is that it's easier than the climb to Silverdome II. The bad news is that it's not easy. Take your time and head up the steep slopes. The climb from here to the summit is about 1.2 miles.At around 5 miles, you'll pass the rusty old mining truck. It's hard to imagine how it got up here.Alright, you've reached the summit junction. Make the left to continue to El Cajon Summit.
You can make a side trip to the right to reach El Capitan Summit. It's about 0.2 miles. The option to go straight ahead will bring you to the top of the sheer cliff face. It was once open to hikers, but is now private property and closed to protect the golden eagle nesting areas.
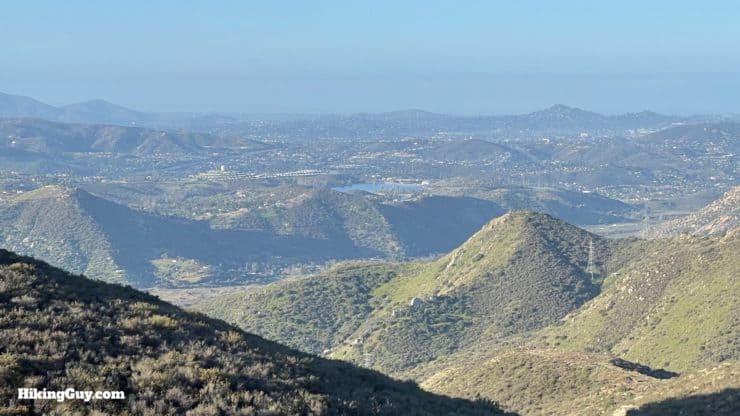
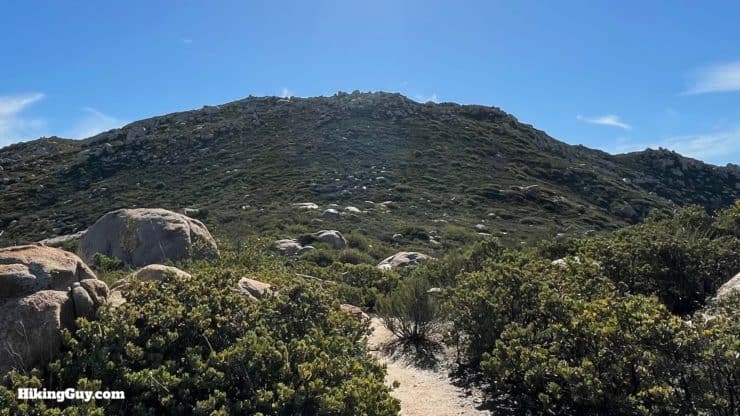
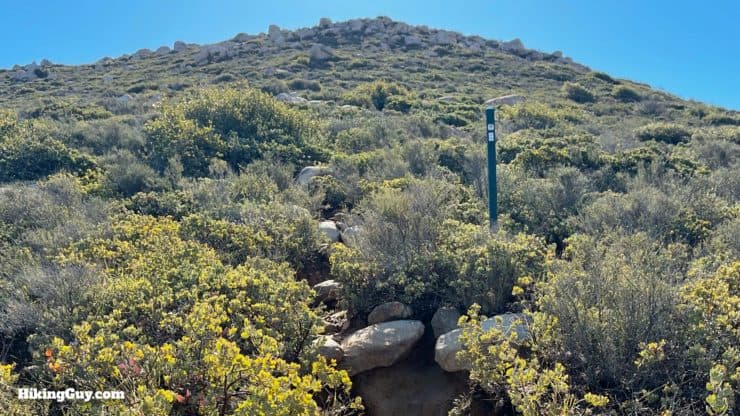
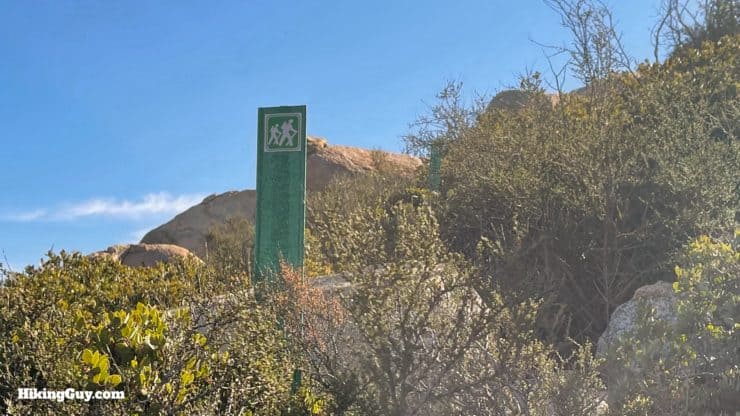
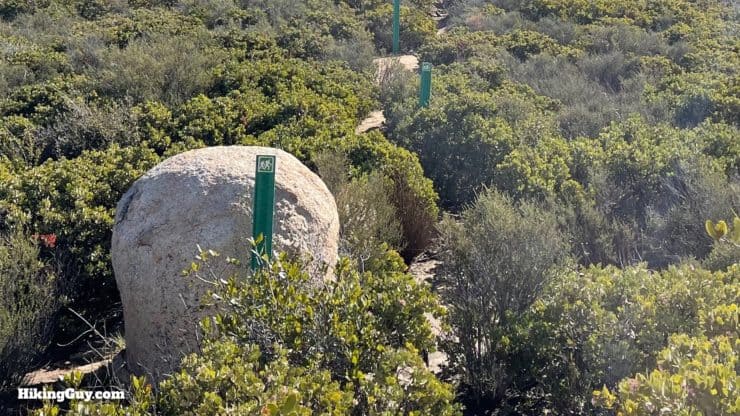
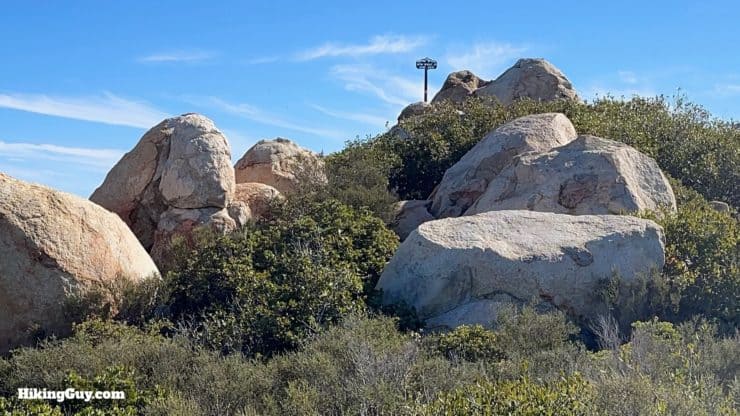
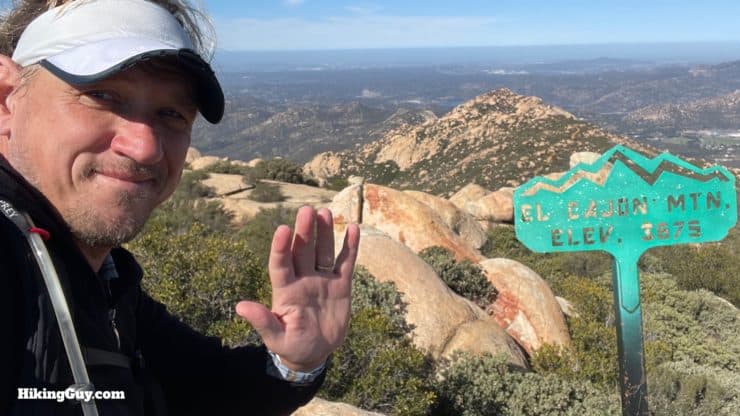
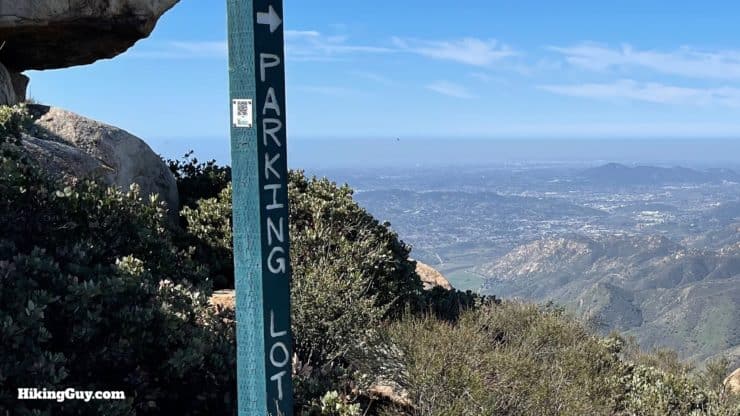
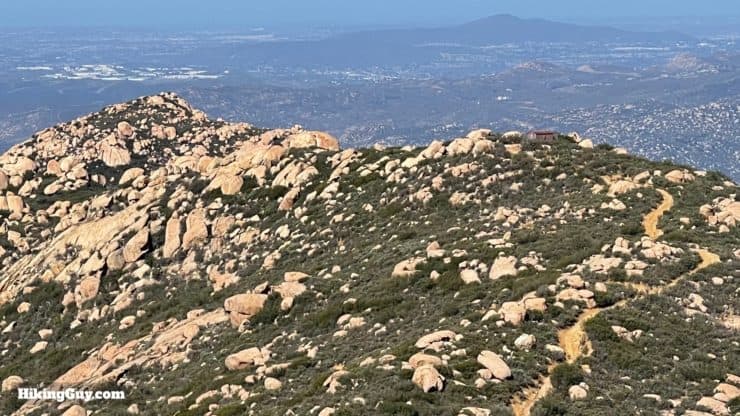
Go straight toward the green posts from the summit junction.After a short climb you'll see the summit dome ahead.Pick your way up the steep trail. You'll have to pull yourself up some rocks, and at times the trail splits and rejoins.This section isn't a technical scramble, but it is steep and rocky.As you approach the top, keep your eyes open for these light green posts.Toward the summit the light green posts will guide you through the boulders, and you should see them every few feet.Soon you'll see the summit in front of you.An here you are, at the top of El Cajon Mountain!To the east you'll see Cuyamaca.To the north, Hot Springs Mountain, and on a clear day, San Gorgonio and Mt Baldy.To the west, San Diego.And to the south, the southern part of Cleveland National Forest and the San Diego River Gorge.From here, grab your selfies and head back down the way you came! Remember that you still have some climbing to do, so pace yourself.The trail signs in this direction all point to the parking lot.Go ahead and bag El Capitan on the way down, it's only a few minutes extra.This shot gives you an idea of the steepness of the descents. You'll probably go much slower than you normally would on a regular descent because of the steepness and loose rock.


 Using the Apple Watch for Hiking
 Garmin Fenix 7 & Epix Review For Hikers
 How To Read a Topographic Map
 Garmin GPSMAP 67i Review
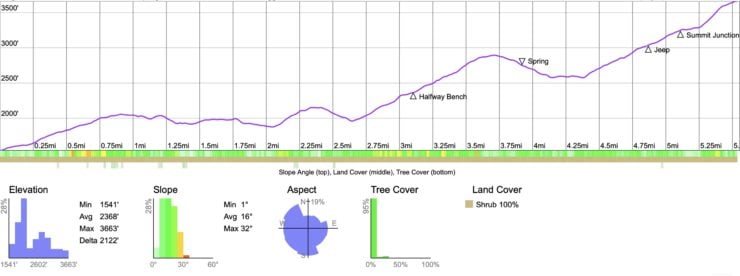


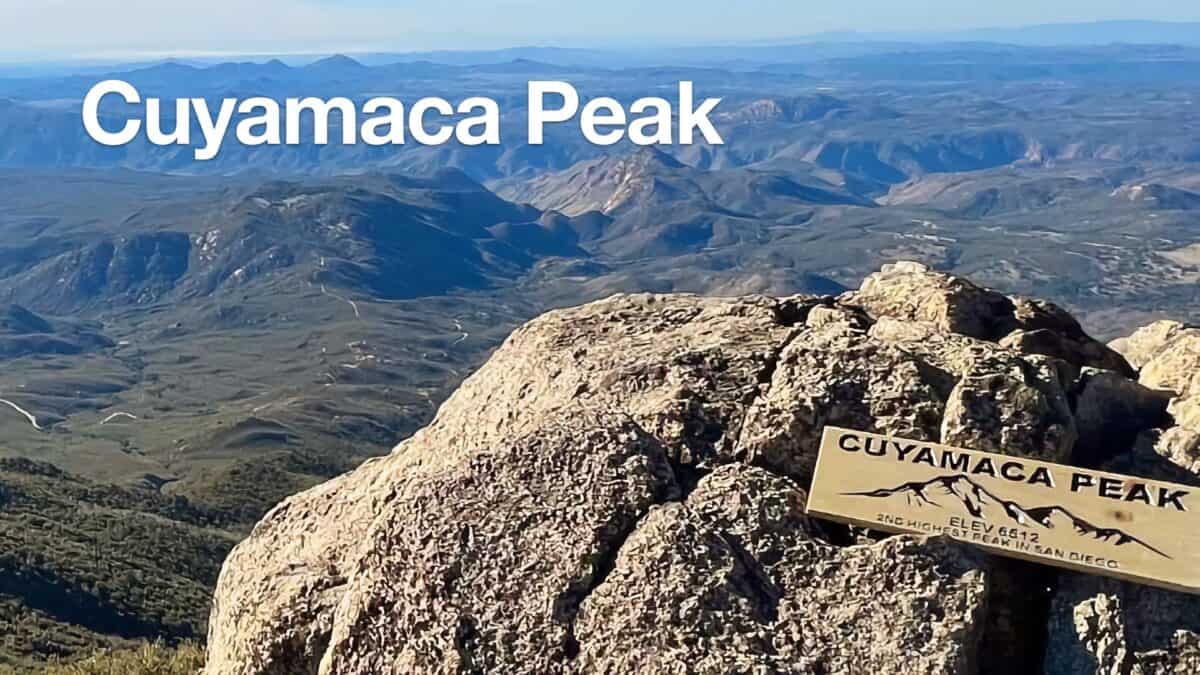 Hike Cuyamaca Peak
 Hike Iron Mountain (San Diego)
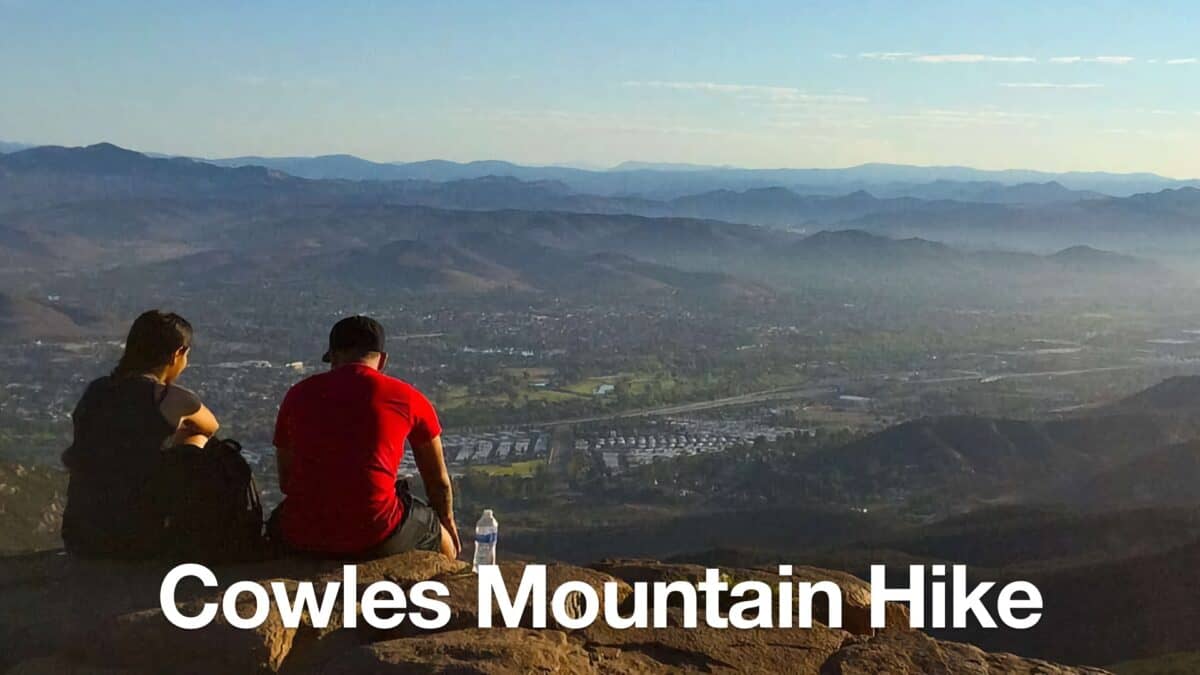 Cowles Mountain Hike
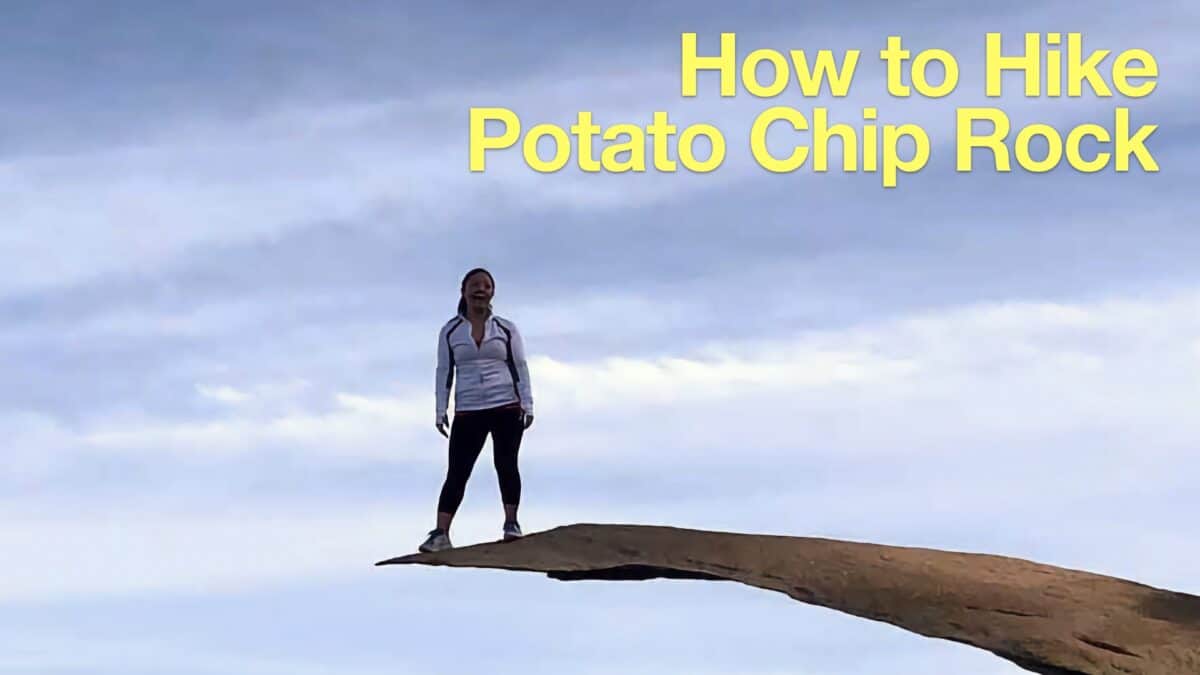 Potato Chip Rock Hike (San Diego)
 Hot Springs Mountain Trail Guide (San Diego)
 Big Laguna Trail - Best of Loop
 Hike Three Sisters Falls & Eagle Peak
 Hiking San Diego
 Cleveland National Forest Hiking
 Best Hiking Gear 2024
 Hiking Boots or Shoes: Do I Really Need Hiking Boots?
 When to Hit SOS on inReach
