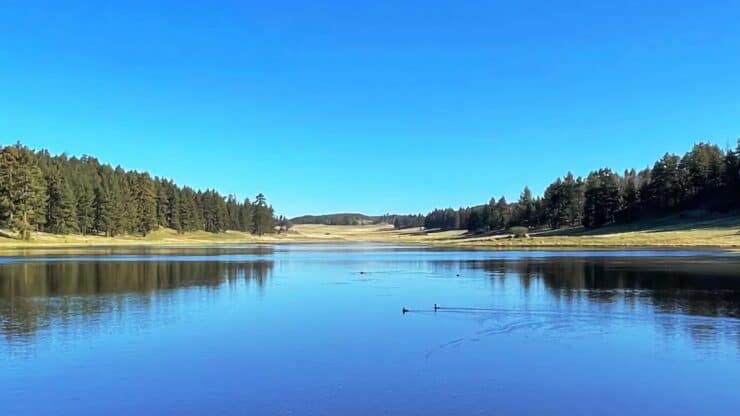
This "best of" loop on the Big Laguna Trail offers a little bit of everything, and is one of my favorites. You'll get scenic a mountain meadow and lake, a peaceful oak and pine forest, glimpses of the highest peaks in San Diego County, a climb to a mountain summit, a stretch on the PCT, and incredible views into the desert and high mountains beyond. Even though the hike is only about 12 miles through the Laguna Recreation Area, you'll feel like you covered more ground because of the tremendous variety.
In this Guide:
Video and Turn-by-Turn Directions for the Big Laguna Trail Loop
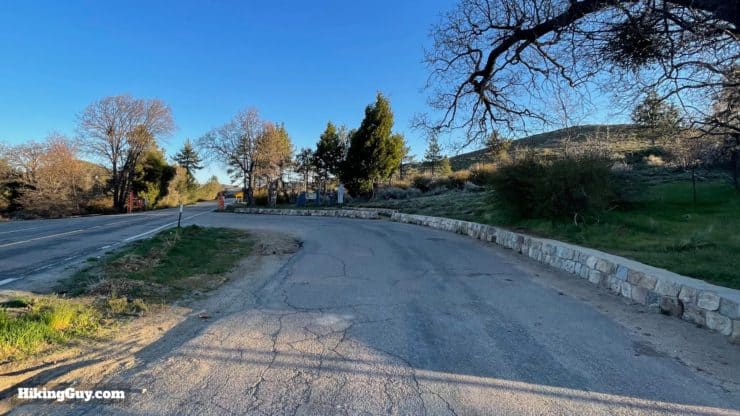
The hike starts in the Laguna Recreation Area, a section within Cleveland National Forest close to Mount Laguna. It's off Sunrise Highway, also known as State Route 1 (SR1), a National Forest Scenic Byway. Use this trailhead address: Penny Pines Trailhead, 12000 Sunrise Hwy. Pine Valley, CA 91962
You'll need a National Parks Pass or Adventure Pass to park at the trailhead.
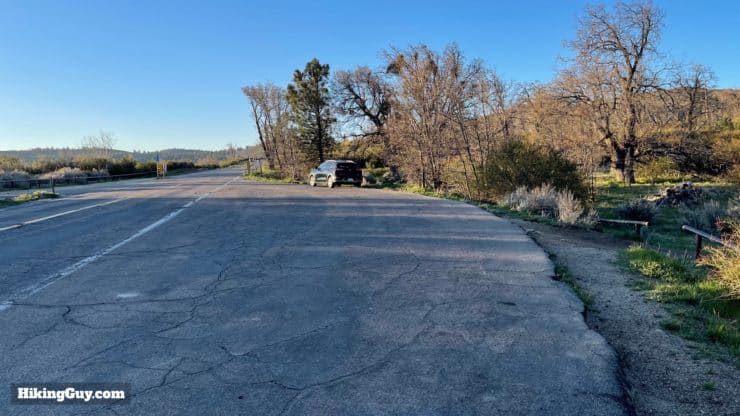
In the winter, SR1 can be closed because of snow. Check for any closures before you go.There are two parking areas at Penny Pines. This is the parking area on the east side.And this is the larger area on the west side that usually fills up first.
There are no bathrooms at the trailhead.
Don't confuse this Laguna Mountain Recreation Area, where this hike takes place, with the other Laguna Mountain Recreation Area, which is run by the BLM and located in the Coastal Range between Big Sur and Fresno. Double-check your car GPS or you might be adding on 8 hours of driving.
Gear For the Hike
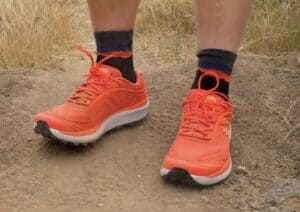
As you might imagine from the distance, this is a proper hike and you will be best served by proper hiking gear. I bring 3L of water. A section of the hike takes smaller use trails, which can be overgrown, and having long pants will help protect your legs from scratches. Also trekking poles and good footwear will help through this part. If you don't feel comfortable on these smaller trails, you can also skip them. I'll tell you how in the directions section.
Osprey Hikelite 26Lightweight, carries all your gear, and your back doesn't get sweaty. Oh yea, it's also one of the most inexpensive packs you can get.
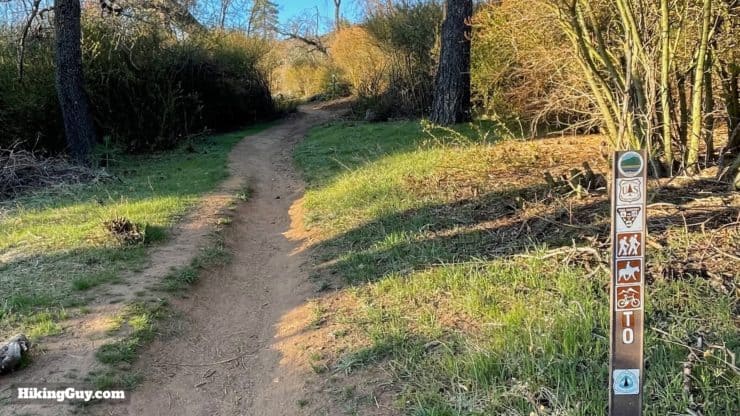
First off, on this loop, we're not technically on the Big Laguna Trail the whole time. We'll take it through some of its more scenic spots, and then loop back on a spectacular stretch of the Pacific Crest Trail (PCT). For the most part, all of the trails are well-marked and easy to follow. There is one stretch, a detour to Monument Peak and Hays Peak summits, where the trails are more primitive and harder to follow. The trails are there, and you can definitely see them, but they are not the well-worn thoroughfares that the PCT is. Having the GPX on your GPS unit will help.
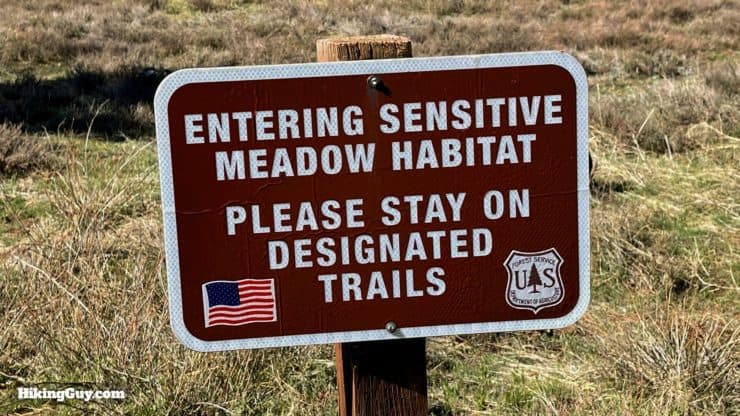
How cool is this? The trails in this part of Cleveland National Forest have their own badges!I know it's tempting to hike up to the lake and check it out, but to protect the delicate meadows, please stay on the trail.
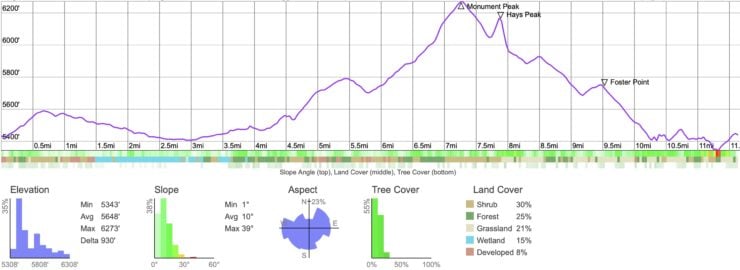
Elevation Profile
Even though you hit a mountain summit, the climbing is minimal on this hike. Overall it feels flat with some rolling terrain.
Landmarks on the Hike
Landmark
Distance
Elevation
Laguna Meadow
1.2
5540
Big Laguna Lake
2.5
5420
SR1 Crossing
6.0
5700
Monument Peak
7.5
6271
Hays Peak
8.0
6163
Foster Point
10.0
5750
Penny Pines Trailhead
12
5450
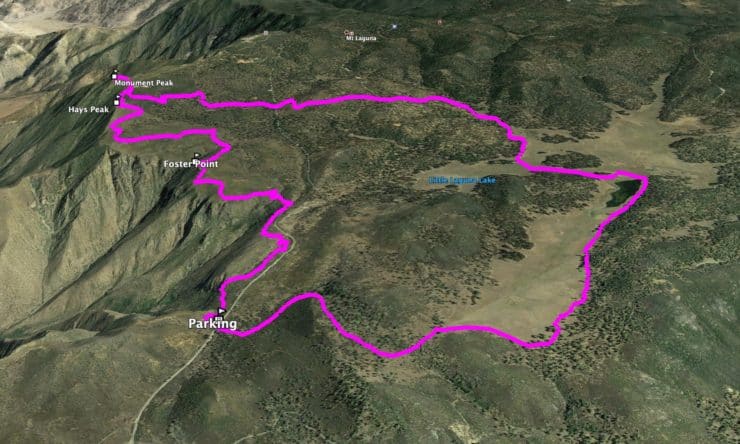
3D Map
We'll do the hike in a counter-clockwise direction, starting with the mellow meadows and pine forests, and then heading back on the PCT along the dramatic escarpment separating the mountains from the desert below.
Hike Brief
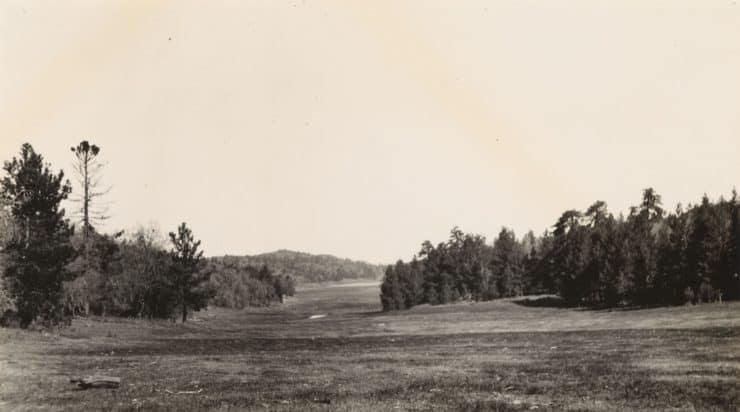
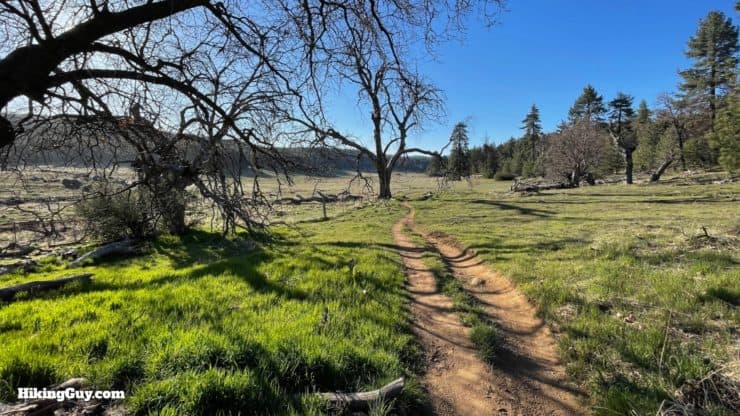
The view you get as you enter Laguna Meadows is pretty much exactly the same as it is in this photo taken in 1931. Today there are less pines. It's not because of any fire, but rather because they were cut down to make room for cattle ranchers. Photo UC Berkeley
We're hiking through the most southwest forest of Coulter and Jeffrey pine in California.
If you do this hike in the spring (March-May), you'll probably see a lot of northbound PCT hikers, all bright-eyed and bushy-tailed. Most hikers have covered the 45 miles or so to this point in 2-4 days. Many of them did their first resupply at the Mount Laguna General Store, a fun place to stop for a bite. Say hello and wish them luck.
The area was originally populated by the native Kumeyaay, who would summer up here in the mountains, and then winter down in the lower elevations.
The cabins that you see as you drive in are leased for ten years at a time to private owners by the Forest Service. If you want to stay longer and explore this beautiful area, check out the lodge or one of the campgrounds. It's a great place to spend the weekend.
Big Laguna Trail Hike Directions
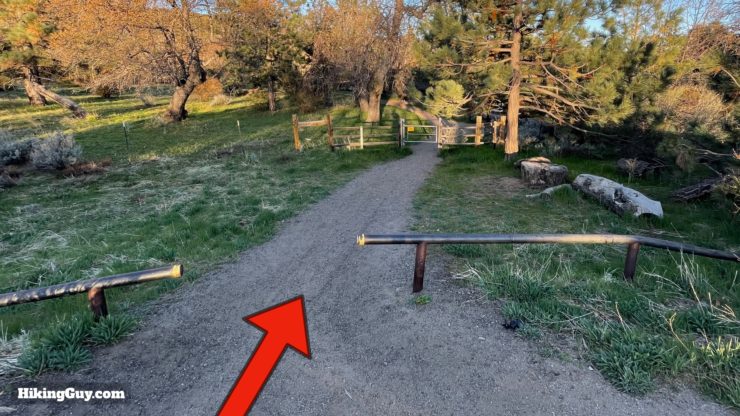
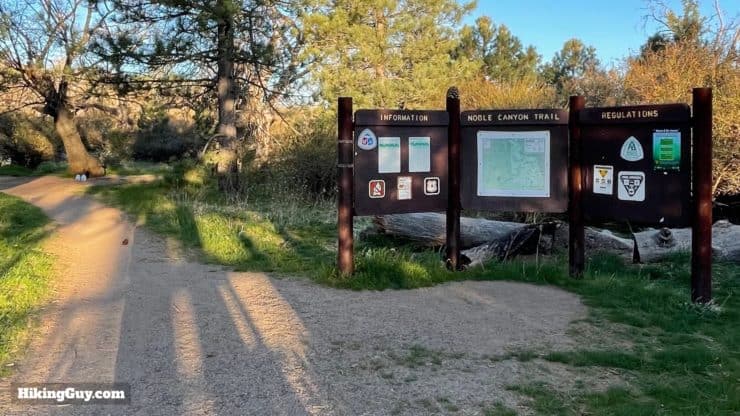
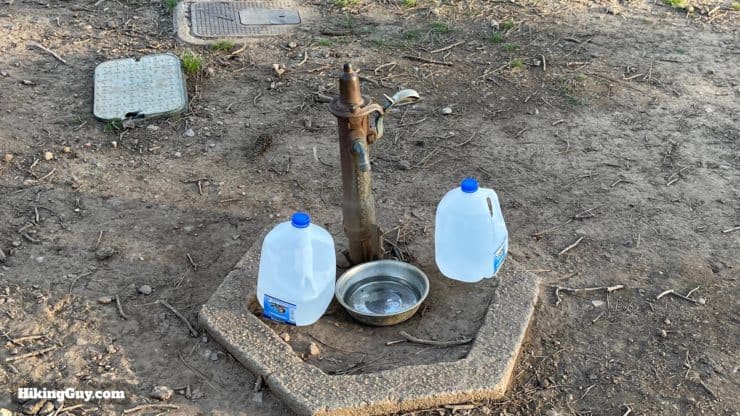
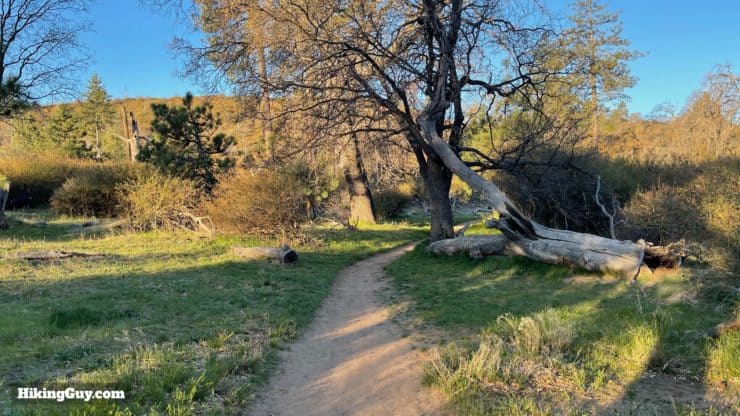
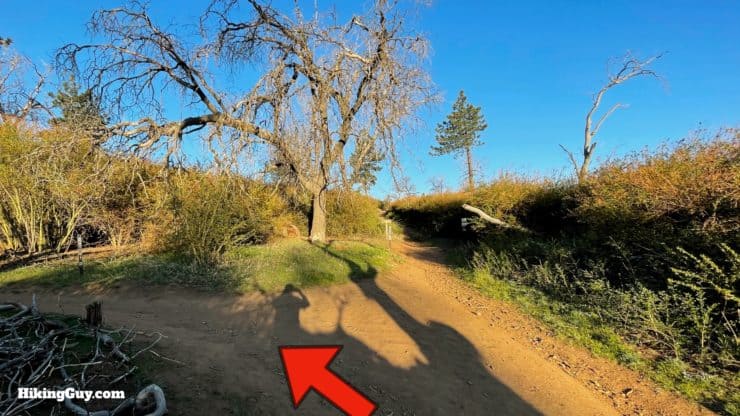
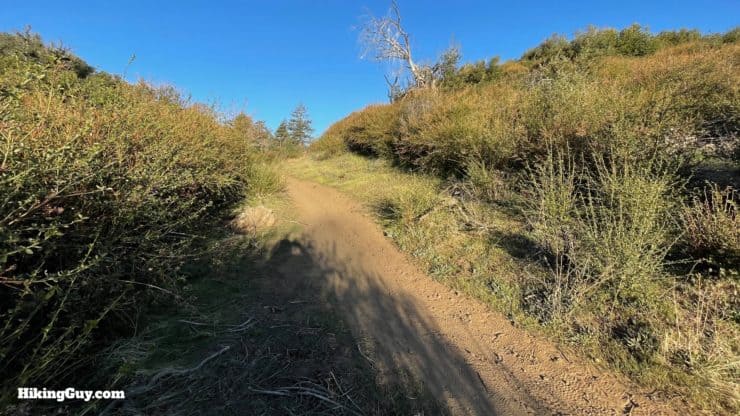
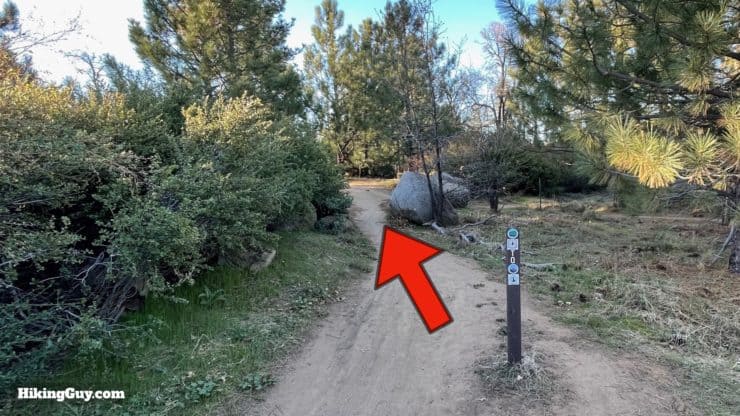
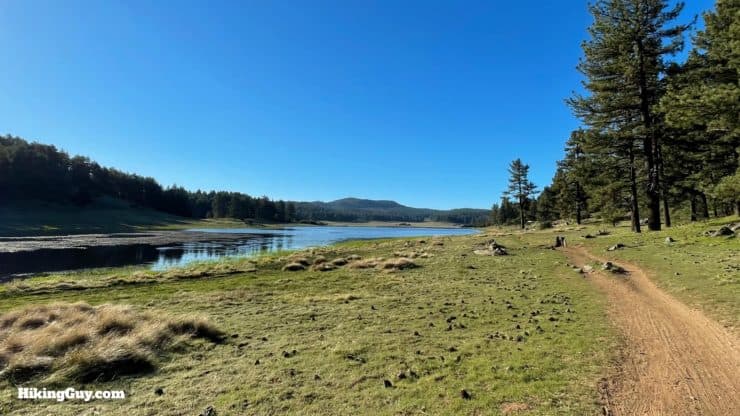
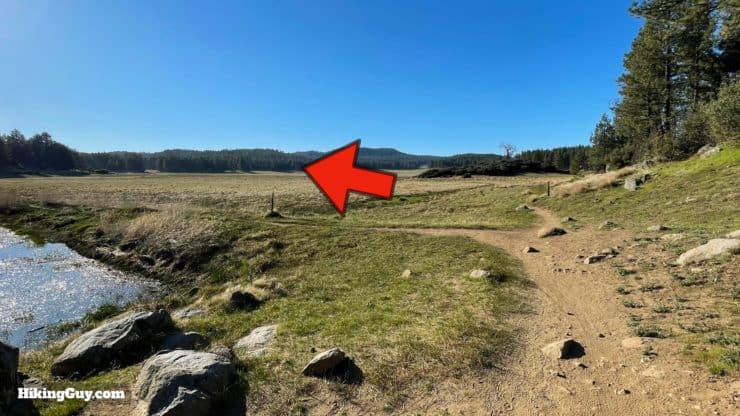
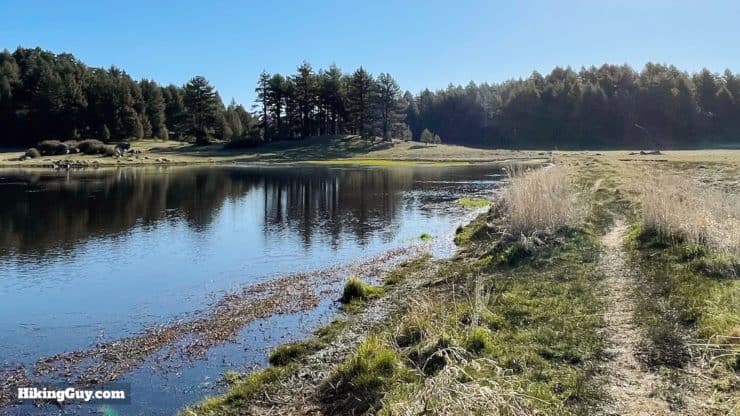
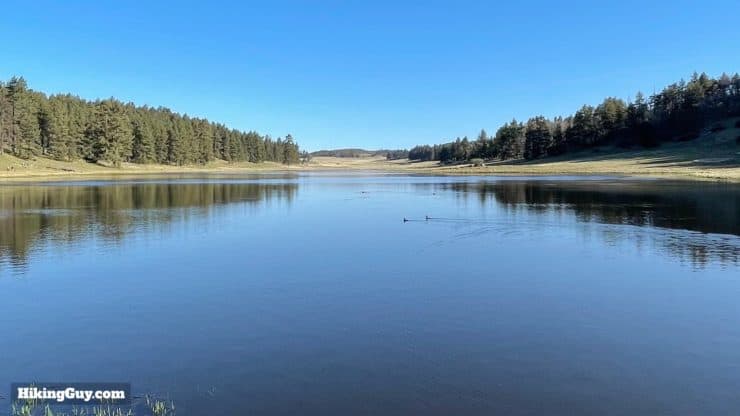
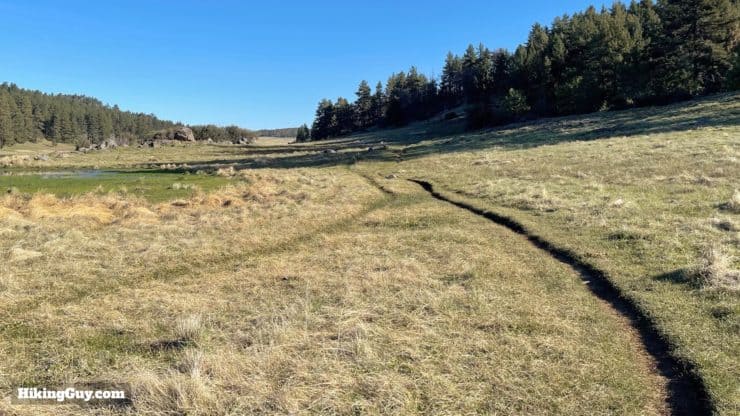
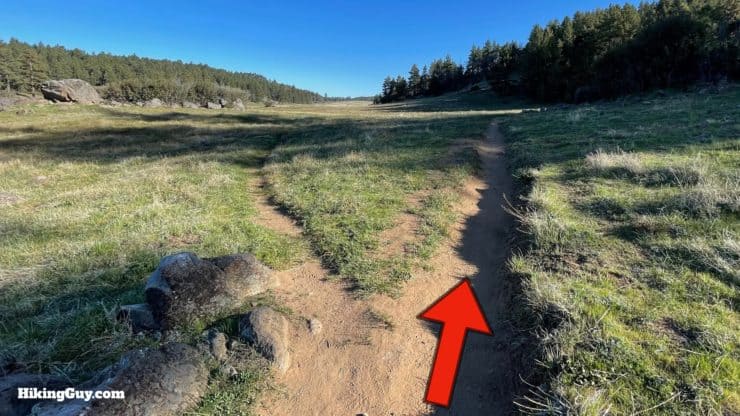
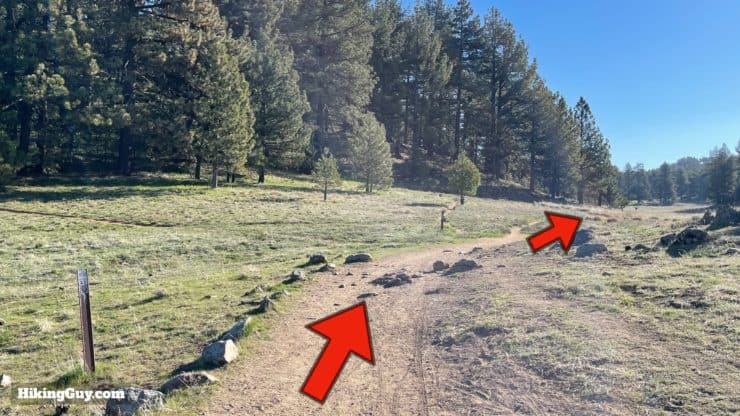
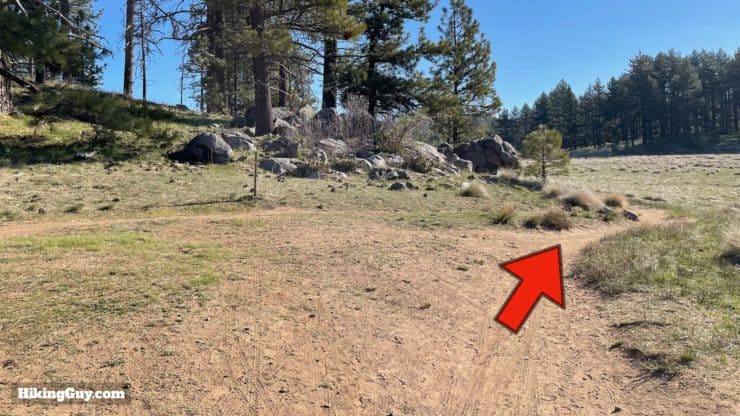
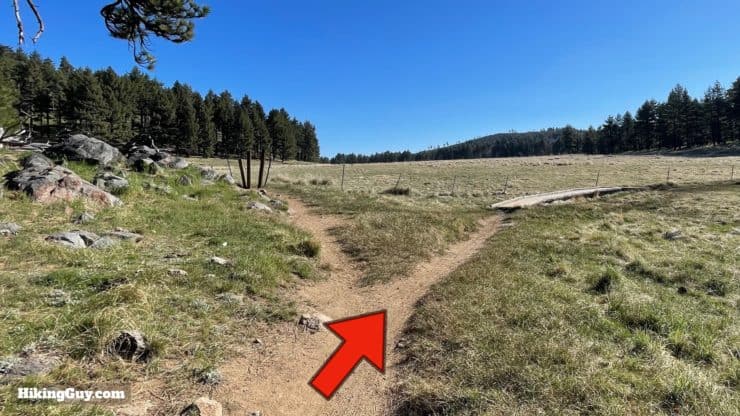
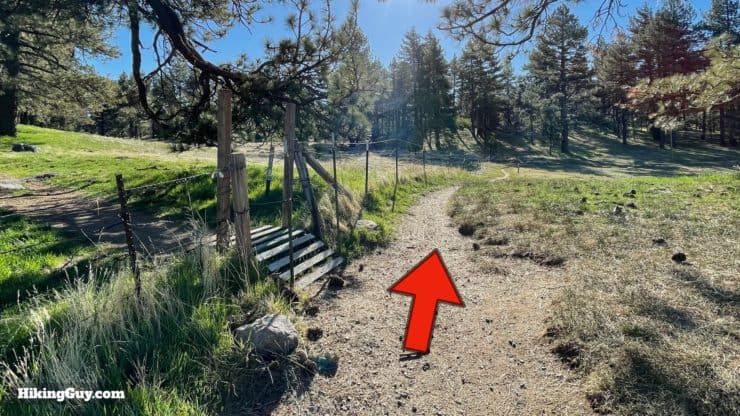
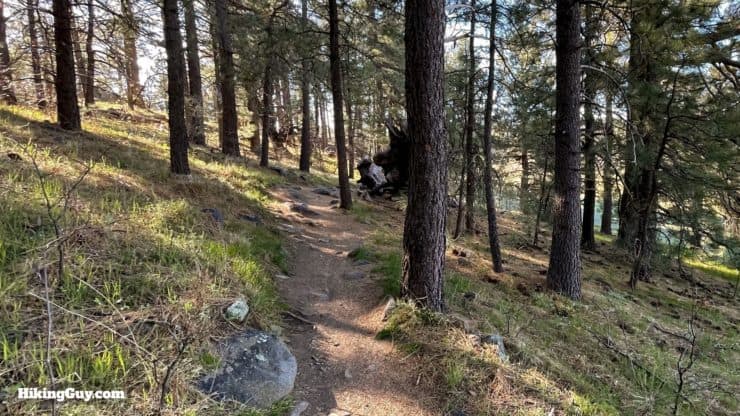
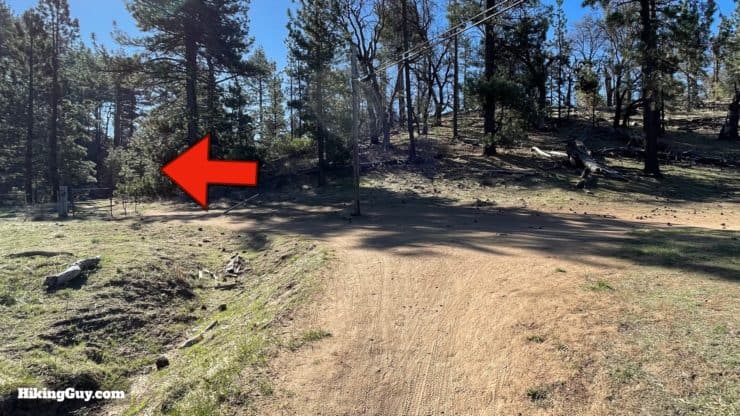
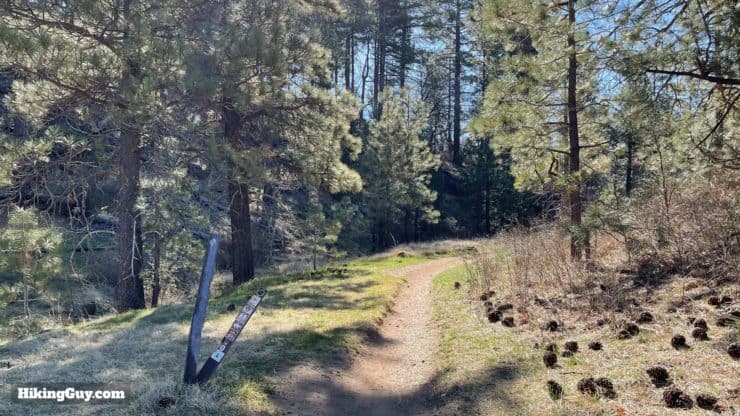
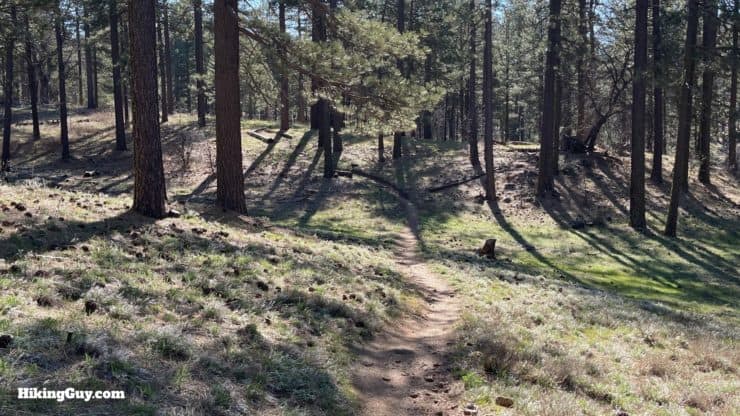
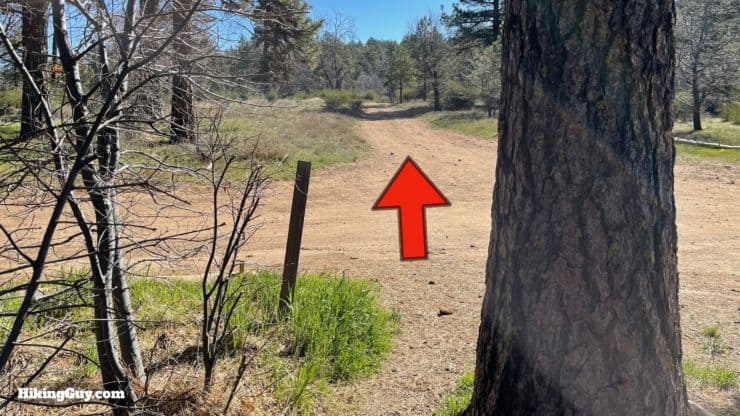
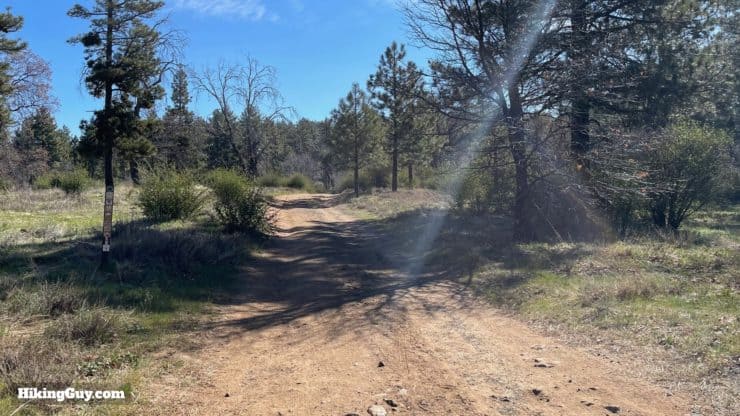
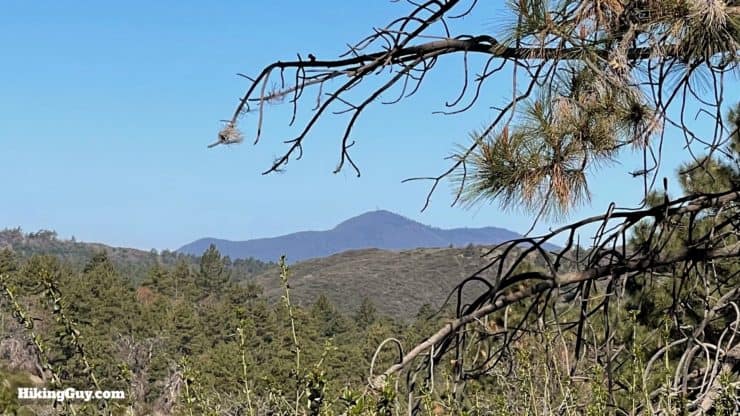
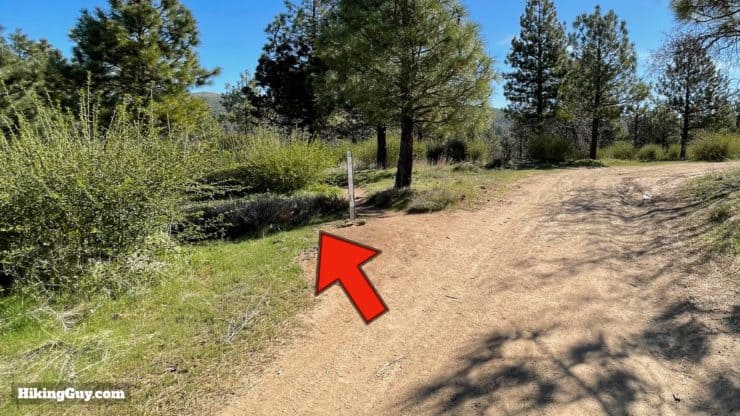
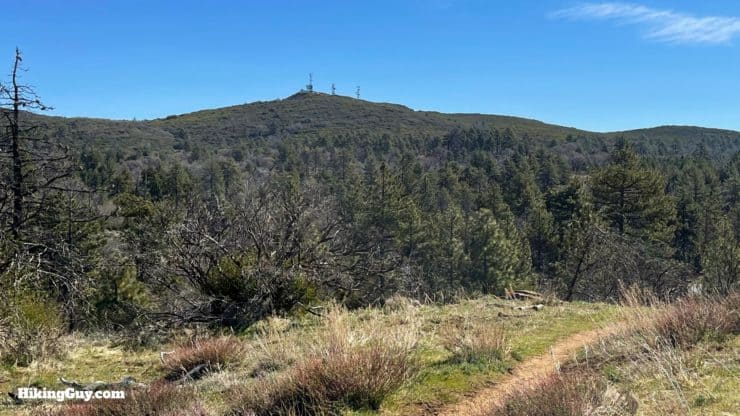
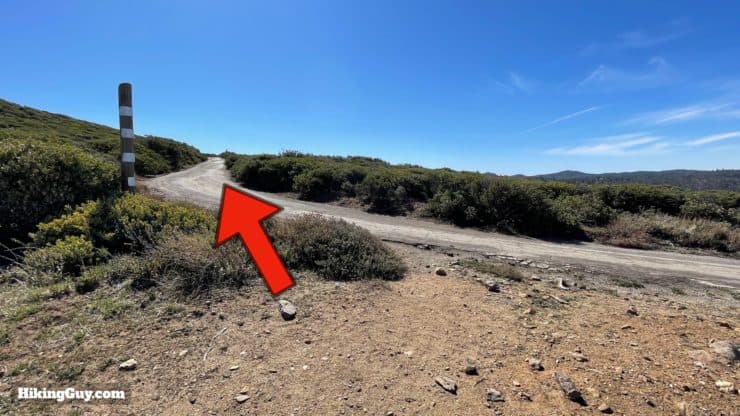
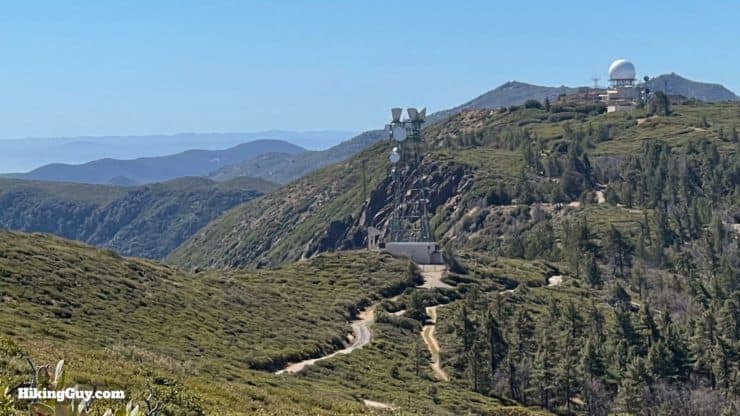
From the northwest end of the parking area, head down onto the trail.You'll pass the trail board for the Noble Canyon Trail, which we're on for a few minutes. Noble Canyon is a great hike and one of the National Recreation Trails.There's also a water fill here that works intermittently.The trail is easy to follow as you get going.And soon we'll leave the Noble Trail behind and go left to hike the Big Laguna Trail.The Big Laguna is well marked with its own badge.There's a little up and down and you wind through the scrub.When you get to the junction with this connector trail, stay straight.And shortly after that you'll come to the northern end of Laguna Meadow. There are two trails, one down the east and one down the west side of the lake. Make the right to take the trail down the west side.Again, the trail is very well marked and a pleasure to navigate.As you head west you get nice views right down Laguna Meadow, the same as the earlier photo I shared from 1931.At the west side of the meadow, bear left to stay on the Big Laguna Trail, leaving the Sunset Trail to the right.Hike down along the west side of the meadow. You'll see a lot of old fences here. This used to be cattle ranching area.Hike by Big Laguna Lake.And at the end, make the hard left.Cross the lake on the dam built by ranchers.There are epic views up the lake from here.After you cross, you'll wind north up the other side of the lake.This section can be tricky, there are a lot of use trails. Stay on the well-worn main trail.And you'll wind around to the east, away from the lake. Stay right on the main trail. To the left the east side trail rejoins us.Keep staying right, avoiding the trails on the left, as you head up a small meadow area.When you get to the split, make the right and cross the wood platform.And shortly after that stay straight past the gated trail to the left.Now the hike changes character. You'll wind through an area of shaded pines.When you get to the wide clearing, make the left.And the trail is a trail again, complete with Big Laguna Trail marker.At the split, take the left, leaving the Aqua Dolce Trail on the right.The trail starts to tilt uphill as you hike through the pine forest.When you get to the road, cross over.And right after that you'll pop out on another dirt road. Go straight down the dirt road in front of you, which is the Big Laguna Trail.You'll have a section on the wider dirt trail, which although wide, is still pleasant.As you climb, you'll get views of Cuyamaca Peak, the second-highest in San Diego county.Look for the trail marker signaling the left turn off the wide dirt road.You'll get nice views of Hot Springs Mountain in front of you, which is the highest point in San Diego County.And as you wind down toward the road, you'll see the radio towers on Monument Peak.
There are 33 officially named "Monument Peaks" in the USA.
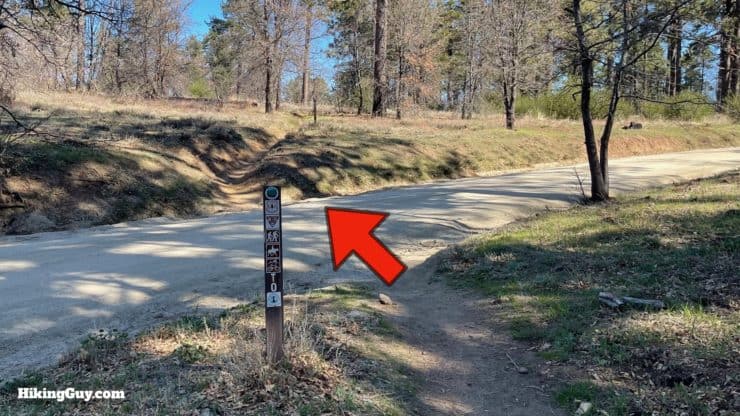
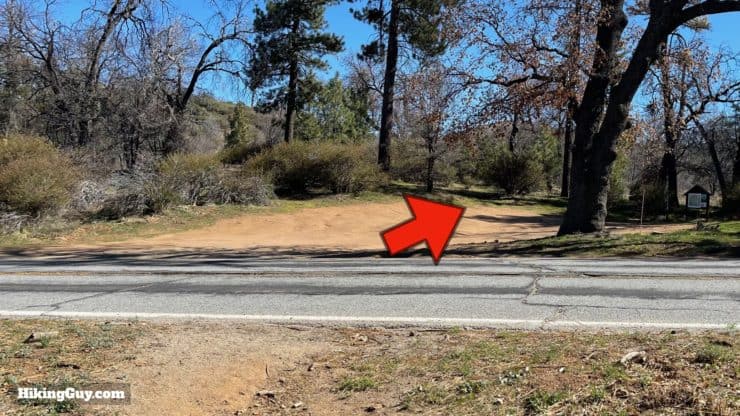
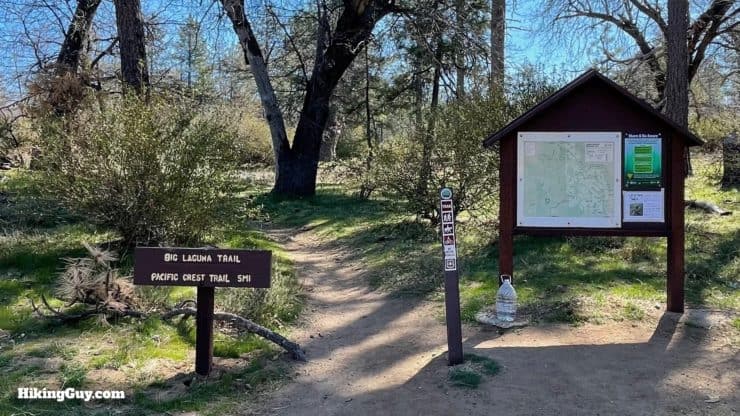
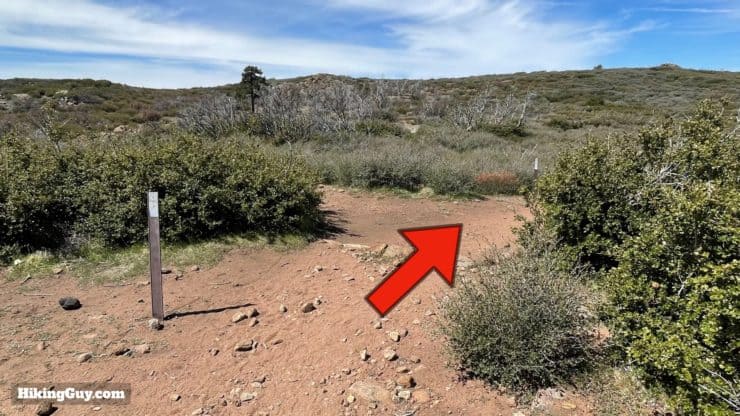
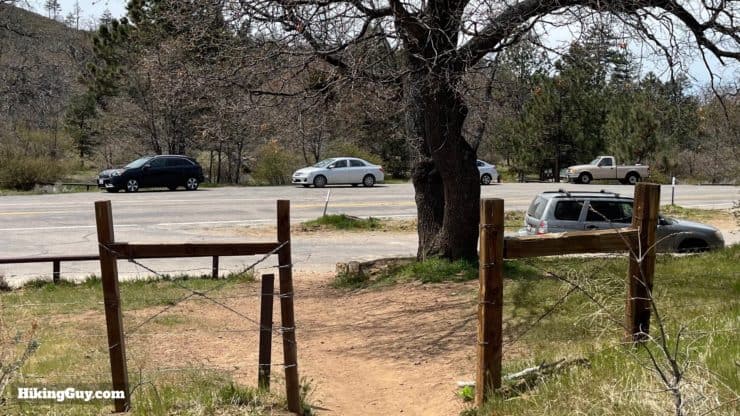
Cross the road.And you'll see the trailhead. Go straight through.
The water bottles you see here are left for PCT hikers to resupply. The people who leave the bottles are called "trail angels" and the water is called "trail magic."
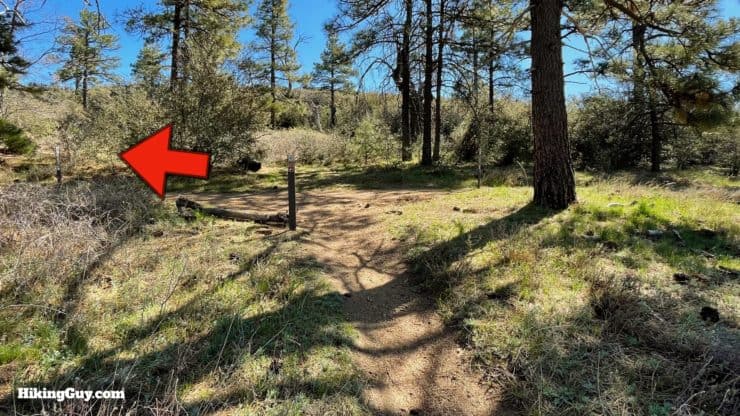
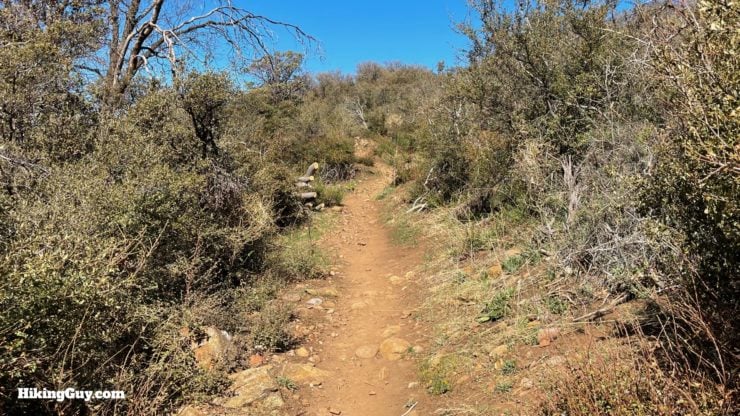
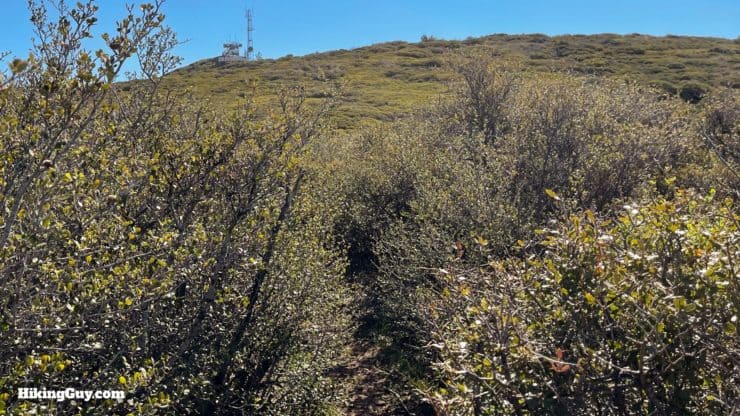
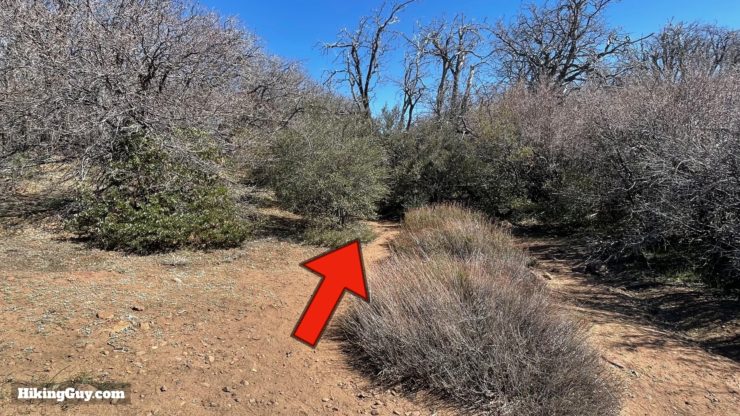
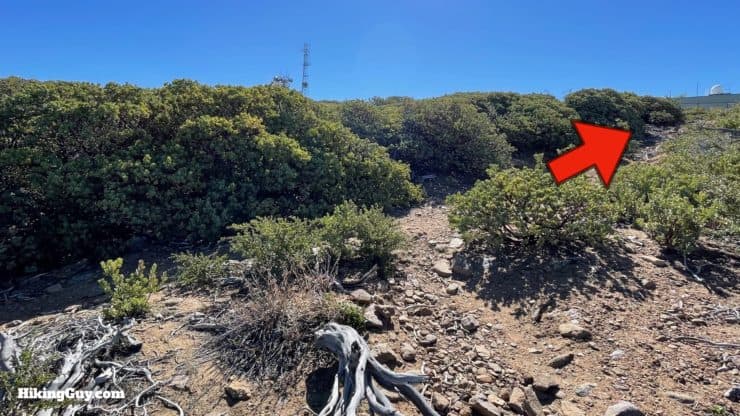
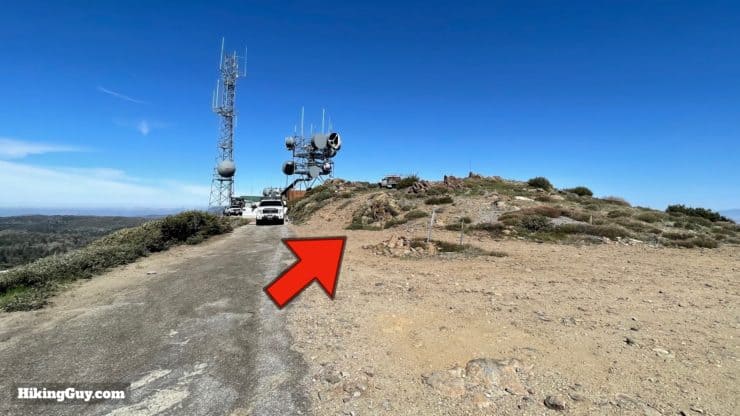
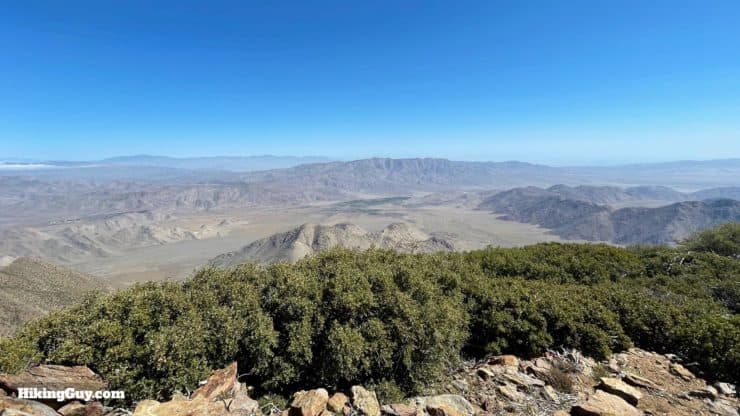
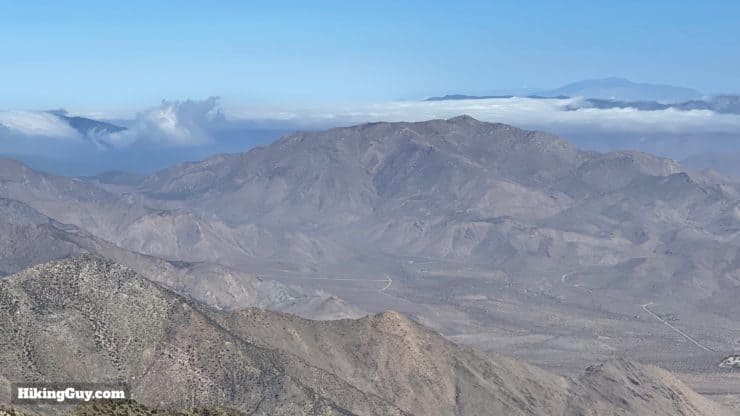
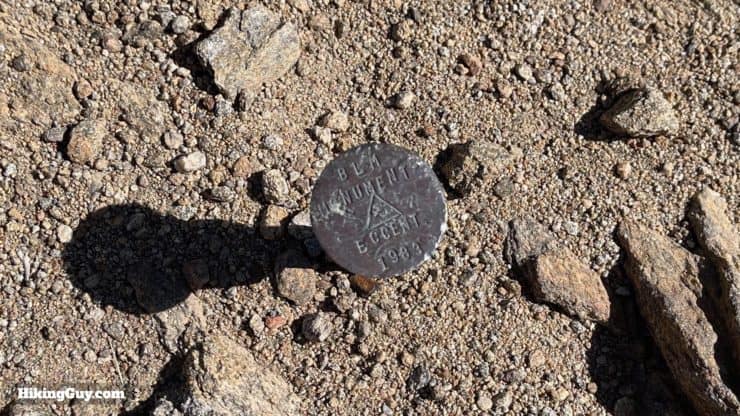
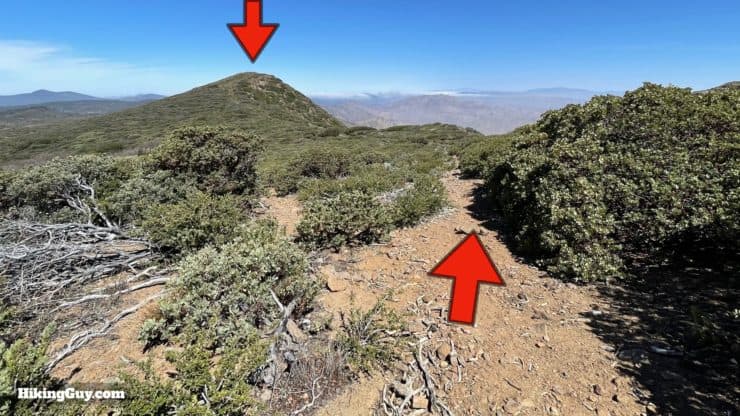
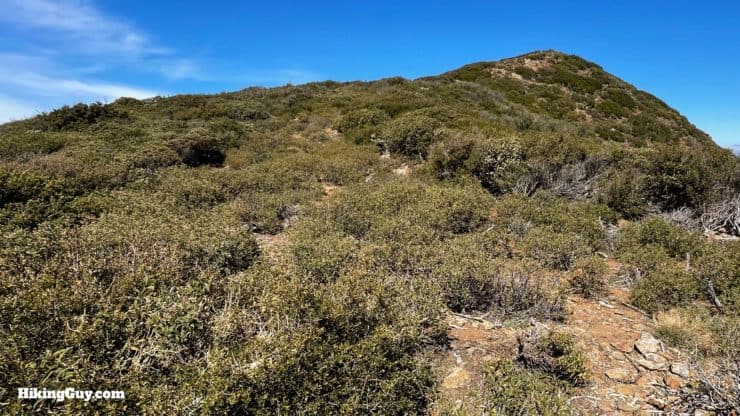
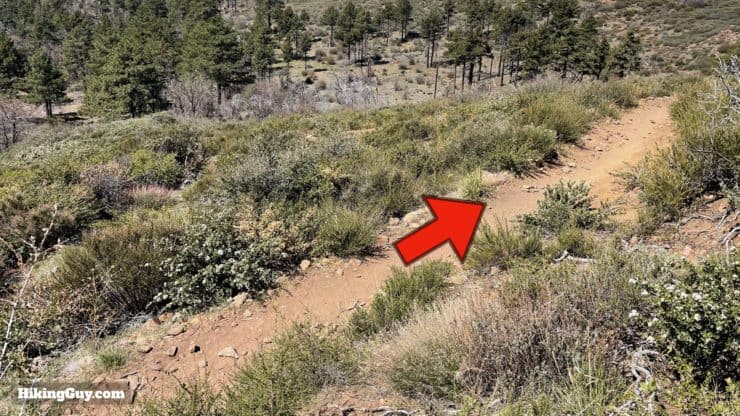
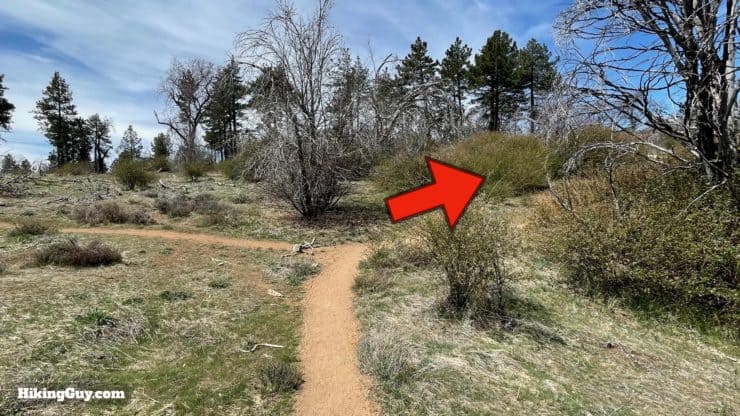
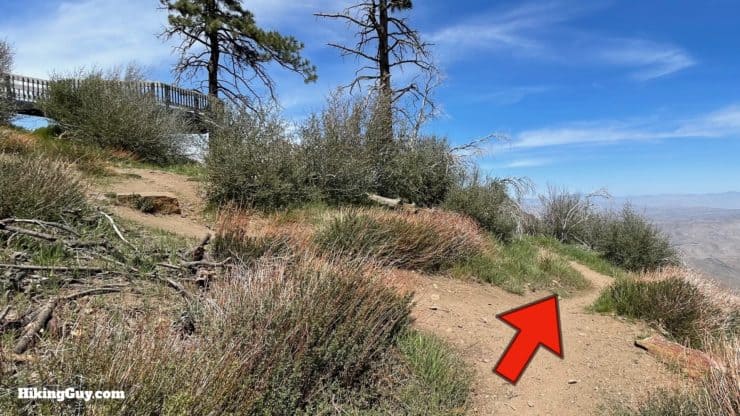
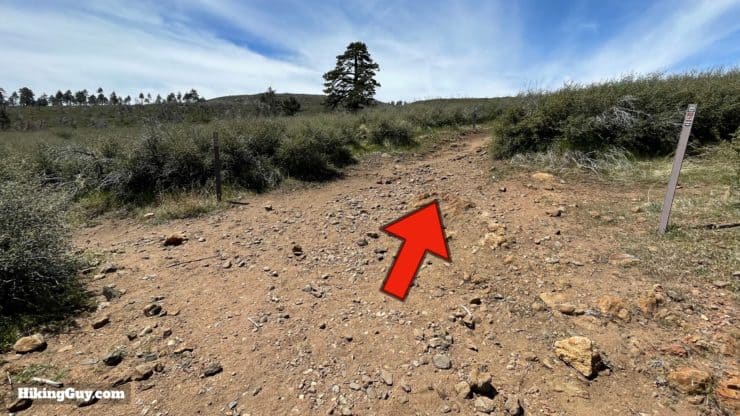
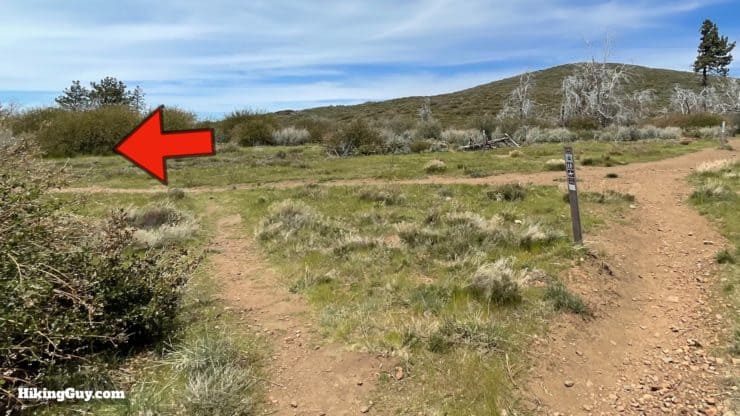
Now the uphill gets a little tougher. Go straight, avoiding the connector trail to the right.And soon you are at the famous PCT. Make the left, toward Canada.We've left the Big Laguna Trail behind and will be doing the last section on the PCT.Now we start climbing a bit more.Look for the right turn off for the use-trail to Monument Peak. If you don't want to hike to the peak on these smaller trails, just go straight on the PCT and rejoin the hike later.The trail is narrow, but it's there.When you get to the little clearing with side trails, go straight through and bear right toward the peak.You'll join a bigger trail as the brush clears. Go right.Make the left and go around the fence.And then do a short stretch up the paved road to the summit.To the south you'll see the Mount Laguna Air Force Station, built in the 1950s as part of the NORAD radar system that scanned for Russian bombers. Today it is run by the FAA and is part of the Joint Surveillance System (JSS) of air defense.When you get to the summit, brave the electromagnetic poisoning and make the right to the summit.Once at the top, the views are spectacular. You'll get views into the desert of Anza-Borego and its big summit, Whale Peak.And to the northeast you can usually spot San Jacinto.And to the west, Cuyamaca.There's a smaller summit marker.
Once you're done at the summit, turn around and hike back to the last junction on the primitive trail.
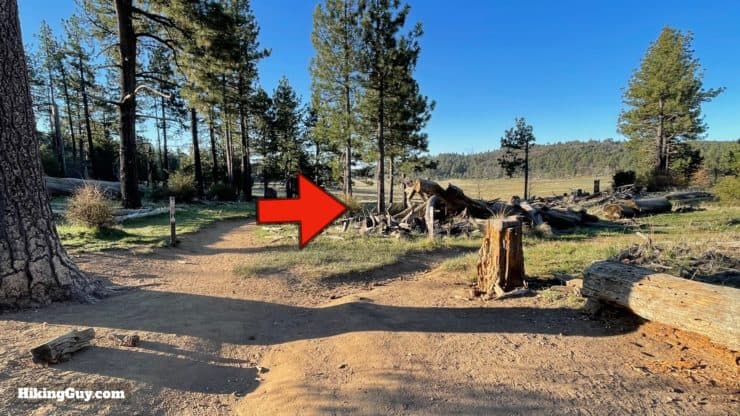
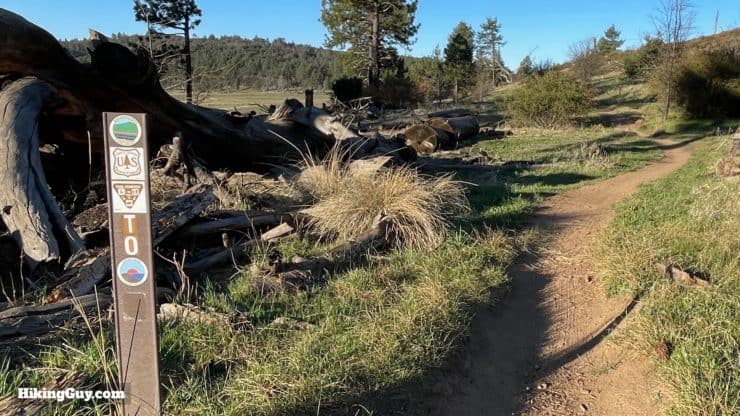
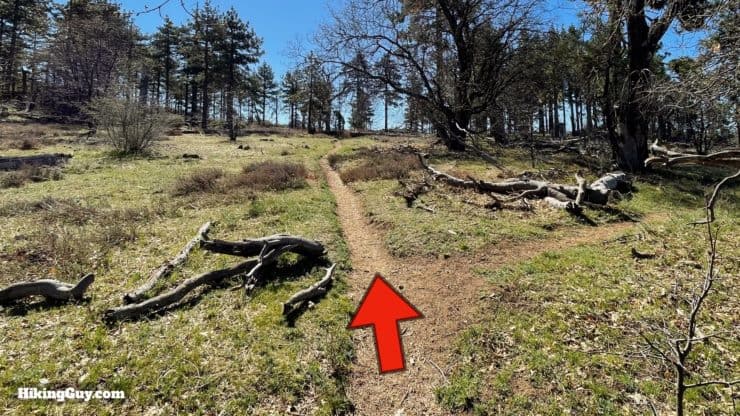
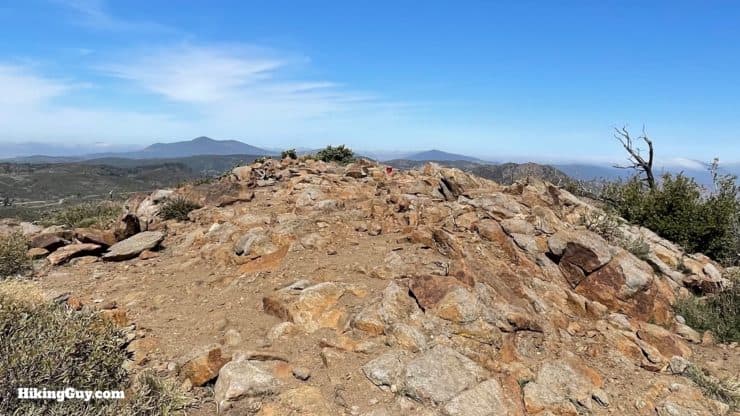
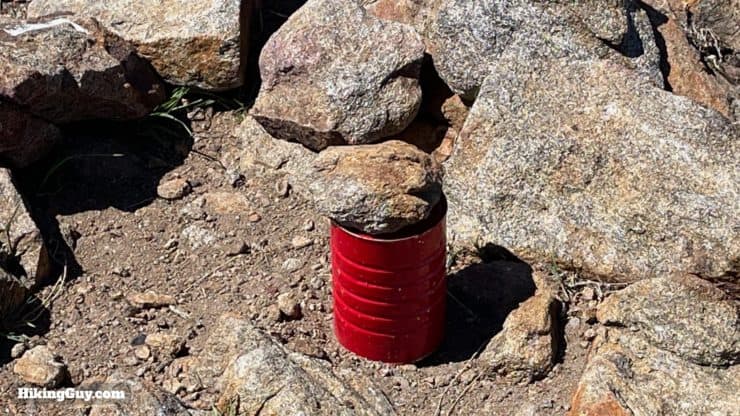
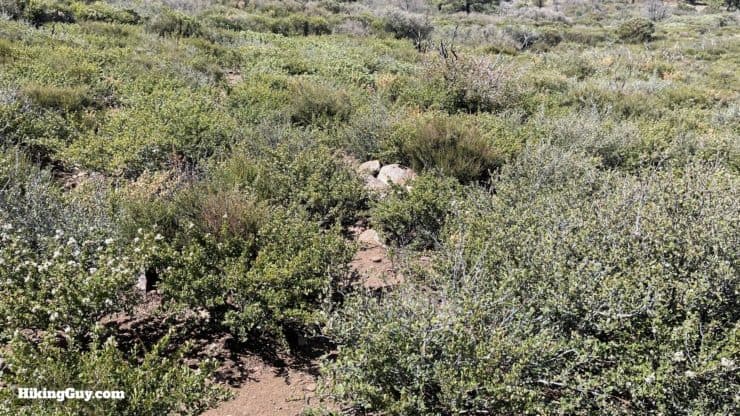
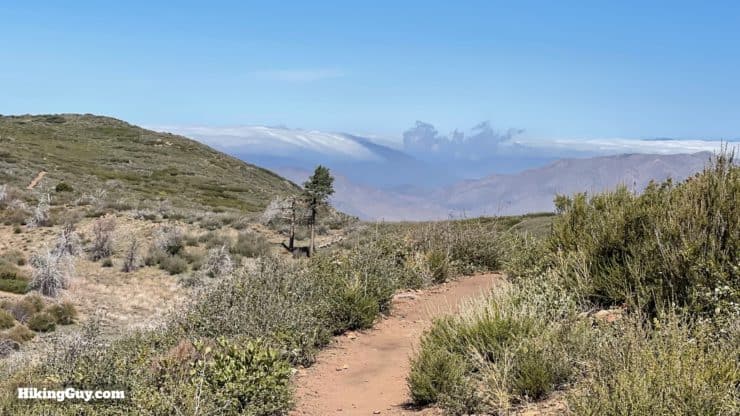
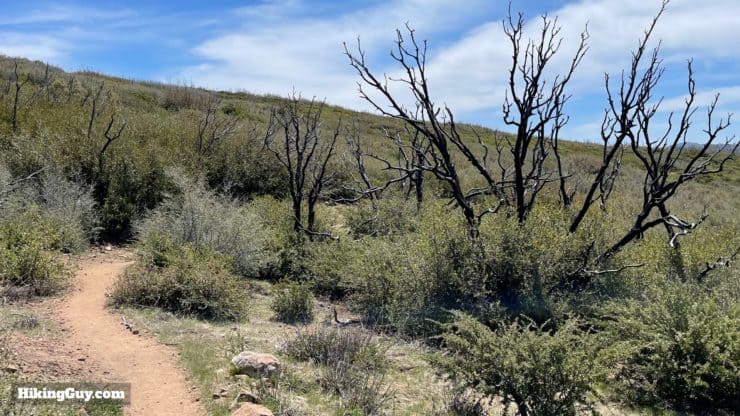
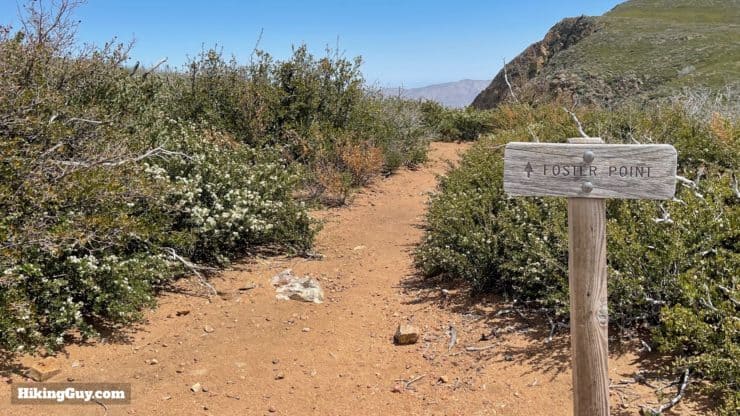
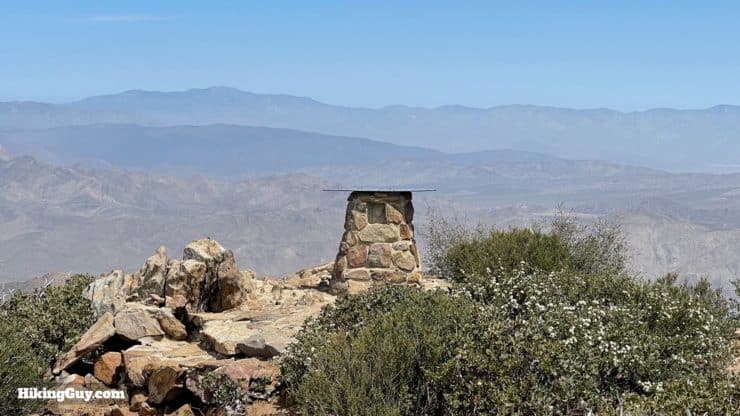
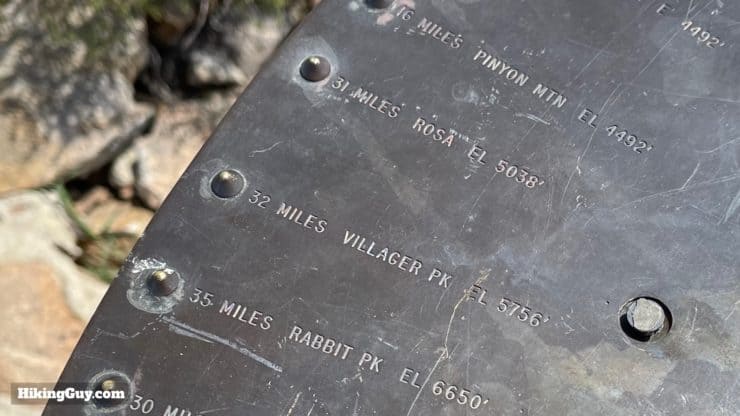
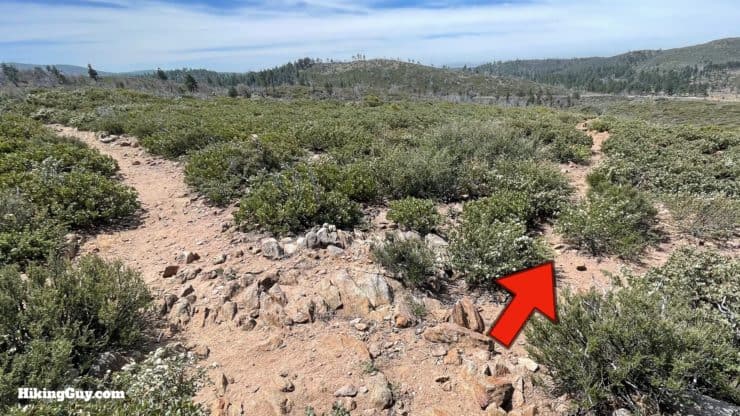
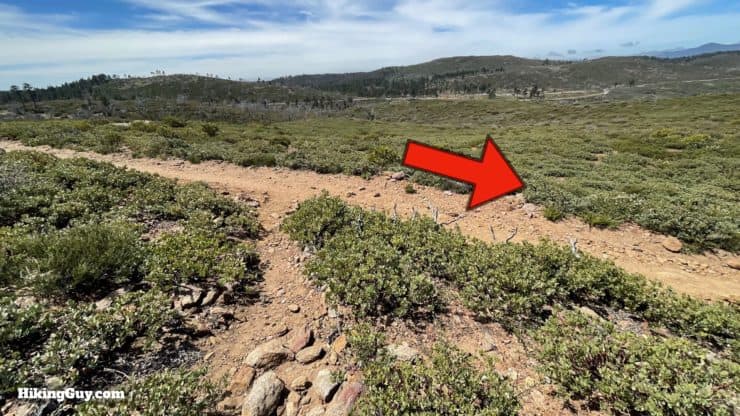
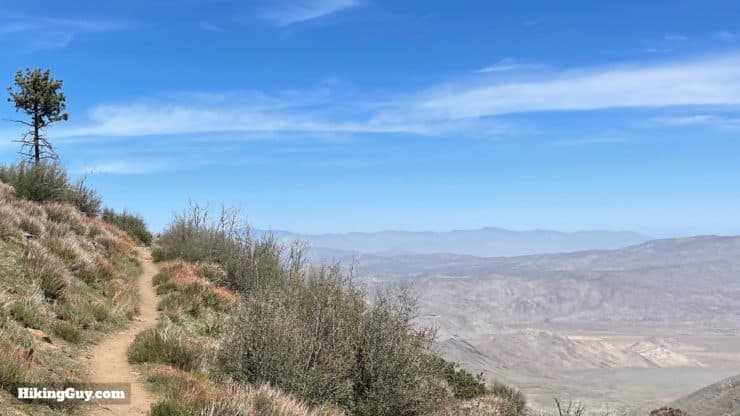
When you get to the split where you joined this trail, go straight. We're hiking to Hays Peak next.This section of trail is very primitive and can be hard to follow. What makes it easier is that, unless you want to go steeply downhill, you can only really go straight toward Hays Peak. Having a GPX and GPS file helps.Here you are at the summit of Hays Peak, at 6163 feet.Sometimes there's a small trail register here.Okay, now for the toughest part of the trail to follow. Go back a few feet from the summit, backtracking on your climb up, and look for a small path down to the left. You're basically making a 90 degree turn from just before the summit of Hays Peak and are heading straight downhill.As you descend, you'll see the PCT in front of you. That's where we're going.The trail can be very difficult to follow. Take your time. There are dozens of use trails here, so if you do lose the main trail, you can probably pick your way straight down the hill to the PCT, which is always in view. This stretch is only about 0.25 miles.Okay, the tough part is done! Make the right and continue on the PCT. If you skipped the summit, you'll be joining the hike here.The trail is flat and you get some nice views ahead of you.Keep left on the PCT. There are a ton of small, short, use trails to flat camping areas that PCT hikers use.Go straight through the intersection and bear right.You'll have a nice long descent as you approach the road again. The charred trees are from the 2013 Chariot Fire. The area that you're hiking through now is called "Flathead Flats," which I love.Avoid the trail heading left and continue right on the PCT.When you see the turnoff for Foster Point on your right, take it.Welcome to Foster Point, offering incredible views of all the surrounding peaks and desert. It was built in 1968 and named after the Sierra Club's San Diego Chapter founders, Loris and Ivy Foster.There's a neat dial that labels all the peaks around you.Take the other trail pack from Foster Point to the PCT.And hop back on the PCT for the last two miles back to the start.As you hike back between SR1 and the escarpment, you'll get great views down into Storm Canyon.Keep going straight past the roadside attractions up to your left.Hike straight through the junction. The old trail is now labeled "illegal trail" which is a new one for me.Enjoy the incredible views into Storm Canyon on the last stretch.At the big intersection, say goodbye to the PCT and make the hard left.And here you are, back at Penny Pines Trailhead.


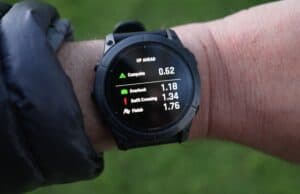

 Using the Apple Watch for Hiking
 Garmin Fenix 7 & Epix Review For Hikers
 How To Read a Topographic Map
 Garmin GPSMAP 67i Review
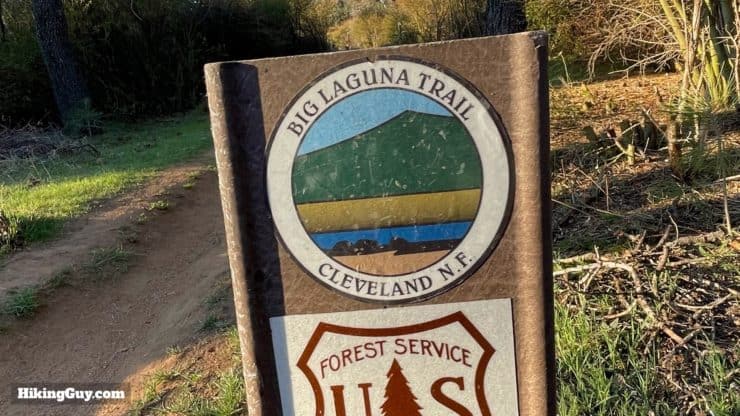


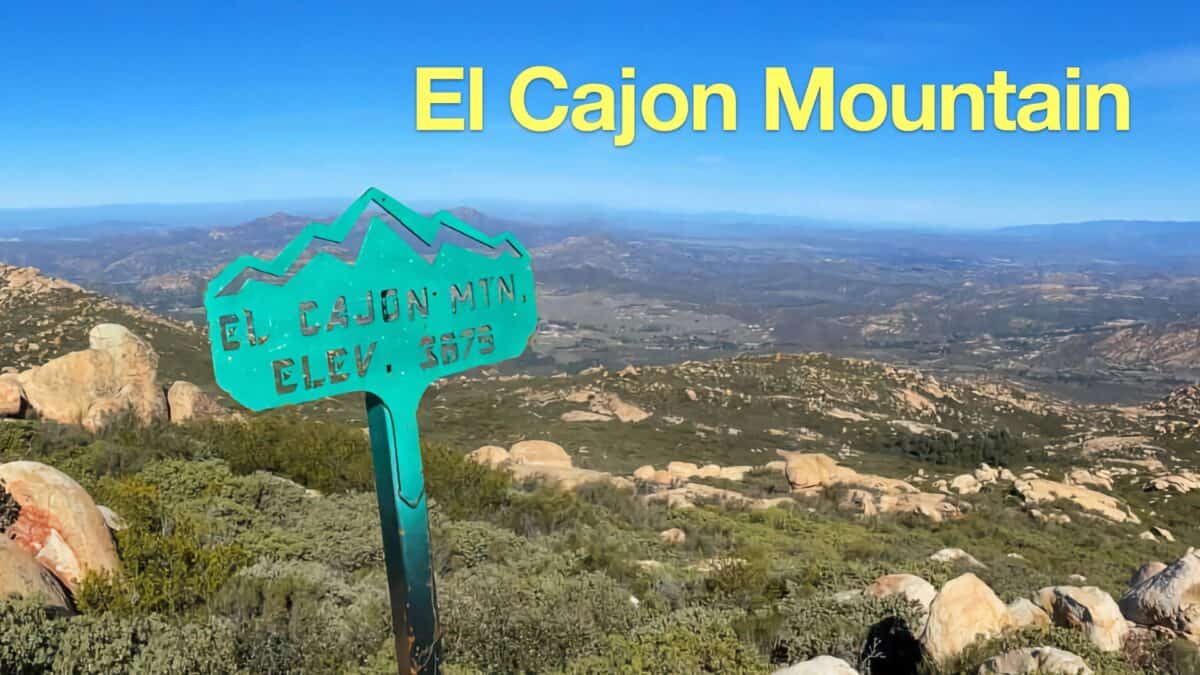 El Cajon Mountain Trail Guide
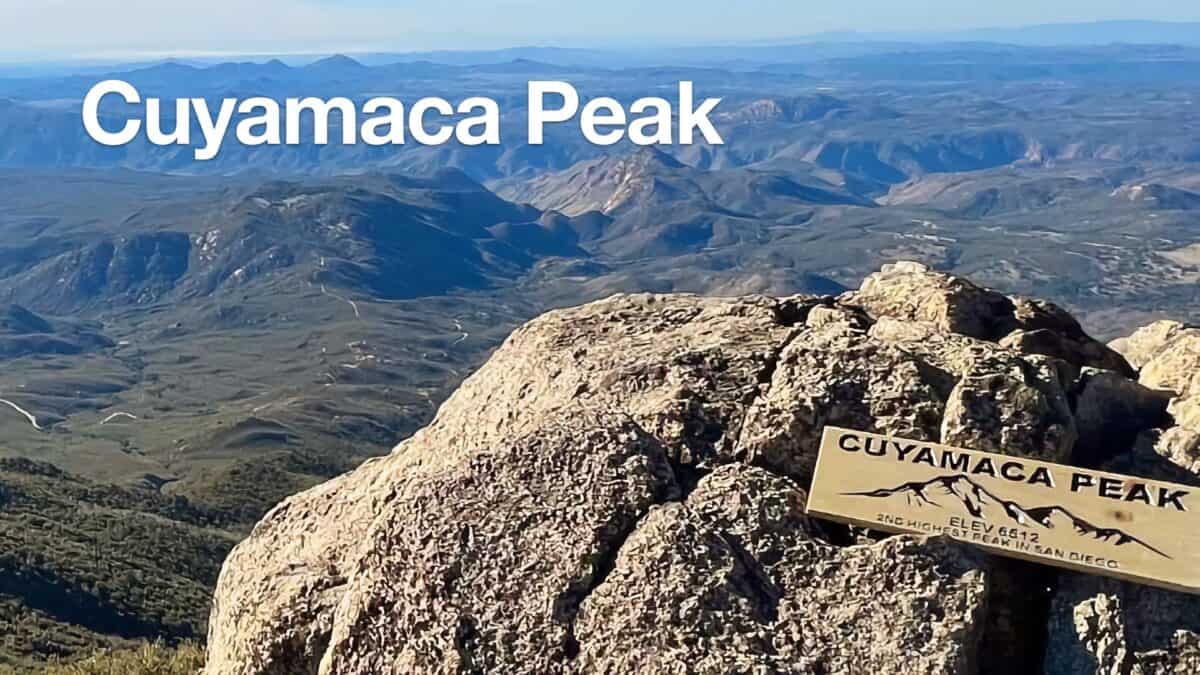 Hike Cuyamaca Peak
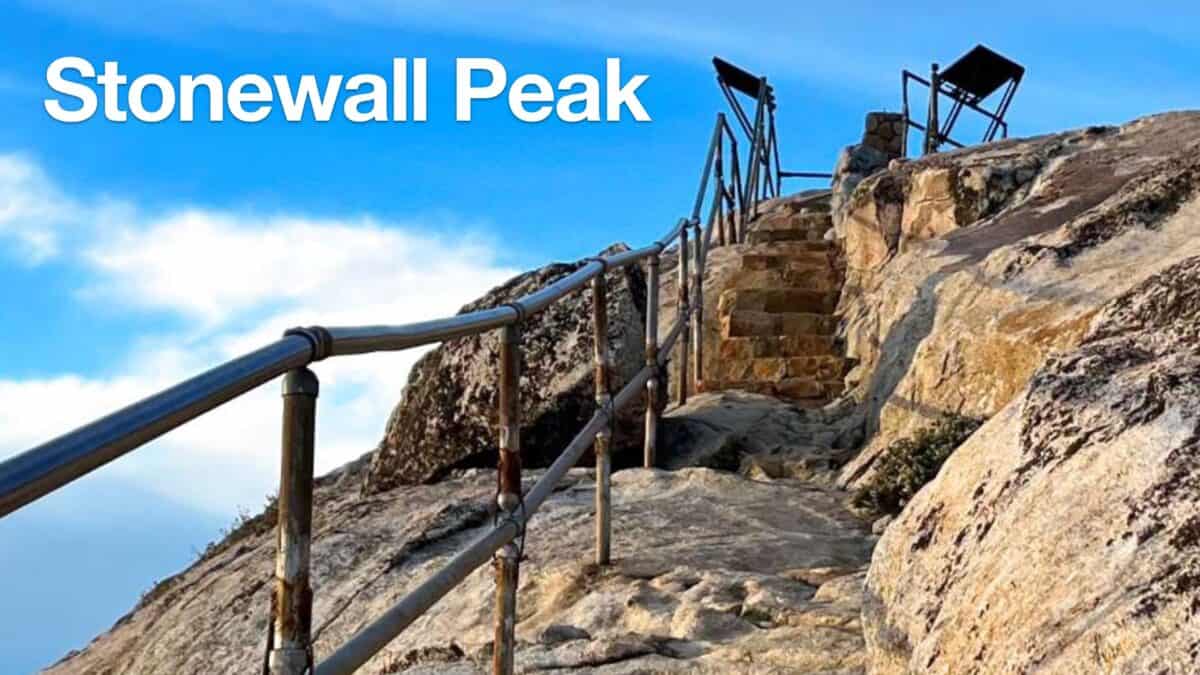 Hiking Stonewall Peak Trail
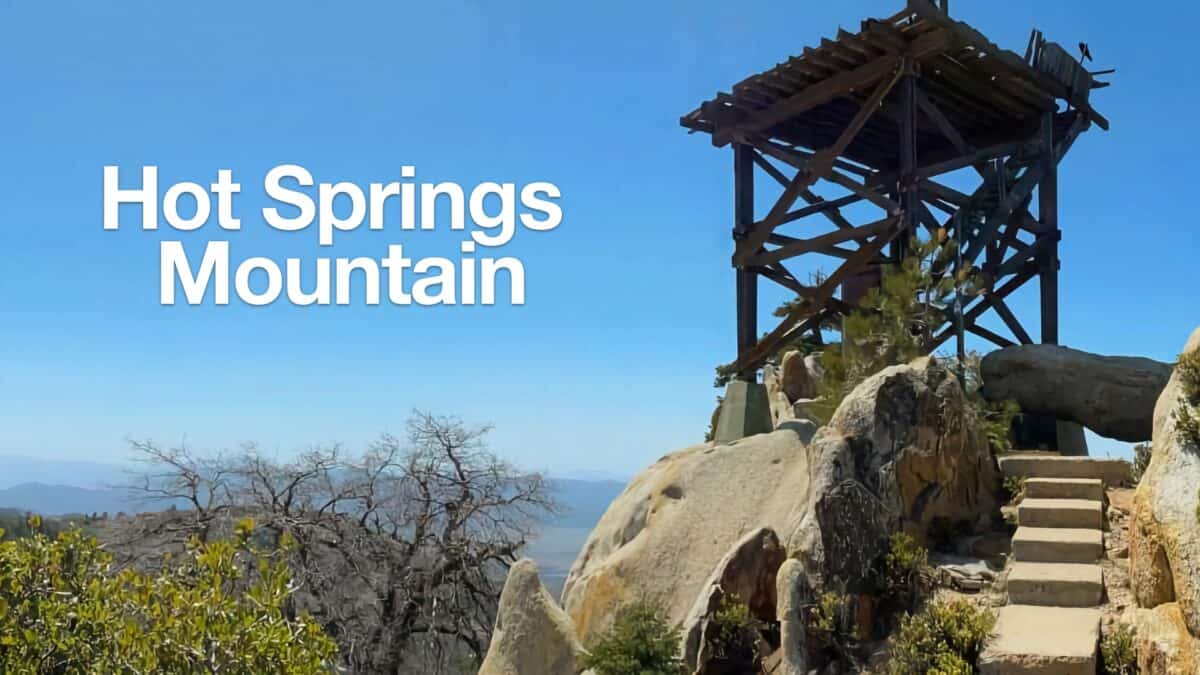 Hot Springs Mountain Trail Guide (San Diego)
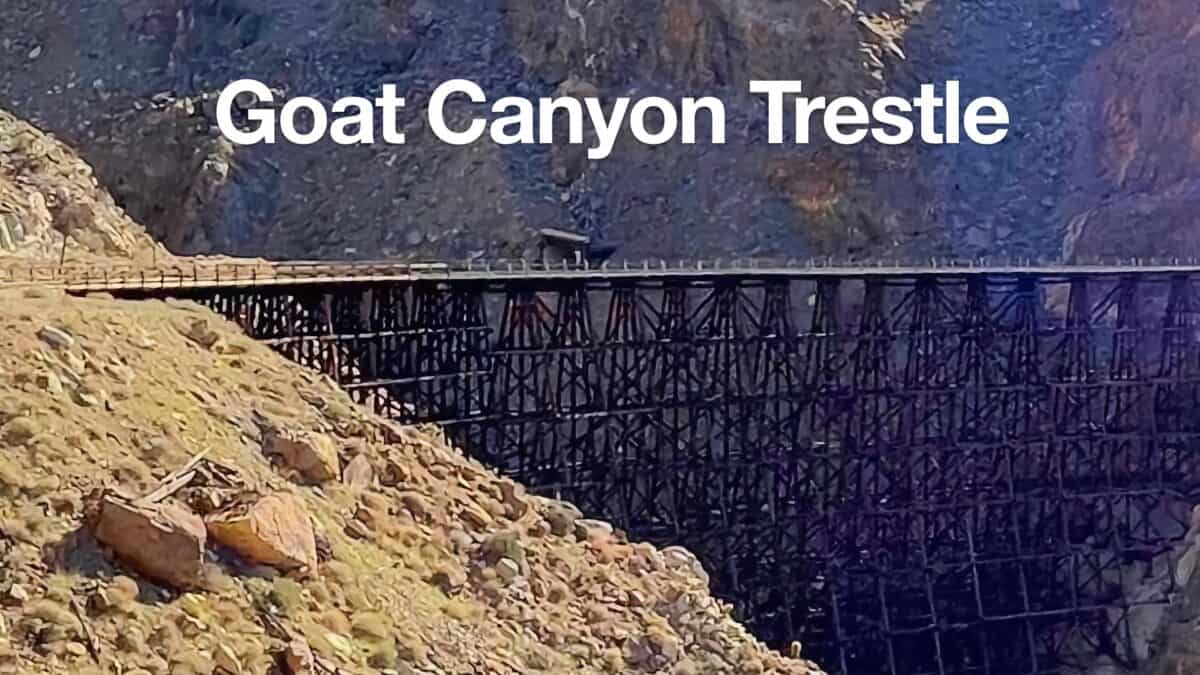 Goat Canyon Trestle Hike
 Hike Garnet Peak via PCT
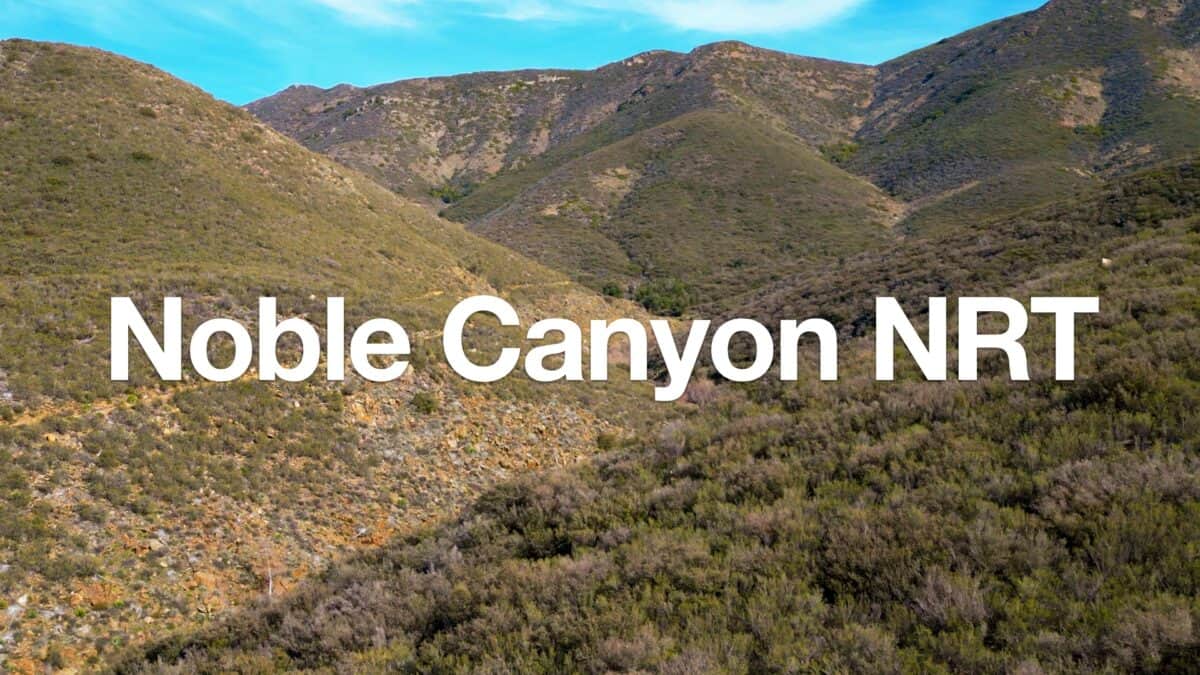 Hike Noble Canyon Trail
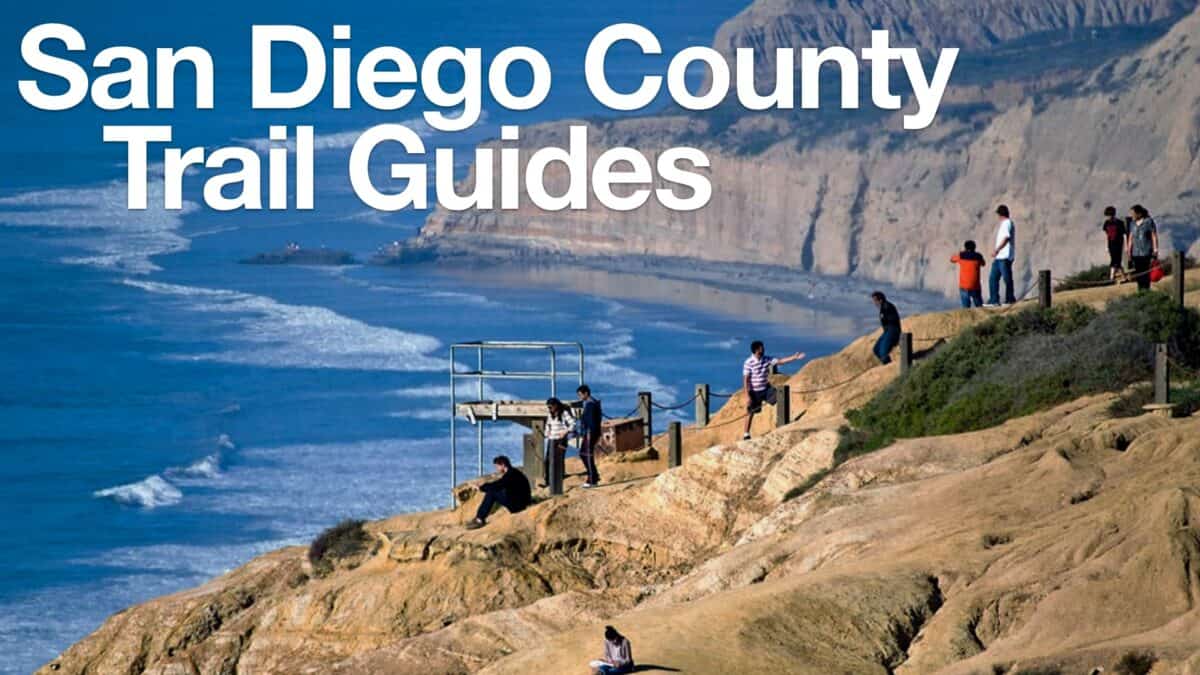 Hiking San Diego
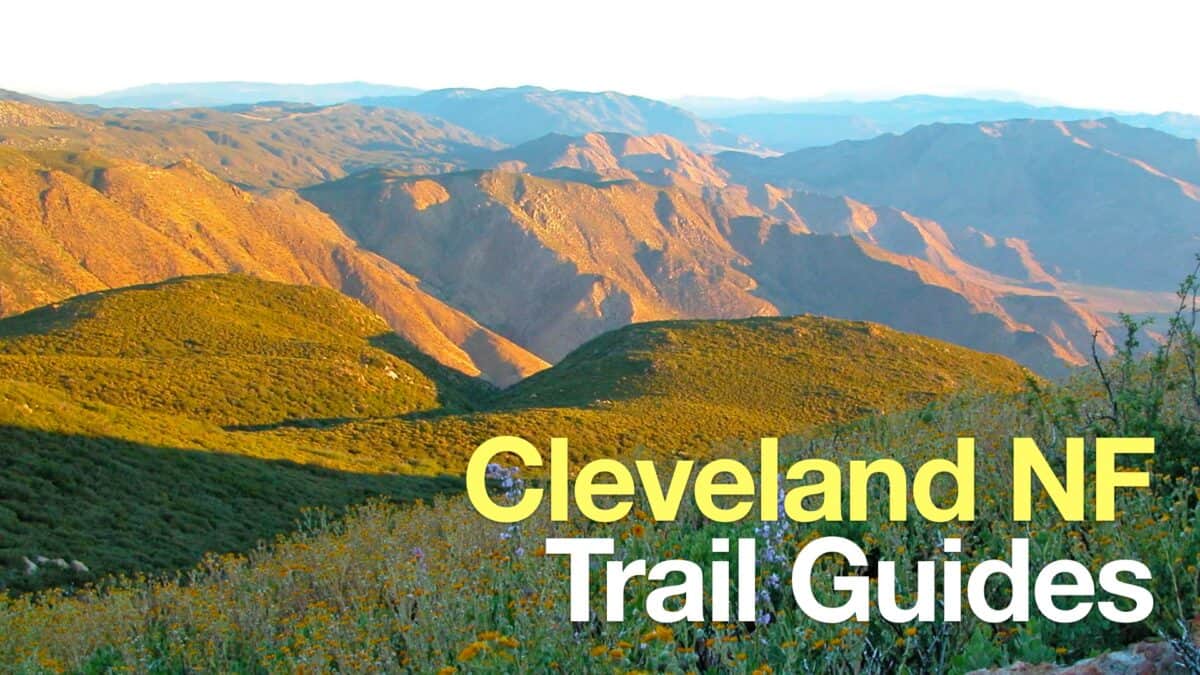 Cleveland National Forest Hiking
 Best Hiking Gear 2024
 Hiking Boots or Shoes: Do I Really Need Hiking Boots?
 When to Hit SOS on inReach