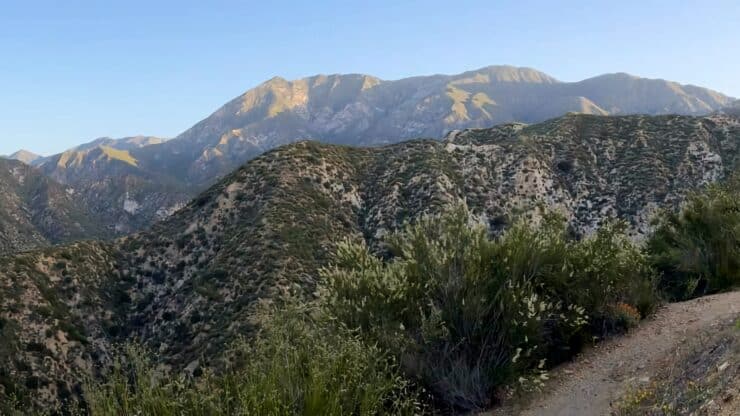
The Condor Peak Trail is an underrated gem. Sitting at 5,440 feet above the western section of Angeles National Forest, Condor Peak was once the home to nesting (and now endangered) California Condors. The Condors are long gone, but the trail is still there and well-maintained, offering a challenging hike with breathtaking views. There are a few routes to Condor Peak, and in this guide, I'll show you what is considered the most popular route up the Condor Peak Trail.
We're not going to start the hike at the official Condor Peak Trailhead, mainly used by mountain bikers. Instead, we're going to start just down the road at the hiker's cutoff trail, which eliminates about 2 miles or so of up and down at the beginning and gets us climbing to the peak quicker.
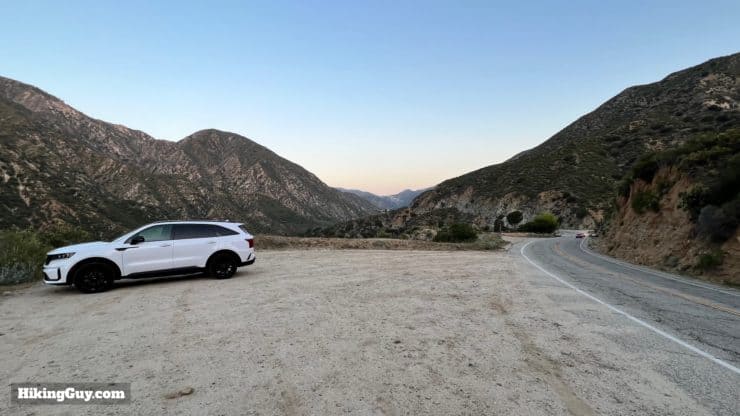
The start doesn't have an official trailhead, but the parking areas are right next to the turnoff for Vogel Flat (Vogel Flat Picnic Site, Tujunga Road, Tujunga, CA 91042). Your best bet is to use these coordinates: 34.287566, -118.225100
There's two big dirt parking areas. Park in the one farthest east. Parking is free.
Gear For the Hike
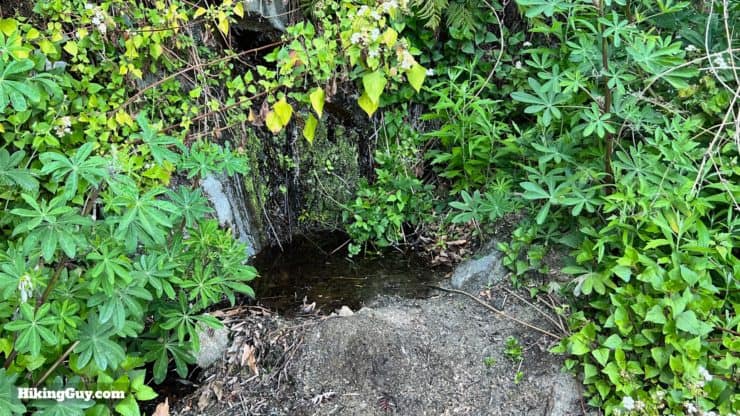
This is a long and challenging mountain hike, and you should prepare accordingly. The route is mainly exposed, and I recommend at least 3L of water, more if it's very hot. There's a semi-reliable spring a few miles in (waypoint on the map), and you'll need to treat the water. Trekking poles can be handy for some steeper slopes close to the peak. The lower elevation of this climb means that it's much warmer than the high peaks of the Angeles National Forest.
Nothing is sponsored or promoted, just the actual gear that I use.
Garmin InReach Mini 2Hit SOS or just tell loved ones that you're running late where your cell phone has no service. Review here.
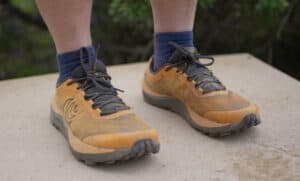
Topo MTN RacerAggressive and fun with a wide toe box (=no blisters). Get them wet, they dry quickly. Lots of cushion and comfort.
Osprey Hikelite 26Lightweight, carries all your gear, and your back doesn't get sweaty. Oh yea, it's also one of the most inexpensive packs you can get.
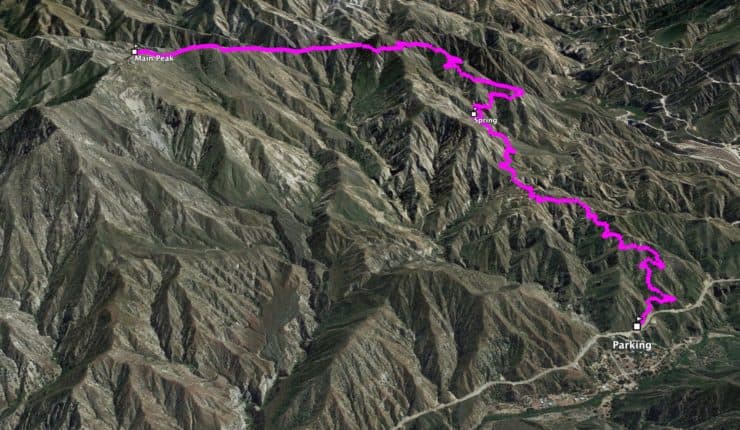
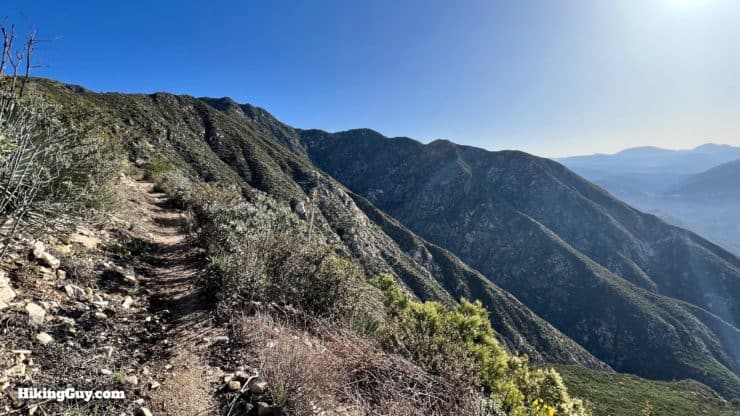
You have a steady uphill gradient for the first 6 miles that's easy to get into a groove on. Once you reach the ridge by Fox Mountain, you have a series of steep ups and downs to the summit. The last stretch of about 1000 feet is a challenging class 2 scramble to the summit area.
3D Map
The Condo Peak Trail twists and turns around over the canyons and folds as it climbs up to the ridge by Fox Mountain. Then you follow the ridge across to Condor Peak.
Are There Still Condors At Condor Peak?
Nope. The last condors in the area were seen before World War 2. According to Faust Havermale, a forest ranger who spent time in the area during the early 1900s, the peak was named because it was a popular nesting spot for the California Condor, with up to a dozen riding the updrafts around the peak at any one point. Today your best bet to spot a condor in the area is to perhaps hike Slide Mountain, next to the Sespe Condor Sanctuary in Los Padres National Forest.
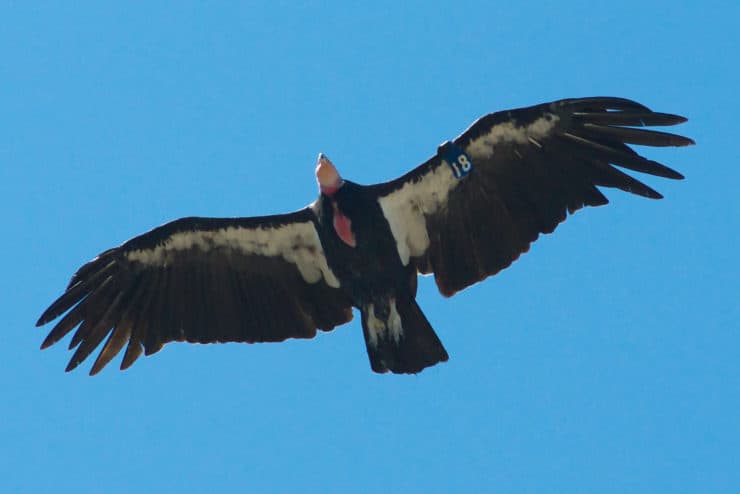
This is what a condor looks like from below. You can tell them apart from turkey vultures (common) because they are much bigger, and have white feathers on the leading part of the under-wing.
Condor Peak Hike Directions
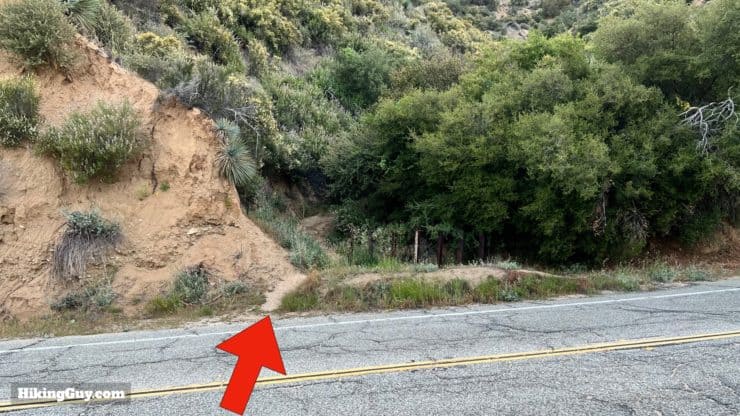
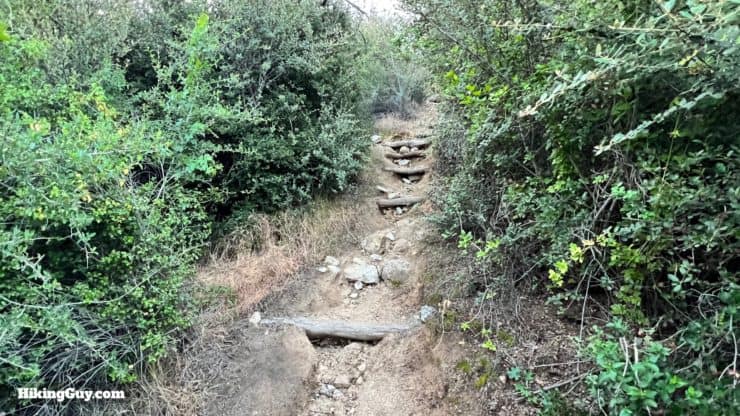
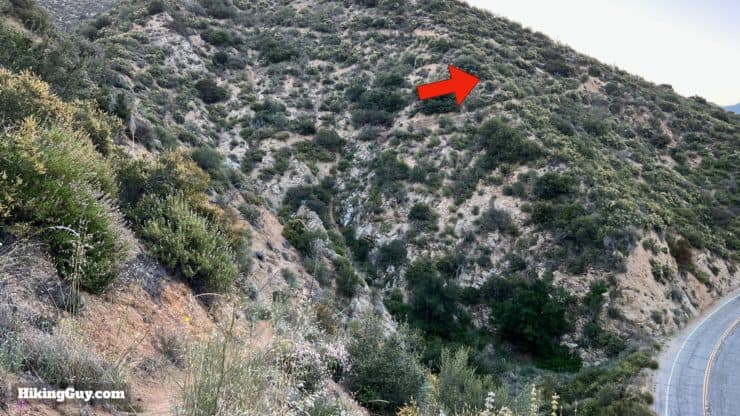
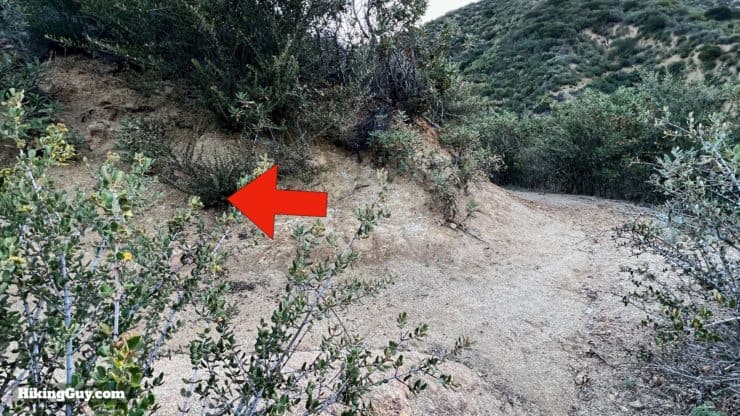
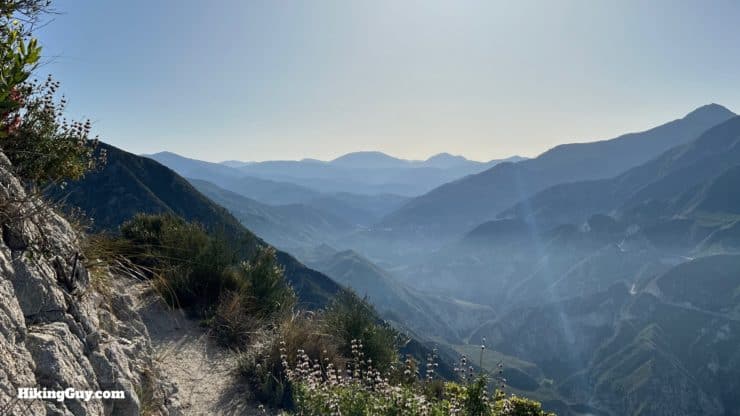
The trailhead is hidden across the road. Look for the metal poles.Start climbing on the use trail that will bring us to the Condor Peak Trail proper.The trail winds around above the road.And then you reach the Condor Peak Trail. Make the left to begin the climb.You'll start climbing up above Big Tujunga Canyon.
The name Tujunga comes from the native Tongva term for “old woman of the earth.”
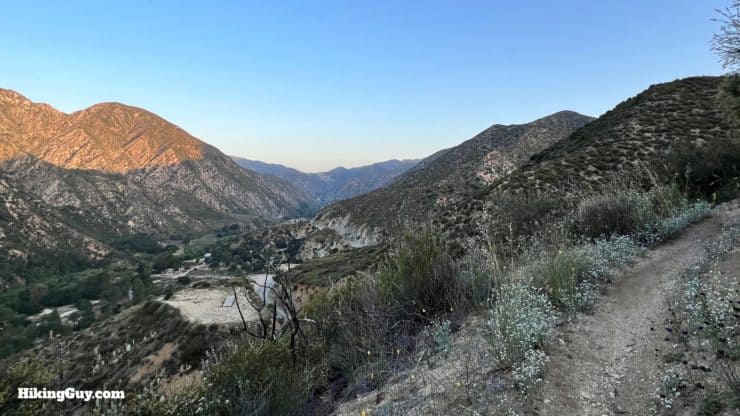
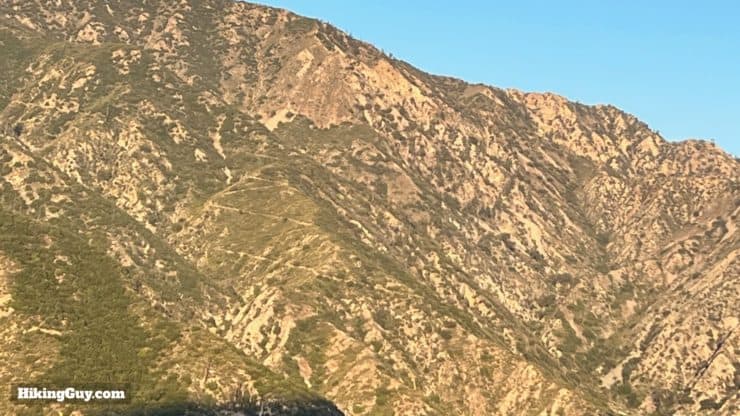
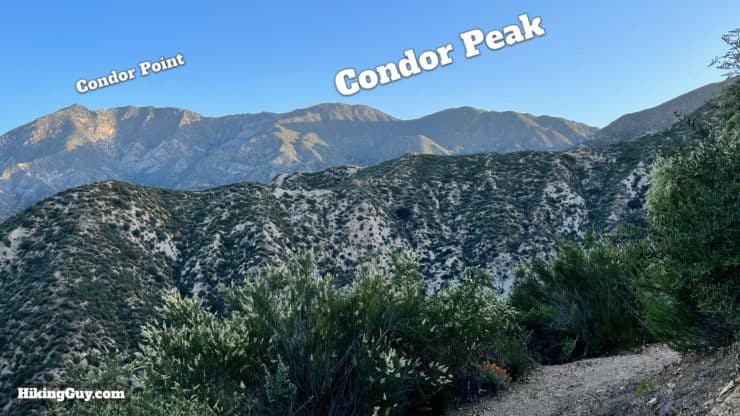
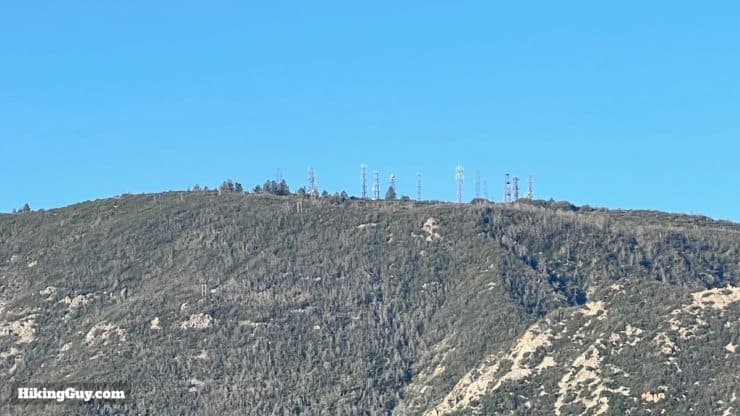
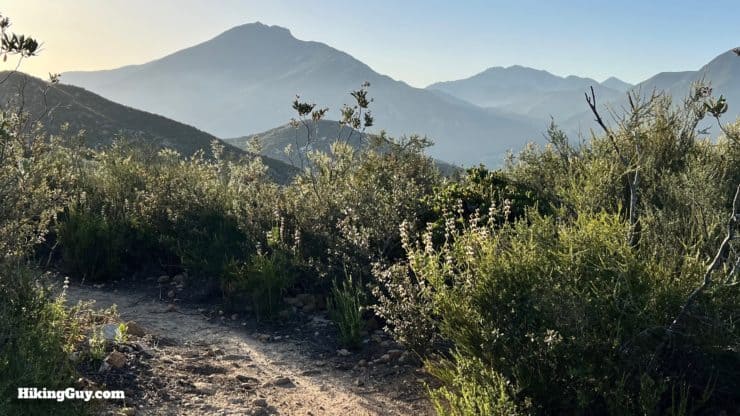
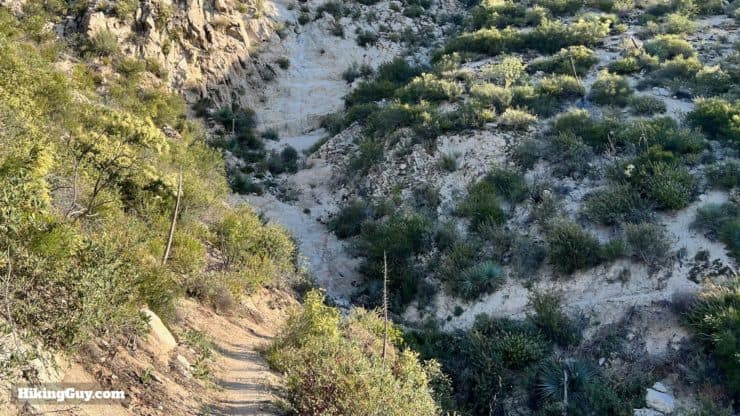
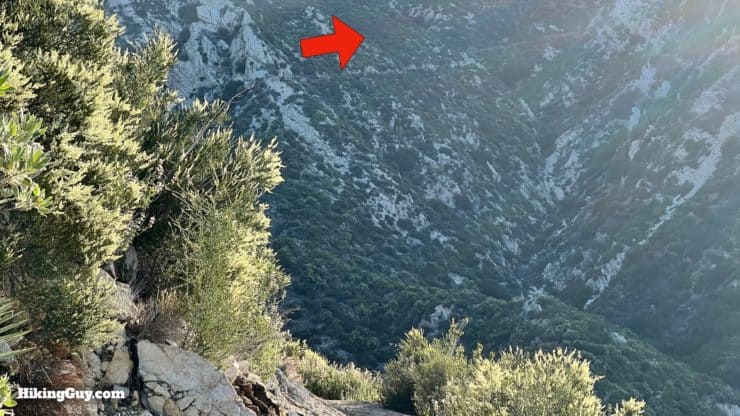
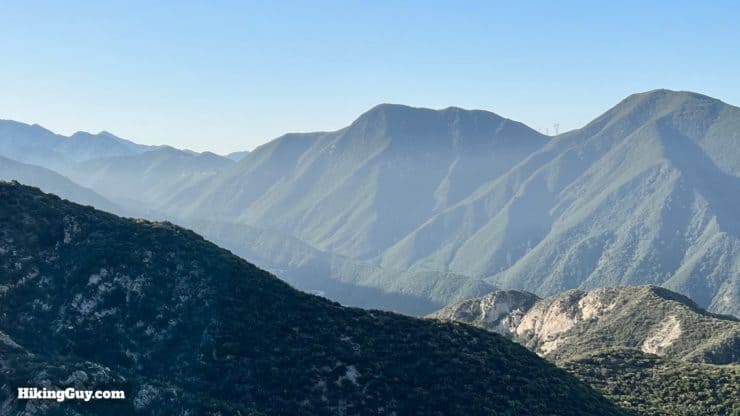
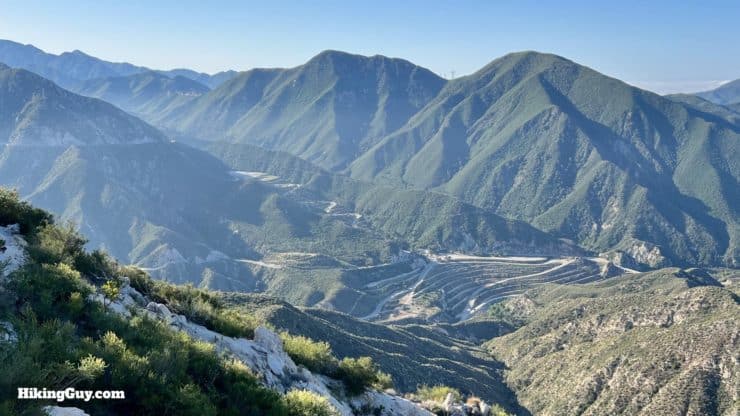
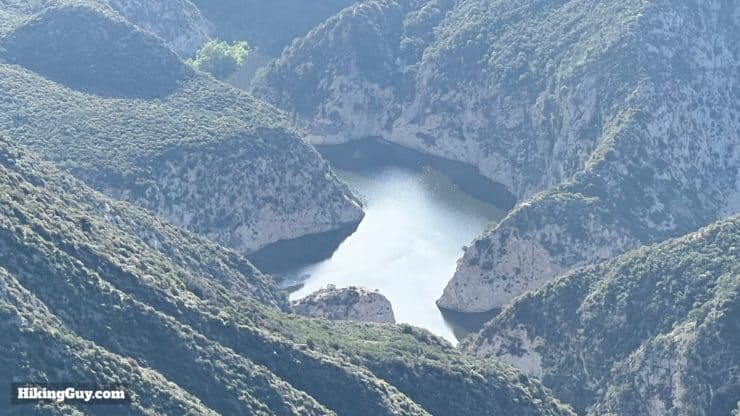
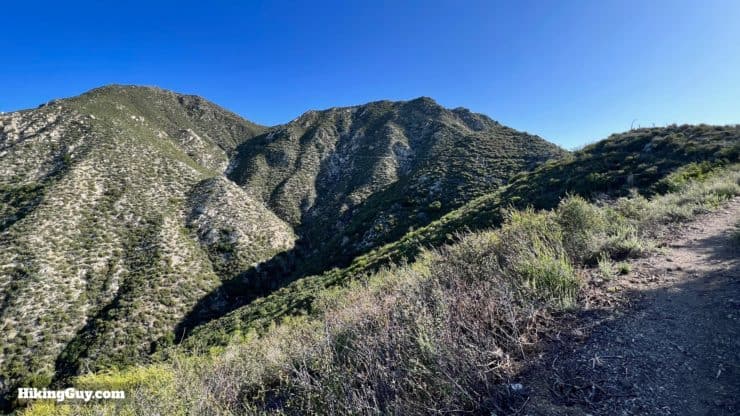
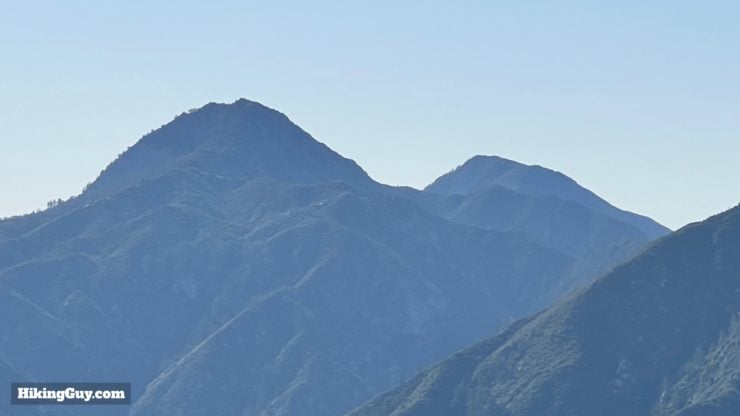
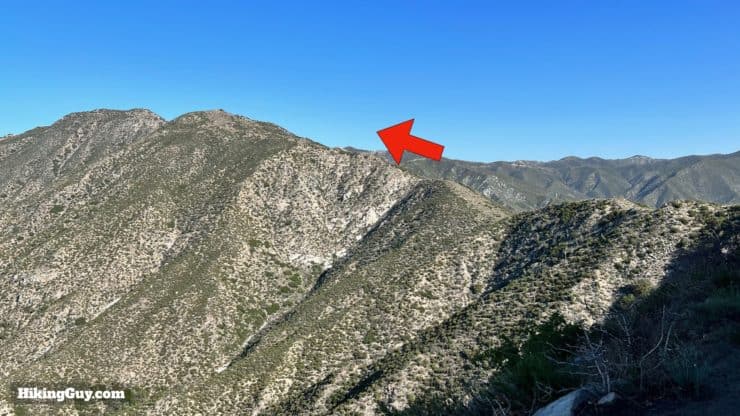
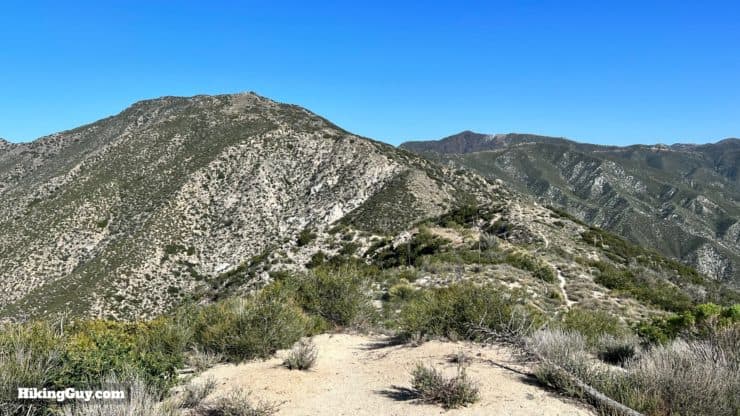
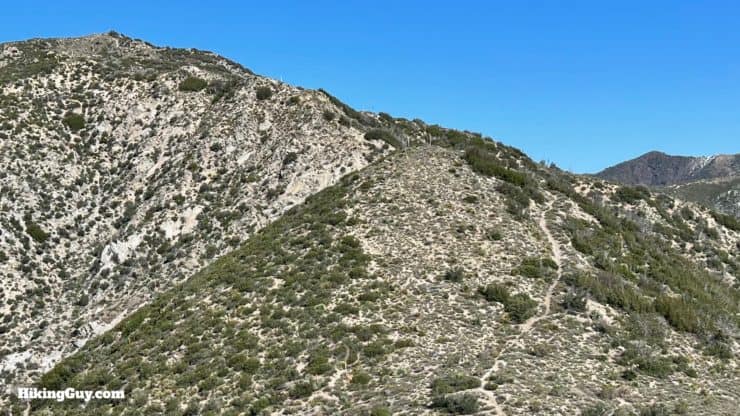
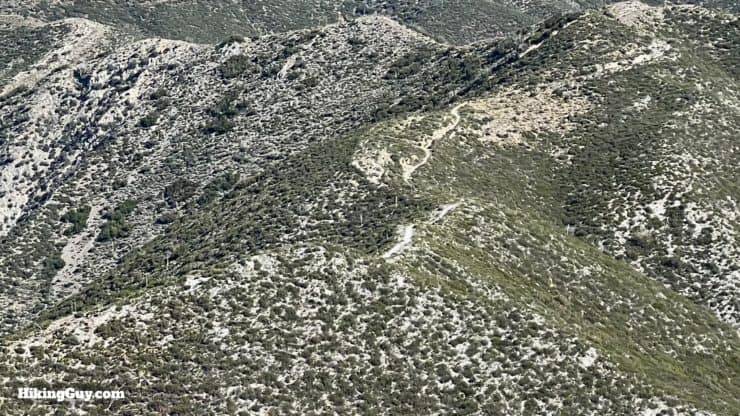
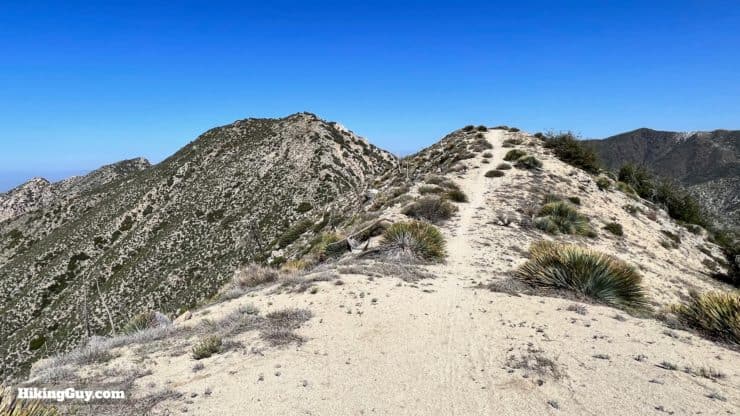
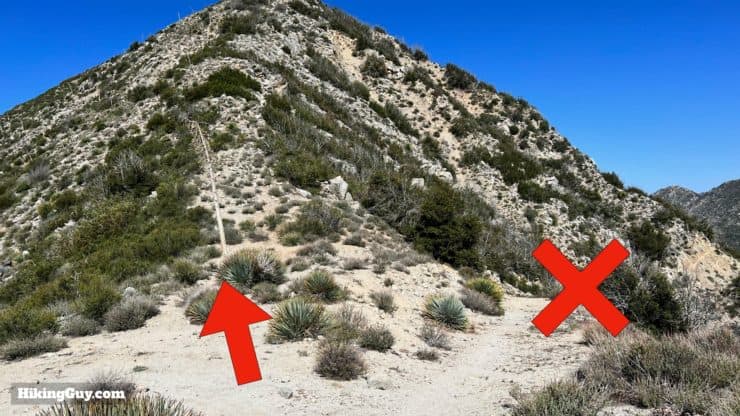
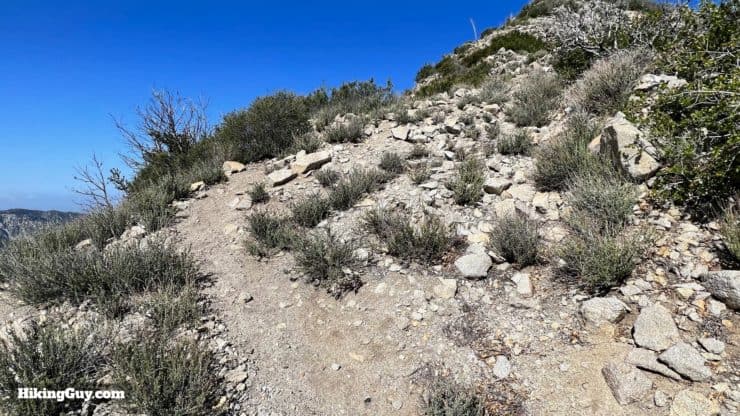
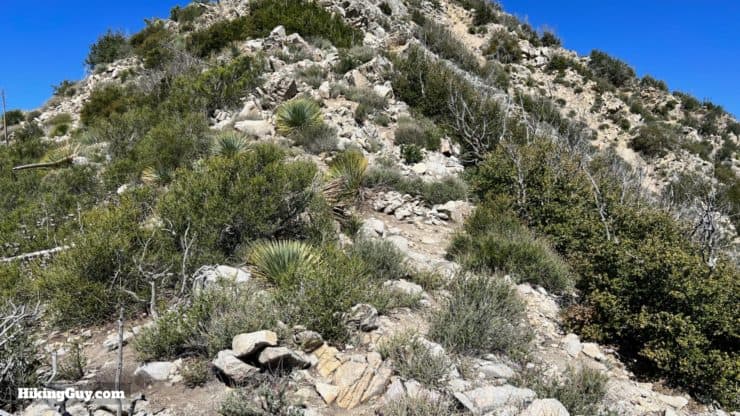
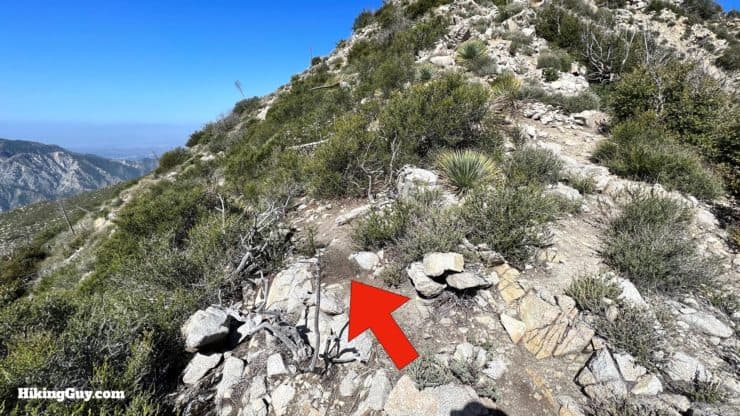
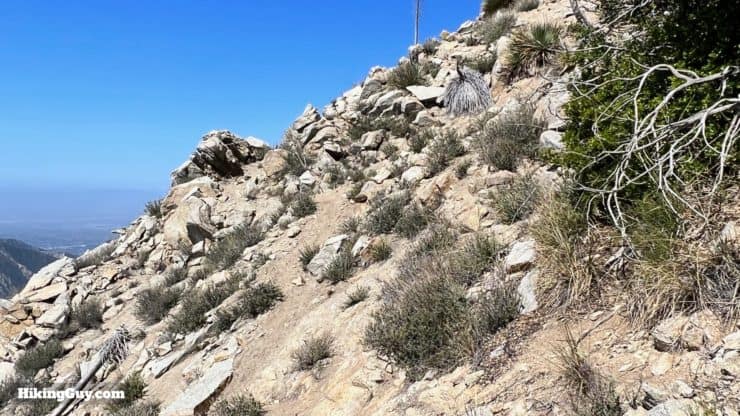
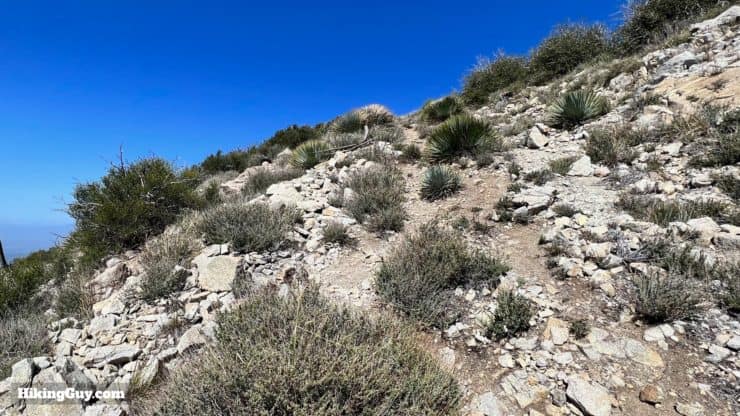
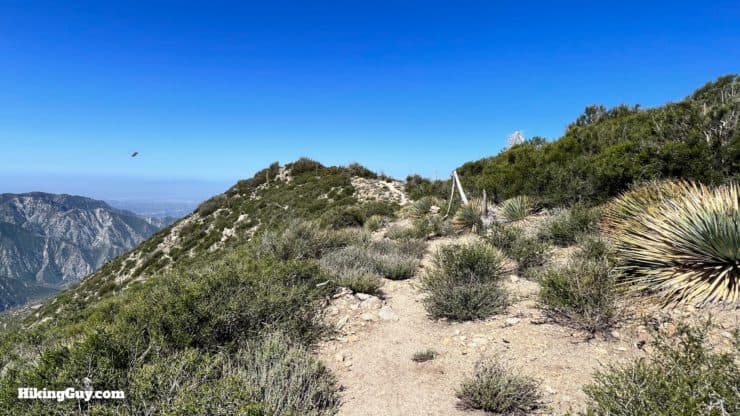
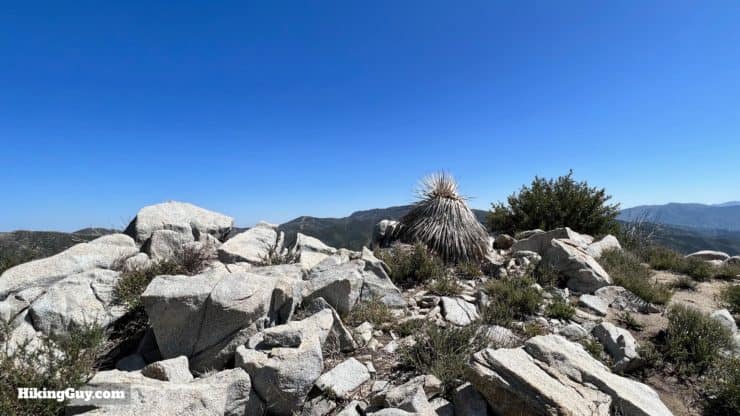
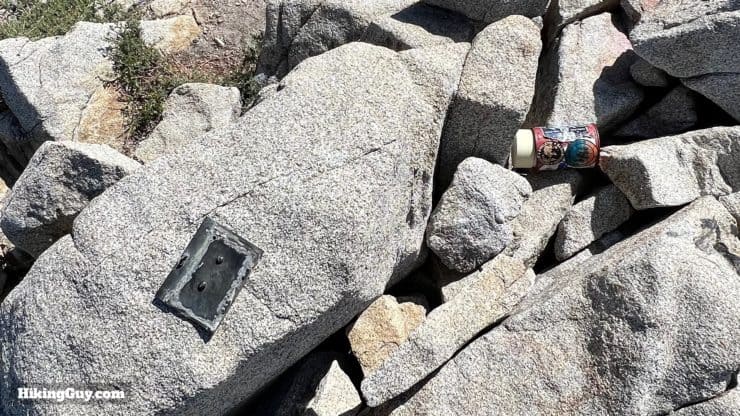
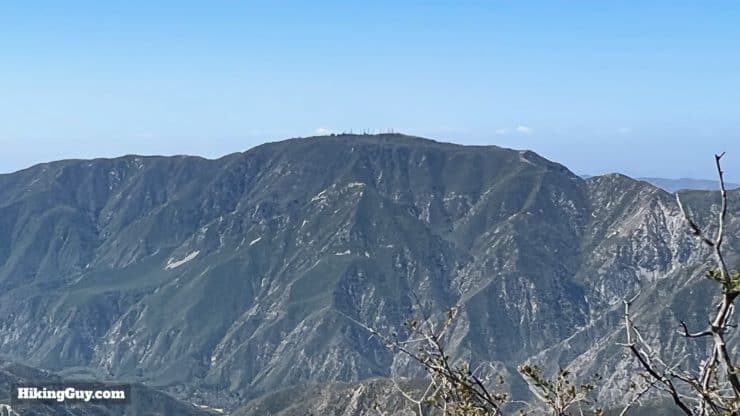
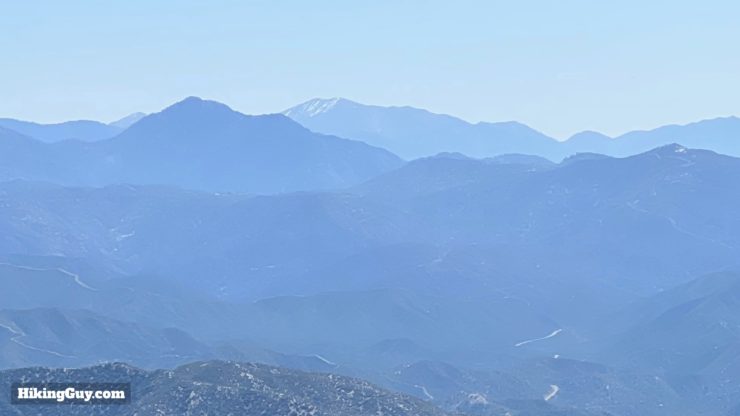
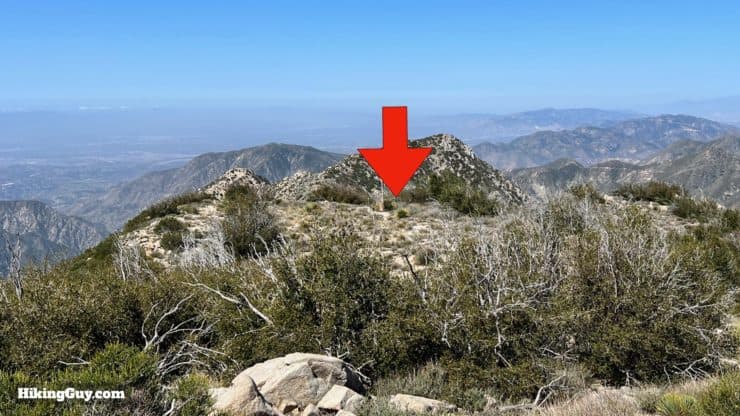
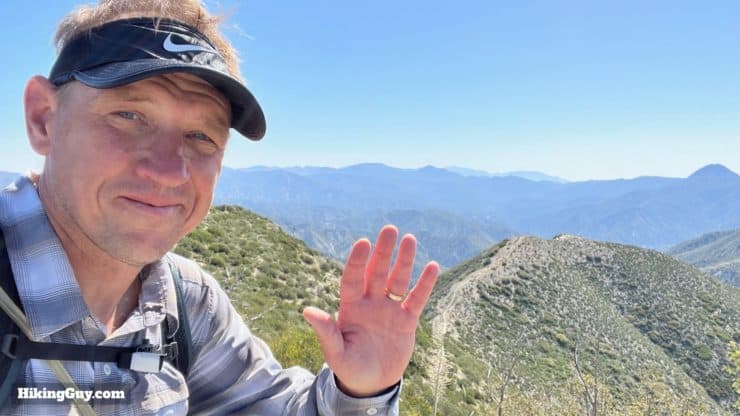
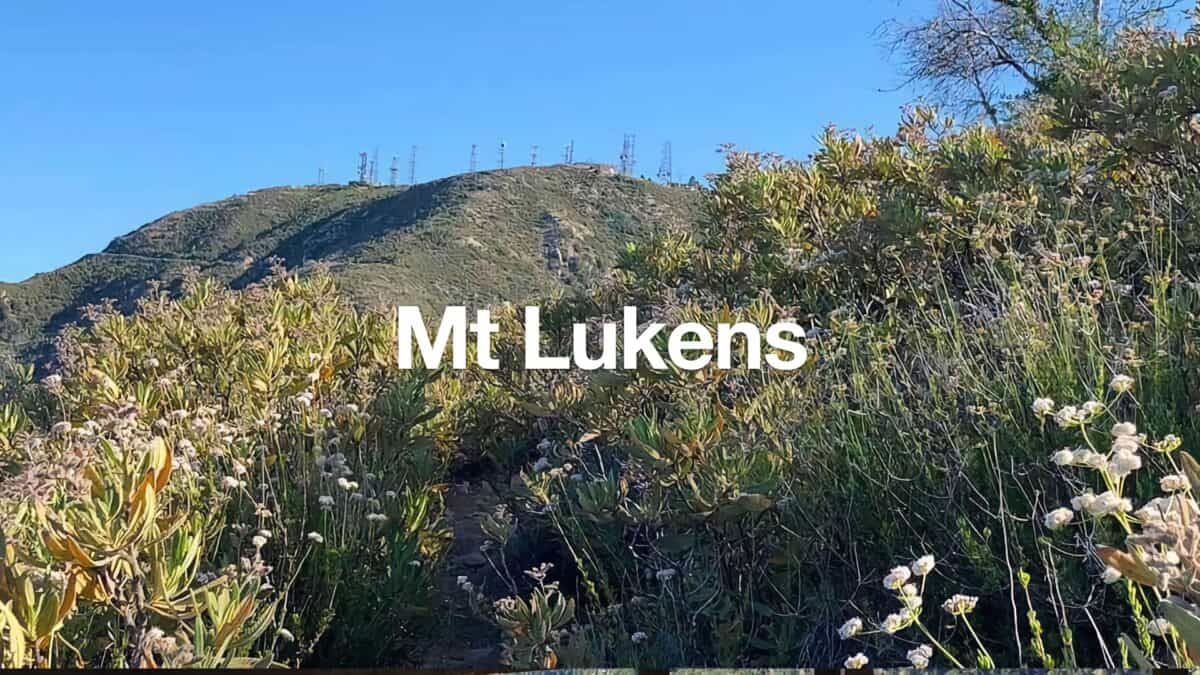
Across the canyon you'll see Stone Canyon Trail climbing to Mt Lukens.Then the trail twists north and you get your first glimpse of Condor Peak, and to the west, Condor Point.And behind you are the radio towers at the summit of Mt Lukens.The trail winds up the ridge between Vogel and Fusier Canyons. The tall peak in front of you is Josephine Peak.Wind through the gullies you'll see evidence of well-worn waterfalls that come to life during rain.The trail winds in and out of dozens of small canyons. You can usually see the trail continuing if you look up in the distance.As you climb you see Hoyt Mountain to the east. If you look close you can even see the trail descending from Hoyt Mountain on the side.At about 3.2 miles in you'll pass Fox Spring. I've never hiked this late summer, but in the winter and spring it's usually flowing. Treat the water before drinking.The terraced area you see below is the Maple Canyon Sediment Placement Site, where dredged sediment from the Big Tujunga Dam is compacted and stored.As you continue to ascend the ridge you see Mt Waterman and Twin Peaks in the distance.And looking down from here offers nice views of Big Tujunga Reservoir.Keep following the spine.And then you'll see Fox Mountain #2 (5033 ft) in front of you. We'll be hiking across the face of Fox Mountain to the other side, and if you look closely, you'll see the trail wrapping around the mountain.The climb gets a bit steeper as you wind up towards Fox Mountain.Look east for views of Strawberry Peak.And then along the side of Fox Mountain the gradient levels and you'll see Condor Peak ahead.As you wind around Fox Mountain you'll see the trail ahead along Condor Ridge to Condor Peak.When you get to the saddle, make the left. There's a small trail up to the right if you want to bag Fox Mountain.Now we follow the spine.This part is tough. There are a few steep ups and downs.If you look down to the north, you can see the Condor Peak Trail continuing past the peak to Mendenhall Ridge.The bumpy peak to the right in the distance is Iron Mountain #2 (not the tough one).Okay, this is where the work begins. When you reach Condor Saddle, we're going straight up the use trail to the summit. When you look at the slope from here, your mind will probably say "no way." It's steep and looks insane. The image doesn't do it justice.Go slow and step by step, and you'll see a path.It is steep and rocky at points.There are a lot of crisscrossing use trails up the mountain, but this junction is probably the most important. Take the counterintuitive and sometimes overgrown path to the left. You can go straight, but it requires some class 3 scrambling.Follow the trail around and up the south side of the summit.There are several extremely steep sections. Get dirty and use your hands on the solid rocks to go up. When you come down, you might have to do some butt slides.And then you reach the flat area of the summit. The bird in this shot is a crow. No condors today...Immediately to the right is a pile of rocks that might be a smidge higher than the further summit area.Otherwise continue on to the summit with the marker and register.You'll get views across to Mt Lukens.And all the way to Mt Baldy in the eastern part of the forest.If you continue on the flat summit area there are more viewpoints and even some spots to set up a tent.When you're done at the summit, just go back down the way you came!


 Using the Apple Watch for Hiking
 Garmin Fenix 7 & Epix Review For Hikers
 How To Read a Topographic Map
 Garmin GPSMAP 67i Review
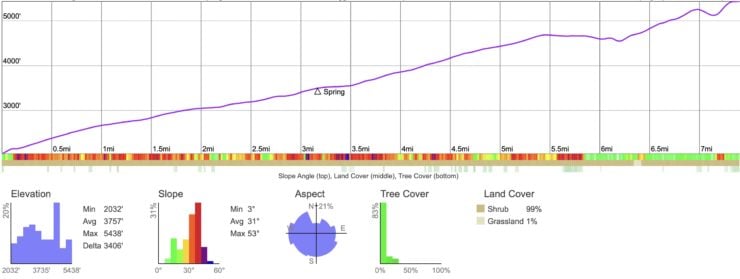


 Hike Mt Lukens From Deukmejian Wilderness Park
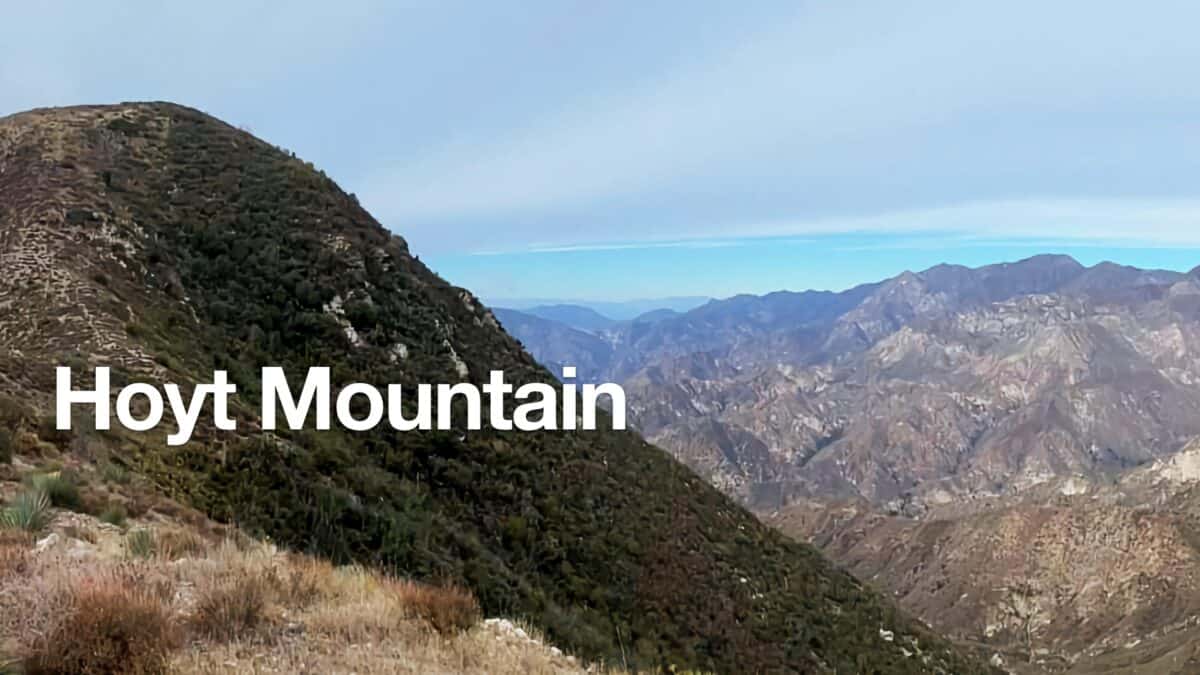 Hoyt Mountain Hike
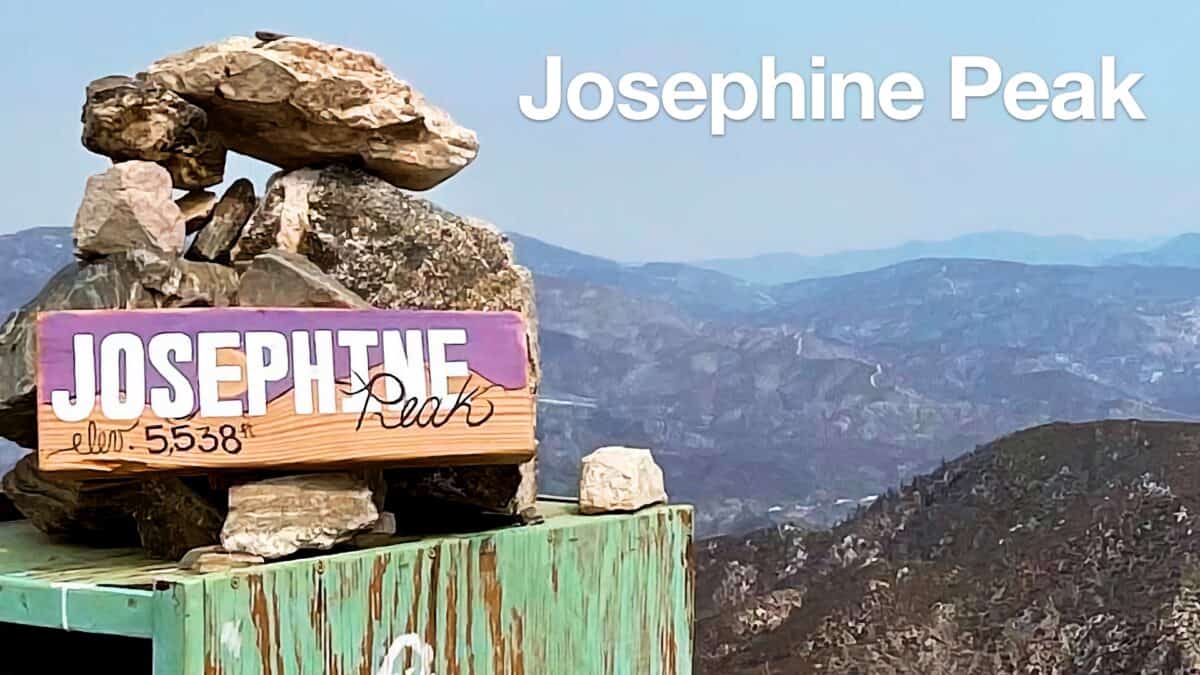 Hike Josephine Peak From Colby Canyon
 Strawberry Peak Hike
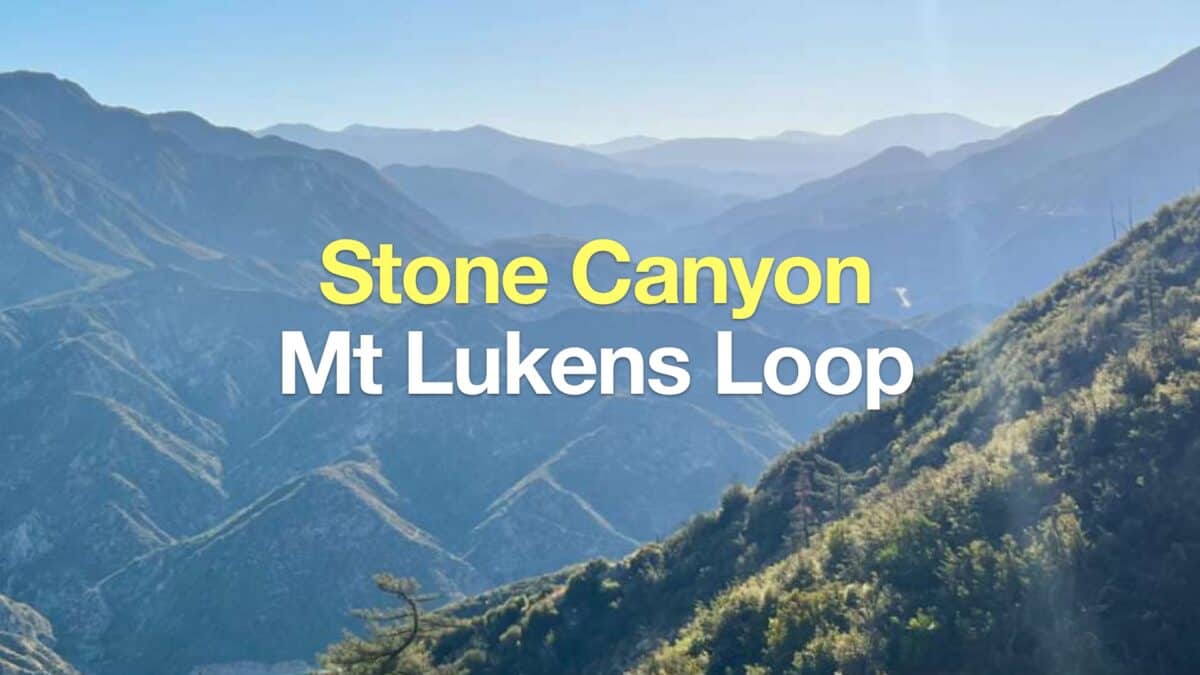 Stone Canyon Trail to Mt Lukens Loop
 Los Angeles Hikes
 Angeles National Forest Hikes
 LA Mountain Hikes
 Sierra Club 100 Peaks
 Best Hiking Gear 2024
 Hiking Boots or Shoes: Do I Really Need Hiking Boots?
 When to Hit SOS on inReach