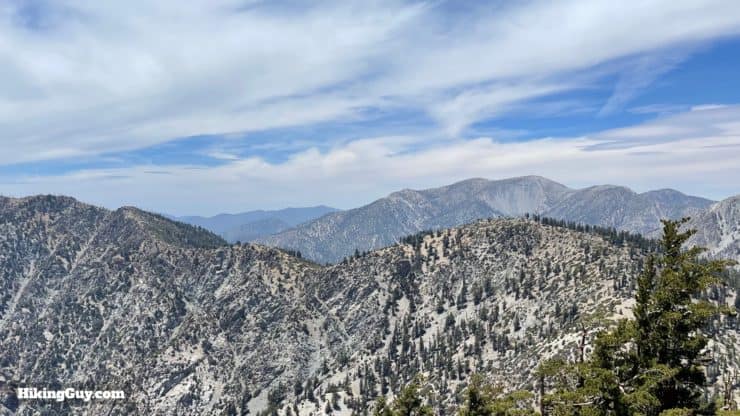
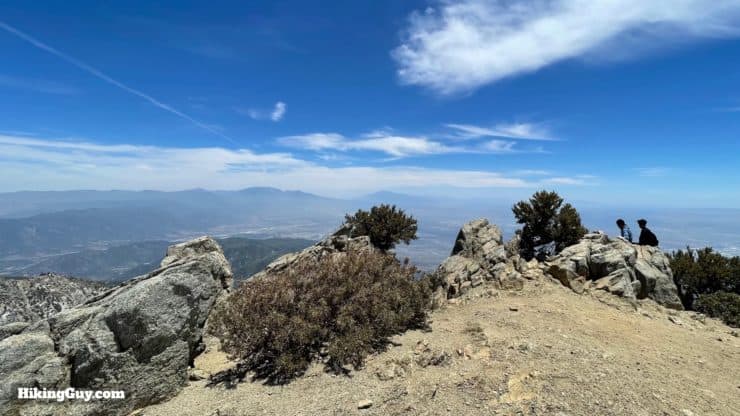
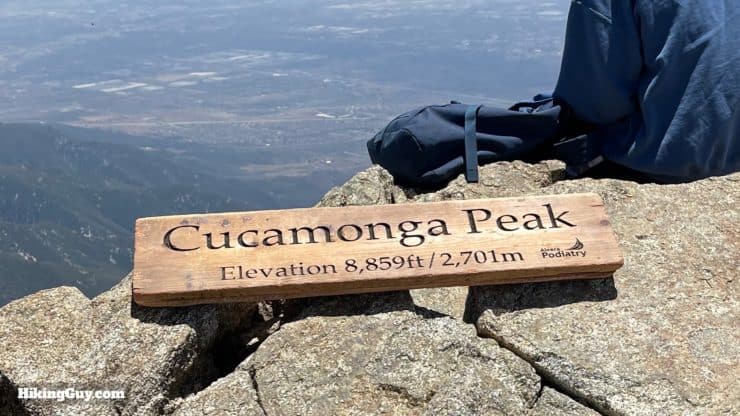
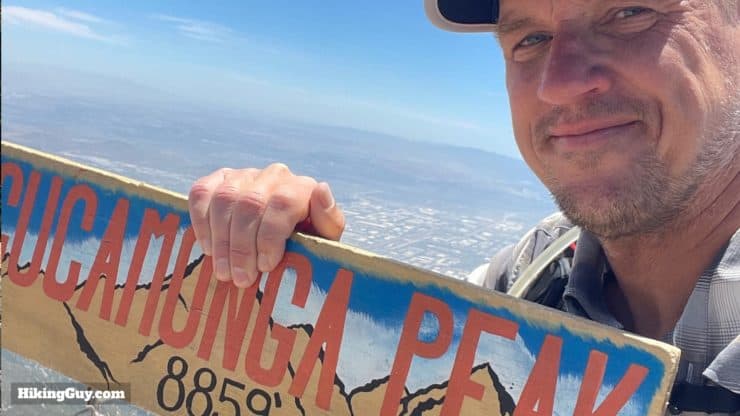
Offering one of the coolest summits in the San Gabriel Mountains, the hike to Cucamonga Peak very popular. Cucamonga Peak, at 8,862 feet, has spectacular views from SoCal's high peaks to the urban development below. The hike up to the peak is tough but not brutal, the scenery and views are spectacular, and the summit area is a lot of fun. You might even see some bighorn sheep along the way.
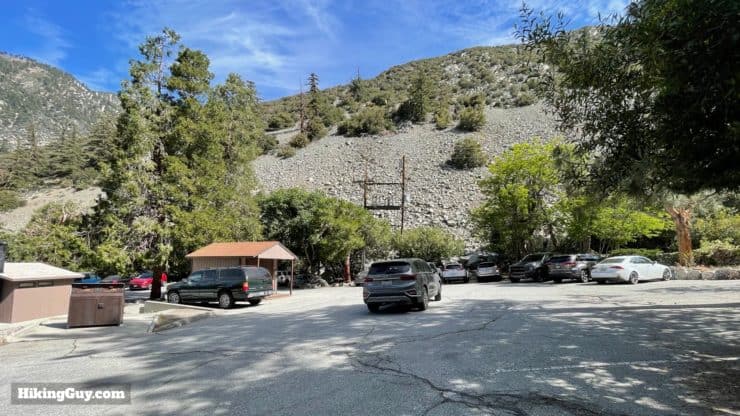
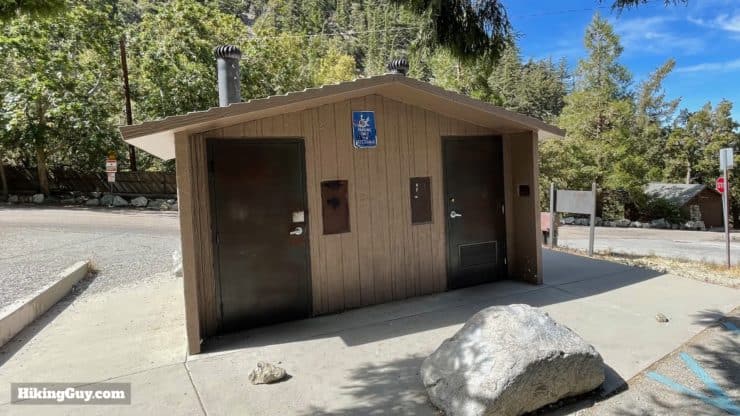
There are some parking spaces in the upper lot, close to the trailhead.And then there's a larger lot just below with many more spaces. It's common for this entire lot to be full by 7am on weekends, so plan accordingly.There are toilets at the trailhead.
This is considered a "fee area," and you need a parking pass here. I use the affordable national parks pass, and you can also use an Adventure Pass.
Cucamonga Peak Hike Permit
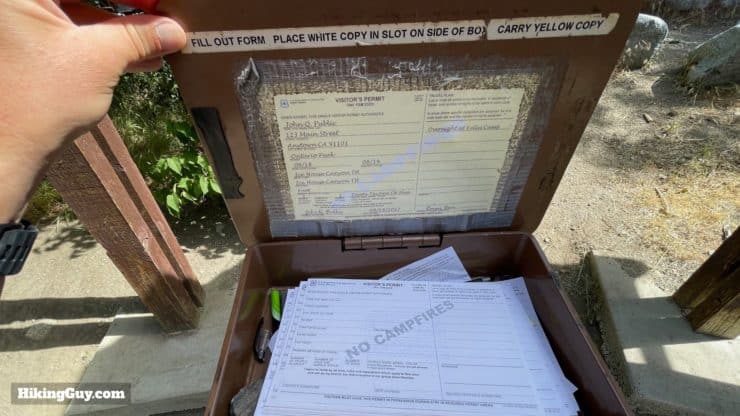
There's some confusion around permits for Cucamonga Peak, especially after some changes were made in 2020. To do this hike from the Icehouse Canyon Trailhead to Cucamonga Peak, you can fill out a permit at the trailhead, or do it online here before you go. For some other approaches to Cucamonga Peak, you do need to obtain a permit beforehand. But again, that is not required for this hike. The Forest Service website language is confusing, but the information here has been confirmed with the rangers.
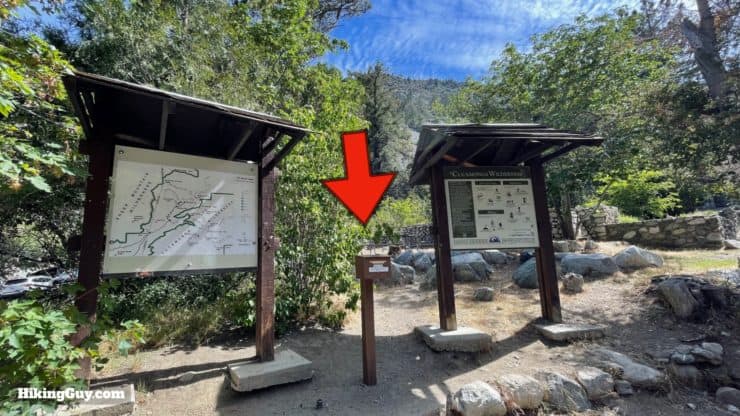
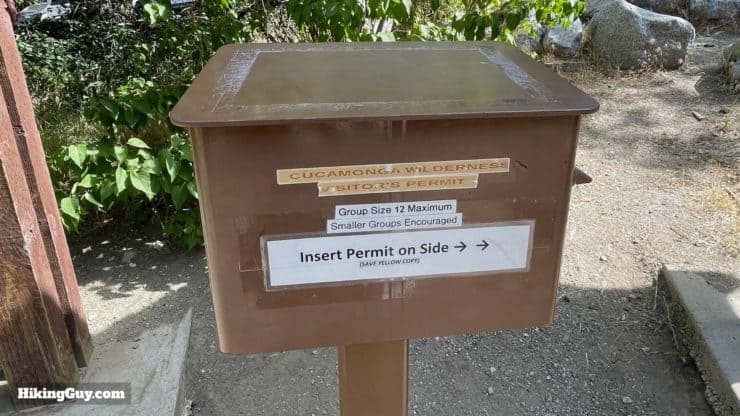
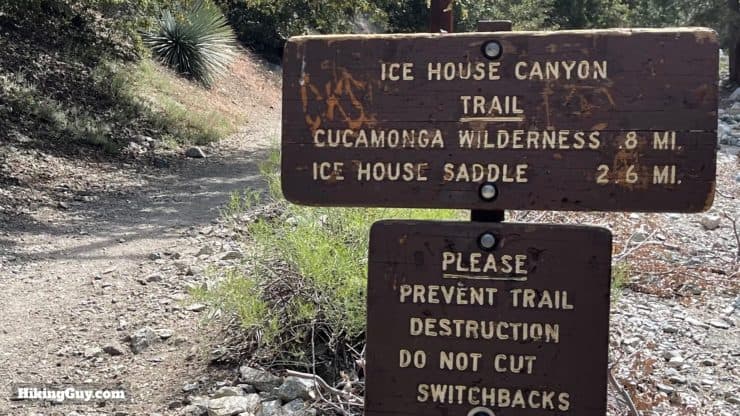
There's a free permit box by the trailhead. Bring your own pen, fill it out, put the white copy in the slot on the side of the box, and keep the yellow one. The permits are used to monitor traffic on the trail and provide information about you in case of an emergency.
Cucamonga Peak Camping Permit
Want to camp on Cucamonga Peak? There are a good amount of flat camping areas at the summit and plenty of people do an overnight there. In addition to the free permit that I just described (book online here), you will need a (free) California campfire permit. Don't start any open campfires, just use your stove. Again, it's not an official camping spot, and you might be asked to leave, but at this point, many folks do an overnight there, and you'll probably be fine as well.
Gear for the Hike
This is a long and challenging hike in the mountains. Prepare accordingly.
Bring 3L of water.
Snacks help to keep your energy up on this long hike.
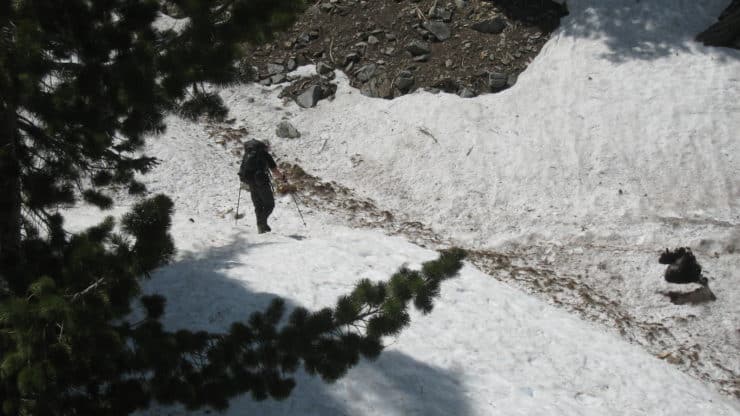
When there's snow covering the trail, it can be impossible to know where to hike unless you are very familiar with the route already. Photo brenrub
In the winter, there can be snow and ice. Check the summit weather, the snow satellite imagery, and call the ranger office for the latest conditions, and don't take any risks. When there is snow and ice on Cucamonga Peak, it is no longer a hike and becomes a mountaineering activity. The final approach to the summit is also an avalanche zone. If you don't have winter mountaineering experience, don't do it. People have fallen to their deaths here in the winter. It's real.
Cucamonga Peak Trail Maps
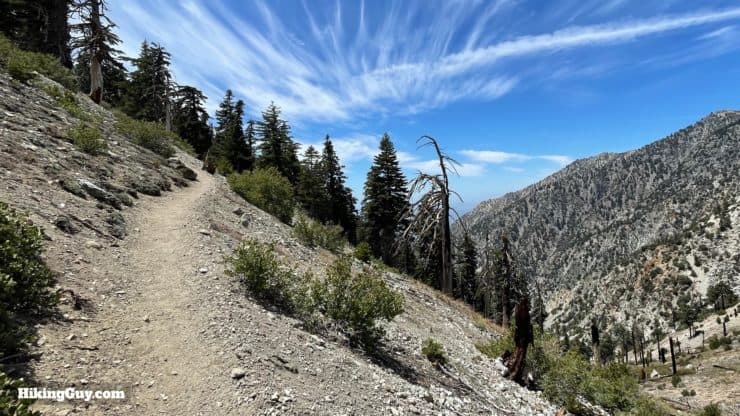
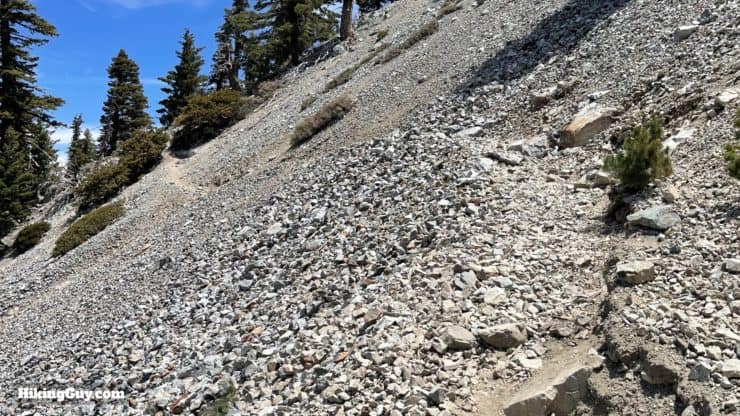
Overall the trails are well-marked and in good condition. There can be some rockslides on the final approach to the summit, but they're safe to cross if you go slowly.
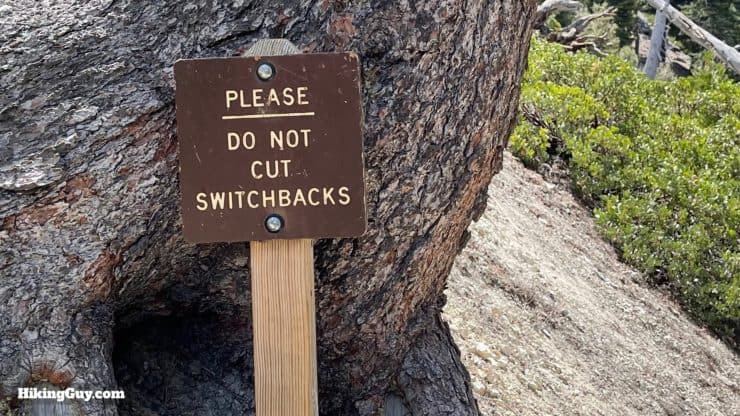
You'll see quite a bit of cutoffs, especially on the last approach to the summit. Please stick to the main trails and help reduce our impact on the land.
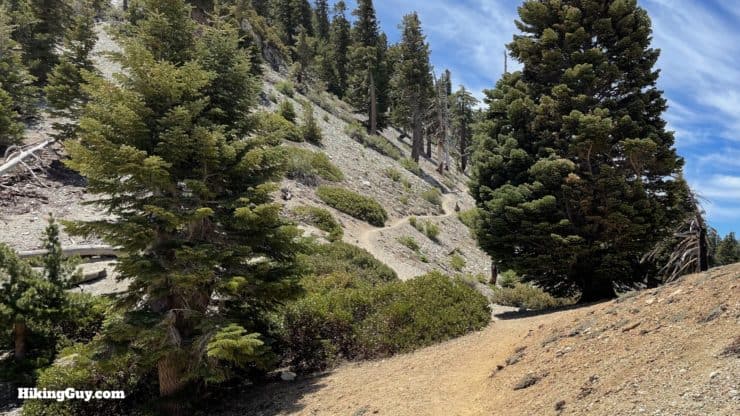
The hike is steadily uphill on the Icehouse Canyon Trail. After Icehouse Saddle the hike is mainly level and you get a breather, and then you go up. And up.
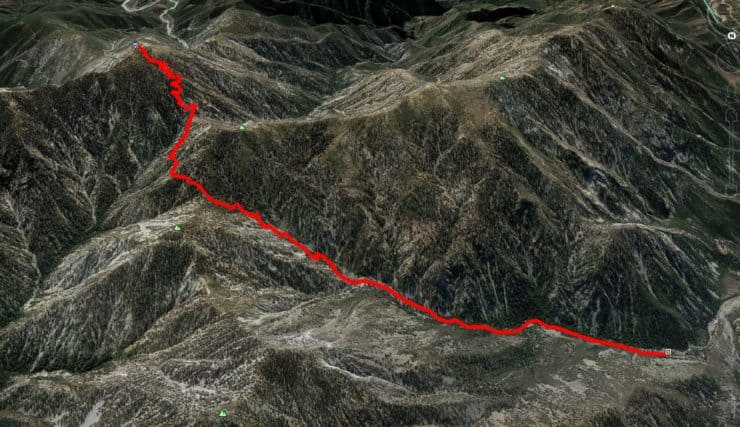
3D Map
You can mentally break the hike up (from right to left) into three sections. First the long, gradual climb to Icehouse Saddle. Then the middle section that's mostly flat but has some ups and downs. And then the final climb up to Cucamonga Peak, which is steep and has about a dozen switchbacks.
Cucamonga Peak Hike Directions
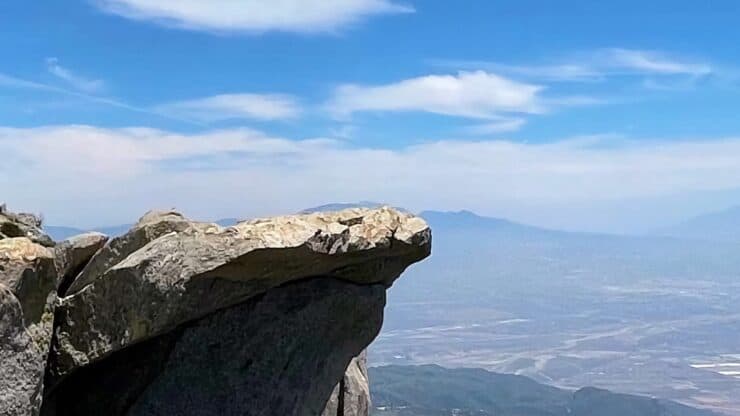
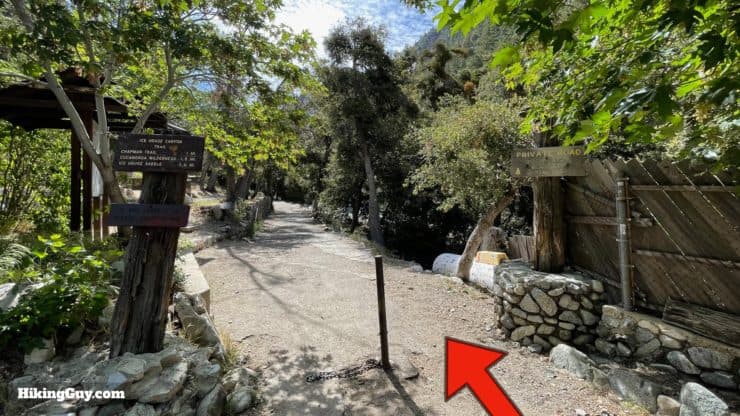
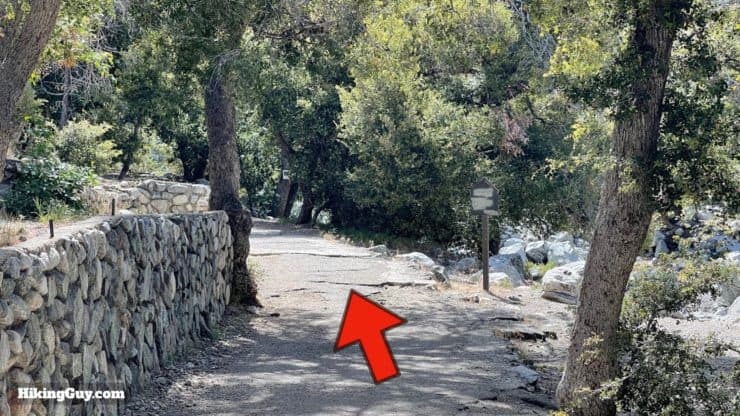
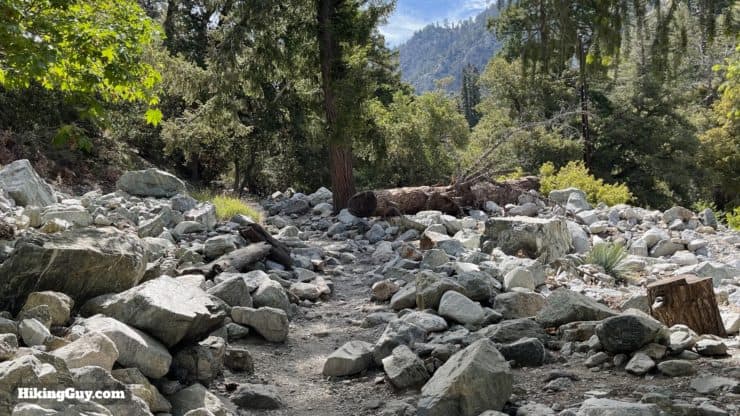
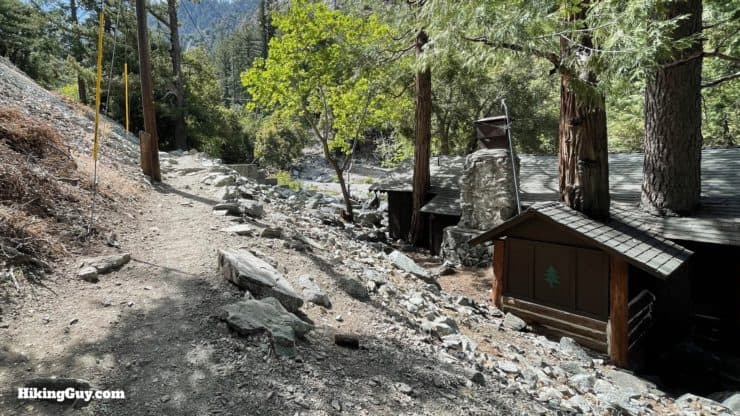
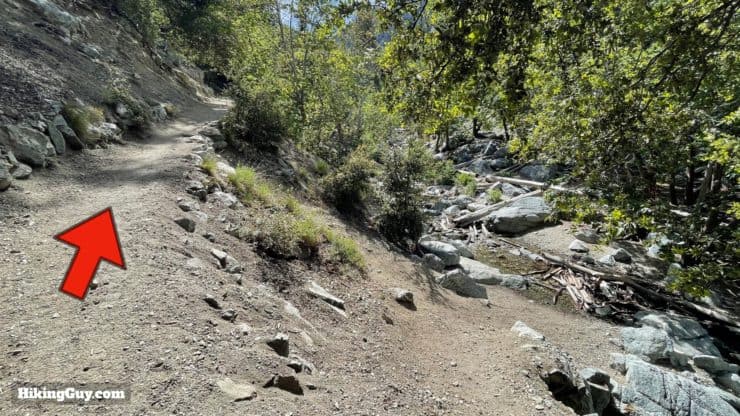
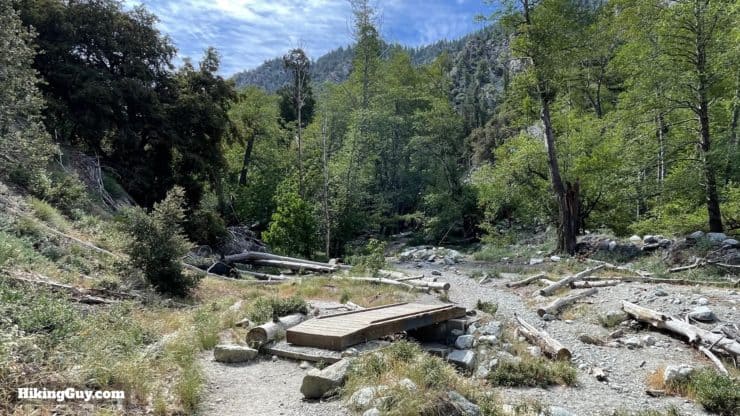
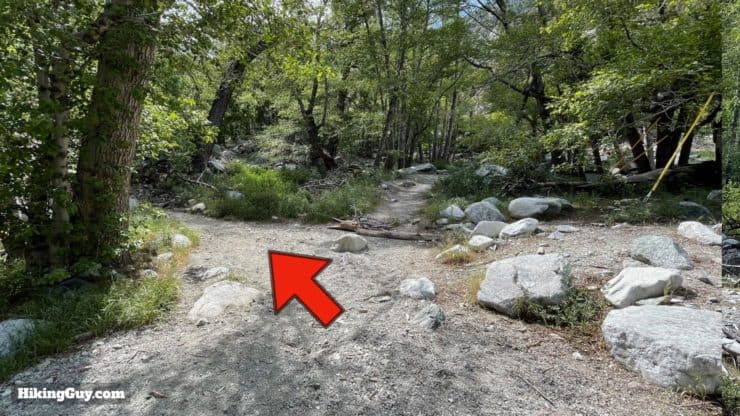
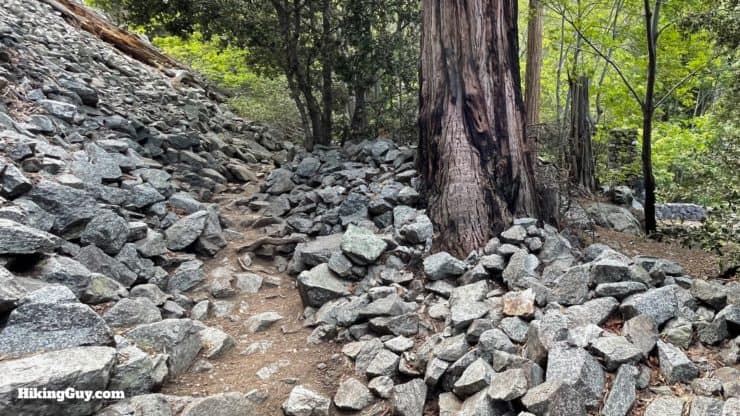
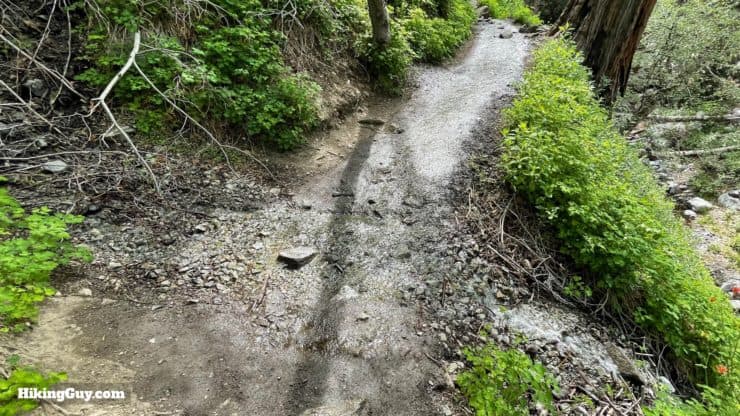
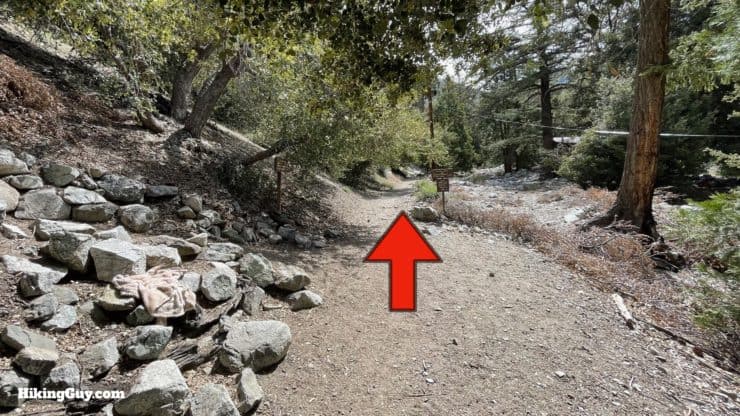
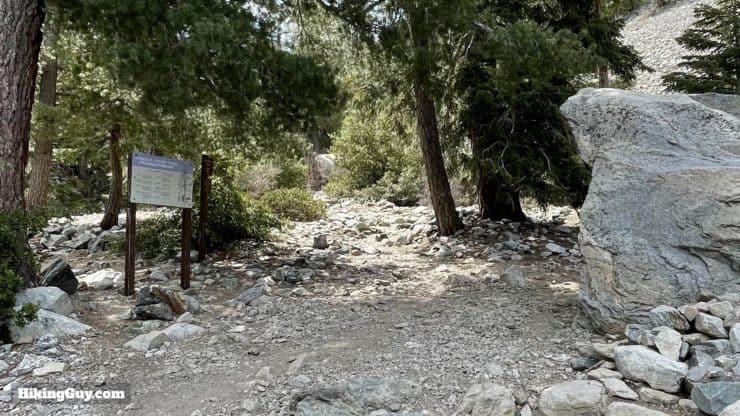
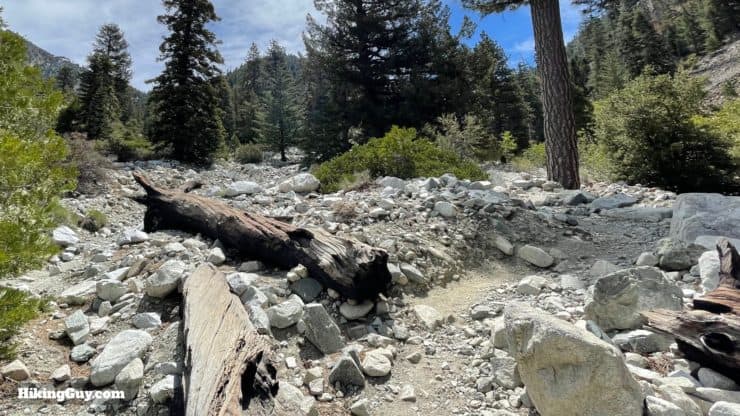
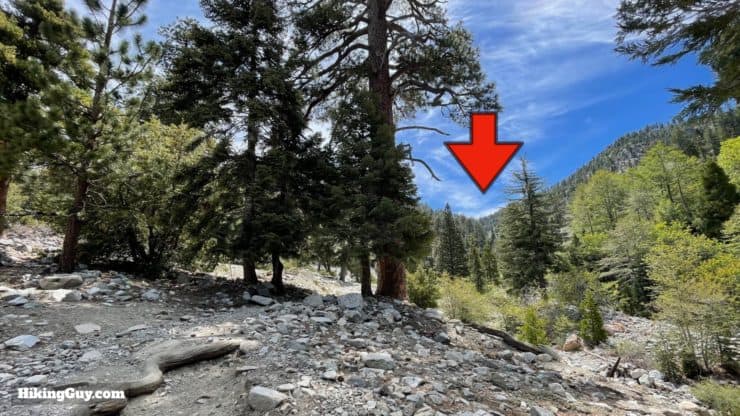
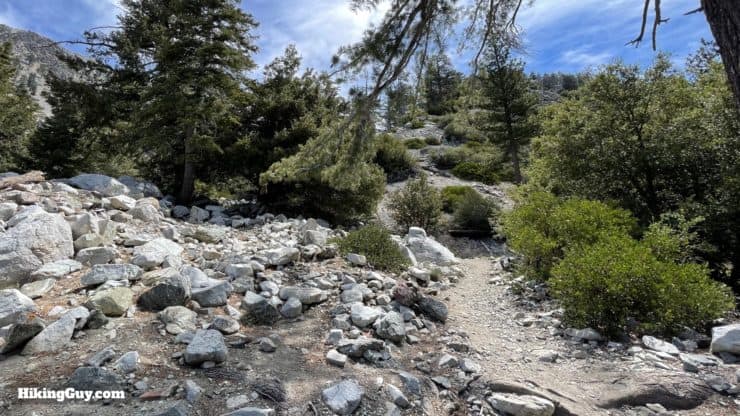
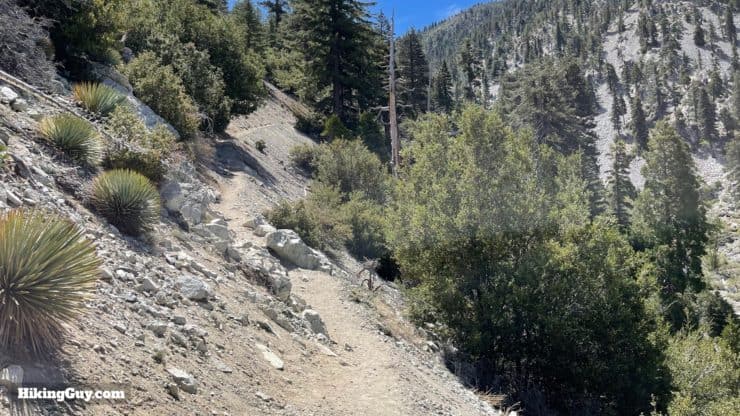
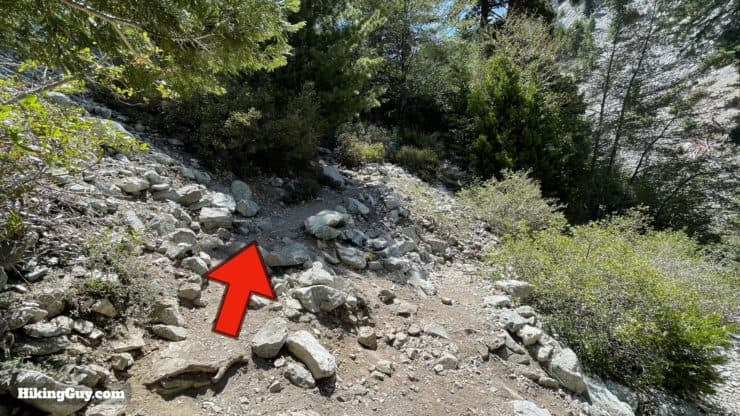
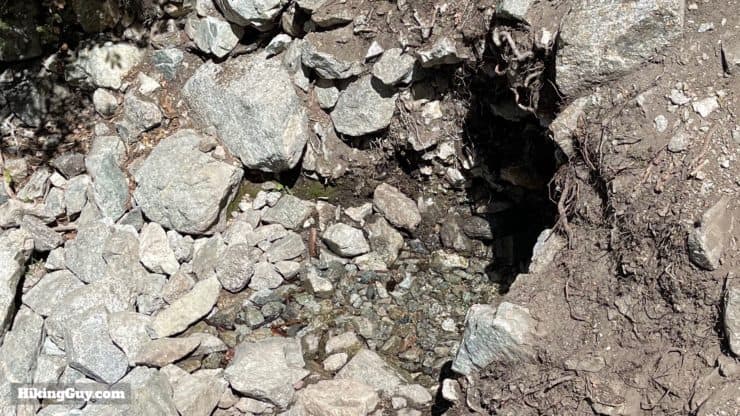
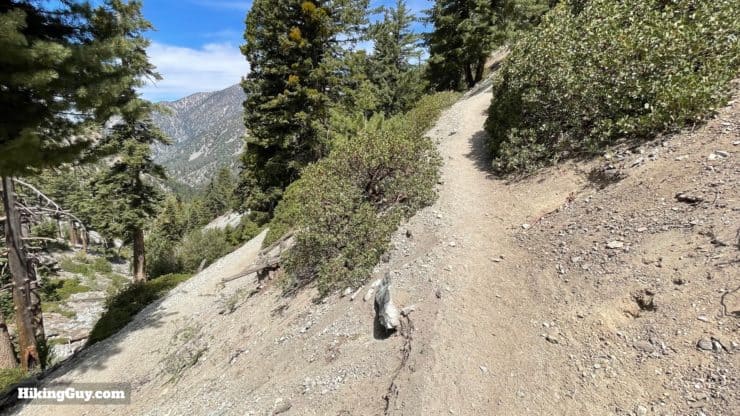
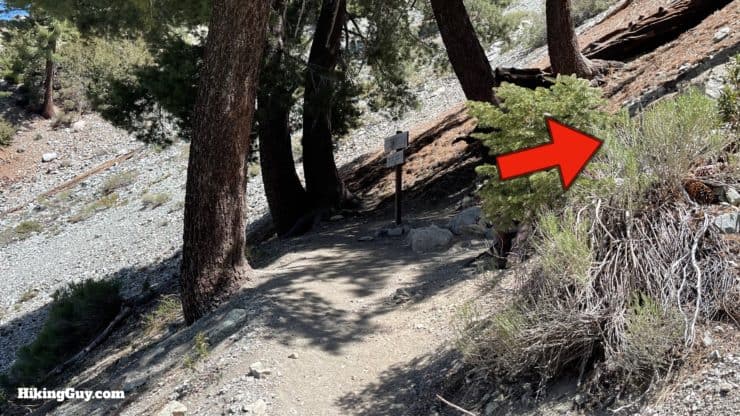
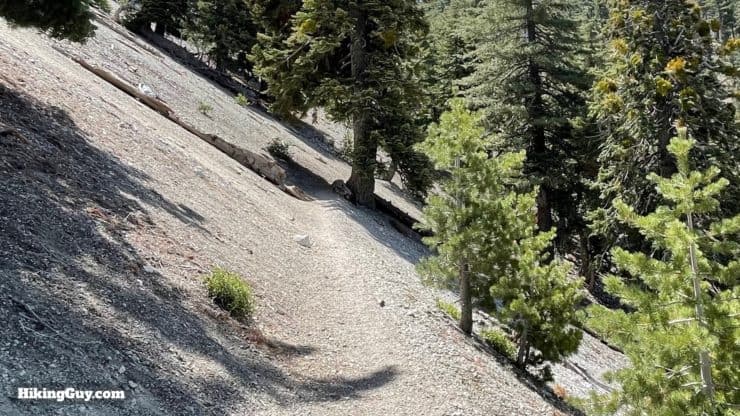
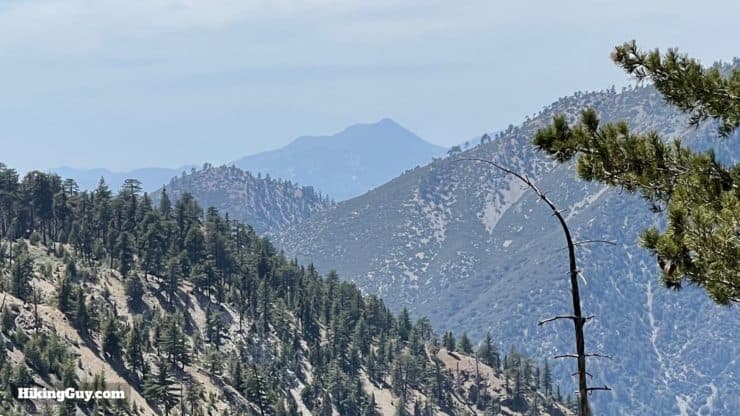
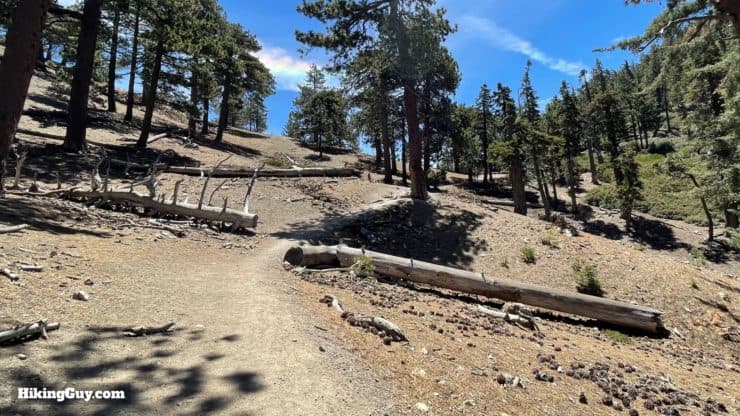
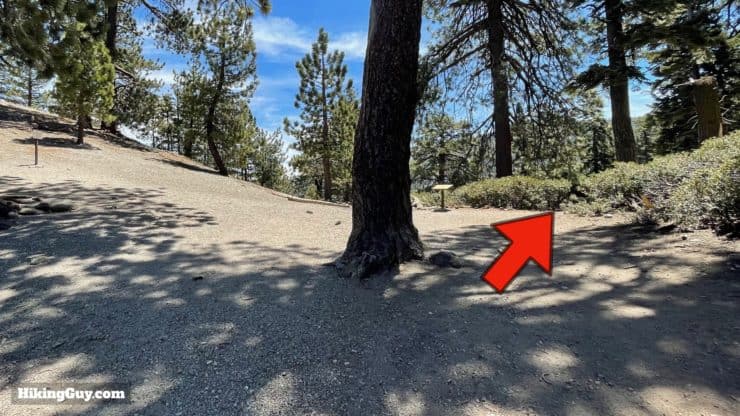
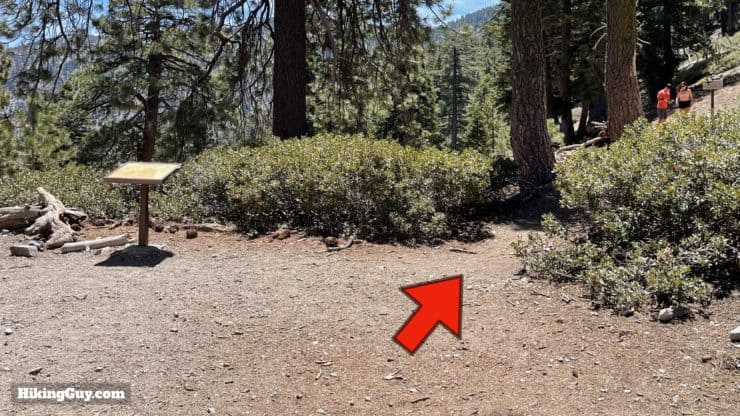
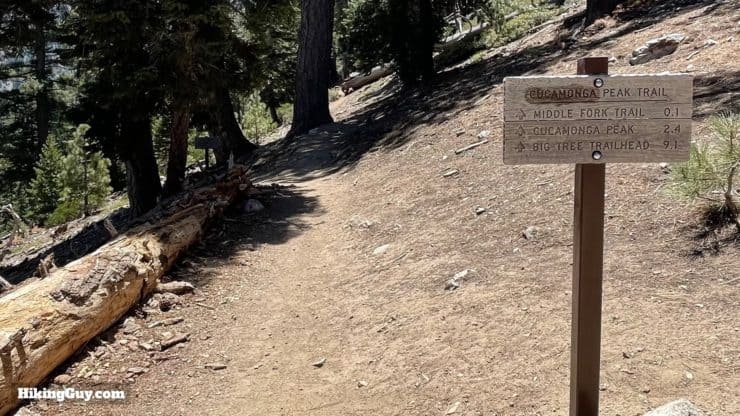
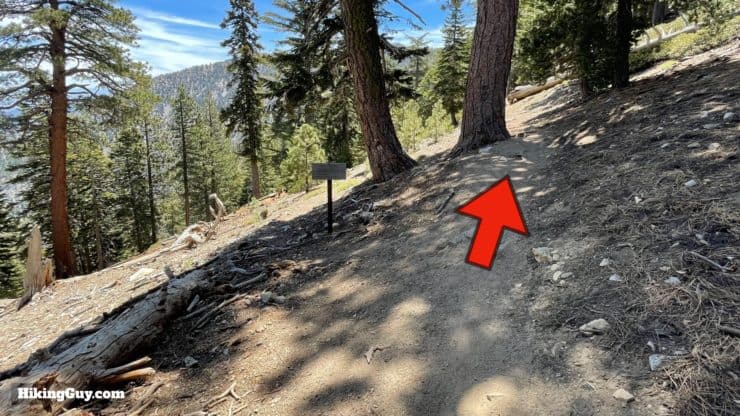
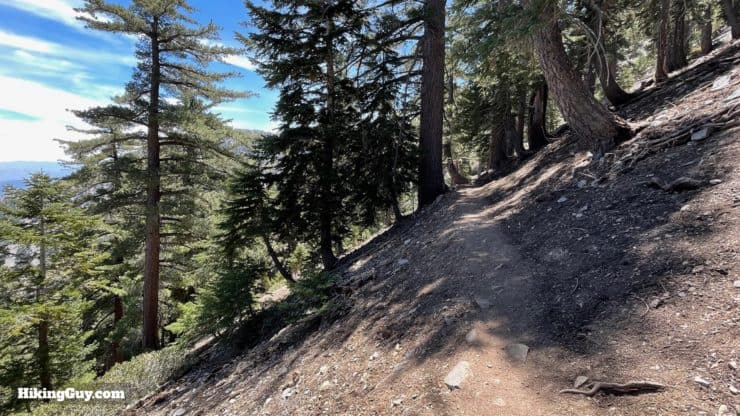
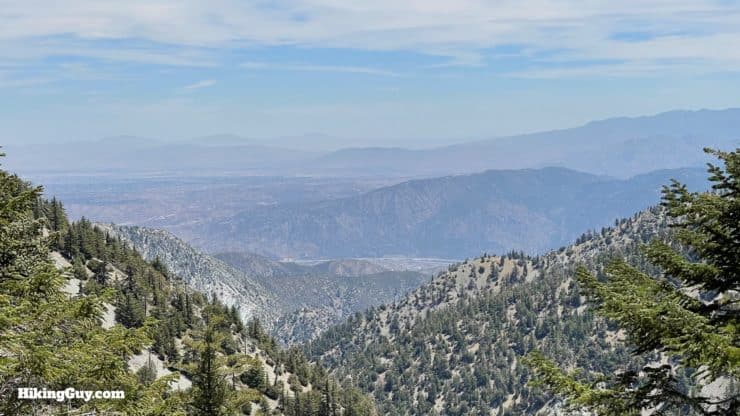
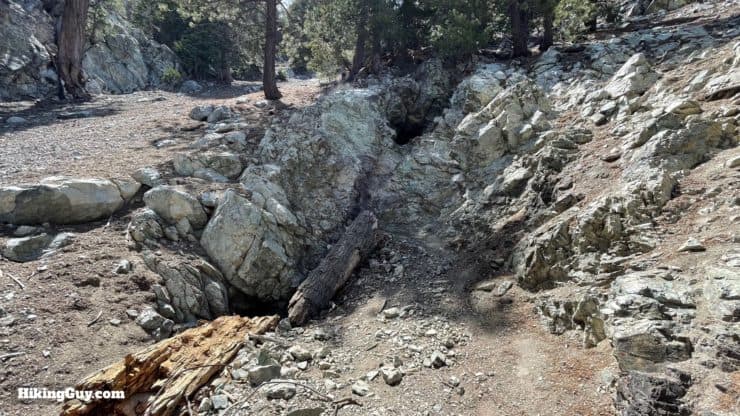
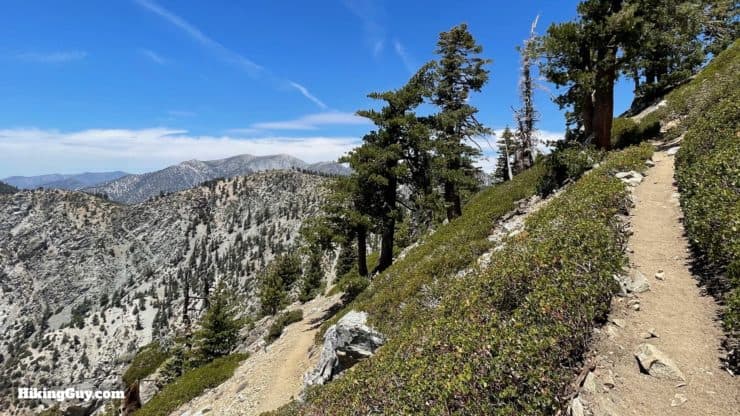
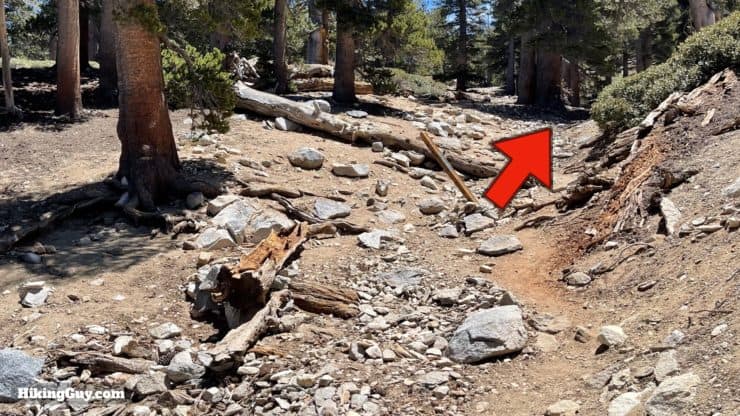
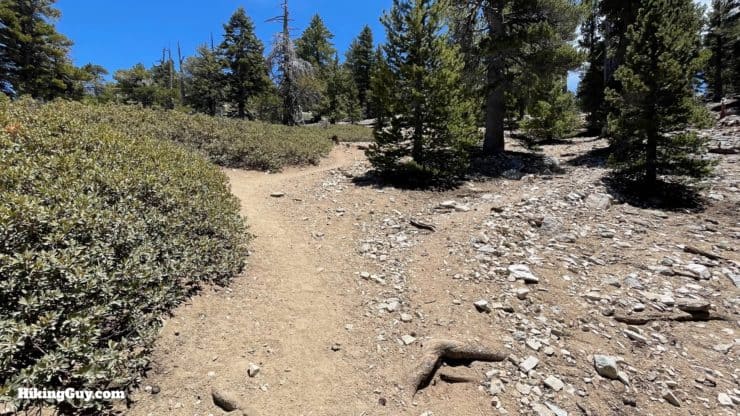
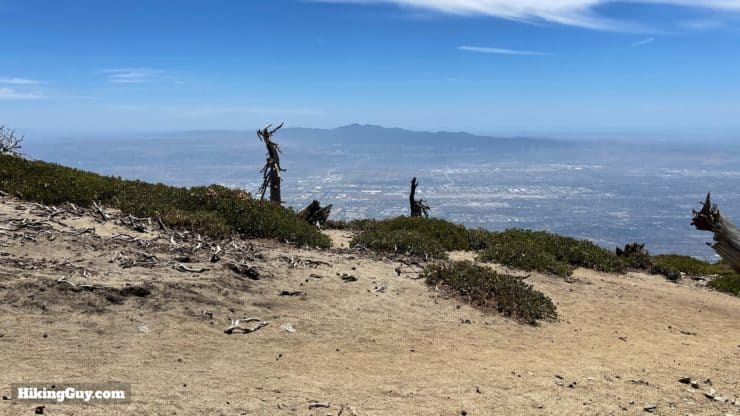
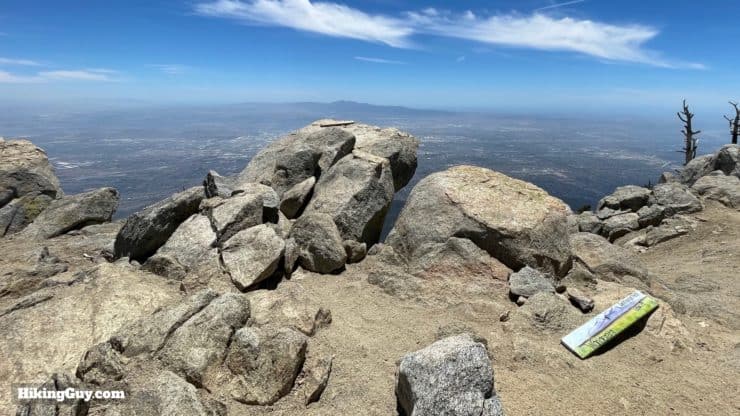
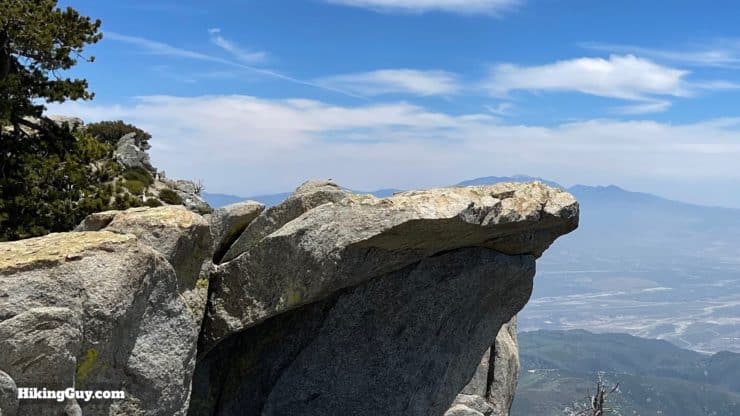
The trailhead is at the far end of the parking lot.On your left you'll see two trail boards. In the middle is the free permit box.Put the white copy of the permit in the slot on the side of the box.Head up the wide path.Soon the trail gets rocky, which is par for the course for a lot of this hike.You'll notice cabins along the side of the trail, which are all private property, so be respectful. Many of these cabins are from the early 1900s, and at one point there were 119 cabins in the area. During prohibition this area was known as a safe place to enjoy a drink. Over the years natural disasters like floods, fire, and landslides have reduced the number of cabins to about 25.You'll notice numerous side trails down to Icehouse Creek on the beginning of this hike. Stay on the main trail unless you want to check out the creek. These little access points are popular with families who bring their children to play in the water.Head across the little bridge.Usually this turnoff to the stream on the right is blocked. Stay left.Climb up the rocky trail.There are some springs and runoffs here, and the trail can be wet and muddy in spots.When you get to the intersection with the Chapman Trail (off to the left) at around 1 mile in, continue straight.It's about 2.6 miles to Icehouse Saddle from that junction.The trail is less rocky for a while as it follows Icehouse Creek.But then get rocky again as you pass the signs marking the beginning of the Cucamonga Wilderness at around 1.8 miles.The trail is rocky and gets just a little bit steeper.As you climb, look ahead for this notch in the mountains. That's your next stop, Icehouse Saddle.The trail veers left and heads steeply uphill.And now you start a section of long switchbacks up to the saddle. The trail is dirt and not too rocky.At around 2.5 miles you'll pass Columbine Spring on the right. Keep hiking uphill.If you do need water, this is your last place to refill before Cucamonga Peak. The springs in Icehouse Canyon are a result of seismic activity along this minor fault line.Keep heading up the switchbacks, enjoying the views that open up as you climb.When you get to the second junction with the Chapman Trail, make the right.Here's the sign at the Chapman Trail junction.More switchbacks!The tall pointy peak you see as you climb is Twin Peaks.Soon you'll see Icehouse Saddle.There are trails to the left (3 T's) and right (Ontario Peak), but you want to go straight through at the saddle area and take the trail on the other side.Here's a closeup of the trail. It can be hard to spot.Once you start the trail, you'll see a sign. Only 2.4 miles to go.Right after starting this section you'll see a turnoff to the left for the Middle Fork Trail. Stay to the right to continue to Cucamonga Peak.This is a section of ups and downs. The downs will feel good after the climbing you just did, but just remember to save energy for them on the way back.Views to the northeast and the Cajon Pass area come into view.The trail winds around Bighorn Peak and soon you'll see Cucamonga Peak in front of you.Keep your eyes open for the old Lytle Creek Mine on the right. The mine, started in the gold boom of the 1860s, is one of the oldest in the area. Originally a gold mine, it eventually transitioned to pulling (easier to find) copper out of the mountain. When this mine first opened, there were still grizzly bears here (not anymore though...). If you want to see what the inside of the mine looks like, watch the video and play it safe.Soon you'll reach the small saddle before the climb to Cucamonga Peak.From here to the summit you'll be navigating about a dozen rocky switchbacks.Some areas have rockslides. Just take it slow and you'll be fine. This is the avalanche zone that is pretty treacherous in the winter.This section has many cutoffs. Do your best to stay on the main trail, which is usually the less-steep option.Enjoy the sweeping views into Angeles National Forest. The treeless peak in the distance is Mt Baldy.Keep trucking up the switchbacks.When you get to the junction in the gully, make the right and head uphill to the summit.This last section is steep, but you're almost there.And here you are, the summit! In front of you is Saddleback Mountain, the highest point in Orange County.On the left of the summit area is the higher area. You get great views of San Gorgonio and San Jacinto.The summit signs are hit or miss. People steal them but in recent years helpful hikers have been making new ones and leaving them (thank you!).On the right side of the summit area is another group of boulders that people grab photos with.This area includes the often-photographed overhanging rock. If you crop the photo right, it looks like your standing over the side of a cliff.That's the hike. From here, just go back the way you came. Be very careful on the rocky descent. It's easy to lose concentration and roll your ankle or trip on a rock.
Need More Info?
Have a question about the guide or want to see what other people are saying/asking? View the Youtube comments for this video. Leave a comment and I will do my best to respond.
When planning, always check the park website and social media to make sure the trails are open. Similarly, check the weather and road conditions.


 Using the Apple Watch for Hiking
 Garmin Fenix 7 & Epix Review For Hikers
 How To Read a Topographic Map
 Garmin GPSMAP 67i Review
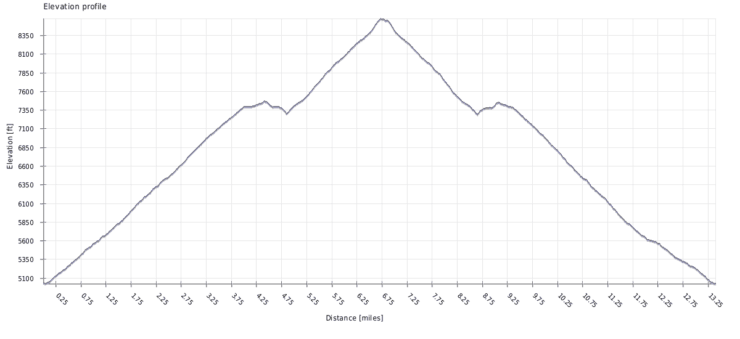


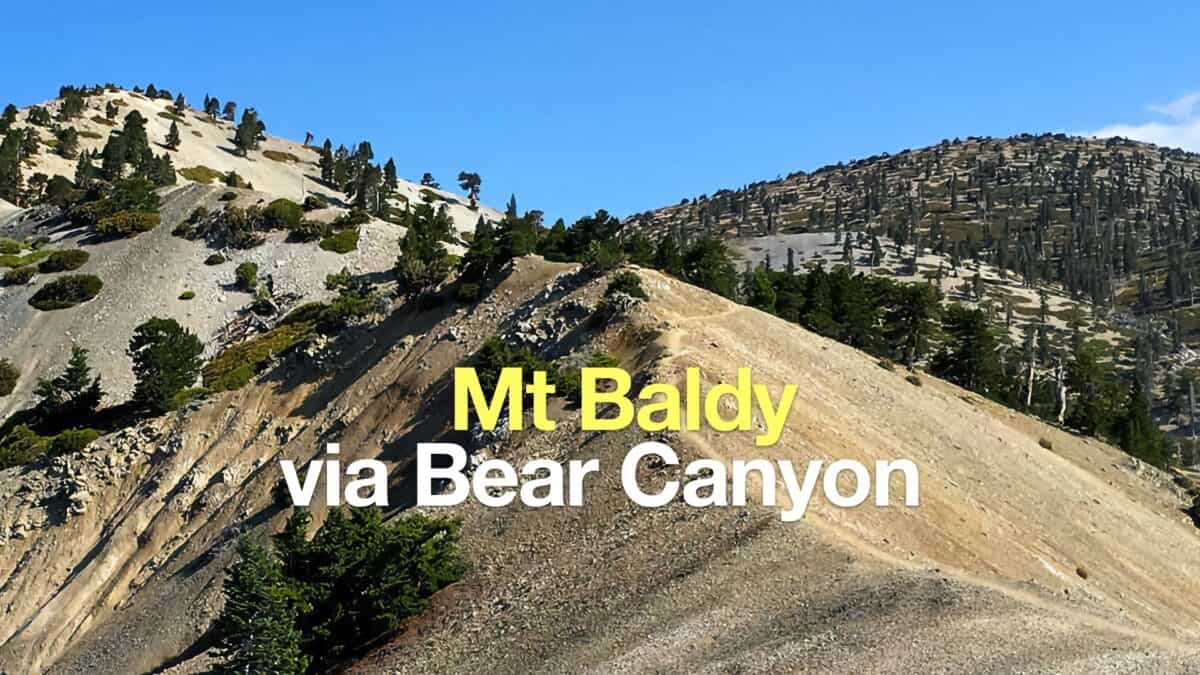 Hike Mt Baldy on the Bear Canyon Trail
 Hike Ontario Peak and Bighorn Peak
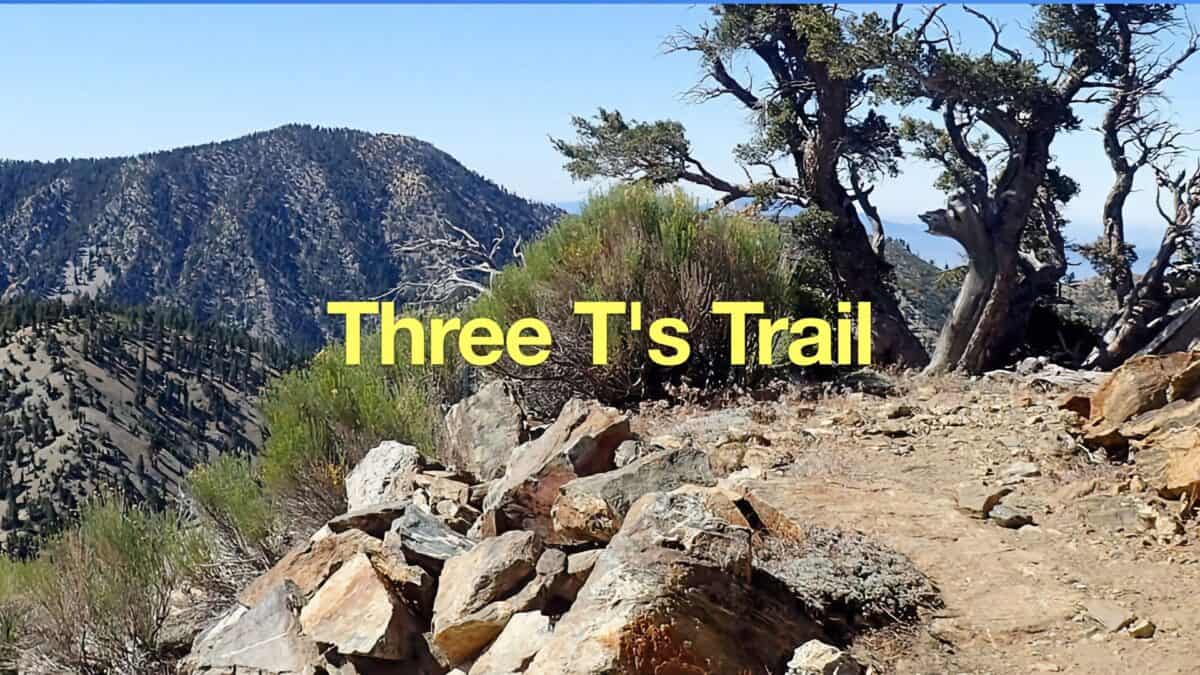 Hike the Three T's Trail
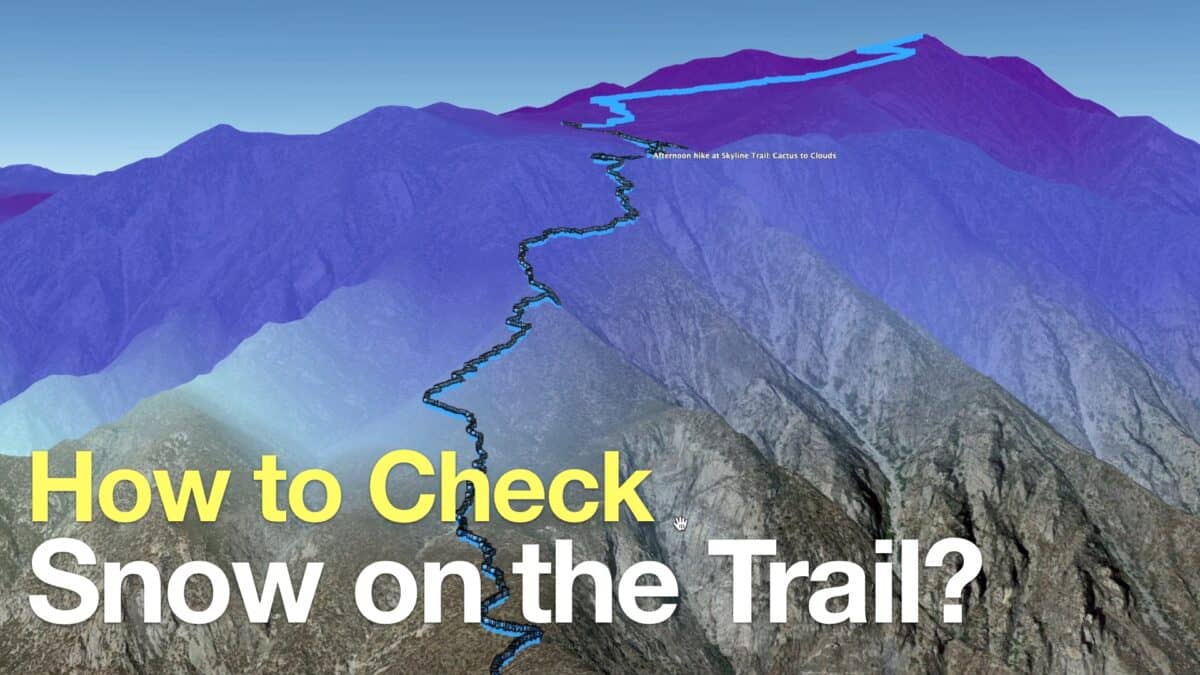 How to Check If There Is Snow On the Trail
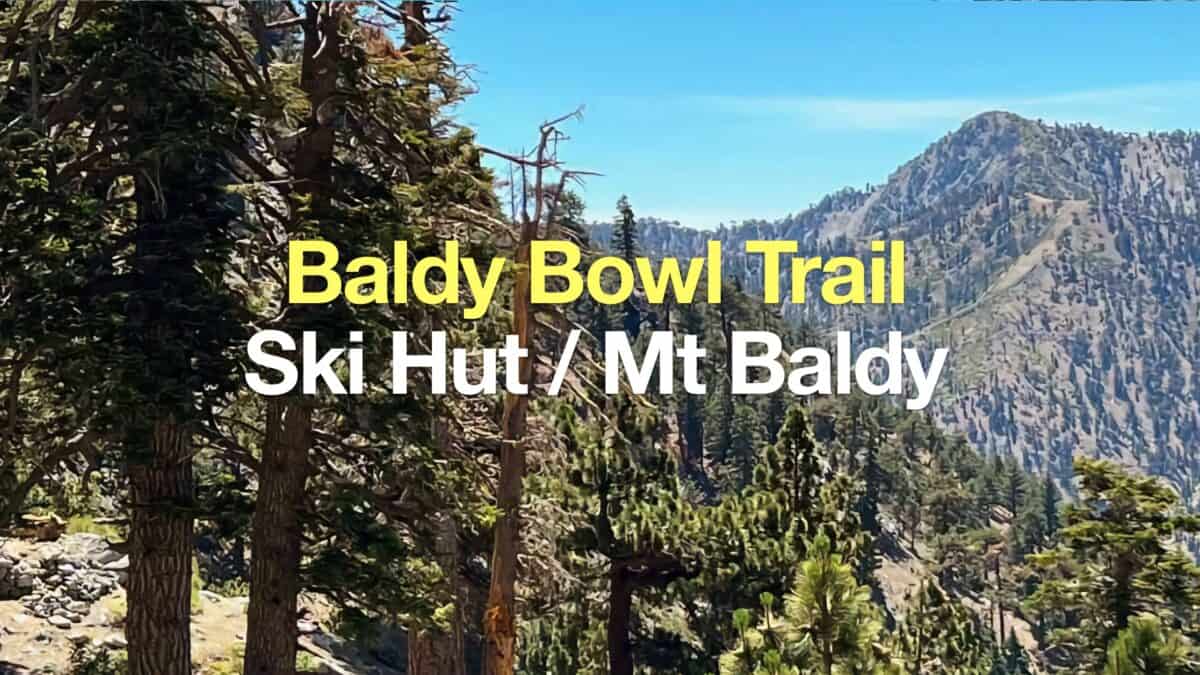 Baldy Bowl Trail (Ski Hut Trail) to Mt Baldy
 Middle Fork Trail (Lytle Creek)
 Los Angeles Hikes
 Angeles National Forest Hikes
 LA Mountain Hikes
 San Gabriel Mountains National Monument Hiking
 Sierra Club 100 Peaks
 Best Hiking Gear 2024
 Hiking Boots or Shoes: Do I Really Need Hiking Boots?
 When to Hit SOS on inReach